
Articles
How To Remove Garbage Disposal From Sink
Modified: August 23, 2024
Learn how to remove a garbage disposal from your sink with our informative articles. Follow these step-by-step instructions to easily uninstall your unit.
(Many of the links in this article redirect to a specific reviewed product. Your purchase of these products through affiliate links helps to generate commission for Storables.com, at no extra cost. Learn more)
Introduction
Giving your kitchen a makeover or experiencing a malfunction with your garbage disposal often requires removing the unit from the sink. Whether you’re replacing it with a new one or opting to live without a garbage disposal, knowing how to remove it properly is crucial. In this article, we’ll guide you through the step-by-step process of removing a garbage disposal from your sink.
A garbage disposal, also known as a waste disposal unit, is a handy appliance that grinds up food waste and flushes it down the drain. This not only reduces the amount of food waste in your trash but also helps prevent clogs in your plumbing system. However, there are times when you may need to remove the garbage disposal for maintenance, repair, or replacement.
Before diving into the removal process, it’s important to note that working with electricity and plumbing can be dangerous. If you’re unsure or uncomfortable with any step, it’s best to contact a professional plumber or electrician for assistance.
Now that you’re ready to proceed with removing your garbage disposal, let’s gather the necessary tools and supplies for the job.
Key Takeaways:
- Safely remove a garbage disposal by gathering tools, turning off power, disconnecting electrical connections, removing drain trap, loosening mounting assembly, and cleaning sink area.
- Whether installing a new sink flange or capping the opening, reconnecting plumbing, or testing the sink, follow these steps for a successful garbage disposal removal.
Step 1: Gather the necessary tools and supplies
Before you start removing the garbage disposal, it’s essential to gather all the tools and supplies you’ll need for the process. Having everything prepared beforehand will ensure a smooth and efficient removal. Here are the tools and supplies you’ll need:
- Adjustable wrench: This tool is crucial for loosening and tightening plumbing connections.
- Screwdriver: Depending on the type of garbage disposal unit you have, you may need either a flathead or Phillips head screwdriver.
- Bucket or container: You’ll need a container to catch any water or debris that may come out during the removal process.
- Towel or rag: Keep a towel or rag nearby to wipe up any spills or excess water.
- Plumber’s putty: If you’re planning to cap the opening, you’ll need plumber’s putty to create a watertight seal.
- Electrical tape: This will be required if you need to disconnect any electrical connections.
By having these tools and supplies ready, you’ll be well-equipped to tackle the garbage disposal removal process. Now, let’s move on to the next step: turning off the power.
Step 2: Turn off the power
Before beginning any work on your garbage disposal, it’s critical to ensure your safety by turning off the power to the unit. Here’s how you can do it:
- Locate the electrical panel: In most homes, the electrical panel is located in the basement, garage, or utility room. It contains circuit breakers or fuses that control the power to different areas of the house.
- Identify the circuit for the garbage disposal: Look for a circuit breaker labeled with “garbage disposal” or something similar. Alternatively, if your electrical panel has fuses, look for a fuse designated for the disposal.
- Turn off the power: Flip the switch on the circuit breaker or remove the fuse to cut off the power supply to the garbage disposal.
- Test the power: It’s a good idea to double-check that the power is indeed off before proceeding. You can do this by turning on the garbage disposal switch or attempting to operate it. If it doesn’t turn on, you can be confident that the power is off.
By following these steps, you’ll eliminate the risk of electrical shock while working on the garbage disposal. Now that the power is off, we can move on to the next step: disconnecting the electrical connections.
Step 3: Disconnect the electrical connections
With the power turned off, the next step in removing your garbage disposal is to disconnect the electrical connections. Follow these steps:
- Locate the electrical connections: The electrical connections for the garbage disposal are usually found underneath the sink. Look for a metal junction box or a set of wires connected to the disposal unit.
- Ensure the power is still off: Double-check that the power is still turned off at the circuit breaker or fuse box. Safety should always be your top priority.
- Remove the wire nuts: If the electrical connections are secured with wire nuts, use your fingers or pliers to unscrew them counterclockwise. This will expose the individual wires.
- Label the wires: It’s essential to label the wires for easier reconnection later. You can use tape or a marker to mark each wire as “hot” (usually black), “neutral” (usually white), and “ground” (usually green or bare copper).
- Disconnect the wires: Once labeled, use a screwdriver to loosen the terminal screws holding the wires in place. Carefully remove the wires from their respective terminals, making sure not to damage them.
- Secure the loose wires: To prevent accidental contact with any live wires, use electrical tape to secure the loose wires to the inside of the junction box or cabinet.
By following these steps, you’ll disconnect the electrical connections of your garbage disposal safely. Now that the electrical connections are detached, we can move on to the next step: removing the drain trap.
Step 4: Remove the drain trap
The drain trap is an important component of the plumbing system connected to your garbage disposal. Removing the drain trap will allow you to detach the disposal from the sink. Here’s how you can remove the drain trap:
- Place a bucket under the drain trap: Position a bucket or container beneath the drain trap to catch any water or debris that may spill out during the removal process.
- Loosen the slip nuts: Using an adjustable wrench, loosen the slip nuts on both ends of the drain trap. These are typically located where the trap connects to the sink drain and the garbage disposal or the wall pipe.
- Remove the drain trap: Once the slip nuts are loose, carefully detach the drain trap from the sink drain and the garbage disposal or wall pipe. Keep in mind that there may still be some water and debris trapped inside the drain trap, so pour any remaining contents into the bucket.
- Inspect the drain trap: Take a moment to inspect the drain trap for any signs of damage, such as cracks or clogs. If necessary, clean the drain trap thoroughly before proceeding to ensure optimal functionality when reinstalled.
With the drain trap successfully removed, we’re ready to move on to the next step: loosening the mounting assembly.
Step 5: Loosen the mounting assembly
The mounting assembly holds the garbage disposal in place underneath the sink. To continue the removal process, you’ll need to loosen the mounting assembly. Follow these steps:
- Locate the mounting assembly: The mounting assembly is usually attached to the bottom of the sink with a metal retaining ring called a mounting ring. It holds the garbage disposal unit in place.
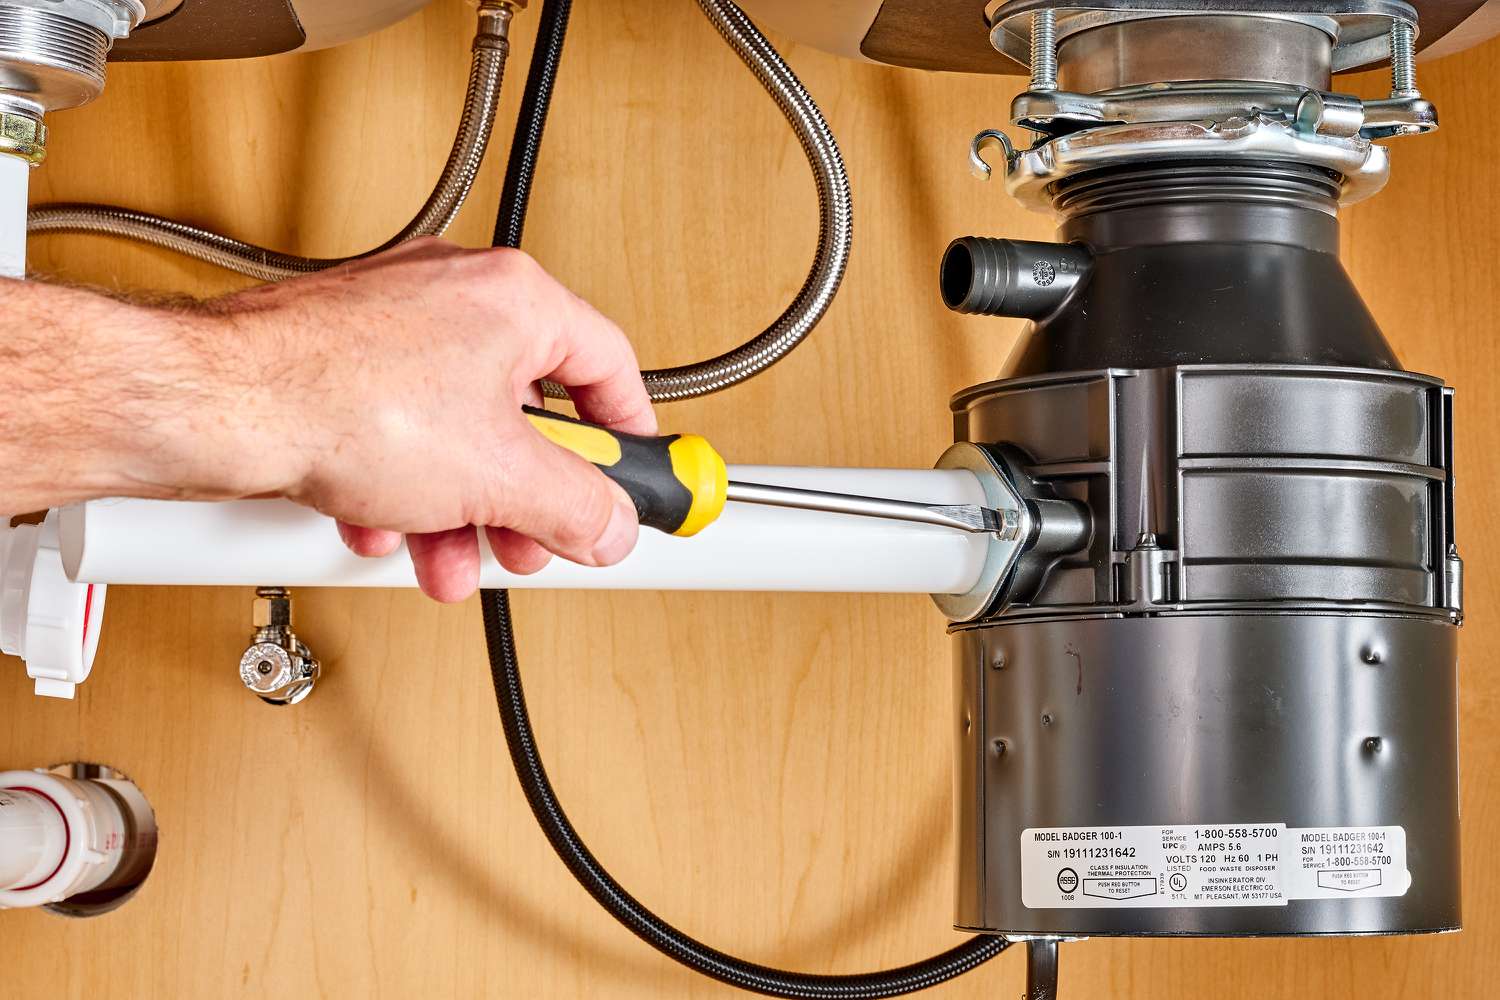
- Insert a screwdriver or wrench: Insert a long screwdriver into one of the mounting tabs or use a wrench to secure it onto the flat portions of the mounting assembly. This will prevent the assembly from rotating as you loosen the retaining ring.
- Rotate the mounting ring: Grab the mounting ring with your other hand and rotate it counterclockwise to loosen it. It may take some effort to break it loose, especially if it has been in place for a long time.
- Continue rotating until loose: Keep rotating the mounting ring until it is completely loose. You may need to switch between the screwdriver or wrench and the ring to provide leverage and keep them secure.
- Lower the garbage disposal: Once the mounting assembly is loose, carefully lower the garbage disposal unit down from the sink opening. It is recommended to have someone assist you to ensure a controlled and safe descent.
With the mounting assembly successfully loosened, the garbage disposal unit is ready to be removed. We’ll cover this step in detail in the next section.
Before removing a garbage disposal from the sink, make sure to disconnect the power supply and water supply. Use a wrench to loosen the mounting bolts and then carefully lower the disposal unit to the ground.
Step 6: Remove the garbage disposal unit
With the mounting assembly loosened, it’s now time to remove the garbage disposal unit itself from underneath the sink. Follow these steps:
- Disconnect the drain pipe: Locate the drainpipe connected to the disposal unit and use an adjustable wrench to loosen the slip nut. Carefully disconnect the drainpipe from the disposal unit.
- Lower the disposal unit: Once the drainpipe is disconnected, lower the garbage disposal unit down and away from the sink. Again, having someone assist you can make this process safer and easier.
- Inspect the unit: Take a moment to inspect the garbage disposal unit for any damage or signs of wear. If you’re planning to replace it, now is a good time to compare it with the new unit and ensure compatibility.
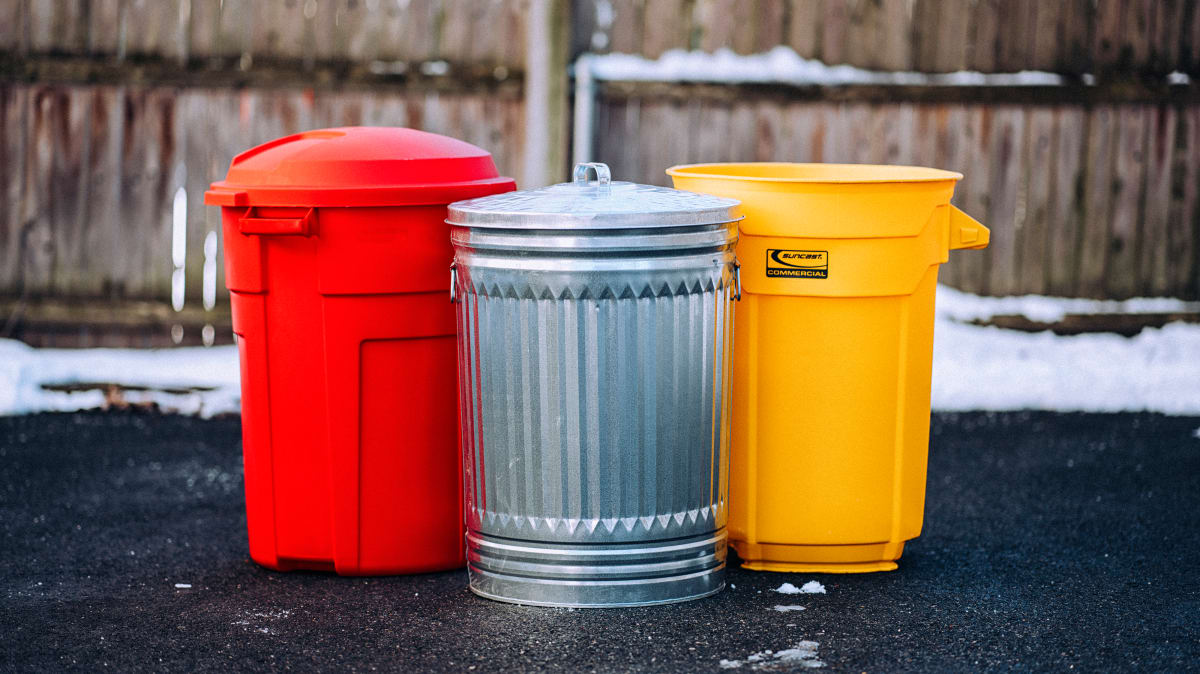
- Dispose of the unit: If you’re not planning to reuse the garbage disposal unit, check your local waste disposal guidelines for proper disposal methods. Some areas may require you to take it to a designated recycling center or arrange for special pickup.
Removing the garbage disposal unit is a significant step in the process, but we’re not quite finished yet. We still need to clean and inspect the sink area before moving on to the next steps.
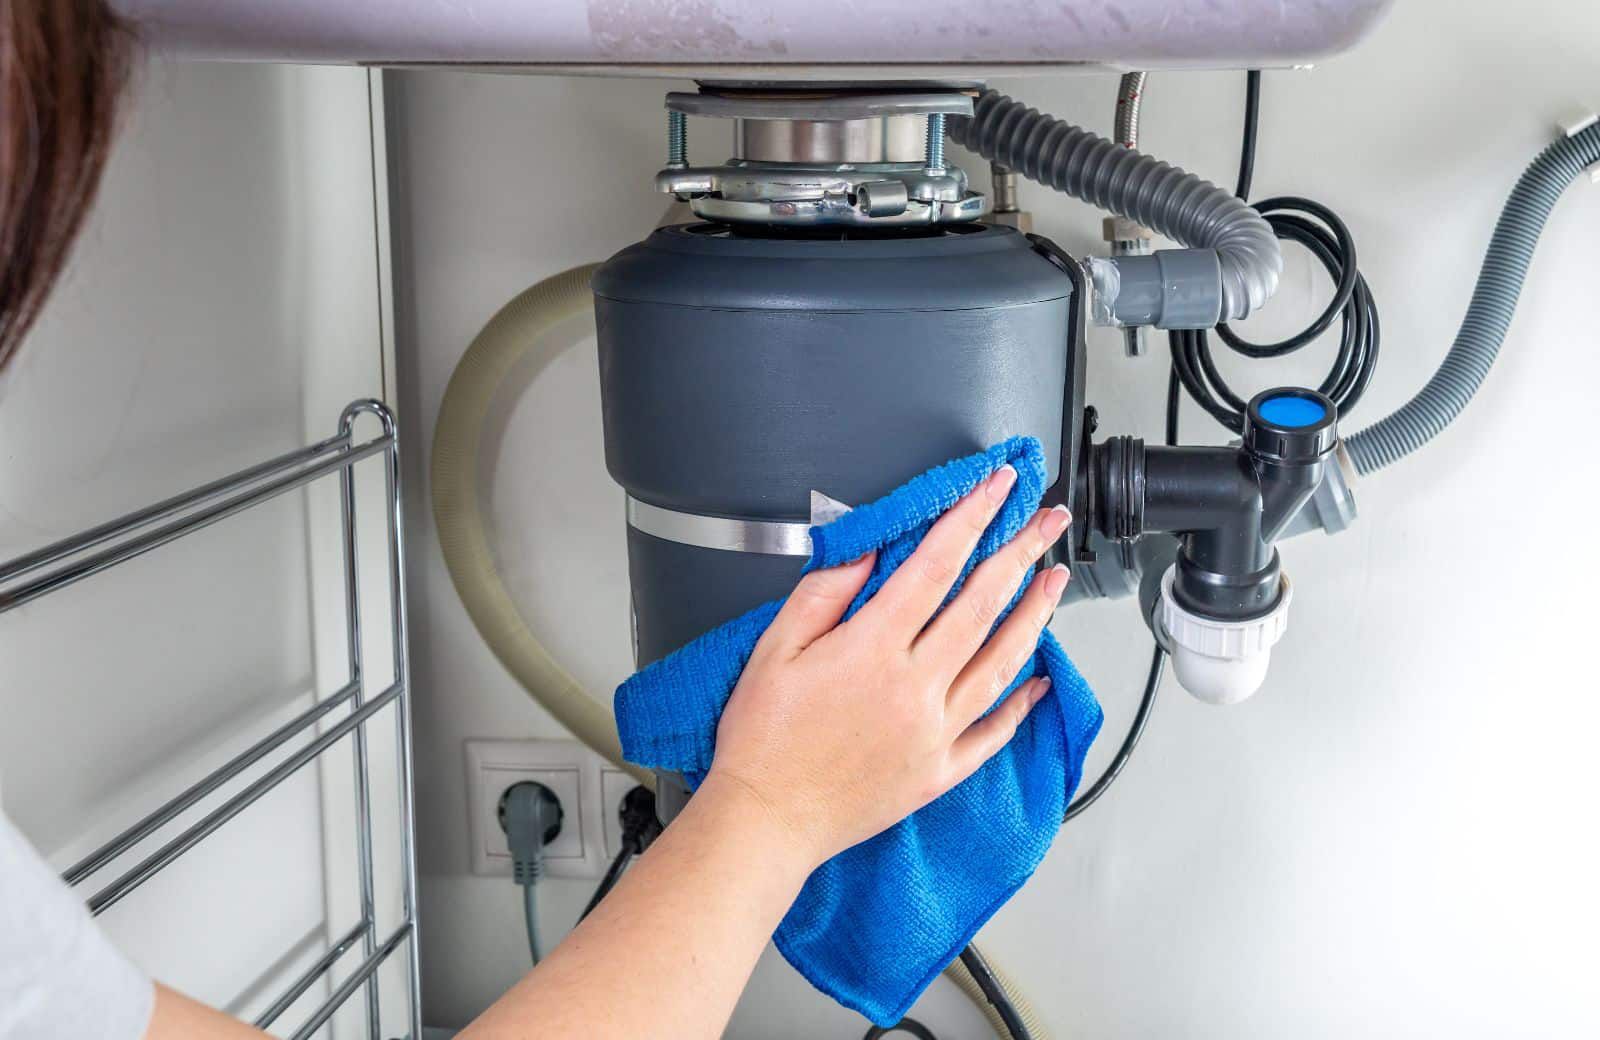
Step 7: Clean and inspect the sink area
Now that the garbage disposal unit has been removed, it’s time to clean and inspect the sink area to ensure it’s in good condition. Follow these steps:
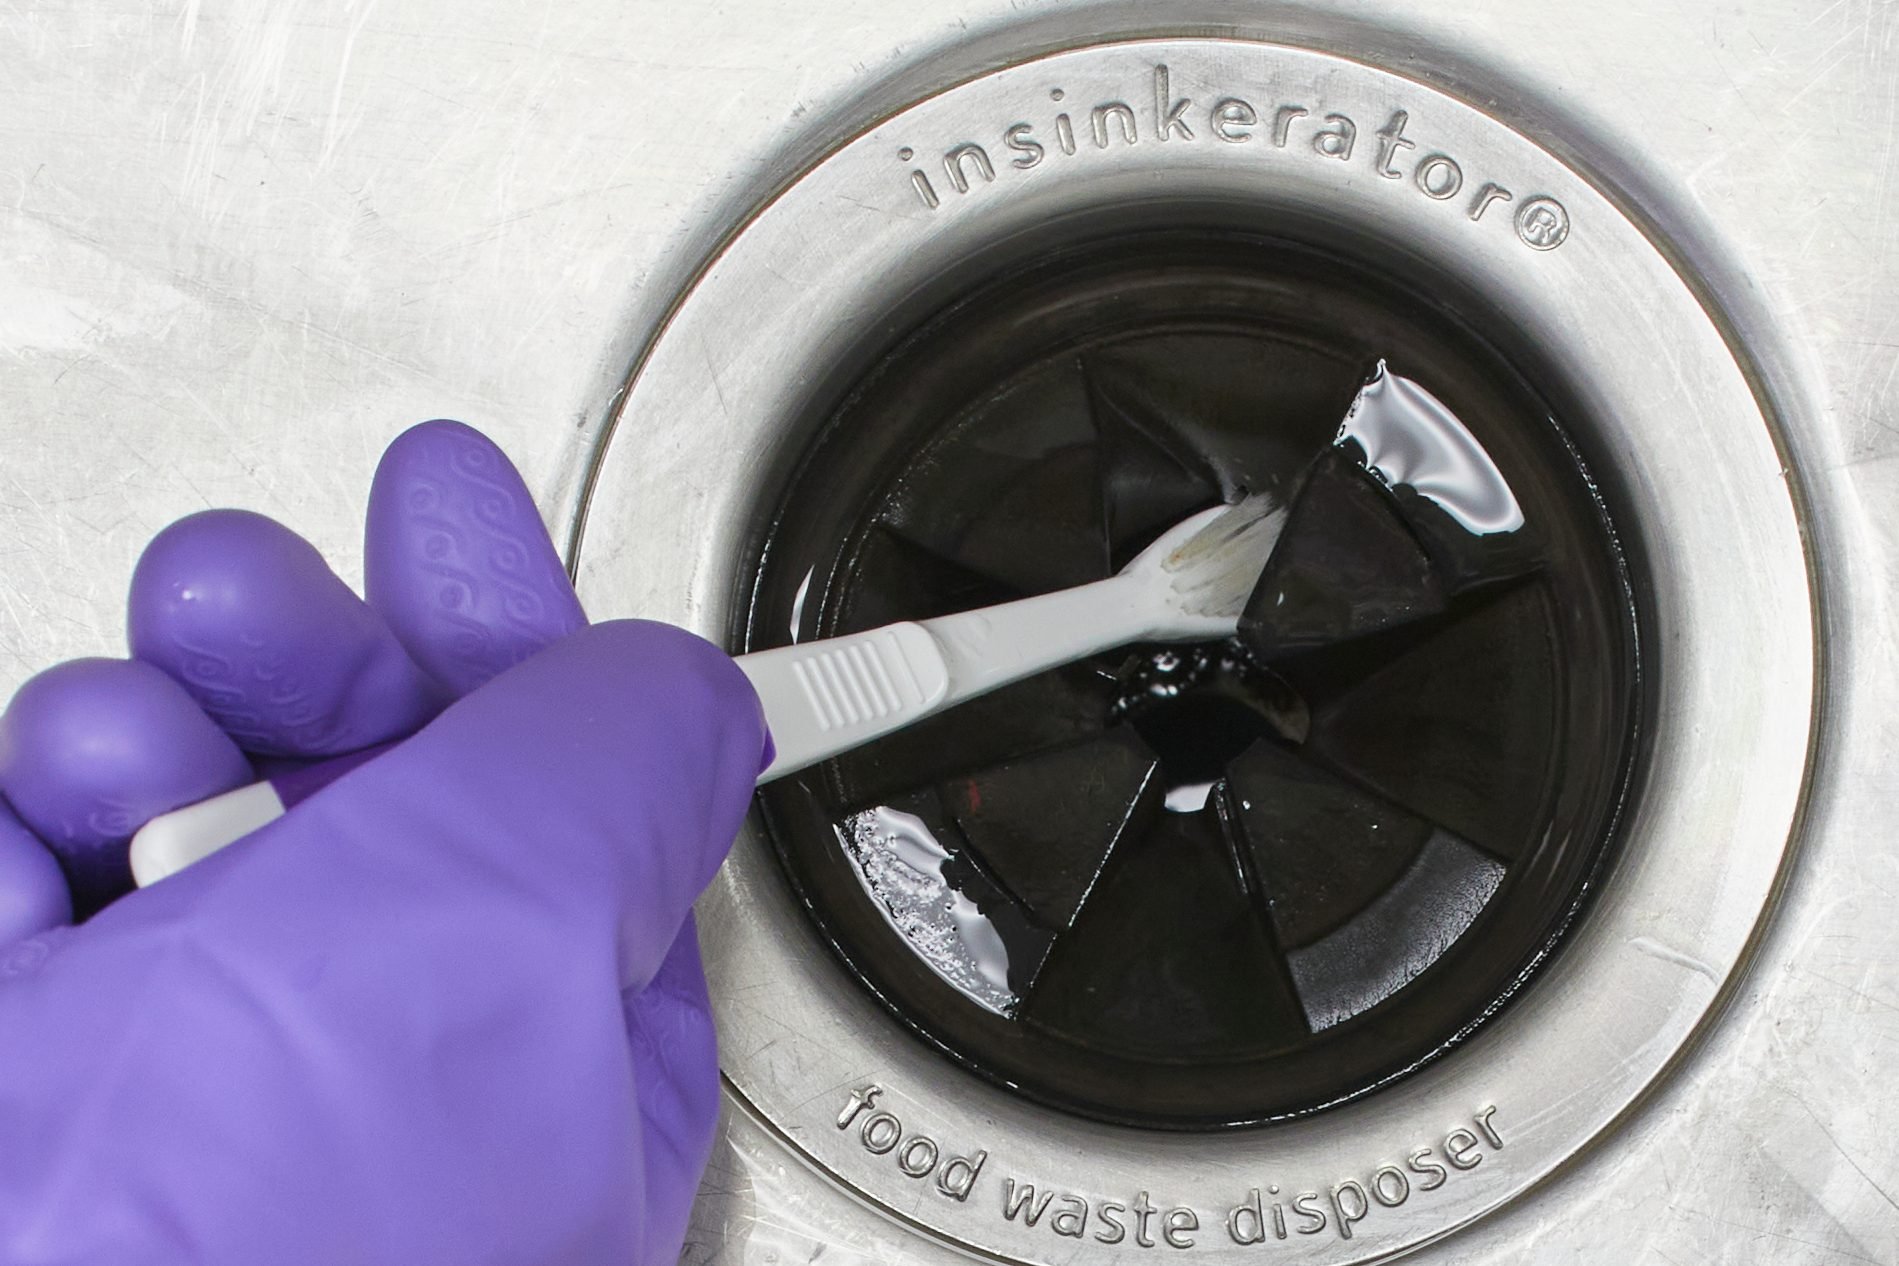
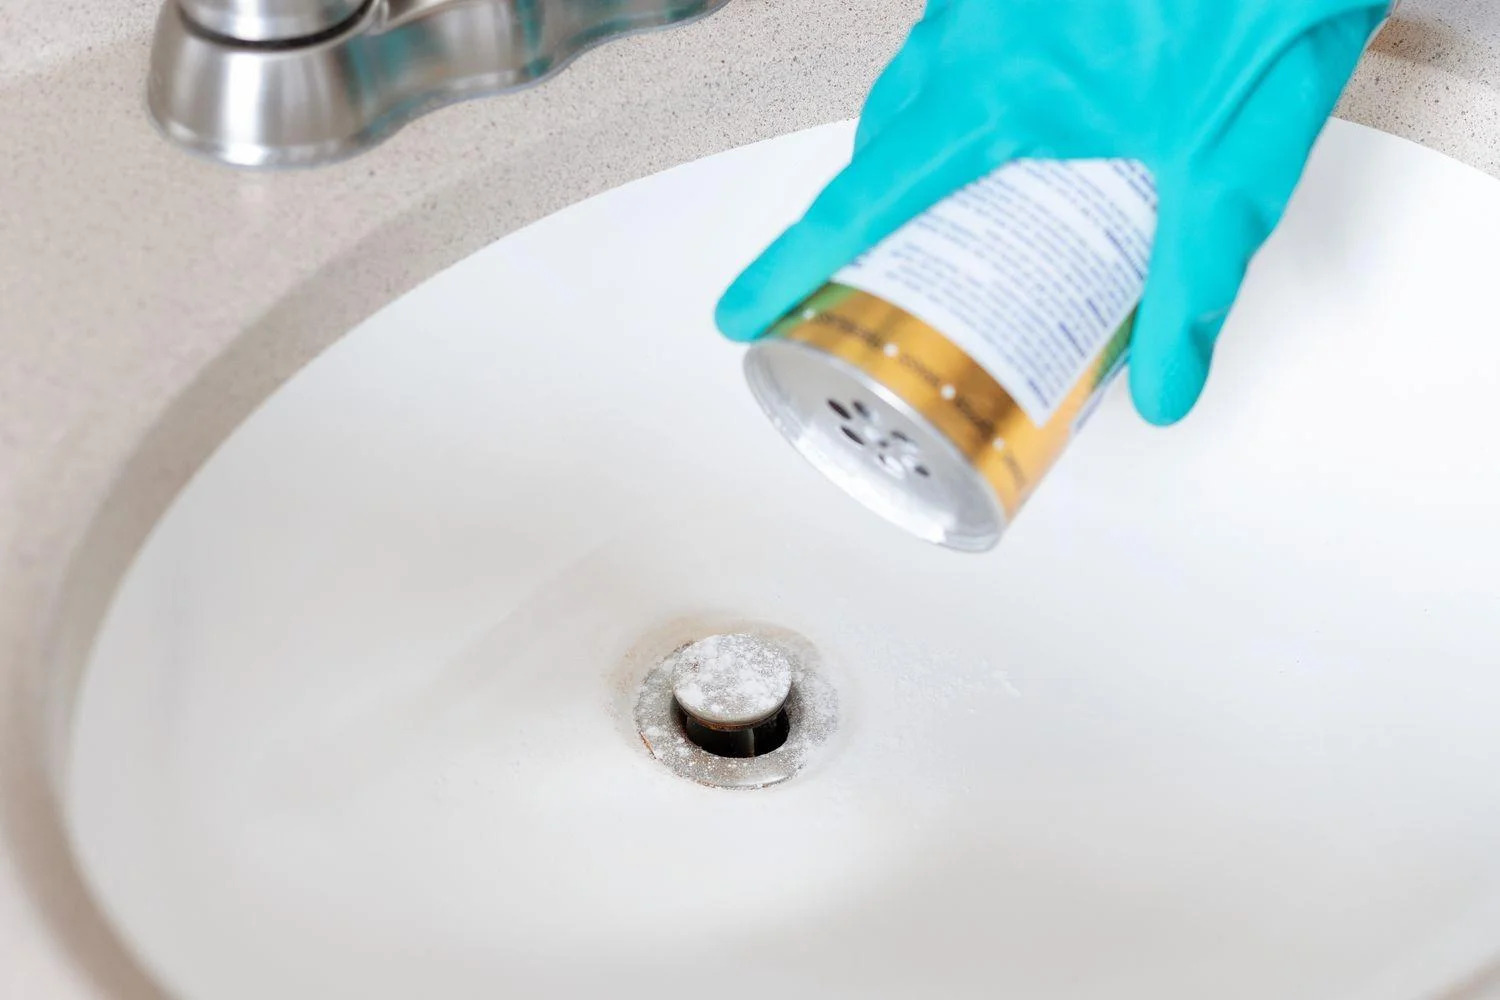
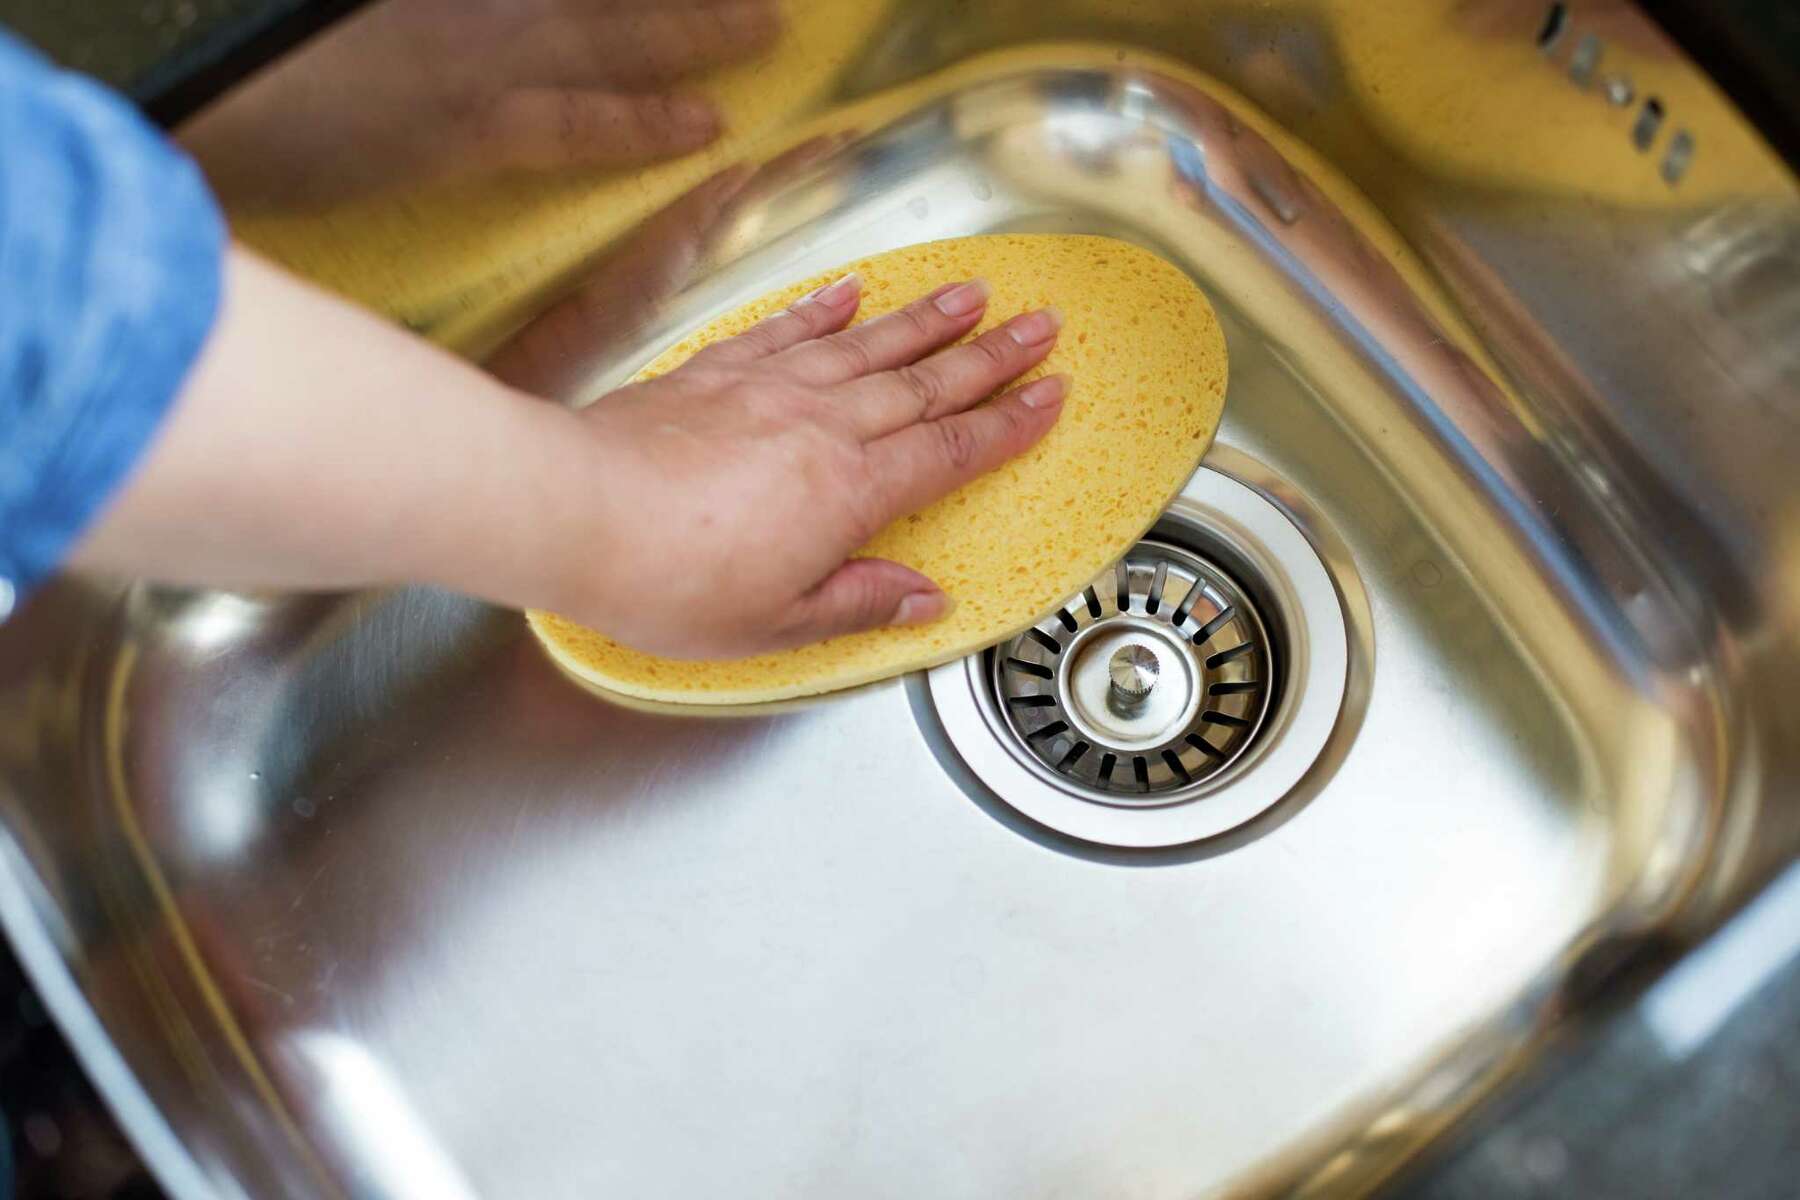
- Clean the sink: Use a mild cleaning solution and a sponge or cloth to thoroughly clean the sink area. Pay attention to the opening where the garbage disposal unit was attached, removing any food debris or residue.
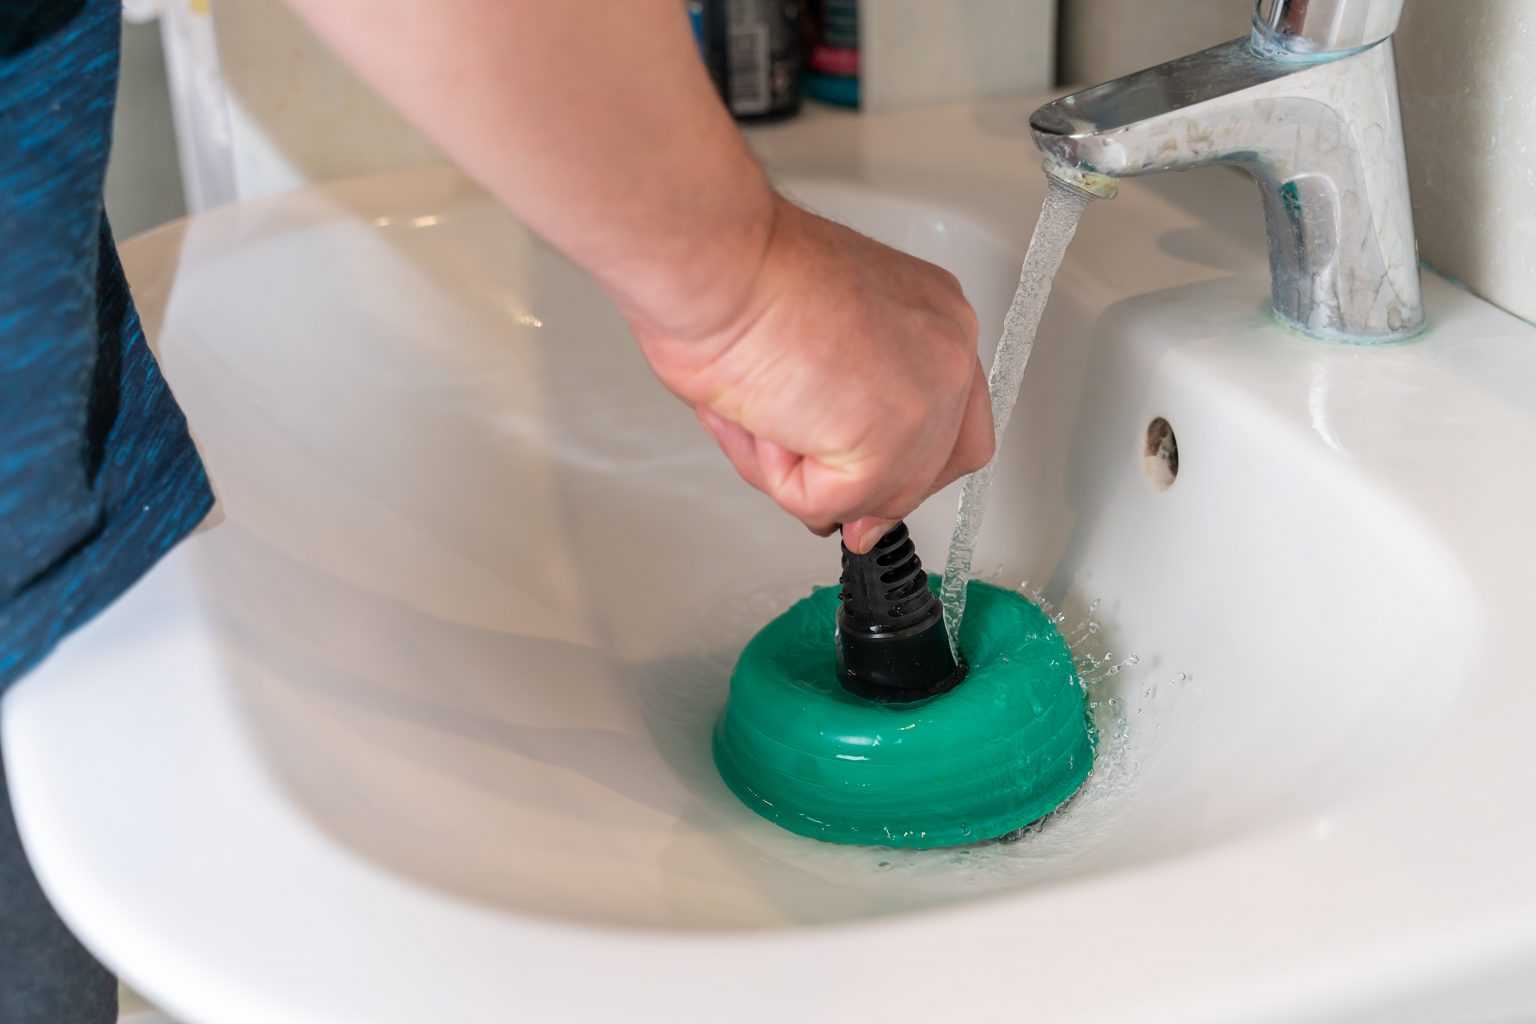
- Inspect the sink drain: Take a look at the sink drain opening to ensure there are no blockages or clogs. If you notice any issues, use a plunger or a drain snake to clear any obstructions.
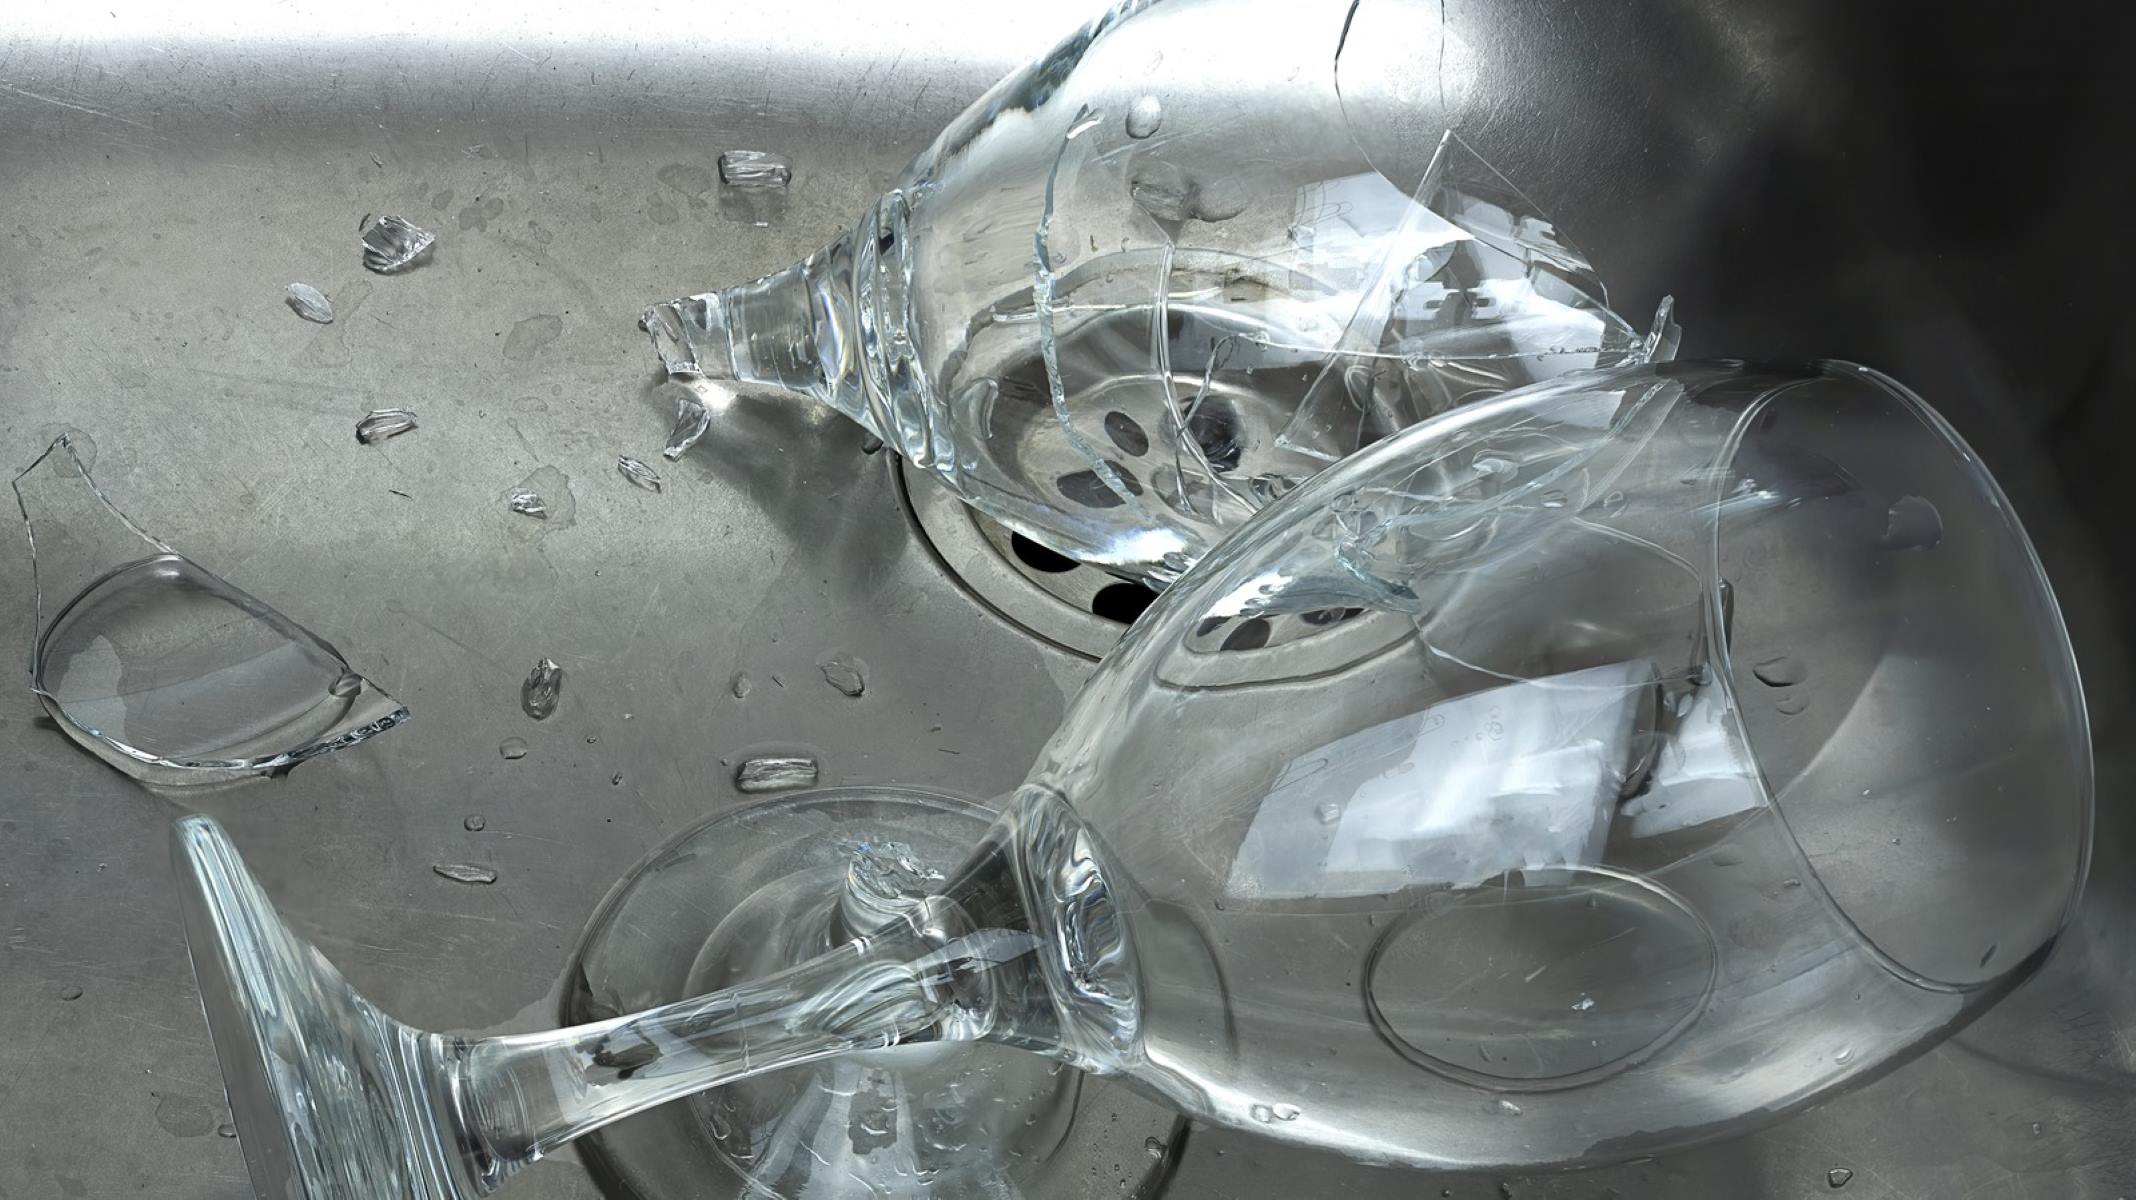
- Check the sink flange: Examine the sink flange, which is the metal ring that sits around the drain opening. Make sure it is in good condition and free of any cracks or damage. If necessary, replace the sink flange before proceeding.
- Clean the mounting assembly: Take a moment to clean the mounting assembly, including the mounting ring, with a cleaning solution and a cloth. This will help remove any grime or buildup accumulated over time.
By cleaning and inspecting the sink area, you’ll ensure that it’s ready for either a new garbage disposal unit or an alternative solution, such as capping the opening. With the sink area in good condition, we can move on to the next step: installing a new sink flange or cap.
Step 8: Install a new sink flange or cap the opening
After removing the garbage disposal unit and cleaning the sink area, you have the option to either install a new sink flange or cap the opening if you no longer plan to use a garbage disposal. Follow these steps for each respective option:
Option 1: Install a new sink flange:
- Purchase the correct sink flange: Measure the diameter of the drain opening to ensure you get the correct size for your new sink flange. Purchase a sink flange that matches the measurements and the type of sink you have.
- Apply plumber’s putty: Roll a small amount of plumber’s putty in your hands until it becomes pliable. Apply a thin ring of putty around the underside of the new sink flange.
- Insert the sink flange: Place the new sink flange into the drain opening from above the sink. Press it firmly into place and ensure it sits flush against the sink surface.
- Tighten the mounting assembly: From underneath the sink, attach the mounting assembly to the sink flange. Tighten the retaining ring or mounting screws to secure the sink flange in place.
Option 2: Cap the opening:
- Purchase a sink hole cover: Look for a sink hole cover that matches the size and design of your sink. These covers are available in various materials, such as stainless steel or plastic.
- Place the sink hole cover: Position the sink hole cover over the opening where the garbage disposal was attached. Ensure that it fits securely and covers the entire opening.
- Secure the sink hole cover: Depending on the type of cover you have, there may be different methods of securing it in place. Follow the manufacturer’s instructions to ensure a proper and secure fit.
By either installing a new sink flange or capping the opening, you can complete the process of removing the garbage disposal unit and adjust your sink accordingly. Now, let’s move on to reconnecting the plumbing in the next step.
Step 9: Reconnect the plumbing
With the sink flange or cap in place, it’s time to reconnect the plumbing to ensure proper drainage. Follow these steps to reconnect the plumbing:
- Reattach the drain trap: Position the drain trap back into place, aligning it with the sink drain and the wall pipe or garbage disposal outlet. Use an adjustable wrench to tighten the slip nuts on both ends of the drain trap, ensuring a secure connection.
- Reconnect the drainpipe: Attach the drainpipe back to the outlet on the sink flange or to the cap if you’re not using a garbage disposal. Use an adjustable wrench to tighten the slip nut and ensure a snug fit.
- Inspect for leaks: Turn on the water and let it run for a few moments. Check for any leaks around the connections. If you notice any leaks, tighten the slip nuts further or consider using plumber’s tape for added security.
By reconnecting the plumbing, you’re ensuring that water and waste can properly flow through the drain system. With the plumbing properly connected, we’re ready to move on to the final step: restoring power and testing the sink.
Step 10: Restore power and test the sink
Now that all the necessary steps have been completed, it’s time to restore power to the garbage disposal or test the sink if you opted not to reinstall a new disposal unit. Follow these final steps to restore power and test the sink:
- Turn on the power: Return to the electrical panel and flip the switch on the circuit breaker or insert the fuse to restore power to the garbage disposal unit. Take note of any unusual sounds or vibrations when it powers on.
- Check for leaks: Run water in the sink and check for any leaks in the plumbing connections. If you notice any leaks, tighten the slip nuts further or consider using plumber’s tape for added security.
- Test the sink: Turn on the faucet and let water flow down the drain. If you have a new garbage disposal unit installed, turn on the unit and listen for the smooth operation of the grinding mechanism. Ensure that the waste is properly flushed down the drain.
- Monitor the drainage: Observe the drainage system to ensure proper flow and to detect any signs of clogs or backups. If you notice any issues, address them promptly to prevent further problems.
By restoring power and testing the sink, you can verify that the plumbing is functioning correctly and that the sink is ready for daily use. Remember to exercise caution and contact a professional if you encounter any difficulties during the installation or testing process.
Congratulations! You have successfully removed a garbage disposal from your sink and completed the necessary steps to adjust the plumbing. Whether you’re choosing to live without a disposal or planning to install a new one in the future, you can now enjoy a functional and efficient sink.
Conclusion
Removing a garbage disposal from your sink can seem like a daunting task, but with the right tools and guidance, it can be accomplished successfully. We have taken you through the step-by-step process of removing a garbage disposal and adjusting your sink accordingly.
By gathering the necessary tools and supplies, turning off the power, disconnecting the electrical connections, removing the drain trap, loosening the mounting assembly, and ultimately removing the garbage disposal unit, you’ve completed the most critical steps in the process.
After successfully removing the garbage disposal, it’s important to clean and inspect the sink area, ensuring that it is in good condition and ready for the next steps. Whether you choose to install a new sink flange or cap the opening, reconnect the plumbing, or restore power and test the sink, each step contributes to a smooth and functioning kitchen sink.
Remember, safety should always be a priority when working with electrical connections and plumbing. If at any point you feel unsure or uncomfortable, it’s best to seek the assistance of a professional plumber or electrician.
Now that you’re equipped with the knowledge and steps to remove a garbage disposal from your sink, you have the freedom to make changes or adjustments as needed. Whether it’s upgrading to a new disposal unit, opting for more environmentally friendly alternatives, or simply living without a disposal, you’re ready to proceed accordingly.
By following this guide, you have successfully completed the process of removing a garbage disposal from your sink. Enjoy your newly adjusted sink and the flexibility it offers for your kitchen needs!
Frequently Asked Questions about How To Remove Garbage Disposal From Sink
Was this page helpful?
At Storables.com, we guarantee accurate and reliable information. Our content, validated by Expert Board Contributors, is crafted following stringent Editorial Policies. We're committed to providing you with well-researched, expert-backed insights for all your informational needs.


0 thoughts on “How To Remove Garbage Disposal From Sink”