Furniture
How To Clean An Old Dresser
Modified: August 17, 2024
Learn how to clean and restore your old dresser with our step-by-step guide. Bring new life to your furniture with our expert tips.
(Many of the links in this article redirect to a specific reviewed product. Your purchase of these products through affiliate links helps to generate commission for Storables.com, at no extra cost. Learn more)
Introduction
Welcome to the wonderful world of furniture restoration! If you’ve recently acquired an old dresser or have been using one for years, you may find that it needs some extra care and attention to bring back its former glory. Cleaning an old dresser requires a bit of time and effort, but the results are well worth it. Not only will you be able to remove years of dirt and grime, but you’ll also be able to revive the natural beauty of the wood.
In this article, we’ll walk you through the step-by-step process of cleaning an old dresser. From gathering the necessary supplies to properly treating stains and refreshing the wood, we’ve got you covered. So, grab your cleaning gear and let’s get started!
Before diving into the cleaning process, it’s important to note that not all old dressers are the same. They can be made from a variety of woods, such as oak, mahogany, or walnut, each requiring slightly different care. Additionally, the condition of the dresser will also play a role in determining the best cleaning approach. Always assess the condition of the dresser before proceeding with any cleaning methods.
Now, let’s gather our supplies. You’ll need:
- Cleaning gloves
- Dust mask
- Soft microfiber cloths
- All-purpose cleaner
- Wood cleaner or oil soap
- Furniture polish
- Stain remover
- Water
Once you have all the necessary supplies, it’s time to prep the dresser for cleaning. In the next section, we’ll cover the steps to properly prepare the dresser before starting the cleaning process.
Key Takeaways:
- Revive the natural beauty of an old dresser by following a step-by-step cleaning process. Gather supplies, prepare the dresser, remove dust, clean the exterior, refresh the wood, and maintain its longevity for years to come.
- Ensure the longevity and beauty of your old dresser by polishing, protecting, and maintaining its finish. Follow final tips, avoid direct sunlight, use coasters, dust regularly, handle with care, and seek professional help if needed.
Read more: How To Refurbish An Old Dresser
Gathering Supplies
Before you start the cleaning process, it’s essential to gather all the necessary supplies. Having everything prepared and within reach will make the task much easier and more efficient. Here’s a breakdown of the supplies you’ll need:
- Cleaning gloves: It’s important to protect your hands while cleaning an old dresser. Opt for gloves that are durable and provide a good grip.
- Dust mask: Old dressers can accumulate a significant amount of dust, which may irritate your respiratory system. Wearing a dust mask will help keep you safe while cleaning.
- Soft microfiber cloths: Microfiber cloths are ideal for cleaning furniture as they are non-abrasive and lint-free. Be sure to have plenty of these on hand for the various cleaning steps.
- All-purpose cleaner: An all-purpose cleaner will be useful for tackling general dirt and grime on the exterior of the dresser. Look for a cleaner that is safe to use on wood surfaces.
- Wood cleaner or oil soap: For a more thorough cleaning, you’ll need a specialized wood cleaner or oil soap. This will help remove built-up dirt and bring out the natural beauty of the wood.
- Furniture polish: After cleaning, it’s important to protect and enhance the finish of the dresser. Choose a furniture polish specifically designed for wood surfaces to restore a healthy shine.
- Stain remover: Depending on the condition of the dresser, you may encounter stains or discoloration. Having a stain remover on hand will help treat and minimize their appearance.
- Water: A bucket or spray bottle filled with water will be necessary for diluting cleaners, rinsing cloths, and moistening the surface of the dresser as needed.
With these supplies gathered, you’re now ready to tackle the task of cleaning your old dresser. The next section will guide you through the important steps of preparing the dresser before diving into the cleaning process.
Preparing the Dresser
Before you start cleaning your old dresser, it’s crucial to properly prepare it. This involves removing any items stored inside the dresser and finding a suitable workspace. Here’s how to prepare your dresser for cleaning:
- Empty the dresser: Remove all items from the drawers and the top surface of the dresser. This includes clothing, accessories, and any other personal belongings. Set them aside in a safe place until the cleaning process is complete.
- Find a spacious and well-ventilated area: Choose a location where you can comfortably work on the dresser. A well-ventilated area, such as a garage or outdoor space, is recommended to ensure proper air circulation and minimize the inhalation of cleaning fumes.
- Protect the surrounding area: Lay down a drop cloth or old sheets to protect the floor or surface around the dresser. This will catch any drips or spills from the cleaning process and make cleanup easier.
- Open windows and wear protective gear: If you’re cleaning indoors, open windows to improve ventilation. Wear your cleaning gloves and a dust mask to protect your hands and respiratory system from dust particles and cleaning solutions.
By taking the time to prepare your dresser and the space around it, you’ll create an organized and safe environment for the cleaning process. Once the dresser is empty and the workspace is set up, you’re ready to move on to the next step: removing dust and debris from the dresser.
Removing Dust and Debris
Before diving into the deep cleaning process, it’s essential to remove any surface dust and debris from your old dresser. Over time, dust can accumulate and settle into the crevices, making it difficult to achieve a thorough clean. Here’s how to remove dust and debris effectively:
- Put on your cleaning gloves and dust mask: As with any cleaning task, it’s important to protect yourself before starting. Wear your cleaning gloves to prevent any dirt or allergens from coming into contact with your skin. Put on a dust mask to protect your respiratory system from inhaling dust particles.
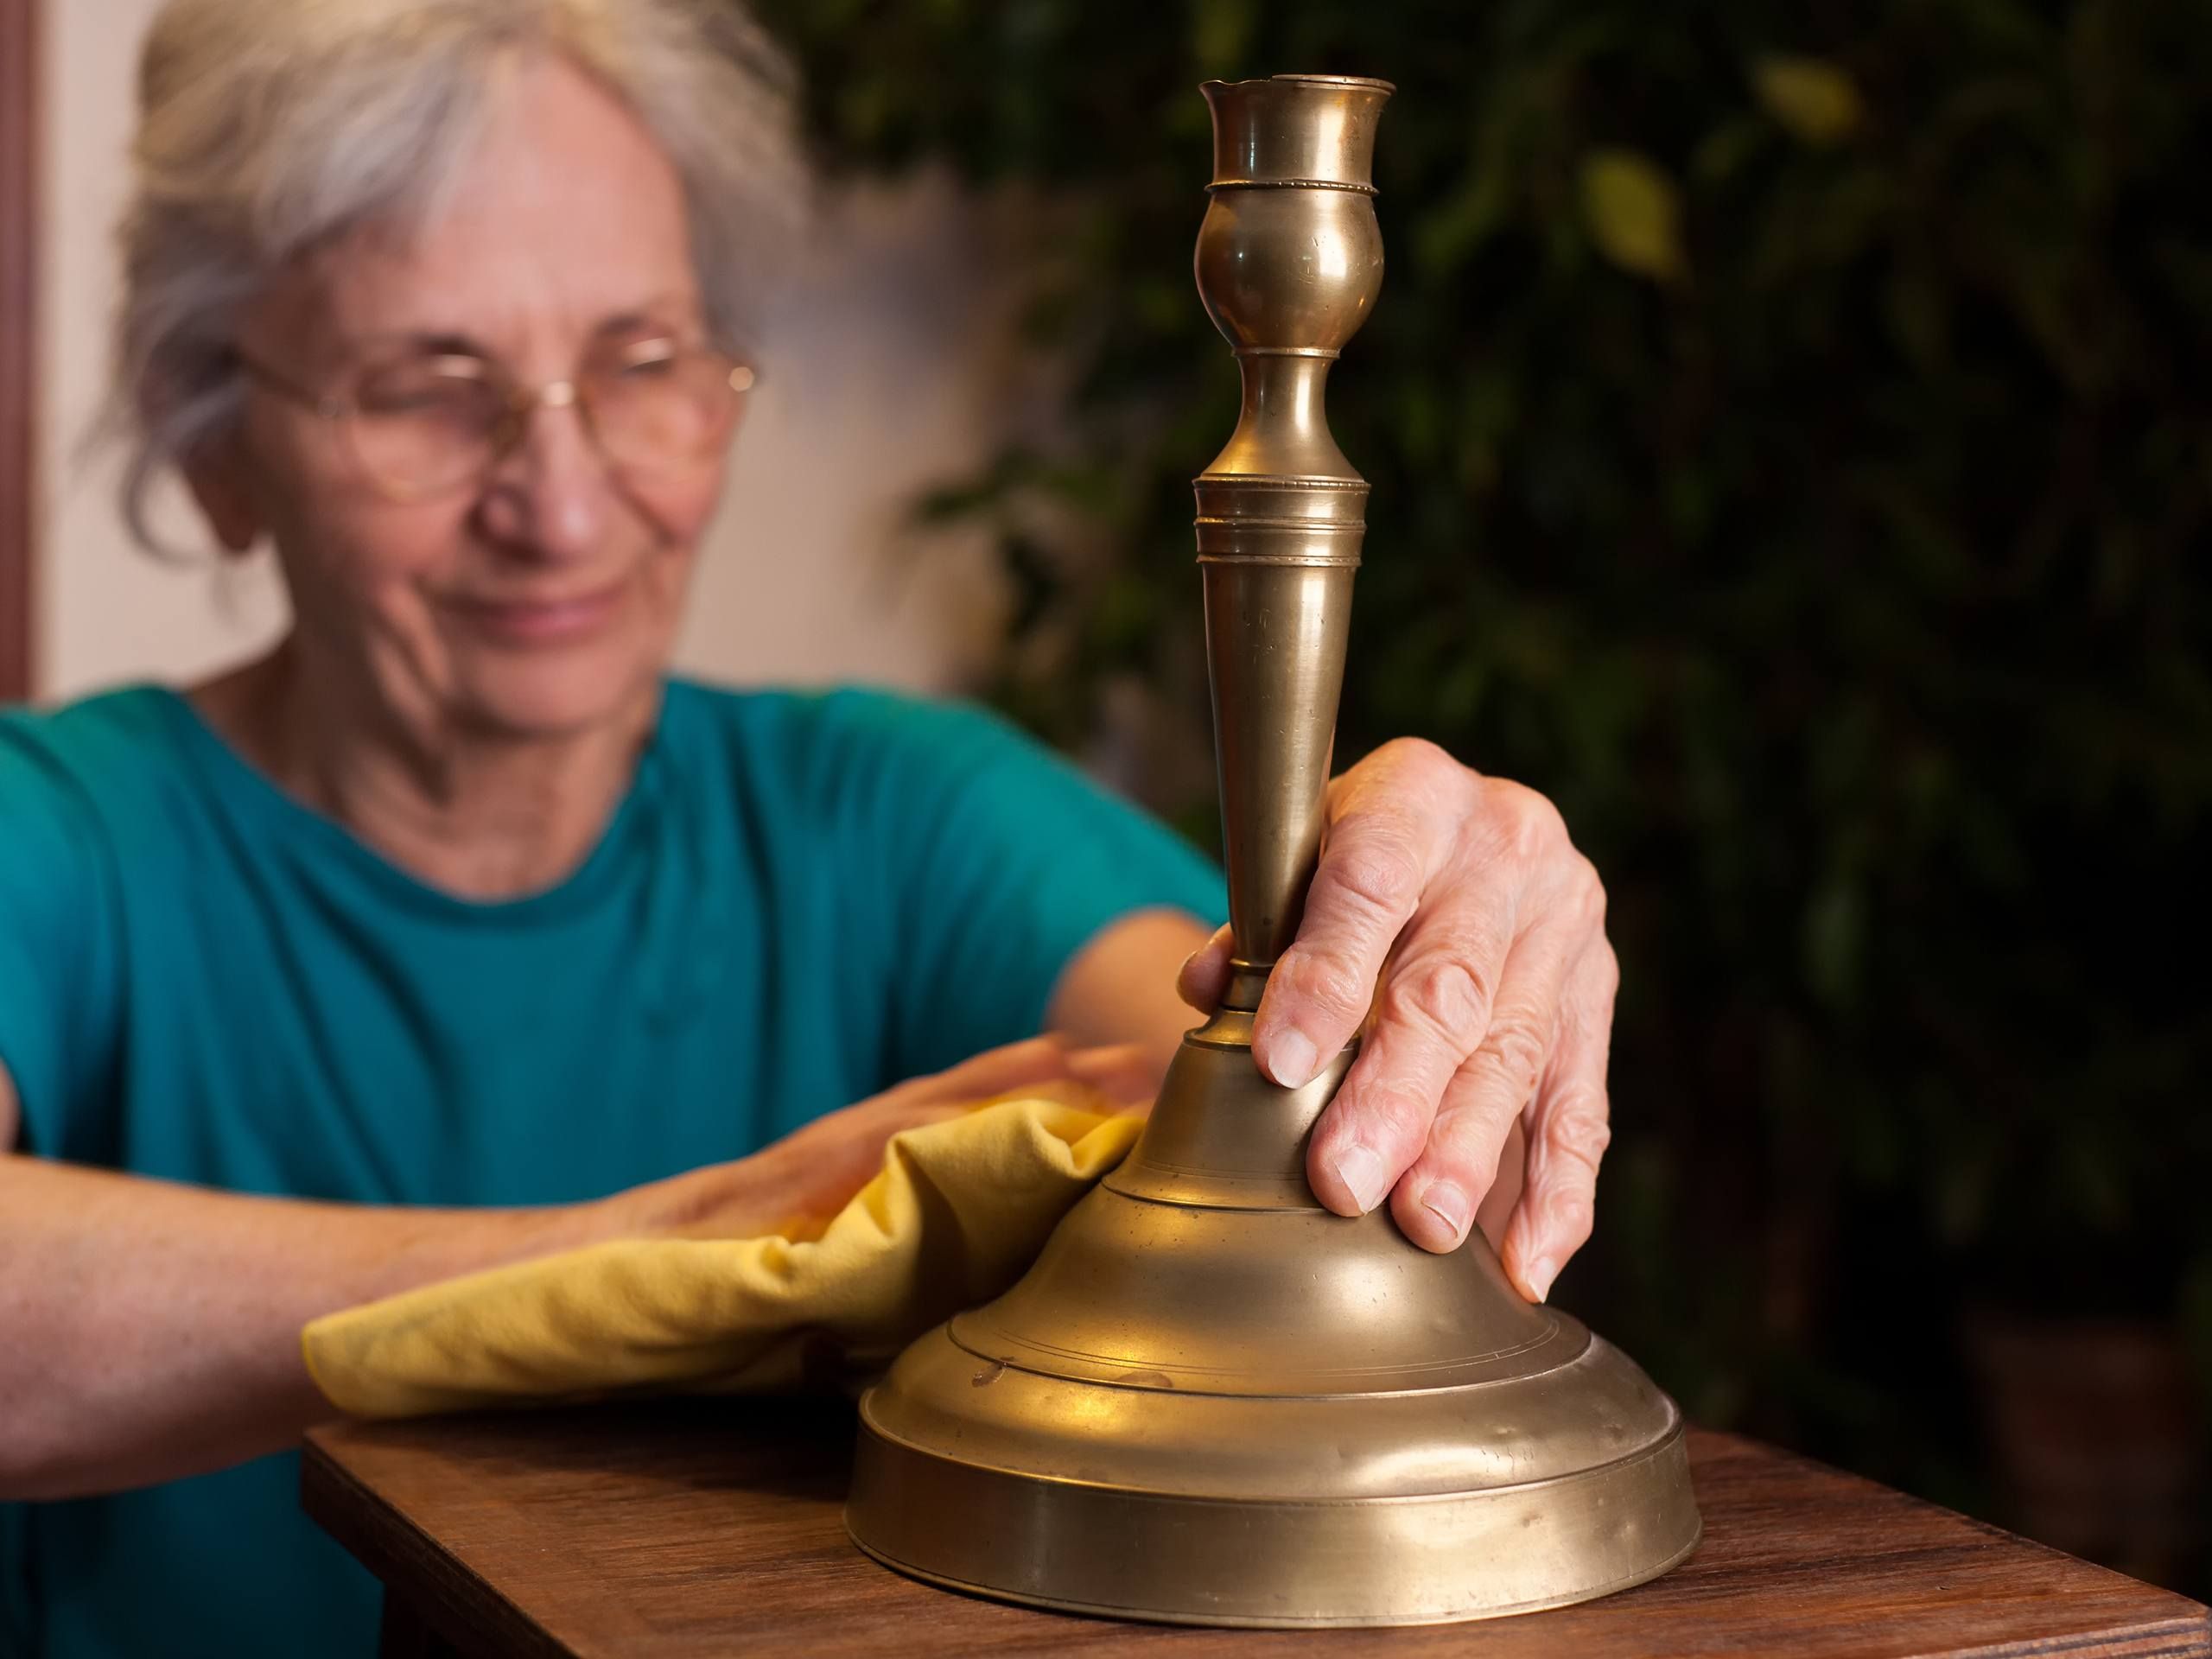
- Dry dust the dresser: Begin by lightly dusting the entire surface of the dresser using a soft microfiber cloth. Start from the top and work your way down, paying attention to the edges, corners, and decorative details. Avoid using feather dusters or rough materials as they can scratch or damage the surface of the wood.
- Remove drawer contents and dust: Empty each drawer and use a clean cloth to wipe away any dust or debris. If there are stubborn particles, use a small brush or a vacuum cleaner with a brush attachment to carefully remove them. Be gentle to avoid causing any damage to the drawers.
- Pay attention to small crevices: Often, dust can accumulate in small crevices and intricate carvings. Use a soft-bristle brush, a cotton swab, or a toothbrush to reach these areas and remove any dust buildup. Take your time and be thorough, ensuring every nook and cranny is cleaned.
By taking the time to remove dust and debris from your old dresser, you’re laying the foundation for a successful deep cleaning. Once the dresser is free from surface dirt, you can move on to the next step: cleaning the exterior of the dresser.
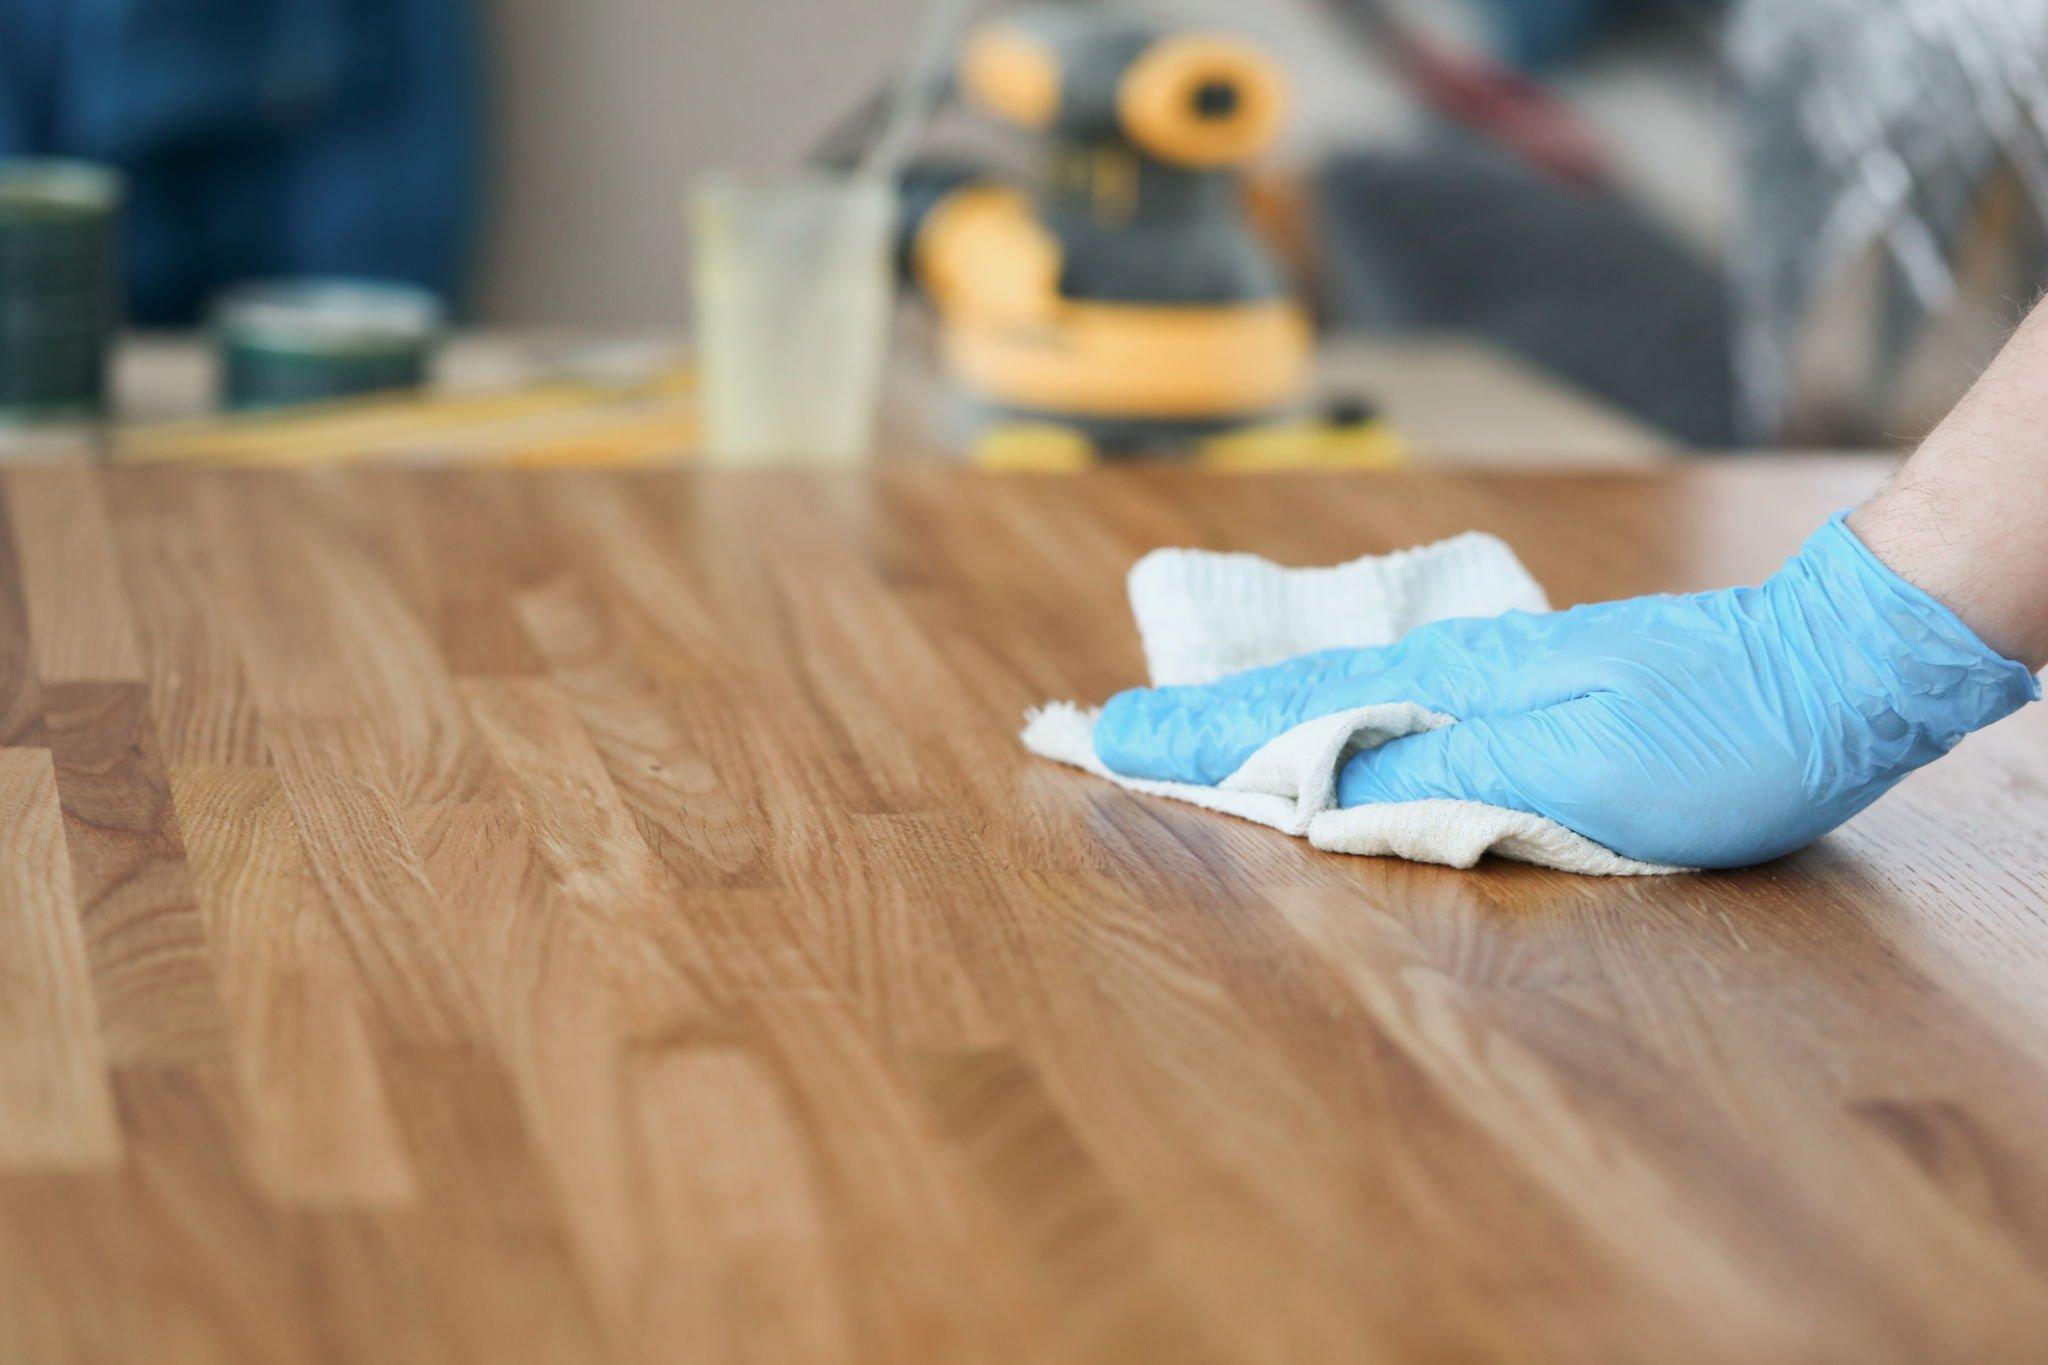
Cleaning the Exterior
Now that you’ve removed the dust and debris from your old dresser, it’s time to tackle the cleaning of the exterior surfaces. This step will help remove any lingering dirt, grime, or stains and restore the shine of the wood. Here’s how to effectively clean the exterior of your dresser:
- Choose the right cleaner: Depending on the type of finish and the condition of the wood, you’ll need to select an appropriate cleaner. For most wood finishes, an all-purpose cleaner diluted in water will suffice. However, if your dresser has a specific finish, such as lacquer or varnish, consult the manufacturer’s instructions or use a cleaner designed specifically for that finish.
- Dampen a microfiber cloth: Moisten a soft microfiber cloth with the diluted cleaner. Make sure the cloth is damp and not soaking wet to avoid excess moisture on the wood surface.
- Gently wipe the surface: Starting from the top of the dresser, wipe the damp cloth over the wood in small, circular motions. Be gentle and avoid applying excessive pressure, as this can damage the finish. Continue working your way down, paying attention to the front, sides, and back of the dresser.
- Focus on problem areas: If you encounter stubborn stains or sticky residue, apply a bit more pressure to the affected area while wiping. For tough stains, try using a specialized stain remover following the manufacturer’s instructions. Be cautious with your choice of stain remover, as some products may be too harsh for certain types of wood finishes.
- Rinse and dry: Once you’ve cleaned the entire surface, use a clean, damp cloth to rinse off any remaining cleaner residue. Follow up with a dry cloth to ensure the wood is completely dry. Moisture left on the surface can lead to staining or warping.
With the exterior of your old dresser now clean and refreshed, it’s time to move on to the next step: refreshing the wood to bring back its natural beauty.
To clean an old dresser, start by removing any dust and debris with a soft cloth or vacuum. Then, use a mild soap and water solution to gently wipe down the surfaces. For stubborn stains, consider using a wood cleaner or a mixture of vinegar and water. Finally, finish with a coat of furniture polish to restore shine.
Read more: How To Tell How Old A Dresser Is
Refreshing the Wood
After thoroughly cleaning the exterior of your old dresser, it’s time to give the wood a little extra TLC to bring out its natural beauty. This step will help revitalize the wood, remove any remaining stains or discoloration, and enhance its overall appearance. Here’s how to effectively refresh the wood:
- Assess the condition of the wood: Take a close look at the dresser to identify any areas that may need special attention. Look for scratches, dull patches, or areas of discoloration that may require extra care.
- Apply a wood cleaner or oil soap: Depending on the type of wood finish and the specific needs of your dresser, apply a small amount of wood cleaner or oil soap onto a soft cloth. Gently rub the product onto the wood in circular motions, focusing on the areas that require extra attention. Follow the instructions on the cleaner or soap for best results.
- Address scratches and marks: For minor scratches or scuffs, consider using a wood touch-up product that matches the color of your dresser. Apply a small amount to the affected area and blend it in with a soft cloth. For deeper scratches or gouges, consult a professional or a furniture restoration specialist for guidance.
- Remove stubborn stains or discoloration: If there are any remaining stains or discoloration on the wood, use a specialized wood stain remover. Apply the remover to a clean cloth and gently rub it onto the affected area. Allow the product to sit for the recommended time and then wipe it away with a damp cloth. Repeat the process if necessary until the stain or discoloration is significantly reduced.
- Allow the wood to dry: After treating the wood, allow it to dry completely before moving on to the next step. This will ensure that any moisture from the cleaning process evaporates, preventing damage to the wood finish.
By refreshing the wood of your old dresser, you’re not only restoring its natural beauty but also protecting and preserving it for years to come. With the wood now looking rejuvenated, it’s time to move on to the next step: cleaning the drawers to remove any dirt or odors.
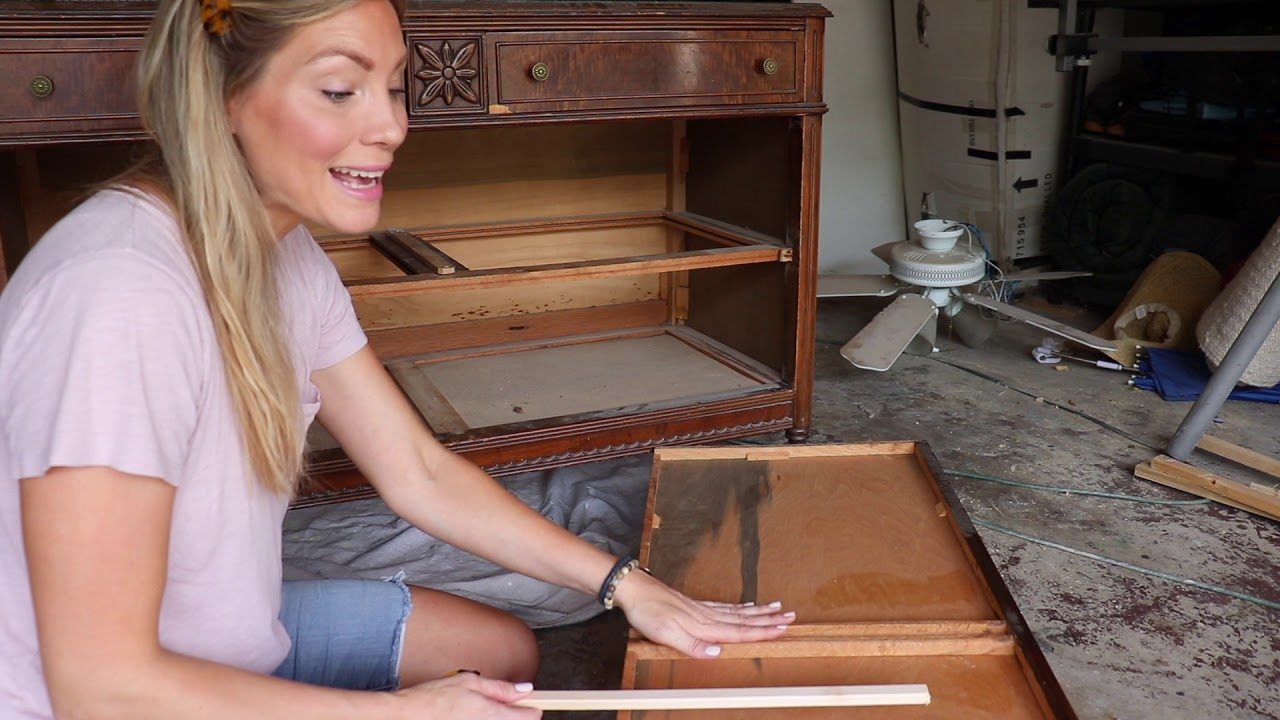
Cleaning the Drawers
Now that you have cleaned and refreshed the exterior of your old dresser, it’s important to give equal attention to the interior, specifically the drawers. Over time, drawers can accumulate dust, debris, and even odors. Here’s how to effectively clean the drawers of your dresser:
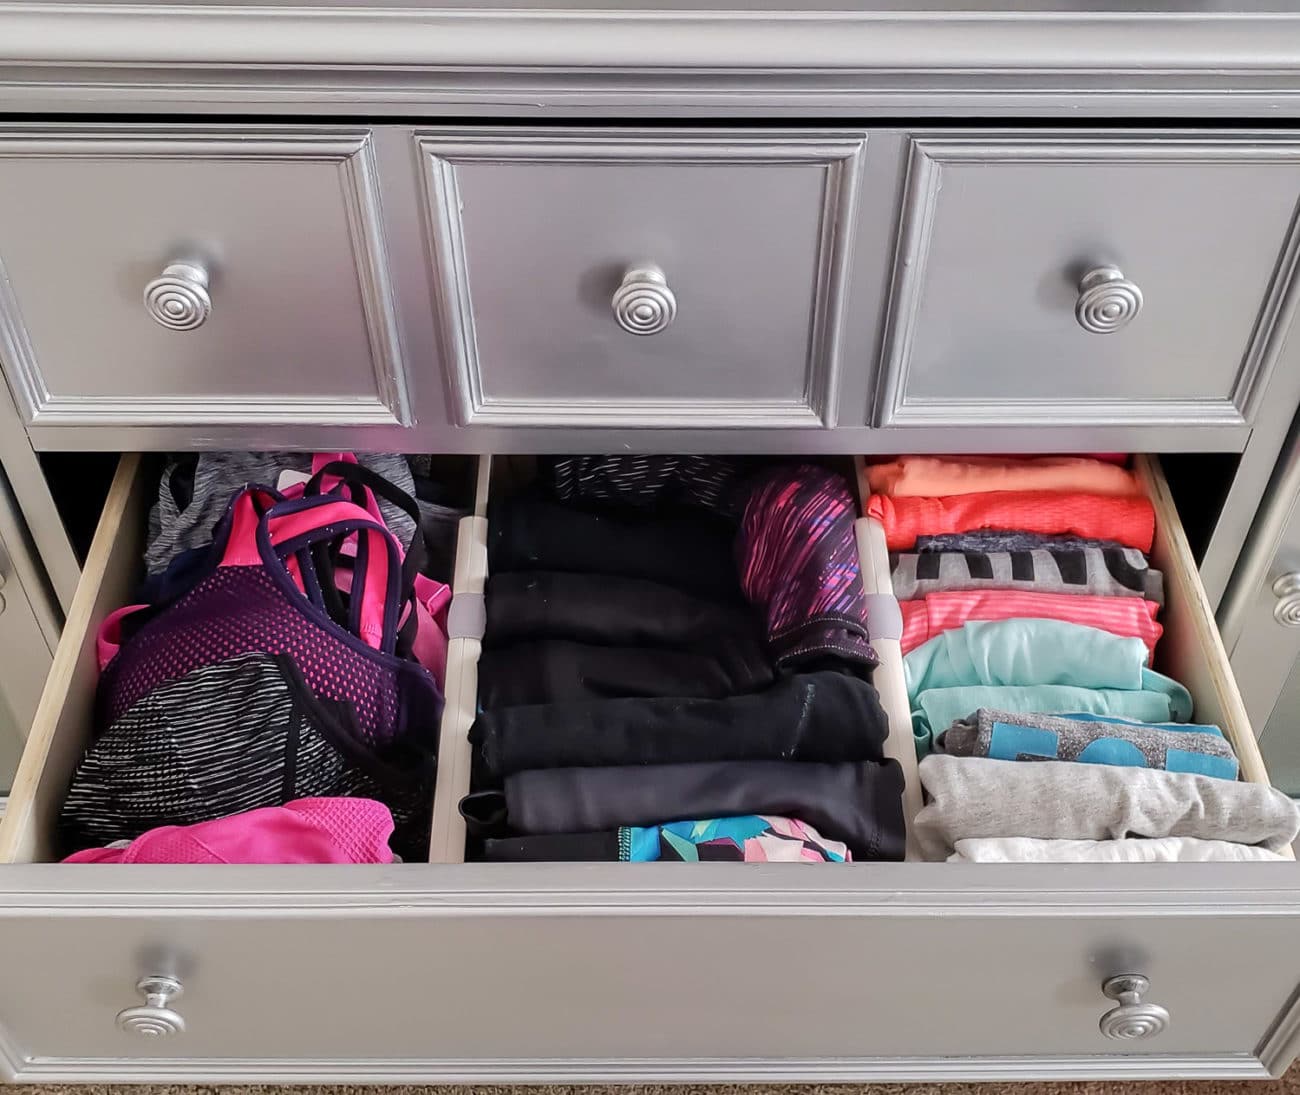
- Empty the drawers: Remove all items from the drawers and set them aside. This will make it easier to access and clean the interior of each drawer.
- Vacuum or brush out loose dirt: Use a vacuum cleaner with a brush attachment or a soft-bristle brush to gently remove any loose dirt or debris from the inside of the drawers. Pay special attention to the corners, crevices, and drawer tracks.
- Wipe down the surfaces: Dampen a soft cloth with a mild cleaning solution, such as a diluted all-purpose cleaner or a mixture of water and vinegar. Wipe down the interior surfaces of each drawer, including the bottom, sides, and front. This will help remove any remaining dirt, stains, or odors.
- Deodorize the drawers: If you notice any lingering odors in the drawers, there are a few natural methods you can try. Place a small dish of baking soda or activated charcoal inside each drawer and leave them for a few days to absorb any unpleasant smells. Alternatively, you can dab a few drops of essential oil onto a cotton ball and place it in the drawer for a fresh and pleasant scent.
- Allow the drawers to dry thoroughly: After cleaning, make sure to allow the drawers to air dry completely before placing items back inside. This will prevent any moisture from causing damage or creating musty odors.
Cleaning the drawers of your dresser not only removes dirt and odors but also ensures a clean and fresh storage space for your belongings. Once the drawers are cleaned and dry, we can move on to the next step: treating stains and discoloration that may be present on the dresser.
Treating Stains and Discoloration
Over time, old dressers can develop stains or discoloration due to various factors such as spills, exposure to sunlight, or natural wear and tear. Treating these stains and discoloration will help restore the original beauty of the dresser. Here’s how to effectively treat stains and discoloration:
- Identify the type of stain or discoloration: Before treating any stains, it’s important to determine the type of stain or discoloration you’re dealing with. Common types include water stains, ink stains, or darker patches caused by pet urine. Identifying the source of the stain will help you choose the appropriate treatment method.
- Try natural remedies: For lighter stains, you can try some gentle, natural remedies. For water stains, lightly dampen a cloth with a mixture of equal parts vinegar and water and gently rub the stained area. For ink stains, dampen a cloth with rubbing alcohol and blot the stain. Always test these remedies on a small, inconspicuous area of the dresser before applying them to the stained area.
- Use commercial stain removers: If natural remedies don’t fully remove the stain or discoloration, you can try using a commercial stain remover. Choose a product specifically designed for wood surfaces and follow the manufacturer’s instructions carefully. Apply the stain remover to a cloth and gently rub it onto the affected area, then wipe away any excess with a damp cloth.
- Address deeper stains: For deeper or more stubborn stains, you may need to use a more aggressive approach. Sanding the affected area can help remove the stain, but this should be done with caution to avoid damaging the wood. Start with a fine-grit sandpaper and sand in the direction of the wood grain. Gradually increase the grit if necessary, and finish with a finer grit to smooth out the surface.
- Consider professional help: If you’re dealing with extensive or persistent stains that you’re unable to remove, it may be best to seek professional help. Furniture restoration experts have the knowledge and tools to effectively treat and restore old dressers, ensuring optimal results.
By treating stains and discoloration, you can significantly improve the appearance of your old dresser. Remember to always work carefully and test any treatment method on a small, hidden area before applying it to the entire stained surface. With the stains and discoloration treated, we can now move on to the next step: polishing and protecting the finish of the dresser.
Polishing and Protecting the Finish
After cleaning, refreshing, and treating any stains or discoloration on your old dresser, it’s important to polish and protect the finish to ensure its longevity and enhance its overall appearance. Polishing helps to bring out the natural shine of the wood and protect it from future damage. Here’s how to effectively polish and protect the finish of your dresser:
- Choose the right furniture polish: Select a high-quality furniture polish that is specifically designed for wood surfaces. Look for a polish that does not contain silicone or wax, as these can leave behind residue and attract dust.
- Apply furniture polish: Spray a small amount of the furniture polish onto a soft microfiber cloth. Begin by gently buffing the polish onto the surface of the dresser in circular motions. Ensure that you cover the entire surface evenly, including the front, sides, and top of the dresser.
- Focus on intricate details: Pay attention to any intricate details or carvings on the dresser. Use a soft-bristle brush, a toothbrush, or a cotton swab to apply the polish to these delicate areas, ensuring that they receive proper protection.
- Remove excess polish: After applying the furniture polish, use a clean cloth to wipe away any excess product. This will prevent a sticky or greasy residue from forming on the surface of the dresser.
- Allow the polish to dry: Allow the furniture polish to dry completely before placing any items back onto the dresser. This will ensure that the finish is properly protected and prevent transfer of the polish onto belongings.
- Maintain the finish: To maintain the polished finish of your dresser, regularly dust the surface with a clean, dry microfiber cloth. Avoid using harsh chemicals or abrasive materials that can strip away the polish or scratch the surface. When necessary, periodically reapply furniture polish to keep the finish looking fresh and vibrant.
By polishing and protecting the finish of your old dresser, you’re not only enhancing its visual appeal but also prolonging its lifespan. Regular maintenance and care will help keep the wood in excellent condition for years to come. Now that your dresser is polished and protected, let’s move on to some final tips and maintenance guidelines to ensure its long-lasting beauty and functionality.
Read more: How To Fix An Old Dresser Drawers
Final Tips and Maintenance
Congratulations! You’ve successfully cleaned, refreshed, and polished your old dresser, restoring its beauty and ensuring its longevity. To keep your dresser looking its best for years to come, here are some final tips and maintenance guidelines:
- Avoid direct sunlight: Prolonged exposure to sunlight can bleach and damage the wood over time. Avoid placing your dresser in direct sunlight or use curtains or blinds to block out UV rays.
- Use coasters and protective pads: To prevent water rings, scratches, and heat damage, always use coasters or protective pads under items such as cups, glasses, and hot objects. This will help preserve the finish of your dresser.
- Dust regularly: Dust your dresser regularly with a soft, dry microfiber cloth or feather duster to prevent dirt and debris from accumulating on the surface. This simple maintenance step will help maintain its cleanliness and appearance.
- Handle with care: When opening and closing drawers, be mindful and gentle to prevent any undue stress or damage to the dresser and its mechanisms. Avoid slamming the drawers shut or overloading them with heavy items.
- Address spills immediately: If a spill occurs, quickly blot it with a clean, dry cloth to prevent it from seeping into the wood and causing staining or warping. Avoid using abrasive cleaners or excessive moisture when cleaning up spills.
- Consider periodic re-polishing: Over time, the polished finish may start to wear off. Consider reapplying furniture polish every few months to maintain the shine and protection of the wood.
- Consult a professional if necessary: If you encounter any major damage, deep scratches, or issues beyond your expertise, it’s advisable to seek professional assistance from a furniture restoration specialist. They have the knowledge and experience to address more complex repair and restoration needs.
By following these tips and performing regular maintenance, you can preserve the beauty and functionality of your old dresser for many years to come. Enjoy your beautifully restored piece of furniture!
Frequently Asked Questions about How To Clean An Old Dresser
Was this page helpful?
At Storables.com, we guarantee accurate and reliable information. Our content, validated by Expert Board Contributors, is crafted following stringent Editorial Policies. We're committed to providing you with well-researched, expert-backed insights for all your informational needs.


0 thoughts on “How To Clean An Old Dresser”