Home>Furniture & Design>Interior Design Trends>How To Fix Broken Glass

Interior Design Trends
How To Fix Broken Glass
Published: February 2, 2024
Learn how to fix broken glass and stay on top of the latest interior design trends with our expert tips and advice. Discover innovative solutions for your home.
(Many of the links in this article redirect to a specific reviewed product. Your purchase of these products through affiliate links helps to generate commission for Storables.com, at no extra cost. Learn more)
Introduction
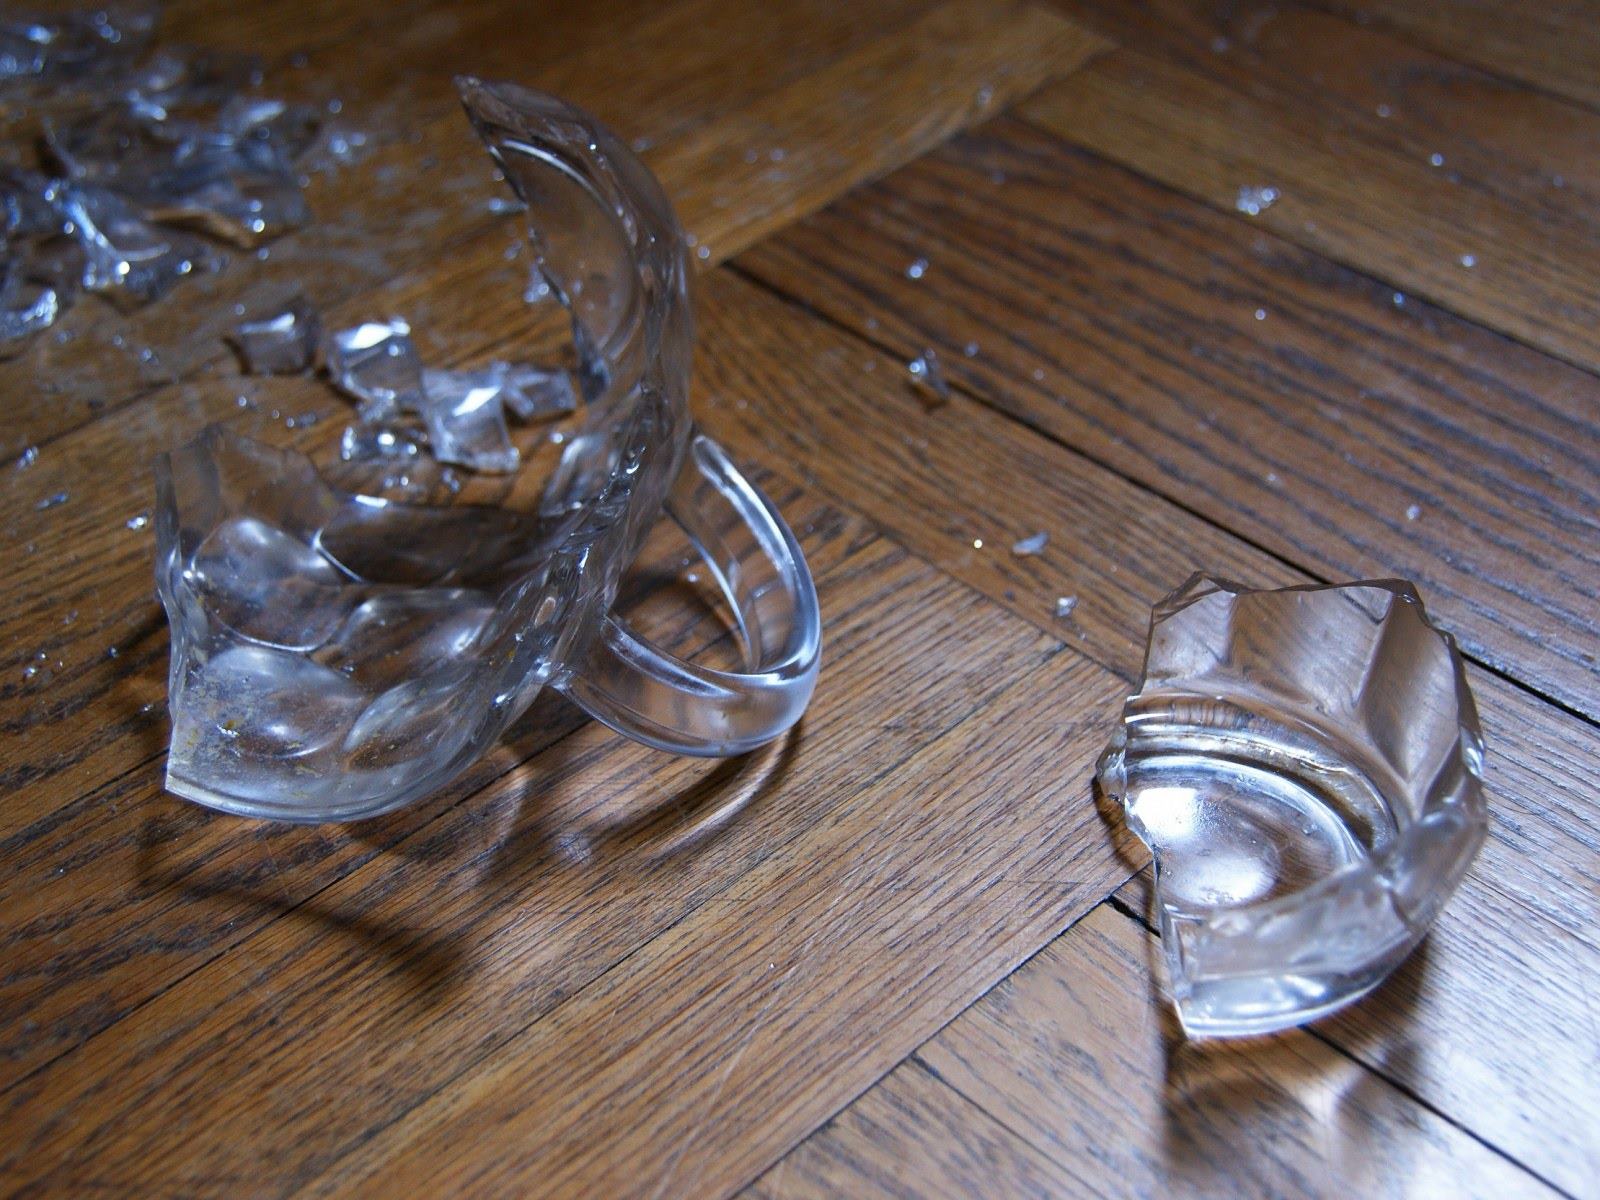
Dealing with broken glass can be a daunting task, but with the right guidance and tools, it's a repair that can be tackled successfully. Whether it's a small crack or a shattered pane, knowing how to address the issue is essential for maintaining the safety and aesthetics of your space. In this comprehensive guide, we will walk you through the step-by-step process of fixing broken glass, from assessing the damage to implementing the necessary repairs and safety precautions.
Broken glass not only poses a safety hazard but can also compromise the visual appeal of your interior. Whether it's a beloved antique mirror, a cherished picture frame, or a vital window pane, the need for repair is often urgent. By understanding the techniques and materials required for glass repair, you can restore the functionality and beauty of these items, saving both time and money in the process.
Throughout this guide, we will cover various scenarios, from minor cracks and chips to larger shattered sections, providing detailed instructions for each situation. By the end of this journey, you will have the knowledge and confidence to address broken glass issues effectively, ensuring a safe and aesthetically pleasing environment for yourself and others.
So, roll up your sleeves and get ready to embark on a glass repair adventure. With the right approach and a willingness to learn, you'll soon be equipped with the skills needed to tackle broken glass with ease and precision. Let's dive into the world of glass repair and restore the beauty and safety of your interior spaces.
Key Takeaways:
- Don’t let broken glass shatter your day! Assess, gather materials, and follow step-by-step instructions to repair small cracks and chips, ensuring a safe and beautiful interior.
- For larger broken sections, prioritize safety, measure accurately, and secure replacement glass with precision. Finish with thorough cleaning and ongoing maintenance for a seamless and durable outcome.
Read more: How To Dispose Of Broken Glass
Assessing the Damage
Before diving into the repair process, it's crucial to thoroughly assess the extent of the damage to the glass. This initial step sets the foundation for the subsequent repair approach, ensuring that the appropriate methods and materials are employed for a successful outcome.
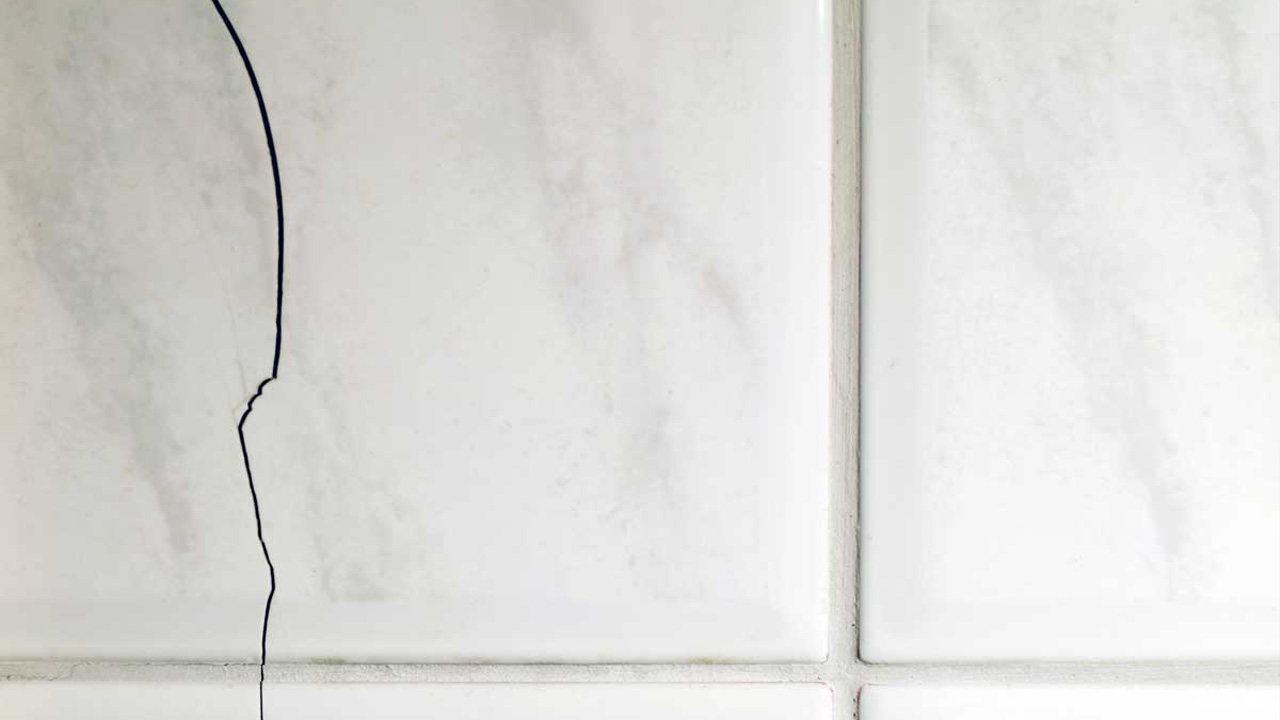
Small Cracks and Chips
For small cracks and chips, start by carefully examining the affected area. Look for any splintered edges, as these can indicate the point of impact and help determine the direction of the damage. It's essential to assess whether the crack is superficial or if it extends through the entire thickness of the glass. Additionally, check for any loose glass particles around the damaged area, as these may need to be carefully removed before proceeding with the repair.
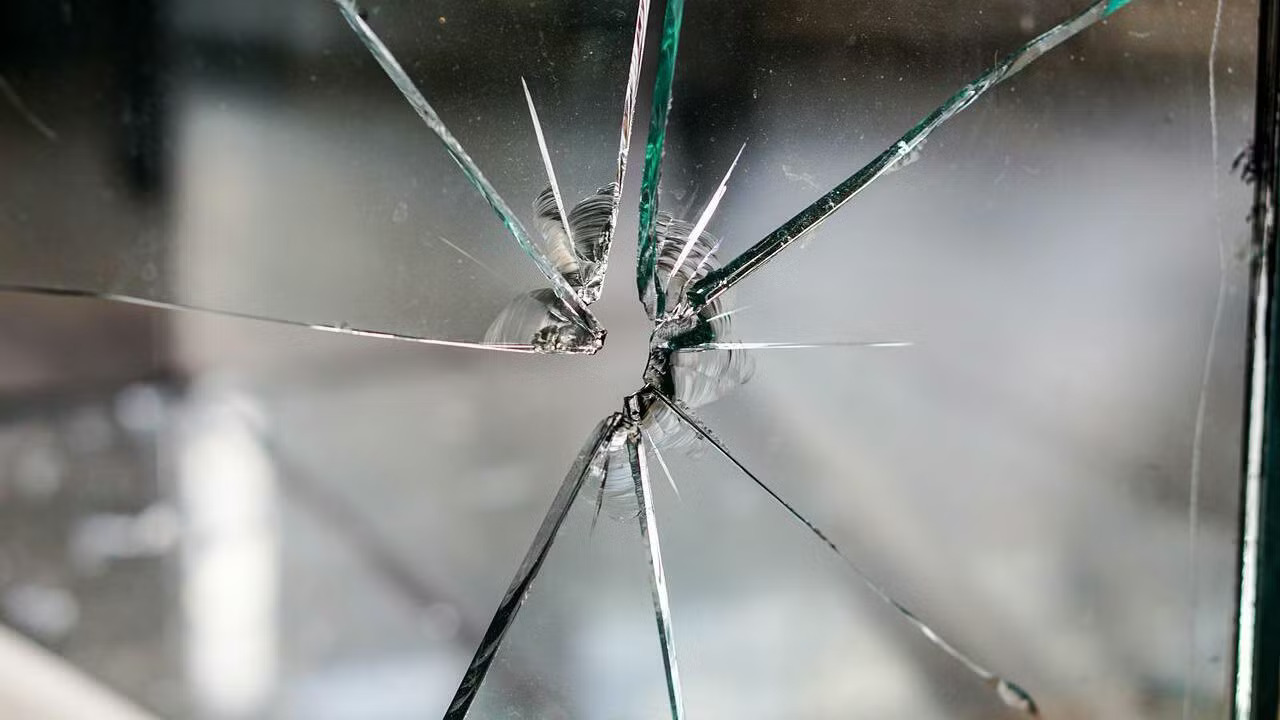
Shattered Panes and Larger Breaks
In the case of shattered panes or larger breaks, a more comprehensive assessment is required. Begin by evaluating the size and distribution of the shattered pieces. Take note of any sharp protrusions or jagged edges that may pose a safety risk. It's important to assess whether the frame or surrounding structure has been impacted, as this can influence the stability of the glass and the approach to its replacement.
Environmental Factors
Consider environmental factors that may have contributed to the damage. For instance, extreme temperature fluctuations or structural stress can exacerbate existing cracks or lead to spontaneous breakage. Understanding the environmental context in which the damage occurred can provide valuable insights into preventing future incidents and selecting appropriate repair materials.
Read more: How To Glue Broken Glass
Documentation
Document the damage through photographs or detailed descriptions. This documentation serves as a reference point throughout the repair process, allowing for a clear comparison between the initial damage and the final outcome. It can also be valuable for insurance claims or professional consultations, providing a comprehensive visual record of the glass's condition.
By meticulously assessing the damage, you lay the groundwork for a targeted and effective repair strategy. This proactive approach ensures that the subsequent repair steps are tailored to the specific nature of the damage, setting the stage for a successful restoration of the glass's integrity and visual appeal.
Gathering the Necessary Materials
Before embarking on the repair process, it's essential to gather the necessary materials to ensure a smooth and efficient restoration of the broken glass. Equipping yourself with the right tools and supplies not only streamlines the repair process but also contributes to the overall quality and longevity of the repair. Here's a comprehensive list of materials you'll need to address various types of glass damage:
For Small Cracks and Chips:
-
Safety Gear: Prioritize safety by wearing protective gloves and safety goggles to shield yourself from potential glass shards and debris.
-
Cleaning Supplies: Prepare a mild glass cleaner and lint-free cloths to thoroughly clean the damaged area before commencing the repair. This ensures that the adhesive or filler adheres effectively to the glass surface.
-
Glass Repair Kit: Invest in a quality glass repair kit containing resin, curing strips, and a curing light. These kits are specifically designed to address small cracks and chips, providing the necessary materials for a professional-grade repair.
-
Razor Blade or Scraper: Use a razor blade or scraper to carefully remove any loose glass particles or debris from the damaged area. This step is crucial for creating a clean and smooth surface for the repair materials to adhere to.
For Replacing Larger Broken Sections:
-
Safety Equipment: As with small cracks and chips, safety goggles and gloves are essential when handling larger broken sections of glass. Additionally, consider using protective footwear and clothing to minimize the risk of injury from sharp edges.
-
Measuring Tools: Accurately measure the dimensions of the broken glass to ensure a precise replacement. A tape measure and a straight edge can aid in obtaining the correct size for the replacement glass.
-
Replacement Glass: Acquire a piece of glass that matches the specifications of the original, taking into account factors such as thickness, transparency, and any specific design features. Many hardware stores or glass suppliers offer custom cutting services to provide a tailored replacement.
-
Glass Cutter and Glass Pliers: If the replacement glass needs to be trimmed to fit the frame or opening, a glass cutter and pliers are essential for achieving clean and accurate cuts.
-
Adhesive or Glazing Compound: Depending on the type of frame or installation, you may need an appropriate adhesive or glazing compound to secure the replacement glass in place. Ensure that the chosen adhesive is compatible with the frame material and provides a strong and durable bond.
By gathering these essential materials, you set the stage for a successful glass repair, whether you're addressing small cracks and chips or replacing larger broken sections. With the right tools and supplies at your disposal, you can approach the repair process with confidence and precision, ultimately restoring the functionality and aesthetics of the damaged glass.
Read more: How To Fix A Broken Thermostat
Repairing Small Cracks and Chips
Repairing small cracks and chips in glass requires precision and attention to detail. By following the steps outlined below, you can effectively restore the integrity and visual appeal of the damaged glass.
Step 1: Safety First
Before commencing the repair, prioritize safety by wearing protective gloves and safety goggles. These essential safety measures shield you from potential glass shards and debris, ensuring a secure working environment.
Step 2: Thorough Cleaning
Prepare a mild glass cleaner and lint-free cloths to thoroughly clean the damaged area. Removing any dirt, dust, or residue from the crack or chip is crucial, as it allows the adhesive or filler to adhere effectively to the glass surface.
Step 3: Utilize a Glass Repair Kit
Invest in a quality glass repair kit containing resin, curing strips, and a curing light. These specialized kits are designed to address small cracks and chips, providing the necessary materials for a professional-grade repair. Follow the instructions provided with the kit for optimal results.
Read more: When Broken Glass Floats
Step 4: Application of Repair Materials
Carefully apply the resin from the repair kit to the damaged area, ensuring that it fills the entire crack or chip. Use a curing strip to cover the resin and then expose it to the curing light as per the kit's instructions. This process facilitates the hardening of the resin, effectively sealing the crack or chip.
Step 5: Finishing Touches
Once the resin has cured, use a razor blade or scraper to remove any excess material and achieve a smooth surface. A final round of cleaning with the glass cleaner and a lint-free cloth will ensure that the repaired area blends seamlessly with the surrounding glass.
By following these steps, you can successfully repair small cracks and chips in glass, restoring its structural integrity and visual appeal. This approach not only addresses the immediate damage but also contributes to the long-term durability of the glass, ensuring a lasting and professional-quality repair.
Replacing Larger Broken Sections
When faced with the task of replacing larger broken sections of glass, a meticulous approach and the right tools are essential for achieving a seamless and secure restoration. Whether it's a shattered window pane or a sizable glass tabletop, the following steps outline the process of replacing larger broken sections with precision and confidence.
Step 1: Safety Precautions
Prioritize safety by wearing protective gloves, safety goggles, and, if necessary, protective footwear and clothing. Handling larger broken sections of glass poses an increased risk of injury from sharp edges and protruding shards. By equipping yourself with the appropriate safety gear, you create a secure working environment for the replacement process.
Read more: How To Throw Away Broken Glass
Step 2: Accurate Measurement
Begin by accurately measuring the dimensions of the broken glass section. Use a tape measure and a straight edge to obtain precise measurements, ensuring that the replacement glass will fit the intended space with minimal adjustments. Take into account factors such as thickness, transparency, and any specific design features to ensure a seamless replacement.
Step 3: Acquiring Replacement Glass
Acquire a piece of glass that matches the specifications of the original, based on the measurements obtained. Many hardware stores or glass suppliers offer custom cutting services to provide a tailored replacement. It's essential to select glass that aligns with the visual and functional requirements of the space, ensuring a harmonious integration with the surrounding environment.
Step 4: Trimming and Fitting
If the replacement glass needs to be trimmed to fit the frame or opening, a glass cutter and glass pliers are essential tools for achieving clean and accurate cuts. Carefully trim the glass to match the required dimensions, ensuring a precise fit within the designated space. Take your time during this step to avoid unnecessary errors and ensure a seamless installation.
Step 5: Securing the Replacement
Depending on the type of frame or installation, select an appropriate adhesive or glazing compound to secure the replacement glass in place. Ensure that the chosen adhesive is compatible with the frame material and provides a strong and durable bond. Follow the manufacturer's instructions for the application of the adhesive, ensuring a secure and long-lasting attachment of the replacement glass.
By following these steps, you can effectively replace larger broken sections of glass, restoring the functionality and aesthetic appeal of the affected space. This meticulous approach not only addresses the immediate damage but also contributes to the long-term durability and safety of the glass installation.
Read more: How To Pick Up Broken Glass
Finishing Touches and Safety Precautions
After completing the repair or replacement of broken glass, attention to finishing touches and safety precautions is crucial to ensure a successful and secure outcome. This final phase of the glass repair process encompasses meticulous details and safety measures that contribute to the overall integrity and longevity of the repair.
Cleaning and Inspection
Once the repair or replacement is in place, thoroughly clean the glass surface to remove any residual adhesive, fingerprints, or debris. Utilize a mild glass cleaner and lint-free cloths to achieve a pristine finish, ensuring that the repaired or replaced area seamlessly blends with the surrounding glass. This meticulous cleaning not only enhances the visual appeal of the glass but also contributes to the longevity of the repair by eliminating potential contaminants that could compromise the adhesive bond or the overall aesthetics.
Following the cleaning process, conduct a comprehensive inspection of the repaired or replaced glass. Carefully examine the area for any irregularities, such as protruding adhesive, uneven surfaces, or visible imperfections. Address any issues promptly, as rectifying minor discrepancies at this stage can prevent potential complications and ensure a polished and professional finish.
Safety Precautions
Prioritize safety throughout the finishing touches phase by adhering to essential precautions. When handling repaired or replaced glass, continue to wear protective gloves and safety goggles to minimize the risk of injury from sharp edges or residual debris. Additionally, exercise caution when maneuvering the glass to avoid accidental damage or personal harm.
If the repair involved the use of adhesives or curing agents, ensure that the workspace is well-ventilated to mitigate exposure to fumes. Proper ventilation not only safeguards your health but also facilitates the curing process of the repair materials, contributing to their optimal performance and longevity.
Documentation and Aftercare
Document the completed repair or replacement through photographs or detailed notes. This documentation serves as a valuable reference for future maintenance and inspections, providing a visual record of the glass's condition post-repair. Additionally, consider implementing a regular maintenance schedule to monitor the integrity of the repaired or replaced glass, ensuring that it remains in optimal condition over time.
By meticulously attending to finishing touches and safety precautions, you can elevate the quality and durability of the glass repair or replacement, ultimately contributing to a safe, visually appealing, and long-lasting outcome. This conscientious approach ensures that the repaired or replaced glass seamlessly integrates into its environment, providing both functional and aesthetic value for years to come.
Read more: How To Fix A Broken Outdoor Umbrella
Conclusion
In conclusion, addressing broken glass within interior spaces requires a combination of meticulous assessment, strategic planning, and precise execution. Whether dealing with small cracks and chips or replacing larger shattered sections, the process of glass repair demands a careful balance of technical expertise and attention to detail. By following the comprehensive steps outlined in this guide, individuals can confidently navigate the challenges of glass repair, ultimately restoring the safety and visual appeal of their interior environments.
The journey of glass repair begins with a thorough assessment of the damage, allowing for a targeted and effective approach to the subsequent repair or replacement. Understanding the nature and extent of the damage sets the stage for informed decision-making and ensures that the appropriate materials and techniques are employed.
Gathering the necessary materials is a critical preparatory step that equips individuals with the tools and supplies needed to address various types of glass damage. From safety gear to specialized repair kits and replacement glass, having the right materials at hand streamlines the repair process and contributes to the overall quality and longevity of the restoration.
When it comes to repairing small cracks and chips, precision and attention to detail are paramount. Following a series of meticulous steps, including thorough cleaning, application of repair materials, and finishing touches, individuals can effectively restore the integrity and visual appeal of the damaged glass, contributing to its long-term durability.
Similarly, the process of replacing larger broken sections demands a meticulous approach, from accurate measurement and acquisition of replacement glass to precise trimming, fitting, and secure attachment. By adhering to these detailed steps, individuals can seamlessly integrate the replacement glass, ensuring a safe and visually cohesive outcome.
The final phase of the glass repair process encompasses finishing touches and safety precautions, emphasizing the importance of meticulous cleaning, comprehensive inspection, and ongoing maintenance. By attending to these critical details, individuals can elevate the quality and durability of the glass repair or replacement, ultimately contributing to a safe, visually appealing, and long-lasting outcome.
In essence, the journey of glass repair is a testament to the transformative power of strategic planning, technical expertise, and a meticulous approach. By embracing the guidance provided in this comprehensive guide, individuals can navigate the challenges of glass repair with confidence, ultimately restoring the safety and aesthetic integrity of their interior spaces.
Frequently Asked Questions about How To Fix Broken Glass
Was this page helpful?
At Storables.com, we guarantee accurate and reliable information. Our content, validated by Expert Board Contributors, is crafted following stringent Editorial Policies. We're committed to providing you with well-researched, expert-backed insights for all your informational needs.
0 thoughts on “How To Fix Broken Glass”