Home>Home Appliances>Laundry Appliances>How To Fix A Broken Ironing Board
Laundry Appliances
How To Fix A Broken Ironing Board
Modified: October 18, 2024
Learn how to easily fix a broken ironing board with our step-by-step guide. Keep your laundry appliances in top condition with our expert tips.
(Many of the links in this article redirect to a specific reviewed product. Your purchase of these products through affiliate links helps to generate commission for Storables.com, at no extra cost. Learn more)
Introduction
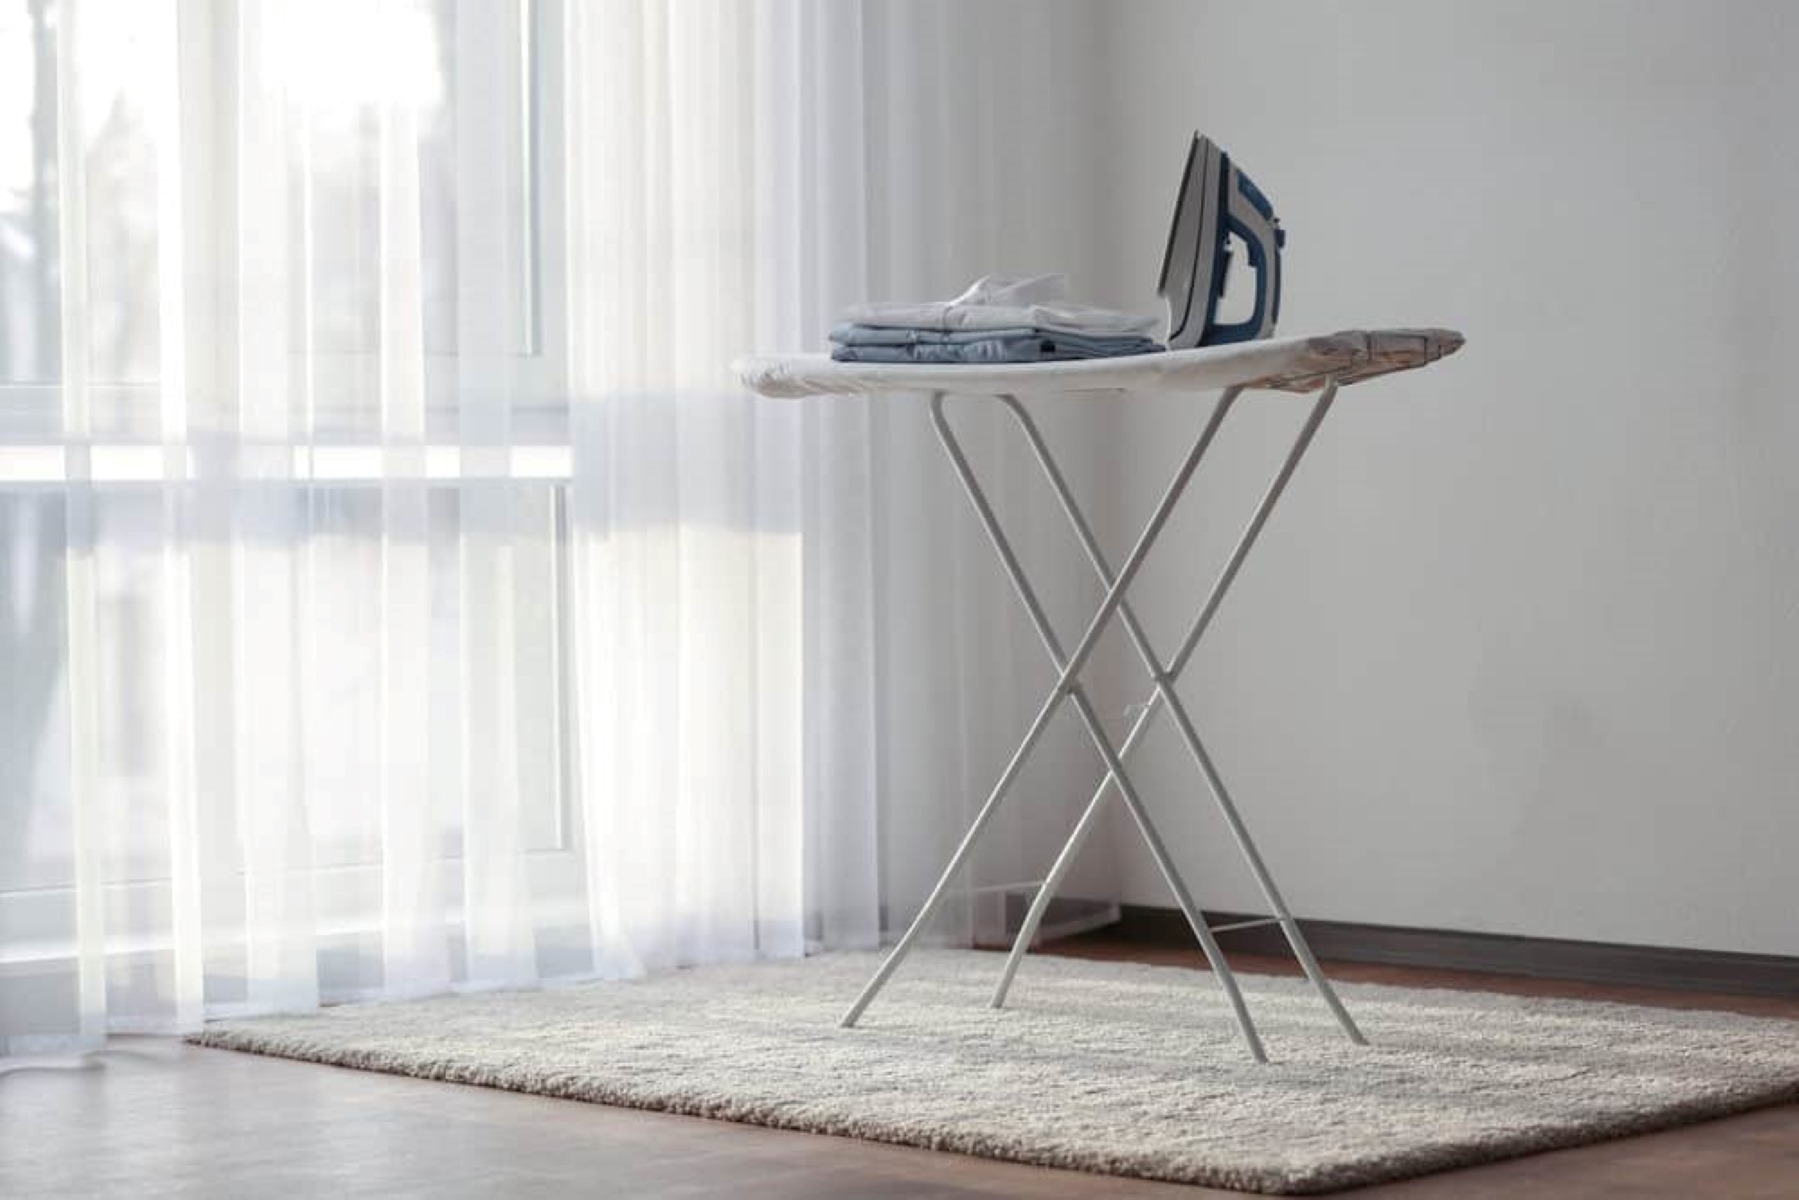
A broken ironing board can be a frustrating inconvenience, disrupting the flow of household chores and leaving you with a wrinkled pile of clothes. However, before you rush to replace the entire ironing board, it's worth considering the option of repairing it. Not only is this a cost-effective solution, but it also allows you to breathe new life into a familiar household item.
In this comprehensive guide, we will walk you through the step-by-step process of fixing a broken ironing board. Whether it's a wobbly leg, a damaged cover, or a loose hinge, we've got you covered. By following these instructions, you can restore your ironing board to its former sturdy and reliable state, saving both time and money in the process.
So, roll up your sleeves and get ready to embark on a rewarding DIY journey. With a few simple tools and a bit of patience, you'll soon have your ironing board back in action, ready to tackle those stubborn wrinkles and creases. Let's dive into the process of reviving your trusty ironing board and reclaiming its rightful place as a valuable asset in your laundry routine.
Key Takeaways:
- Don’t rush to replace a broken ironing board! With the right tools and a bit of patience, you can repair it yourself, saving time and money while giving new life to a valuable household item.
- Assess, repair, reinforce, and test your ironing board to ensure it’s sturdy and reliable. Embrace the DIY journey, celebrate your resourcefulness, and enjoy the satisfaction of restoring a familiar tool.
Read more: How To Fold The Ironing Board
Step 1: Assess the damage
Before diving into the repair process, it's crucial to thoroughly assess the extent of the damage to your ironing board. This initial step sets the stage for a successful repair, ensuring that all issues are identified and addressed effectively.
Start by examining the structural integrity of the ironing board. Check for any wobbling or instability when it's set up for use. If the board wobbles or feels unsteady, it's likely that one or more of the legs or support mechanisms are compromised. Next, inspect the fabric cover for any tears, burns, or signs of wear and tear. A damaged cover not only affects the board's appearance but also compromises its functionality.
Additionally, pay close attention to the hinges and locking mechanisms. These components are essential for maintaining the board's stability and ensuring safe usage. If any hinges are loose, bent, or broken, they will need to be addressed during the repair process.
Take note of any other visible damage, such as dents, cracks, or splintered wood. These issues can weaken the overall structure of the ironing board, potentially leading to further damage if left unattended.
By conducting a thorough assessment, you'll gain a clear understanding of the specific areas that require attention. This targeted approach will streamline the repair process, allowing you to focus on addressing the identified issues with precision and efficiency.
Remember, a comprehensive assessment is the foundation for a successful repair. By taking the time to evaluate the damage upfront, you'll be better equipped to tackle each issue methodically, ultimately restoring your ironing board to its optimal condition.
Step 2: Gather necessary tools and materials
Before delving into the repair process, it's essential to gather the necessary tools and materials to ensure a smooth and efficient restoration of your ironing board. Having the right equipment at your disposal will empower you to address the identified issues with precision and confidence. Here's a comprehensive list of tools and materials you'll need for the repair:
Tools:
- Screwdriver set: A versatile screwdriver set with various head types (flathead, Phillips, etc.) will enable you to disassemble and reassemble different components of the ironing board.
- Pliers: Both needle-nose and standard pliers will come in handy for gripping, bending, and manipulating small components during the repair process.
- Hammer: A lightweight hammer can be used to gently tap and adjust metal components, such as hinges and support brackets.
- Sanding block: If the wooden frame of the ironing board requires smoothing or minor repairs, a sanding block will be essential for this task.
- Utility knife: A sharp utility knife will aid in cutting and trimming the replacement fabric cover to the appropriate size.
Materials:
- Replacement fabric cover: If the existing cover is damaged, obtaining a new fabric cover is essential for restoring the functionality and appearance of the ironing board.
- Wood glue: High-quality wood glue will be necessary for repairing any cracks, splits, or loose joints in the wooden frame of the ironing board.
- Replacement screws and bolts: Depending on the specific issues identified during the assessment, having a selection of replacement screws and bolts in various sizes will ensure that you have the right hardware for the job.
- Sandpaper: If the wooden frame requires minor repairs or refinishing, sandpaper of varying grits will be essential for this task.
- Fabric scissors: Precision fabric scissors will facilitate the cutting and shaping of the replacement fabric cover, ensuring a neat and professional finish.
By assembling these tools and materials before commencing the repair, you'll be well-prepared to tackle each aspect of the restoration process effectively. This proactive approach minimizes interruptions and ensures that you can proceed with the repair seamlessly, ultimately bringing your ironing board one step closer to its former reliable and sturdy state.
Read more: How To Fix A Broken Thermostat
Step 3: Repair the broken parts
With a comprehensive assessment completed and the necessary tools and materials at your disposal, it's time to roll up your sleeves and commence the repair process. This step focuses on addressing the specific issues identified during the assessment, targeting each broken or compromised part of the ironing board with precision and care.
Repairing the Wooden Frame:
If the wooden frame of the ironing board exhibits cracks, splits, or weakened joints, it's essential to address these issues to restore the structural integrity of the board. Begin by applying high-quality wood glue to any visible cracks or splits, ensuring thorough coverage of the affected areas. Use clamps to hold the glued sections together firmly, allowing sufficient time for the glue to set and bond the wood effectively. Once the glue has cured, any excess can be carefully trimmed and sanded to achieve a smooth and seamless finish.
Replacing the Fabric Cover:
For a damaged or worn fabric cover, the replacement process is straightforward yet impactful. Start by removing the old fabric cover, taking care to note its original positioning and dimensions. Once the old cover is removed, lay the new fabric cover over the ironing board, ensuring a snug and even fit. Secure the new cover in place, using a staple gun to affix it along the edges of the board, maintaining a taut and wrinkle-free surface. Trim any excess fabric as needed, ensuring a neat and professional appearance.
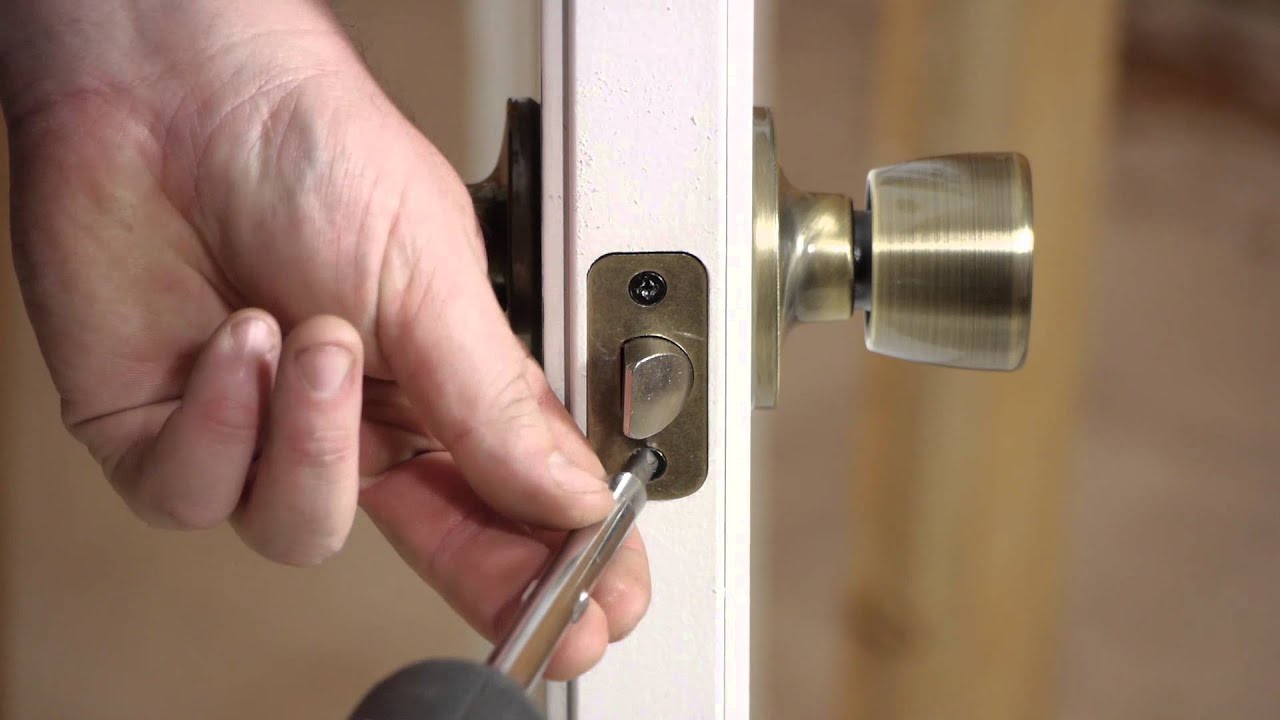
Addressing Loose Hinges and Support Mechanisms:
Loose hinges and support mechanisms can compromise the stability and functionality of the ironing board. To address this issue, carefully inspect each hinge and support bracket, tightening any loose screws or bolts using a suitable screwdriver. If any components are damaged beyond repair, replacing them with new hinges and support mechanisms will ensure the board's stability and longevity.
Read more: How To Store Ironing Board
Reinforcing Weak Areas:
In addition to addressing specific broken parts, reinforcing weak areas of the ironing board is crucial for preventing future damage. This can be achieved by adding additional support brackets or braces to areas that experience the most stress during use. By strategically reinforcing weak spots, you can enhance the overall durability and resilience of the ironing board, prolonging its lifespan and usability.
By methodically repairing each broken part and reinforcing weak areas, you'll breathe new life into your ironing board, restoring it to a sturdy and reliable state. With the repair process completed, it's time to put the ironing board to the test and ensure that it's ready to tackle the next laundry day with confidence and efficiency.
Step 4: Reinforce weak areas
Reinforcing weak areas of the ironing board is a critical step in ensuring its long-term stability and durability. By strategically adding support and reinforcement to vulnerable sections, you can significantly enhance the overall strength and resilience of the board, minimizing the risk of future damage and prolonging its usability.
One effective method for reinforcing weak areas is to add additional support brackets or braces to the underside of the ironing board. These brackets can be strategically positioned in areas that experience the most stress during use, such as the center of the board where the most pressure is applied during ironing. By securing these support brackets with screws or bolts, you can distribute the weight and pressure more evenly across the board, reducing the likelihood of warping or structural compromise.
Another approach to reinforcing weak areas involves evaluating the overall design and identifying opportunities for structural enhancement. This may include adding cross-bracing between the legs of the ironing board to increase lateral stability, or incorporating additional reinforcement along the edges where the fabric cover is secured. By addressing these weak points, you can fortify the entire framework of the ironing board, creating a more robust and reliable structure.
In some cases, reinforcing weak areas may also involve replacing worn or damaged components with sturdier alternatives. This could include upgrading the existing support mechanisms with heavier-duty hinges and brackets, or replacing any compromised hardware with more resilient options. By investing in high-quality replacement parts, you can elevate the overall strength and stability of the ironing board, ensuring that it can withstand the demands of regular use without succumbing to wear and tear.
Furthermore, reinforcing weak areas presents an opportunity to customize the ironing board to better suit your specific needs and preferences. Whether it's adding adjustable legs to accommodate uneven flooring or installing a retractable iron rest for added convenience, these enhancements can contribute to a more functional and user-friendly ironing experience.
By reinforcing weak areas, you are not only addressing existing vulnerabilities but also proactively fortifying the ironing board against potential future issues. This proactive approach ensures that your repaired ironing board is equipped to handle the rigors of everyday use, providing a reliable and stable platform for all your ironing needs.
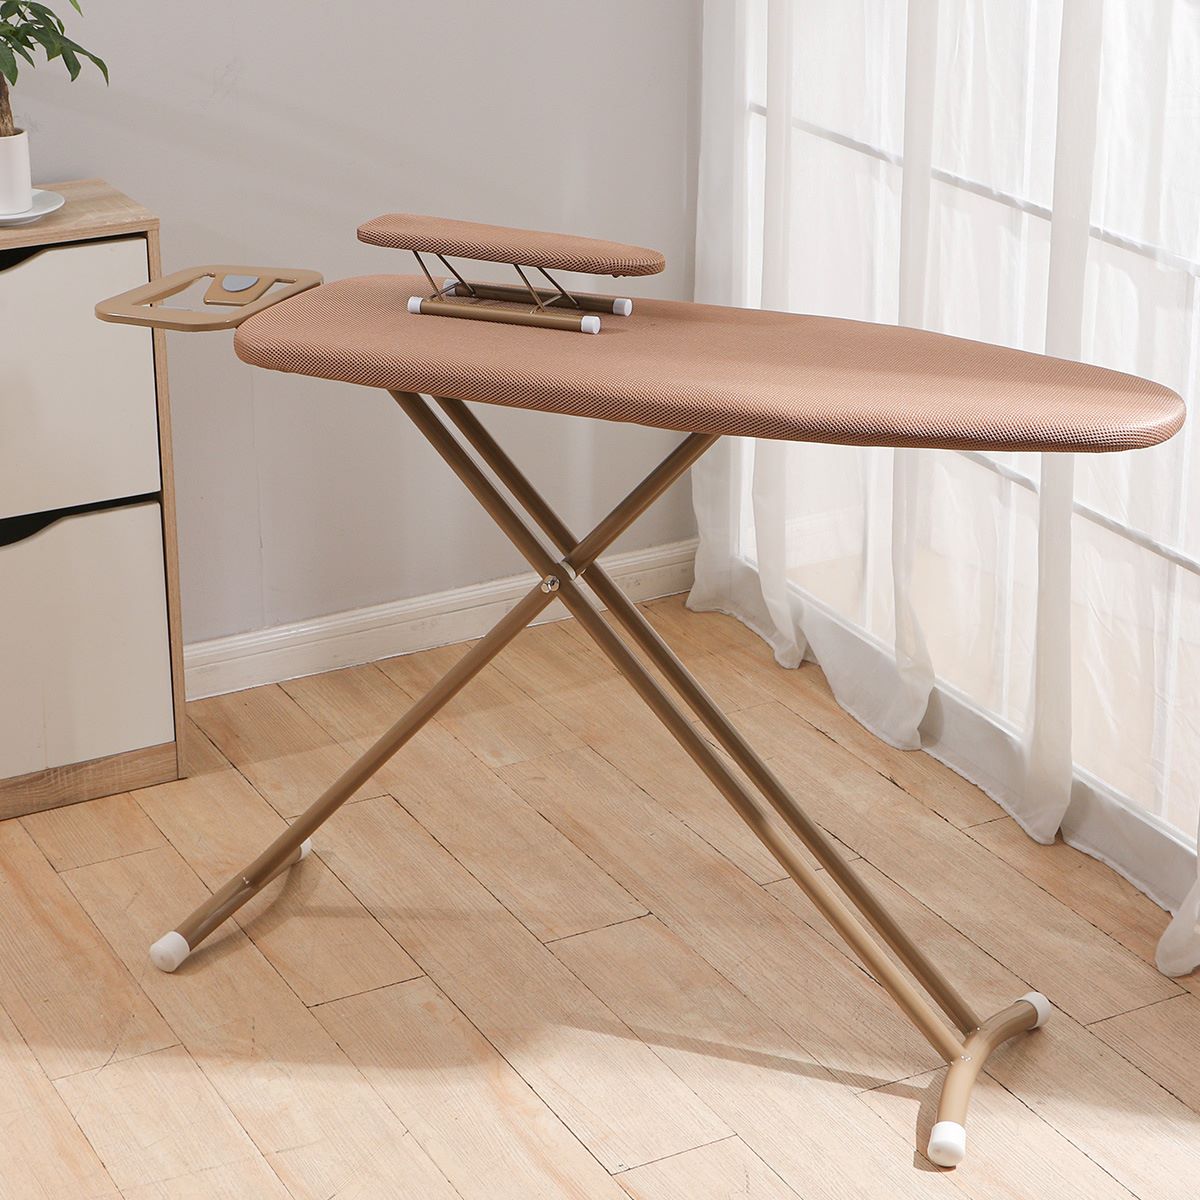
Step 5: Test the ironing board
With the repair process completed and the necessary reinforcements in place, it's time to put the ironing board to the test. This crucial step ensures that all the repairs and enhancements have effectively restored the board to its optimal functionality and stability. By conducting a thorough testing process, you can gain confidence in the reliability of your repaired ironing board and verify that it's ready to tackle the demands of your next ironing session.
Begin by setting up the ironing board in its designated workspace, ensuring that it is positioned on a level surface. As you unfold the board, pay close attention to the stability and sturdiness of its structure. Check for any wobbling or unevenness, particularly in areas that were previously identified as weak or compromised. By visually inspecting the board's overall stability, you can assess the immediate impact of the repairs and reinforcements.
Next, engage the locking mechanisms and hinges to verify their functionality. Test the locking mechanism to ensure that it securely holds the ironing board in the desired position without any slippage or instability. Similarly, open and close the board multiple times to assess the smooth operation of the hinges, confirming that they provide reliable support without any signs of strain or weakness.
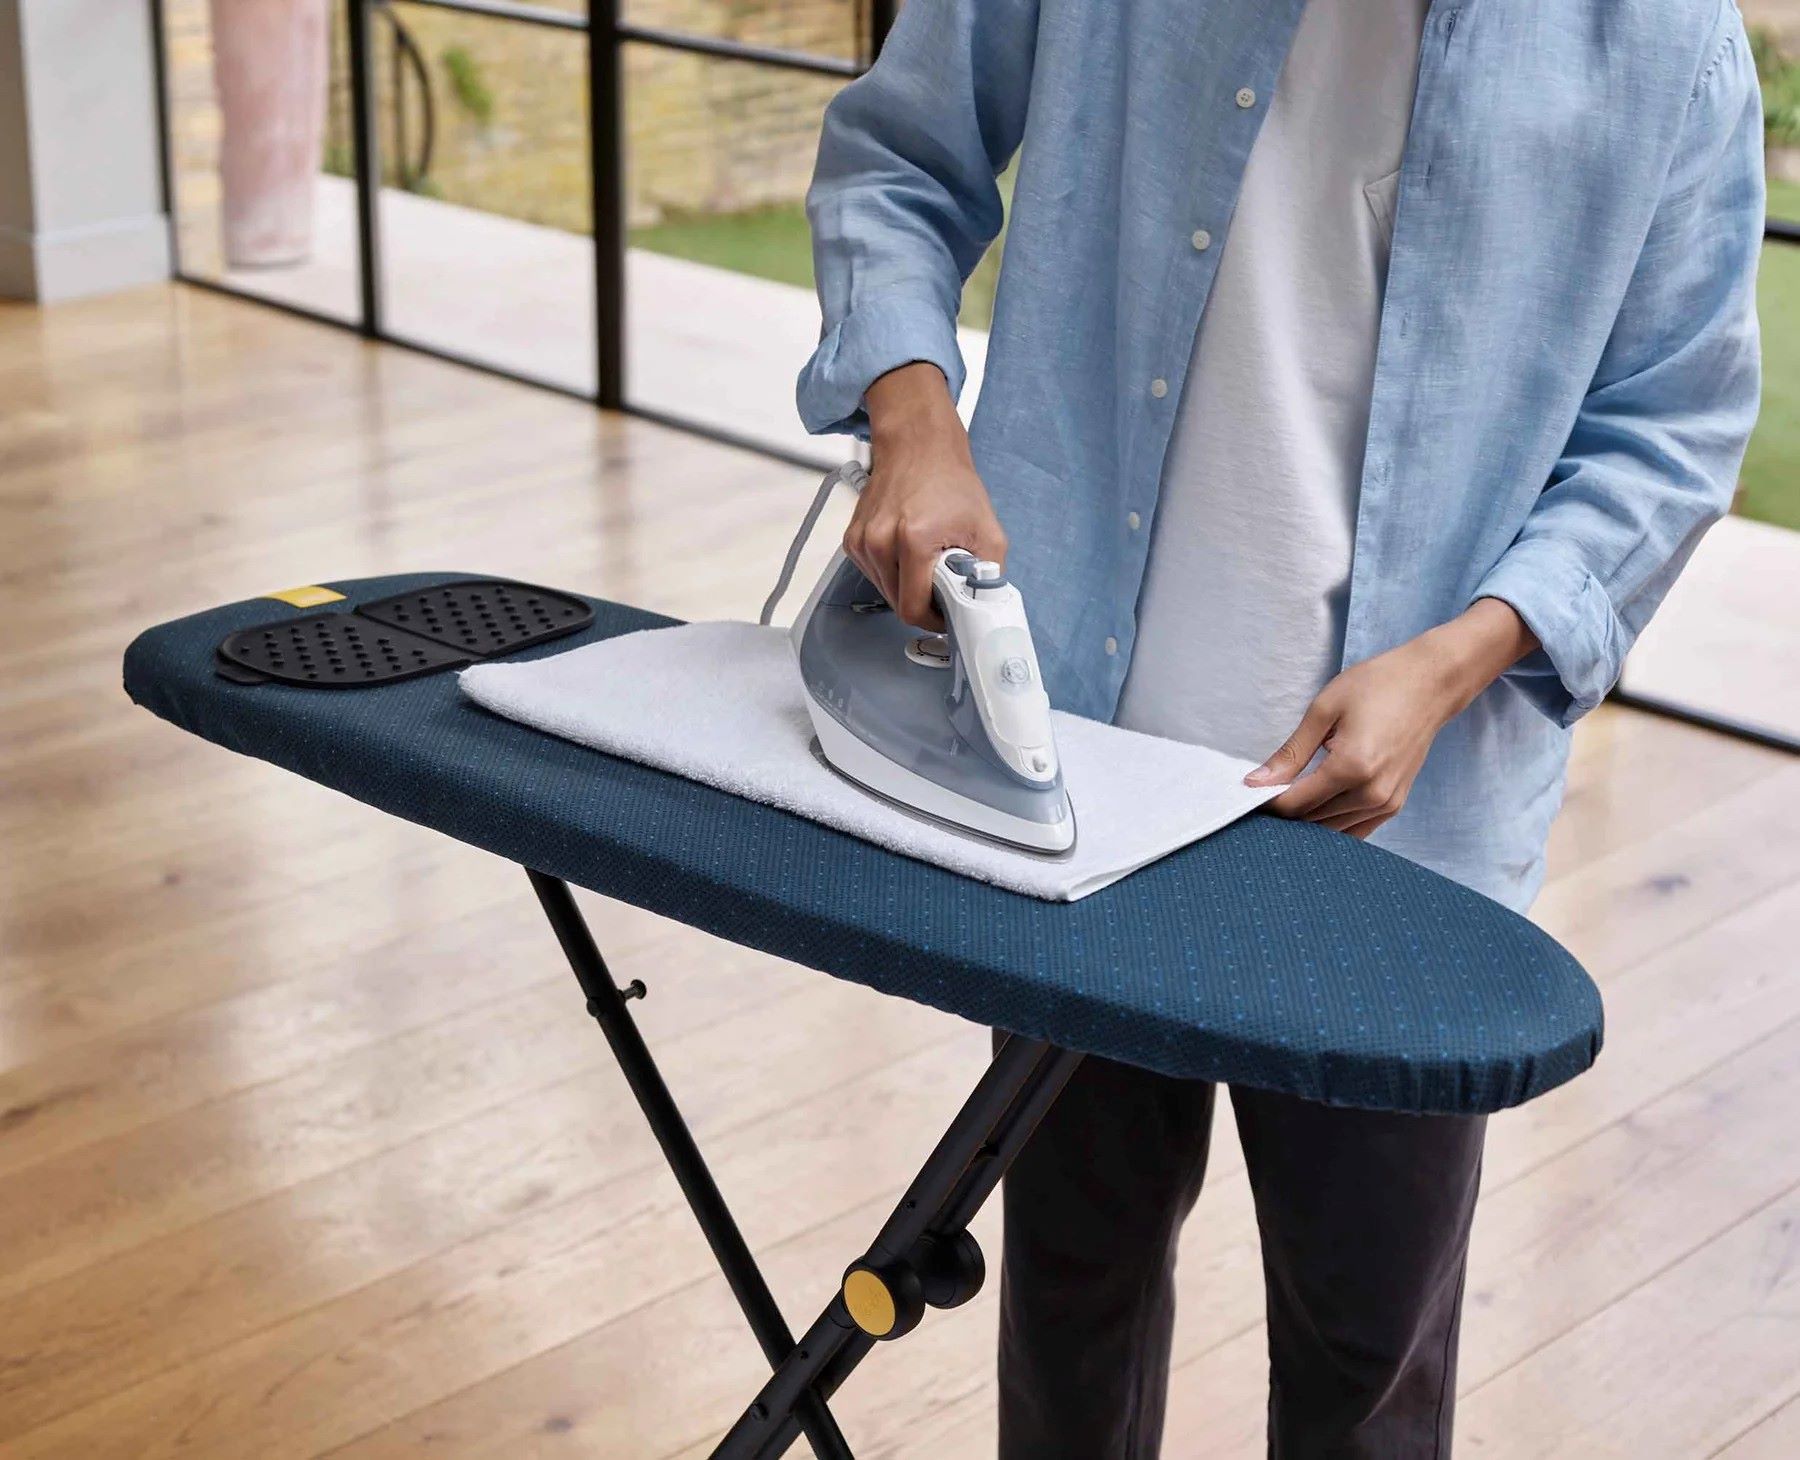
Once the structural integrity and operational functionality have been confirmed, it's time to evaluate the fabric cover. Lay out a piece of fabric or a garment on the ironing board, simulating a typical ironing task. Run your hands over the fabric cover, checking for any unevenness, wrinkles, or sagging. The fabric cover should provide a smooth and taut surface for ironing, facilitating effortless gliding of the iron and ensuring optimal results.
As a final test, apply gentle pressure to different areas of the ironing board, mimicking the force exerted during ironing. This allows you to assess the board's resilience and stability under pressure, ensuring that it can withstand the weight of the iron and the movements involved in ironing without flexing or giving way.
By systematically testing the ironing board's stability, functionality, and fabric cover, you can confidently confirm that the repair and reinforcement efforts have been successful. Any issues that arise during the testing process should be promptly addressed, ensuring that the ironing board meets the highest standards of performance and reliability.
With the testing phase completed, you can take pride in the revitalization of your ironing board, knowing that it has been restored to a sturdy and dependable state. Your diligence in conducting thorough testing ensures that the ironing board is ready to fulfill its essential role in your household, providing a reliable platform for achieving wrinkle-free perfection in your garments.
Conclusion
In conclusion, the journey of repairing a broken ironing board is not just about fixing a household item; it's a testament to the value of resourcefulness and the satisfaction of breathing new life into a familiar tool. By following the step-by-step process outlined in this guide, you have embarked on a rewarding DIY endeavor that goes beyond mere repair – it's a revitalization of functionality, reliability, and practicality.
Throughout this repair journey, you have embraced the role of a craftsman, meticulously assessing the damage, gathering the necessary tools and materials, and skillfully addressing each broken part with precision and care. The process of reinforcing weak areas has not only strengthened the ironing board but has also reinforced your own ability to overcome challenges and enhance the functionality of everyday items.
As you tested the ironing board, ensuring its stability, functionality, and fabric cover quality, you have reaffirmed your commitment to excellence and reliability. Each step of the repair process has been a testament to your dedication to restoring the ironing board to its optimal state, ready to serve its essential role in your household once again.
Beyond the practical aspects of repair, this journey has been a celebration of ingenuity and the art of restoration. It's a reminder that with the right tools, materials, and a touch of creativity, even a seemingly broken item can be transformed into a reliable and valuable asset. The repaired ironing board stands as a testament to your resourcefulness and determination, embodying the spirit of resilience and renewal.
As you reflect on the completion of this repair project, take pride in the transformation you have achieved. The once-broken ironing board now stands as a symbol of your ability to overcome challenges, restore functionality, and infuse new life into the familiar. With its renewed strength and reliability, the ironing board is poised to once again take its place as a dependable companion in your household chores, ready to tackle the wrinkles and creases with unwavering stability.
In the end, the repair journey of the ironing board is a testament to the power of DIY spirit, the joy of restoration, and the fulfillment of breathing new life into a cherished household item. As you stand back and admire the revitalized ironing board, take pride in the knowledge that your efforts have not only repaired a broken item but have also renewed your own sense of capability and resourcefulness.
Frequently Asked Questions about How To Fix A Broken Ironing Board
Was this page helpful?
At Storables.com, we guarantee accurate and reliable information. Our content, validated by Expert Board Contributors, is crafted following stringent Editorial Policies. We're committed to providing you with well-researched, expert-backed insights for all your informational needs.


0 thoughts on “How To Fix A Broken Ironing Board”