Home>Technology>Security & Surveillance>How To Fix A Broken Lock On A Door
Security & Surveillance
How To Fix A Broken Lock On A Door
Modified: May 6, 2024
Learn how to fix a broken lock on a door for enhanced security and surveillance. Our step-by-step guide will help you secure your property quickly and effectively.
(Many of the links in this article redirect to a specific reviewed product. Your purchase of these products through affiliate links helps to generate commission for Storables.com, at no extra cost. Learn more)
Introduction
Welcome to the guide on fixing a broken lock on a door! A malfunctioning lock can be a major inconvenience and compromise the security of your home or office. However, with the right knowledge and tools, you can tackle this issue effectively. In this comprehensive guide, we will walk you through the step-by-step process of assessing the damage, gathering the necessary tools, removing the lock, repairing it, reinstalling the lock, and testing its functionality. By the end of this tutorial, you will have the confidence and skills to address a broken lock with ease.
Whether you are a DIY enthusiast or simply looking to save time and money by handling the repair yourself, this guide is tailored to meet your needs. Before we dive into the specifics of fixing a broken lock, it's important to approach this task with patience and a methodical mindset. By doing so, you can ensure that the repair is carried out effectively, restoring the security and functionality of your door lock.
So, roll up your sleeves, gather your tools, and let's embark on this journey to restore the integrity of your door's locking mechanism. Whether it's a stubborn deadbolt, a finicky doorknob, or a malfunctioning smart lock, we've got you covered. Let's get started!
Key Takeaways:
- Don’t let a broken lock stress you out! With the right tools and patience, you can fix it yourself and restore your door’s security. Roll up your sleeves and get ready to tackle this DIY project!
- Assess, repair, and test your lock to ensure it’s functioning smoothly. With a methodical approach and attention to detail, you can confidently restore your door’s security and peace of mind.
Read more: How To Open A Broken Door Lock
Assessing the Damage
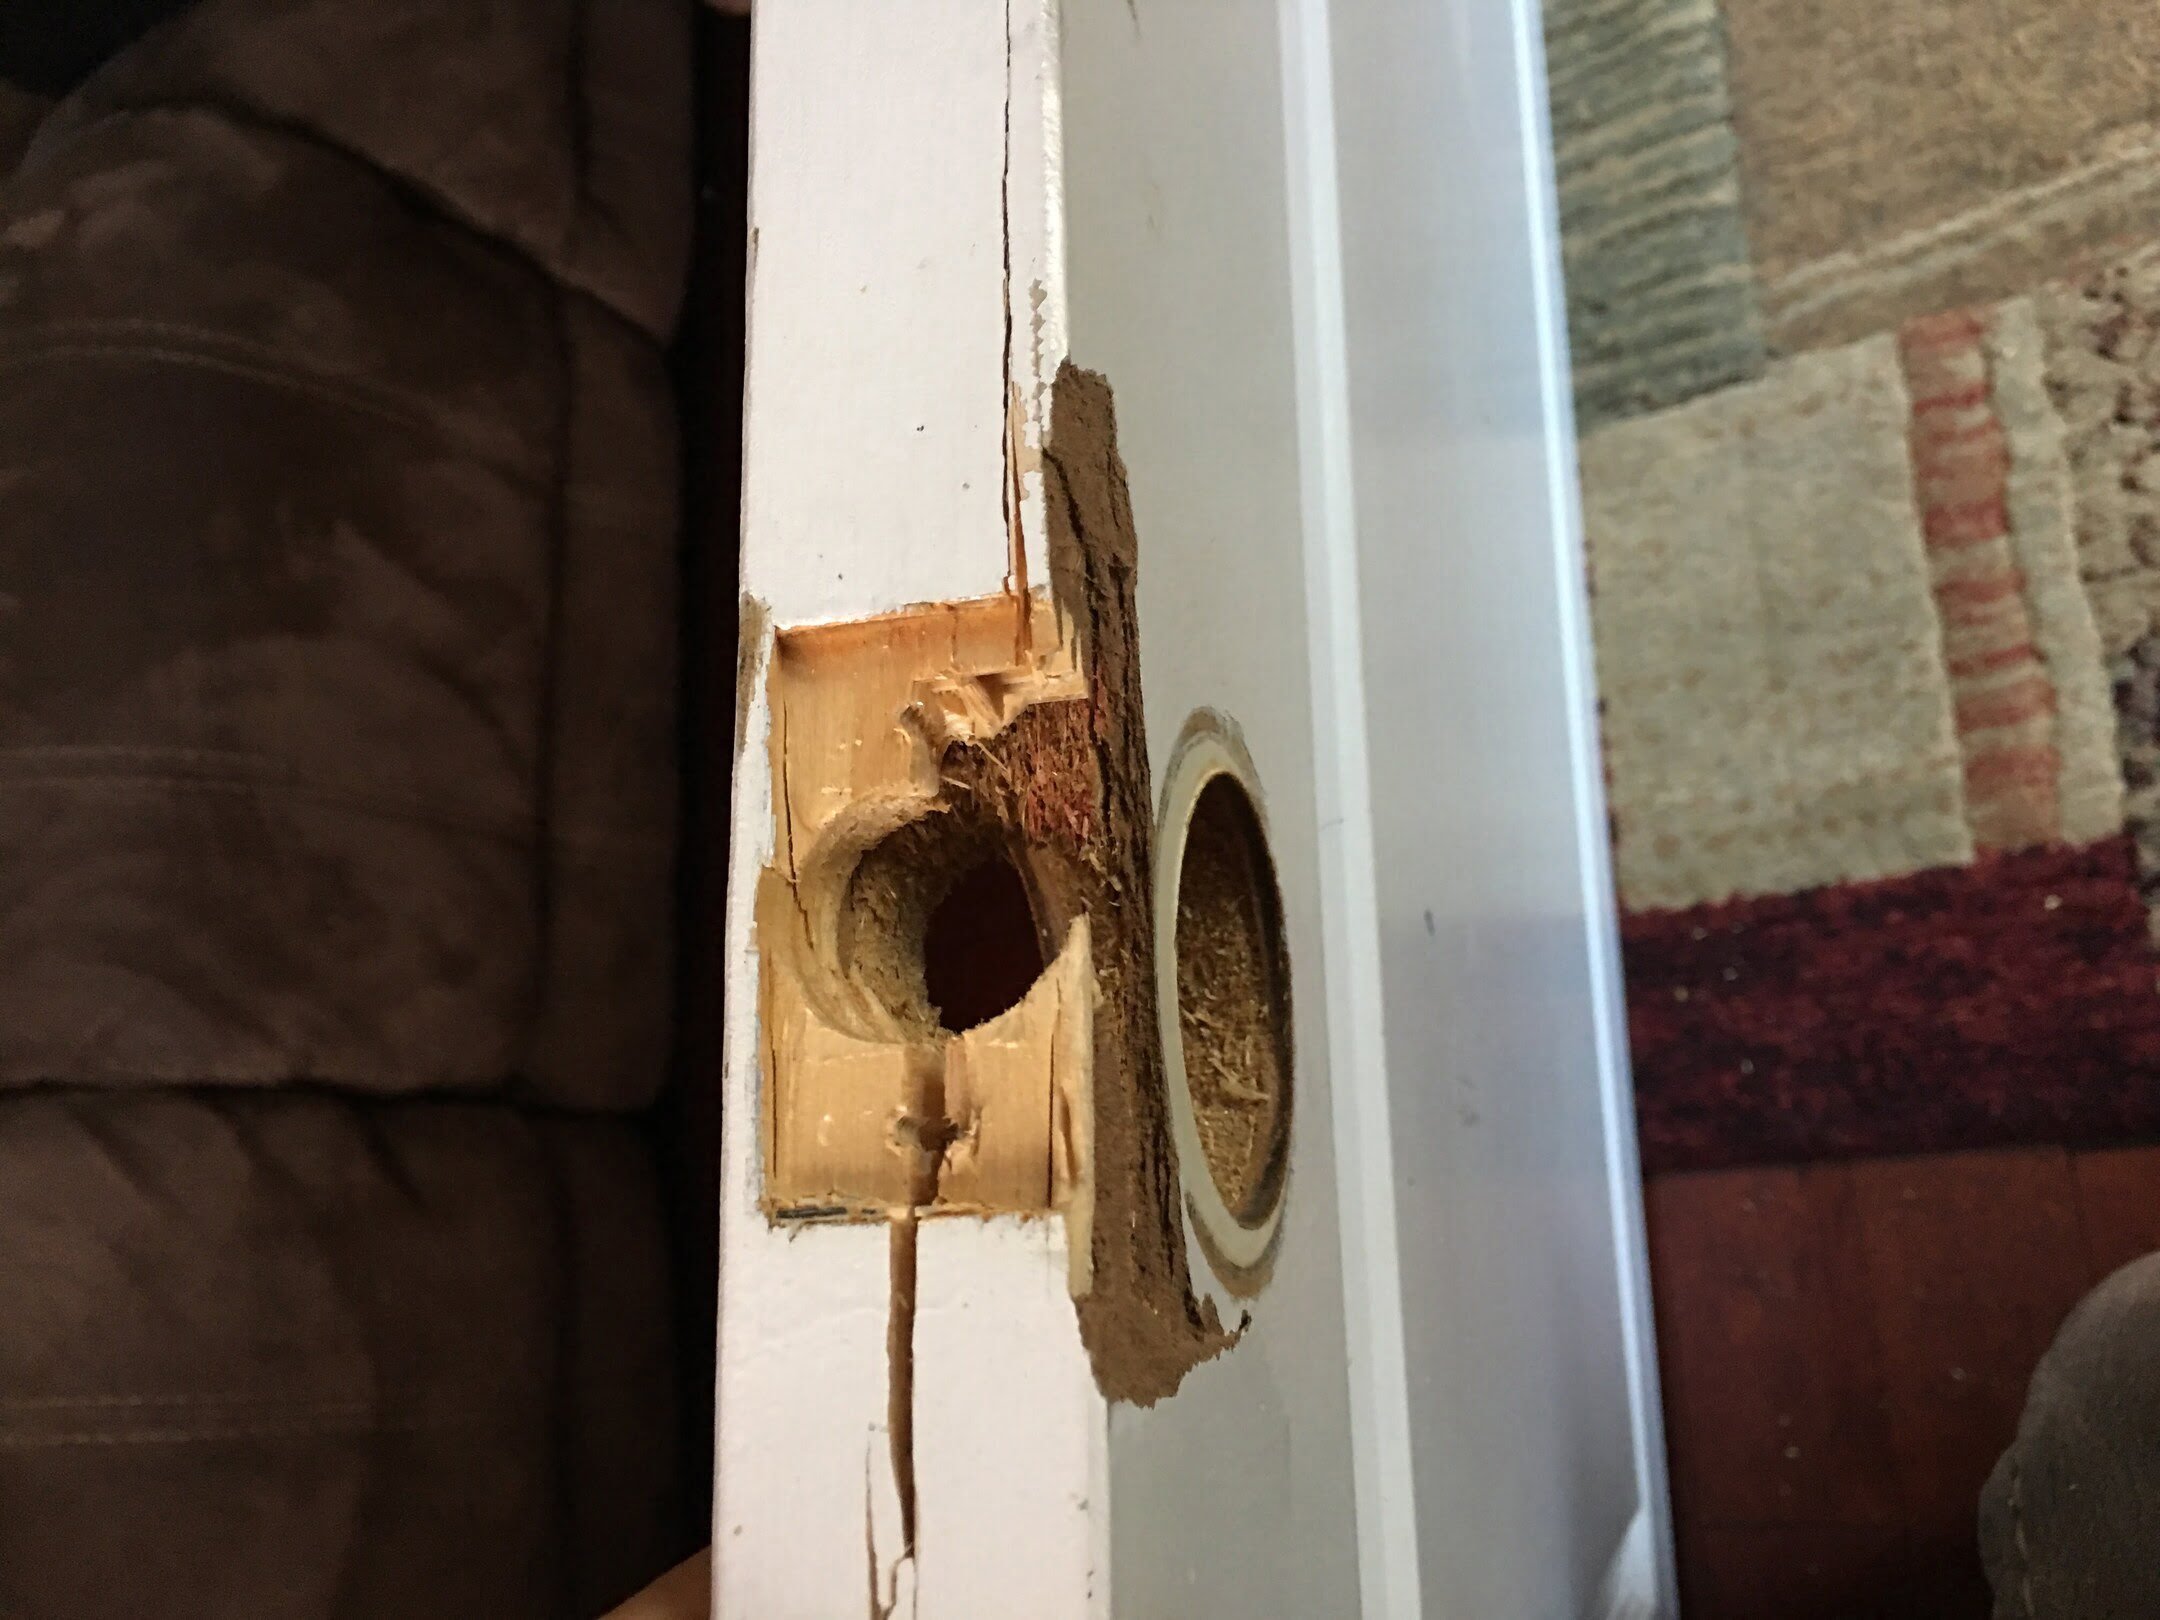
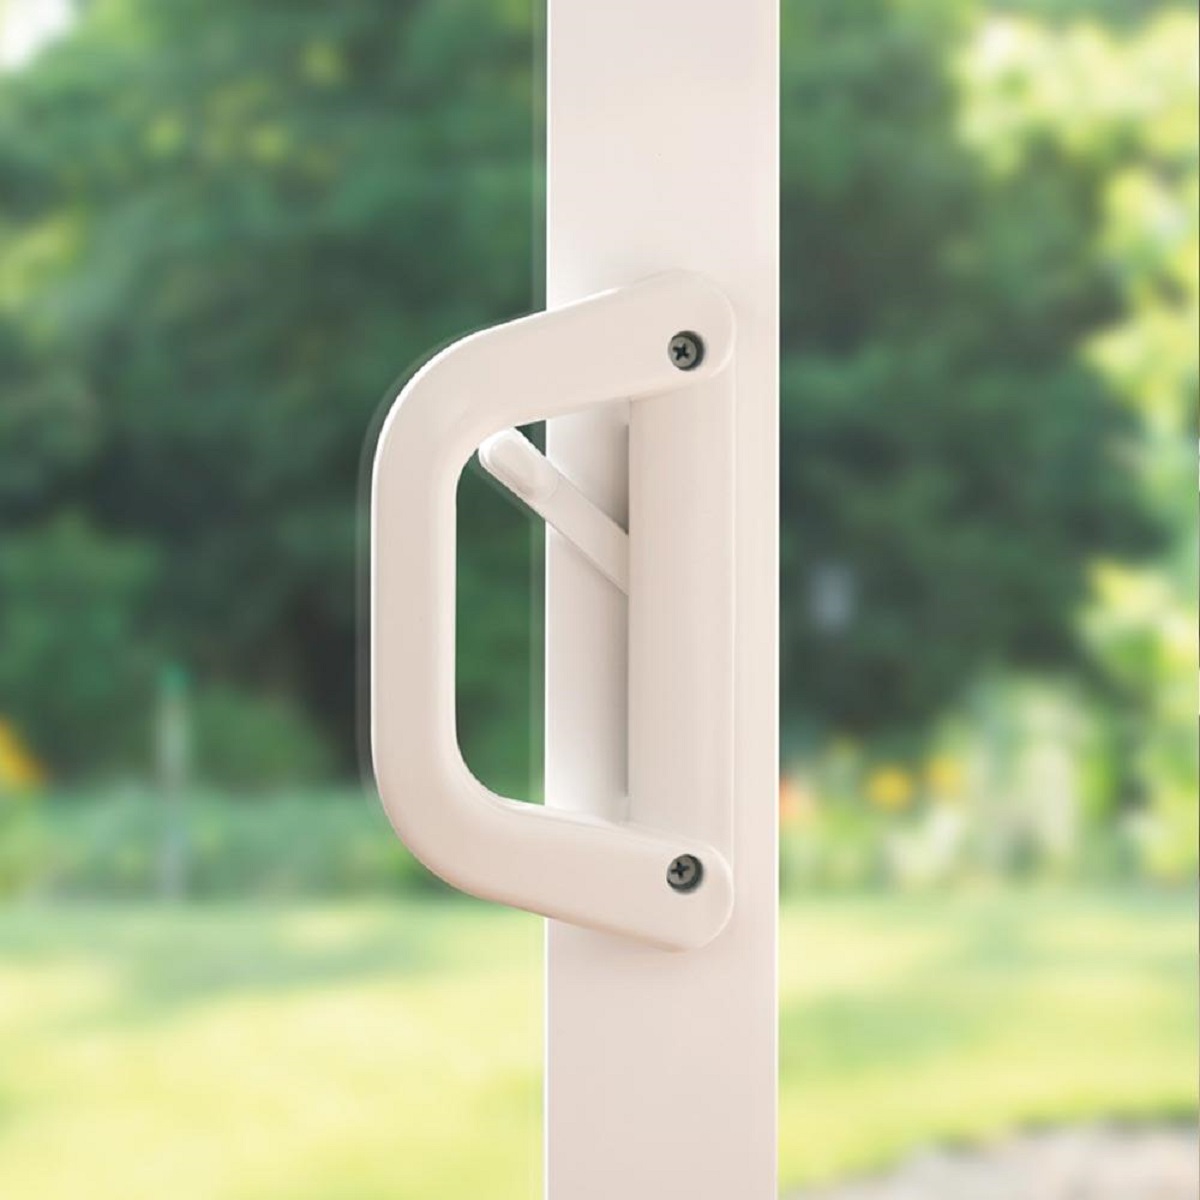
Before diving into the repair process, it’s crucial to assess the extent of the damage to the lock. Start by examining the key components of the lock, including the keyway, cylinder, latch, and any visible screws or mounting hardware. Look for signs of physical damage, such as dents, scratches, or rust, which may hinder the lock’s operation.
Next, test the lock by attempting to insert and turn the key. Take note of any resistance, unusual noises, or the key not turning smoothly. If the lock is electronic or smart, check for any error messages or malfunctions in the keypad or app interface.
Additionally, inspect the door frame and strike plate to ensure they are aligned properly. Misaligned components can put strain on the lock, leading to premature wear and potential failure. Look for any loose screws or damaged hardware that may affect the overall stability of the lock.
Lastly, consider the environmental factors that may have contributed to the lock’s deterioration. Exposure to extreme temperatures, humidity, or harsh weather conditions can impact the performance of the lock over time.
By thoroughly assessing the damage, you can gain valuable insights into the specific issues affecting the lock. This information will guide your approach to the repair process and help determine the tools and replacement parts needed to restore the lock to optimal condition.
Gathering the Necessary Tools
Before embarking on the repair of a broken lock, it’s essential to gather the necessary tools to ensure a smooth and efficient process. Having the right tools at your disposal will enable you to tackle the repair with confidence and precision. Here’s a comprehensive list of tools you may need:
- Screwdrivers: Both flathead and Phillips screwdrivers will be essential for removing the lock from the door and accessing its internal components.
- Pliers: A pair of pliers will come in handy for gripping and manipulating small components within the lock mechanism.
- Lubricant: A high-quality lock lubricant or graphite powder can help address issues related to stiffness or resistance within the lock.
- Replacement Parts: Depending on the assessment of the damage, you may need replacement components such as a new cylinder, latch, or mounting screws.
- Allen Wrench: If your lock features set screws or requires disassembly using an Allen wrench, ensure you have the appropriate size on hand.
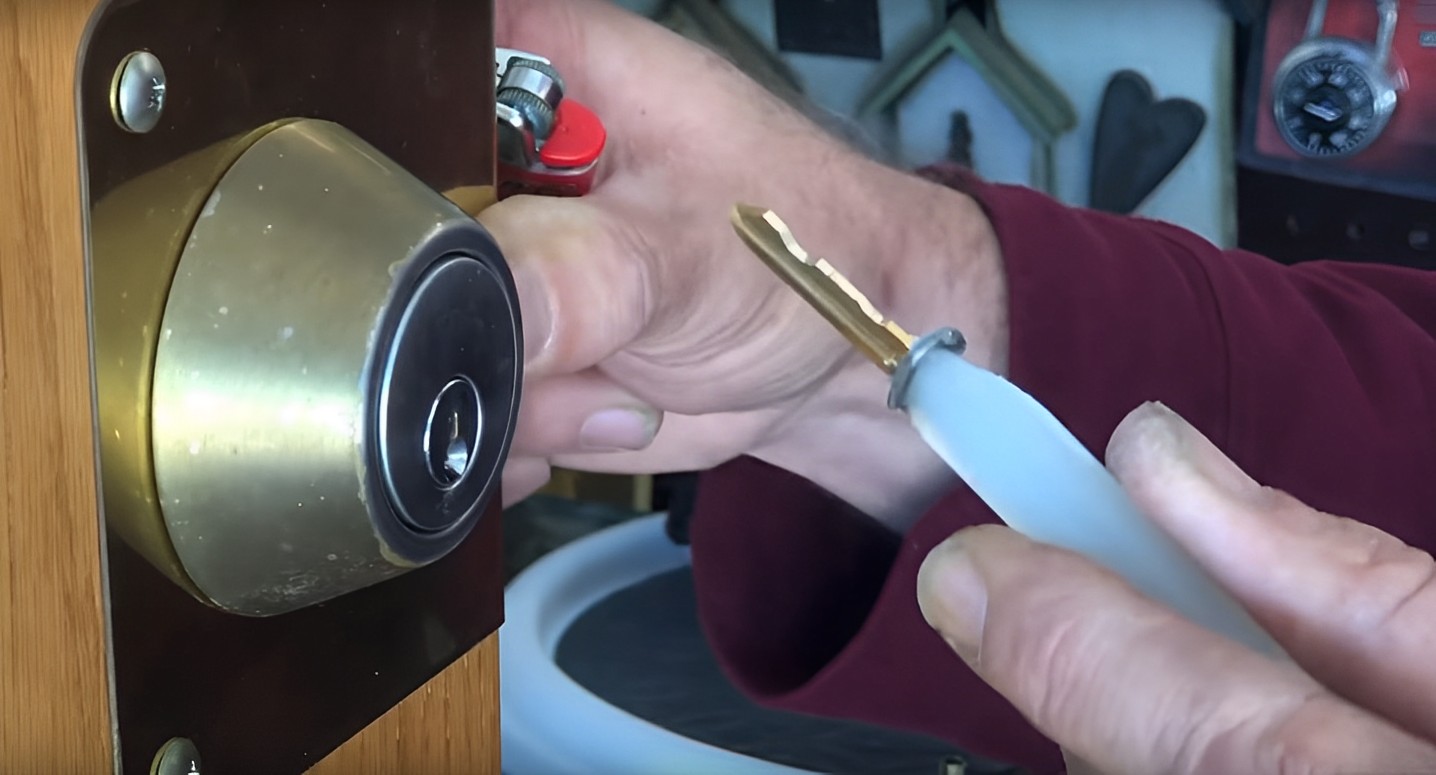
- Replacement Key: If the key is damaged or worn, having a replacement key made in advance will save time during the repair process.
- Flashlight: A reliable flashlight will aid in examining the lock’s interior and identifying any hidden issues or obstructions.
- Safety Glasses: When working on the lock, especially during disassembly, it’s important to prioritize safety by wearing protective eyewear.
- Replacement Lock: In some cases, the damage to the lock may be irreparable, and a replacement lock may be necessary. Have a new lock on standby if needed.
By ensuring that you have these tools readily available, you’ll be well-prepared to address a wide range of issues that may arise during the repair process. Additionally, having replacement parts and a backup lock on hand can save time and minimize potential frustration, especially if unexpected complications are encountered.
With your toolkit assembled and your readiness affirmed, you’re now equipped to proceed with the next steps of repairing the broken lock on your door.
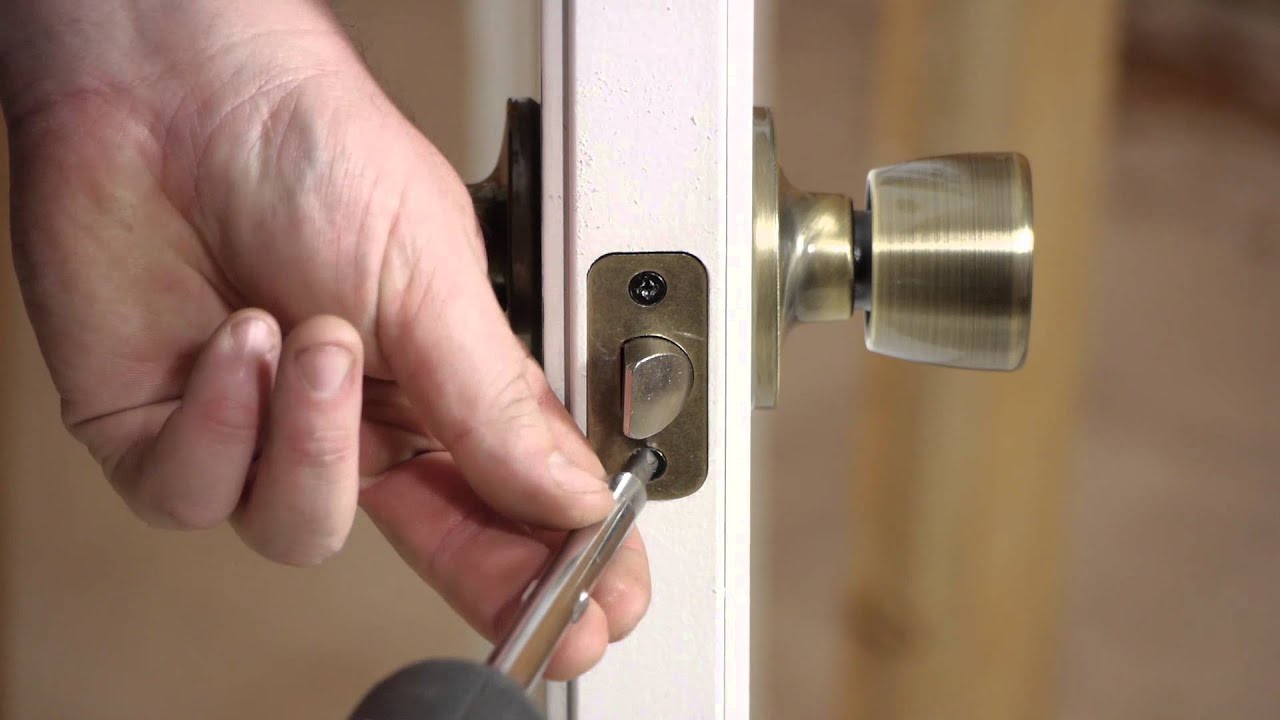
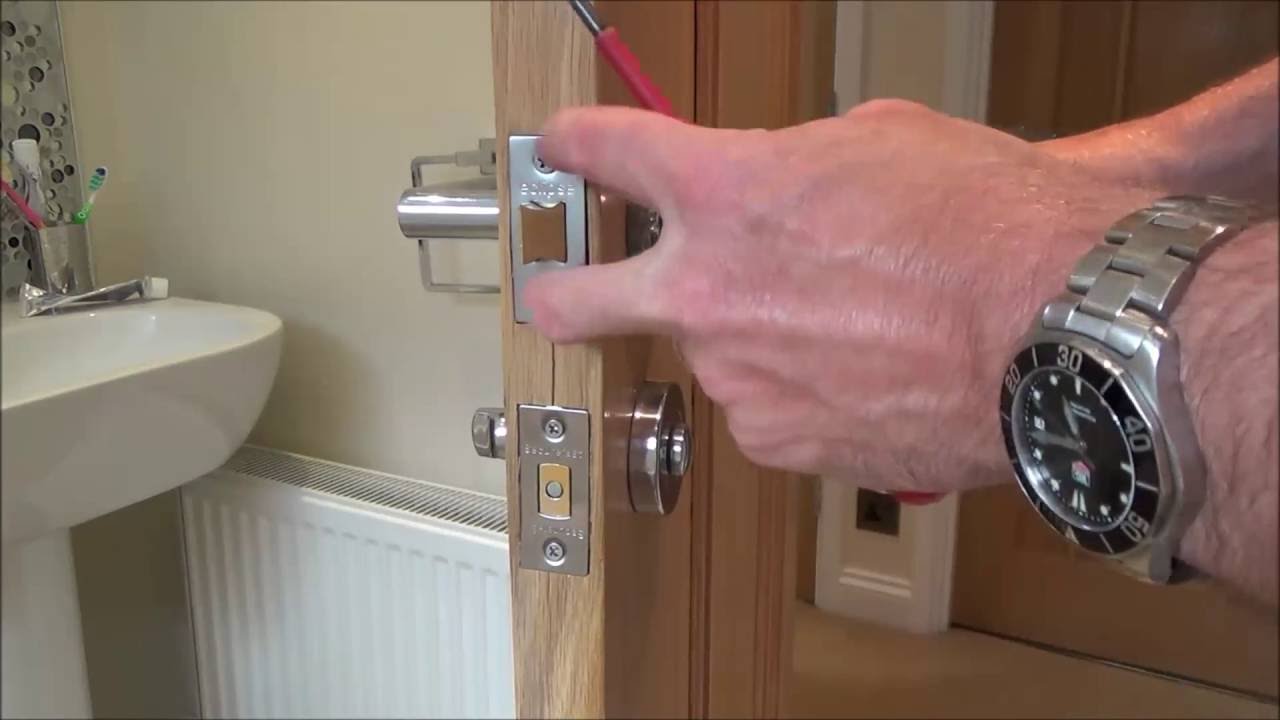
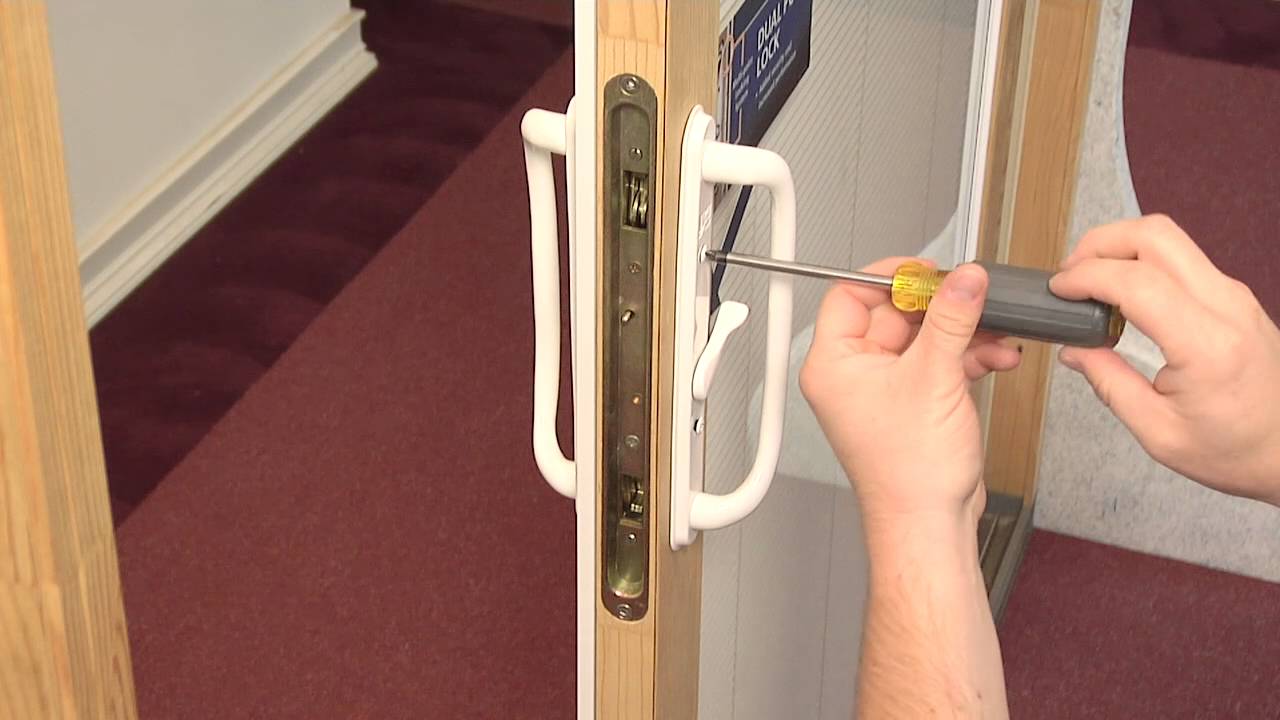
Removing the Lock
Removing a broken lock from a door is a crucial step in the repair process, and it requires careful attention to detail and precision. Before initiating the removal, ensure that you have gathered the necessary tools and have a clear understanding of the lock’s internal components. Here’s a step-by-step guide to removing the lock:
- Prepare the Work Area: Clear the surrounding area and ensure adequate lighting to facilitate the removal process. Position a drop cloth or towel beneath the door to catch any small components that may fall during disassembly.
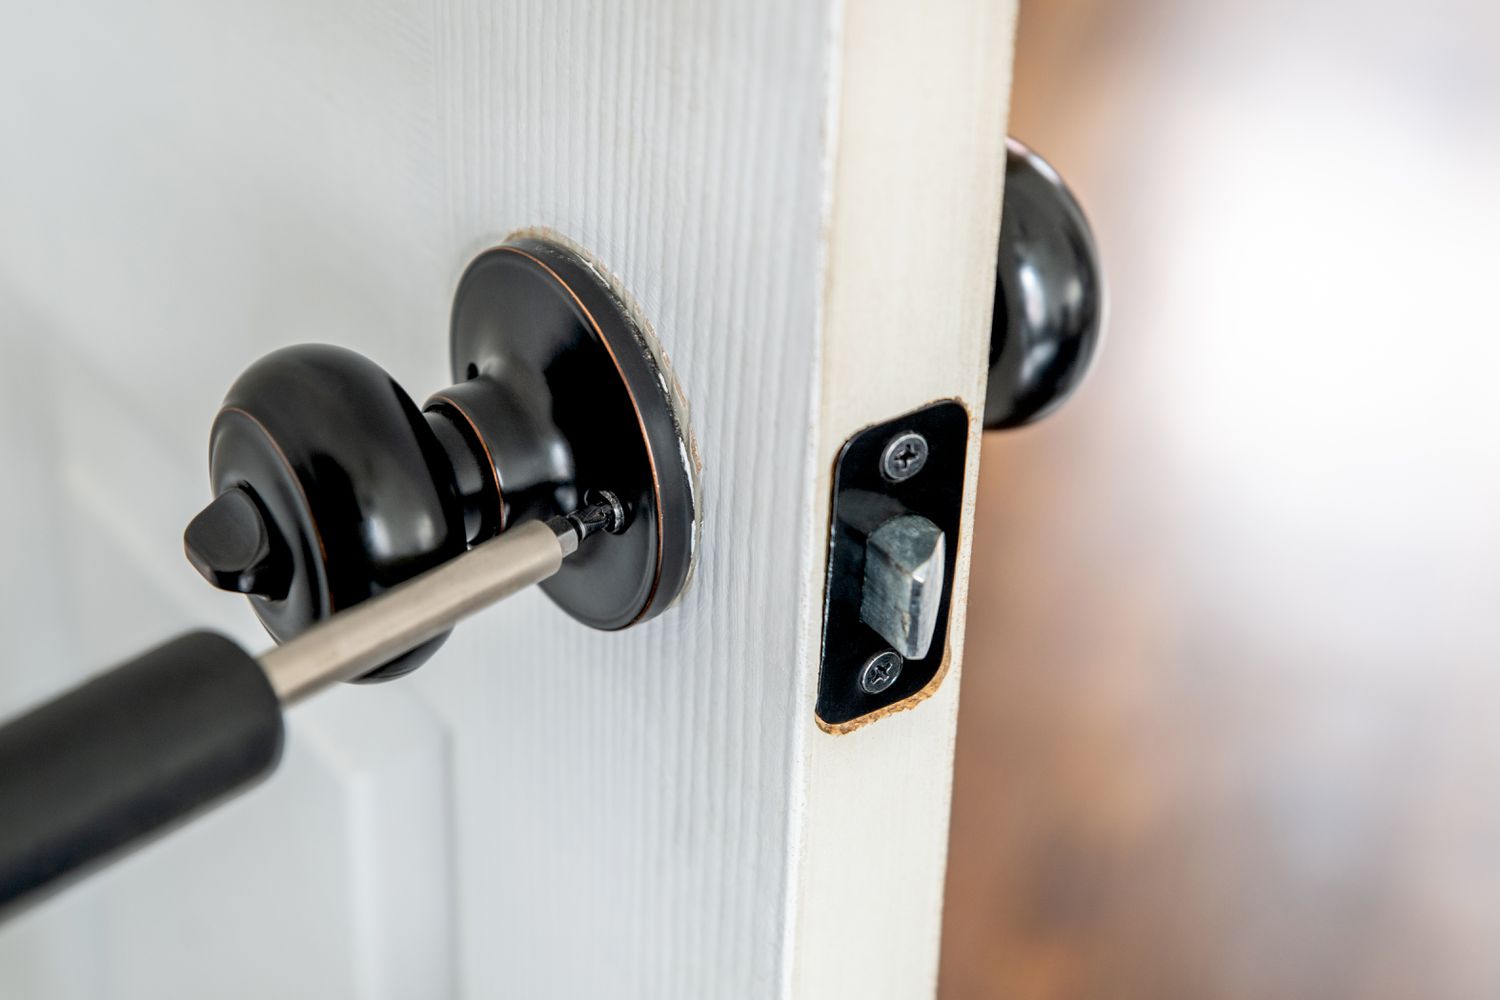
- Identify Mounting Screws: Examine the lock to locate the mounting screws securing it to the door. These screws are typically found on the interior face of the door or may be concealed beneath a cover plate.
- Remove Cover Plates (If Applicable): If the lock features cover plates, carefully pry them off using a flathead screwdriver to access the mounting screws beneath.
- Unscrew Mounting Hardware: Using the appropriate screwdriver, carefully remove the mounting screws while supporting the weight of the lock to prevent it from falling once the screws are fully disengaged.
- Separate the Lock Components: Once the mounting screws are removed, gently separate the exterior and interior components of the lock, taking note of any interconnected mechanisms or wiring in the case of electronic locks.
- Inspect the Door and Strike Plate: With the lock removed, take the opportunity to inspect the door and strike plate for any signs of wear, misalignment, or damage that may have contributed to the lock’s malfunction.
By following these steps, you can safely and effectively remove the broken lock from the door, setting the stage for the subsequent repair and restoration process. Remember to handle small components with care and keep track of any screws or fasteners to ensure they are properly reinstalled during the reassembly phase.
With the lock successfully removed, you’re now ready to delve into the intricacies of repairing the internal components and restoring the functionality of the lock.
If the lock is broken, try lubricating it with graphite powder or a silicone-based lubricant. If that doesn’t work, you may need to replace the lock mechanism.
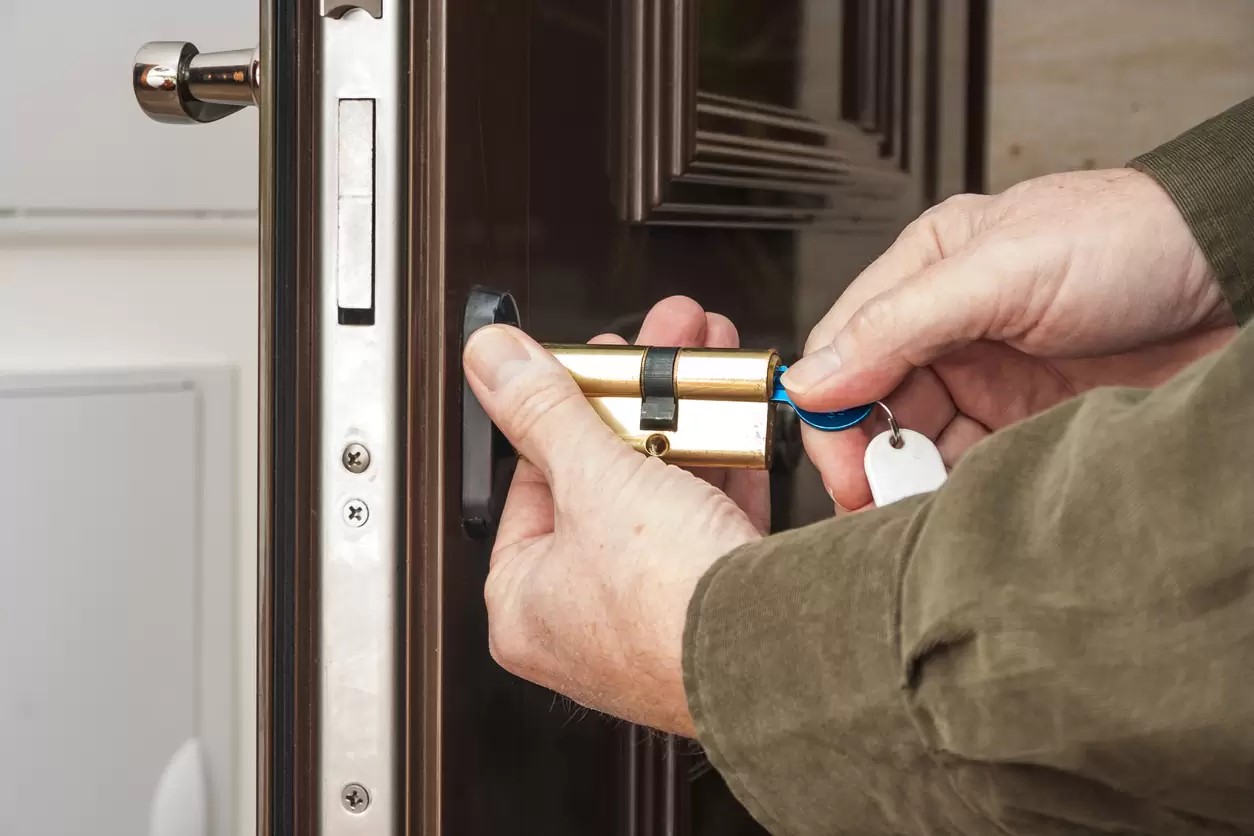
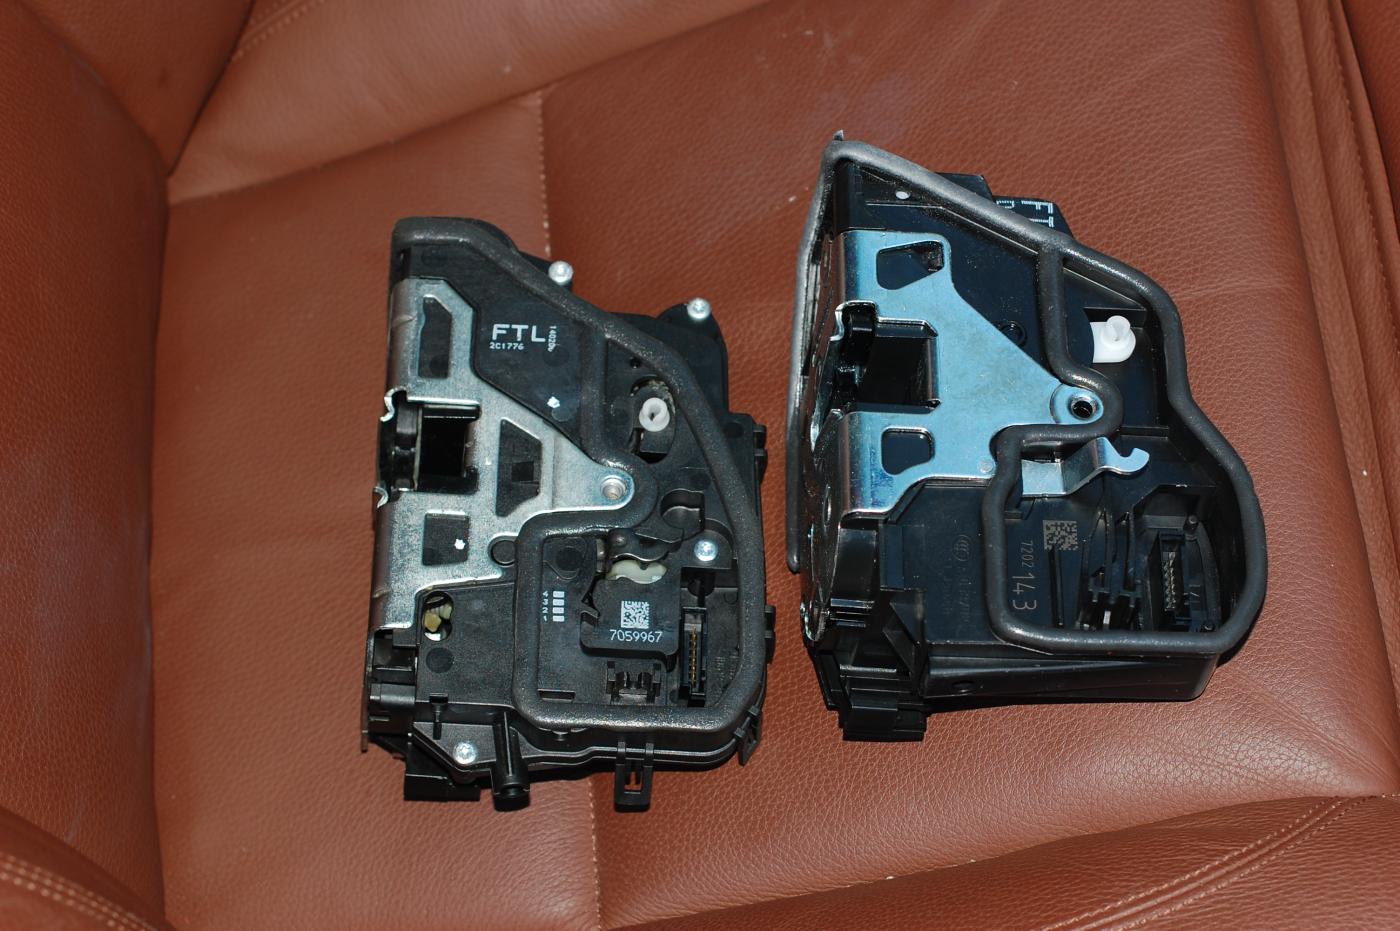
Repairing the Lock
Repairing a broken lock demands a meticulous approach and a keen eye for detail. Whether you’re addressing mechanical issues, electronic malfunctions, or worn components, the repair process requires careful consideration of the lock’s internal mechanisms. Here’s a comprehensive guide to repairing the lock:
- Assess Internal Components: Examine the internal components of the lock, including the cylinder, latch, and any connecting rods or springs. Look for signs of wear, damage, or obstruction that may be impeding the lock’s operation.
- Clean and Lubricate: If the lock exhibits stiffness or resistance when turning the key, use a lock lubricant or graphite powder to clean and lubricate the internal components. Ensure that excess lubricant is wiped away to prevent buildup.
- Replace Worn Components: If specific components such as the cylinder or latch are worn or damaged beyond repair, carefully remove and replace them with new parts. Ensure that replacement components are compatible with the lock’s make and model.
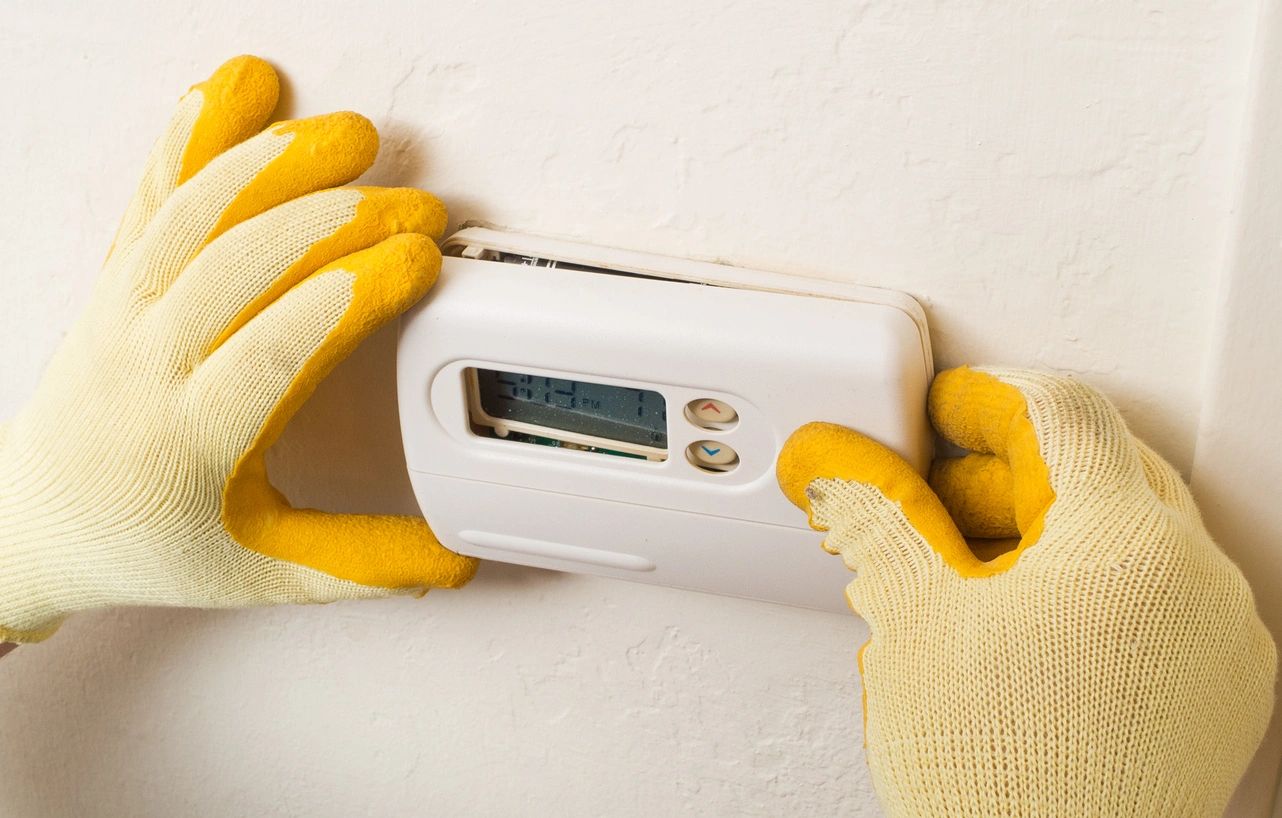
- Address Electronic Malfunctions: For electronic or smart locks experiencing malfunctions, refer to the manufacturer’s guidelines for troubleshooting and addressing common issues. This may involve resetting the lock, replacing batteries, or recalibrating the electronic components.
- Test the Functionality: After addressing the identified issues and completing the necessary repairs, test the lock’s functionality by inserting the key, engaging the keypad, or activating the electronic interface. Ensure that the lock operates smoothly and without any resistance or irregularities.
Throughout the repair process, exercise caution when handling delicate components and follow the manufacturer’s guidelines for specific lock models. Additionally, maintain a clean and organized workspace to prevent loss of small parts and facilitate the reassembly phase.
By methodically addressing the repair needs of the lock, you can effectively restore its functionality and extend its lifespan. With the internal components repaired and optimized, you’re now prepared to move on to the critical step of reinstalling the lock on the door.
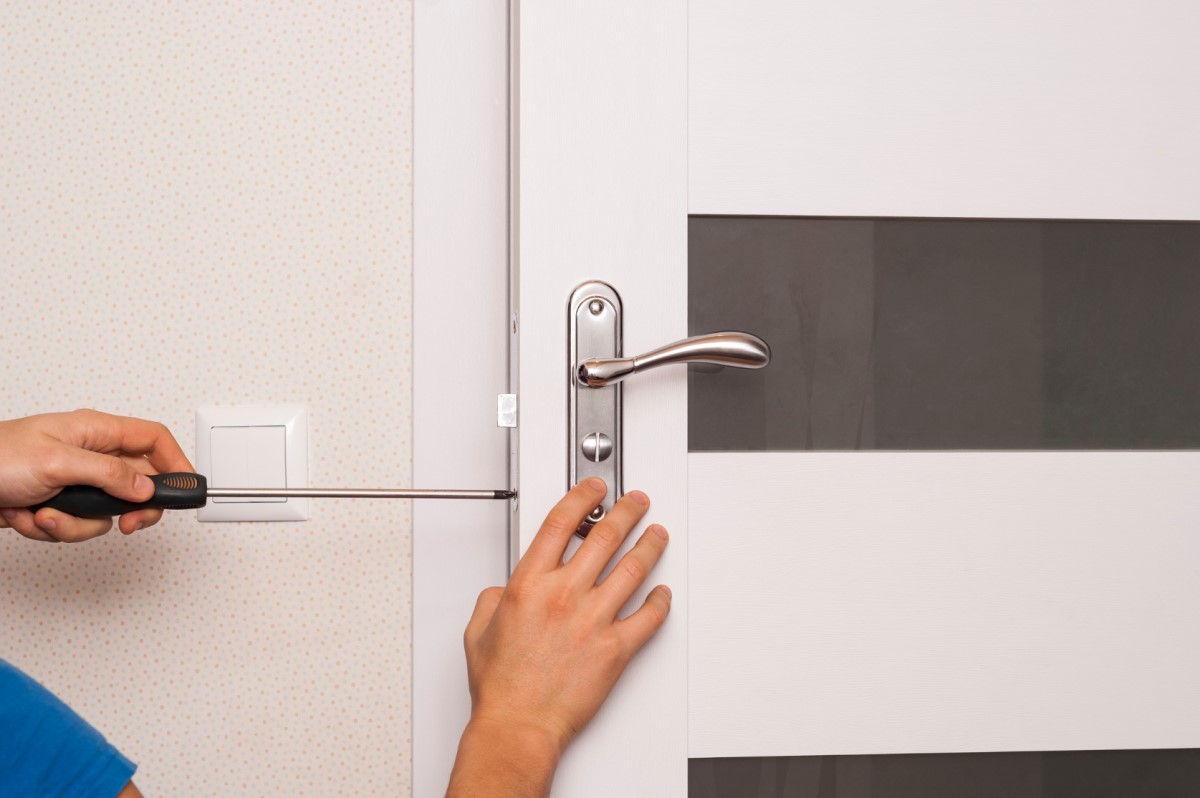
Reinstalling the Lock
Reinstalling a repaired or replaced lock is a pivotal stage in the overall repair process, and it requires precision and attention to detail to ensure the lock functions optimally and securely. Here’s a step-by-step guide to reinstalling the lock:
- Prepare the Lock and Door: Prior to reinstalling the lock, ensure that the internal components are clean, lubricated, and free of any debris or obstructions. Inspect the door and strike plate for alignment and stability to guarantee proper operation of the lock.
- Align the Exterior and Interior Components: Carefully align the exterior and interior components of the lock, ensuring that any connecting rods, spindles, or wiring are correctly positioned and engaged.
- Secure Mounting Screws: Using the appropriate screws and fasteners, secure the exterior and interior components of the lock to the door. Ensure that the mounting screws are tightened securely without over-torquing to avoid damaging the lock or door surface.
- Test the Operation: Once the lock is reinstalled, test its operation by inserting the key, turning the doorknob, or engaging the electronic interface. Verify that the lock functions smoothly and without any resistance or irregularities.
- Adjust Strike Plate (If Necessary): If the lock exhibits difficulty in latching or aligning with the strike plate, make necessary adjustments to the strike plate position to ensure a secure and seamless locking mechanism.
Throughout the reinstallation process, prioritize accuracy and thoroughness to guarantee the lock’s stability and functionality. Take note of any specific guidelines or recommendations provided by the lock’s manufacturer to ensure proper installation.
With the lock successfully reinstalled, you’ve taken a significant stride toward restoring the security and reliability of your door’s locking mechanism. The final step involves testing the lock to confirm its seamless operation and overall effectiveness.
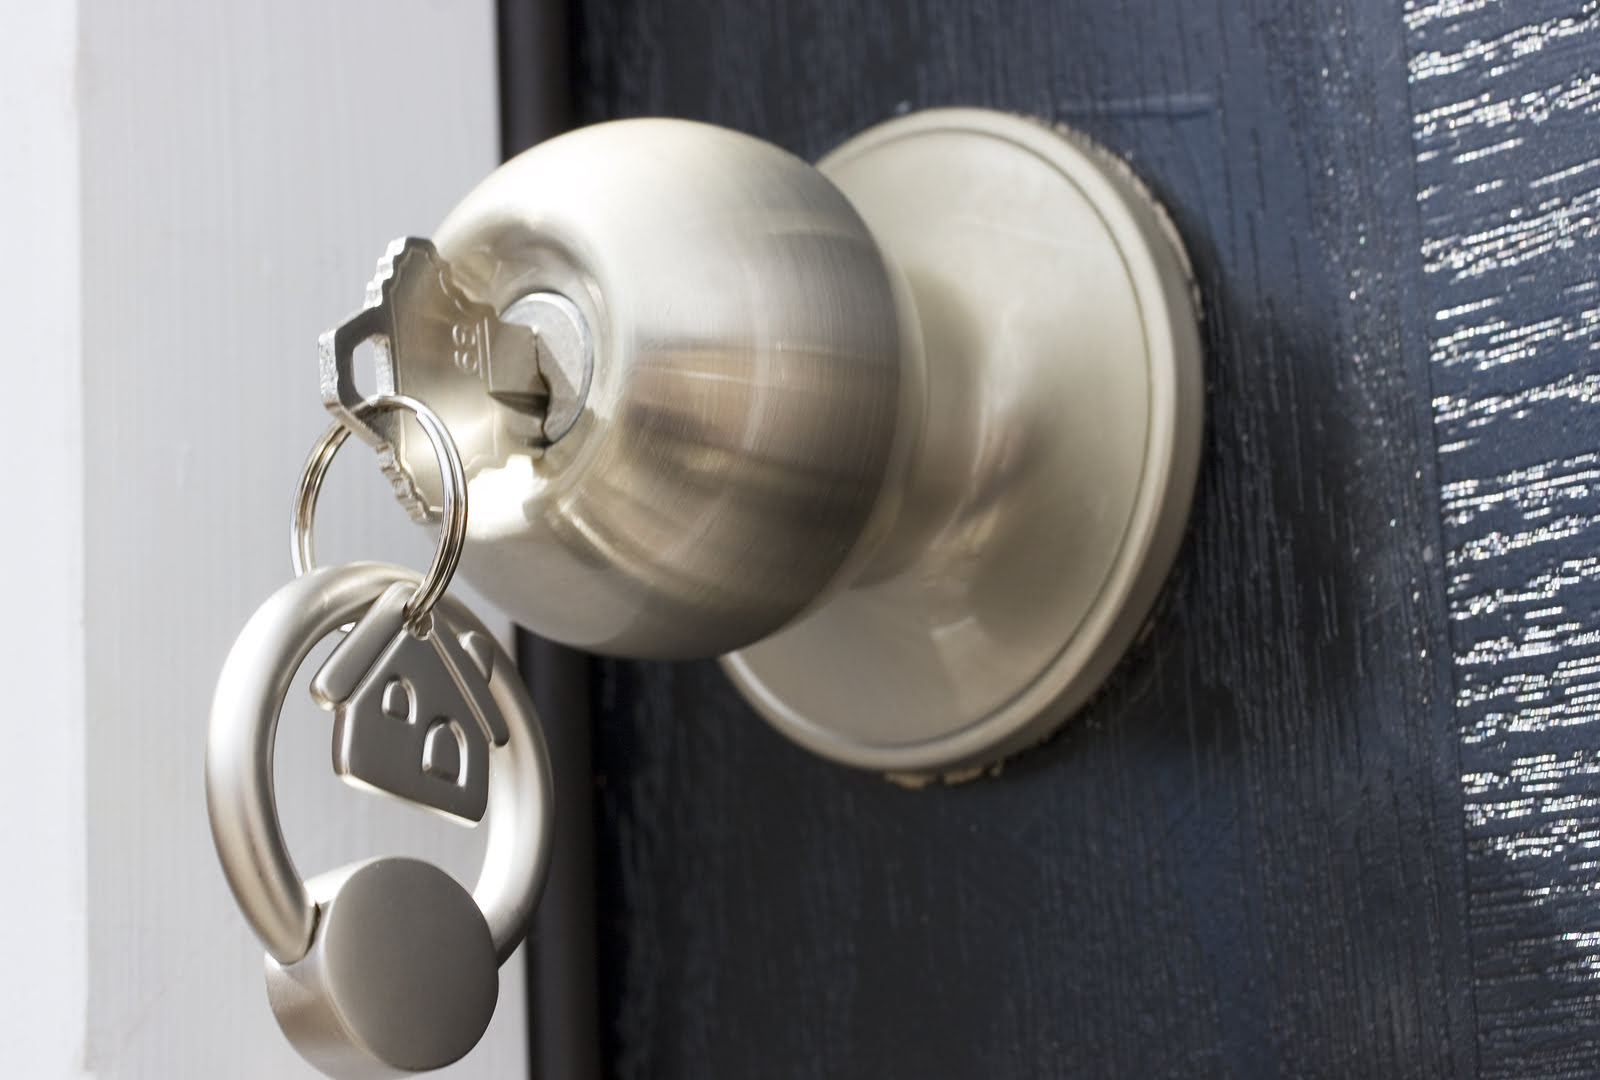
Testing the Lock
After completing the repair and reinstallation of the lock, it’s essential to conduct thorough testing to ensure that the lock functions seamlessly and provides the security and convenience you require. Here’s a comprehensive guide to testing the lock:
- Key Insertion and Turning: Test the lock by inserting the key and turning it to engage the locking mechanism. Ensure that the key turns smoothly without resistance and that the lock securely latches when in the locked position.
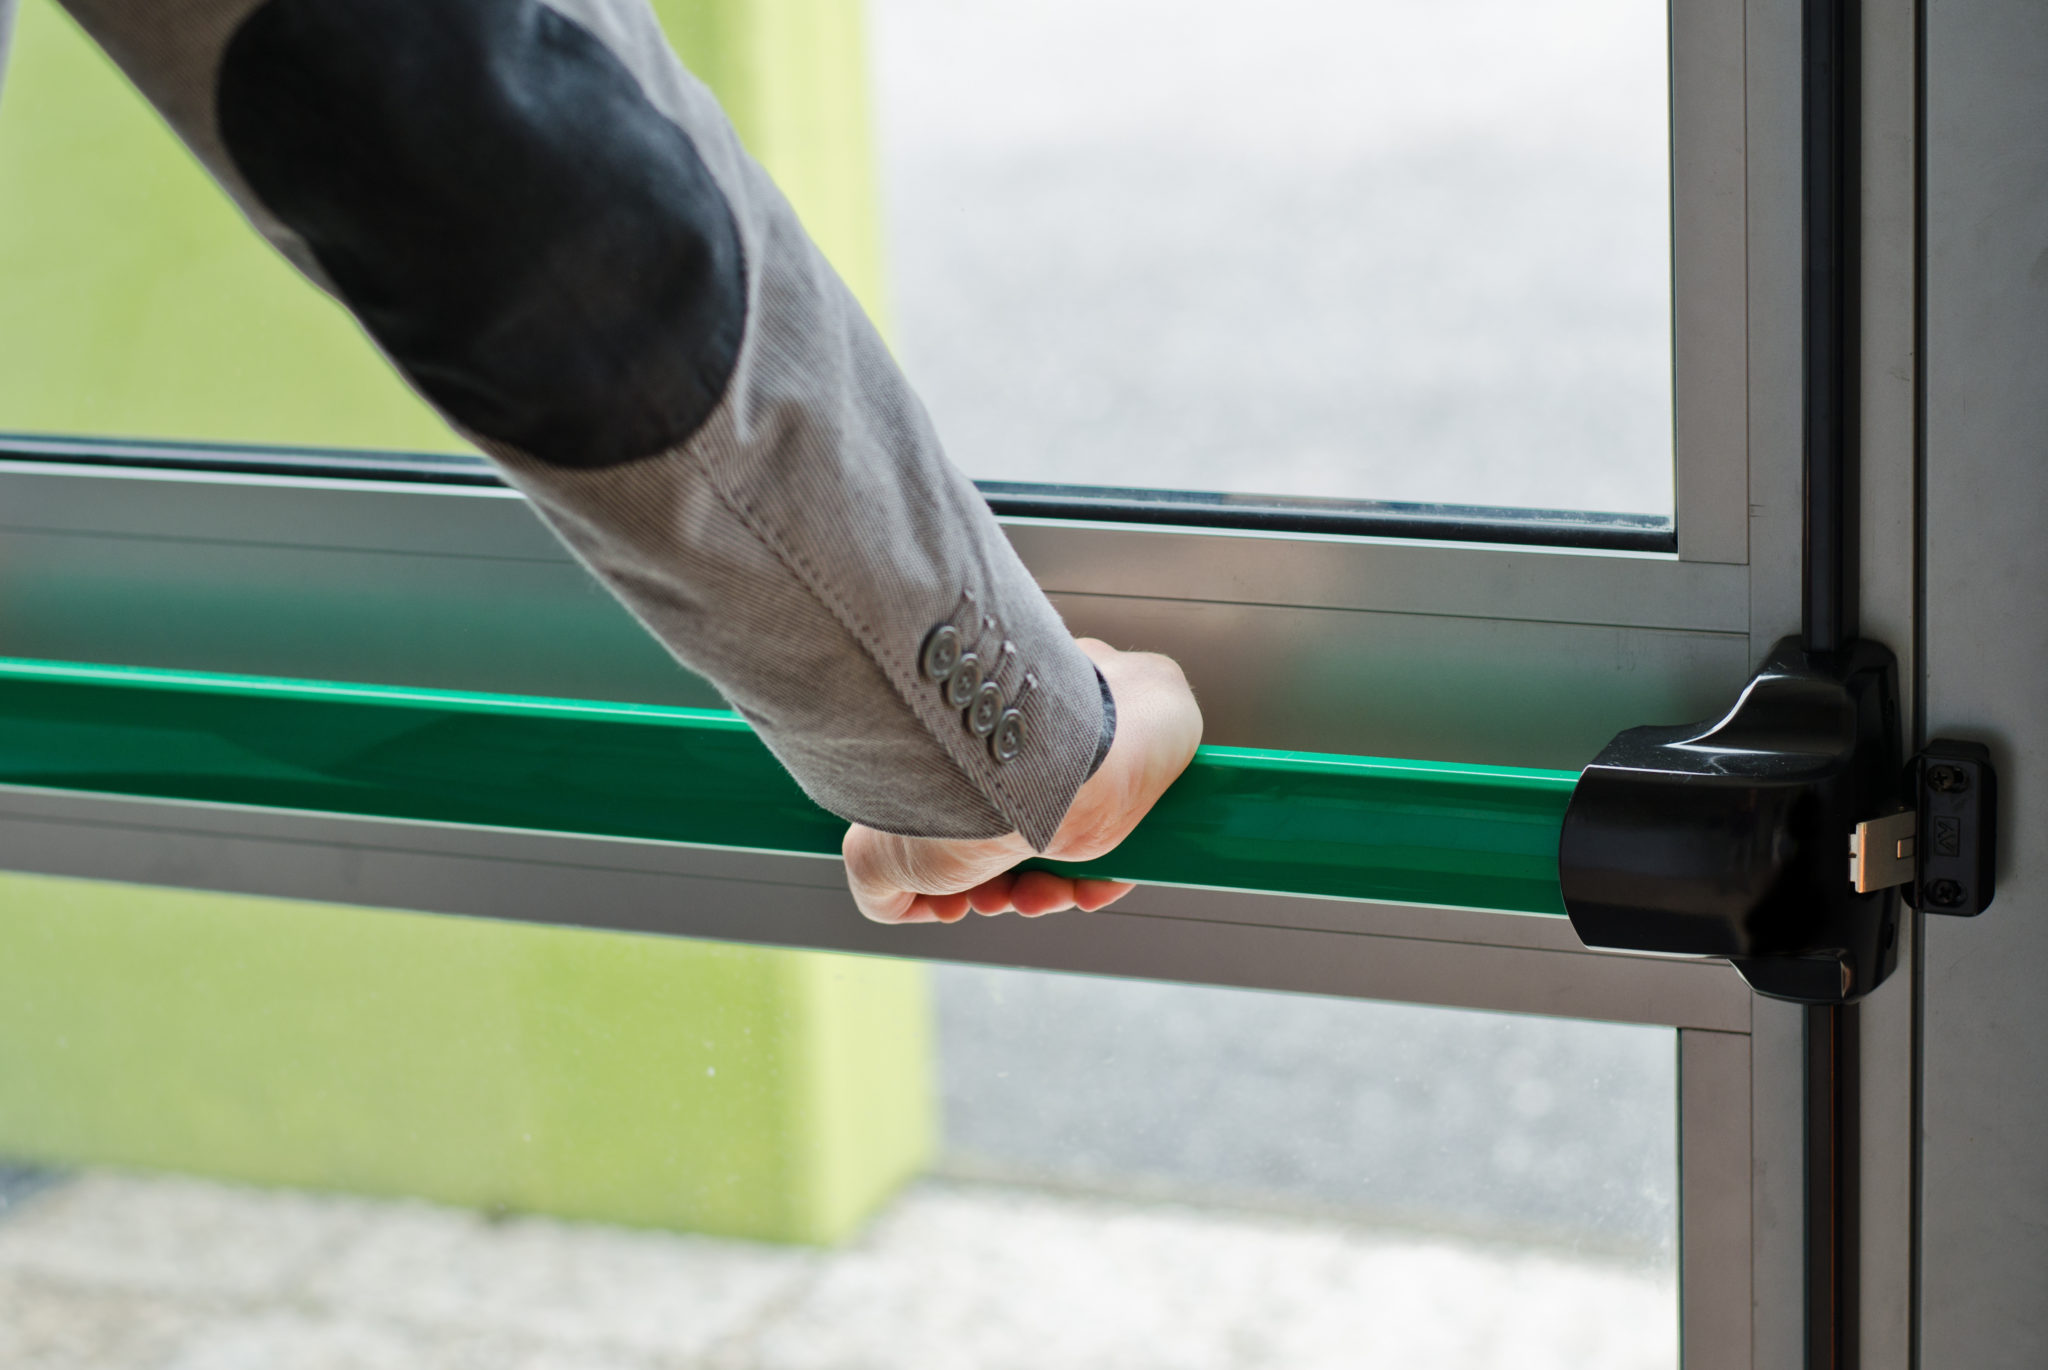
- Doorknob Operation: If the lock is integrated into a doorknob or lever handle, test the doorknob’s operation to ensure that it functions smoothly and without any wobbling or irregularities.
- Electronic Interface (If Applicable): For electronic or smart locks, test the functionality of the keypad, touchscreen, or app interface to verify that the lock responds accurately to input and commands.
- Deadbolt Engagement: If the lock features a deadbolt, test the engagement and disengagement of the deadbolt to confirm that it operates seamlessly and securely.
- Security and Stability: Assess the overall security and stability of the lock by applying gentle pressure to the door to ensure that the lock and strike plate hold firm without any give or play.
During the testing phase, pay close attention to any signs of resistance, unusual noises, or inconsistencies in the lock’s operation. Address any identified issues promptly to prevent potential future malfunctions and maintain the lock’s optimal performance.
If the lock passes the testing phase with flying colors and operates smoothly and securely, you can rest assured that your efforts in repairing and reinstalling the lock have been successful. Your door is once again equipped with a reliable and functional locking mechanism, providing peace of mind and security for your home or office.
By following these testing procedures, you can confidently conclude the repair process, knowing that your door lock has been restored to its full functionality and is ready to serve its essential purpose effectively.
Now that you've mastered fixing a broken lock, why stop there? Doors play a vital role in both security and the aesthetic appeal of your home. Our detailed guide on how to repair doors can help ensure every entryway functions smoothly and looks great. But don't just focus on the doors; regular home maintenance is key to keeping your living space safe, efficient, and welcoming. Dive into our comprehensive advice on home maintenance tasks that are essential to keep your home in top condition year-round.
Frequently Asked Questions about How To Fix A Broken Lock On A Door
Was this page helpful?
At Storables.com, we guarantee accurate and reliable information. Our content, validated by Expert Board Contributors, is crafted following stringent Editorial Policies. We're committed to providing you with well-researched, expert-backed insights for all your informational needs.
0 thoughts on “How To Fix A Broken Lock On A Door”