Articles
How To Fix Broken Tile On Floor
Modified: December 7, 2023
Learn how to easily fix a broken tile on your floor with our step-by-step articles. Gain the knowledge and confidence to tackle this DIY project on your own.
(Many of the links in this article redirect to a specific reviewed product. Your purchase of these products through affiliate links helps to generate commission for Storables.com, at no extra cost. Learn more)
Introduction
Having a broken tile on your floor can be not only unsightly, but also a safety hazard. Whether it’s due to accidental damage or wear and tear over time, it’s important to address the issue promptly to prevent further damage and maintain the overall aesthetic appeal of your space. Fortunately, fixing a broken tile is a relatively simple process that can be done without professional help, saving you time and money.
In this article, we will guide you through the step-by-step process of fixing a broken tile on your floor. We will discuss how to assess the damage, gather the necessary tools and materials, remove the broken tile, prepare the subfloor, apply adhesive and set the new tile, and finish the repair by grouting. By following these instructions, you will be able to restore the affected area to its original condition and ensure the longevity of your flooring.
However, before embarking on this repair project, it’s important to note that different types of flooring materials and tile installations may require slightly different approaches. It is always recommended to consult the manufacturer’s guidelines or seek professional advice if you are unsure about the specific requirements for your flooring.
Now, let’s dive into the details of how to fix a broken tile on your floor!
Key Takeaways:
- DIY tile repair is achievable with proper assessment, preparation, and execution. Following the step-by-step process outlined in this article will result in a successful and long-lasting repair, saving time and money.
- Safety precautions, proper tool and material gathering, and attention to detail are essential for a seamless and professional-looking tile repair. By taking the time to follow the correct techniques, you can restore the beauty and functionality of your floor.
Read more: How To Fix A Broken Thermostat
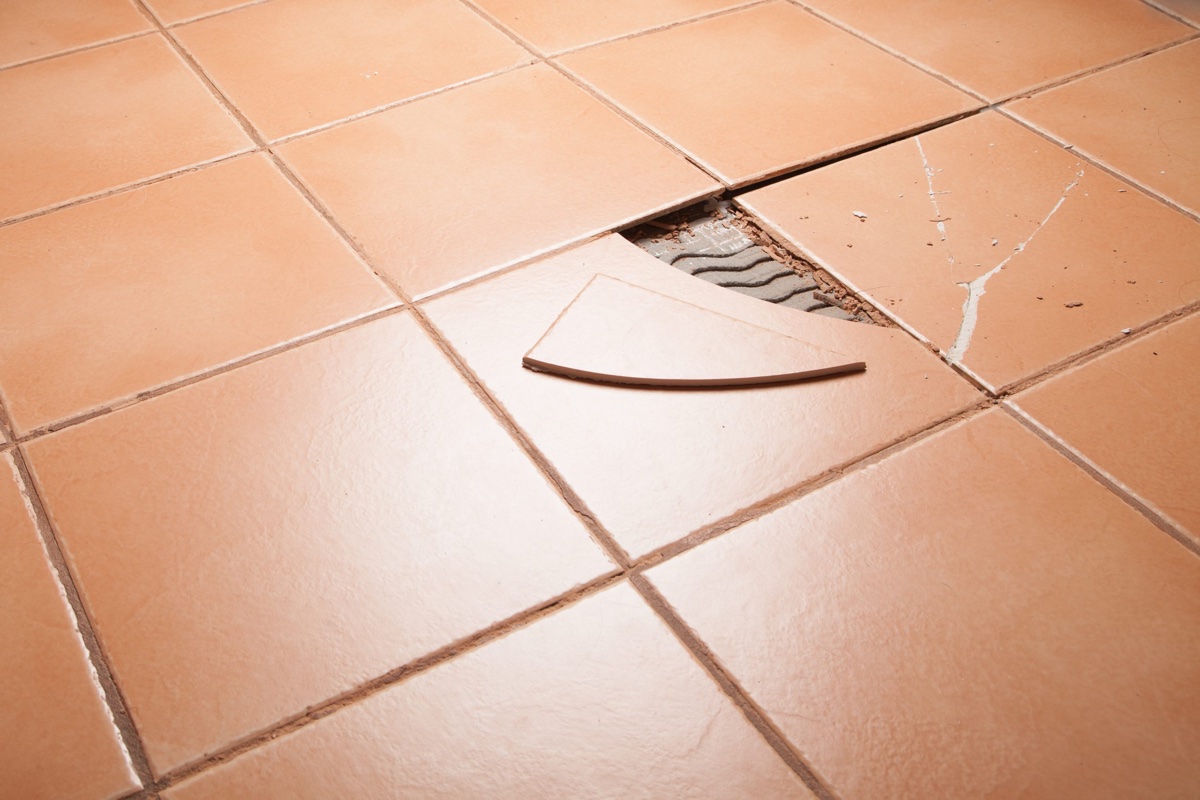
Assessing the Damage
Before starting the repair process, it is crucial to assess the damage and determine the scope of the repair needed. This involves identifying the broken tile and evaluating the extent of the damage.
The first step is to pinpoint the exact location of the broken tile. Look for any cracks, chips, or missing pieces on the surface of the tile. Sometimes, a broken tile may be easily noticeable due to its obvious damage, while in other cases, it may require closer inspection to identify the problem area. If the damage is a small crack, you may need to run your fingers gently across the tile to feel for any irregularities.
Next, take a closer look at the surrounding tiles. Check for any signs of loose or damaged tiles nearby, as they may also require attention. It is important to address any potential issues before proceeding with the repair to ensure a long-lasting and seamless fix.
Once you have identified the broken tile, it’s time to evaluate the extent of the damage. Examine the neighboring tiles to see if there are any signs of movement or gaps. This is especially important in older tile installations, as adjacent tiles may have shifted or become loose over time. Also, check for any water damage or mold growth in the affected area, as this may indicate underlying issues that need to be addressed.
Determining the extent of the damage will help you plan the repair process accordingly. It will enable you to assess the number of replacement tiles needed and ensure that the repaired area blends seamlessly with the rest of the floor.
By taking the time to identify the broken tile and evaluate the extent of the damage, you will be better prepared to proceed with the repair process and achieve a successful outcome. Now that we have assessed the damage, let’s move on to gathering the necessary tools and materials for the repair.
Gathering the Tools and Materials
Before you can begin the process of repairing a broken tile on your floor, it’s important to gather all the necessary tools and materials. This will ensure that you have everything you need at hand and prevent any delays during the repair process.
Here are the required tools for tile removal and installation:
- Tile Removal Tools:
- Flathead screwdriver or chisel
- Hammer
- Tile Nippers
- Utility knife
- Grout saw
- Tile Installation Tools:
- Trowel
- Tile adhesive/spreader
- Level
- Tile spacers
- Grout float
Make sure to have each of these tools readily available before starting the repair process. Having the right tools will not only make the repair process easier but will also ensure a professional-looking and long-lasting fix.
In addition to the tools, you will also need a few materials for the repair process, including:
- Replacement Tile: Choose a tile that matches the style, size, and color of the existing tiles. It may be best to take a sample tile or photo of the floor to the store to find the closest match.
- Tile Adhesive: Select an appropriate adhesive based on the type of tile and the subfloor material. Consult the manufacturer’s recommendations for the best adhesive for your specific situation.
- Grout: Opt for a grout color that matches the existing grout on your floor. It’s best to purchase a pre-mixed grout for convenience.
- Tile Cleaner: You may need a tile cleaner to remove any debris or adhesive residue from the surface of the subfloor before installing the new tile.
By gathering all the necessary tools and materials before starting the repair process, you can ensure that you have everything you need at hand. This will save you time and prevent any interruptions during the repair. Now that you have everything prepared, it’s time to move on to removing the broken tile.
Removing the Broken Tile
Once you have assessed the damage, gathered the necessary tools and materials, it’s time to remove the broken tile. This process involves preparing the work area and safely removing the damaged tile.
The first step is to prepare the work area. Start by thoroughly cleaning the surrounding tiles and the area around the damaged tile. Remove any dirt, dust, or debris to ensure a clean and smooth surface. This will help prevent any interference during the removal and installation process.
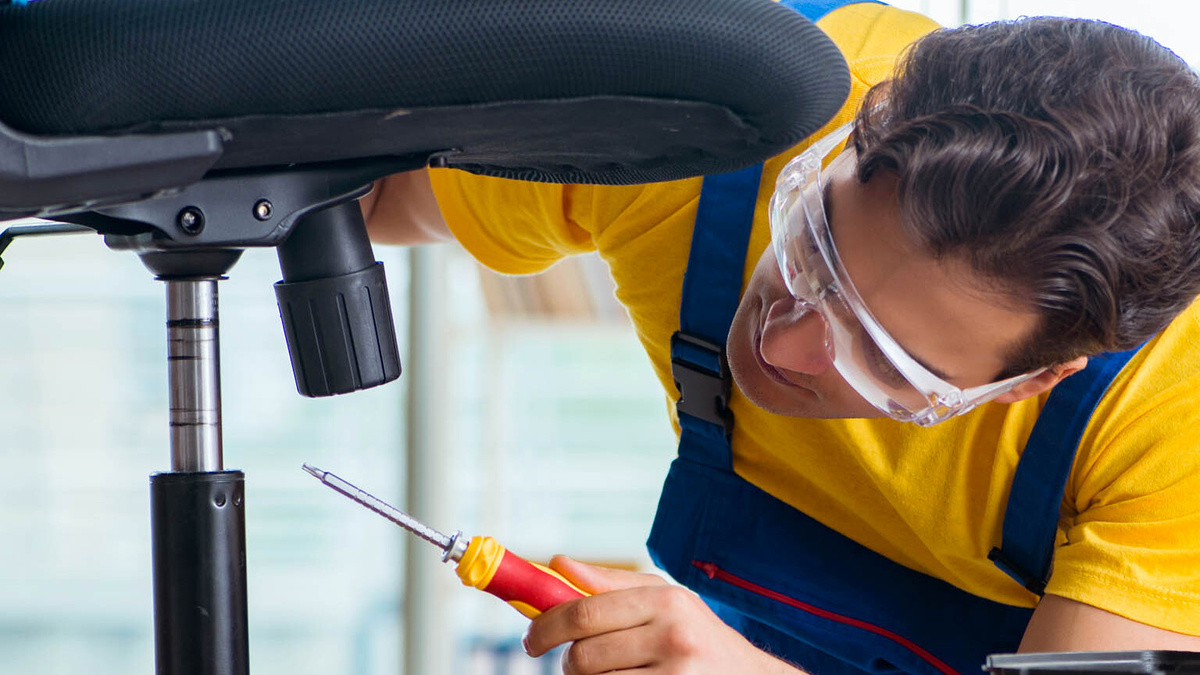
Before removing the broken tile, it’s important to take safety precautions. Wear protective gloves and goggles to shield yourself from any sharp edges or flying debris. Also, cover the adjacent tiles with a drop cloth or cardboard to protect them from any damage during the removal process.
Now, you’re ready to safely remove the damaged tile. Depending on the type of tile installation, the removal process may vary slightly, but generally, the following steps can be followed:
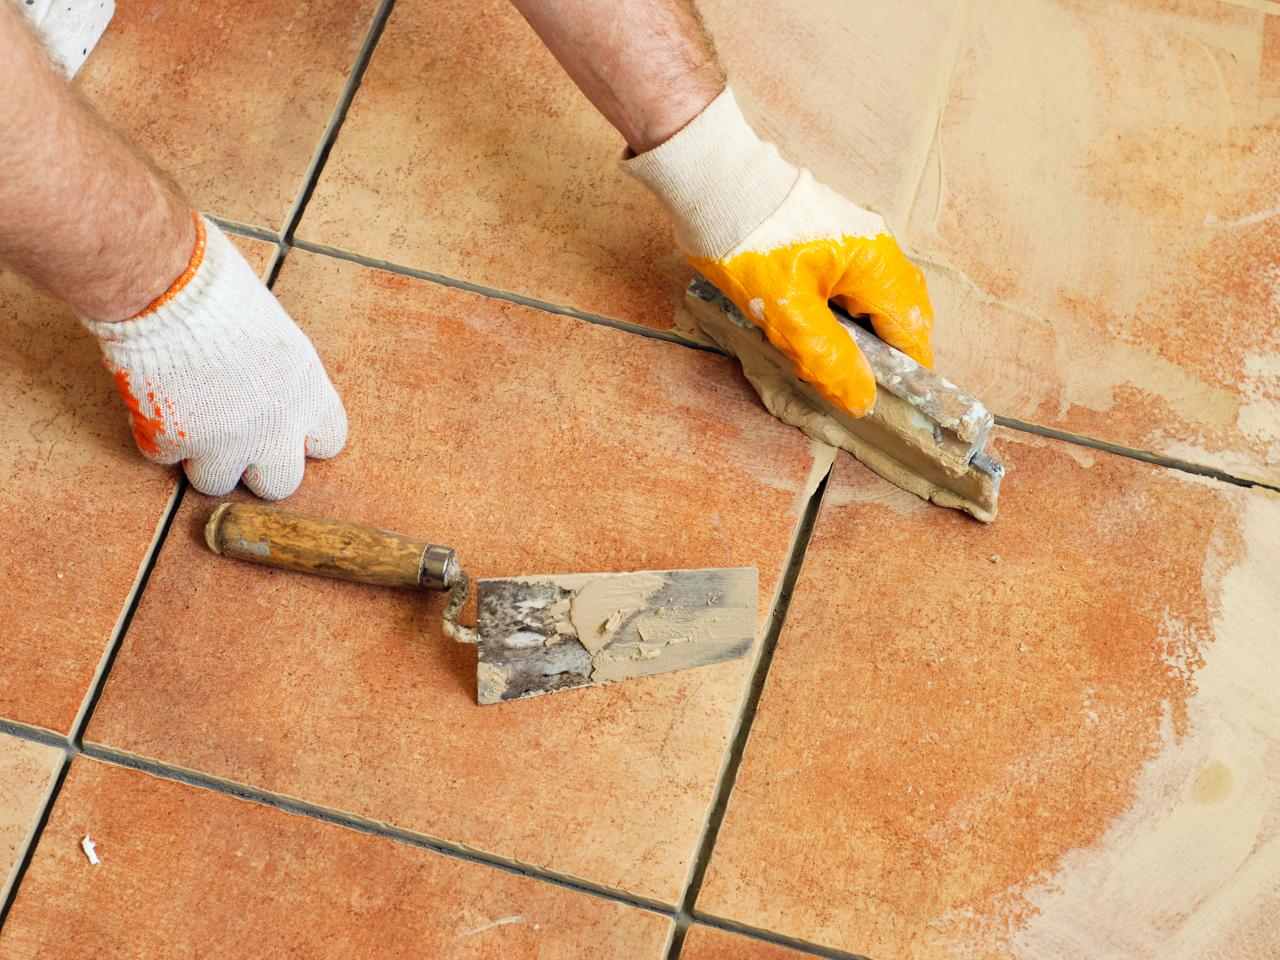
- Use a flathead screwdriver or chisel and a hammer to carefully chip away the grout surrounding the broken tile. Be gentle to avoid damaging the neighboring tiles.
- Once the grout is loosened, insert a flathead screwdriver under the edge of the tile and gently pry it up. If necessary, tap the backside of the tile with a hammer to break it into smaller, removable pieces.
- Continue prying and tapping until the entire broken tile is removed. Be cautious not to damage the subfloor beneath.
After removing the broken tile, thoroughly clean the area to remove any remaining adhesive or debris. Use a grout saw or utility knife to scrape away any adhesive residue from the subfloor. Ensure that the area is clean and level before proceeding to the next steps of the repair process.
By properly preparing the work area and safely removing the broken tile, you are now ready to move on to the next step: preparing the subfloor.
Use a chisel to carefully remove the broken tile and any adhesive. Apply new adhesive and press the replacement tile into place. Grout the edges and allow to dry.
Preparing the Subfloor
After removing the broken tile, it’s crucial to prepare the subfloor before installing the new tile. This involves cleaning the surface and leveling the subfloor, if necessary, to ensure a smooth and stable base for the repair.
The first step in preparing the subfloor is to clean the surface. Remove any adhesive residue or debris left behind from the previous tile using a scraper or a suitable cleaning solution. Make sure to thoroughly clean the area to ensure proper adhesion of the new tile.
Next, inspect the subfloor for any irregularities or unevenness. If the subfloor is not level, it’s important to address this issue before proceeding with the repair. Uneven subfloors can cause the new tile to crack or break prematurely. Use a level to check for any high or low spots in the subfloor.
If you discover any high spots, you will need to grind or sand them down to create a level surface. On the other hand, if there are low spots or depressions, you may need to use a leveling compound to fill in these areas. Follow the manufacturer’s instructions on how to properly use the leveling compound, as the process may vary slightly depending on the product.
Once the subfloor is clean and level, it’s important to ensure that it is dry and free from any moisture or water leaks. Moisture can compromise the adhesive’s effectiveness and cause the new tile to loosen or warp over time. If you suspect any moisture issues, it’s recommended to address them before proceeding with the repair. Allow the subfloor to dry thoroughly before moving on to the next steps.
Preparing the subfloor is an essential step to ensure a successful tile repair. By cleaning the surface and leveling the subfloor, you create a stable and even base for the installation of the new tile. With the subfloor prepared, you’re now ready to move on to the next step: applying adhesive and setting the new tile.
Read more: How To Fix A Broken Lock On A Door
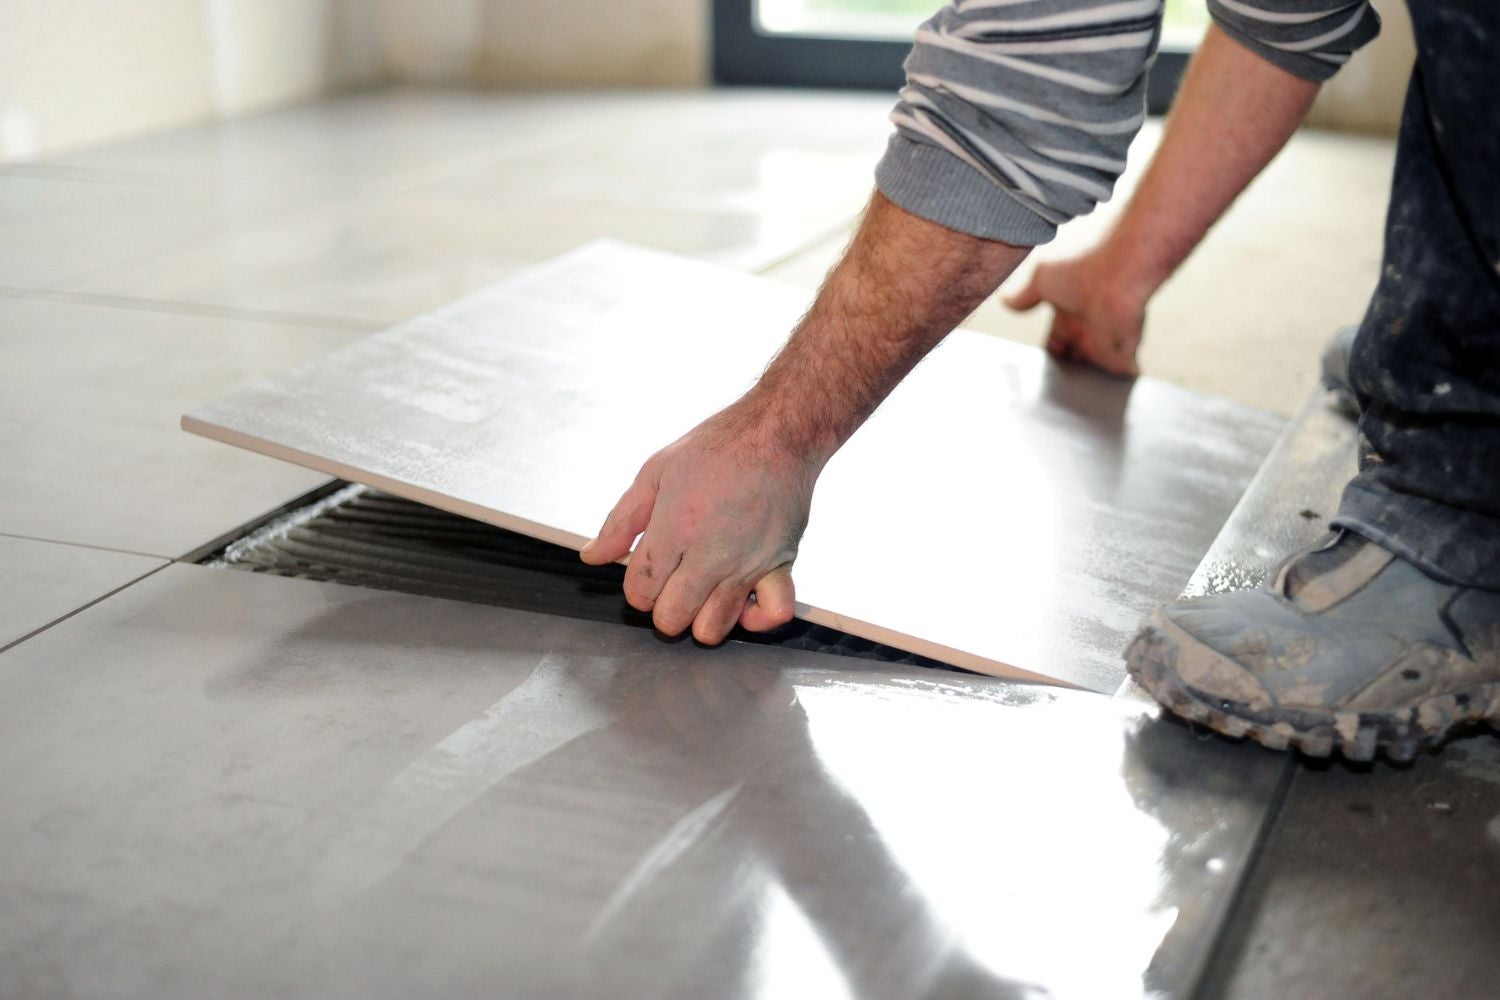
Applying Adhesive and Setting the New Tile
With the subfloor prepared, the next step in fixing a broken tile on your floor is to apply adhesive and set the new tile in place. This process involves choosing the right adhesive, applying it to the subfloor, and carefully setting the new tile.
Choosing the right adhesive is crucial for a successful tile repair. The type of adhesive you need will depend on the tile material and the subfloor. Check the manufacturer’s recommendations for the specific adhesive suitable for your tile and subfloor combination. It’s important to use the correct adhesive to ensure proper adhesion and long-lasting results.
Before applying adhesive to the subfloor, prepare the adhesive according to the manufacturer’s instructions. Some adhesives come premixed, while others require mixing with water or a specific additive. Follow the recommended mixing ratios and thoroughly stir the adhesive to achieve a smooth consistency.
Once the adhesive is ready, apply a thin layer to the subfloor using a trowel or a notched trowel. Spread the adhesive evenly, ensuring complete coverage of the area where the new tile will be placed. Pay special attention to the edges and corners, as these areas tend to require additional adhesive for proper bonding.
After applying the adhesive, it’s time to set the new tile in place. Carefully align the edges and corners of the new tile with the surrounding tiles. Apply light pressure to the tile and wiggle it slightly to ensure a good bond with the adhesive. Make sure the tile is level and flush with the surrounding tiles. Use tile spacers to maintain even spacing between the tiles, providing room for grout later.
Continue this process, placing each new tile next to the previous one, until the entire area is covered with the new tiles. Be mindful of any patterns or designs in the existing floor and match them as closely as possible for a seamless look.
It’s essential to work efficiently during the adhesive and tile-setting process, as some adhesives have a limited working time. Avoid walking on the newly installed tiles until the adhesive has fully cured, following the manufacturer’s instructions for the recommended drying time.
By carefully choosing the right adhesive, applying it to the subfloor, and setting the new tile in place, you are now one step closer to completing the repair. The next step involves grouting and finishing the repair, which we will discuss in the following section.
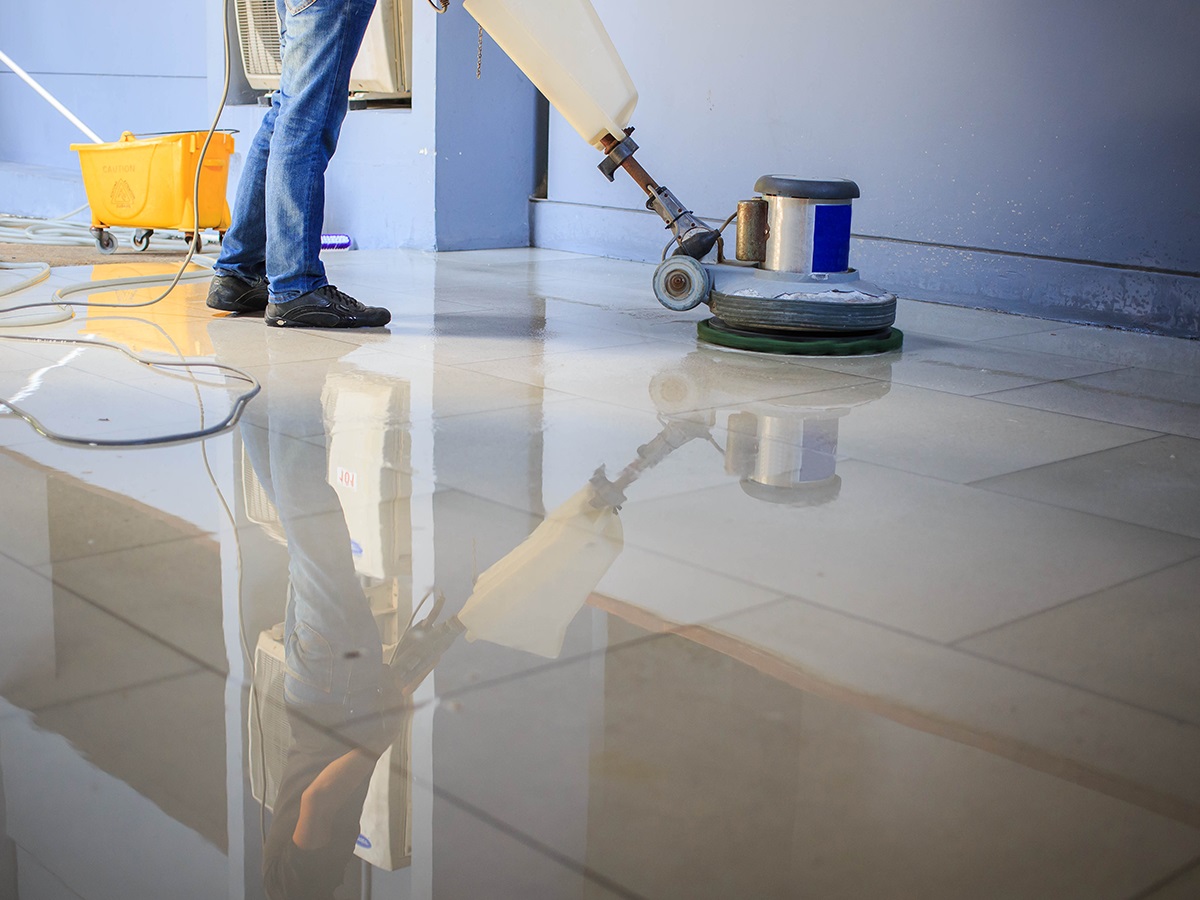
Grouting and Finishing the Repair
Once the new tiles are set in place, the next step in fixing a broken tile on your floor is grouting and finishing the repair. This process involves mixing and applying grout, cleaning excess grout, and allowing sufficient drying time for a professional-looking finish.
The first step is to mix the grout according to the manufacturer’s instructions. Measure out the appropriate amount of grout powder and mix it with water in a clean bucket. Stir the mixture thoroughly until you achieve a smooth and consistent texture. Allow the grout to sit for a few minutes before proceeding to the next step.
Now, it’s time to apply the grout to the new tiles. Use a grout float to spread the grout over the tiles, ensuring that all the joints are completely filled. Hold the float at a 45-degree angle and work the grout into the gaps, using diagonal motions to ensure full coverage. Avoid leaving any voids or air pockets within the grout lines.
Once the grout is applied, use the edge of the grout float to remove excess grout from the surface of the tiles. Hold the float at a shallow angle and glide it over the tiles, scraping off the excess grout. Be cautious not to remove too much grout from the joints. Wipe off any remaining grout residue with a damp sponge or cloth, rinsing it frequently for a clean finish.
After cleaning off the excess grout, allow the grout to dry for the recommended amount of time, typically about 15-30 minutes. Once the grout begins to dry on the surface, use a soft cloth or sponge to gently buff away any haze or residue. This will help give the new tiles a polished and finished appearance.
It’s crucial to allow the grout to fully cure before subjecting the repaired area to regular foot traffic or moisture. Follow the manufacturer’s guidelines for the recommended drying time, which is typically around 24-48 hours. During this time, avoid stepping on the newly grouted tiles and keep the area dry to ensure a durable and long-lasting repair.
By carefully mixing and applying grout, cleaning excess grout, and allowing sufficient drying time, you will achieve a professional and seamless finish to your tile repair. Once the grout is completely dry, you can enjoy your restored floor and its renewed beauty.
With the grouting and finishing process complete, your broken tile repair is almost finished. Now that you have successfully completed the repair, take some time to admire your handiwork and appreciate the effort you put into restoring your floor to its former glory.
Conclusion
Fixing a broken tile on your floor may seem like a daunting task, but with the right knowledge and tools, it can be a straightforward and rewarding DIY project. By following the step-by-step process outlined in this article, you can successfully repair the broken tile and restore the beauty and functionality of your floor.
Throughout the repair process, it’s essential to assess the damage, gather the necessary tools and materials, remove the broken tile safely, prepare the subfloor, apply adhesive, set the new tile, and finish the repair by grouting. Each step plays a crucial role in ensuring a successful outcome and a long-lasting repair.
Remember to take safety precautions, such as wearing protective gear and working in a well-ventilated area, during the repair process. Also, be mindful of the specific requirements of your tile and subfloor materials, as they may influence the choice of adhesive and grout color.
Taking the time to properly assess the damage, prepare the subfloor, and follow the correct installation techniques will result in a repair that seamlessly blends with the rest of the floor. A well-executed repair will not only enhance the aesthetic appeal of the space but also prevent any further damage or safety hazards.
While fixing a broken tile on your floor can be a DIY project, it’s important to note that more extensive damage or complex tile installations may require professional assistance. If you’re unsure about the specific requirements or techniques, don’t hesitate to consult with a professional or seek expert advice.
By successfully repairing the broken tile, you’ve not only saved time and money but also gained valuable skills and experience. You can take pride in restoring your floor and enjoy the long-lasting results of your repair for years to come.
Now that you have the knowledge and confidence to undertake a tile repair, don’t hesitate to tackle any future broken tile issues that may arise. With the right tools and techniques, you can confidently address the problem and maintain the beauty and integrity of your floor.
Frequently Asked Questions about How To Fix Broken Tile On Floor
Was this page helpful?
At Storables.com, we guarantee accurate and reliable information. Our content, validated by Expert Board Contributors, is crafted following stringent Editorial Policies. We're committed to providing you with well-researched, expert-backed insights for all your informational needs.


0 thoughts on “How To Fix Broken Tile On Floor”