Home>Furniture & Design>Bathroom Fixtures>How To Fix A Broken Shower Tile

Bathroom Fixtures
How To Fix A Broken Shower Tile
Modified: January 24, 2024
Learn how to fix a broken shower tile with our step-by-step guide. Get expert tips on repairing bathroom fixtures and restoring your shower to its former glory.
(Many of the links in this article redirect to a specific reviewed product. Your purchase of these products through affiliate links helps to generate commission for Storables.com, at no extra cost. Learn more)
Introduction
Welcome to the ultimate guide on fixing a broken shower tile! A damaged shower tile not only detracts from the aesthetic appeal of your bathroom but can also lead to more serious issues such as water damage. However, fear not! With the right guidance and a bit of elbow grease, you can tackle this task like a pro.
In this comprehensive article, we will walk you through the step-by-step process of repairing a broken shower tile. From assessing the damage to gathering the necessary materials and tools, and from removing the broken tile to installing a new one, we've got you covered. Additionally, we'll delve into the crucial steps of preparing the area, grouting, sealing, and adding final touches to ensure a seamless finish.
Whether you're a seasoned DIY enthusiast or a novice looking to take on your first home improvement project, this guide is designed to equip you with the knowledge and confidence needed to successfully restore your shower to its former glory. So, roll up your sleeves, put on your DIY cap, and let's dive into the world of fixing broken shower tiles!
Key Takeaways:
- Don’t let a broken shower tile dampen your spirits! With patience and the right tools, you can restore your shower to its former glory and add a touch of craftsmanship to your home.
- Assess, prepare, and execute! Thoroughly assess the damage, prepare the area with care, and execute the repair process meticulously for a seamless and professional-quality outcome.
Read more: How To Fix Broken Tile On Floor
Assessing the Damage
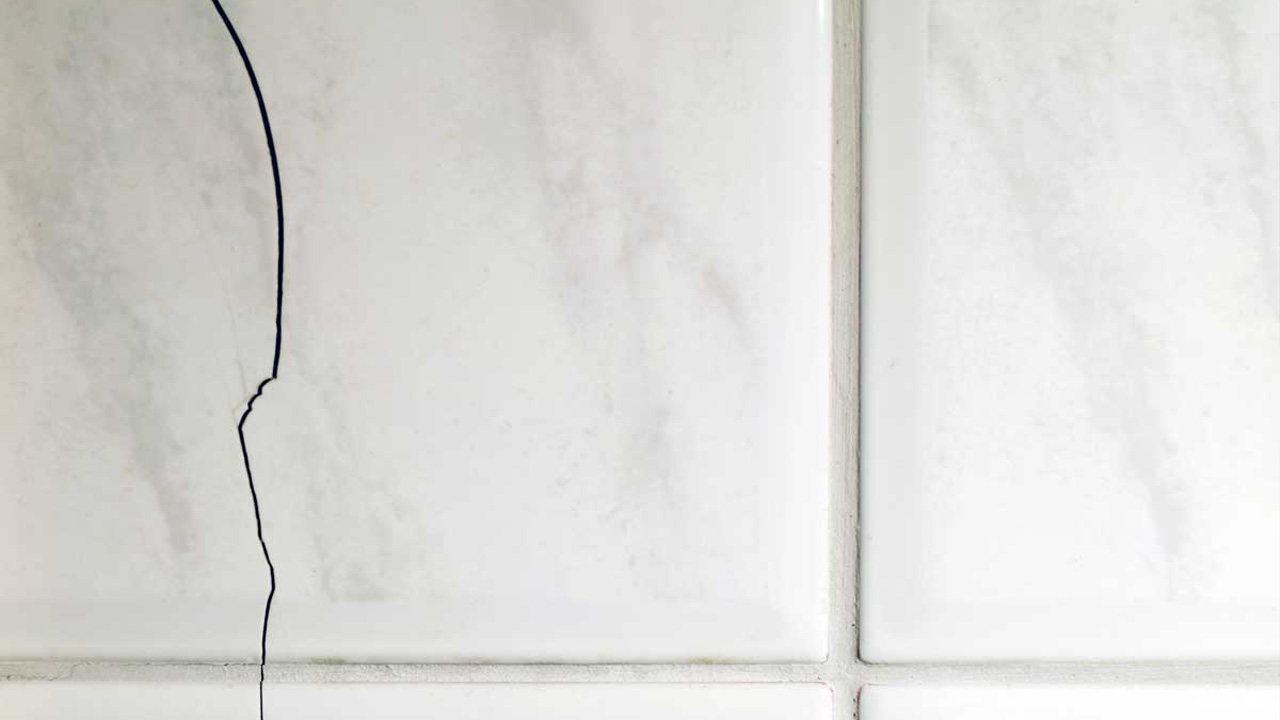
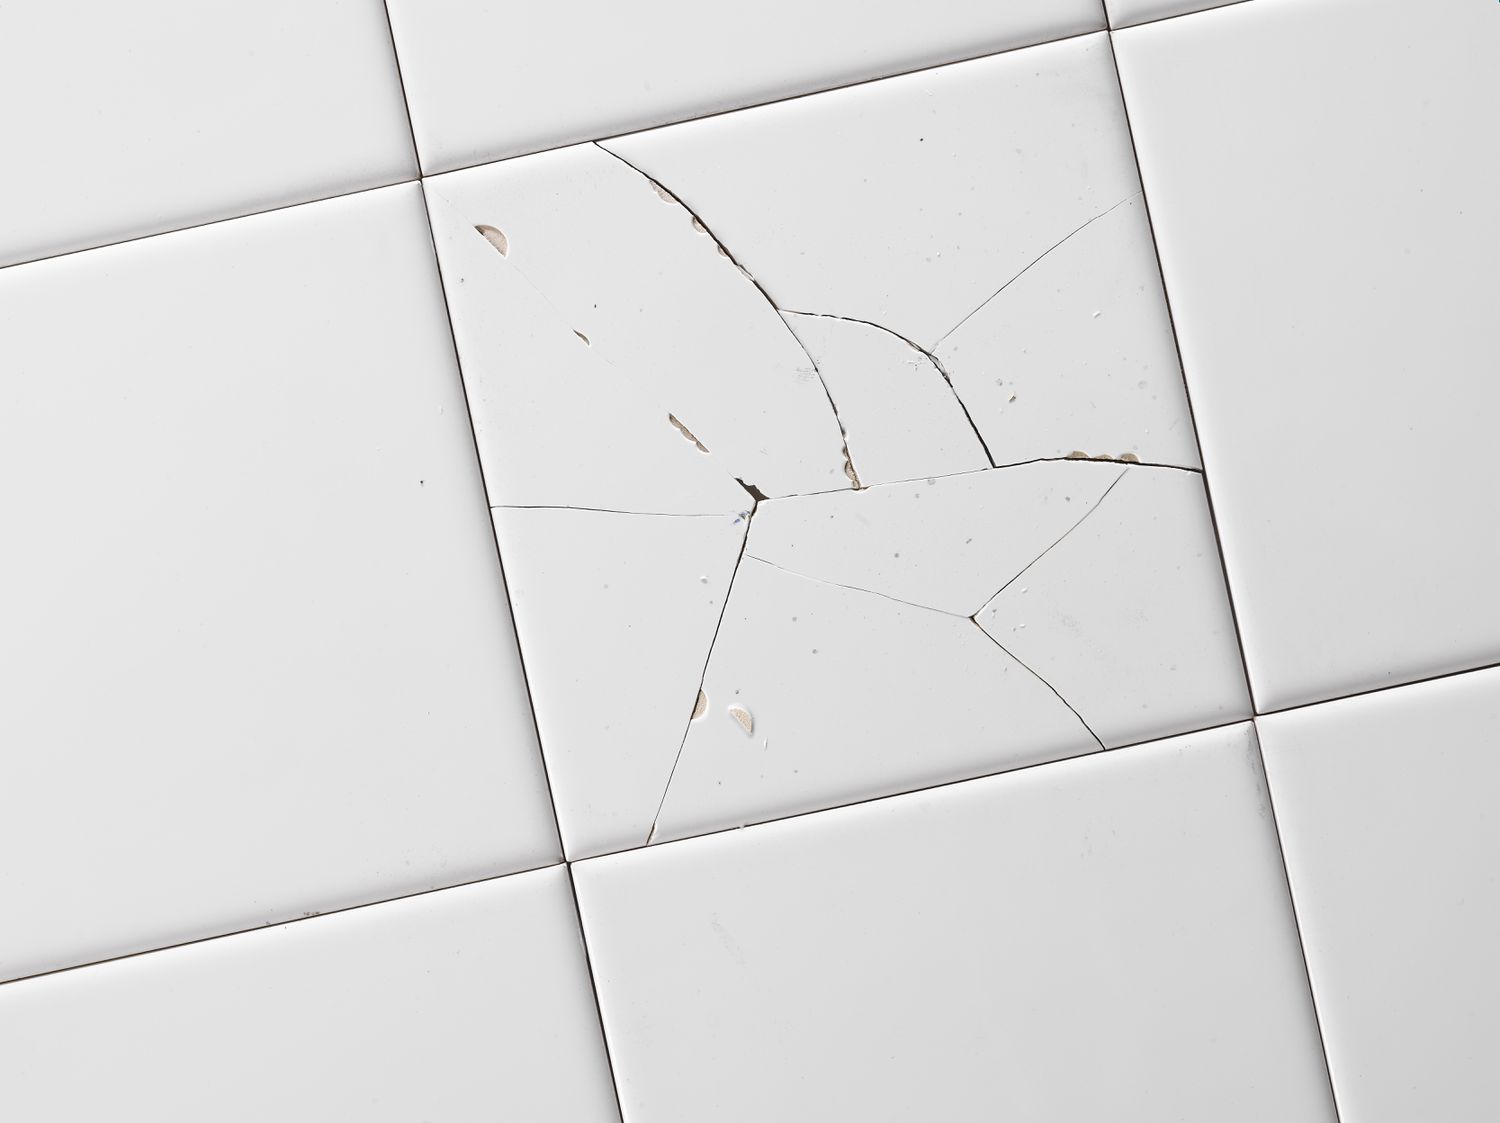
Before diving into the repair process, it’s crucial to thoroughly assess the extent of the damage to your shower tile. Start by examining the affected area, paying close attention to any cracks, chips, or loose pieces. Take note of the size and location of the damage, as well as the type of tile and grout used.
Next, determine whether the damage is isolated to a single tile or if adjacent tiles have also been compromised. This assessment will help you gauge the scope of the repair and plan accordingly. Keep in mind that underlying issues, such as water damage or mold, may also be present, especially if the damage has been ongoing.
As you assess the damage, consider the cause of the issue. Was it the result of a heavy impact, wear and tear, or underlying structural issues? Understanding the root cause will not only aid in the repair process but also help prevent similar issues in the future.
Additionally, assess the condition of the surrounding grout. Cracked or deteriorating grout can compromise the integrity of adjacent tiles and should be addressed during the repair process.
By taking the time to thoroughly assess the damage, you’ll be better equipped to plan and execute an effective repair. Remember, patience and attention to detail at this stage will set the foundation for a successful outcome.
Gathering Materials and Tools
Once you’ve assessed the damage to your shower tile, it’s time to gather the materials and tools needed for the repair. Having the right supplies on hand will streamline the process and ensure a professional-quality result.
Here’s a list of materials and tools you’ll need:
- Replacement Tile: Ensure that the new tile matches the size, style, and color of the existing tiles in your shower. If possible, retain a spare tile from the original installation for a seamless match.
- Grout: Select a high-quality grout that complements the color of your existing grout. If the surrounding grout is in poor condition, consider replacing it as well.
- Grout Sealer: This will help protect the grout from moisture and stains, prolonging its lifespan.
- Putty Knife: Essential for removing the damaged tile and old grout.
- Chisel: Use a chisel to carefully chip away the grout and adhesive securing the broken tile.
- Hammer: A small hammer will aid in the removal of the damaged tile and any remaining adhesive.
- Tile Adhesive: Choose a high-quality adhesive suitable for the type of tile and the conditions in your shower.
- Grout Float: This tool is used to apply and pack the grout into the joints between tiles.
- Tile Spacer: If necessary, use tile spacers to ensure consistent spacing between the tiles.
- Caulk: Opt for a waterproof caulk to seal the edges and corners of the repaired area.
- Protective Gear: Safety goggles, gloves, and a dust mask are essential for protecting yourself during the repair process.
Before starting the repair, double-check that you have all the necessary materials and tools at your disposal. This will save you from interruptions and ensure a smooth, efficient repair process.
Removing the Broken Tile
With your materials and tools gathered, it’s time to roll up your sleeves and begin the repair process by removing the broken tile. This step requires precision and care to avoid causing further damage to surrounding tiles and the underlying substrate.
Here’s a step-by-step guide to removing the broken tile:
- Prepare the Work Area: Clear the surrounding area and protect the bathtub or shower pan with a drop cloth to catch any debris.
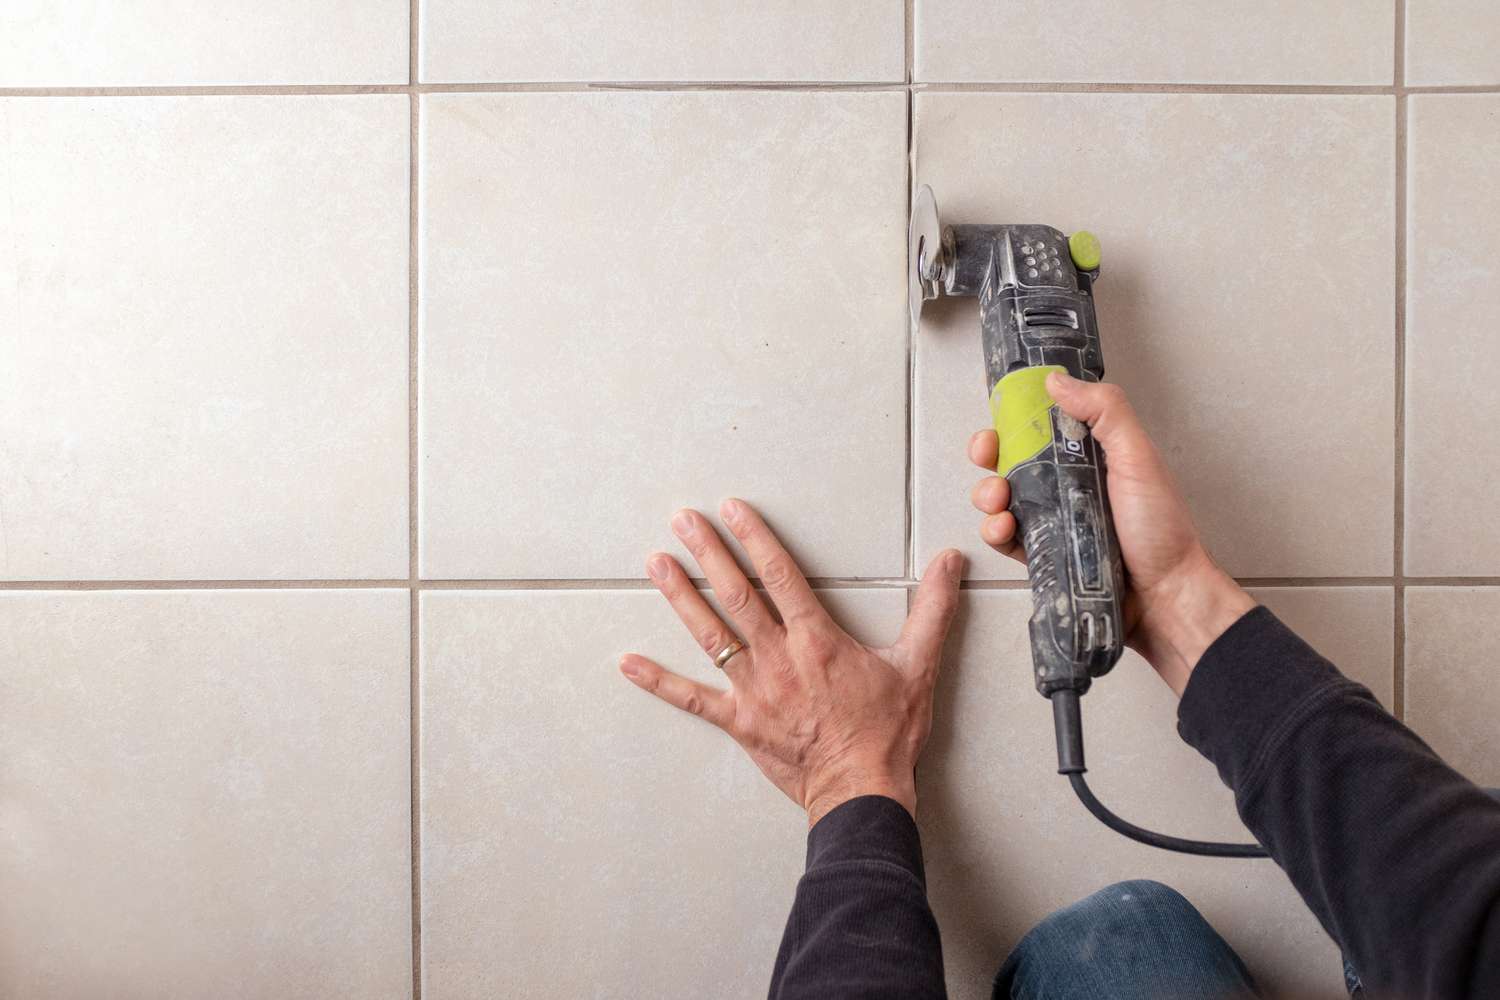
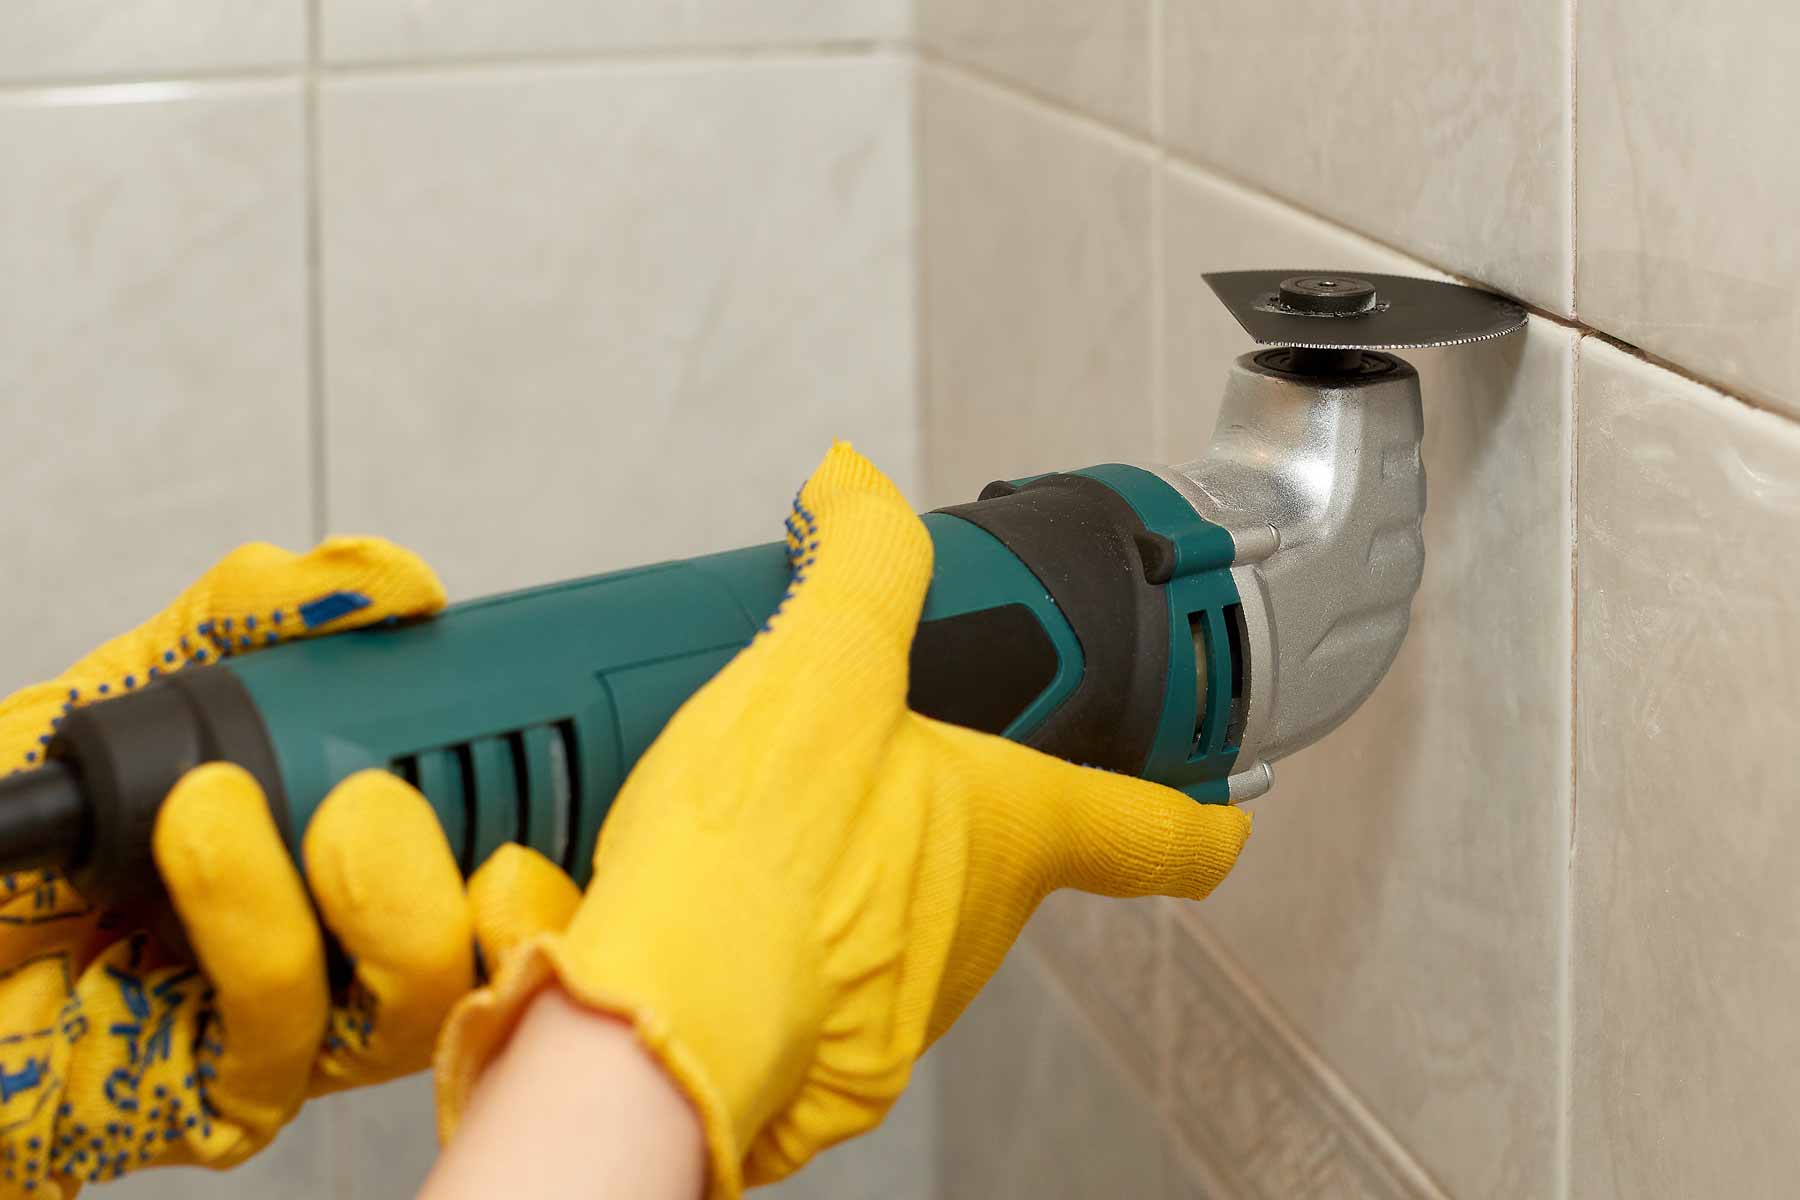
- Chip Away the Grout: Use a putty knife and chisel to carefully chip away the grout surrounding the damaged tile. Take your time to avoid damaging adjacent tiles.
- Loosen the Tile: Once the grout is removed, gently tap the center of the broken tile with a hammer and chisel to loosen it from the adhesive beneath. Work gradually to prevent excessive force that could damage the substrate.
- Remove the Tile: Carefully lift and remove the broken tile, ensuring that any remaining adhesive is cleaned from the substrate. Use a putty knife and chisel as needed, taking care not to gouge or scratch the surface.
- Clean the Substrate: Thoroughly clean the area where the tile was removed, ensuring it is free of debris and adhesive remnants. A clean, smooth substrate is essential for proper adhesion of the new tile.
Once the broken tile has been successfully removed and the substrate is clean and prepped, you’re ready to move on to the next phase of the repair process. Remember to work methodically and patiently during this step to ensure a smooth transition to the installation of the new tile.
Preparing the Area
With the broken tile removed and the substrate cleaned, it’s time to prepare the area for the installation of the new tile. Proper preparation is essential for ensuring a durable and visually appealing repair.
Follow these steps to prepare the area for the new tile:
- Inspect the Substrate: Take a close look at the substrate to ensure it is level, smooth, and free of any debris or adhesive residue. Address any imperfections or irregularities to create an optimal surface for the new tile.
- Apply Tile Adhesive: Using a notched trowel, apply a thin, even layer of tile adhesive to the cleaned substrate. The adhesive should be spread in a consistent manner to ensure proper adhesion of the new tile.
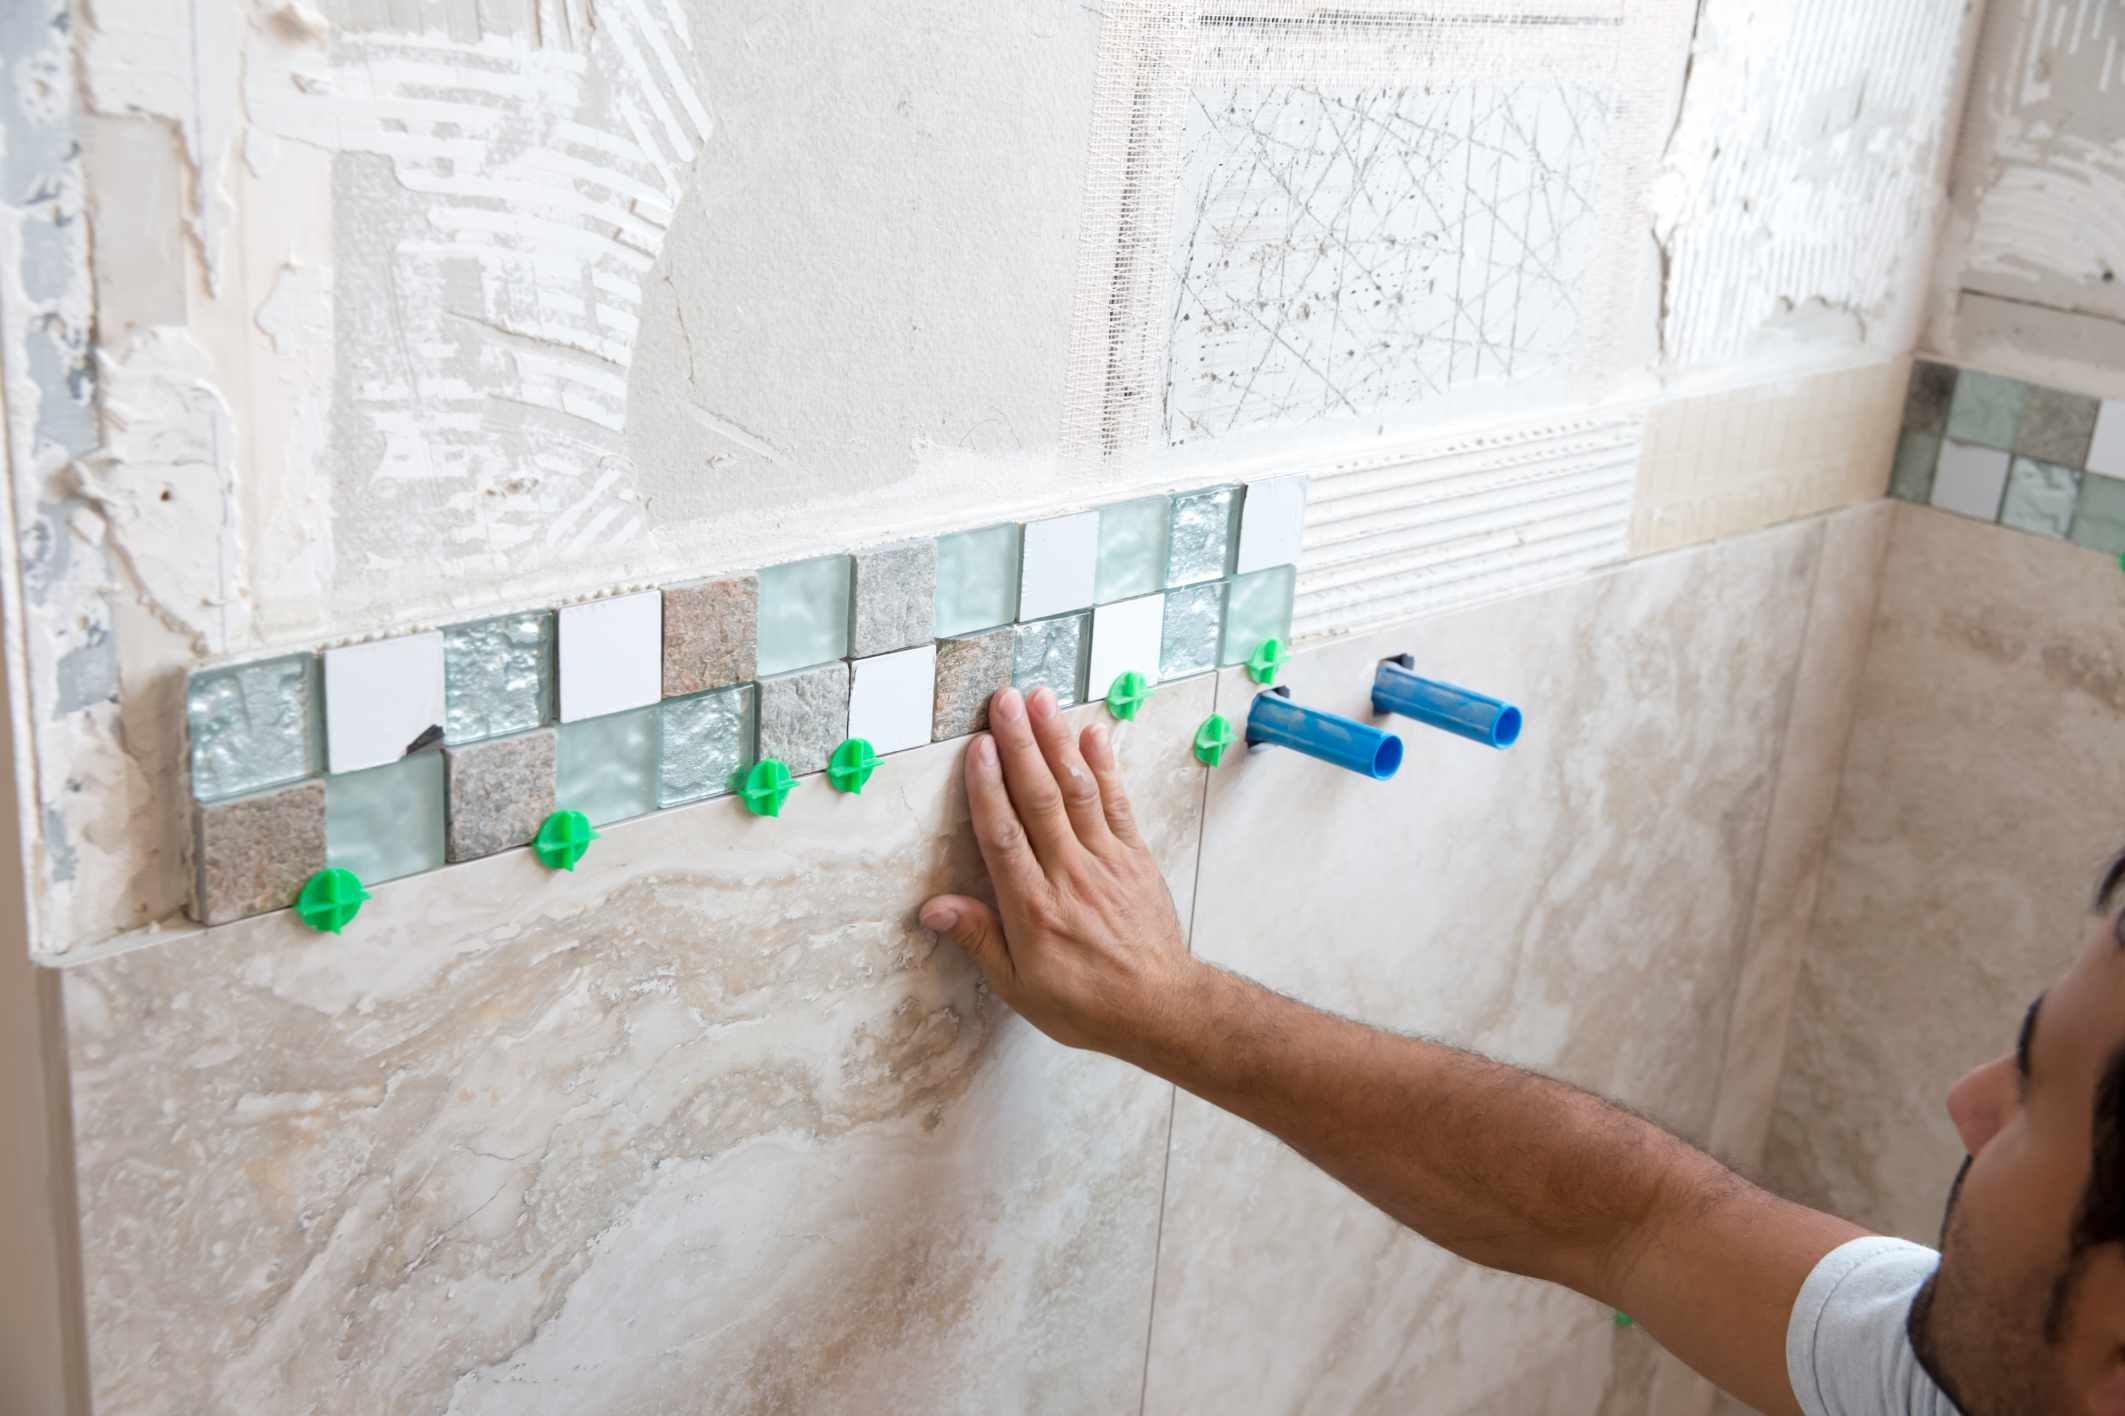
- Position the New Tile: Carefully place the new tile into position, pressing it firmly into the adhesive to create a strong bond. Use tile spacers, if necessary, to maintain uniform spacing between the new tile and adjacent tiles.
- Check for Alignment: Verify that the new tile is aligned with the surrounding tiles and sits flush with the existing tile surface. Make any adjustments as needed before the adhesive sets.
- Allow for Setting Time: Once the new tile is in place, allow the adhesive to set and cure according to the manufacturer’s instructions. This setting period is crucial for ensuring a secure bond between the tile and the substrate.
Properly preparing the area for the new tile installation sets the stage for a successful repair. By taking the time to meticulously follow these steps, you’ll create a solid foundation for the next phase of the repair process, ensuring a professional-quality outcome.
Use a grout saw to remove the grout around the broken tile. Carefully chisel out the broken tile and clean the area. Apply adhesive to the back of the new tile and press it into place. Once dry, re-grout the area.
Read more: How To Fix A Loose Shower Tile
Installing the New Tile
With the area prepared and the adhesive set, it’s time to proceed with the installation of the new tile. This step requires precision and attention to detail to ensure a seamless integration with the existing tilework.
Follow these steps to install the new tile:
- Apply Tile Adhesive: Using a notched trowel, apply a layer of tile adhesive to the back of the new tile, ensuring even coverage.
- Position the Tile: Carefully place the new tile into position, aligning it with the surrounding tiles and pressing it firmly into the adhesive.
- Secure the Tile: Use tile spacers, if necessary, to maintain consistent spacing between the new tile and adjacent tiles. Ensure that the tile sits level and flush with the surrounding tilework.
- Remove Excess Adhesive: Wipe away any excess adhesive that may have squeezed out from the edges of the tile. A damp sponge can be used to clean the tile surface and grout lines.
- Allow for Setting Time: Once the new tile is in place, allow the adhesive to set and cure according to the manufacturer’s instructions. This setting period is crucial for ensuring a secure bond between the tile and the substrate.
Installing the new tile requires a steady hand and a keen eye for detail. By following these steps carefully, you’ll ensure that the new tile integrates seamlessly with the existing tilework, resulting in a visually cohesive and structurally sound repair.
Grouting and Sealing
With the new tile securely in place, the next critical step in the repair process is grouting and sealing. Proper grouting not only enhances the appearance of the repair but also plays a vital role in protecting the tilework from water infiltration and maintaining its longevity.
Follow these steps to grout and seal the new tile:
- Mix the Grout: Prepare the grout mixture according to the manufacturer’s instructions, ensuring a smooth and lump-free consistency.
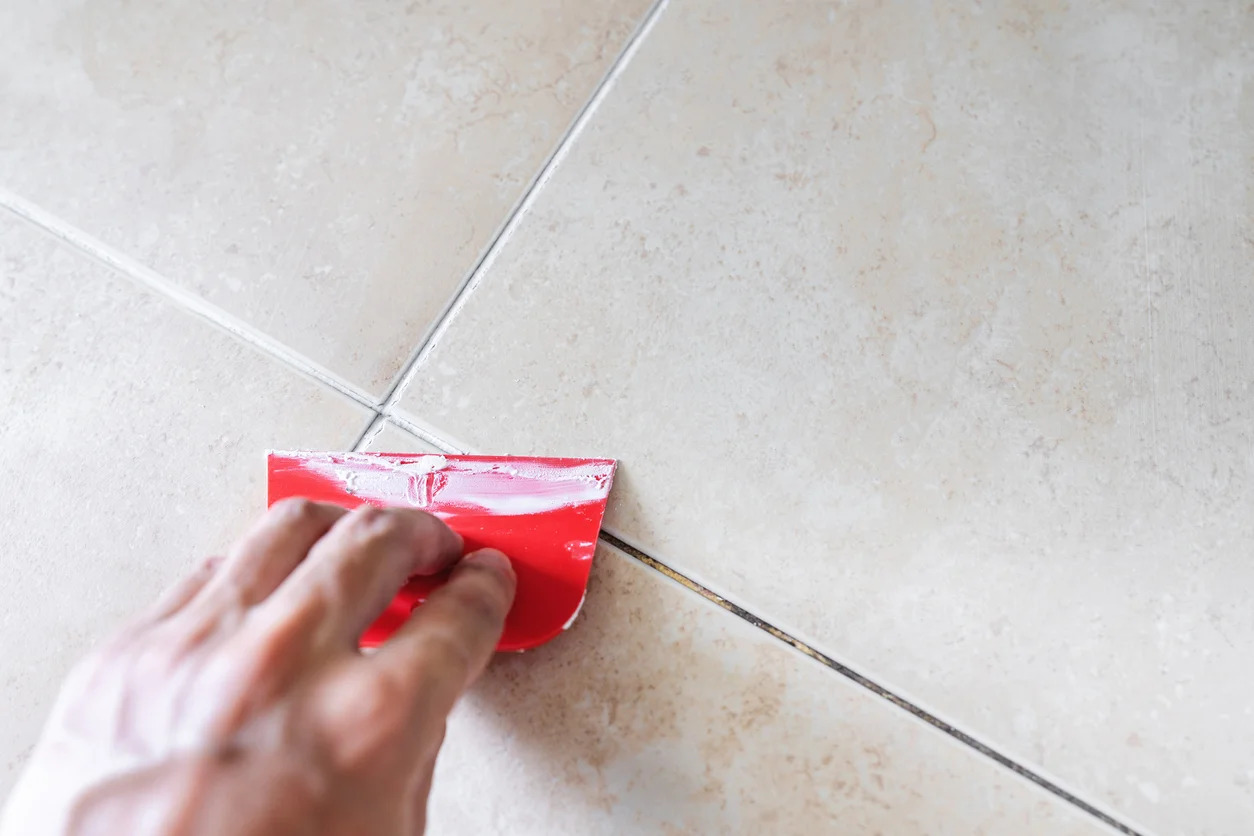
- Apply the Grout: Using a grout float, apply the grout to the joints between the tiles, pressing it firmly into the spaces to ensure full coverage.
- Clean Excess Grout: After the grout has set for a few minutes, use a damp sponge to gently clean the tile surface and remove any excess grout from the tile faces. Rinse the sponge frequently to achieve a clean, uniform finish.
- Allow for Curing: Let the grout cure for the recommended time, typically 24 to 48 hours, before proceeding with the sealing process.
- Apply Grout Sealer: Once the grout is fully cured, apply a high-quality grout sealer to protect the grout from moisture and stains. Use a small brush or applicator to ensure thorough coverage.
- Wipe Excess Sealer: After allowing the sealer to penetrate the grout for the specified time, wipe away any excess sealer from the tile surface using a clean, dry cloth.
Grouting and sealing are crucial final touches that not only enhance the appearance of the repair but also contribute to its long-term durability. By following these steps meticulously, you’ll ensure that the new tile is well-protected and seamlessly integrated into the existing tilework, creating a professional-quality finish.
Final Touches and Clean-Up
As you near the completion of the tile repair process, it’s time to focus on the final touches and clean-up to ensure a polished and professional outcome. Attention to detail during this phase will elevate the overall appearance of the repair and leave your shower looking as good as new.
Follow these steps for the final touches and clean-up:
- Remove Tile Spacers: If you used tile spacers during the installation, carefully remove them to reveal clean, uniform grout lines.
- Inspect and Touch Up Grout: Examine the grout lines for any gaps or imperfections. Touch up any areas that may require additional grout to achieve a seamless finish.
- Apply Caulk: Use waterproof caulk to seal the edges and corners of the repaired area, creating a watertight and visually appealing transition between the tile and adjacent surfaces.
- Clean the Tile Surface: Wipe down the entire tile surface with a damp sponge to remove any remaining grout residue or haze. Buff the tiles with a dry cloth to reveal their natural luster.
- Inspect and Polish: Take a moment to inspect the entire repaired area, ensuring that the new tile, grout, and caulk blend seamlessly with the existing tilework. Polish the tiles to remove any smudges or marks, leaving them sparkling clean.
- Clean-Up the Work Area: Remove any drop cloths, clean up debris, and return tools and materials to their proper storage. A tidy work area is the final touch on a successful repair project.
By meticulously attending to the final touches and clean-up, you’ll ensure that your shower tile repair project culminates in a flawless and visually stunning result. With the repair complete and the clean-up finalized, step back and admire your handiwork – you’ve successfully restored your shower to its former glory!
Conclusion
Congratulations on successfully navigating the process of fixing a broken shower tile! By following the step-by-step guidance provided in this comprehensive guide, you’ve not only restored the functionality of your shower but also enhanced its visual appeal. Your dedication to this repair project has resulted in a professional-quality outcome that will stand the test of time.
Throughout this journey, you’ve demonstrated patience, precision, and a willingness to tackle a hands-on home improvement task. By carefully assessing the damage, gathering the necessary materials and tools, removing the broken tile, and executing the installation with finesse, you’ve achieved a seamless repair that seamlessly integrates with the existing tilework.
Remember, the key to a successful tile repair lies in attention to detail and a methodical approach. By meticulously preparing the area, grouting and sealing with care, and attending to the final touches and clean-up, you’ve elevated the repair process to a professional standard.
As you stand back and admire your handiwork, take pride in the fact that you’ve not only resolved a functional issue but also added a touch of craftsmanship to your home. The skills and confidence you’ve gained from this experience will serve you well in future DIY endeavors, empowering you to take on new challenges with ease.
With your shower now restored to its former glory, it’s time to revel in the satisfaction of a job well done. So, go ahead, step into your revitalized shower oasis, and bask in the comfort of knowing that you’ve mastered the art of fixing a broken shower tile.
Thank you for joining us on this repair journey. We hope this guide has equipped you with the knowledge and inspiration to tackle future home improvement projects with confidence and skill. Happy repairing!
Frequently Asked Questions about How To Fix A Broken Shower Tile
Was this page helpful?
At Storables.com, we guarantee accurate and reliable information. Our content, validated by Expert Board Contributors, is crafted following stringent Editorial Policies. We're committed to providing you with well-researched, expert-backed insights for all your informational needs.




0 thoughts on “How To Fix A Broken Shower Tile”