Home>Furniture & Design>Interior Design Trends>How To Fix Scratches In Glass
Interior Design Trends
How To Fix Scratches In Glass
Published: February 6, 2024
Learn how to fix scratches in glass and keep up with the latest interior design trends. Discover effective solutions for glass scratch repair.
(Many of the links in this article redirect to a specific reviewed product. Your purchase of these products through affiliate links helps to generate commission for Storables.com, at no extra cost. Learn more)
Introduction
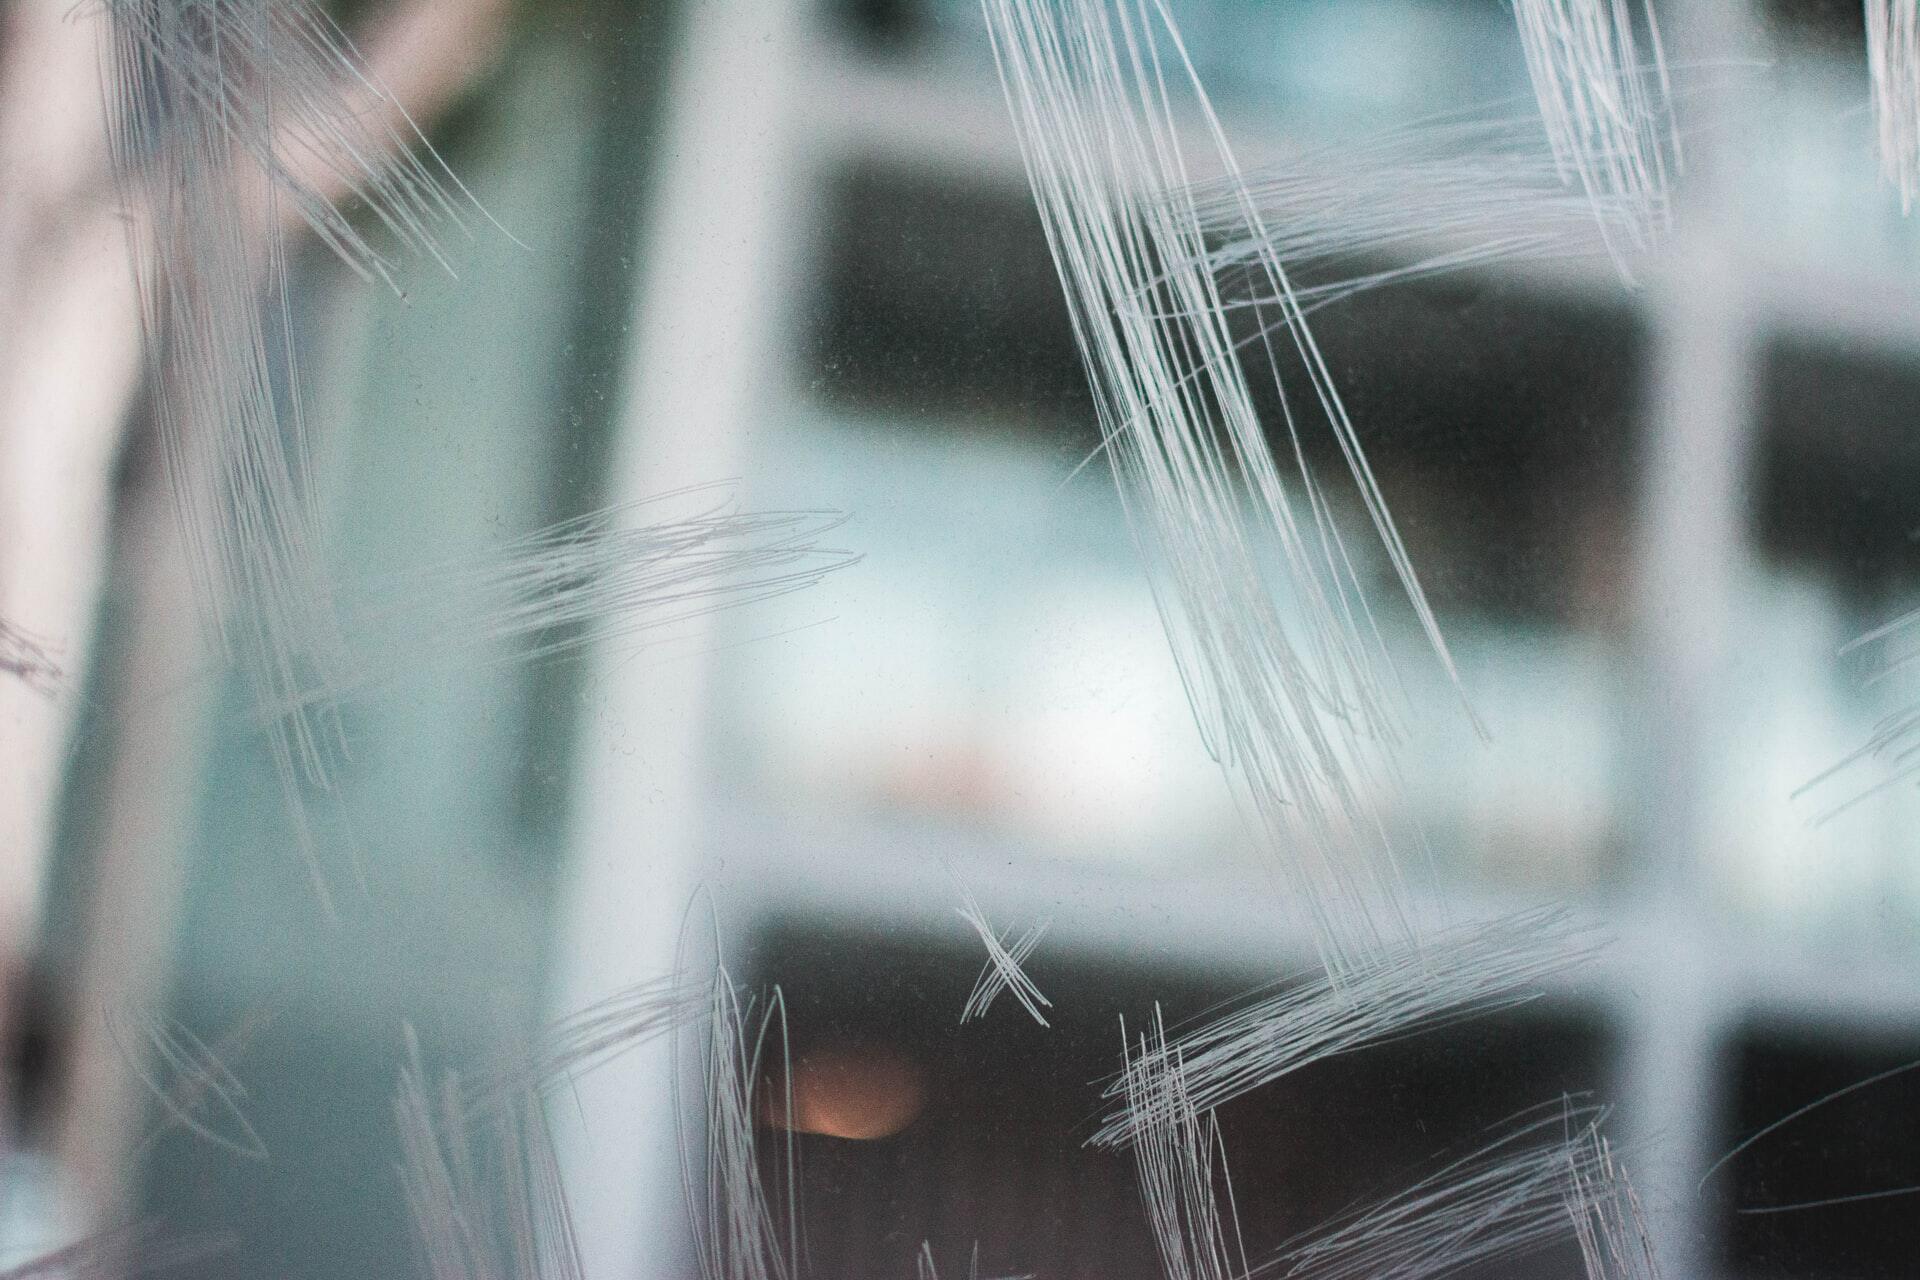
Glass surfaces can add a touch of elegance and sophistication to any space, but scratches can detract from their beauty. Whether it's a glass tabletop, window, or decorative glassware, scratches can be a frustrating eyesore. However, the good news is that many minor scratches in glass can be effectively repaired, restoring the surface to its former pristine condition.
Understanding the nature of glass scratches and the appropriate methods for addressing them is essential for achieving successful results. By following the right techniques and using the appropriate tools and materials, you can effectively diminish or eliminate the appearance of scratches, revitalizing the glass and enhancing its aesthetic appeal.
In this comprehensive guide, we will delve into the various types of glass scratches, the tools and materials needed for the repair process, and a step-by-step approach to fixing scratches in glass. Whether you're a DIY enthusiast or a homeowner looking to restore the luster of your glass surfaces, this guide will equip you with the knowledge and techniques necessary to tackle this common issue.
So, if you're ready to bid farewell to those unsightly scratches and restore the brilliance of your glass surfaces, let's dive into the process of repairing scratches in glass. With the right approach and a bit of patience, you can achieve remarkable results and breathe new life into your beloved glass items.
Key Takeaways:
- Say goodbye to glass scratches by cleaning, assessing, and using a glass polishing compound and scratch filler. With patience and precision, restore your glass surfaces to their original luster and beauty.
- Understanding the types of glass scratches and using the right tools and materials can help you effectively repair and revitalize your glass items. Take the time to assess and address the depth of the scratches for optimal results.
Read more: How To Fix Scratches On Countertops
Understanding the Types of Glass Scratches
Glass scratches can vary in severity and appearance, and understanding the different types is crucial for determining the appropriate repair method. By recognizing the characteristics of various glass scratches, you can effectively assess the best approach to restore the glass surface to its original condition.
-
Surface-Level Scratches: These are superficial scratches that do not penetrate deeply into the glass. They are often caused by contact with abrasive materials or minor impacts. Surface-level scratches are typically the easiest to repair and can often be remedied with simple polishing techniques.
-
Deep Scratches: Deep scratches are more severe and penetrate further into the glass surface. They are often caused by more significant impacts or prolonged friction. Repairing deep scratches may require more intensive techniques, such as the use of specialized glass polishing compounds and scratch fillers.
-
Hairline Scratches: These are extremely fine scratches that are barely visible to the naked eye. While they may not significantly affect the structural integrity of the glass, they can still detract from its appearance. Addressing hairline scratches may involve gentle polishing and buffing to restore the glass's smooth and flawless finish.
-
Cracks and Chips: While not technically scratches, cracks and chips are common forms of damage that can occur on glass surfaces. These issues may require professional assessment and repair, as they can compromise the structural integrity of the glass.
By identifying the specific type of scratch present on your glass surface, you can tailor your approach to effectively address the issue. Whether it's a minor surface-level scratch or a deeper, more pronounced blemish, understanding the nature of the damage is the first step toward achieving successful glass scratch repair.
Tools and Materials Needed
Repairing scratches in glass requires the use of specific tools and materials to achieve optimal results. Before embarking on the repair process, it's essential to gather the necessary items to ensure a smooth and effective restoration. Here's a comprehensive list of the tools and materials you'll need to address glass scratches:
Tools:
-
Microfiber Cloth: A soft, lint-free microfiber cloth is essential for cleaning the glass surface and removing any dust or debris before commencing the repair process. It helps ensure a smooth and even application of polishing compounds and scratch fillers.
-
Glass Polishing Kit: Investing in a quality glass polishing kit is crucial for addressing scratches of varying severity. The kit typically includes specialized polishing compounds, buffing pads, and instructions for achieving professional-grade results.
-
Scratch Filler: Depending on the depth of the scratches, a glass scratch filler may be required to fill in deeper blemishes and restore the glass surface to its original smoothness. Opt for a high-quality scratch filler designed specifically for glass repair.
-
Rubbing Alcohol: Utilized for cleaning the glass surface, rubbing alcohol helps remove any residual oils, dirt, or contaminants that may hinder the effectiveness of the repair process.
-
Safety Gloves and Eye Protection: When working with glass repair materials and compounds, it's important to prioritize safety. Wearing protective gloves and eye gear minimizes the risk of skin irritation or injury during the repair process.
-
Plastic Razor Blade or Scraper: For the removal of stubborn debris or adhesive residue from the glass surface, a plastic razor blade or scraper can be used to gently lift and clear away unwanted materials without causing further damage.
Materials:
-
Glass Polishing Compound: An effective glass polishing compound is a key component in the scratch repair process. Look for a high-quality compound designed to diminish the appearance of scratches and restore the glass's clarity and shine.
-
Glass Cleaner: Before initiating the repair, it's important to thoroughly clean the glass surface using a mild glass cleaner to ensure that the area is free from dirt, grime, and other contaminants that could interfere with the repair process.
-
Glass Scratch Remover: In cases of minor surface-level scratches, a specialized glass scratch remover may be sufficient to diminish the appearance of blemishes and restore the glass's smooth finish.
By assembling these essential tools and materials, you'll be well-equipped to tackle the task of repairing scratches in glass surfaces. With the right resources at your disposal, you can proceed with confidence, knowing that you have everything needed to effectively restore the beauty and integrity of your glass items.
Read more: What Can Scratch Glass
Step 1: Cleaning the Glass Surface
Before delving into the process of repairing scratches in glass, it is imperative to initiate the restoration journey by thoroughly cleaning the glass surface. This crucial step sets the foundation for a successful repair process, ensuring that the glass is free from dirt, grime, and other contaminants that could impede the effectiveness of subsequent repair techniques.
To begin, gather a soft, lint-free microfiber cloth, a mild glass cleaner, and rubbing alcohol. These essential cleaning materials will facilitate the removal of any surface residue and prepare the glass for the subsequent repair steps.
Start by spraying the glass cleaner onto the microfiber cloth, rather than directly onto the glass surface, to prevent oversaturation. Gently wipe the entire glass surface, ensuring thorough coverage and focusing on areas where scratches are present. This initial cleaning step serves to eliminate superficial dirt and grime, providing a clear canvas for the subsequent repair procedures.
Following the initial cleaning with the glass cleaner, it is advisable to use rubbing alcohol to further cleanse the glass surface. Apply a small amount of rubbing alcohol to a clean section of the microfiber cloth and carefully wipe the glass in a systematic manner. This additional step helps to remove any residual oils, contaminants, or adhesive residue that may have accumulated on the glass, ensuring optimal conditions for the subsequent scratch repair process.
In cases where stubborn debris or adhesive residue persists, a plastic razor blade or scraper can be utilized to gently lift and clear away the unwanted materials. It is crucial to exercise caution and use gentle, controlled motions to avoid causing further damage to the glass surface.
By meticulously cleaning the glass surface, you create an ideal environment for the subsequent steps in the scratch repair process. The removal of dirt, grime, and contaminants sets the stage for the application of glass polishing compounds, scratch fillers, and buffing techniques, maximizing the effectiveness of the repair process and ultimately restoring the glass to its former luster.
With the glass surface now impeccably clean and primed for repair, you are ready to proceed to the next step in the journey of rejuvenating your glass surfaces and bidding farewell to those unsightly scratches.
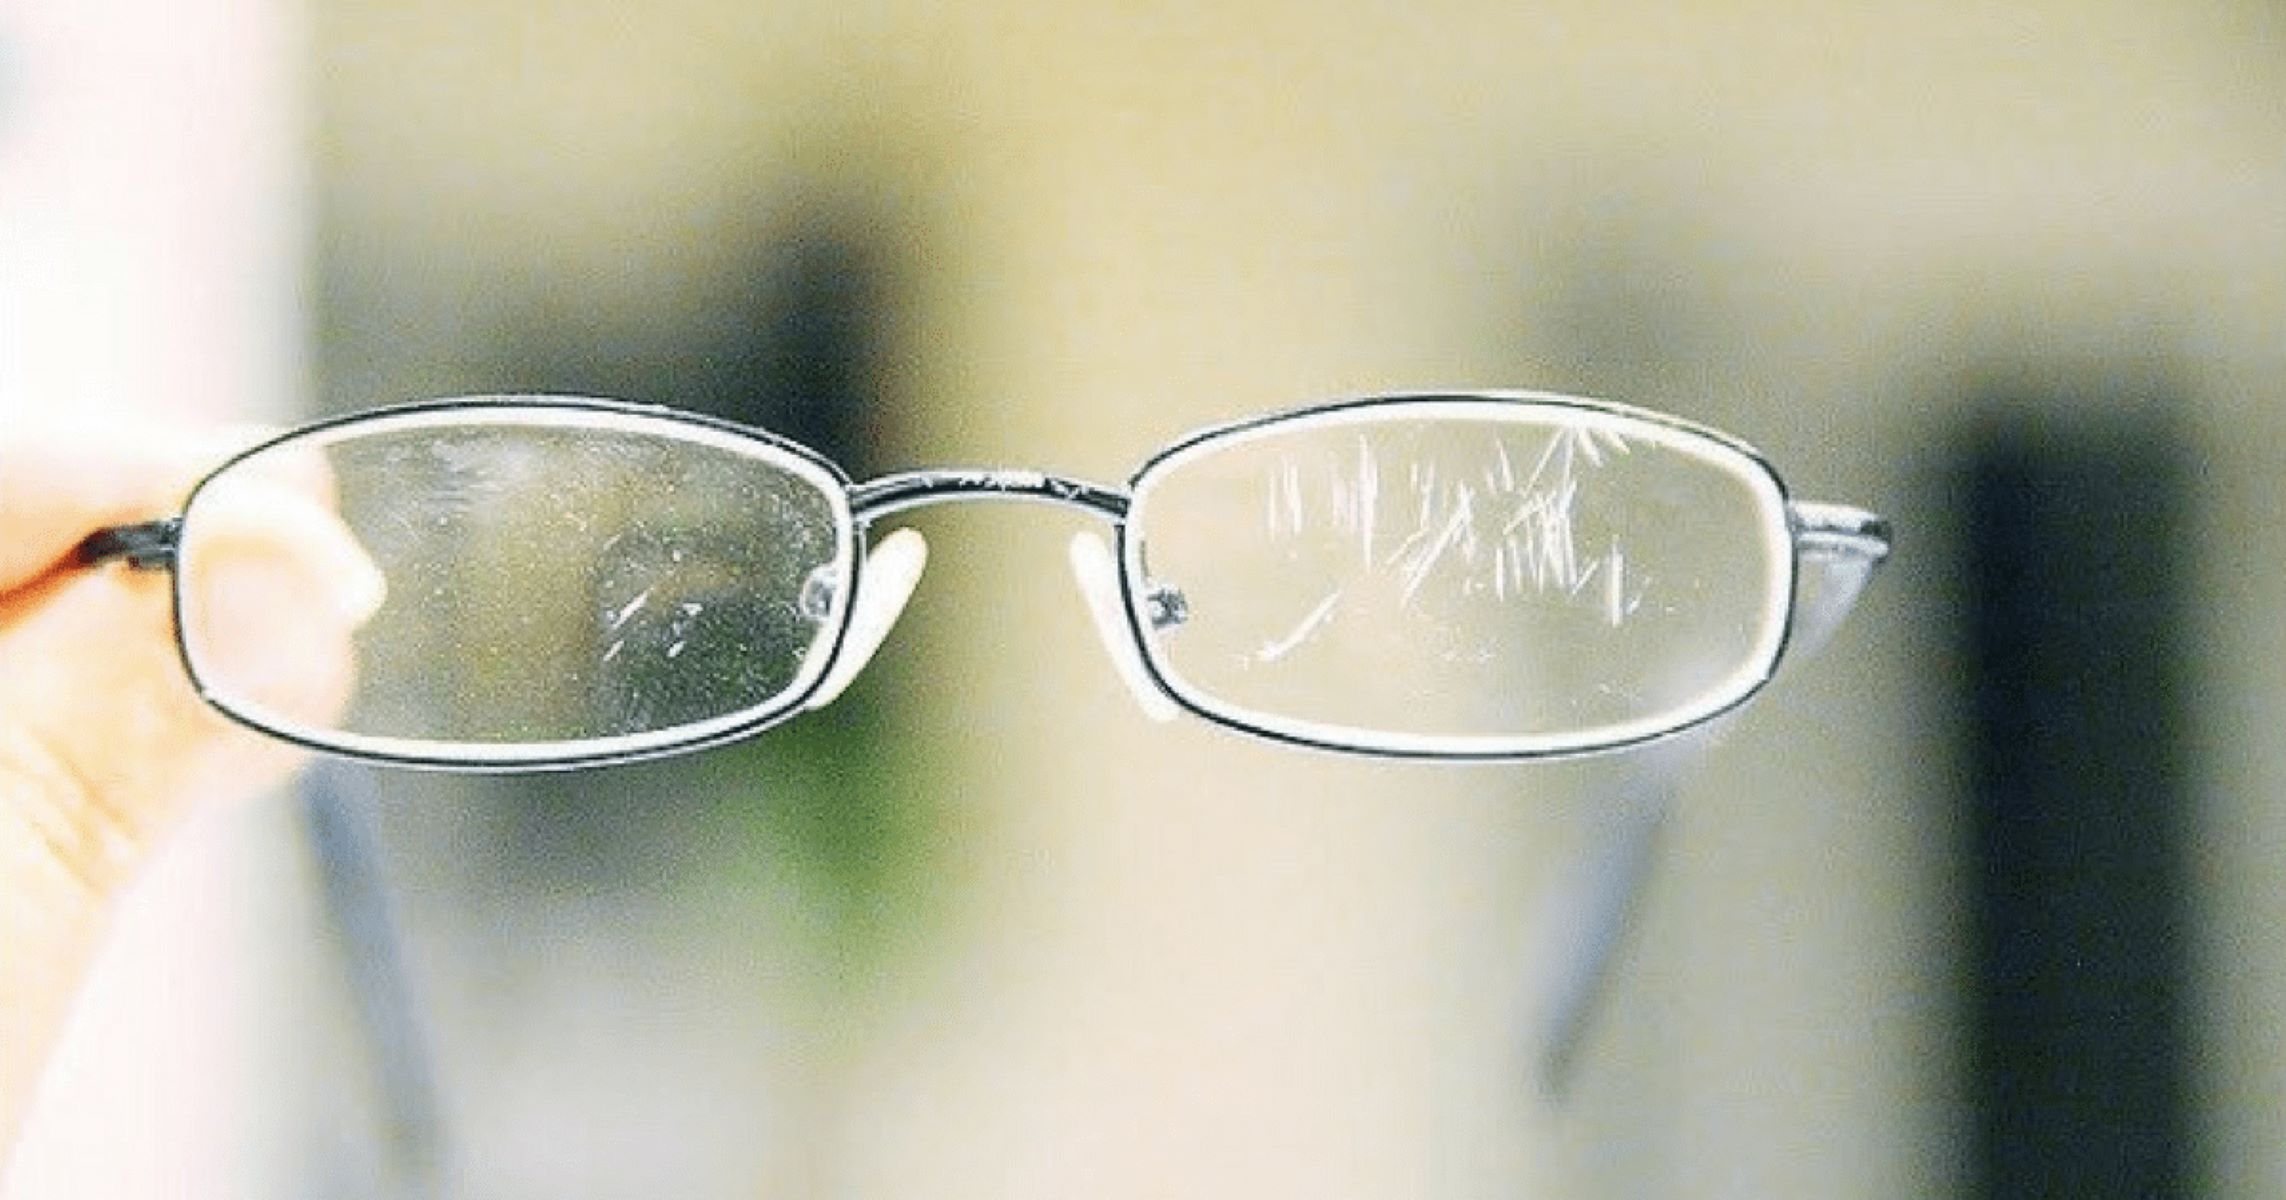
Step 2: Assessing the Depth of the Scratch
After ensuring that the glass surface is impeccably clean, the next critical step in the process of repairing scratches in glass involves assessing the depth of the scratches. This step is pivotal in determining the most appropriate approach for addressing the specific nature of the damage and achieving optimal results.
To effectively assess the depth of the scratches, it is essential to examine the glass surface under adequate lighting conditions. Natural or well-distributed artificial light can facilitate a clear and comprehensive evaluation of the scratches. By positioning yourself at different angles relative to the glass surface, you can observe the scratches from various perspectives, enabling a thorough assessment of their depth and severity.
Surface-Level Scratches:
For superficial surface-level scratches, the damage is typically confined to the outermost layer of the glass, with minimal penetration into the underlying structure. These scratches may appear as faint lines or blemishes on the surface, often causing distortion or haziness in the affected areas. By running your fingertip over the scratched area, you can gauge the extent of the damage and determine if the scratches are shallow and easily detectable by touch.
Deep Scratches:
In contrast, deep scratches penetrate further into the glass, exhibiting more pronounced and perceptible indentations or fissures. These scratches may pose a greater challenge for repair, as they extend beyond the superficial layer and may compromise the structural integrity of the glass. By carefully running a fingernail over the scratched area, you can discern the depth of the scratches and assess the degree of impact on the glass surface.
Hairline Scratches:
Hairline scratches, while barely visible to the naked eye, may still necessitate attention, especially if they are present on highly visible glass surfaces. These fine scratches may require close scrutiny under adequate lighting to accurately gauge their depth and determine the most suitable course of action for restoration.
By methodically assessing the depth of the scratches, you gain valuable insights into the specific characteristics of the damage, enabling you to tailor your repair approach accordingly. Whether it involves gentle polishing for surface-level scratches or more intensive techniques for deeper blemishes, a thorough assessment sets the stage for targeted and effective scratch repair.
With a clear understanding of the depth of the scratches, you are poised to proceed to the subsequent steps in the glass scratch repair process, armed with the knowledge needed to address the damage with precision and expertise.
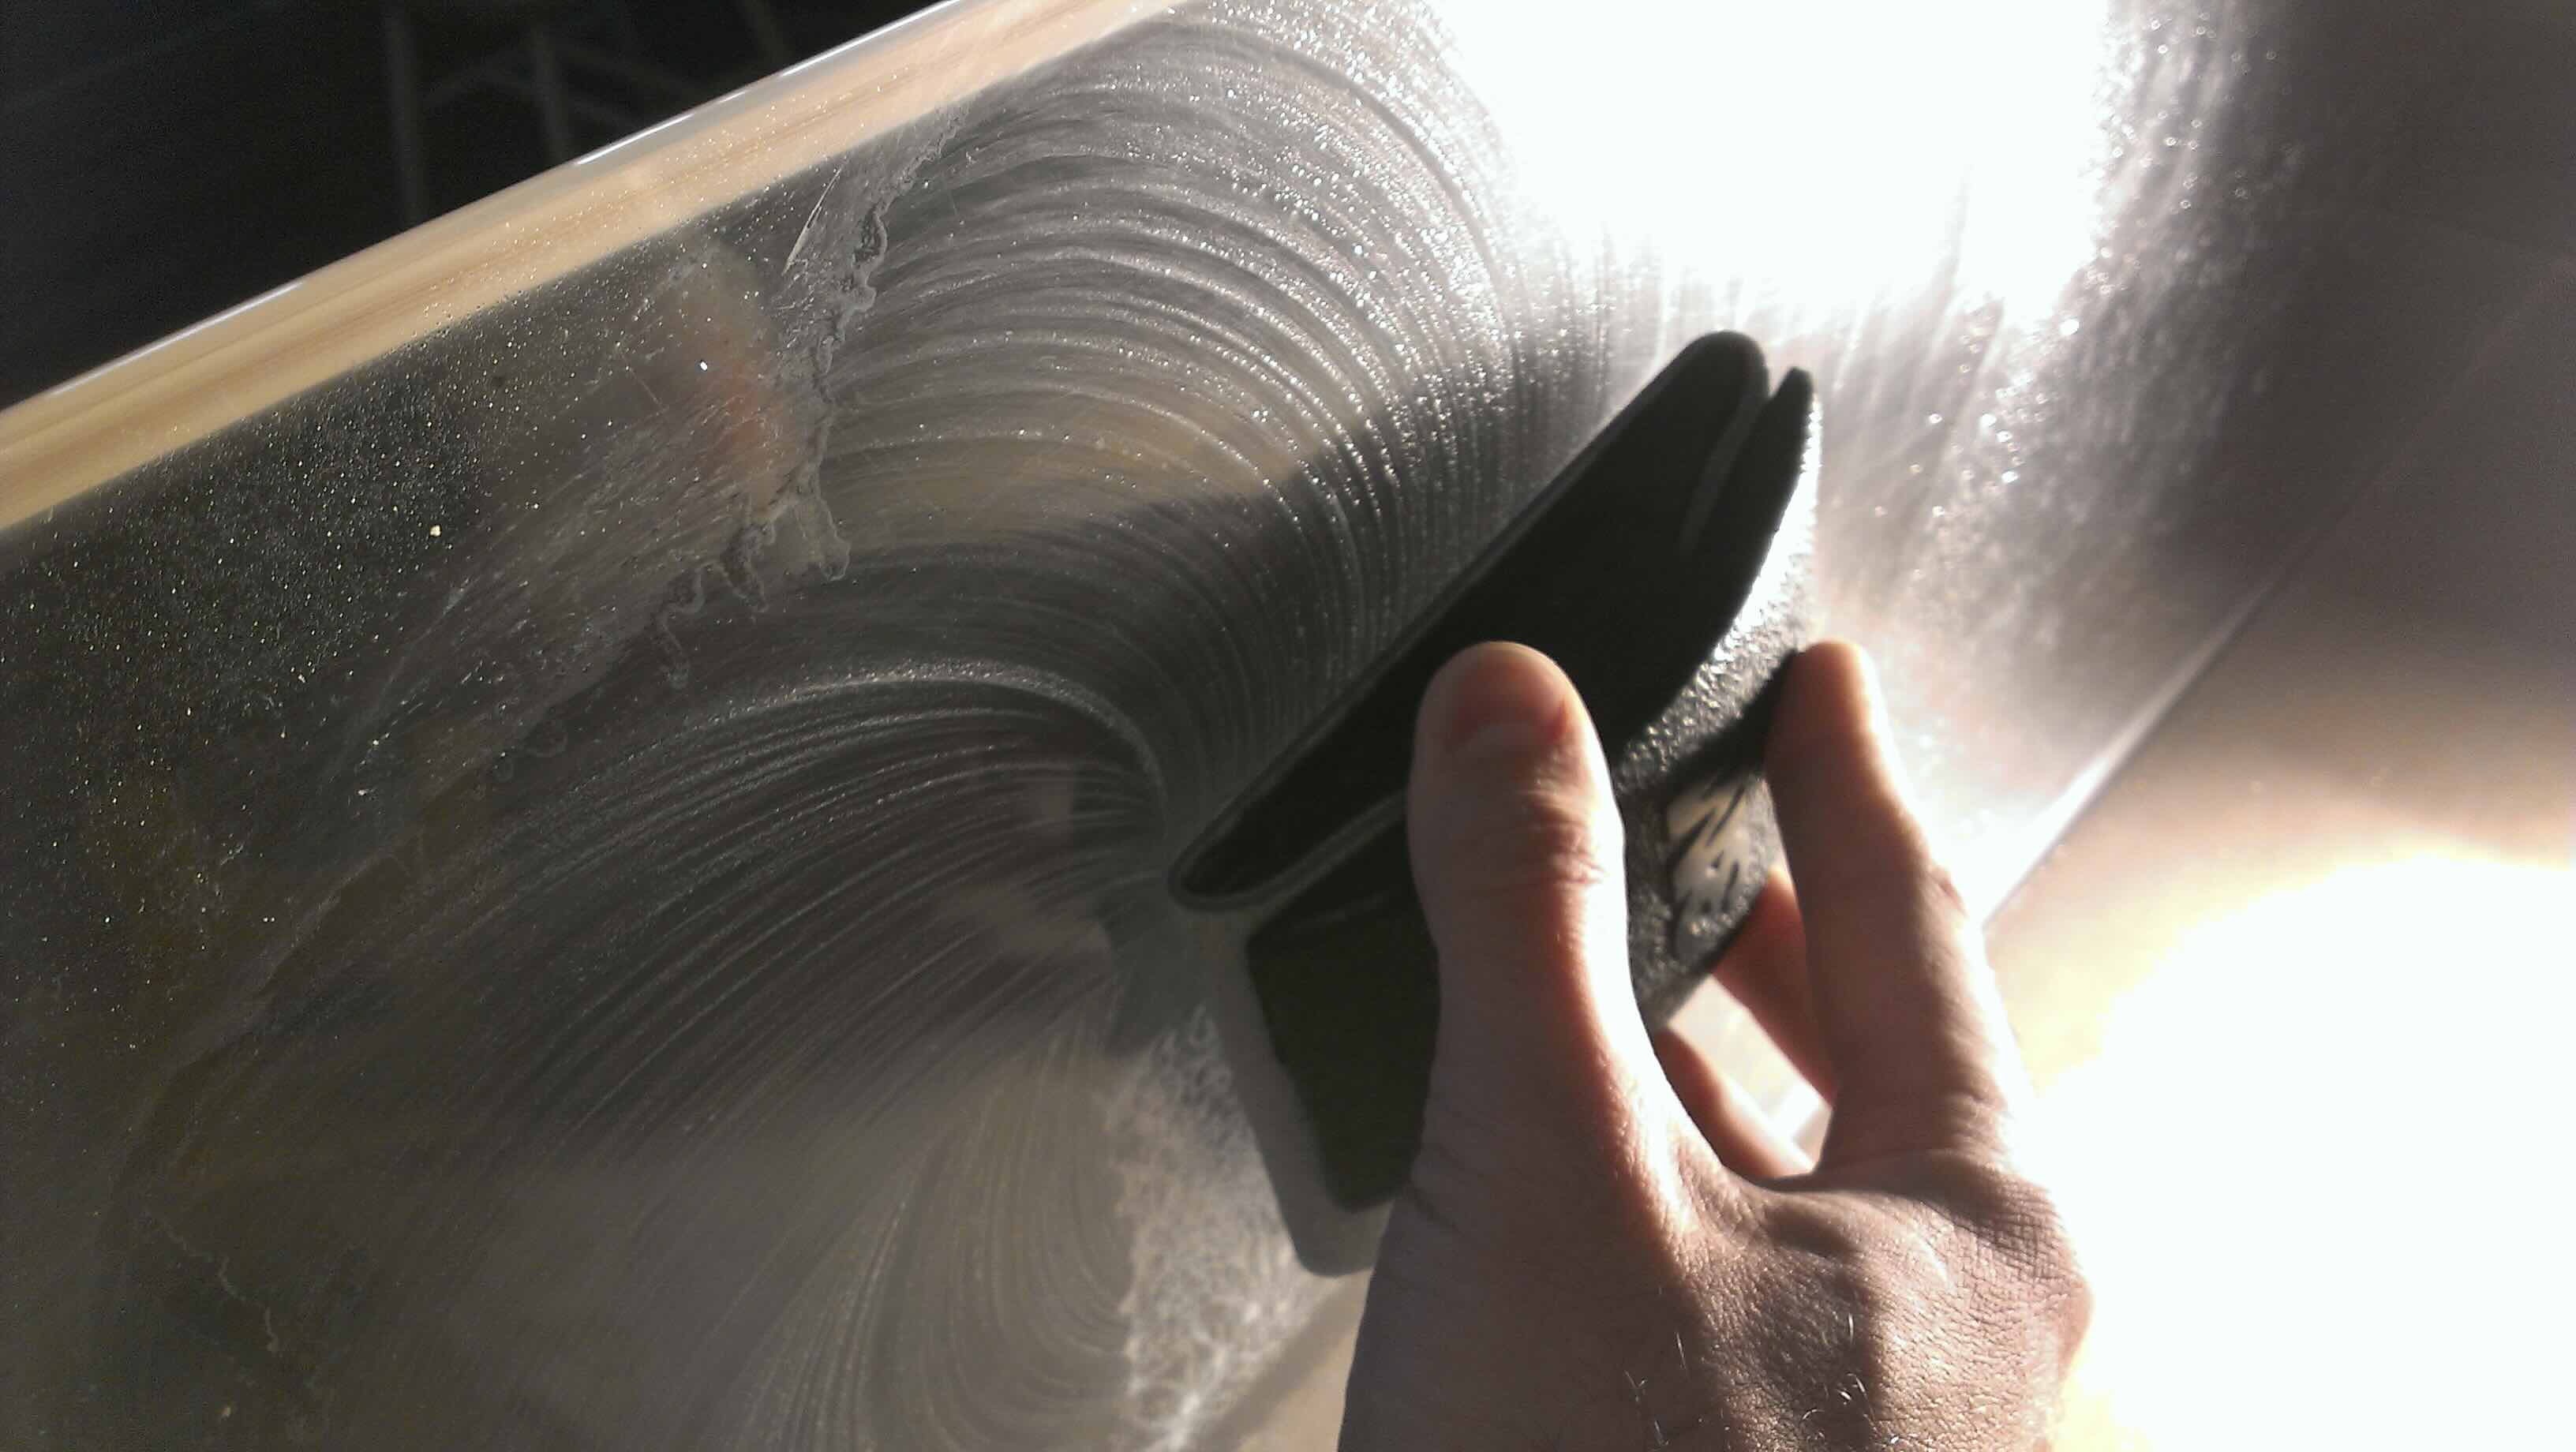
Step 3: Using a Glass Polishing Compound
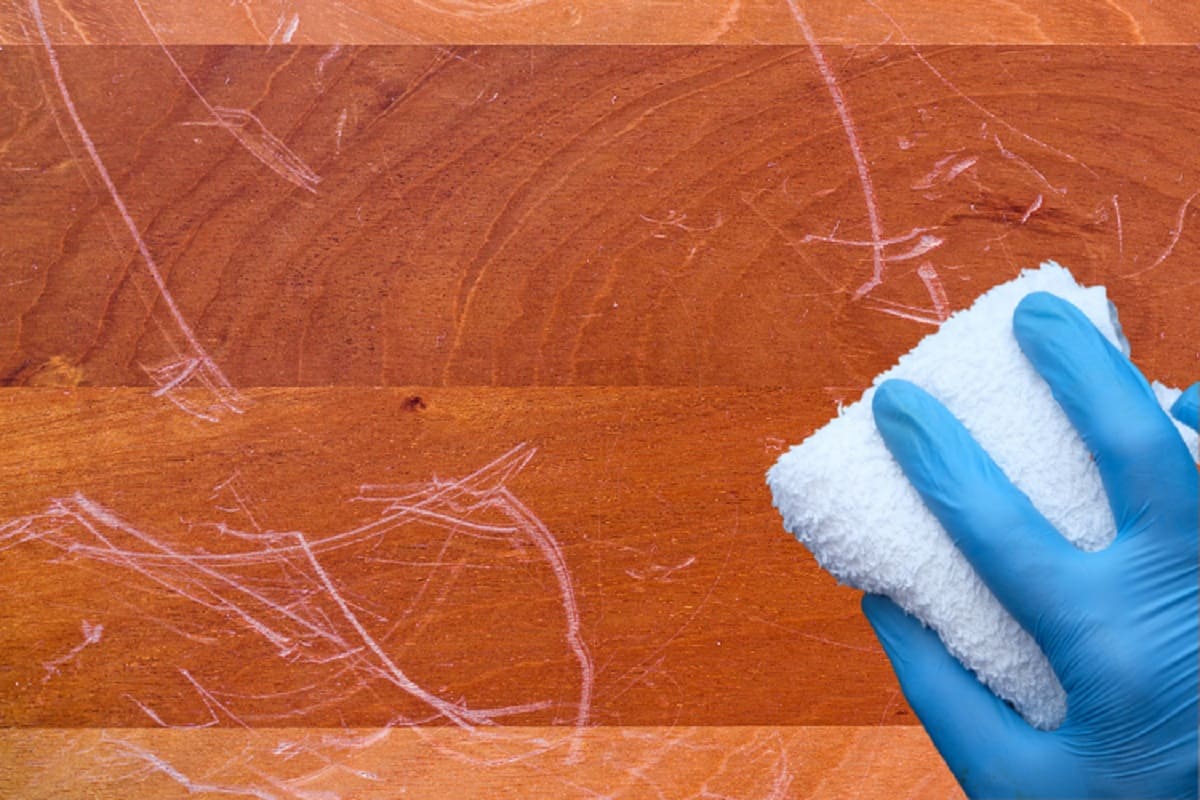
Once the glass surface has been meticulously cleaned and the depth of the scratches assessed, the next pivotal step in the process of repairing scratches in glass involves the application of a high-quality glass polishing compound. This essential component plays a crucial role in diminishing the appearance of scratches and restoring the glass to its original clarity and brilliance.
To commence the application of the glass polishing compound, it is imperative to ensure that the glass surface is dry and free from any residual cleaning agents. This sets the stage for optimal adhesion and effectiveness of the polishing compound. With the glass surface prepared, the glass polishing compound can be applied using a soft, clean cloth or a specialized buffing pad included in a glass polishing kit.
Dispense a small amount of the glass polishing compound onto the designated application tool, ensuring even distribution and coverage. Gently apply the compound to the scratched areas of the glass surface, using circular or back-and-forth motions to work the compound into the scratches. The gentle yet deliberate application of the polishing compound facilitates the gradual diminishment of the scratches, gradually restoring the glass to its original smooth and flawless state.
As the polishing compound is worked into the scratches, it effectively abrades the surrounding glass surface, gradually leveling the blemishes and reducing their visibility. This meticulous process requires patience and precision, as the gradual diminishment of the scratches contributes to the overall restoration of the glass surface.
Throughout the application of the glass polishing compound, periodic assessments of the progress should be conducted to gauge the effectiveness of the repair process. Adequate lighting and varied viewing angles can aid in evaluating the diminishing visibility of the scratches, providing valuable feedback on the success of the polishing compound application.
Upon achieving a significant reduction in the appearance of the scratches, the glass surface can be gently wiped with a clean, dry microfiber cloth to remove any residual polishing compound. This final step ensures that the glass surface is free from excess compound, allowing for a clear and unobstructed view of the repair results.
By diligently applying a high-quality glass polishing compound and methodically working it into the scratches, you can effectively diminish the appearance of blemishes and restore the glass to its original luster. This crucial step sets the stage for the subsequent phases of the glass scratch repair process, bringing you one step closer to revitalizing your glass surfaces and bidding farewell to those unsightly scratches.
Use a glass polishing compound and a soft cloth to buff out minor scratches in glass. Apply the compound in a circular motion, then wipe clean with a damp cloth.
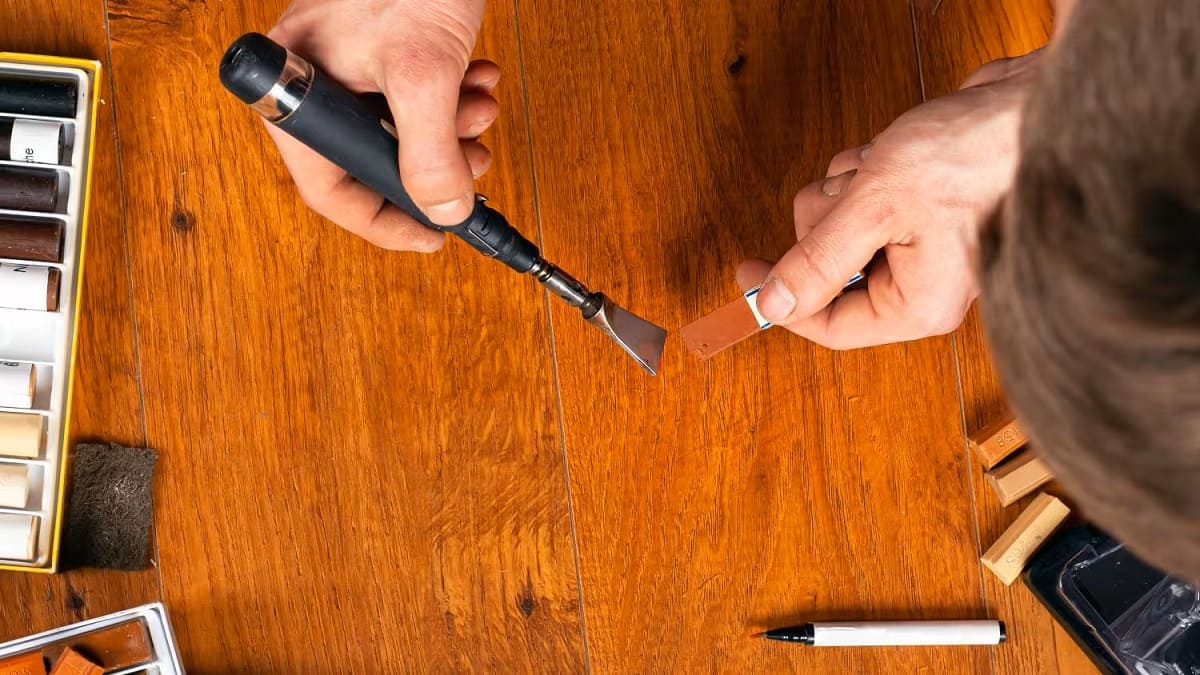
Step 4: Applying a Glass Scratch Filler
After the meticulous application of the glass polishing compound to diminish the appearance of scratches, the next critical step in the glass scratch repair process involves the application of a specialized glass scratch filler. This essential component serves to fill in deeper blemishes and further enhance the smoothness and clarity of the glass surface, contributing to a comprehensive restoration of its pristine condition.
Before applying the glass scratch filler, it is imperative to ensure that the glass surface is entirely free from any residual polishing compound or debris. Thoroughly wipe the glass surface with a clean, dry microfiber cloth to eliminate any remnants of the polishing compound, creating an immaculate canvas for the application of the scratch filler.
When selecting a glass scratch filler, opt for a high-quality product specifically designed for glass repair. The filler should possess the necessary properties to seamlessly integrate with the glass surface, effectively filling in deeper scratches and imperfections to achieve a uniform and flawless finish.
Using a clean, lint-free cloth or a designated application tool, dispense a small amount of the glass scratch filler and carefully apply it to the areas of the glass surface affected by deeper scratches. Employ precise and deliberate motions to ensure even coverage and distribution of the filler, focusing on the targeted areas requiring repair.
As the glass scratch filler is applied, it seamlessly integrates with the glass surface, effectively filling in the deeper blemishes and contributing to the overall restoration of the glass's smooth and unblemished appearance. The filler's properties facilitate a seamless transition between the repaired areas and the surrounding glass, ensuring a cohesive and uniform finish.
Following the application of the glass scratch filler, allow sufficient time for it to set and cure in accordance with the manufacturer's instructions. This crucial curing period enables the filler to bond with the glass surface and achieve optimal adhesion, ensuring a durable and long-lasting repair.
Upon completion of the curing process, the glass surface can be gently inspected to assess the effectiveness of the scratch filler application. Any residual excess filler can be carefully removed using a clean, dry cloth or a specialized tool, ensuring a smooth and uniform finish across the repaired areas.
By meticulously applying a high-quality glass scratch filler, you can effectively address deeper blemishes and contribute to the comprehensive restoration of the glass surface. This pivotal step brings you closer to achieving remarkable results in the repair of scratches in glass, revitalizing your glass items and restoring their inherent beauty and allure.
Read more: How To Fix Scratched Vinyl Floor
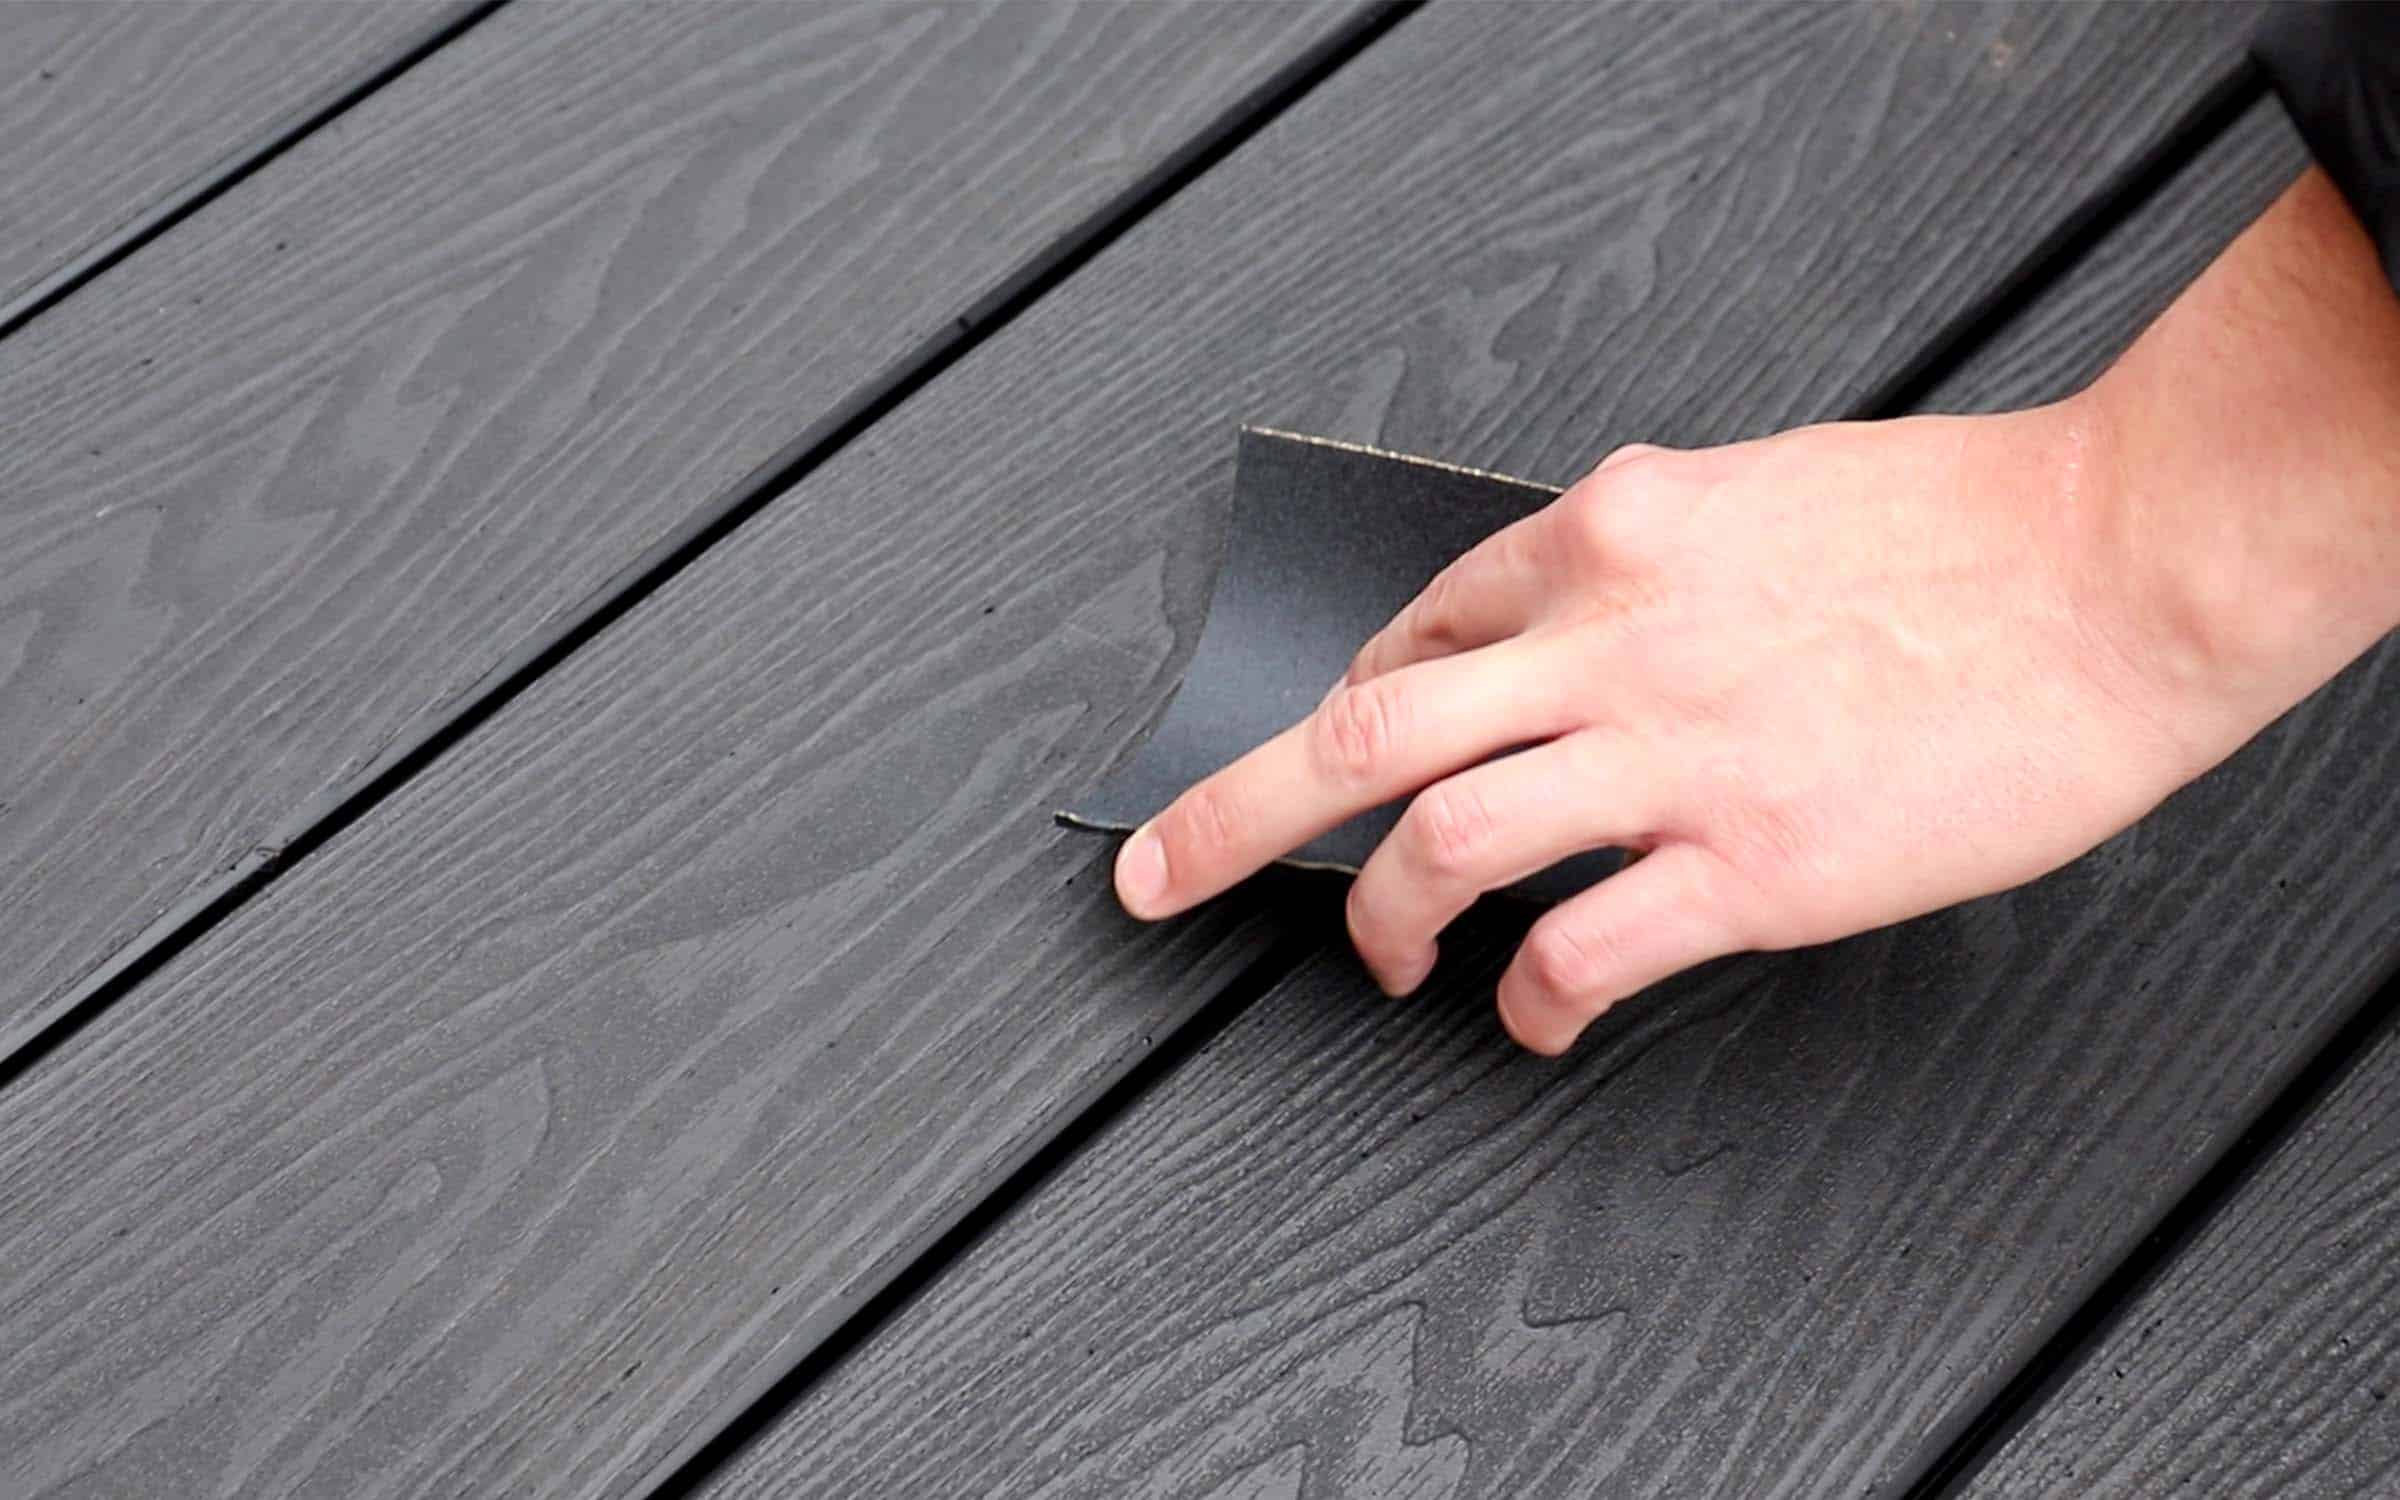
Step 5: Buffing and Polishing the Glass
After the meticulous application of the glass scratch filler, the final critical step in the glass scratch repair process involves the essential techniques of buffing and polishing the glass surface. This pivotal phase serves to refine the repair results, further enhancing the clarity, smoothness, and brilliance of the glass, ultimately achieving a comprehensive restoration of its pristine condition.
To commence the buffing and polishing process, it is imperative to ensure that the glass scratch filler has fully cured in accordance with the manufacturer's instructions. This crucial curing period allows the filler to bond seamlessly with the glass surface, ensuring a durable and long-lasting repair. Once the curing process is complete, the glass surface is primed for the transformative effects of buffing and polishing.
Utilizing a specialized buffing pad or a clean, lint-free cloth, apply a small amount of a high-quality glass polishing compound to the repaired areas of the glass surface. Employ gentle yet deliberate motions to buff the surface, focusing on the areas where the scratch filler has been applied. The buffing process serves to further integrate the scratch filler with the glass, ensuring a seamless transition and a uniform finish across the repaired areas.
As the glass surface is meticulously buffed, periodic assessments of the repair results should be conducted to gauge the effectiveness of the buffing process. Adequate lighting and varied viewing angles can aid in evaluating the enhanced clarity and smoothness of the glass, providing valuable feedback on the success of the buffing and polishing techniques.
Following the buffing process, the glass surface can be further polished using a clean, dry microfiber cloth to achieve a flawless and lustrous finish. Employing gentle circular motions, meticulously polish the repaired areas to enhance their brilliance and seamlessly blend them with the surrounding glass surface. This final polishing step contributes to the overall refinement of the repair results, ensuring that the glass surface exudes a captivating and unblemished appearance.
By diligently applying the techniques of buffing and polishing, you can elevate the repair results to new heights, achieving a flawless and rejuvenated glass surface. This transformative step brings you closer to realizing remarkable results in the repair of scratches in glass, breathing new life into your cherished glass items and restoring their inherent beauty and allure.
Conclusion
In conclusion, the process of repairing scratches in glass surfaces is a meticulous and rewarding endeavor that empowers individuals to restore the beauty and integrity of their beloved glass items. By understanding the nature of glass scratches and employing targeted techniques, it is possible to achieve remarkable results and breathe new life into scratched glass surfaces.
Throughout this comprehensive guide, we have explored the various types of glass scratches, ranging from superficial surface-level blemishes to deeper, more pronounced imperfections. Understanding the distinct characteristics of each type of scratch is essential for determining the most effective approach to repair and restoration.
The journey of repairing scratches in glass begins with the meticulous cleaning of the glass surface, ensuring that it is free from dirt, grime, and contaminants that could hinder the repair process. This foundational step sets the stage for subsequent techniques and ensures optimal conditions for achieving successful results.
Assessing the depth of the scratches is a pivotal phase in the repair process, enabling individuals to gauge the severity of the damage and tailor their approach accordingly. Whether addressing surface-level scratches, deep blemishes, or barely visible hairline scratches, a thorough assessment provides valuable insights for targeted and effective repair.
The application of a high-quality glass polishing compound serves to diminish the appearance of scratches, gradually restoring the glass to its original clarity and brilliance. This meticulous process requires patience and precision, as the gradual diminishment of the scratches contributes to the overall restoration of the glass surface.
Following the application of the glass polishing compound, the use of a specialized glass scratch filler becomes essential for addressing deeper blemishes and further enhancing the smoothness and clarity of the glass surface. The filler seamlessly integrates with the glass, contributing to a comprehensive restoration of its pristine condition.
The final phases of buffing and polishing the glass surface refine the repair results, further enhancing the clarity, smoothness, and brilliance of the glass. These transformative techniques elevate the repair results to new heights, achieving a flawless and rejuvenated glass surface.
In essence, the process of repairing scratches in glass surfaces is a testament to the transformative power of targeted techniques and the dedication to restoring the inherent beauty of glass items. With the right knowledge, tools, and techniques, individuals can embark on this journey with confidence, knowing that they have the ability to revitalize their cherished glass surfaces and bid farewell to those unsightly scratches.
Frequently Asked Questions about How To Fix Scratches In Glass
Was this page helpful?
At Storables.com, we guarantee accurate and reliable information. Our content, validated by Expert Board Contributors, is crafted following stringent Editorial Policies. We're committed to providing you with well-researched, expert-backed insights for all your informational needs.

0 thoughts on “How To Fix Scratches In Glass”