Home>Furniture & Design>Interior Design Trends>How To Fix Scratches On Glass Windows
Interior Design Trends
How To Fix Scratches On Glass Windows
Modified: March 19, 2024
Learn how to fix scratches on glass windows and keep up with the latest interior design trends. Discover easy solutions for a flawless home interior.
(Many of the links in this article redirect to a specific reviewed product. Your purchase of these products through affiliate links helps to generate commission for Storables.com, at no extra cost. Learn more)
Introduction
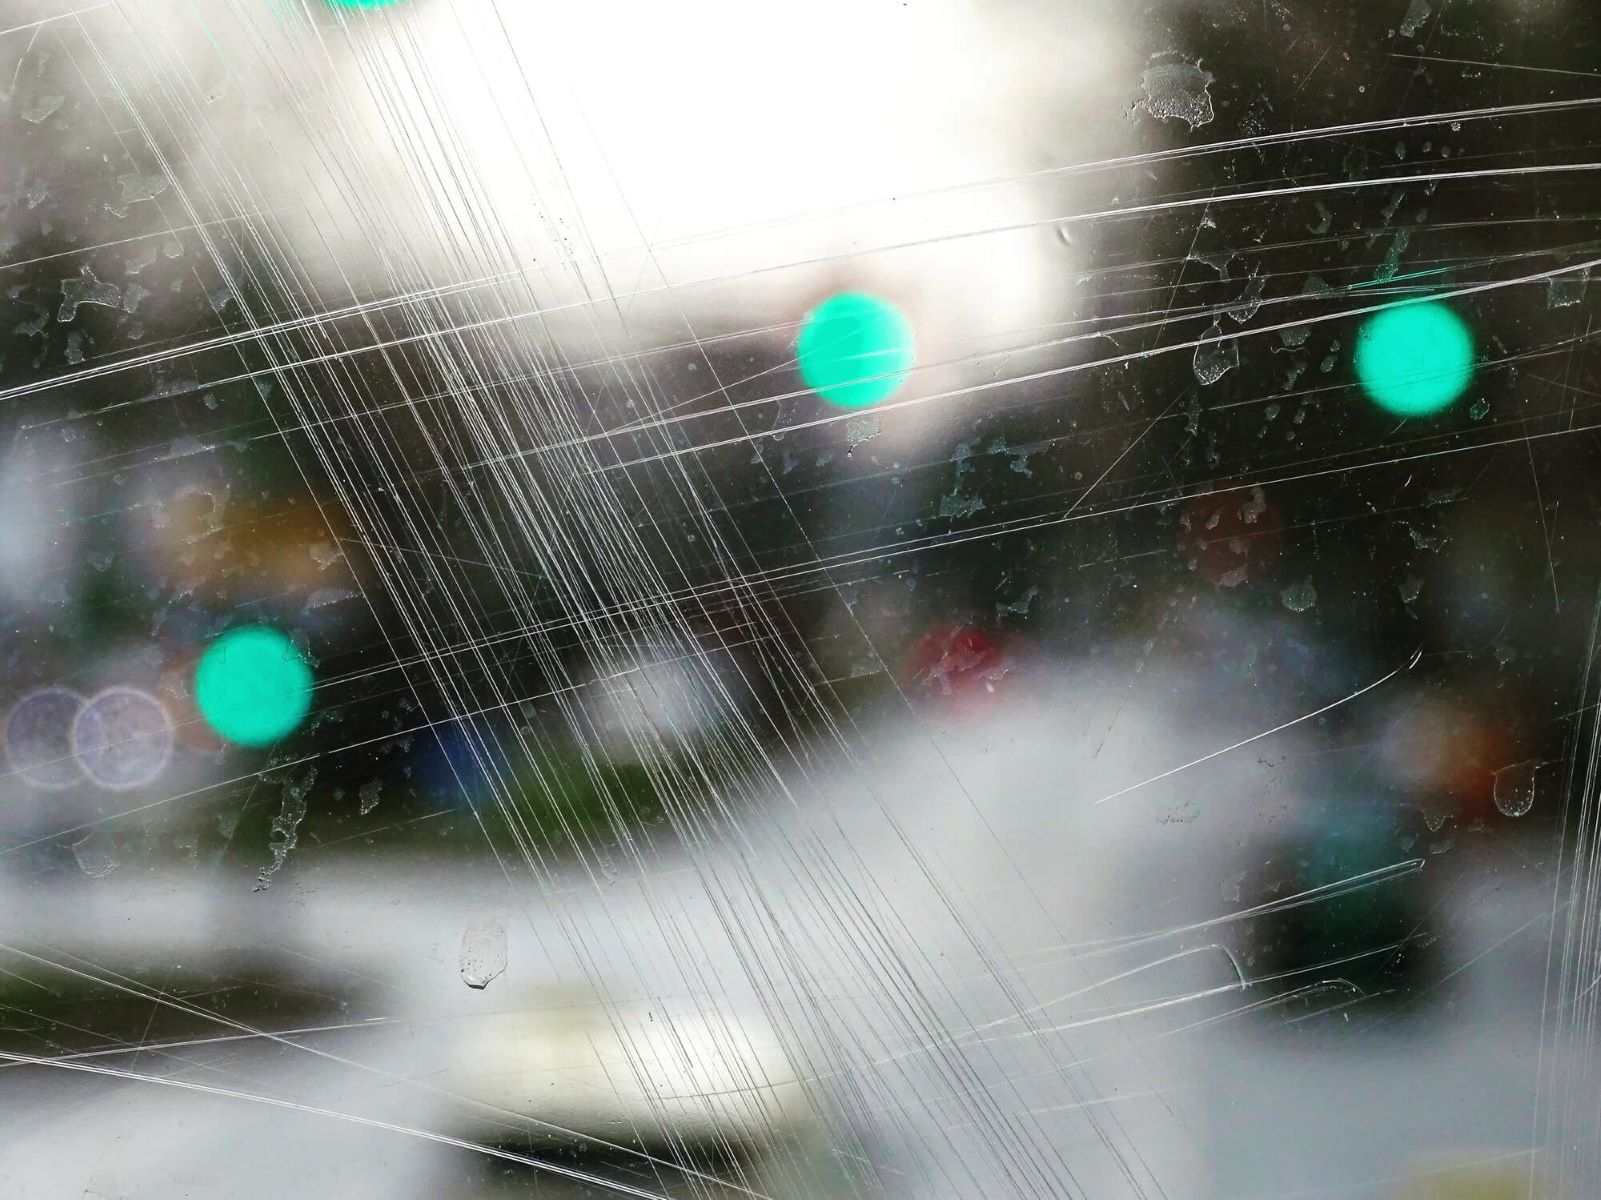
Glass windows are a fundamental feature of any home, offering a seamless connection to the outside world while allowing natural light to illuminate the interior spaces. However, over time, scratches can mar the pristine surface of these windows, detracting from their aesthetic appeal. Whether caused by accidental contact, environmental factors, or regular wear and tear, these scratches can be a source of frustration for homeowners. Fortunately, with the right tools and techniques, it's possible to restore the clarity and luster of glass windows, effectively eliminating unsightly scratches.
In this comprehensive guide, we will delve into the art of remedying scratches on glass windows, providing step-by-step instructions and valuable insights to help you achieve remarkable results. By understanding the types of scratches commonly encountered, gathering the necessary tools and materials, and following a systematic approach to repair, you can breathe new life into your windows and revitalize the overall ambiance of your living spaces. Whether you're a seasoned DIY enthusiast or a novice homeowner eager to tackle this project, this guide will equip you with the knowledge and confidence to address glass window scratches with precision and finesse.
Join us as we embark on a journey to uncover the secrets of glass window restoration, empowering you to transform blemished surfaces into gleaming showcases of clarity and brilliance. With a blend of practical advice, expert tips, and a touch of creativity, you'll soon discover that restoring the pristine beauty of your glass windows is a rewarding endeavor that yields both visual and practical benefits. Let's roll up our sleeves, gather our supplies, and embark on this transformative quest to banish scratches and unveil the inherent radiance of your glass windows.
Key Takeaways:
- Say goodbye to scratches on your glass windows! With the right tools and techniques, you can restore clarity and luster, transforming blemished surfaces into gleaming showcases of brilliance.
- Understanding the types of scratches and gathering essential tools are key. Meticulous cleaning, assessing depth, applying a glass polishing compound, and executing a transformative polishing process are crucial for successful restoration.
Read more: How To Fix Scratches In Glass
Understanding the Types of Scratches
Before embarking on the journey to repair scratches on glass windows, it's essential to understand the various types of scratches that can occur. By discerning the nature and severity of the scratches, you can determine the most suitable approach for remediation. Here are the common types of scratches encountered on glass surfaces:
-
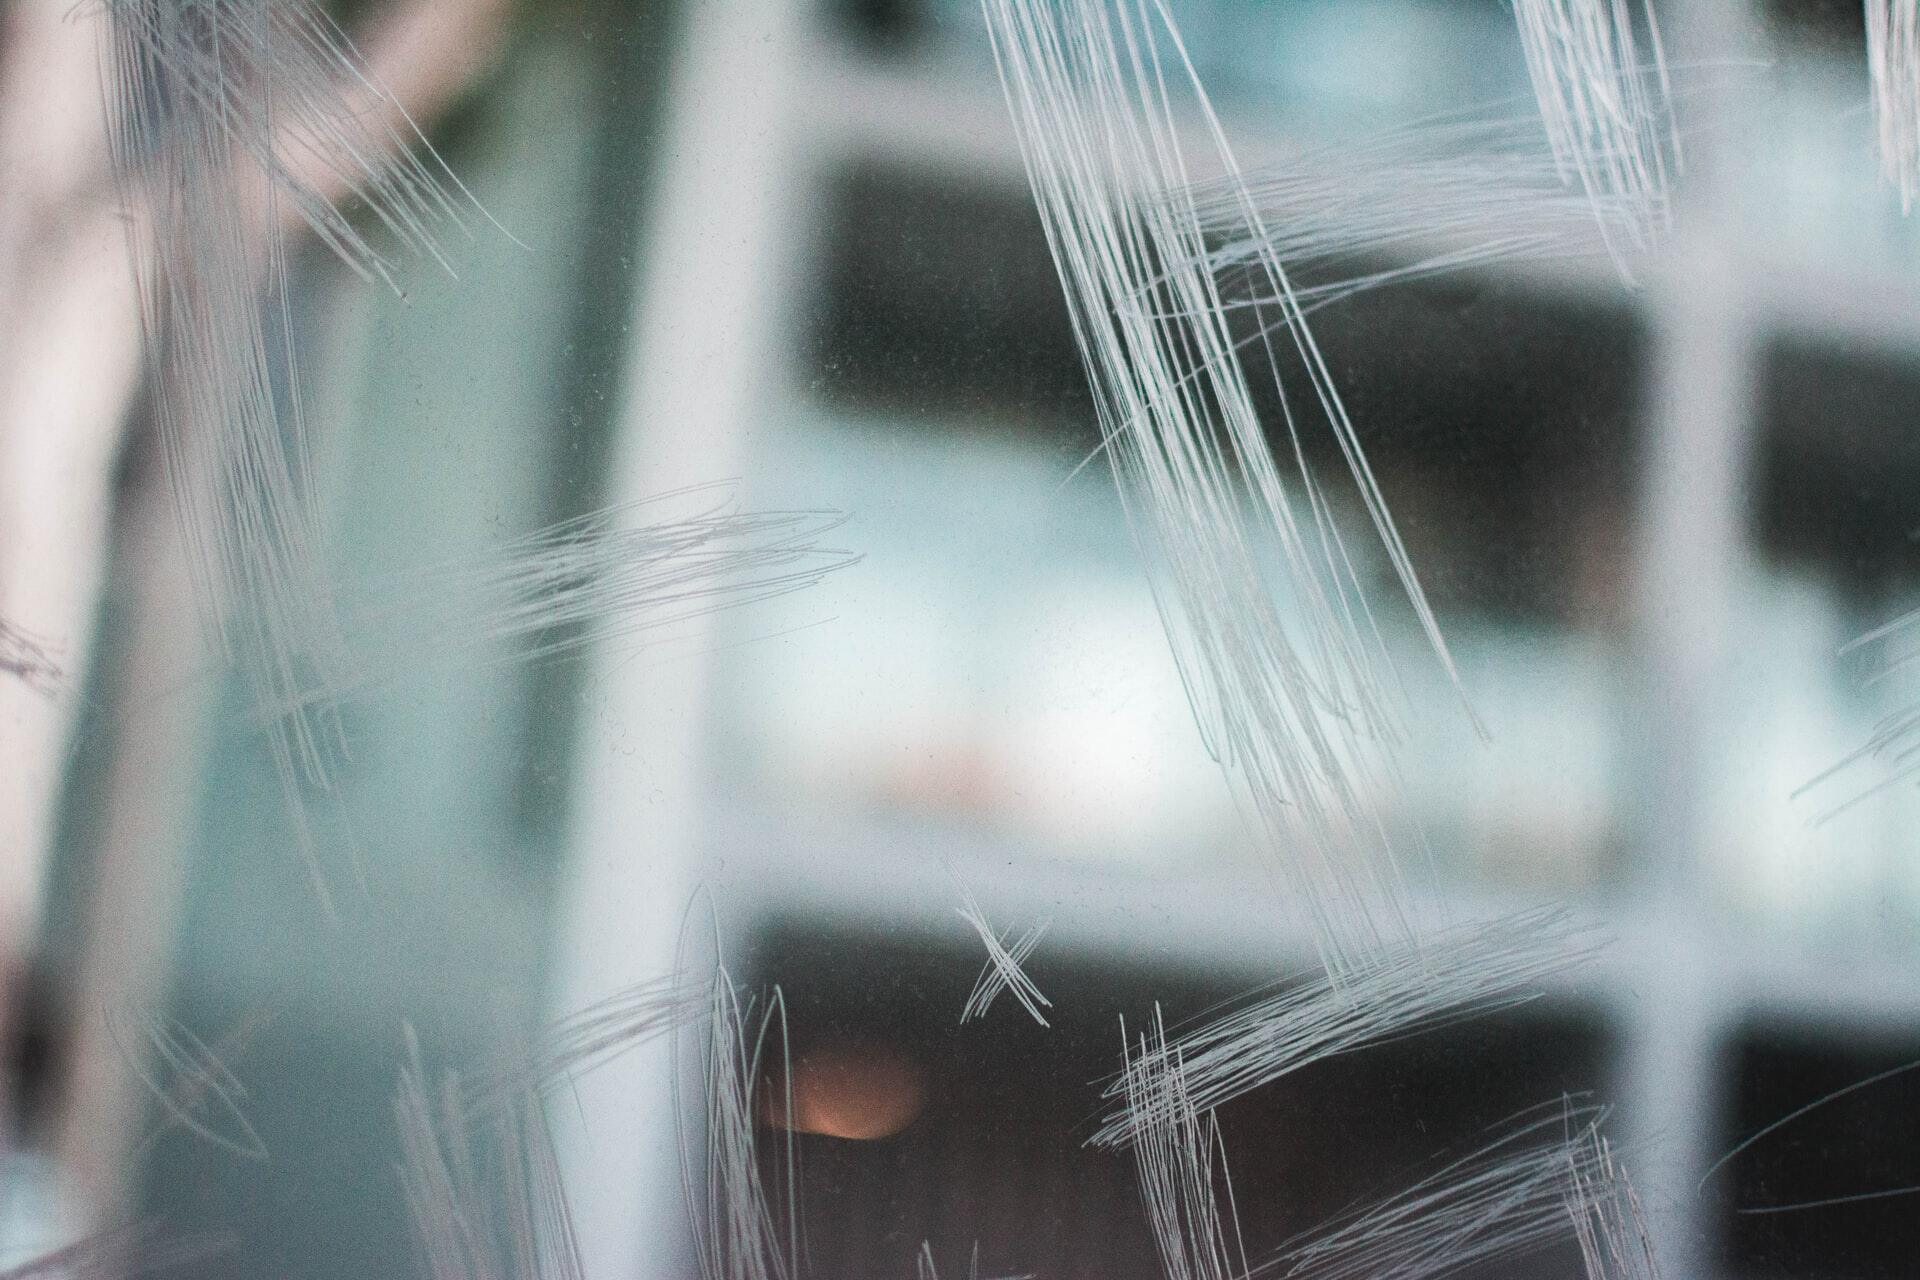
Surface-Level Scratches: These scratches are superficial and typically affect only the topmost layer of the glass. They are often caused by light abrasions from cleaning tools, dust particles, or minor contact with objects. Surface-level scratches may appear as faint lines or swirl marks on the glass.
-
Deep Scratches: Unlike surface-level scratches, deep scratches penetrate more profoundly into the glass, extending beyond the outer layer. These scratches are often the result of more forceful impact or friction, such as from sharp objects or heavy debris. Deep scratches are more visible and can compromise the structural integrity of the glass if left unaddressed.
-
Hairline Scratches: As the name suggests, hairline scratches are extremely fine and narrow, resembling the width of a strand of hair. While they may seem inconspicuous at first glance, these scratches can still detract from the overall clarity of the glass, especially when exposed to light.
-
Cracks and Chips: Although not technically scratches, cracks and chips are common forms of damage that can occur on glass windows. Cracks are linear fractures that extend across the glass, while chips involve the removal of a small piece of glass. Both cracks and chips can compromise the structural integrity of the window and require prompt attention.
Understanding the specific characteristics of each type of scratch is crucial for determining the appropriate course of action. By identifying the depth, length, and extent of the scratches, you can tailor your approach to effectively address the imperfections and restore the glass to its original splendor. Armed with this knowledge, you'll be better equipped to select the right tools and techniques for the task at hand, ensuring a successful outcome in your quest to rejuvenate your glass windows.
Tools and Materials Needed
To embark on the journey of repairing scratches on glass windows, it is essential to gather the appropriate tools and materials that will facilitate a successful restoration process. By assembling the following items, you will be well-prepared to address a wide range of scratches and blemishes, ensuring that your glass windows regain their pristine clarity and visual appeal.
Tools:
-
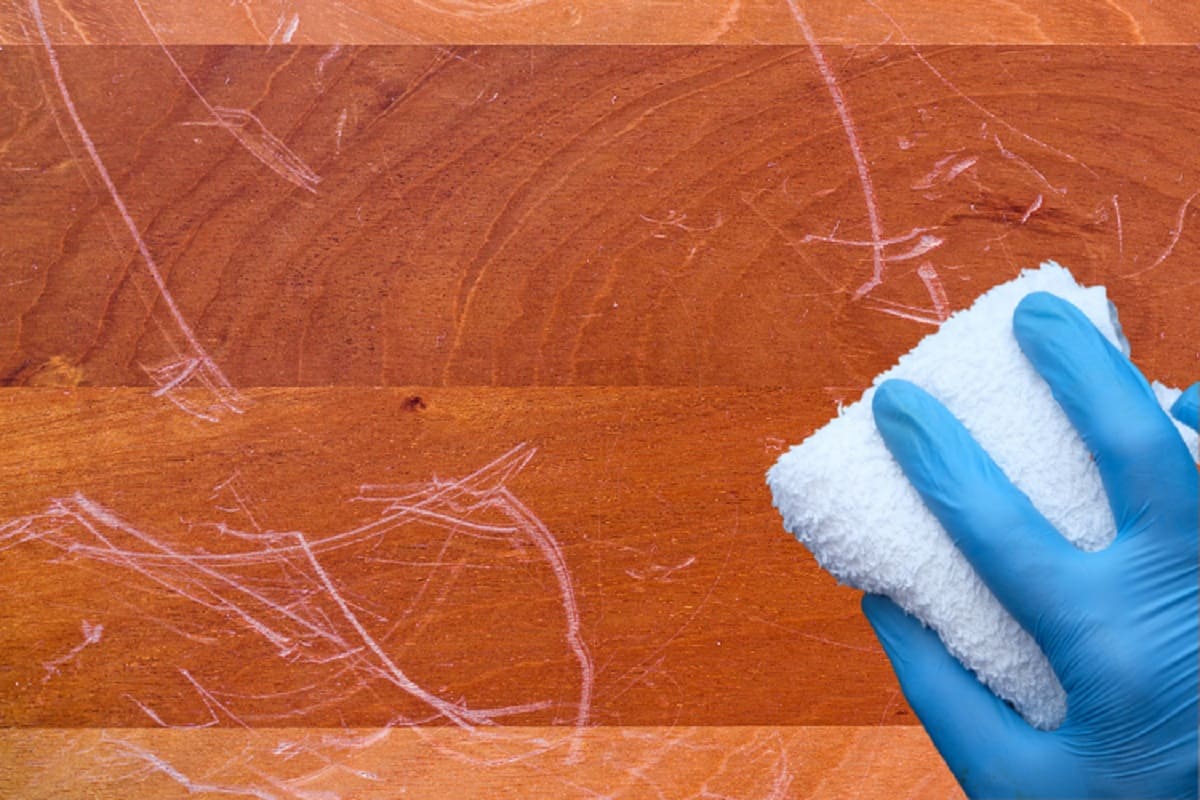
Microfiber Cloths: These soft, lint-free cloths are ideal for cleaning and polishing glass surfaces without leaving behind any residue or streaks. They are essential for preparing the glass before and after the repair process.
-
Glass Polishing Compound: A high-quality glass polishing compound is designed to effectively remove scratches and imperfections from glass surfaces. Look for a compound specifically formulated for glass restoration, as it will provide the necessary abrasiveness without causing further damage.
-
Polishing Pads or Discs: Utilize specialized polishing pads or discs designed for glass restoration to apply the polishing compound evenly and achieve optimal results. These pads are engineered to work in conjunction with the polishing compound to smooth out scratches and restore the glass's clarity.
-
Glass Cleaner: A gentle, ammonia-free glass cleaner is essential for thoroughly cleaning the glass surface before commencing the repair process. This will ensure that any dirt, grime, or contaminants are removed, allowing for a clear assessment of the scratches.
-
Rubbing Alcohol: Use rubbing alcohol to further clean and degrease the glass surface, preparing it for the application of the polishing compound. This step is crucial for ensuring that the compound adheres effectively to the glass.
-
Safety Gloves and Goggles: When working with glass and polishing compounds, it is important to prioritize safety. Wear protective gloves and goggles to shield your hands and eyes from potential splinters, debris, or chemical exposure.
Materials:
-
Glass Repair Kit: Consider investing in a comprehensive glass repair kit, which may include various grits of sandpaper, polishing compounds, and other specialized tools tailored for glass restoration. These kits often provide a convenient all-in-one solution for addressing scratches and imperfections.
-
Distilled Water: When preparing the glass for repair, distilled water can be used in combination with the glass cleaner to ensure a pristine, streak-free surface. It is free from impurities that could potentially interfere with the repair process.
-
Masking Tape: Use masking tape to protect surrounding areas of the window frame or adjacent surfaces from accidental contact with the polishing compound or other abrasive materials. This precaution helps maintain the integrity of the surrounding areas during the repair process.
By equipping yourself with these essential tools and materials, you will be well-prepared to embark on the journey of restoring your glass windows to their former glory. With careful preparation and attention to detail, you can confidently address scratches and imperfections, ultimately enhancing the visual appeal and functionality of your living spaces.
Read more: How To Fix Window Glass
Step 1: Cleaning the Glass
Before commencing the process of repairing scratches on glass windows, thorough cleaning is essential to ensure that the surface is free from dirt, grime, and contaminants. This initial step sets the foundation for a successful restoration, allowing for a clear assessment of the scratches and optimal adhesion of the polishing compound. Here's a detailed guide on how to effectively clean the glass in preparation for the repair process:
1. Gather the Necessary Supplies
Begin by assembling the required cleaning supplies, including a gentle glass cleaner, microfiber cloths, rubbing alcohol, and distilled water. Ensure that you have a clean, lint-free microfiber cloth designated for glass cleaning to avoid any potential streaking or residue.
2. Remove Surface Debris
Start by using a dry microfiber cloth to gently remove any loose debris, dust, or particles from the glass surface. This initial step prevents the risk of abrasive particles causing further scratches during the cleaning process.
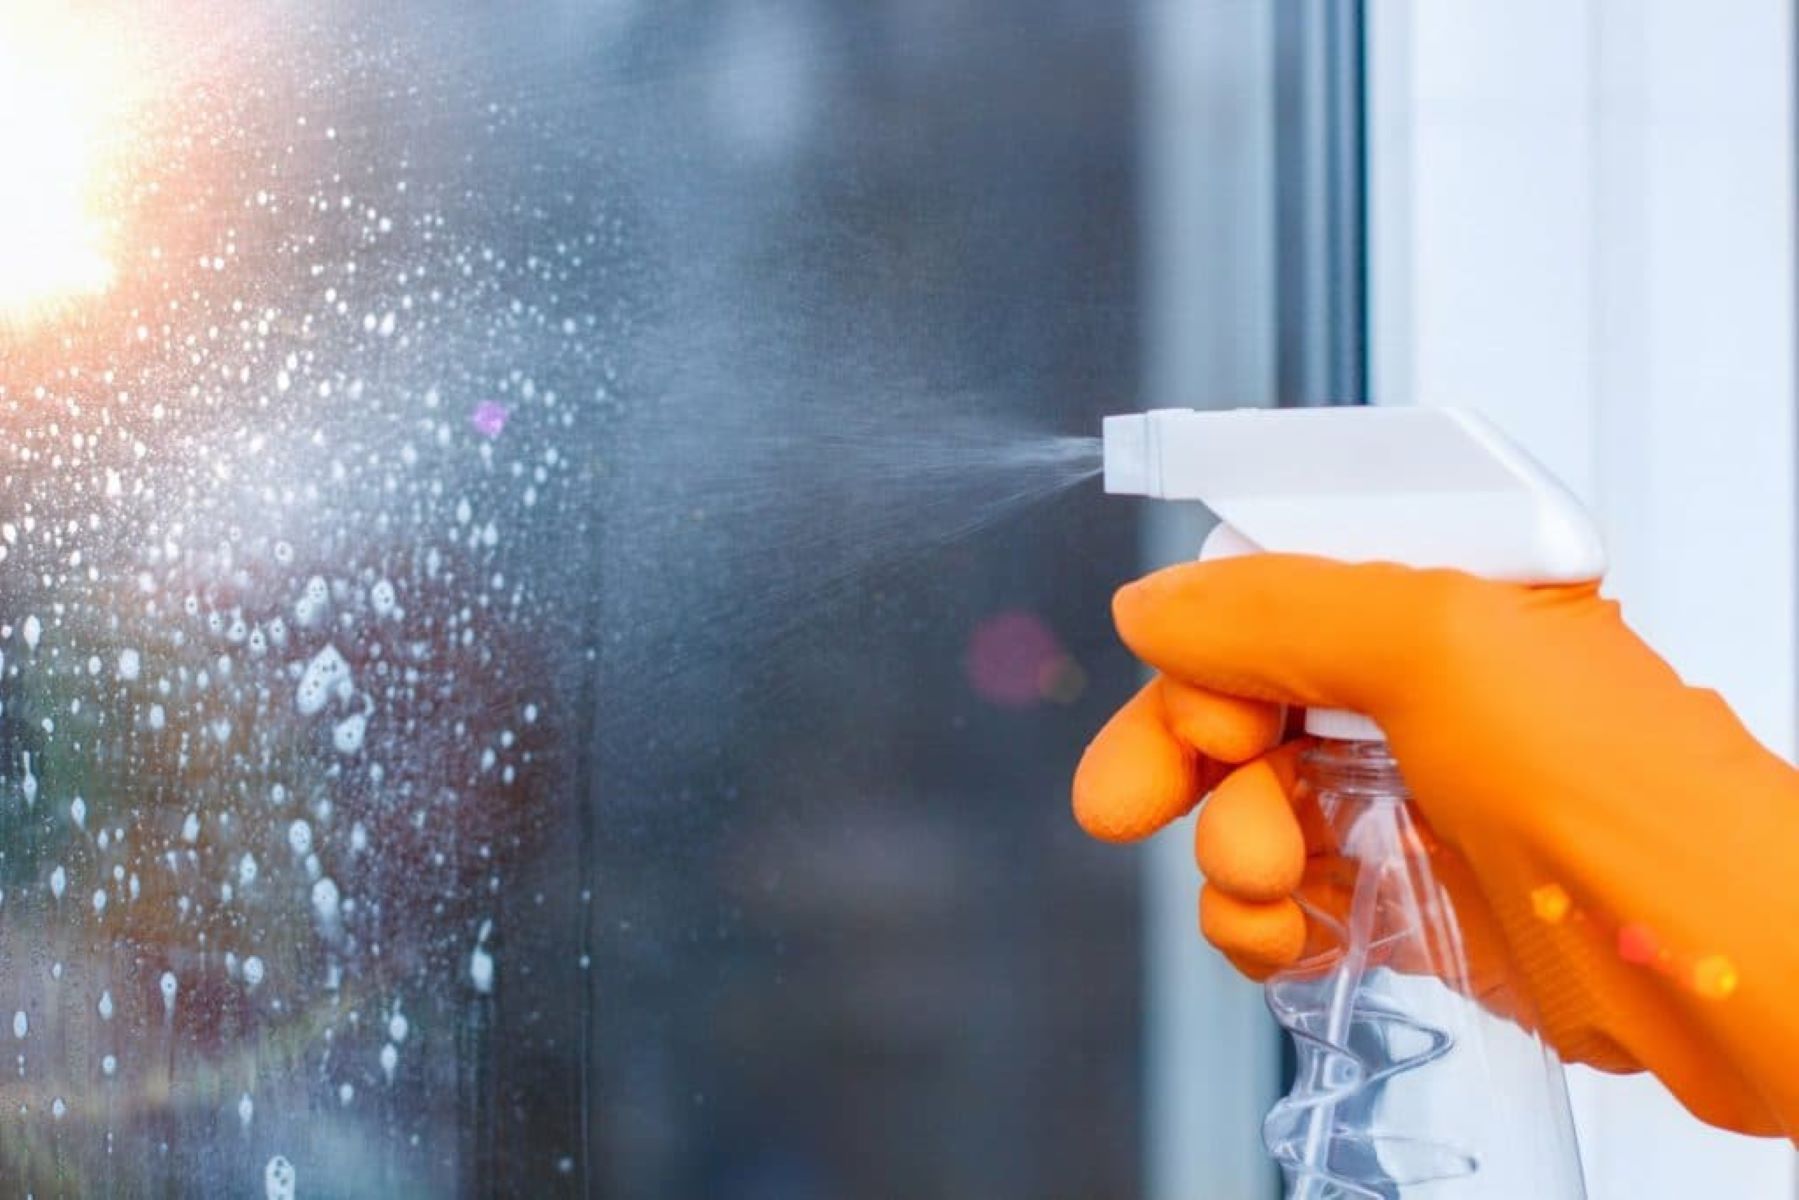
3. Apply Glass Cleaner
Spray a small amount of the gentle glass cleaner onto the glass surface. Avoid using cleaners containing ammonia, as they can leave streaks and potentially interfere with the subsequent repair steps. Thoroughly wipe the glass with a clean microfiber cloth, ensuring that all areas are covered and any accumulated grime or residue is removed.
Read more: How To Clean Scratches On Glass
4. Degrease with Rubbing Alcohol
To further prepare the glass for the repair process, dampen a fresh microfiber cloth with rubbing alcohol. Gently wipe the glass surface to remove any remaining grease, fingerprints, or stubborn residues. This step is crucial for ensuring optimal adhesion of the glass polishing compound in the subsequent stages of the repair.
5. Rinse with Distilled Water
After cleaning with the glass cleaner and rubbing alcohol, use a separate microfiber cloth dampened with distilled water to thoroughly rinse the glass surface. This helps eliminate any remaining cleaning solution or impurities, leaving the glass pristine and ready for the next phase of the repair process.
By meticulously following these steps to clean the glass, you will create an ideal foundation for addressing the scratches and restoring the glass to its original clarity. This meticulous preparation ensures that the subsequent stages of the repair process can be executed with precision, ultimately leading to a successful restoration of your glass windows.
Step 2: Assessing the Depth of the Scratches
Once the glass surface is meticulously cleaned and prepared, the next crucial step in the process of repairing scratches on glass windows is to assess the depth and severity of the imperfections. This assessment is essential for determining the most appropriate approach and level of intervention required to effectively address the scratches. By carefully evaluating the nature of the scratches, you can tailor your repair strategy to achieve optimal results and restore the glass to its pristine condition.
1. Natural Lighting and Viewing Angle
Begin by positioning yourself in a well-lit area, preferably with natural light, to facilitate a clear and accurate assessment of the scratches. Natural lighting provides the ideal conditions for observing the extent and depth of the scratches, allowing you to identify even the most subtle imperfections. Consider viewing the glass from different angles to gauge the visibility and impact of the scratches under varying lighting conditions.
Read more: How To Repair Scratched Glass
2. Tactile Examination
Gently run your fingertips over the scratched areas to gauge the depth and texture of the imperfections. Surface-level scratches may feel relatively smooth to the touch, while deeper scratches may exhibit a more pronounced indentation or roughness. By employing a tactile approach, you can gain valuable insights into the severity of the scratches and their potential impact on the overall clarity of the glass.
3. Visual Inspection
Carefully examine the glass surface from various distances and angles, paying close attention to the appearance of the scratches under different lighting conditions. Surface-level scratches may appear as faint lines or swirl marks, whereas deeper scratches may exhibit more prominent and visible blemishes. Additionally, assess the overall distribution and concentration of the scratches across the glass surface to determine the scope of the repair.
4. Scratch Testing
For particularly stubborn or ambiguous scratches, consider conducting a scratch test using a fingernail or a plastic card. Lightly glide your fingernail or the edge of a plastic card over the scratched area, observing any changes in appearance or sound. Surface-level scratches are less likely to catch the nail or card edge, while deeper scratches may produce a distinct catching sensation or sound, indicating a more significant level of damage.
By meticulously assessing the depth and characteristics of the scratches, you will gain valuable insights that inform the subsequent steps of the repair process. This comprehensive evaluation empowers you to select the most suitable techniques and materials for addressing the specific nature of the scratches, ultimately leading to a successful restoration of your glass windows.
Step 3: Using a Glass Polishing Compound
After meticulously assessing the depth and severity of the scratches on your glass windows, the next pivotal step in the restoration process involves the application of a high-quality glass polishing compound. This specialized compound is designed to effectively diminish and eliminate scratches, restoring the glass to its original clarity and luster. By following a systematic approach and employing the right techniques, you can harness the power of the glass polishing compound to achieve remarkable results.
Read more: How To Fill Scratches In Glass
1. Selecting the Appropriate Glass Polishing Compound
Begin by selecting a reputable glass polishing compound specifically formulated for glass restoration. Ensure that the compound is suitable for the type of scratches you are addressing, whether they are surface-level imperfections or deeper blemishes. Opt for a compound that offers the ideal balance of abrasiveness and refinement, capable of smoothing out the scratches without causing further damage to the glass surface.
2. Preparing the Glass Surface
Before applying the glass polishing compound, it is essential to prepare the glass surface to optimize the effectiveness of the restoration process. Using a clean, lint-free microfiber cloth, gently wipe the glass to remove any residual dust or particles that may have accumulated since the initial cleaning. This preparatory step ensures that the glass surface is free from potential contaminants that could interfere with the polishing compound's action.
3. Applying the Glass Polishing Compound
Dab a small amount of the glass polishing compound onto a specialized polishing pad or applicator, ensuring even distribution across the surface of the pad. With gentle yet firm pressure, begin to work the polishing compound into the scratched areas using circular or back-and-forth motions. Focus on the specific areas affected by scratches, gradually extending the application to adjacent regions for a seamless blend of the restoration.
4. Monitoring the Progress
As you apply the glass polishing compound, periodically pause to assess the progress and impact of the restoration. Observe the changes in the appearance of the scratches, noting any reduction in visibility or texture. Depending on the depth and severity of the scratches, you may need to adjust the intensity and duration of the polishing process to achieve the desired outcome.
Read more: How To Fix Scratches On Countertops
5. Reapplication and Refinement
For deeper or persistent scratches, consider reapplying the glass polishing compound and continuing the polishing process to further refine and diminish the imperfections. Exercise patience and precision, as multiple applications may be necessary to fully address more pronounced scratches and restore the glass to its optimal clarity.
By following these meticulous steps and harnessing the potential of a high-quality glass polishing compound, you can effectively diminish and eliminate scratches, breathing new life into your glass windows. This transformative process paves the way for a remarkable restoration, allowing the inherent radiance and brilliance of the glass to shine through once more.
Step 4: Polishing the Glass
Once the glass polishing compound has been meticulously applied to address the scratches, the subsequent step involves the pivotal process of polishing the glass to achieve a flawless, gleaming finish. This transformative stage is essential for refining the surface, smoothing out imperfections, and restoring the glass to its original clarity and brilliance. By following a systematic approach and employing the right techniques, you can harness the power of polishing to unveil the inherent radiance of your glass windows.
1. Buffing and Smoothing
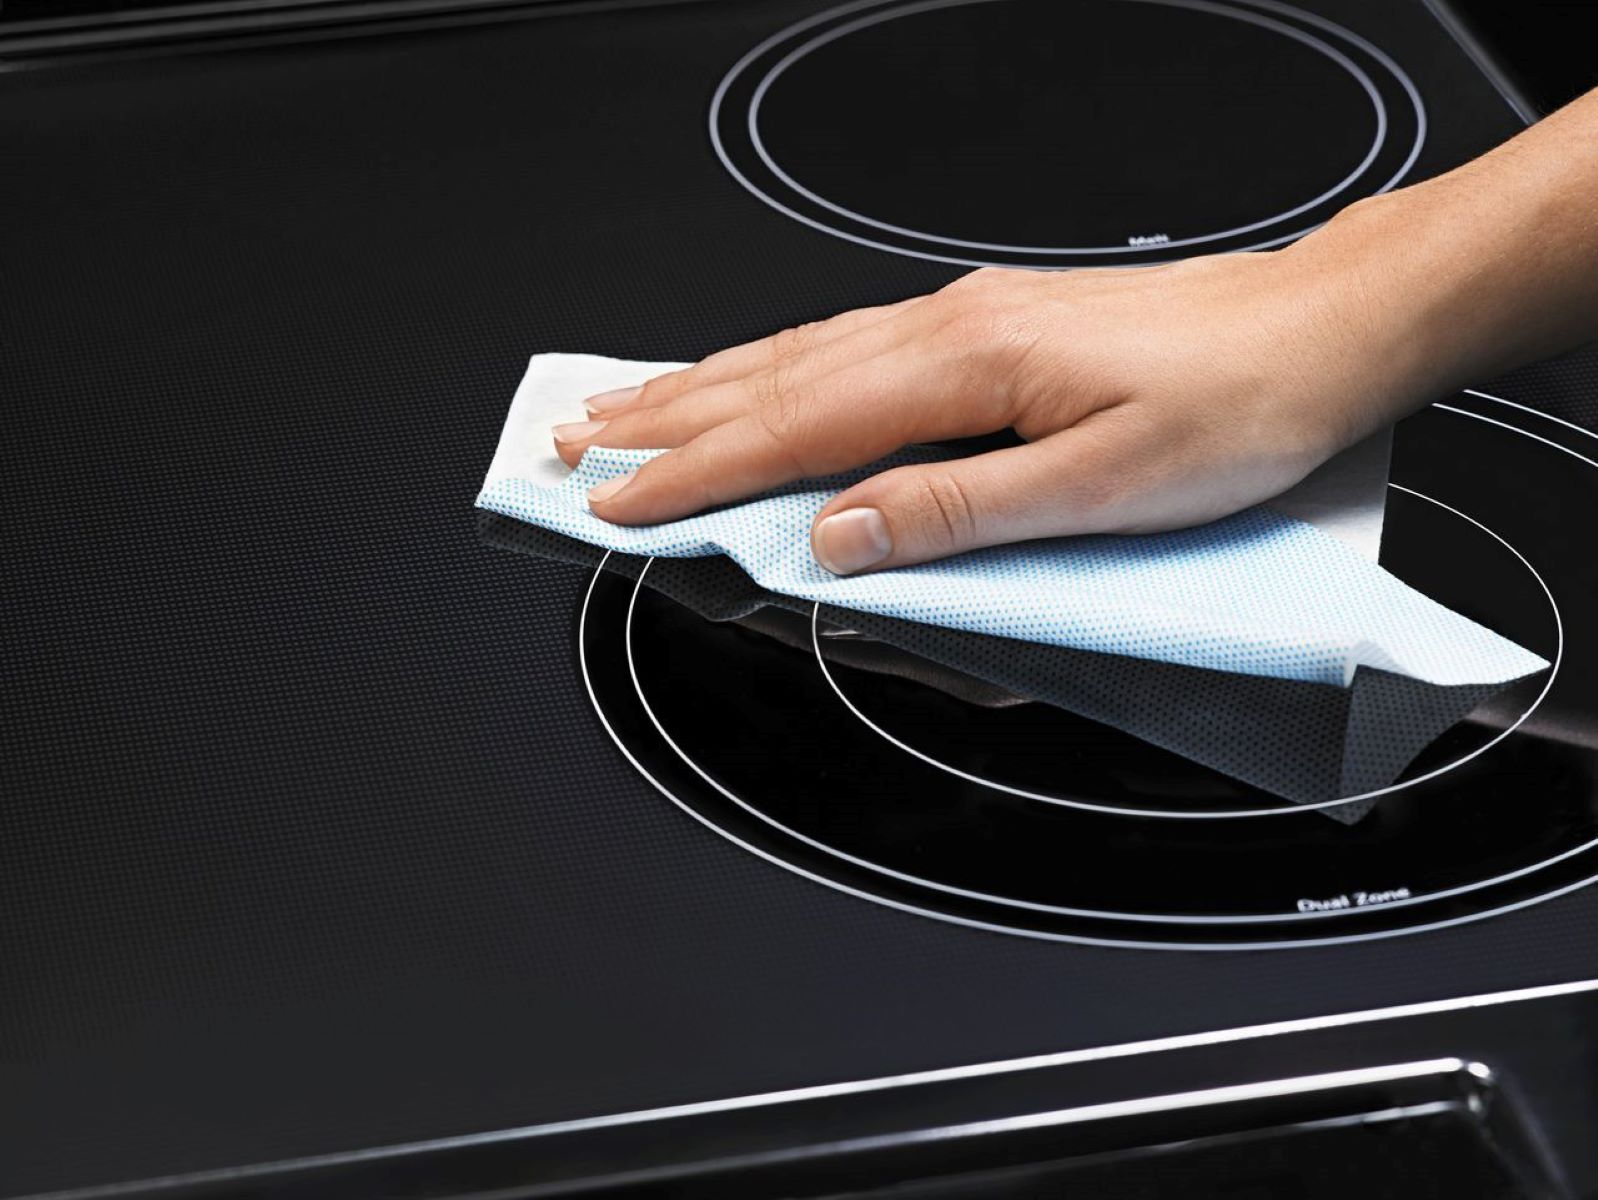
Using a clean, dry polishing pad or cloth, begin the polishing process by gently buffing the treated areas of the glass in circular or linear motions. Apply moderate pressure to ensure thorough coverage and consistent refinement of the surface. This step is crucial for smoothing out any residual roughness or texture resulting from the scratches, gradually restoring the glass to a pristine, uniform appearance.
2. Continuous Assessment
As you engage in the polishing process, continuously assess the evolving appearance of the glass surface. Observe the changes in texture, clarity, and reflectivity, noting the diminishing visibility of the scratches and the emergence of a refined, polished sheen. This ongoing assessment allows you to gauge the progress and make any necessary adjustments to the polishing technique to achieve optimal results.
Read more: What Can Scratch Glass
3. Fine-Tuning and Detailing
For particularly stubborn or persistent scratches, focus on fine-tuning and detailing the polishing process to ensure comprehensive restoration. Pay special attention to intricate details and specific areas affected by deeper scratches, employing precision and patience to refine the surface to perfection. By meticulously addressing each imperfection, you can achieve a harmonious, flawless finish that revitalizes the overall aesthetic of the glass windows.
4. Final Inspection
Upon completing the polishing process, conduct a thorough final inspection of the glass surface. Examine the treated areas from various angles and under different lighting conditions to confirm the successful elimination of scratches and the attainment of a pristine, polished finish. Any remaining imperfections or blemishes can be further refined with targeted polishing, ensuring that the glass achieves a consistent, impeccable appearance.
By meticulously executing the polishing process, you can elevate the visual appeal and functionality of your glass windows, transforming them into captivating showcases of clarity and brilliance. This transformative journey culminates in the restoration of the glass to its original splendor, allowing you to revel in the renewed radiance and timeless elegance of your revitalized windows.
Step 5: Final Cleaning and Inspection
As the culmination of the meticulous restoration process, the final cleaning and inspection stage plays a pivotal role in ensuring the impeccable quality and visual allure of the rejuvenated glass windows. This essential step encompasses a comprehensive assessment of the treated areas, meticulous cleaning to remove any residual polishing compound, and a final inspection to confirm the successful elimination of scratches and the attainment of a flawless, gleaming finish.
Thorough Cleaning
Commence the final stage by meticulously cleaning the entire glass surface using a gentle glass cleaner and a fresh microfiber cloth. This thorough cleaning serves to remove any residual traces of the glass polishing compound, ensuring that the surface is free from any lingering residue or streaks. Pay particular attention to the treated areas, ensuring that they are pristine and devoid of any remnants from the restoration process.
Read more: How To Fix Porcelain Sink Scratches
Removal of Residual Compound
Inspect the glass surface under natural light to identify any residual traces of the polishing compound. Carefully examine the treated areas from various angles, ensuring that no hazy or cloudy remnants are visible. If any residual compound is detected, gently buff the affected areas with a clean, dry microfiber cloth to eliminate any lingering traces and achieve a crystal-clear, uniform appearance.
Final Visual Assessment
Conduct a meticulous visual assessment of the entire glass surface, focusing on the treated areas to confirm the successful elimination of scratches and the attainment of a flawless, polished finish. Observe the glass from different vantage points and under varying lighting conditions, ensuring that the restoration has yielded a seamless, pristine result. Any remaining imperfections or inconsistencies can be further refined with targeted polishing or detailing to achieve a harmonious, flawless appearance.
Confirmation of Restoration
Upon completing the final cleaning and inspection, take a moment to revel in the remarkable transformation of the glass windows. Confirm that the scratches have been effectively diminished, the surface is free from blemishes, and the glass exudes a captivating radiance. Embrace the renewed clarity and brilliance of your revitalized windows, knowing that the meticulous restoration process has yielded a remarkable outcome that enhances the aesthetic appeal and functionality of your living spaces.
By meticulously executing the final cleaning and inspection, you can ensure that the restoration process culminates in the attainment of flawless, gleaming glass windows that exude timeless elegance and visual allure. This transformative journey empowers you to revel in the renewed radiance and pristine clarity of your revitalized windows, celebrating the successful elimination of scratches and the restoration of the glass to its original splendor.
Conclusion
In conclusion, the journey to remedy scratches on glass windows is a transformative endeavor that empowers homeowners to restore the inherent radiance and clarity of their living spaces. By understanding the types of scratches, gathering the necessary tools and materials, and following a systematic approach to repair, individuals can achieve remarkable results and revitalize the visual appeal of their glass windows.
The process begins with a comprehensive understanding of the various types of scratches commonly encountered on glass surfaces, ranging from superficial surface-level imperfections to deeper, more pronounced blemishes. Armed with this knowledge, homeowners can discern the nature and severity of the scratches, laying the groundwork for a targeted and effective restoration strategy.
Gathering the essential tools and materials, including microfiber cloths, glass polishing compound, polishing pads, glass cleaner, rubbing alcohol, and safety gear, ensures that the restoration process proceeds with precision and finesse. These supplies form the cornerstone of a well-equipped arsenal, enabling individuals to address a wide range of scratches and imperfections with confidence and proficiency.
The step-by-step approach to repairing scratches on glass windows encompasses meticulous cleaning, assessing the depth of the scratches, applying a high-quality glass polishing compound, and executing a transformative polishing process. Each stage is characterized by attention to detail, continuous assessment, and a commitment to achieving flawless results.
The culmination of the restoration journey involves the final cleaning and inspection, ensuring that the glass surface is pristine, free from residual polishing compound, and exudes a captivating radiance. This meticulous attention to detail guarantees that the rejuvenated glass windows stand as captivating showcases of clarity and brilliance, enhancing the ambiance and visual allure of the living spaces.
Ultimately, the process of remedying scratches on glass windows transcends mere restoration; it embodies a profound transformation that revitalizes the aesthetic appeal and functionality of the home. With dedication, patience, and a meticulous approach, homeowners can banish scratches and unveil the timeless elegance of their glass windows, celebrating the successful rejuvenation of these essential architectural elements.
Frequently Asked Questions about How To Fix Scratches On Glass Windows
Was this page helpful?
At Storables.com, we guarantee accurate and reliable information. Our content, validated by Expert Board Contributors, is crafted following stringent Editorial Policies. We're committed to providing you with well-researched, expert-backed insights for all your informational needs.
0 thoughts on “How To Fix Scratches On Glass Windows”