Articles
How To Fix Porcelain Sink Scratches
Modified: February 23, 2024
Looking for articles on how to fix porcelain sink scratches? We've got you covered with expert tips and tricks to restore your sink's pristine condition.
(Many of the links in this article redirect to a specific reviewed product. Your purchase of these products through affiliate links helps to generate commission for Storables.com, at no extra cost. Learn more)
Introduction
Porcelain sinks are a beautiful addition to any kitchen or bathroom, providing a sleek and classy look. However, over time, these sinks can develop scratches that can detract from their aesthetic appeal. While it may be tempting to replace the entire sink, there are actually simple and cost-effective ways to fix those unsightly scratches and restore the sink to its former glory.
In this article, we will guide you through the process of fixing porcelain sink scratches. From assessing the damage to polishing the surface, we will provide step-by-step instructions to help you achieve excellent results. Whether your sink has shallow scratches or deeper ones, this article will show you how to repair and restore it.
Before we begin, it’s important to note that while these methods can effectively repair most minor scratches, deeper or extensive damage may require professional assistance. Additionally, always make sure to read and follow the instructions provided by the manufacturers of the products you use for repairing the sink scratches.
Now let’s dive in and learn how to fix those pesky porcelain sink scratches, saving you money and restoring the beauty of your sink.
Key Takeaways:
- Easily restore the beauty of your porcelain sink by assessing, cleaning, filling, sanding, applying compound, and polishing. Regular maintenance will keep it looking sleek and elegant for years to come.
- With simple steps and supplies, you can repair shallow and deep scratches on your porcelain sink, restoring its original shine and preventing further damage. Remember to handle repairs promptly and maintain the sink to preserve its beauty.
Read more: How To Fix Cracks In Porcelain Sink
Assessing the damage
Before you can start repairing your porcelain sink, it’s crucial to assess the extent of the damage. This will help you determine the appropriate method and supplies needed for the repair.
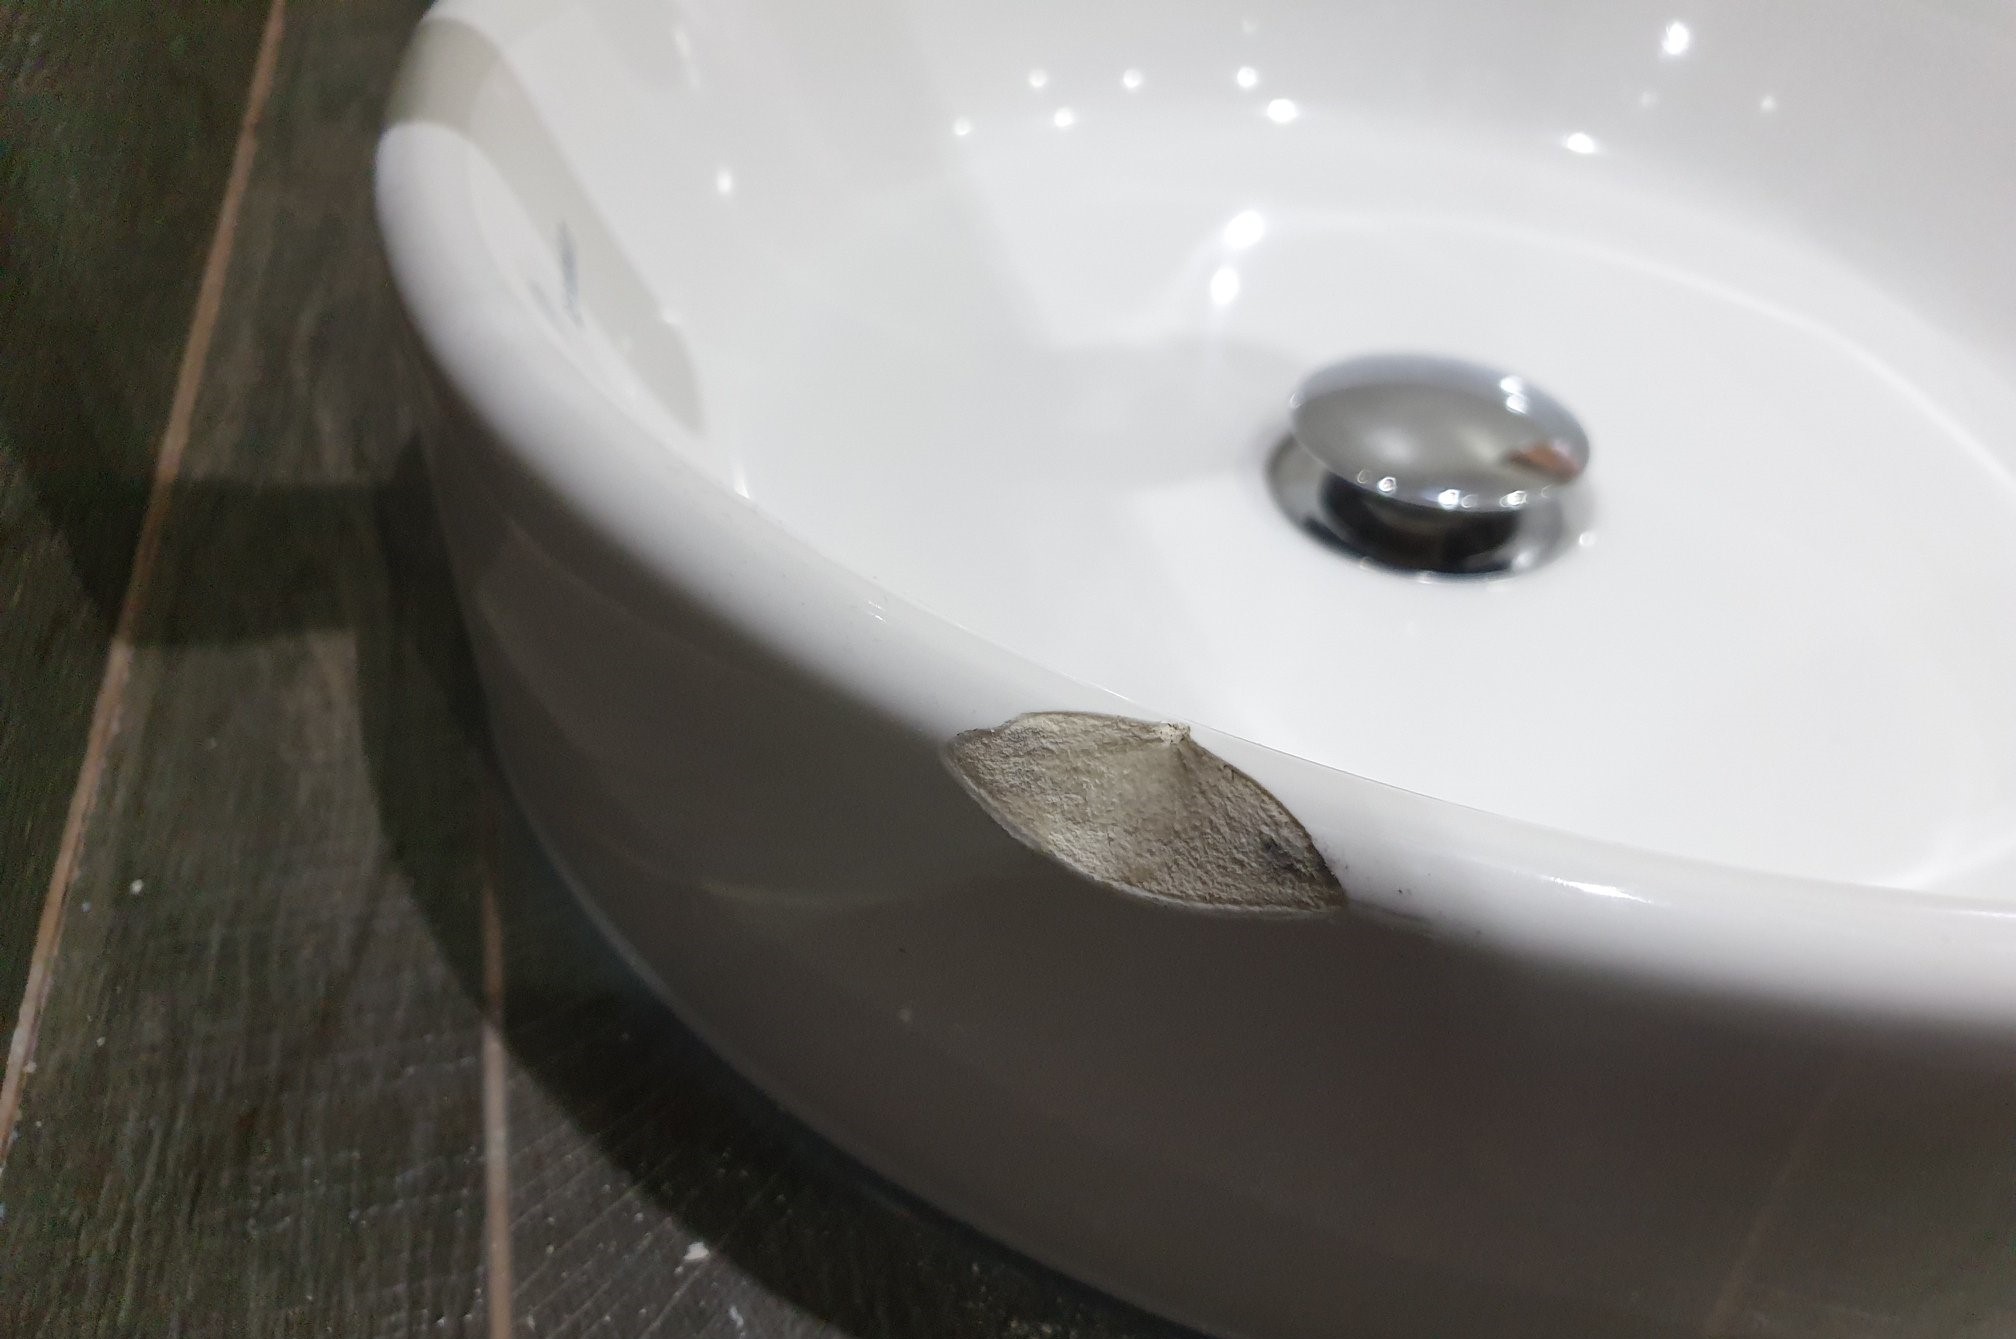
Start by thoroughly examining the sink surface under good lighting conditions. Look for scratches, chips, cracks, or any other signs of damage. Pay close attention to the depth and length of the scratches, as this will affect the repair process.
If you notice shallow scratches that are barely noticeable or can be felt with a fingernail, you’re in luck! These surface scratches are relatively easy to fix using simple methods. However, if you find deep scratches that can be felt with a fingertip or even chips and cracks, it may require additional steps or professional help.
It’s important to note that repairing deep scratches, chips, or cracks in porcelain sinks might not yield perfect results. It’s always a good idea to set realistic expectations and understand that the goal is to improve the appearance and prevent further damage rather than achieving a flawless finish.
Once you have assessed the damage and identified the type of scratches you’re dealing with, you can move on to gathering the necessary supplies for the repair.
Gathering the necessary supplies
Now that you have assessed the damage to your porcelain sink, it’s time to gather the necessary supplies to repair those unsightly scratches. Here are the materials you will need:
- Mild detergent: Look for a gentle, non-abrasive detergent that won’t scratch or damage the surface of your sink.
- Soft cloth or sponge: Choose a cloth or sponge that won’t scratch the porcelain. Microfiber cloths or non-abrasive sponges are ideal.
- Fine-grit sandpaper: Depending on the depth of the scratches, you may need fine-grit sandpaper with varying levels of grit. Start with a higher grit (around 800) for shallow scratches and progress to lower grits (around 400) for deeper scratches.
- Porcelain repair compound: Look for a porcelain repair compound that matches the color of your sink. This compound will be used to fill in the deeper scratches and chips.
- Putty knife or spatula: A putty knife or spatula will be used to apply the porcelain repair compound evenly.
- Buffing pad or soft cloth: This will be used for the final polishing step to restore the shine of the sink surface.
- Protective gloves: It’s important to protect your hands during the repair process, so make sure to wear disposable or latex gloves.
Once you have gathered all the necessary supplies, you’re ready to start the repair process. But before diving in, make sure to clean the sink thoroughly to ensure the best results.
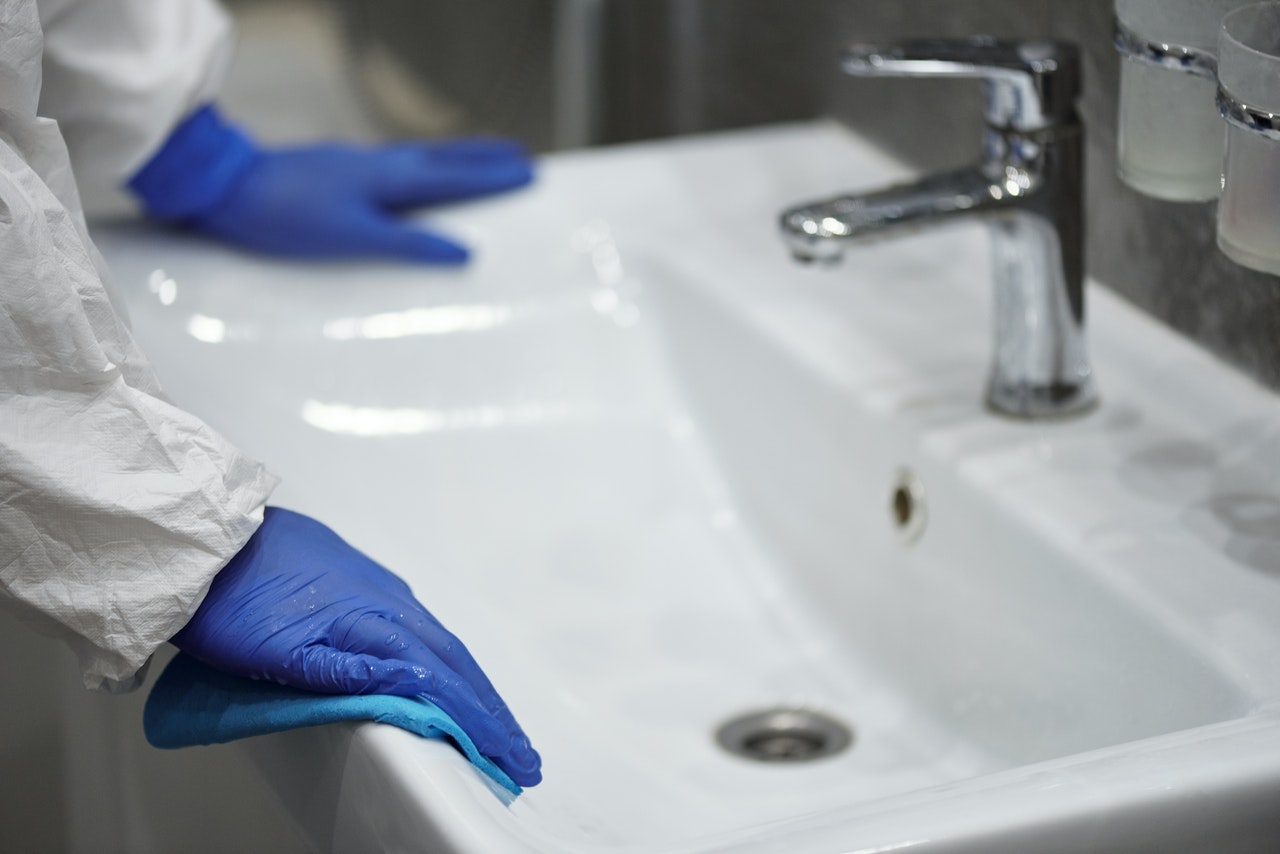
Cleaning the sink
Before you begin repairing the scratches on your porcelain sink, it’s important to thoroughly clean the surface. Cleaning the sink will remove any dirt, grime, or residue that can interfere with the repair process. Here’s how to clean your sink:
- Start by removing any dishes, utensils, or debris from the sink.
- Rinse the sink with warm water to remove loose dirt and debris.
- Apply a small amount of mild detergent to a soft cloth or sponge.
- Gently scrub the surface of the sink, paying extra attention to the scratched areas. Avoid using abrasive cleaners or scrub brushes, as these can further damage the porcelain.
- Rinse the sink thoroughly with warm water to remove any detergent residue.
- Use a clean, dry cloth to wipe down and dry the sink.
Once the sink is clean and dry, you can proceed with the next steps of the repair process. Cleaning the sink ensures that you have a smooth and debris-free surface to work on, which will help achieve better results.
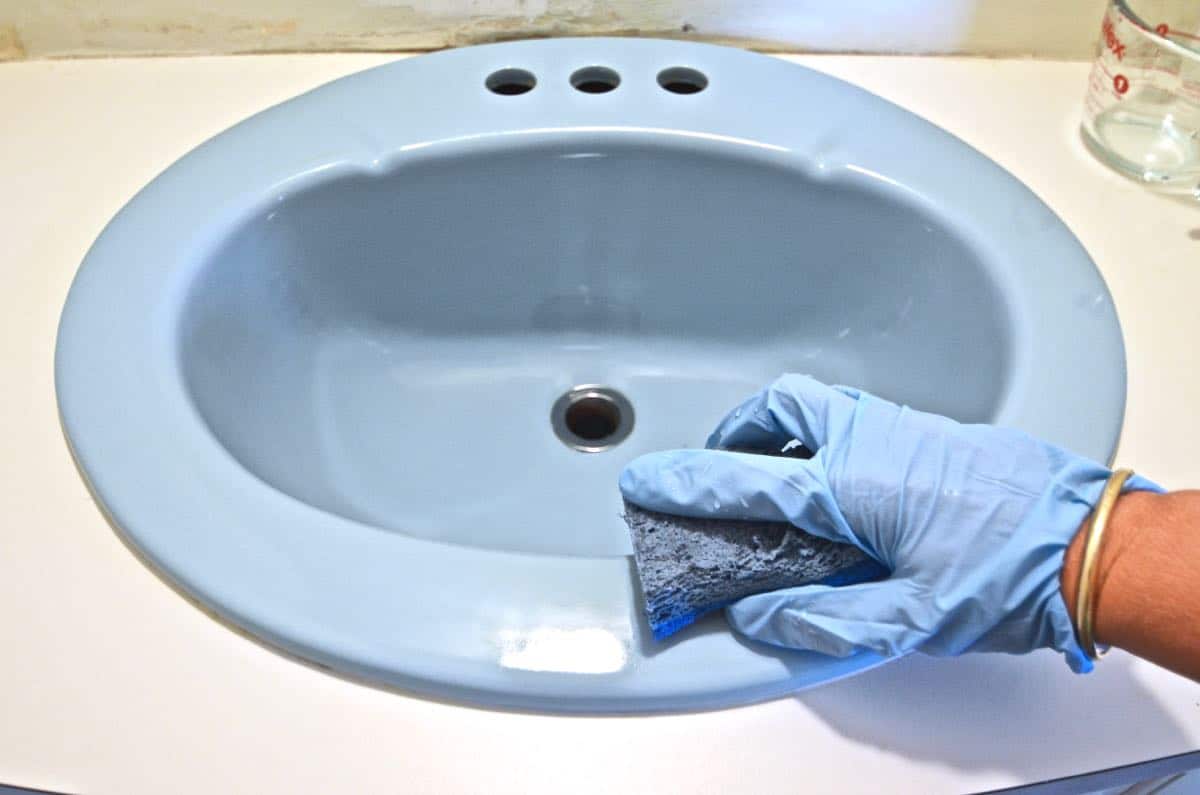
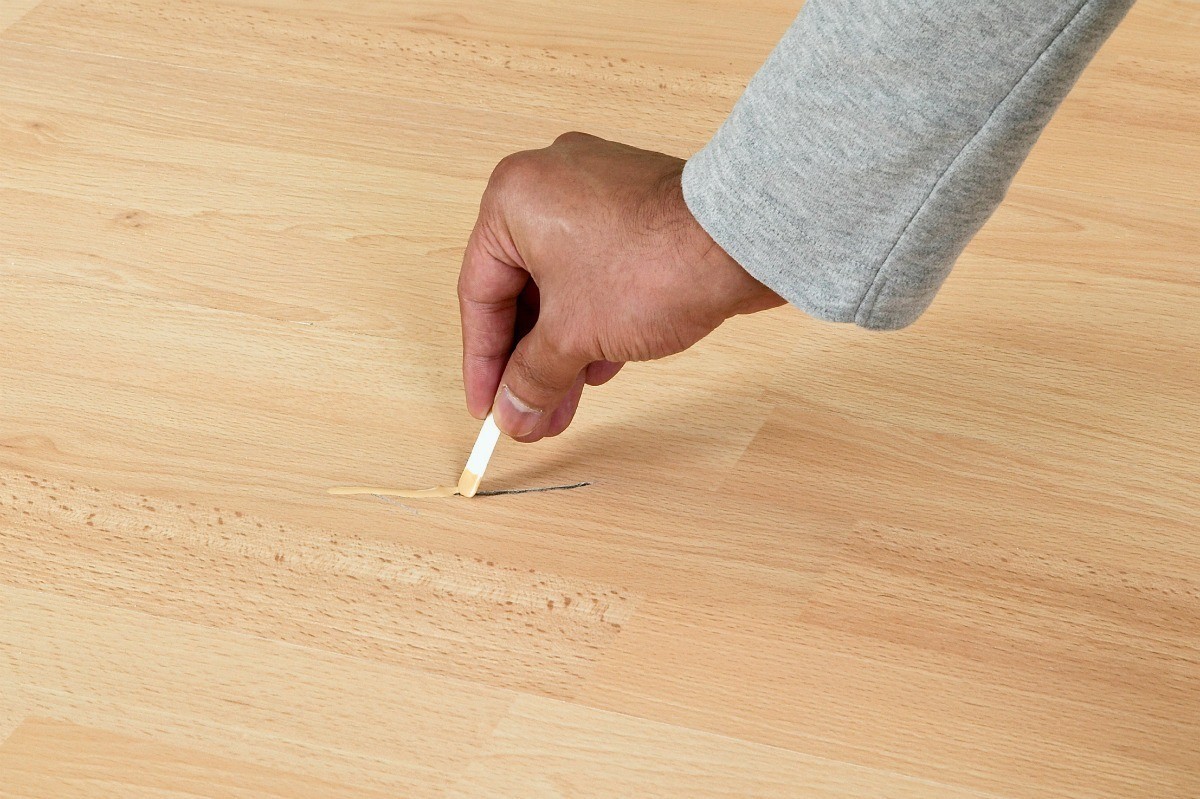
Filling in shallow scratches
If your porcelain sink has shallow scratches that are barely noticeable or can be felt with a fingernail, you can easily fill them in using a simple method. Here’s how to fill in shallow scratches on your sink:
- Start by dampening a soft cloth or sponge with warm water.
- Add a small amount of mild detergent to the damp cloth and gently clean the area where the shallow scratches are located. Ensure that the area is free from any dirt or debris.
- Rinse the area with warm water and dry it thoroughly with a clean, dry cloth.
- Apply a small amount of porcelain repair compound to a soft cloth or sponge.
- Gently rub the compound onto the scratched area, working it into the surface in a circular motion. Apply enough pressure to ensure that the compound fills in the scratches, but be careful not to damage the surrounding area.
- After filling in the scratches, let the compound dry completely according to the manufacturer’s instructions. This typically takes a few hours.
- Once the compound is fully dry, use a soft cloth to buff the repaired area in a circular motion. This will help blend the repaired portion with the rest of the sink and restore its smooth appearance.
- Finally, rinse the sink with warm water and dry it thoroughly with a clean cloth.
By following these steps, you can easily fill in shallow scratches on your porcelain sink, restoring its appearance and preventing further damage.
To fix porcelain sink scratches, use a porcelain touch-up kit. Clean the area, apply the touch-up paint, and let it dry. Sand and buff for a smooth finish.
Read more: How To Refinish A Porcelain Sink
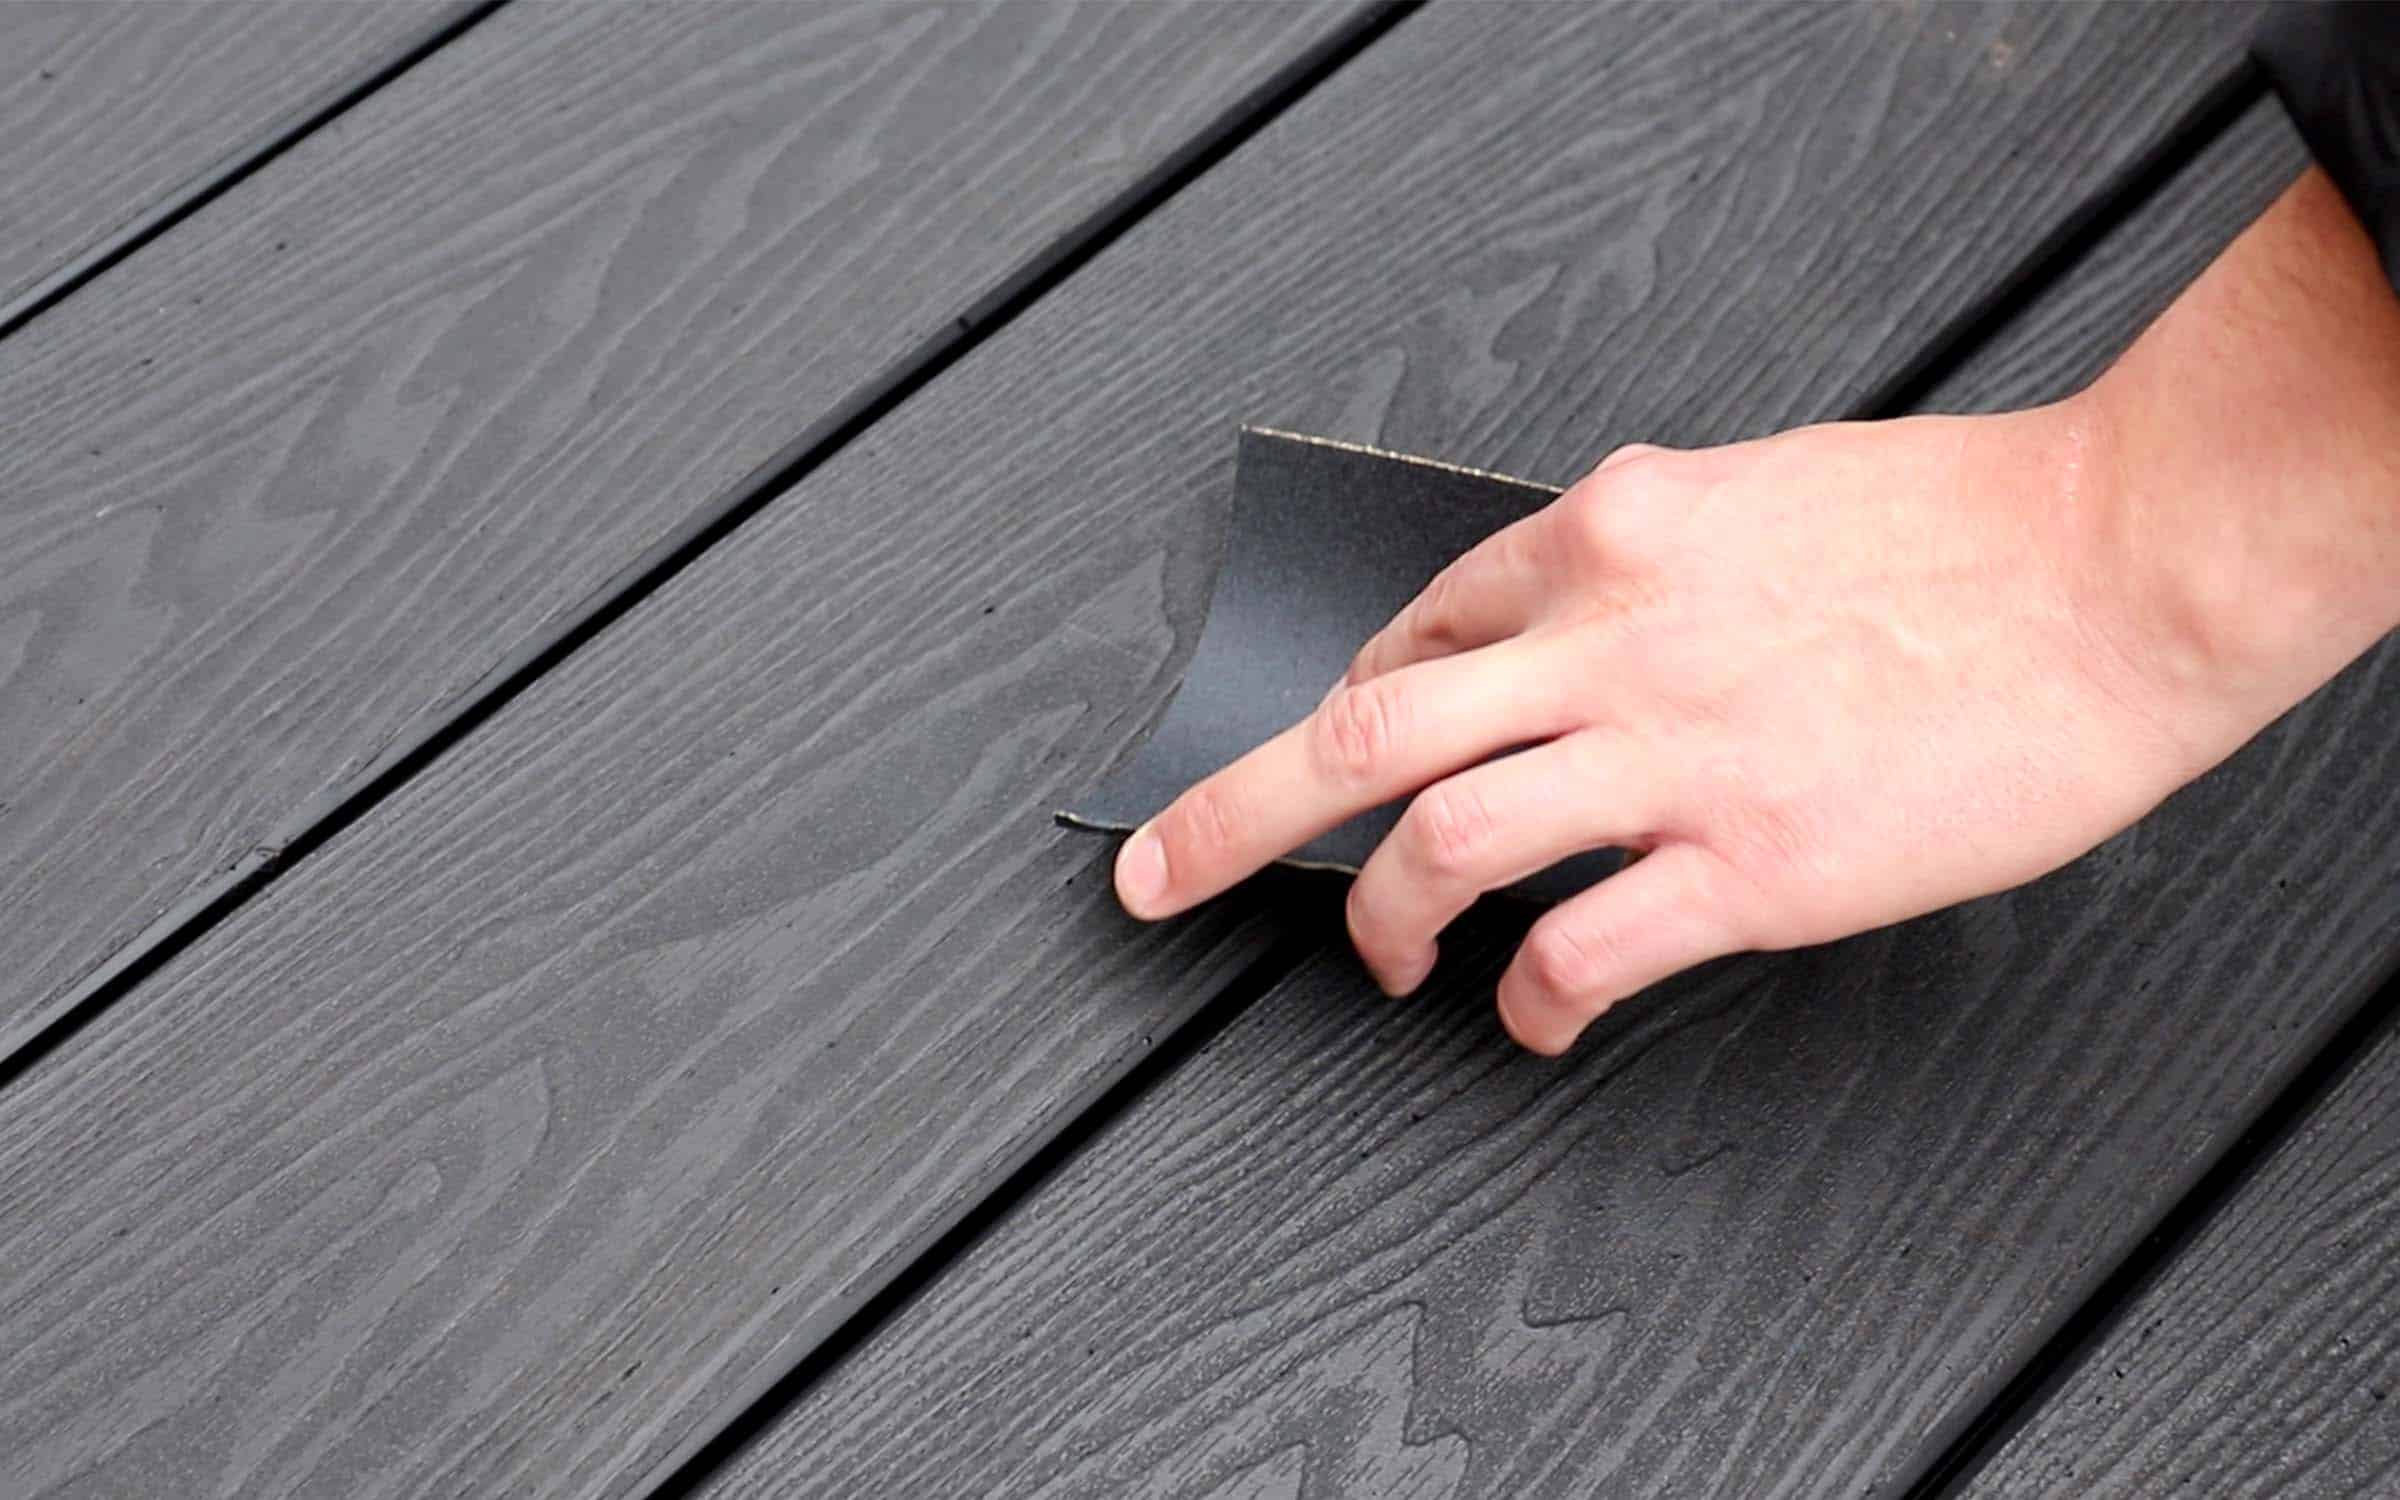
Sanding deeper scratches
If your porcelain sink has deeper scratches that can be felt with a fingertip, a different approach is needed. Sanding the surface can help smooth out these scratches and prepare it for the application of a porcelain repair compound. Here’s how to sand deeper scratches on your sink:
- Start by dampening a soft cloth or sponge with warm water and mild detergent.
- Gently clean the area with the deeper scratches, making sure to remove any dirt or debris. Rinse the area with warm water and dry it thoroughly with a clean cloth.
- Take a piece of fine-grit sandpaper, preferably with a grit of around 400 or lower. Fold the sandpaper in half to create a smaller, more manageable size.
- Wet the folded sandpaper with water and place it on the scratched area.
- Using light pressure, sand the scratched area in a circular motion. Keep the sandpaper wet throughout the process to prevent it from clogging or causing further damage to the sink.
- Continue sanding until the deep scratches become less noticeable and the surface feels smoother to the touch. Take breaks and check your progress regularly to avoid over-sanding.
- Once the scratches have been sanded down, rinse the area with warm water to remove any sanding residue. Dry it thoroughly with a clean cloth.
Sanding the deeper scratches helps prepare the surface for the application of a porcelain repair compound, which will be covered in the next step. It’s important to follow these steps carefully to avoid causing further damage to the sink.
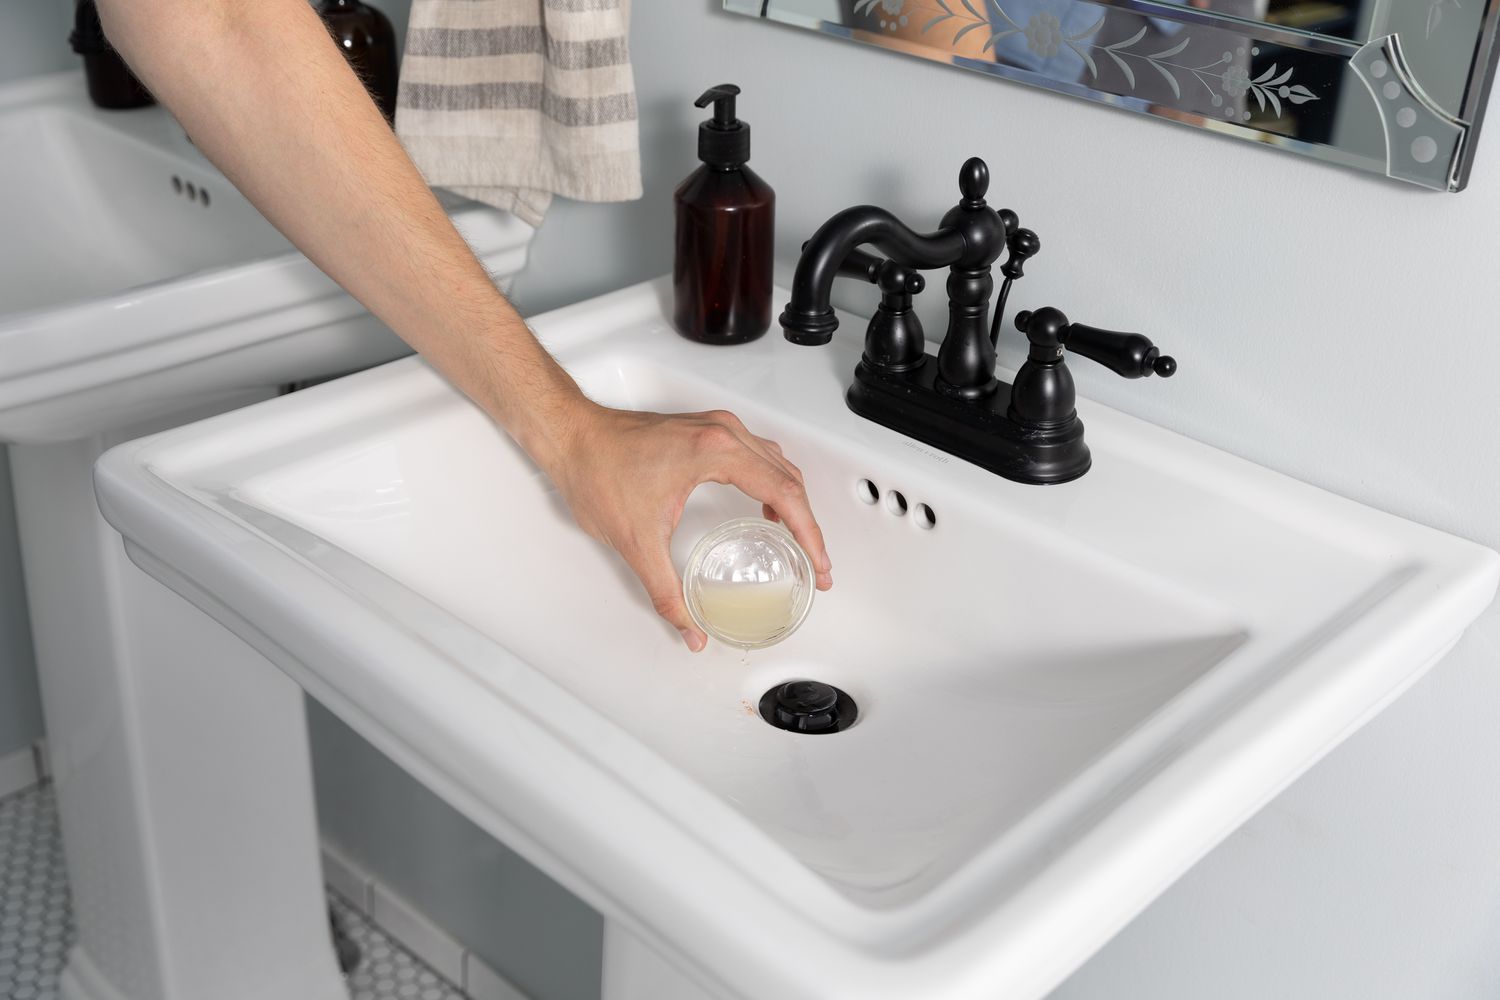
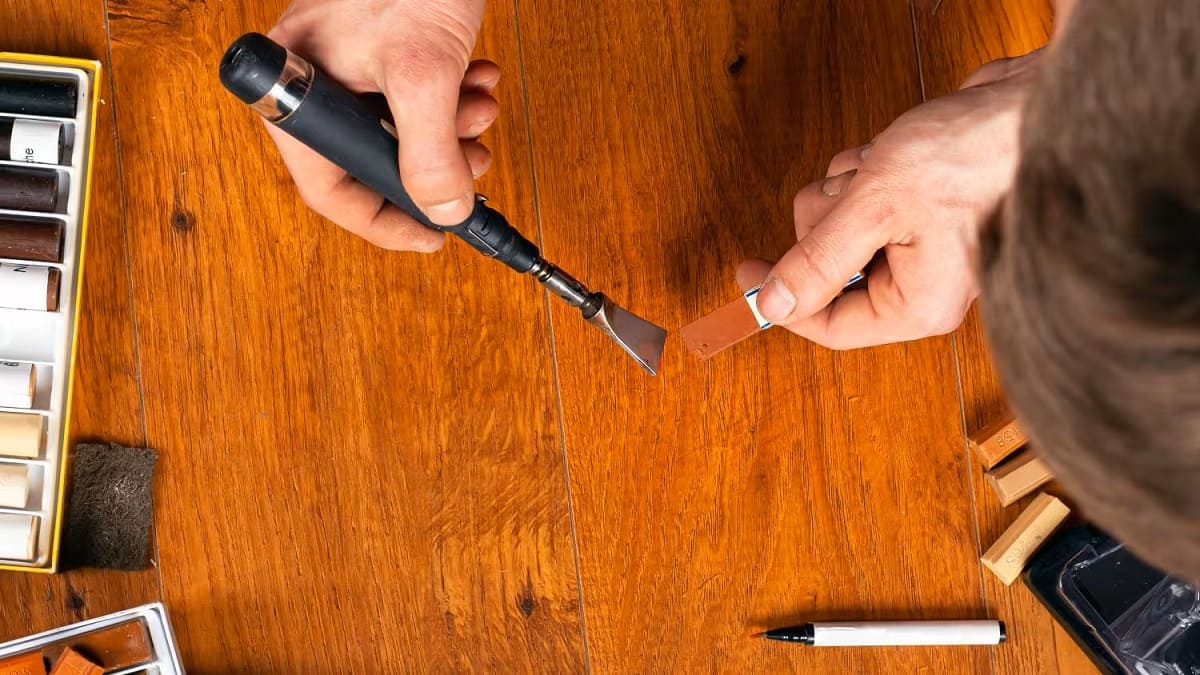
Applying porcelain repair compound
After sanding down the deeper scratches on your porcelain sink, it’s time to apply a porcelain repair compound to fill in the repaired areas. Here’s how to apply the compound:
- Start by thoroughly cleaning the sanded area with warm water and mild detergent. This will remove any sanding residue and ensure a clean surface for the repair.
- Dry the area completely with a clean cloth before proceeding.
- Take a putty knife or spatula and scoop out a small amount of the porcelain repair compound. Make sure to choose a compound that matches the color of your sink for a seamless repair.
- Apply the compound directly onto the sanded area, using the putty knife or spatula to spread it evenly and fill in the scratches. Apply enough compound to completely cover the repaired area, but be careful not to apply too much and create a noticeable bump.
- Smooth out the compound with the putty knife or spatula, ensuring that it is level with the surrounding surface of the sink. Use a light touch and long, smooth strokes for the best results.
- Allow the porcelain repair compound to dry completely according to the manufacturer’s instructions. This typically takes several hours.
- Once the compound is fully dry, lightly sand the repaired area using a fine-grit sandpaper. This will help blend the repaired portion with the rest of the sink and create an even surface.
- Wipe away any sanding residue and clean the entire sink with warm water to remove any remaining compound or dust particles.
By following these steps, you can successfully apply the porcelain repair compound to fill in the deeper scratches on your sink. The compound will help restore the appearance of the sink and provide a smooth surface for the final step – polishing.
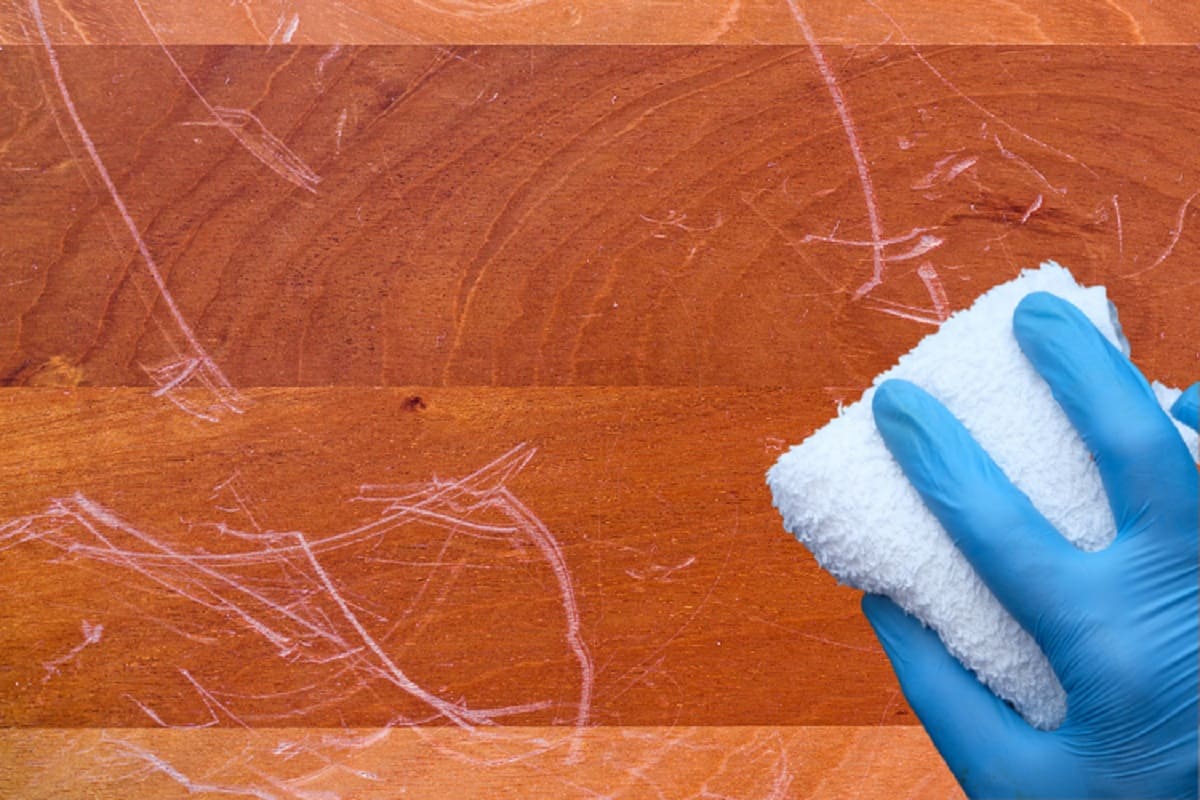
Polishing the surface
After repairing the scratches on your porcelain sink, the final step is to polish the surface to restore its shine and give it a finished look. Here’s how to polish the surface of your sink:
- Before starting the polishing process, make sure the repaired areas and the rest of the sink are clean and dry.
- Take a soft cloth or a buffing pad and apply a small amount of porcelain polish or a non-abrasive polishing compound. Make sure to choose a product specifically designed for porcelain surfaces.
- Gently buff the surface of the sink, focusing on the repaired areas as well as the surrounding surfaces. Use circular motions and apply light pressure.
- Continue buffing until the surface of the sink is smooth and has a consistent shine.
- Take a clean, dry cloth and wipe away any excess polish or compound residue.
- Inspect the sink to ensure that the repaired areas blend seamlessly with the rest of the surface.
By following these steps, you can achieve a polished and shiny finish on your porcelain sink, effectively hiding the repaired scratches and restoring its original appearance.
It’s important to note that proper maintenance and care will help preserve the polished surface of your sink. Avoid using abrasive cleaners or scrub brushes, as they can cause new scratches. Instead, clean the sink regularly with a mild detergent and a soft cloth or sponge. Additionally, use caution when placing heavy or sharp objects in the sink to prevent future damage.
With these simple steps and a little bit of time and effort, you can transform your scratched porcelain sink into a beautifully restored centerpiece in your kitchen or bathroom.
Final thoughts and maintenance tips
Congratulations! You have successfully repaired the scratches on your porcelain sink and brought back its beauty. As you admire your handiwork, here are some final thoughts and maintenance tips to keep your sink looking its best:
- Regular cleaning: Clean your sink regularly with a mild detergent and a soft cloth or sponge. This will help prevent dirt and grime buildup, keeping the surface looking clean and shiny.
- Avoid abrasive materials: When cleaning or scrubbing your sink, avoid using abrasive cleaners or rough scrub brushes. These can cause new scratches and damage the surface of the porcelain. Stick to gentle cleaning materials to maintain the integrity of your sink.
- Use cutting boards and mats: When preparing food or using sharp utensils, be sure to use cutting boards or mats to protect the surface of your sink from scratches or chips.
- Be mindful of heavy objects: Avoid placing heavy objects directly onto your sink to prevent the risk of causing cracks or damage. Instead, use a dish rack or mat to support heavier items.
- Address repairs promptly: If you notice any new scratches or chips on your sink, address them promptly to prevent further damage. The earlier you tackle any issues, the easier and more effective the repair process will be.
- Inspect your sink regularly: Take the time to inspect your sink regularly to catch any signs of damage or wear early on. By addressing minor issues promptly, you can prevent them from escalating into more significant problems.
Remember, while the methods outlined in this article can effectively repair most minor scratches on porcelain sinks, deeper or extensive damage may require professional help. Always read and follow the instructions provided with any repair products you use, and exercise caution throughout the process.
With proper care and maintenance, your porcelain sink will continue to shine and add a touch of elegance to your kitchen or bathroom for years to come.
Frequently Asked Questions about How To Fix Porcelain Sink Scratches
Was this page helpful?
At Storables.com, we guarantee accurate and reliable information. Our content, validated by Expert Board Contributors, is crafted following stringent Editorial Policies. We're committed to providing you with well-researched, expert-backed insights for all your informational needs.


0 thoughts on “How To Fix Porcelain Sink Scratches”