Articles
How To Fix Scratch On Laminate Floor
Modified: October 18, 2024
Learn effective methods to fix scratches on laminate floors with these informative articles. Restore the beauty of your flooring with our expert tips and easy-to-follow instructions!
(Many of the links in this article redirect to a specific reviewed product. Your purchase of these products through affiliate links helps to generate commission for Storables.com, at no extra cost. Learn more)
Introduction
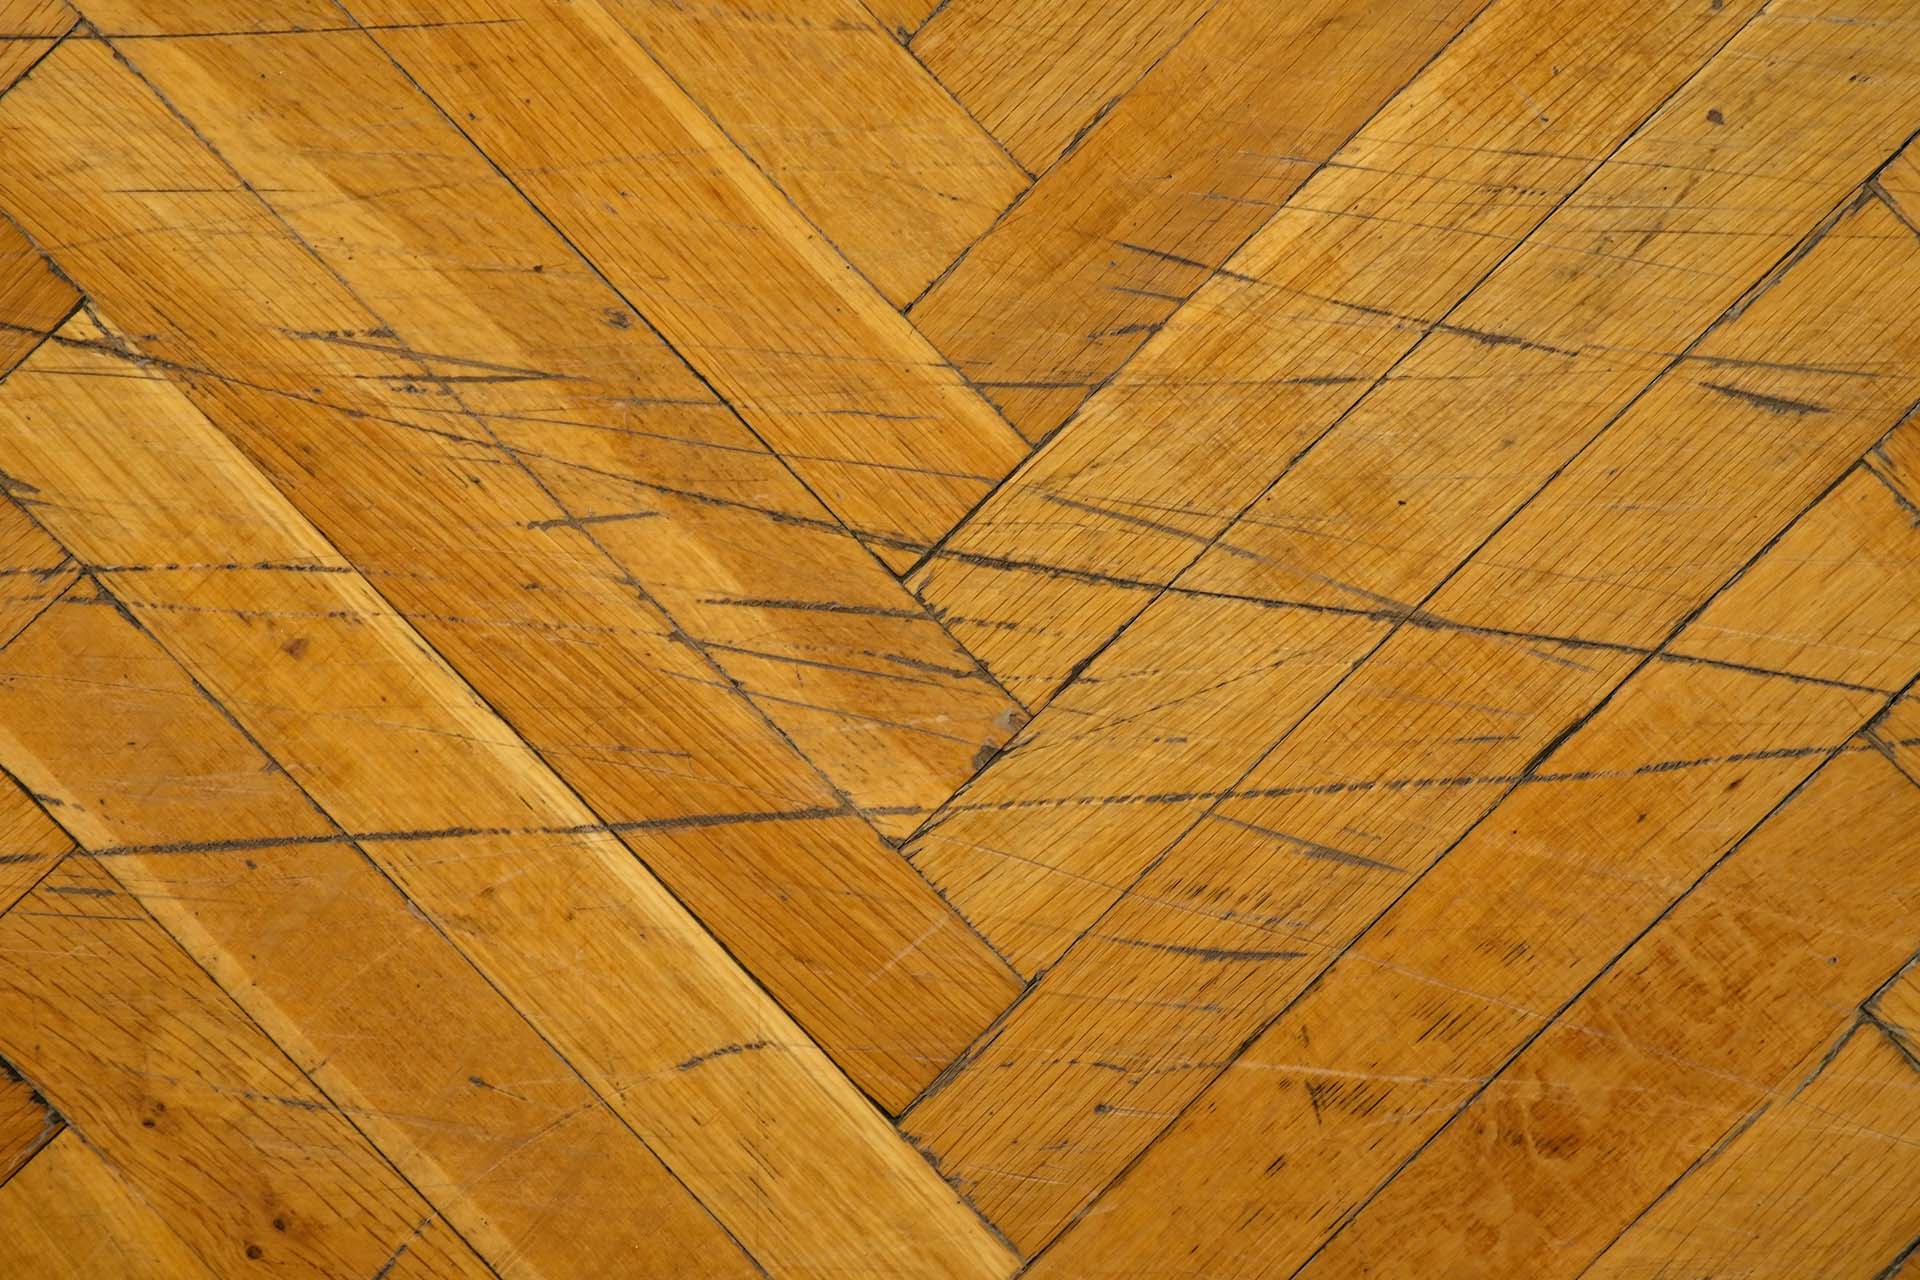
Laminate floors are a popular choice for homeowners due to their durability, affordability, and aesthetic appeal. However, over time, even the toughest laminate floors can develop scratches, detracting from their overall appearance.
If you’ve noticed scratches on your laminate floor, don’t worry. There are simple and effective ways to fix them and restore your floor’s beauty. In this article, we will guide you through the process of fixing scratches on laminate floors, helping you maintain a pristine and attractive flooring surface.
Before diving into the repair methods, let’s start by understanding the nature of laminate floors and why they are susceptible to scratches. Laminate floors consist of several layers designed to mimic the look of hardwood or stone. The top layer, known as the wear layer, is a protective coating that shields the floor from daily wear and tear. While this layer is incredibly durable, it is not impervious to scratches.
Scratches on laminate floors can be caused by various factors, such as pet claws, furniture movement, and grit from shoes. Thankfully, most scratches are surface-level and can be repaired without having to replace the entire floor. By following the right repair methods, you can effectively minimize the appearance of scratches and restore your laminate floor’s original luster.
When it comes to fixing scratches on laminate floors, the approach largely depends on the severity of the scratch. Shallow scratches that only affect the wear layer can often be buffed out or filled in using simple techniques. Deep scratches, on the other hand, may require a bit more effort and involve sanding and refinishing to achieve a seamless result.
In the following sections, we will walk you through the step-by-step process of assessing the scratch, choosing the right repair method, and executing the repairs effectively. We will also provide tips on preventing future scratches to keep your laminate floor looking its best for years to come.
So let’s dive in and discover how to fix a scratch on laminate floor and restore its pristine condition!
Key Takeaways:
- Laminate floors can be easily repaired using simple techniques for shallow scratches, such as using repair kits, household items like nuts, or specialized cleaners. Deeper scratches may require more extensive repairs, including filling with repair paste or even replacing damaged planks.
- Preventing scratches on laminate floors is crucial for maintaining their beauty and longevity. Implementing measures like using protective pads, area rugs, and proper cleaning techniques can significantly reduce the risk of scratches, ensuring a flawless and durable flooring surface.
Read more: How To Fix Peeling Laminate Floor
Understanding Laminate Floors
Laminate floors have gained popularity for their affordability, ease of installation, and versatility. Understanding the composition of laminate floors can help you better maintain and address any issues that arise, such as scratches.
Laminate flooring is composed of multiple layers that work together to create a durable and visually appealing surface. The bottom layer, known as the backing layer, provides stability and moisture resistance. Above that is the core layer, which is typically made from compressed wood fibers or particleboard. The core layer adds strength to the floor and ensures its stability.
The next layer is the design layer, which features a high-resolution image of natural materials like wood or stone. This layer is responsible for laminate flooring’s ability to mimic the appearance of these materials. The design layer is protected by a transparent layer called the wear layer.
The wear layer is the topmost layer of the laminate floor and is crucial in protecting the design layer from scratches, stains, and fading. It is typically made of aluminum oxide, which provides excellent durability and resistance to wear and tear.
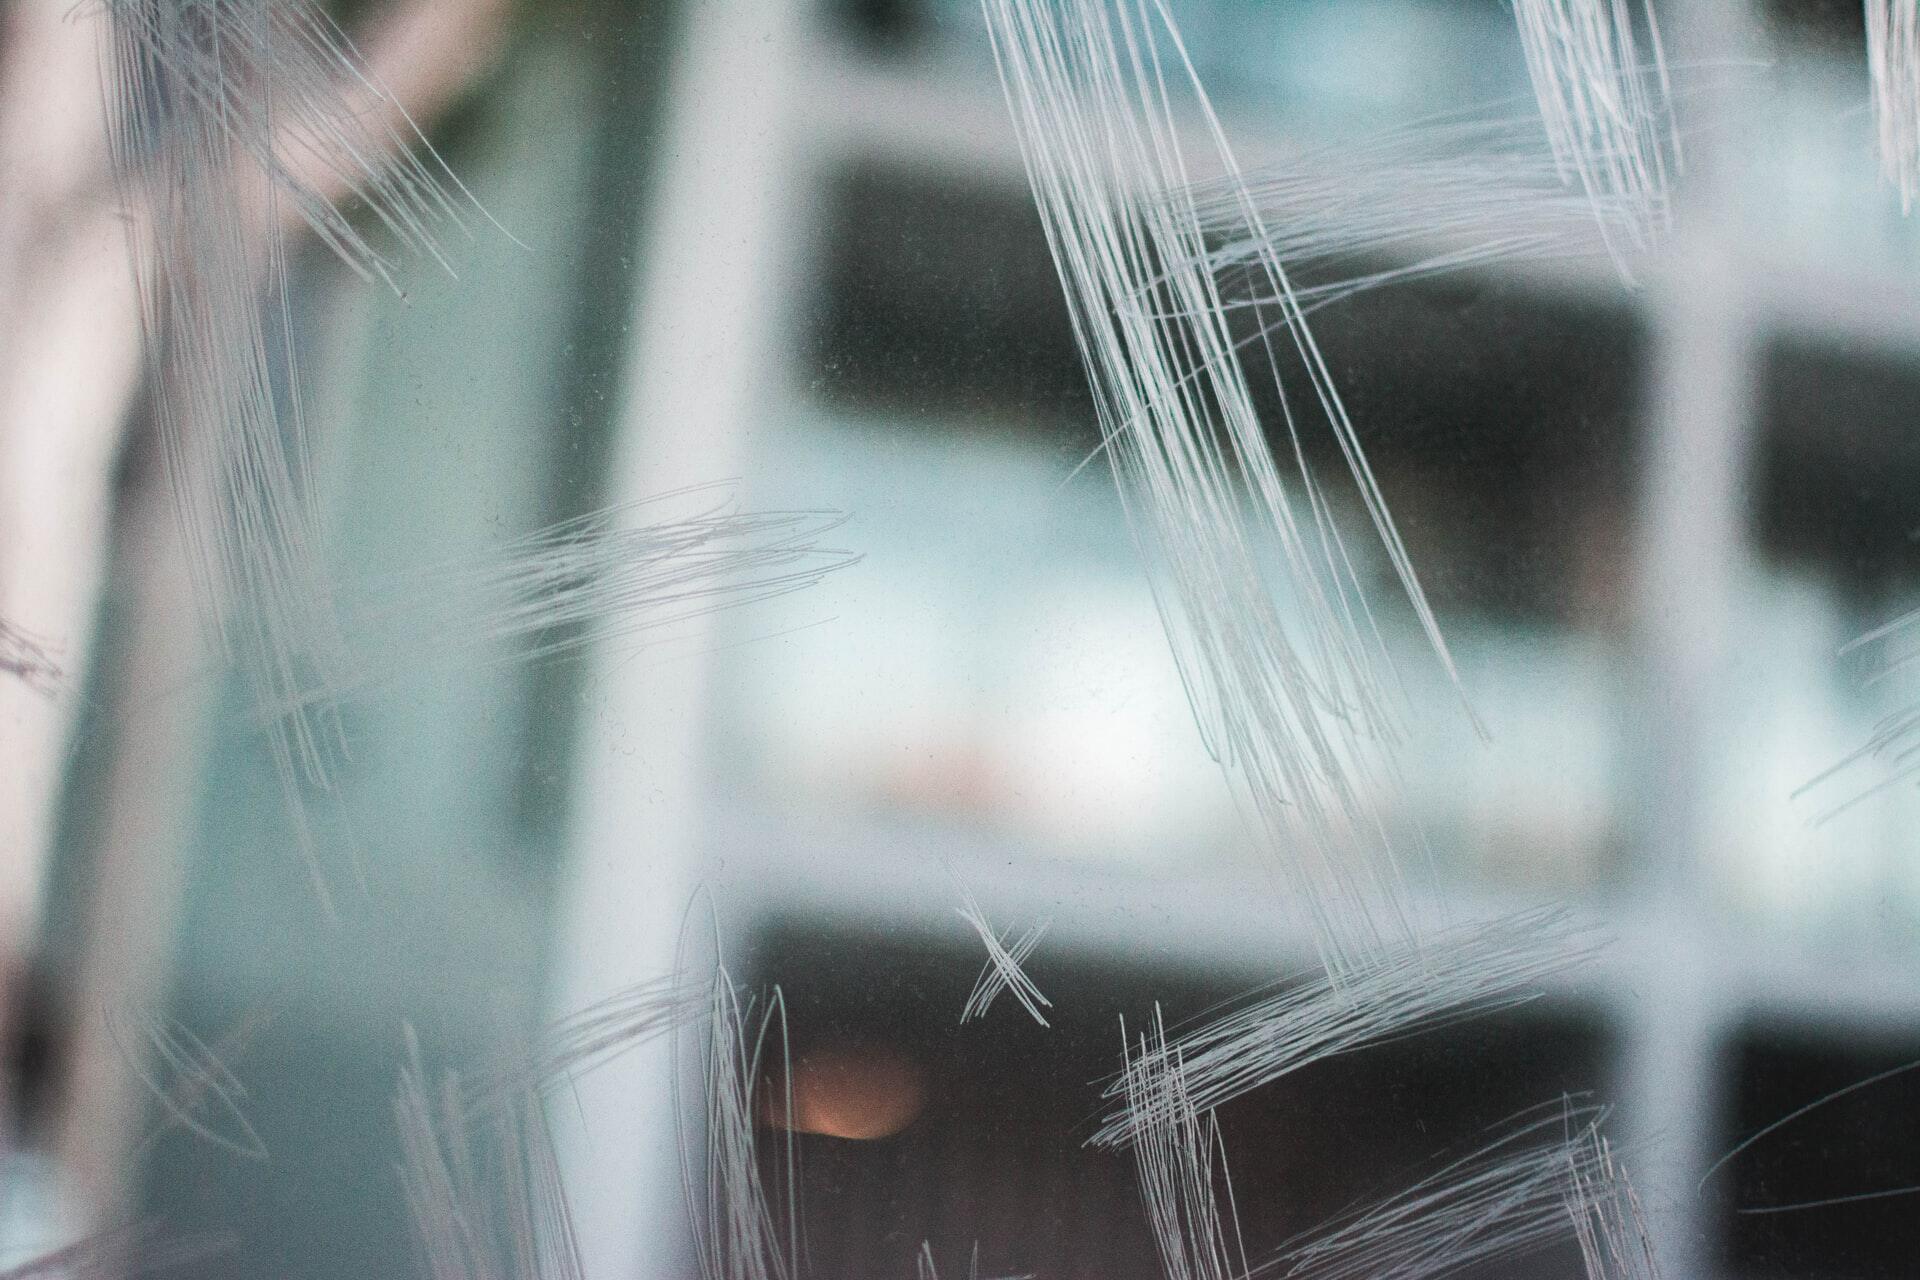
While the wear layer is highly resistant, it is not immune to scratches. Various factors can cause scratches on laminate floors, such as moving heavy furniture without protective pads, dragging sharp objects across the floor, or walking with rough and abrasive footwear. Even though laminate floors are durable, they can still develop unsightly scratches over time.
Understanding the construction of laminate floors is important because it influences the choice of repair methods. Surface-level scratches typically only affect the wear layer, and thus can be addressed using less invasive techniques. Deeper scratches, however, may require more extensive repair, involving the removal and replacement of damaged planks or even sanding and refinishing.
By having a solid understanding of how laminate floors are constructed, you can make informed decisions when it comes to fixing scratches. The following sections will guide you through assessing the severity of the scratch and choosing the most appropriate repair method, depending on the depth and size of the damage.
Now that we comprehend the basics of laminate flooring and its susceptibility to scratches, let’s delve into the process of assessing the scratches on your floor and selecting the proper repair method to eliminate them effectively.
Assessing the Scratch
Before diving into the repair process, it’s essential to assess the scratch on your laminate floor to determine the best course of action. Assessing the scratch involves understanding its depth, length, and location, as these factors will influence the repair method you choose.
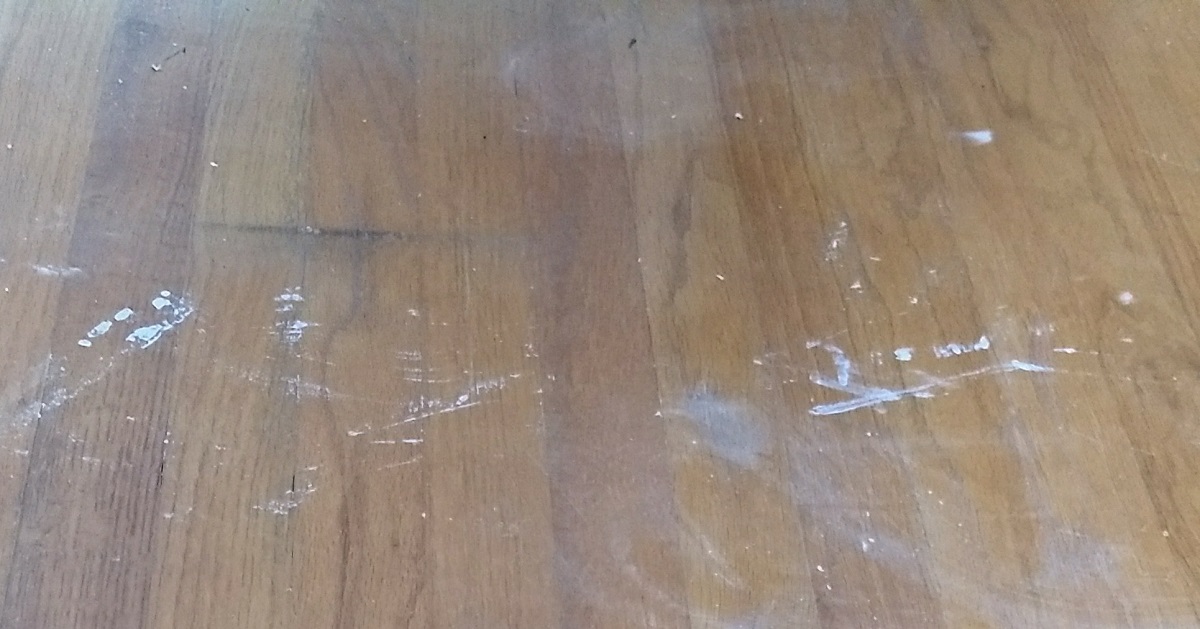
First, examine the scratch to determine its depth. Shallow scratches only affect the wear layer of the laminate floor and are less severe. These scratches may appear as light surface marks and can often be easily repaired. On the other hand, deeper scratches not only penetrate the wear layer but also affect the design layer or even the core layer beneath. These scratches require more extensive repair techniques.
Next, consider the length of the scratch. Longer scratches are more noticeable and may require different repair methods compared to shorter scratches. Keep in mind that even a small scratch can catch the eye if it is in a prominent location, such as in the middle of a highly visible area or near a focal point in the room.
The location of the scratch is also crucial in assessing the damage. Scratches in high-traffic areas or areas prone to moisture, such as near entrances or kitchen sinks, may require more durable repairs to prevent further damage. Similarly, scratches on the edges or corners of laminate planks may necessitate replacement of the affected planks for a seamless repair.
Furthermore, observe the color of the scratch. Light scratches that only affect the wear layer may appear as lighter marks on darker laminate floors, while deeper scratches may expose the lighter core layer or create a noticeable contrast in color. Understanding the color variation can help guide your repair approach to ensure a more visually appealing and natural-looking result.
It’s worth noting that while you can repair most scratches on laminate floors yourself, certain types of damage, such as deep gouges or extensive water damage, may require professional assistance or even the replacement of the entire plank or section. Assessing the severity of the scratch will help you determine whether a DIY repair is sufficient or if seeking professional help is necessary.
Once you have thoroughly assessed the scratch, you will have a better understanding of its depth, length, location, and color. This assessment will guide you in choosing the appropriate repair method, whether it’s a simple buffing or filling for shallow scratches, or a more involved sanding and refinishing process for deeper scratches.
Now that we’ve assessed the scratches on your laminate floor, we can move on to selecting the right repair method that aligns with the severity of the damage. The next section will provide you with various options to address shallow scratches and restore your laminate floor’s pristine appearance.
Choosing the Right Repair Method
Once you have assessed the scratch on your laminate floor, it’s time to determine the appropriate repair method. The choice of repair method will depend on the severity of the scratch and the desired outcome. In this section, we will explore different repair techniques for both shallow and deep scratches.
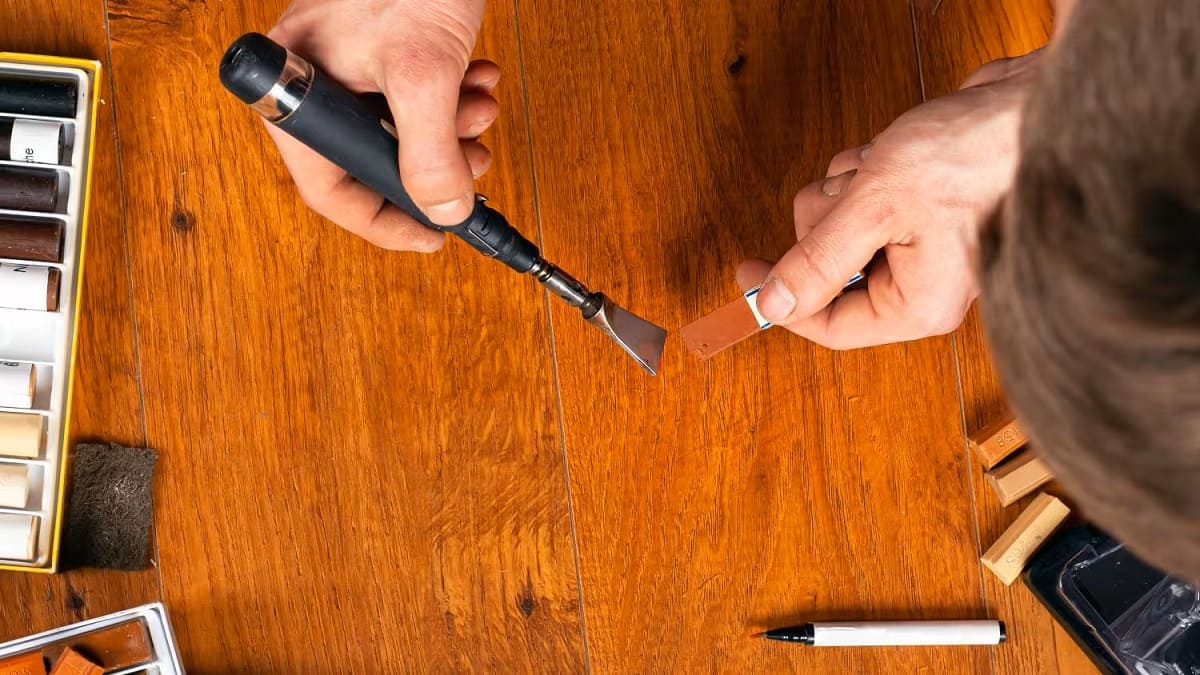
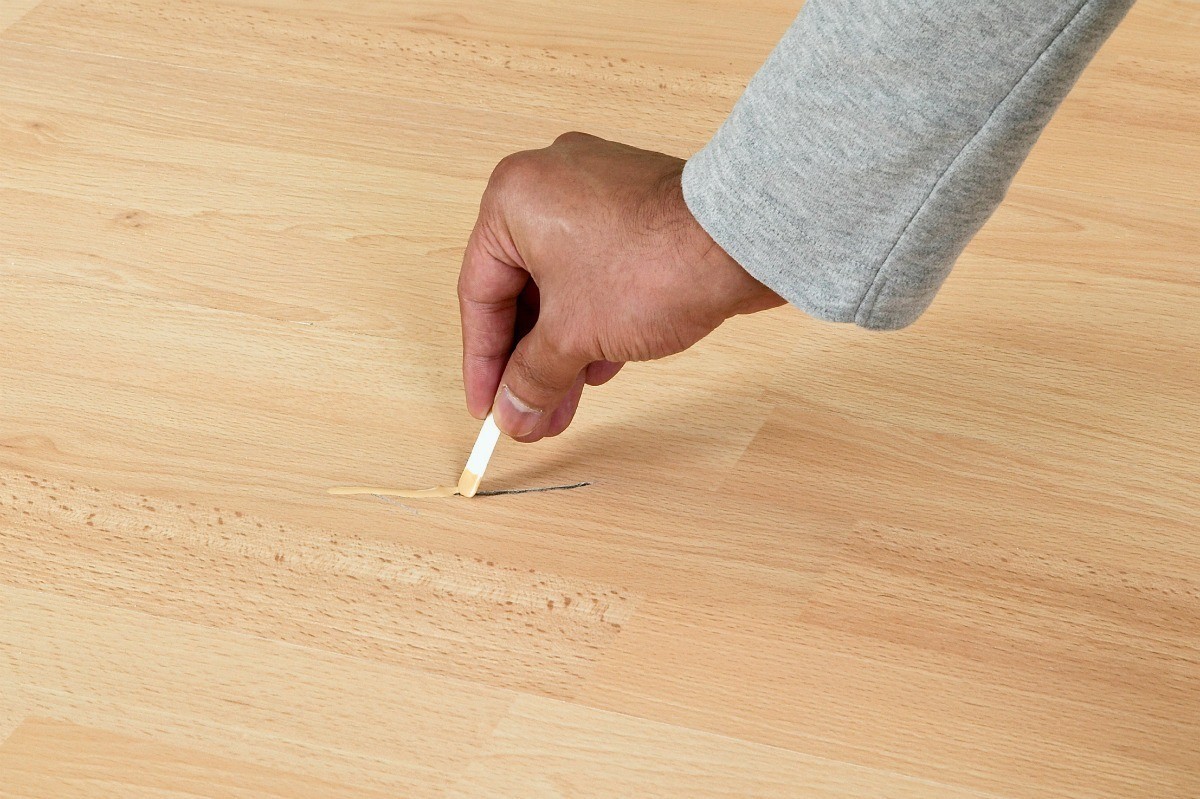
For shallow scratches that only affect the wear layer, there are a few simple and effective repair methods. One option is to use a laminate floor repair kit, which typically includes a touch-up marker or crayon that matches the color of your floor. Gently rub the marker or crayon over the scratch, following the direction of the scratch. This will help fill in the damaged area and minimize its appearance. After applying the marker or crayon, use a clean cloth to wipe away any excess product.
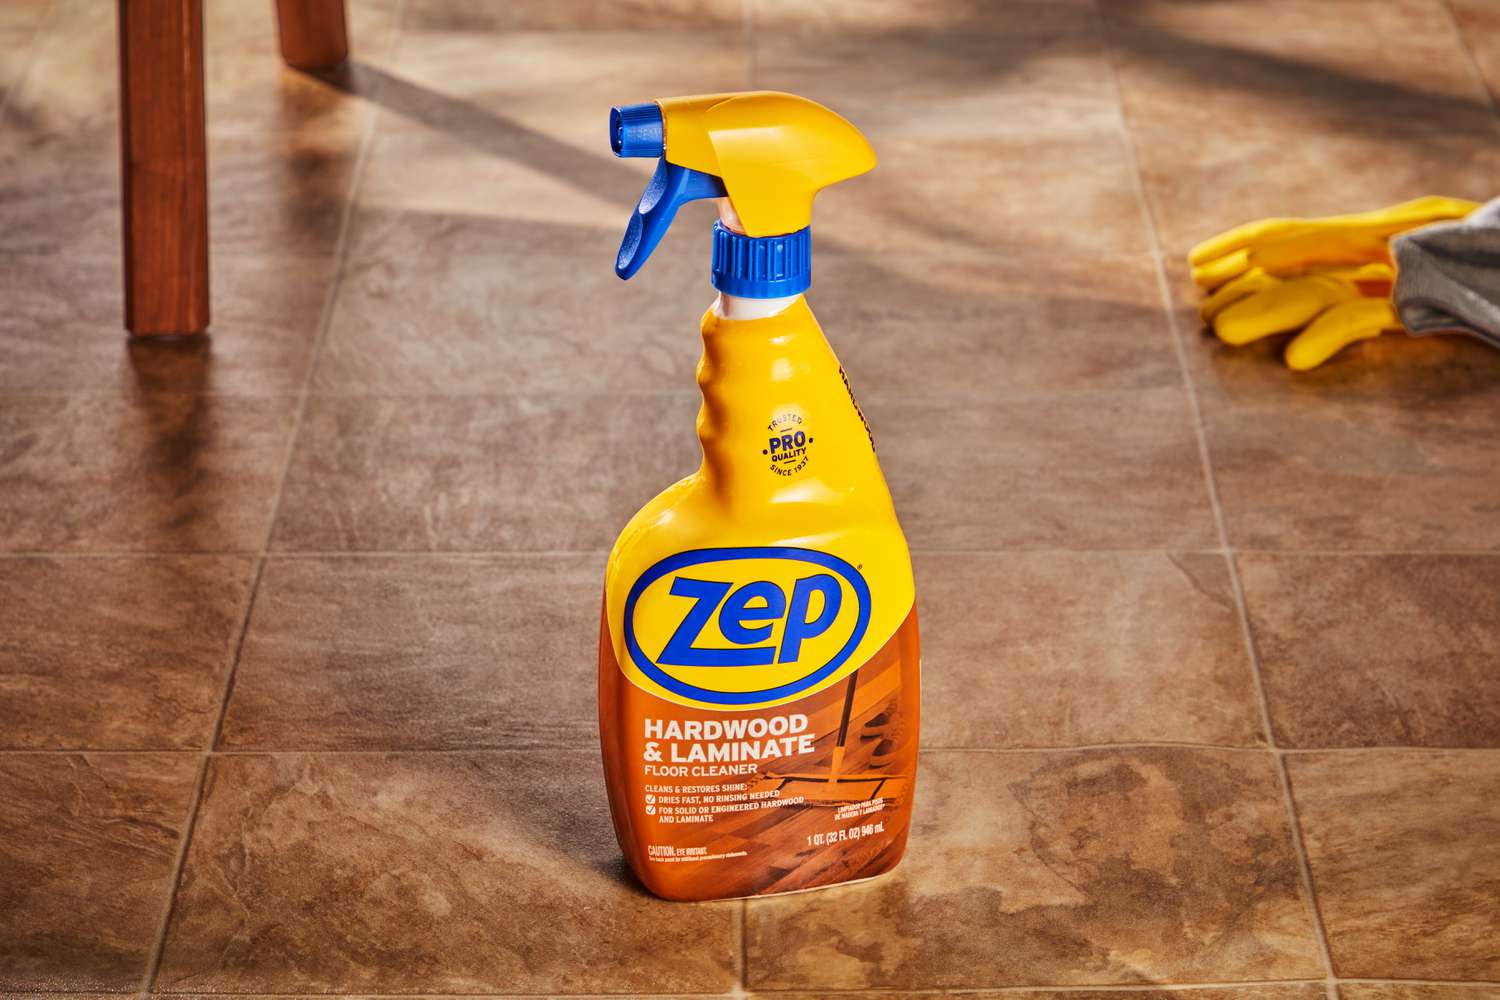
Another option for shallow scratches is to use a laminate floor cleaner that is specifically designed to mask minor imperfections. Apply a small amount of the cleaner to a clean cloth and gently rub it onto the scratch. This can help blend the scratch with the surrounding area and make it less noticeable.
If you don’t have a repair kit or specialized cleaner, you can try using household items to address the scratch. For lighter scratches, rubbing a walnut or almond on the affected area can help to mask the imperfection. The natural oils in the nuts can fill in shallow scratches and restore the floor’s appearance. Remember to thoroughly clean the area afterward to remove any residue.
However, if the scratch is slightly deeper or none of the above methods are effective, you can consider using a laminate floor repair paste. This paste is designed to fill in deeper scratches and create a smooth surface. Apply a small amount of the paste to a clean cloth and gently rub it onto the scratch in a circular motion. Wipe away any excess paste and allow it to dry completely before walking on the repaired area.
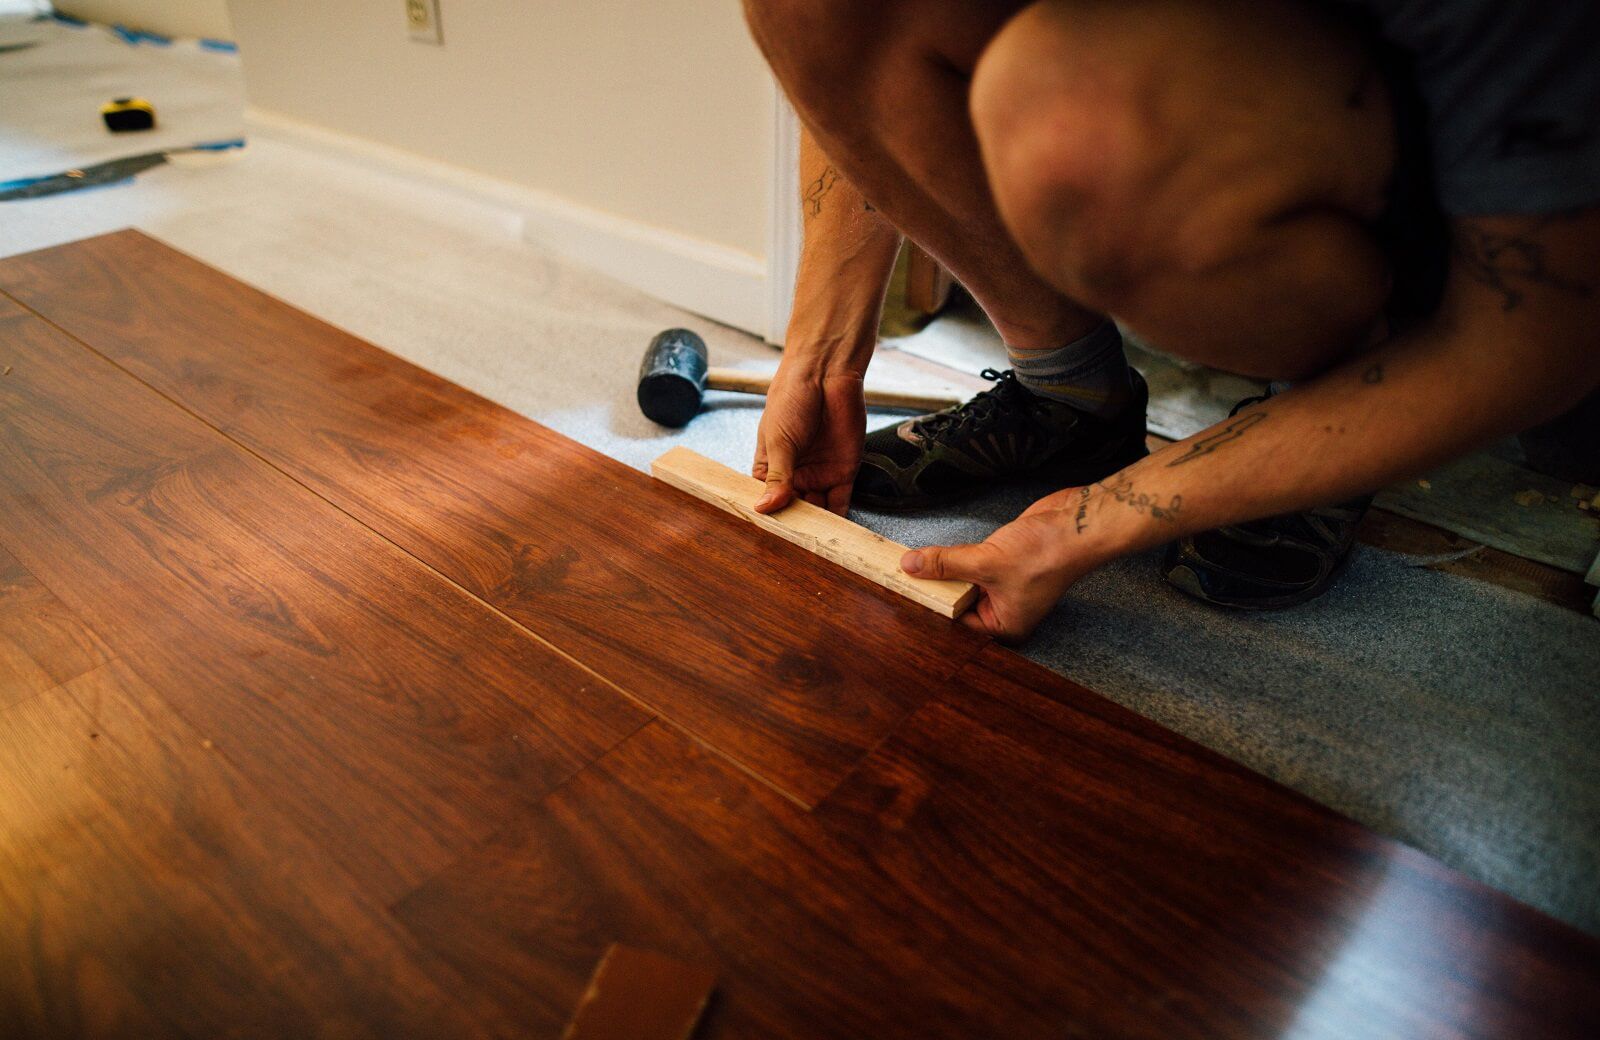
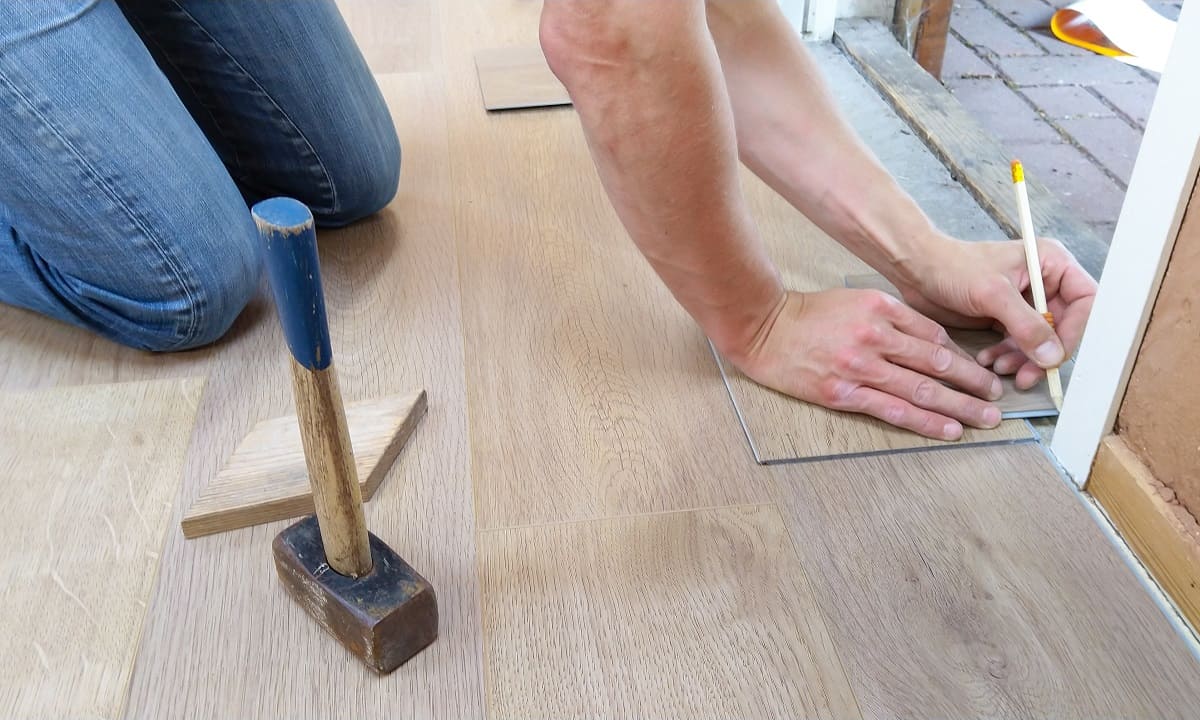
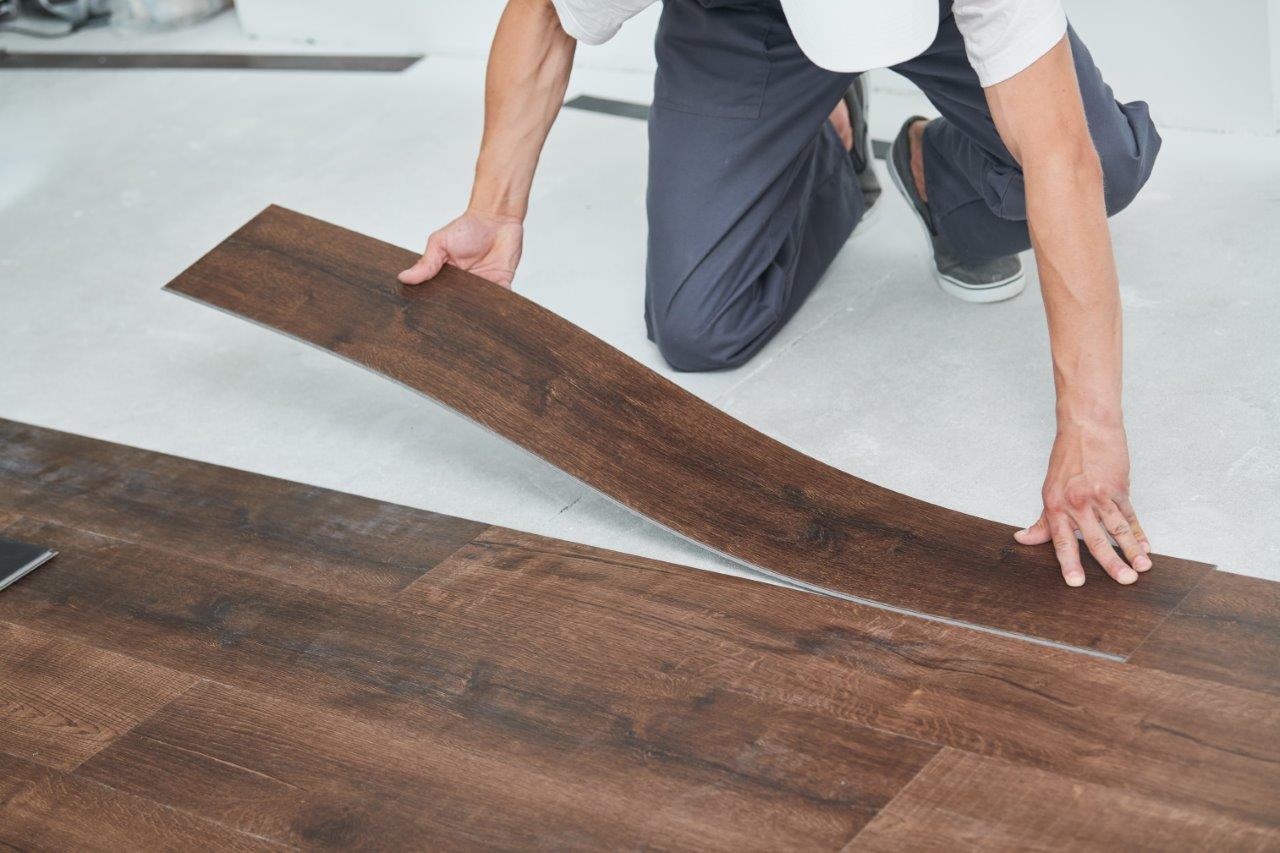
For deeper scratches that penetrate beyond the wear layer, the best course of action is to replace the damaged laminate plank. Many laminate floors feature planks that can be easily removed and replaced without affecting the surrounding flooring. For this process, you will need to purchase a new plank that matches the color and style of your existing floor. Carefully remove the damaged plank by lifting it up and sliding it out. Replace it with the new plank by aligning the tongue and groove edges and pressing it into place. Be sure to follow the manufacturer’s instructions for a proper installation.
If the scratch is extensive or affects multiple planks, it may be necessary to seek professional assistance. A flooring specialist can help assess the damage and provide a more comprehensive repair or replacement solution. Remember, it is always better to consult a professional if you are unsure about tackling a more complex repair on your own.
Now that you know the different repair methods for shallow and deep scratches on laminate floors, you can choose the most appropriate technique based on the severity of the scratch. In the next sections, we will walk you through the step-by-step process of repairing shallow scratches and filling in deeper scratches, ensuring your laminate floor looks as good as new.
Repairing Shallow Scratches
Shallow scratches on laminate floors, which only affect the wear layer, can often be effectively repaired using simple techniques. These methods will help minimize the appearance of the scratch and restore the floor’s pristine look. Follow the step-by-step process below to repair shallow scratches on your laminate floor:
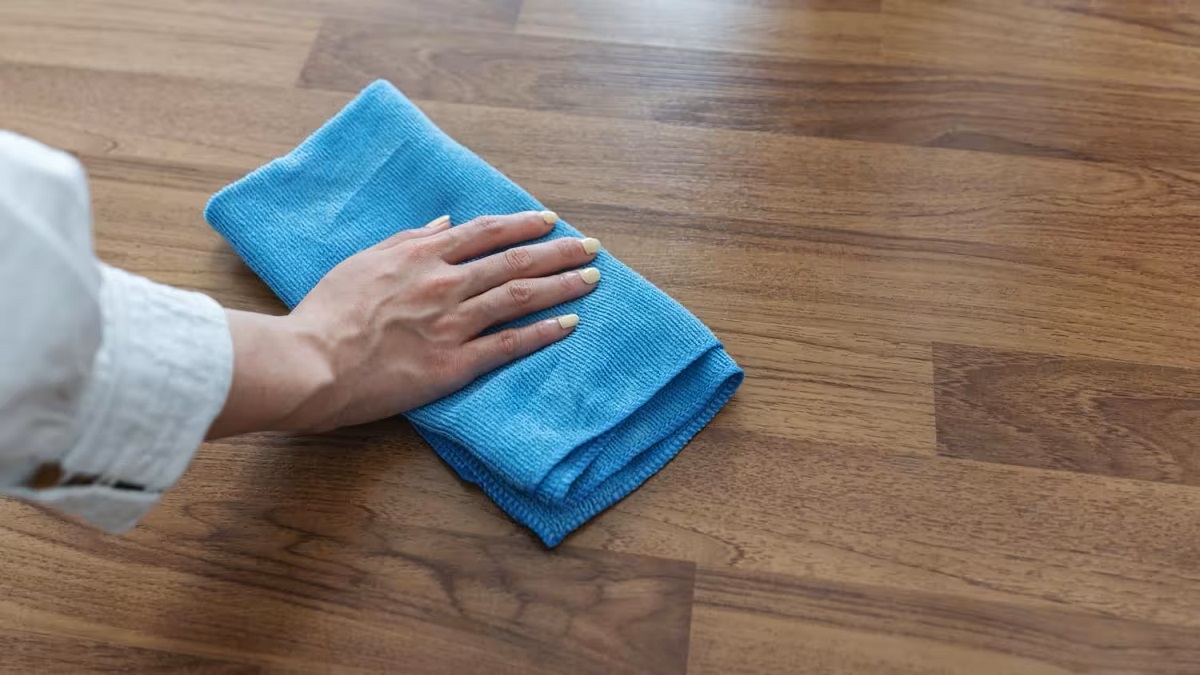
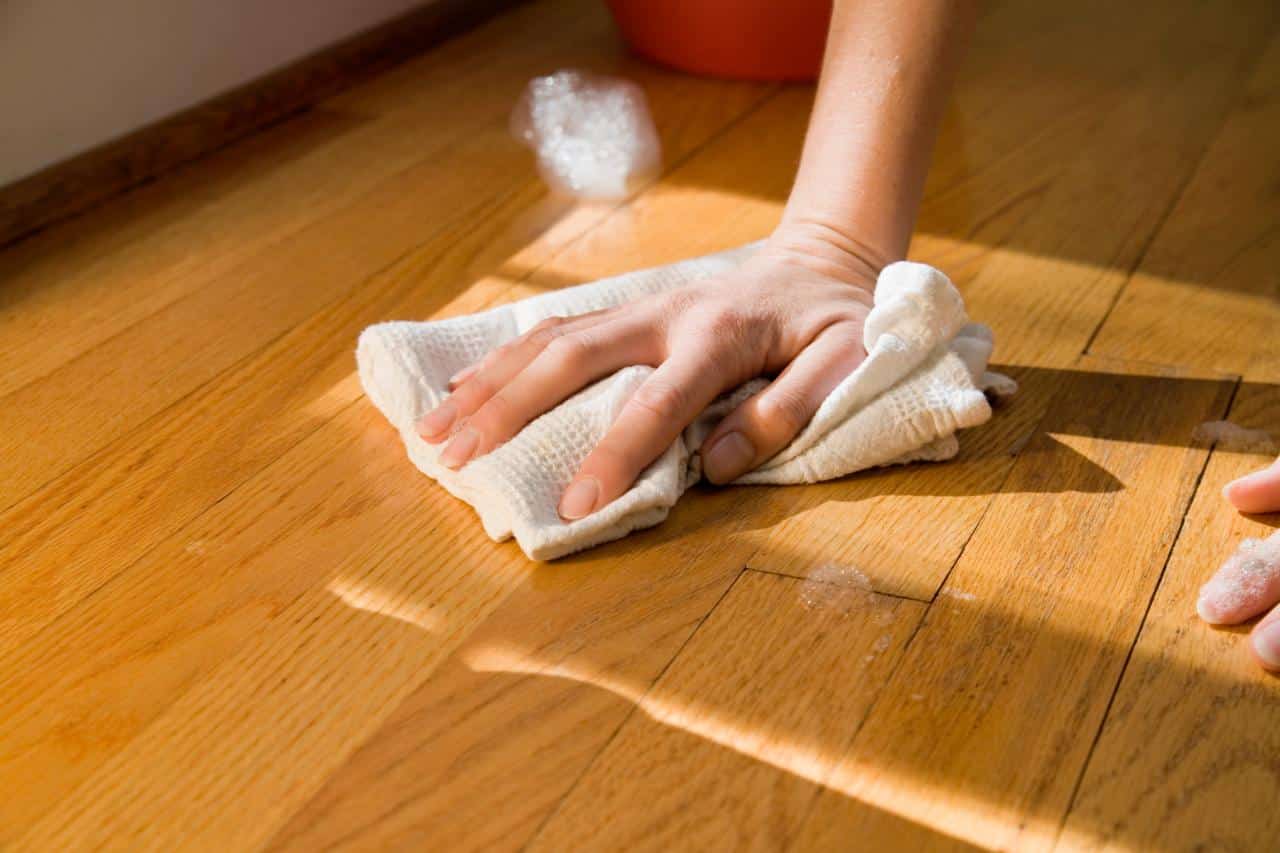
- Clean the affected area: Before starting the repair, thoroughly clean the scratched area using a mild laminate floor cleaner and a soft cloth. This will ensure that there is no dirt, dust, or debris that could interfere with the repair process.
- Assess the color match: If you are using a touch-up marker or crayon from a laminate floor repair kit, check if the color matches your floor. Test it on an inconspicuous area first to ensure a good match. If the color doesn’t match, consider using a different color or alternative repair method.
- Apply the touch-up marker or crayon: Gently rub the touch-up marker or crayon over the scratch, following the direction of the scratch. Apply light pressure and go over the scratch a few times to ensure proper coverage. Make sure to stay within the scratch and not exceed its boundaries to prevent creating a noticeable patch.
- Blend the repair: After applying the marker or crayon, use a clean cloth to gently blend the repaired area with the surrounding floor. This will help create a seamless look and make the scratch less visible. Be careful not to remove the repair product or damage the surrounding floor during this step.
- Clean up excess product: Wipe away any excess marker or crayon using a clean cloth. This will help prevent any residue from accumulating on the surface, ensuring a smoother and more polished final result.
- Allow the repair to dry: Give the repaired area ample time to dry before allowing foot traffic. Follow the manufacturer’s instructions for drying time, as it may vary depending on the product used. Avoid placing rugs, furniture, or other objects on the repaired area until it is completely dry to avoid disrupting the repair.
By following these steps, you can effectively repair shallow scratches on your laminate floor and restore its original appearance. Remember that the results may vary based on the depth and extent of the scratch, as well as the quality and color matching of the repair products used.
If the shallow scratch persists or you are not satisfied with the repair outcome, you can consider exploring other options like using a laminate floor repair paste or seeking professional assistance. Now that you’ve learned how to address shallow scratches, let’s move on to the process of filling in deeper scratches to achieve a seamless and flawless repair.
Use a laminate floor repair kit to fill in the scratch, then gently sand and buff the area to blend it in with the rest of the floor.
Read more: How To Fix Buckling Laminate Floor
Filling Deep Scratches
Deep scratches on laminate floors, which penetrate the wear layer and potentially affect the design layer or even the core layer, require a different approach for repair. Filling in deep scratches involves using a repair paste specifically designed for laminate floors to create a smooth and seamless surface. Follow the step-by-step process below to fill in deep scratches on your laminate floor:
- Clean the scratched area: Start by cleaning the affected area using a mild laminate floor cleaner and a soft cloth. This will ensure that the area is free from dirt, dust, and debris that could interfere with the effectiveness of the repair.
- Select a laminate floor repair paste: Look for a laminate floor repair paste that matches the color and texture of your floor. These repair pastes are typically available in various shades to match different laminate flooring types. Test the paste on an inconspicuous area to ensure a good color match before proceeding.
- Apply the repair paste: Using a putty knife or a similar tool, apply a small amount of the repair paste directly to the deep scratch. Make sure to fill the scratch completely, leaving no gaps or uneven surfaces. Smooth out the paste using the putty knife, ensuring it is level with the surrounding floor. Avoid applying excessive paste, as it may lead to an uneven and noticeable repair.
- Remove excess paste: Wipe away any excess repair paste using a clean cloth or paper towel. Be careful not to disturb the filled scratch while removing the excess. This step will help create a more polished and natural-looking repair.
- Allow the paste to dry: Give the repair paste sufficient time to dry and harden. Refer to the manufacturer’s instructions for the recommended drying time. It is essential to avoid placing any weight or objects on the repaired area until it is completely dry to prevent any damage or distortion to the repair.
- Smooth and blend the repair: Once the repair paste is thoroughly dry, use a fine-grit sandpaper or a sanding block to gently smooth and blend the repaired area with the surrounding floor. Take extra care not to oversand or damage the nearby laminate planks. The goal is to create a seamless transition between the repair and the rest of the floor.
- Clean the floor: After sanding, carefully remove any dust or debris using a vacuum cleaner or a damp cloth. This will ensure that the repaired area is clean and ready for further treatments or protective coatings.
By following these steps, you can effectively fill in deep scratches on your laminate floor and achieve a more visually appealing and durable repair. Keep in mind that while this method can improve the appearance of deep scratches, it may not completely eliminate them, especially if the damage has affected multiple layers of the laminate floor.
If you are uncomfortable with the DIY repair process or have extensive and complex scratches, it may be best to consult a professional flooring specialist who can provide expert advice and assistance. Now that you’ve learned how to fill in deep scratches, let’s explore the next steps of sanding and refinishing the scratch to achieve a more professional and seamless repair.
Sanding and Refinishing the Scratch
Sometimes, deep scratches on laminate floors may require a more involved repair process, such as sanding and refinishing. Sanding and refinishing the scratch is a more advanced technique that can help achieve a seamless and professional-looking repair. Follow the step-by-step process below to sand and refinish the scratch on your laminate floor:
- Clean the area: Start by cleaning the scratched area thoroughly using a mild laminate floor cleaner and a soft cloth. Remove any dirt, dust, or debris that could interfere with the sanding process.
- Assess the severity: Determine the depth and extent of the scratch. If the scratch is too deep or extensive, it may be necessary to replace the damaged laminate plank instead of attempting to sand and refinish it.
- Sand the scratch: Using fine-grit sandpaper or a sanding block, gently sand the scratched area in a circular motion. Start with a lighter pressure and gradually increase if needed. The goal is to remove the damaged layer and create a smooth surface that is level with the rest of the floor. Be cautious not to oversand or damage the surrounding laminate planks.
- Blend the repair: After sanding, assess the area to ensure the scratch is fully blended with the surrounding floor. If there are still noticeable differences, continue sanding and feathering the edges until a seamless transition is achieved.
- Clean the floor: Once the sanding is complete, thoroughly clean the floor to remove any sanding dust or debris. Use a vacuum cleaner or a damp cloth to ensure the area is free from any particles that could affect the refinishing process.
- Apply laminate floor repair paste: If necessary, apply a small amount of laminate floor repair paste to the sanded area. This can help fill in any remaining imperfections and create a smoother surface. Follow the manufacturer’s instructions for applying the repair paste and allow it to dry completely.
- Refinish the area: To achieve a uniform appearance, consider refinishing the scratch and the surrounding area. Use a laminate floor sealant or touch-up finish to coat the repaired area and blend it with the rest of the floor. Apply the sealant carefully and evenly, following the manufacturer’s instructions. Allow the sealant to dry thoroughly before allowing foot traffic.
- Inspect the repair: Once the sealant is dry, inspect the repaired area to ensure it matches the rest of the floor. If necessary, apply an additional layer of sealant or touch-up finish to achieve the desired appearance. Be sure to follow the recommended drying time between each application.
By following these steps, you can successfully sand and refinish a deep scratch on your laminate floor, achieving a professional and seamless repair. However, keep in mind that this method should only be attempted if you are comfortable with the repair process and have experience with sanding and refinishing laminates. Alternatively, you can seek the assistance of a professional flooring specialist who can handle the sanding and refinishing process for you.
After sanding and refinishing, keep in mind that the repaired area may have a slightly different appearance due to variations in grain, color, or sheen, particularly if your laminate flooring has a textured or embossed surface. However, with proper blending and refinishing, the overall appearance of the repair should be significantly improved and less noticeable.
Sanding and refinishing a deep scratch on your laminate floor is a more advanced repair technique that requires patience and attention to detail. If you’re unsure about tackling this process or have extensive and complex scratches, it’s best to consult a professional who can provide expert advice and assistance.
Preventing Future Scratches
While it’s essential to know how to fix scratches on your laminate floor, it’s even better to prevent them from occurring in the first place. By implementing some preventive measures, you can minimize the risk of scratches and keep your laminate floor looking beautiful for longer. Here are some tips to help you prevent future scratches:
- Use protective pads: Place protective pads or felt furniture pads on the legs of furniture to prevent them from scratching or scraping the laminate floor when moved or dragged. These pads create a cushioned barrier between the furniture and the floor, reducing the chances of scratches.
- Invest in area rugs or doormats: Place area rugs or doormats in high-traffic areas, such as entrances or hallways, to reduce dirt and grit from being tracked onto the floor. This will help minimize the risk of scratches caused by tiny particles that can act as abrasives.
- Avoid wearing shoes indoors: Encourage family members and guests to remove their shoes before walking on the laminate floor. Shoes can bring in dirt, debris, and sharp objects that may scratch the surface, especially if they have rough soles or heels.
- Trim pet nails: If you have pets, keep their nails trimmed to prevent them from scratching the floor when they run or play. Consider using pet-safe nail caps or mats in areas where they spend a lot of time to offer additional protection.
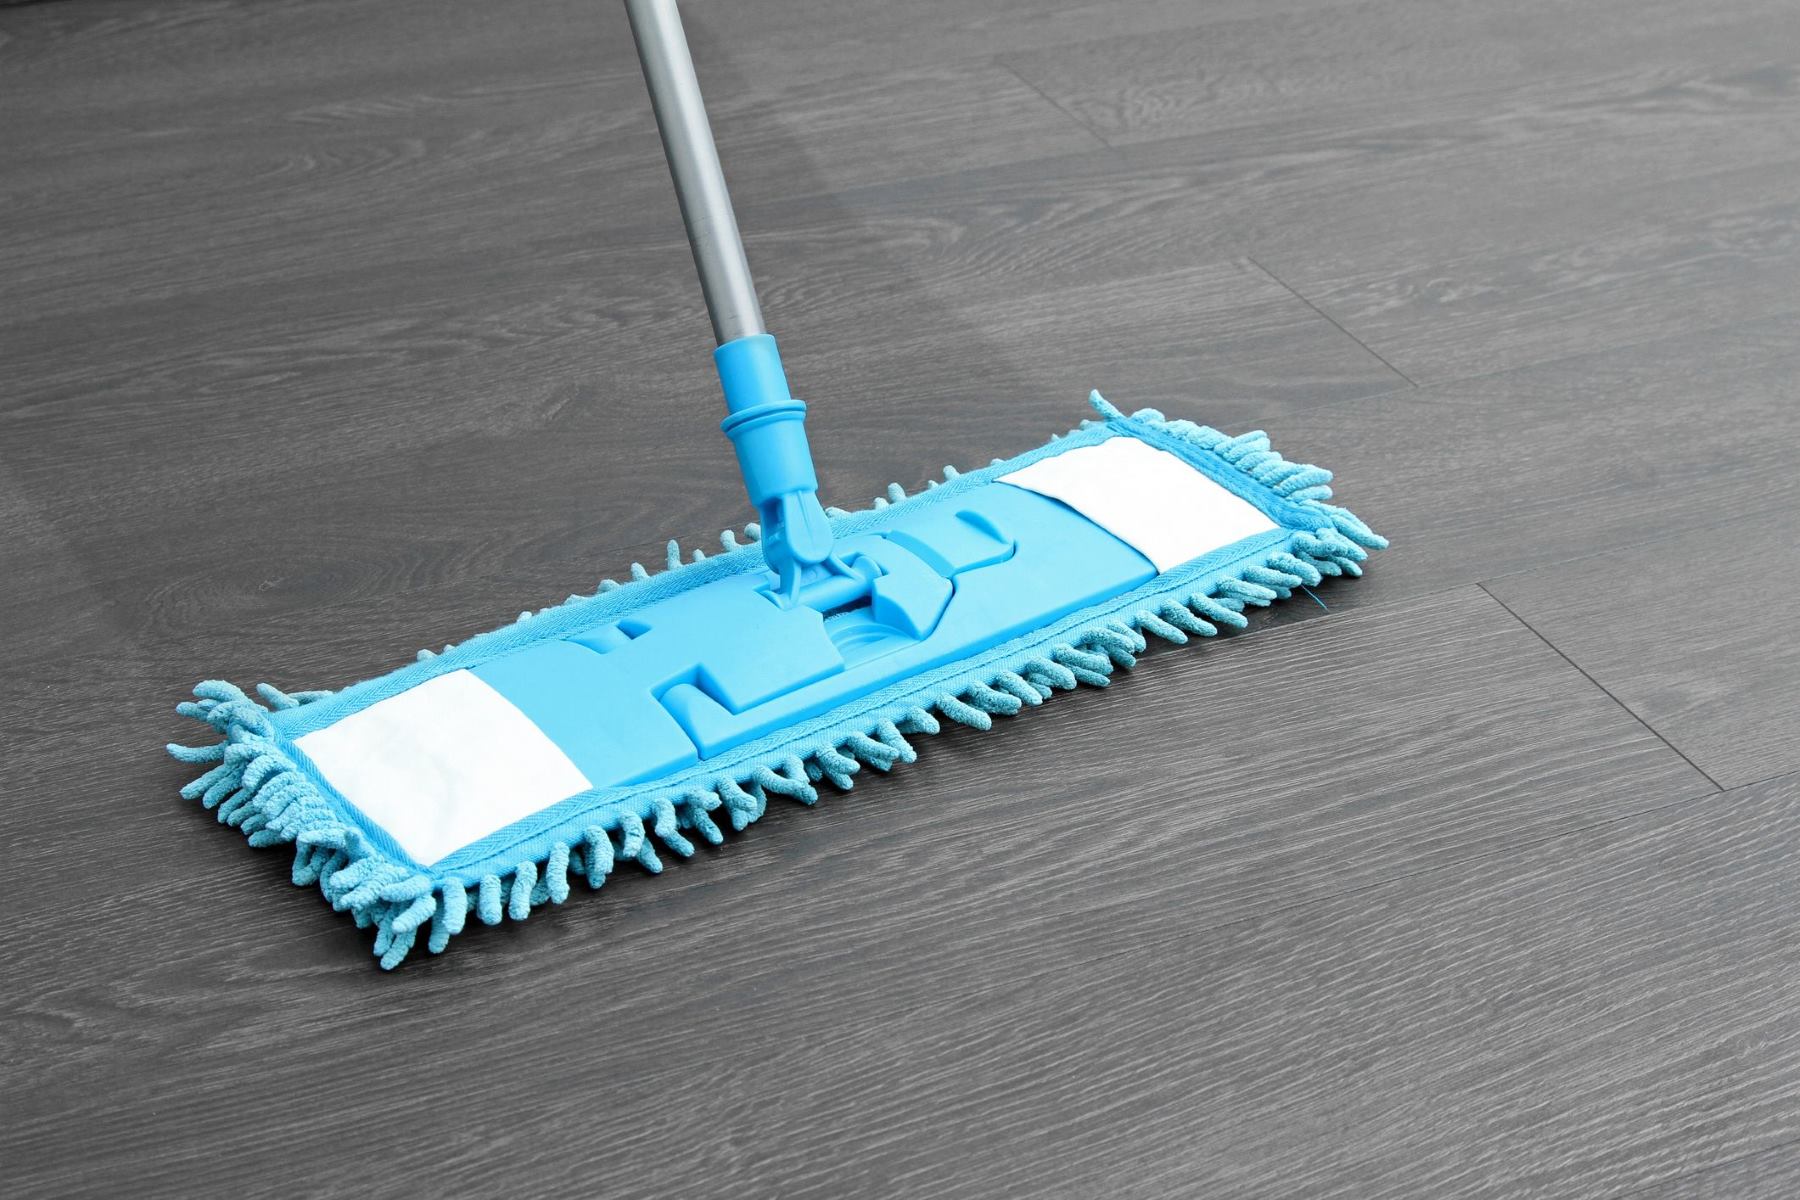
- Use proper cleaning techniques: When cleaning your laminate floor, use a soft-bristle broom or microfiber mop to remove dust and debris. Avoid using abrasive materials or harsh cleaners that can potentially scratch or damage the floor’s surface. Use a damp mop with diluted laminate floor cleaner for regular maintenance.
- Be cautious when moving heavy objects: Take extra care when moving heavy furniture or appliances on the laminate floor. Use furniture sliders or ask for assistance to avoid dragging or dropping them, as this can cause deep scratches or dents.
- Protect the floor during renovations: If you’re performing renovations or home improvement projects, cover your laminate floor with protective sheets or tarps to prevent scratches from tools, equipment, or falling debris.
- Keep sharp objects away: Avoid placing sharp objects directly on the laminate floor, as they can cause scratches if accidentally dropped or moved. Use mats, trays, or protective covers to create a buffer between the sharp objects and the floor’s surface.
- Regularly inspect and maintain: Routinely inspect your laminate floor for any signs of wear or damage. Promptly address any issues, such as loose edges or damaged planks, to prevent further damage and potential areas for scratches to occur.
By implementing these preventive measures, you can significantly reduce the likelihood of scratches on your laminate floor, keeping it looking flawless and maintaining its longevity. Remember, prevention is often easier and more cost-effective than repairing or replacing a scratched floor.
Now that you have a comprehensive understanding of how to prevent future scratches, as well as how to repair them if they do occur, you can confidently maintain the beauty and integrity of your laminate floor for years to come.
Conclusion
Scratches on laminate floors can be unsightly, but with the right knowledge and techniques, they can be effectively addressed and repaired. Whether you’re dealing with shallow surface scratches or deeper cuts, there are several methods available to restore your laminate floor’s beauty and minimize the appearance of damage.
Understanding the construction of laminate floors and assessing the severity of the scratches are crucial first steps. Shallow scratches that only affect the wear layer can often be repaired using touch-up markers, repair kits, or household items like nuts or cleaners. Deeper scratches that affect multiple layers may require more extensive repairs, such as filling with repair paste or even replacing damaged planks.
Sanding and refinishing are advanced repair methods that can be used for deep scratches, ensuring a seamless and professional finish. However, it’s important to exercise caution and seek professional assistance if you’re unsure about these tasks.
Preventing future scratches is equally important to maintain the appearance and longevity of your laminate floor. Utilize protective pads, area rugs, and doormats to minimize dirt and grit, trim pet nails, and be cautious when moving heavy objects. Following proper cleaning techniques and regularly inspecting and maintaining your laminate floor can also help prevent scratches.
Remember, preventing scratches is the best approach, but when they do occur, don’t panic! Armed with the information and techniques provided in this article, you can confidently address scratches on your laminate floor and preserve its pristine condition.
By implementing these methods, you can enjoy a scratch-free and beautiful laminate floor for years to come. Take care of your floor, be proactive in preventing scratches, and when needed, use the appropriate repair techniques to maintain its elegance. With these tips in mind, you can confidently tackle any scratches that come your way and ensure your laminate floor remains a focal point of your home for many years to come.
Frequently Asked Questions about How To Fix Scratch On Laminate Floor
Was this page helpful?
At Storables.com, we guarantee accurate and reliable information. Our content, validated by Expert Board Contributors, is crafted following stringent Editorial Policies. We're committed to providing you with well-researched, expert-backed insights for all your informational needs.


0 thoughts on “How To Fix Scratch On Laminate Floor”