Home>Furniture & Design>Living Room Furniture>How To Fix Scratches On A Dining Table
Living Room Furniture
How To Fix Scratches On A Dining Table
Modified: August 27, 2024
Learn how to easily fix scratches on your dining table with our expert tips. Keep your living room furniture looking like new. Discover the best techniques for repairing scratches.
(Many of the links in this article redirect to a specific reviewed product. Your purchase of these products through affiliate links helps to generate commission for Storables.com, at no extra cost. Learn more)
Introduction
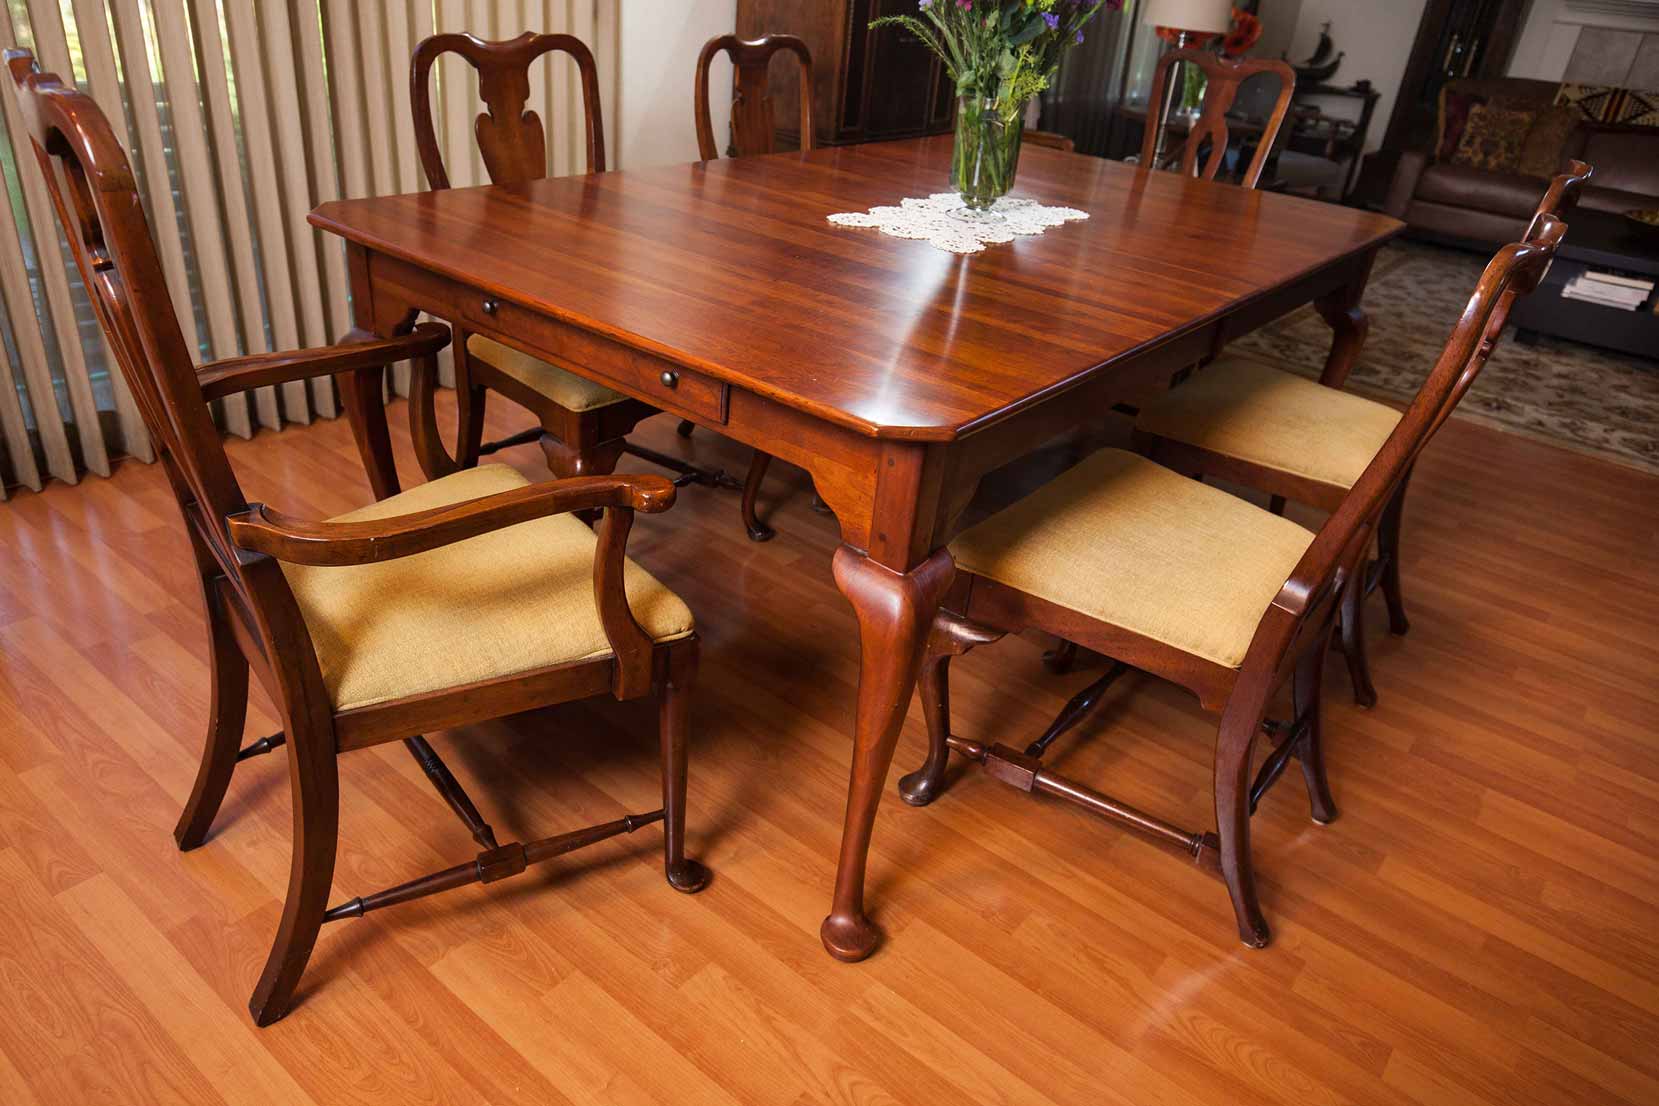
Welcome to the heart of your home, where delicious meals are savored, conversations flow, and memories are made. Your dining table serves as the centerpiece, bearing witness to countless gatherings and shared moments. Over time, it’s natural for this beloved piece of furniture to acquire signs of wear and tear, including the dreaded scratches that can mar its beauty. But fear not, for with a touch of care and a sprinkle of DIY magic, you can restore your dining table to its former glory.
In this guide, we’ll embark on a journey to rejuvenate your dining table, bidding farewell to those unsightly scratches and welcoming back its lustrous allure. From assessing the damage to applying the finishing touches, each step will be unveiled, empowering you to take the reins in this revitalizing endeavor. So, roll up your sleeves, gather your tools, and let’s delve into the art of remedying scratches on a dining table, breathing new life into this cherished focal point of your home.
Key Takeaways:
- Say goodbye to scratches on your dining table by using wood filler, sanding, and applying a protective finish. Restore its beauty and protect it for years to come with simple maintenance tips.
- Assess the scratches on your dining table and choose the right wood filler to repair them. Then, sand, buff, and apply stain and finish to bring back its lustrous allure.
Read more: How To Repair Scratches On A Dining Table
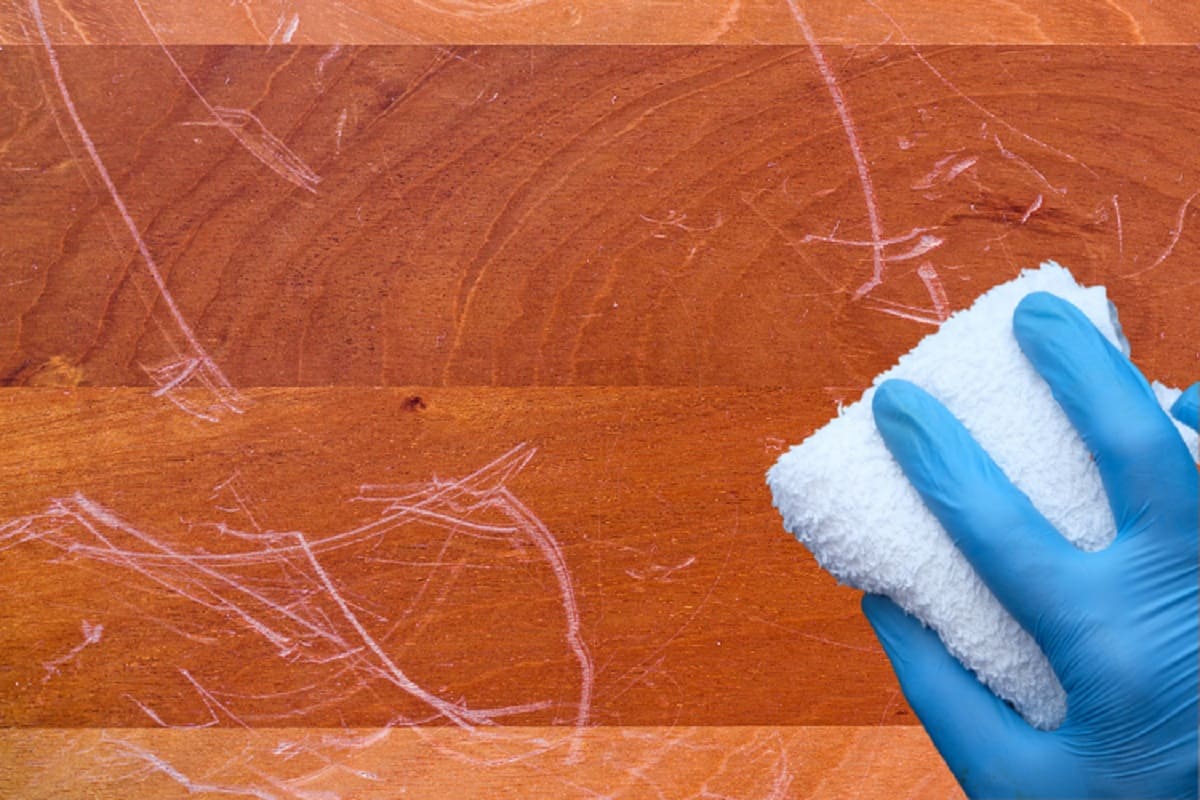
Assessing the Damage
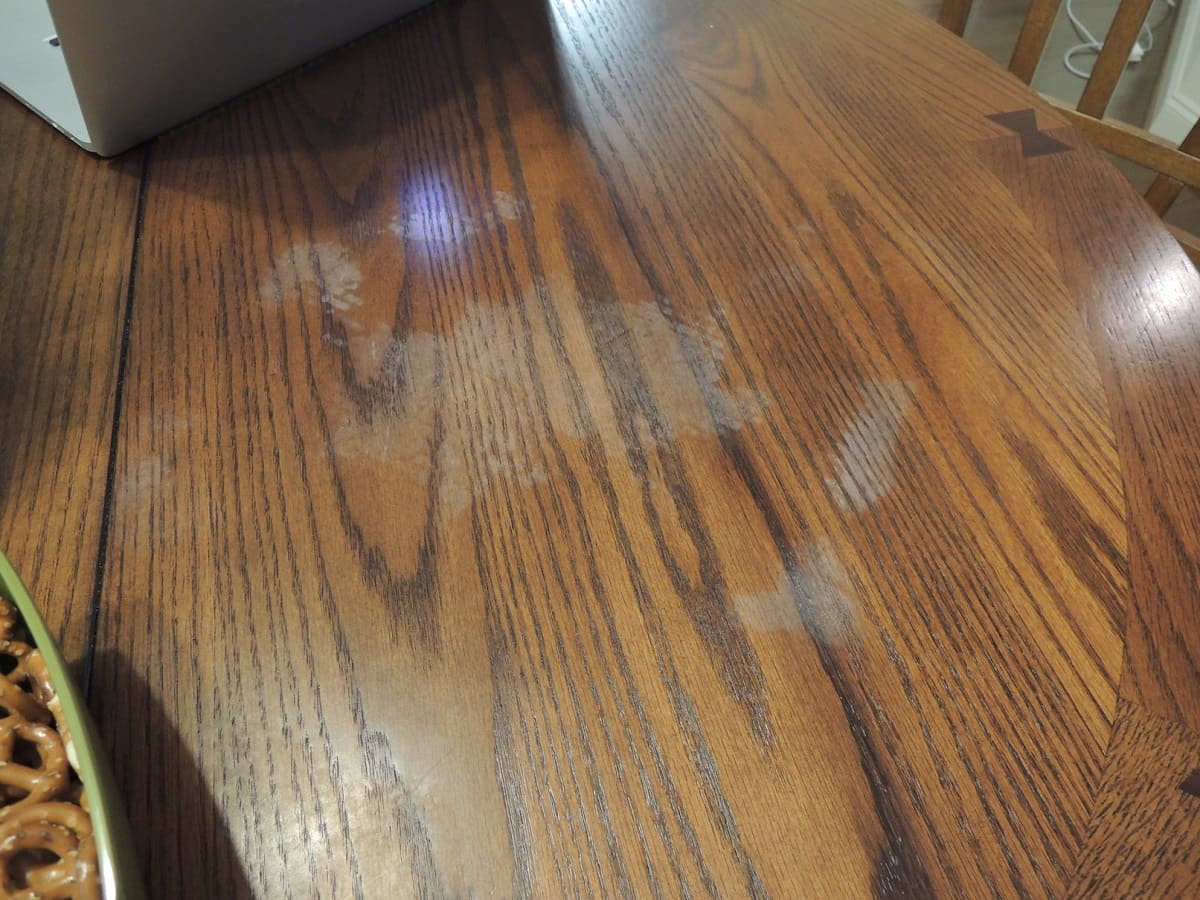
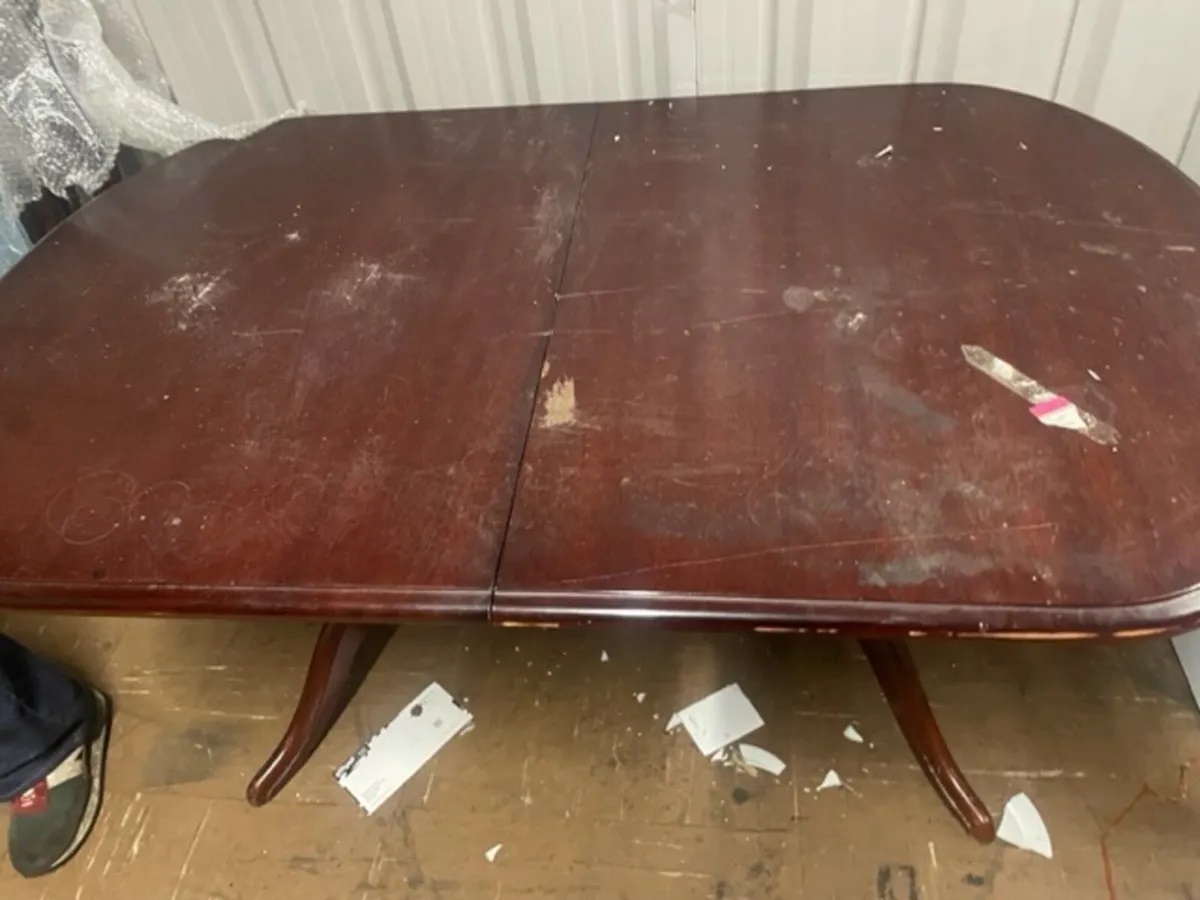
Before embarking on the restoration journey, it’s crucial to assess the extent of the scratches adorning your dining table. Not all scratches are created equal; some are surface-level blemishes, while others delve deeper into the wood. Begin by gently running your fingers over the affected area, discerning the depth and texture of each scratch. This tactile examination will provide valuable insight into the magnitude of the damage.
Next, inspect the scratches under adequate lighting, as natural or overhead light can reveal the true nature of the imperfections. Position yourself at various angles to observe how the light interacts with the scratches, accentuating their severity. This assessment will aid in determining the appropriate course of action, whether the scratches necessitate a simple touch-up or a more comprehensive restoration process.
Furthermore, consider the type of wood your dining table is crafted from, as different wood species respond distinctively to repair methods. For instance, hardwoods such as oak and maple are more resilient and amenable to sanding and refinishing, while softer woods like pine require a gentler approach to prevent further damage.
By meticulously evaluating the scratches and understanding the characteristics of your dining table’s wood, you’ll be equipped with the knowledge needed to proceed with confidence. Armed with this understanding, we can now venture into the realm of remedial techniques, ready to breathe new life into your cherished dining table.
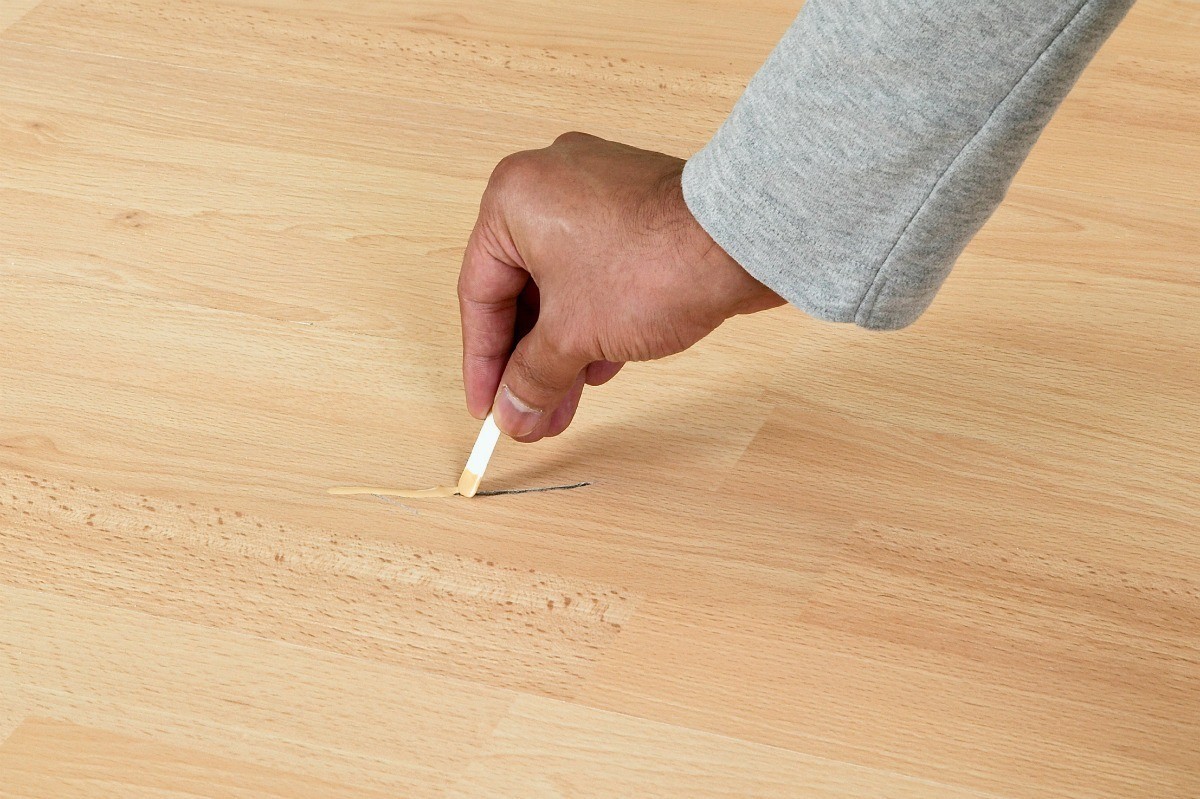
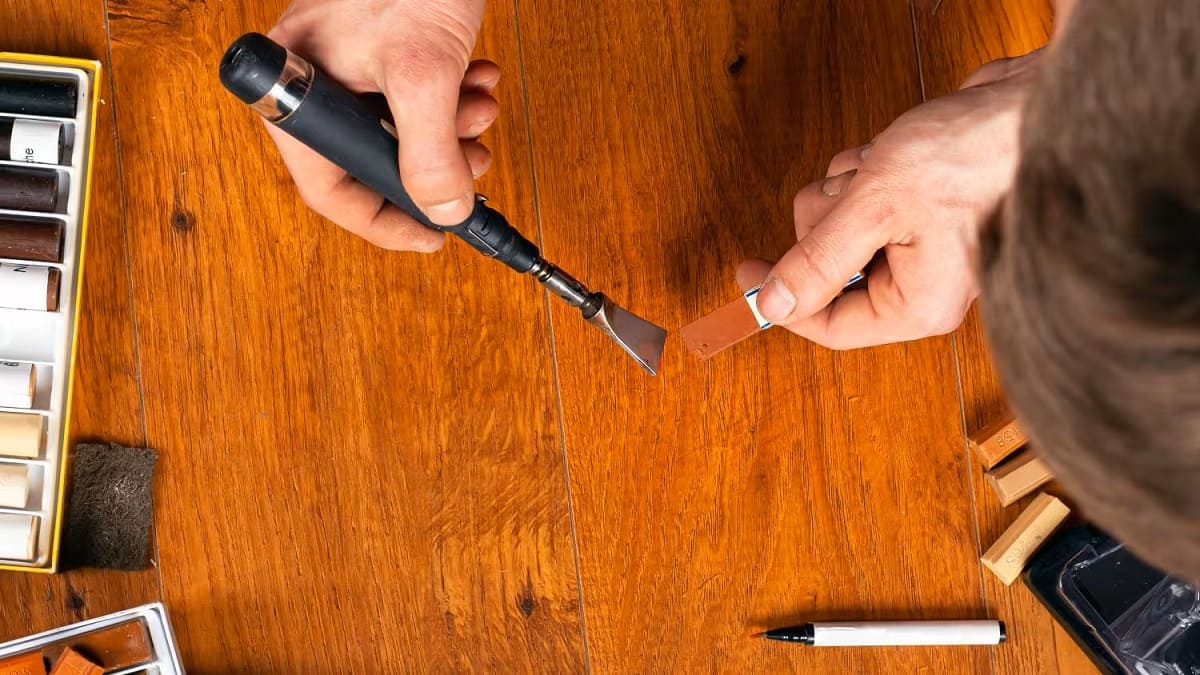
Using Wood Filler
Once you’ve assessed the scratches and determined that they require more than a surface-level remedy, it’s time to introduce the hero of our restoration tale: wood filler. This versatile substance is adept at seamlessly filling in scratches, gouges, and imperfections, preparing the canvas for the rejuvenation process.
Begin by selecting a high-quality wood filler that closely matches the hue of your dining table’s wood. This ensures a harmonious blend once the restoration is complete. Using a putty knife or a similar tool, carefully apply the wood filler to the scratched areas, ensuring that it fills the crevices completely. Exercise patience and precision, as meticulous application is key to achieving a flawless finish.
After the wood filler has been applied, allow it to dry thoroughly according to the manufacturer’s instructions. Once dry, gently sand the filled areas using fine-grit sandpaper, smoothing the surface until it aligns seamlessly with the surrounding wood. This meticulous sanding process is instrumental in achieving a uniform and polished appearance, setting the stage for the subsequent steps in the restoration journey.
As you witness the scratches being seamlessly filled and the surface gradually regaining its former smoothness, a sense of satisfaction and anticipation may envelop you. The dining table, once marred by unsightly blemishes, is now poised for the next phase of its transformation. With the scratches filled and the surface primed, we’re ready to venture into the realm of sanding and buffing, where the true radiance of your dining table will be unveiled.
Use a wood filler or a crayon that matches the color of your dining table to fill in the scratches. Gently sand the area and apply a wood polish to blend it in.
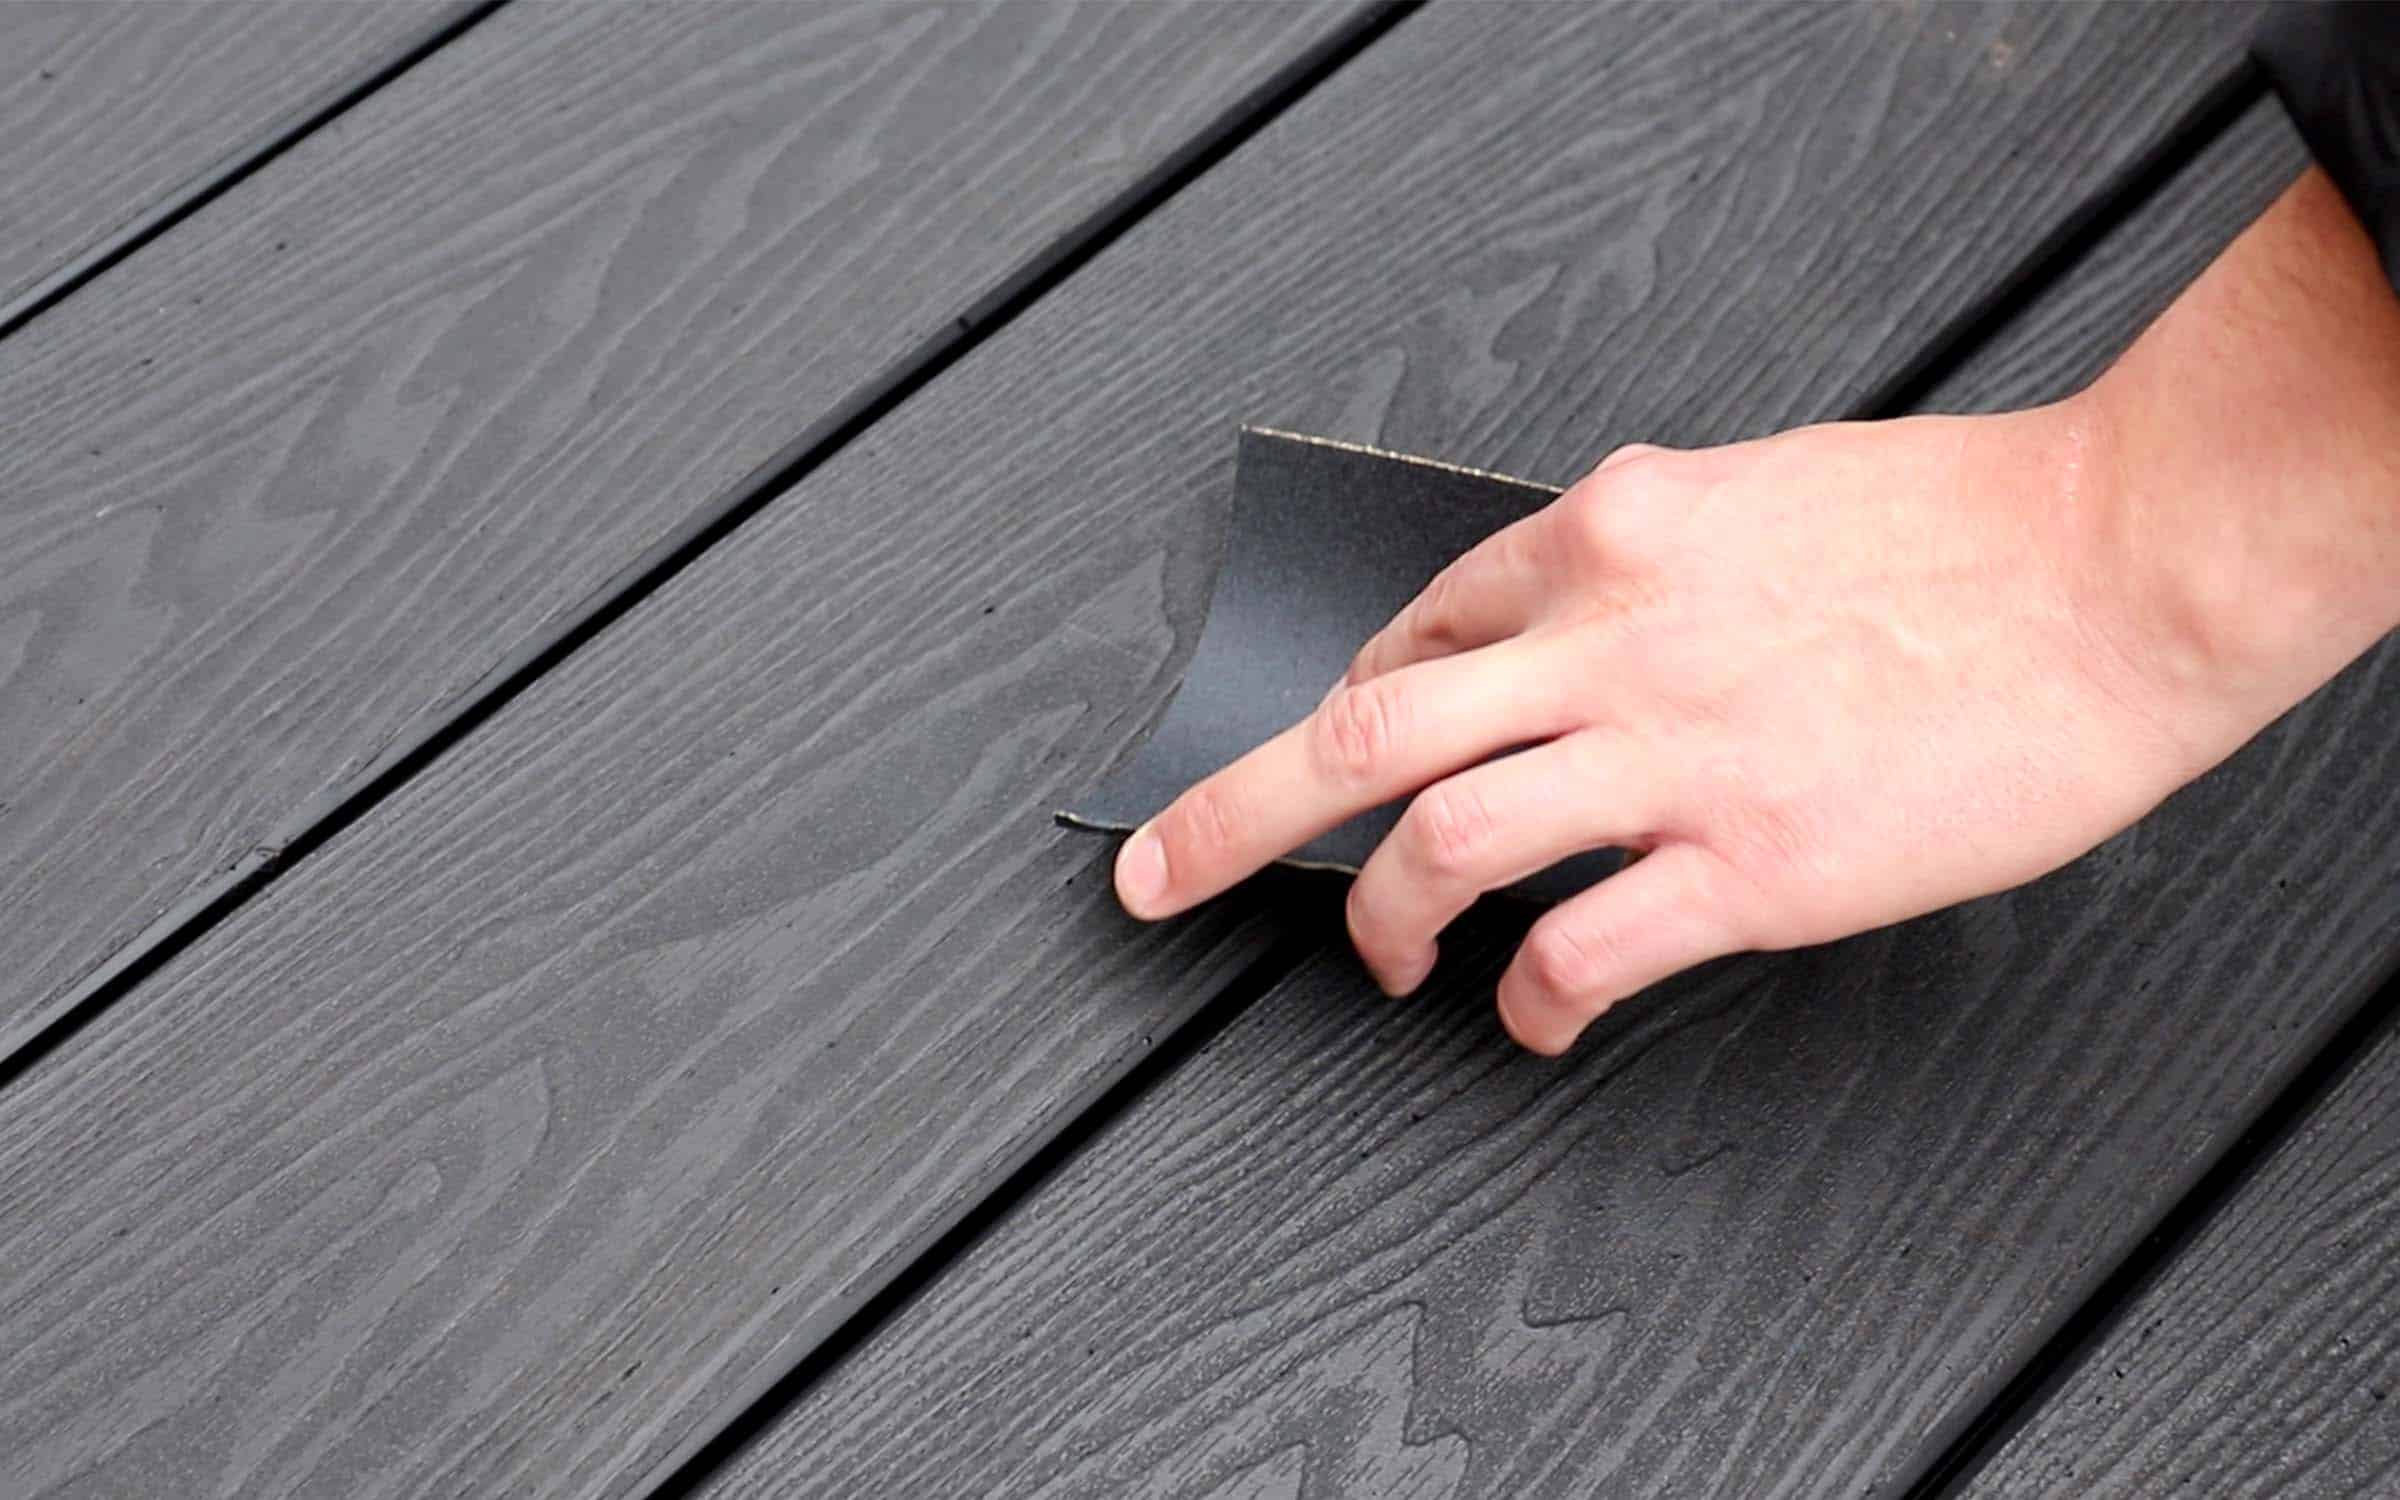
Sanding and Buffing
With the scratches filled and the wood surface primed, the next pivotal phase in the restoration process is sanding and buffing. This transformative duo works in tandem to smooth out imperfections, refine the surface, and unveil the natural luster of your dining table.
Begin by selecting fine-grit sandpaper, typically in the range of 180 to 220 grit, to gently sand the entire surface of the dining table. Employ smooth, even strokes, following the grain of the wood to ensure a uniform finish. This process not only smoothens the filled areas but also eradicates minor scratches and blemishes, bestowing a renewed sense of radiance upon the table’s surface.
Following the sanding process, it’s time to introduce the buffing stage, where the true magic unfolds. Utilize a soft, clean cloth to apply a high-quality wood polish or wax to the entire surface of the dining table. With deliberate and circular motions, buff the polish into the wood, allowing it to imbue the surface with a rich sheen and a protective layer. This step not only enhances the table’s visual appeal but also safeguards it against future wear and tear, prolonging its newfound splendor.
As you meticulously sand and buff the dining table, you may find yourself marveling at the remarkable transformation taking place before your eyes. The scratches that once marred its beauty are now mere vestiges of the past, replaced by a resplendent surface that beckons admiration. With the sanding and buffing stage complete, the dining table stands poised for the crowning touch: the application of stain and finish, where its innate beauty will be accentuated and preserved for years to come.
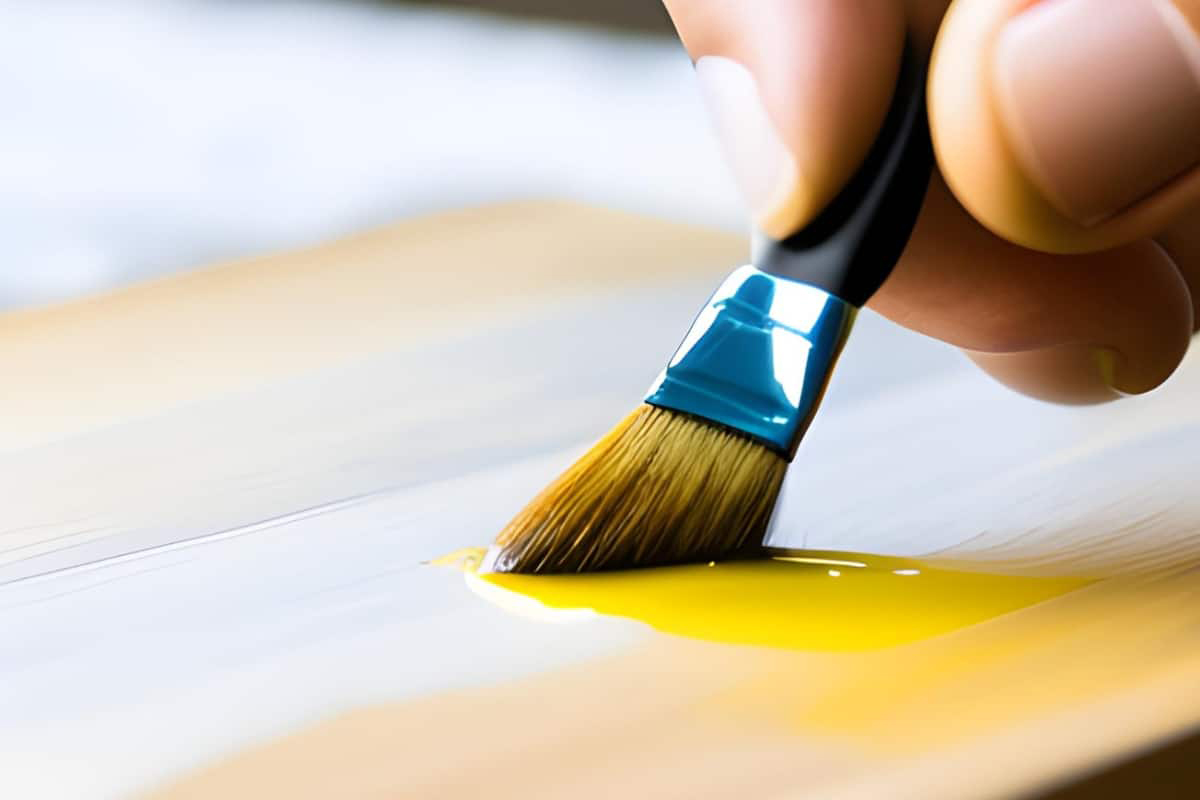
Applying Stain and Finish
As we approach the pinnacle of the restoration journey, the application of stain and finish emerges as the crowning touch, bestowing your dining table with a renewed depth of color and a protective shield that will endure the test of time.
Before delving into the staining process, it’s essential to select a high-quality wood stain that complements the natural hue of your dining table. Whether you aim to accentuate the table’s existing color or introduce a new shade, the stain serves as a transformative agent, enriching the wood’s character and imbuing it with a captivating allure. Apply the wood stain evenly and methodically, utilizing a clean cloth or brush to ensure thorough coverage. Allow the stain to penetrate the wood for the duration specified by the manufacturer, allowing the desired hue to manifest.
Following the application of the wood stain, it’s time to safeguard the table’s newfound radiance with a protective finish. Opt for a durable polyurethane finish, available in various sheens such as satin, semi-gloss, or gloss, to suit your preferences. Using a clean brush or cloth, apply the finish in smooth, overlapping strokes, ensuring comprehensive coverage of the entire surface. This protective layer not only enhances the table’s aesthetic appeal but also shields it from everyday wear, preserving its allure for years to come.
As the stain and finish meld with the wood, a remarkable transformation unfolds, infusing your dining table with a renewed vibrancy and resilience. The scratches that once marred its surface are now mere vestiges of the past, eclipsed by the table’s resplendent charm. With the application of stain and finish complete, your dining table stands poised to reclaim its role as the centerpiece of cherished gatherings, exuding a timeless allure that captivates all who gather around it.
Final Touches and Maintenance Tips
With the restoration journey nearing its culmination, it’s time to bestow your dining table with the final touches that will elevate its allure and ensure its longevity. Embrace these concluding steps, along with essential maintenance tips, to safeguard the splendor of your revitalized dining table.
To accentuate the rejuvenated surface of your dining table, consider embellishing it with a touch of elegance. Adorn the table with a captivating centerpiece, such as a vase of fresh blooms or an artfully arranged display, infusing the space with a dash of charm and personality. Additionally, invest in high-quality placemats and coasters to protect the table from heat, moisture, and scratches, preserving its pristine appearance for years to come.
When it comes to maintaining the resplendence of your dining table, adopting a proactive approach is paramount. Regularly dust the table with a soft, lint-free cloth to remove debris and maintain its lustrous sheen. Avoid placing hot or wet items directly onto the table’s surface, utilizing protective mats or coasters to safeguard it from potential damage. Furthermore, be mindful of prolonged exposure to direct sunlight, as it can cause the wood to fade over time. By implementing these simple yet effective maintenance practices, you’ll safeguard the beauty of your dining table for generations to come.
As you bask in the renewed allure of your dining table, take a moment to revel in the transformative journey you’ve embarked upon. The scratches that once marred its surface have been vanquished, replaced by a resplendent expanse that beckons admiration. With each gathering around this revitalized centerpiece, you’ll bear witness to the enduring charm of your dining table, a testament to the power of restoration and the cherished moments it continues to host.
Frequently Asked Questions about How To Fix Scratches On A Dining Table
Was this page helpful?
At Storables.com, we guarantee accurate and reliable information. Our content, validated by Expert Board Contributors, is crafted following stringent Editorial Policies. We're committed to providing you with well-researched, expert-backed insights for all your informational needs.


0 thoughts on “How To Fix Scratches On A Dining Table”