Home>Furniture & Design>Interior Design Trends>How To Remove Glass Block Windows
Interior Design Trends
How To Remove Glass Block Windows
Modified: August 28, 2024
Learn how to remove glass block windows and stay updated with the latest interior design trends. Expert tips and techniques for a modern home. Discover more!
(Many of the links in this article redirect to a specific reviewed product. Your purchase of these products through affiliate links helps to generate commission for Storables.com, at no extra cost. Learn more)
Introduction
Removing glass block windows can be a daunting task, but with the right tools and techniques, it can be accomplished efficiently and safely. Whether you're looking to replace the glass blocks with a different type of window or fill the opening with an alternative material, the process requires careful planning and execution. By following the step-by-step guide outlined in this article, you can confidently tackle the removal of glass block windows and prepare the opening for the next phase of your home improvement project.
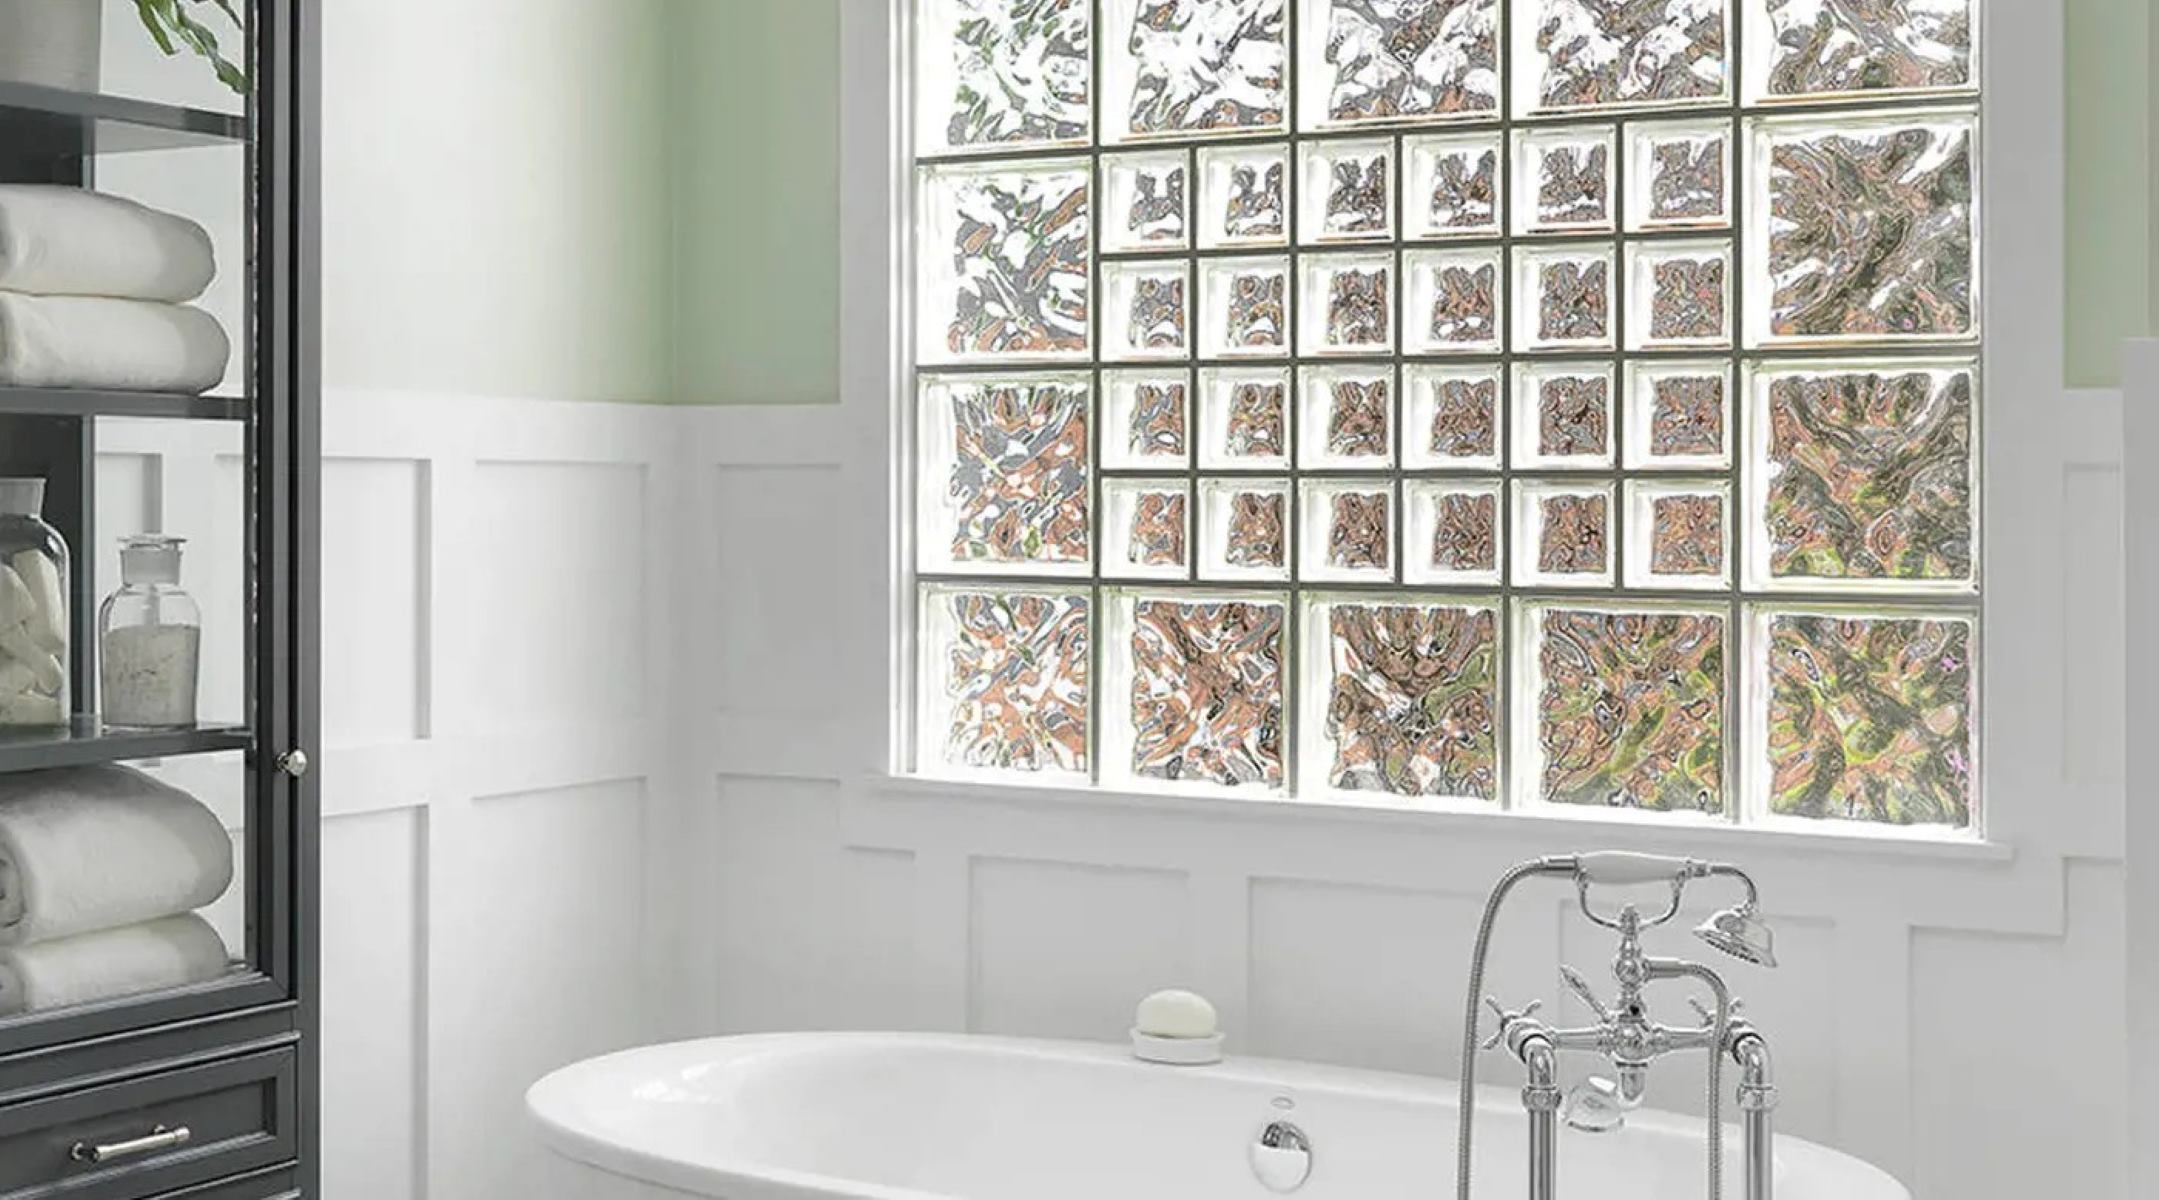
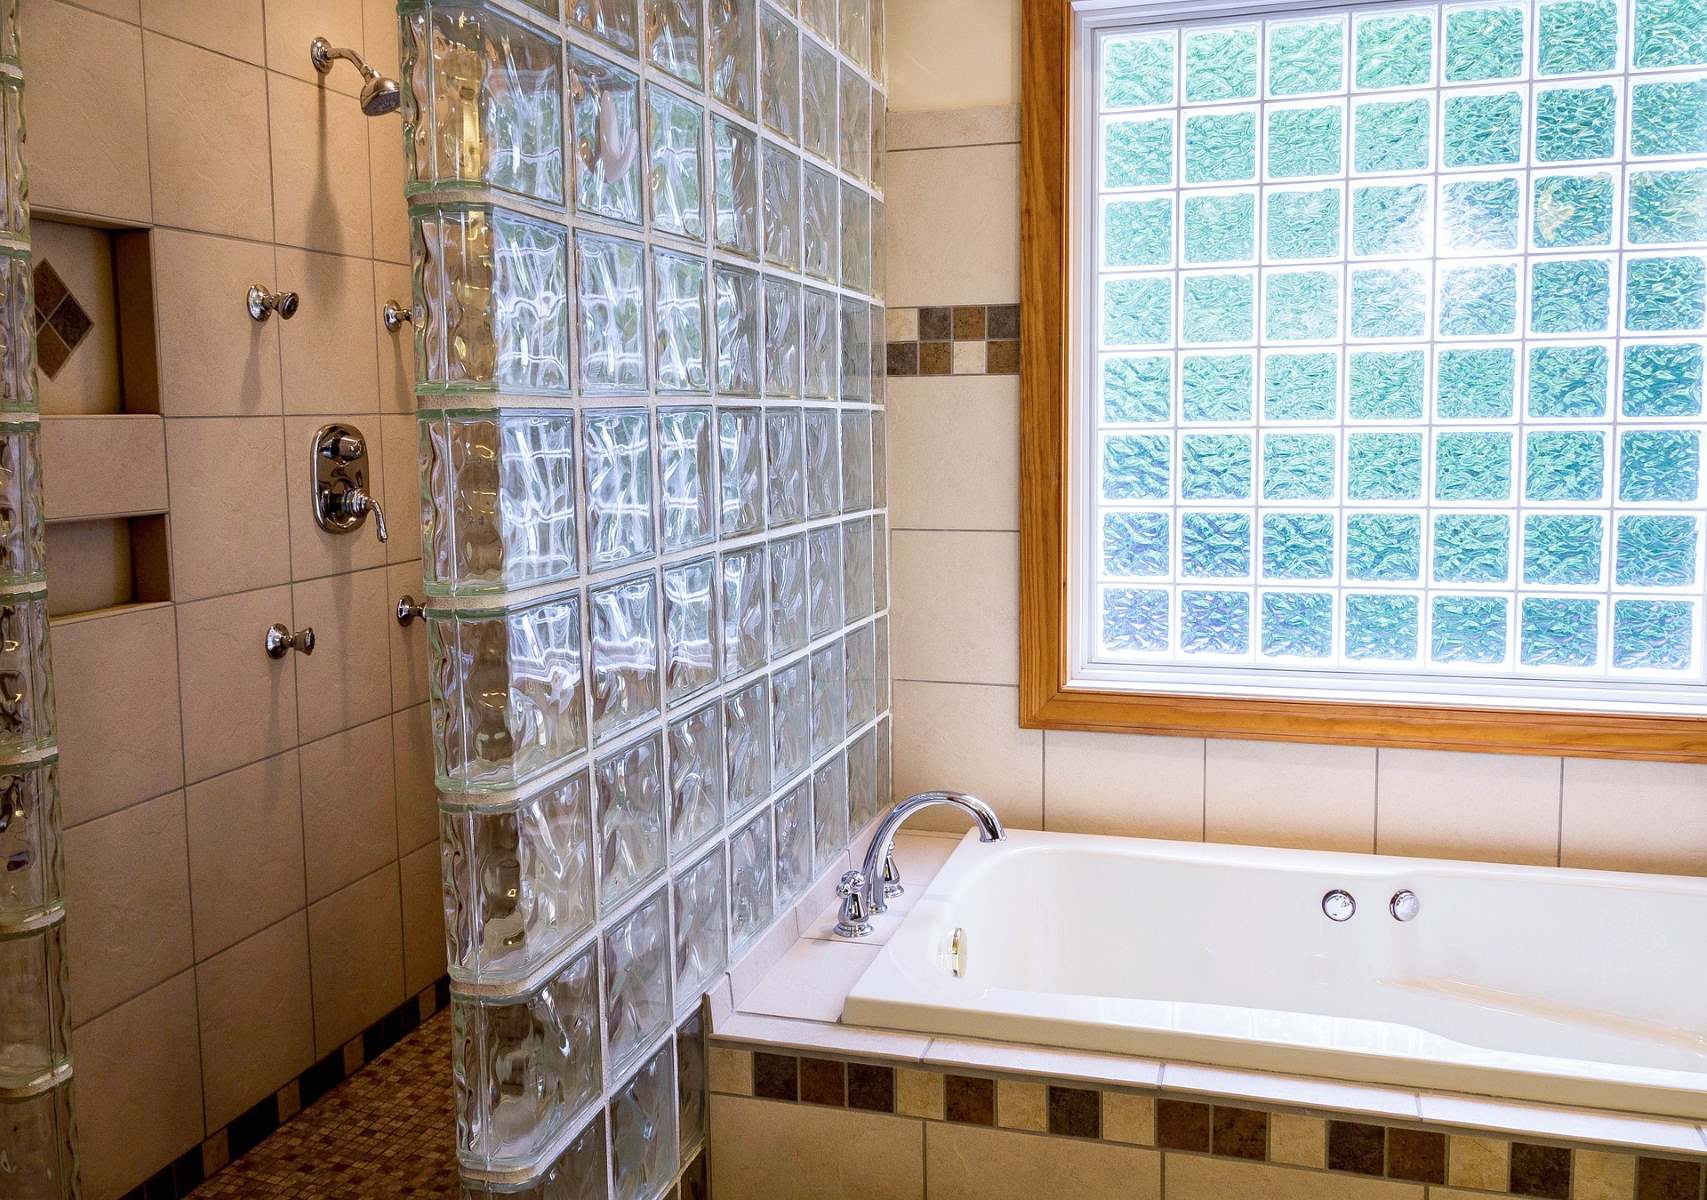
Glass block windows have been a popular choice for homeowners due to their durability, energy efficiency, and aesthetic appeal. However, as design trends evolve and homeowners seek to update their living spaces, the need to remove glass block windows may arise. Whether you're renovating a bathroom, kitchen, or any other area of your home, understanding the process of removing glass block windows is essential for a successful transition to a new design.
Before diving into the removal process, it's crucial to assess the condition of the existing glass block windows and determine the desired outcome. Are you looking to replace the windows with a different style, such as casement or double-hung windows, or are you considering filling the opening with a different material, such as bricks or siding? Understanding your end goal will guide the steps you take to remove the glass block windows and prepare the opening for the next phase of the renovation.
As you embark on this home improvement journey, it's important to approach the task with patience and attention to detail. While the process of removing glass block windows may seem intimidating, with the right approach and a clear understanding of the steps involved, you can achieve a smooth and successful transition to the next phase of your home renovation project. So, gather your tools, prepare the work area, and let's dive into the step-by-step process of removing glass block windows.
Key Takeaways:
- Removing glass block windows requires patience, precision, and the right tools. Whether replacing with new windows or alternative materials, careful planning and attention to detail are essential for a successful home renovation.
- The removal of glass block windows opens the door to endless design possibilities, reflecting the ever-changing landscape of interior design trends. Embracing change and innovation empowers homeowners to transform their living spaces with confidence.
Read more: How To Install Glass Block Windows
Step 1: Gather the necessary tools and materials
Before embarking on the task of removing glass block windows, it's essential to gather the necessary tools and materials to ensure a smooth and efficient process. Having the right equipment at your disposal will not only make the job easier but also contribute to the overall safety of the project. Here's a comprehensive list of tools and materials you'll need:
Tools:
- Safety Gear: Prioritize safety by wearing protective gear, including safety goggles, work gloves, and a dust mask to shield yourself from debris and potential airborne particles during the removal process.
- Hammer and Chisel: These tools are essential for breaking and removing the grout and mortar surrounding the glass blocks.
- Pry Bar: A sturdy pry bar will aid in carefully dislodging the glass blocks from the opening without causing damage to the surrounding structure.
- Utility Knife: Use a utility knife to cut through any caulking or sealant around the window frame, facilitating the removal process.
- Putty Knife: This tool will come in handy for scraping away excess grout, mortar, or adhesive, ensuring a clean and smooth surface for the next phase of the project.
- Screwdriver: Depending on the window frame, a screwdriver may be necessary to remove any screws or fasteners holding the window in place.
Materials:
- Drop Cloths or Tarps: Protect the surrounding area from debris and dust by laying down drop cloths or tarps to minimize cleanup after the removal process.
- Trash Bags: Keep the work area organized by having trash bags on hand to dispose of broken glass, grout, mortar, and other debris.
- Cleaning Supplies: Prepare cleaning supplies such as a broom, dustpan, and a vacuum to thoroughly clean the opening after the glass blocks are removed.
- Replacement Window or Filler Material: Depending on your renovation plans, have the replacement window or filler material ready for installation once the glass blocks are removed.
By ensuring you have all the necessary tools and materials before starting the project, you can streamline the removal process and minimize interruptions. With these essential items at your disposal, you'll be well-prepared to move on to the next step of preparing the work area for the removal of the glass block windows.
Step 2: Prepare the work area
Before diving into the physical removal of the glass block windows, it's crucial to prepare the work area to ensure a safe and organized environment for the task at hand. Proper preparation not only contributes to the efficiency of the project but also minimizes the risk of accidents and damage to the surrounding space. Here's a detailed guide on how to prepare the work area for the removal of glass block windows:
-
Clear the Surrounding Space: Begin by clearing the area around the glass block windows. Remove any furniture, decorations, or obstacles that may obstruct access to the windows. Creating a clear and spacious work zone will allow for easier maneuvering and reduce the risk of accidental damage to nearby items.
-
Lay Down Protective Coverings: To safeguard the surrounding floor and surfaces, lay down drop cloths or tarps to catch debris, dust, and any potential glass shards that may result from the removal process. This precautionary measure will streamline the cleanup process and protect the flooring and adjacent structures from damage.
-
Secure the Perimeter: If the removal project involves windows located in high-traffic areas or near entrances, consider securing the perimeter to prevent unauthorized access or accidental contact with the work area. This can be achieved by using caution tape or temporary barriers to clearly mark off the designated work zone.
-
Ventilation and Air Circulation: Ensure adequate ventilation in the work area by opening windows and using fans to promote air circulation. This is particularly important when working with grout, mortar, and other materials that may generate dust or fumes during the removal process. Proper ventilation contributes to a healthier work environment and reduces the concentration of airborne particles.
-
Organize Tools and Materials: Arrange the gathered tools and materials in a designated area within easy reach of the work zone. Having the necessary equipment organized and readily accessible will streamline the removal process and minimize disruptions as you progress through each step.
By meticulously preparing the work area before initiating the removal of glass block windows, you set the stage for a smooth and efficient project execution. Taking the time to clear the space, protect the surroundings, and organize the necessary tools and materials demonstrates a proactive approach to ensuring the success of the removal process. With the work area properly prepared, you're now ready to proceed to the next step of removing the grout and mortar surrounding the glass blocks.
Read more: How To Update Glass Block Window
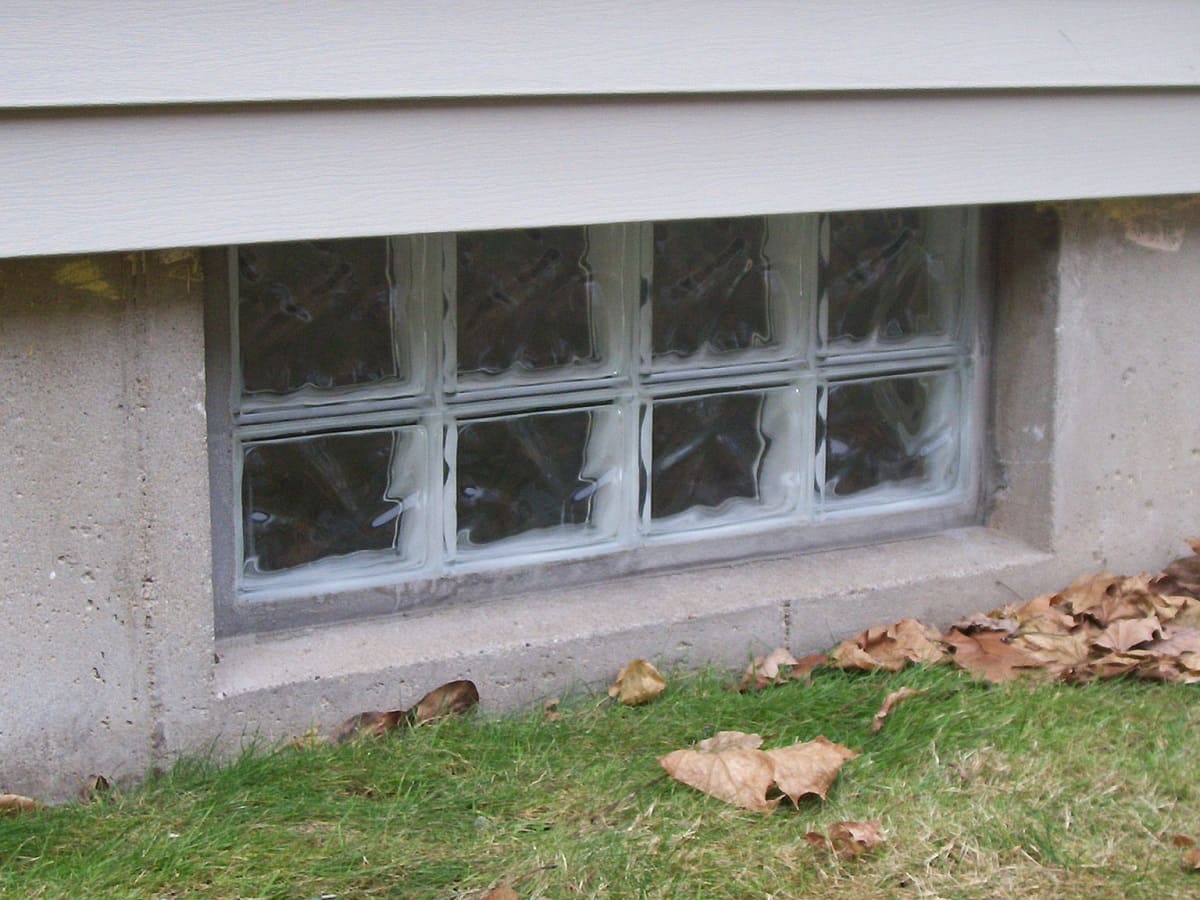
Step 3: Remove the grout and mortar
Removing the grout and mortar surrounding the glass blocks is a critical step in the process of removing glass block windows. This phase requires precision and patience to ensure the safe extraction of the glass blocks and the preparation of the opening for the next stage of the renovation. Here's a detailed guide on how to effectively remove the grout and mortar:
-
Assess the Condition: Before initiating the removal process, carefully inspect the condition of the grout and mortar. Look for any signs of deterioration, cracks, or areas where the grout has become loose. Identifying weak points in the grout and mortar will guide your approach and help prevent unnecessary damage to the surrounding structure during removal.
-
Use a Hammer and Chisel: Begin by gently tapping the grout lines with a hammer and chisel to loosen the grout. Work systematically along the grout lines, applying controlled force to avoid damaging the surrounding glass blocks and window frame. Take care to remove the grout without exerting excessive pressure, as this can lead to unintended breakage of the glass blocks.
-
Pry Out the Mortar: Once the grout has been loosened, use the chisel to carefully pry out the mortar between the glass blocks. Exercise caution to prevent the chisel from coming into direct contact with the glass blocks, as this can cause damage. Work methodically to dislodge the mortar, ensuring that the glass blocks remain intact and undamaged during the process.
-
Clear the Debris: As you remove the grout and mortar, periodically clear away the debris using a vacuum or a brush. Keeping the work area clean and free of loose grout and mortar will provide better visibility and prevent debris from interfering with the subsequent steps of the removal process.
-
Inspect for Remaining Residue: After removing the majority of the grout and mortar, carefully inspect the grout lines and spaces between the glass blocks for any remaining residue. Use a putty knife or a similar tool to gently scrape away any stubborn remnants of grout and mortar, ensuring that the surfaces are clean and ready for the next phase of glass block removal.
By meticulously removing the grout and mortar with precision and care, you pave the way for the safe extraction of the glass blocks and the subsequent cleaning of the opening. This meticulous approach sets the stage for a successful transition to the next phase of the removal process, ensuring that the structural integrity of the surrounding area is preserved. With the grout and mortar effectively removed, you're now ready to proceed to the next step of carefully extracting the glass blocks from the window opening.
Step 4: Carefully remove the glass blocks
With the grout and mortar successfully removed, the next crucial step in the process of removing glass block windows is the careful extraction of the glass blocks from the window opening. This phase demands precision, patience, and a methodical approach to ensure the safe removal of the glass blocks without causing damage to the surrounding structure. Here's a detailed guide on how to effectively and safely remove the glass blocks:
-
Assess the Stability: Before proceeding with the removal, assess the stability of each glass block within the window opening. Look for any signs of movement, damage, or areas where the blocks may be loose. Identifying any unstable blocks will help you prioritize the sequence of removal and take extra precautions to prevent breakage.
-
Use a Pry Bar: Carefully insert a pry bar between the glass blocks and the window frame, applying gentle pressure to dislodge the blocks from their position. Work methodically, starting from the top or sides of the window opening, and proceed with caution to avoid sudden movements that could lead to breakage.
-
Work in Sections: If the window consists of multiple glass blocks, consider removing them in sections to maintain stability and minimize the risk of accidental breakage. By approaching the removal process in manageable sections, you can maintain better control and reduce the likelihood of damage to the surrounding structure.
-
Enlist Assistance if Needed: If the glass blocks are particularly large or heavy, consider enlisting the help of a partner to support the blocks as they are being removed. Having an extra set of hands can provide added stability and ensure a smoother extraction process, reducing the risk of mishaps.
-
Handle with Care: As each glass block is extracted, handle it with care to prevent breakage or damage. Place the removed blocks in a safe and designated area, ensuring that they are protected from accidental impact or contact with hard surfaces.
-
Clear the Opening: Once all the glass blocks have been safely removed, clear the window opening of any remaining debris, grout, or mortar. Thoroughly clean the surfaces to prepare for the next phase of the renovation, whether it involves installing a replacement window or filling the opening with an alternative material.
By approaching the removal of the glass blocks with meticulous care and attention to detail, you can ensure a smooth and successful extraction process. This methodical approach minimizes the risk of damage to the glass blocks and surrounding structure, setting the stage for the next phase of the renovation. With the glass blocks safely removed, you're now ready to proceed to the final steps of cleaning up the opening and preparing for the installation of the replacement window or filler material.
Step 5: Clean up the opening
After the successful removal of the glass blocks, the next crucial step is to thoroughly clean up the opening to prepare it for the installation of the replacement window or filler material. This phase of the process is essential for ensuring a smooth transition to the next stage of the renovation, whether it involves installing a new window or filling the opening with an alternative material. Here's a detailed guide on how to effectively clean up the opening after the removal of glass block windows:
-
Remove Debris and Residue: Begin by clearing the opening of any remaining debris, grout, mortar, or adhesive residue. Use a vacuum, brush, or damp cloth to meticulously clean the surfaces, ensuring that the area is free from loose particles and any remnants of the previous window installation.
-
Inspect for Damage: Carefully inspect the window opening for any signs of damage or deterioration that may have been concealed by the glass blocks. Look for cracks, moisture damage, or structural issues that may require attention before proceeding with the installation of the replacement window or filler material.
-
Repair and Prepare the Surrounding Area: If any damage or deterioration is identified, take the necessary steps to repair and reinforce the surrounding area. This may involve patching cracks, addressing moisture issues, or reinforcing the window frame to ensure a stable and secure foundation for the next phase of the renovation.
-
Clean and Prime the Surfaces: Thoroughly clean the surfaces of the window opening to remove any remaining dust, dirt, or contaminants. Depending on the type of replacement window or filler material being installed, consider applying a primer to the surfaces to promote adhesion and create a suitable base for the new installation.
-
Measure and Confirm Dimensions: Take precise measurements of the cleaned window opening to ensure that it aligns with the specifications of the replacement window or filler material. Confirm that the dimensions are accurate and compatible with the chosen window or alternative filling option.
-
Prepare for Installation: Organize the necessary tools and materials for the installation of the replacement window or filler material, ensuring that everything is readily accessible and in optimal condition for the next phase of the renovation.
By meticulously cleaning up the opening and preparing it for the installation of the replacement window or filler material, you set the stage for a seamless transition to the final phase of the renovation. This meticulous approach ensures that the structural integrity of the opening is preserved and that the subsequent installation process can proceed with efficiency and precision. With the opening thoroughly cleaned and prepared, you're now ready to proceed to the final step of installing the replacement window or filling the opening with the chosen material.
Use a hammer and chisel to carefully break the mortar around the edges of the glass blocks. Once the mortar is removed, the blocks can be easily lifted out.
Step 6: Install the replacement window or fill the opening
With the window opening thoroughly cleaned and prepared, the final phase of the glass block window removal process involves the installation of the replacement window or the filling of the opening with the chosen material. This critical step marks the culmination of the renovation project, where the new window or alternative filling will seamlessly integrate into the space, enhancing both functionality and aesthetics.
Read more: How To Cover Glass Block Windows
Installing the Replacement Window:
If the decision has been made to replace the glass block window with a new window, whether it's a casement, double-hung, or any other style, the installation process requires precision and attention to detail. Here's a comprehensive guide to installing the replacement window:
-
Positioning and Alignment: Carefully position the replacement window within the cleaned opening, ensuring that it aligns perfectly with the dimensions and specifications of the space. Verify that the window is level and plumb, making any necessary adjustments to achieve a precise fit.
-
Securing the Window: Once the window is properly positioned, secure it in place using the appropriate fasteners and installation hardware. Follow the manufacturer's guidelines for securing the window to ensure stability and structural integrity.
-
Weatherproofing and Insulation: Apply weatherproofing materials and insulation around the window frame to create a tight seal and enhance energy efficiency. Properly sealing the replacement window contributes to improved insulation and weather resistance.
-
Finishing Touches: Complete the installation by adding trim, caulking, and any additional finishing elements to create a polished and seamless transition between the window and the surrounding wall. Pay attention to detail to achieve a professional and aesthetically pleasing result.
Filling the Opening with Alternative Material:
In cases where the decision is made to fill the opening with an alternative material, such as bricks, siding, or another architectural feature, the process involves a different set of considerations. Here's a detailed guide to filling the opening with alternative material:
-
Material Selection: Choose the desired material for filling the opening, considering factors such as durability, aesthetics, and compatibility with the overall design scheme of the space.
-
Preparation and Installation: Prepare the chosen material for installation, ensuring that it is cut, shaped, and positioned to fit the window opening accurately. Follow the specific installation guidelines for the selected material to achieve a secure and visually appealing result.
-
Integration with Surrounding Elements: Ensure that the alternative material seamlessly integrates with the surrounding architectural features and complements the overall design of the space. Pay attention to details such as color coordination and texture to achieve a cohesive and harmonious appearance.
-
Weatherproofing and Finishing: Apply weatherproofing measures and finishing touches to the installed material to enhance its longevity and resilience against external elements. Properly sealing and protecting the filled opening contributes to the overall durability and maintenance of the renovation.
By meticulously following the installation guidelines for the replacement window or the chosen alternative filling material, you can complete the glass block window removal process with a successful transition to the new design. Whether installing a replacement window or integrating alternative material, this final phase marks the realization of the renovation vision, bringing renewed functionality and aesthetic appeal to the space.
Conclusion
The removal of glass block windows marks a significant milestone in the journey of home renovation and design transformation. As we conclude this comprehensive guide, it's essential to reflect on the meticulous process of removing glass block windows and the potential for creative reinvention that follows.
Throughout the step-by-step journey, we've emphasized the importance of careful planning, precision, and attention to detail. From gathering the necessary tools and materials to the final installation of the replacement window or alternative filling, each phase has been a testament to the dedication required to achieve a successful outcome.
The decision to remove glass block windows often signifies a desire for change, whether driven by evolving design trends, functional requirements, or a quest for enhanced aesthetics. By embracing this transition, homeowners open the door to a world of possibilities, where new design elements and innovative solutions can breathe new life into their living spaces.
As we bid farewell to the glass block windows of the past, we welcome the opportunity to embrace fresh perspectives and reimagine the potential of the renovated space. Whether the journey leads to the installation of sleek, modern windows or the integration of alternative materials that redefine the architectural character, the removal of glass block windows paves the way for a renewed vision of home design.
The removal process itself is a labor of love, requiring patience, skill, and a keen eye for detail. It's a testament to the commitment to creating a space that reflects individual style and functionality, tailored to the unique needs and aspirations of the homeowner.
In the end, the removal of glass block windows is not merely a physical transformation but a symbolic gesture of embracing change and embracing the endless possibilities of design evolution. It's a nod to the ever-changing landscape of interior design trends and the unwavering spirit of innovation that drives homeowners to continually reinvent their living spaces.
As we conclude this journey, we celebrate the culmination of the glass block window removal process and the beginning of a new chapter in the story of home design. With the tools, knowledge, and creative inspiration gained from this guide, homeowners are empowered to embark on their own transformative renovation endeavors, armed with the confidence to turn their design dreams into reality.
Frequently Asked Questions about How To Remove Glass Block Windows
Was this page helpful?
At Storables.com, we guarantee accurate and reliable information. Our content, validated by Expert Board Contributors, is crafted following stringent Editorial Policies. We're committed to providing you with well-researched, expert-backed insights for all your informational needs.


0 thoughts on “How To Remove Glass Block Windows”