Home>Furniture & Design>Interior Design Trends>How To Remove A Glass Block Window

Interior Design Trends
How To Remove A Glass Block Window
Published: February 8, 2024
Learn how to remove a glass block window and stay updated on the latest interior design trends. Expert tips and techniques for a seamless window replacement.
(Many of the links in this article redirect to a specific reviewed product. Your purchase of these products through affiliate links helps to generate commission for Storables.com, at no extra cost. Learn more)
Introduction
Removing a glass block window can be a daunting task, but with the right tools, materials, and know-how, it can be a manageable project for any DIY enthusiast. Whether you're looking to replace the window with a more modern option or simply need to access the area for maintenance, understanding the step-by-step process is crucial for a successful outcome.
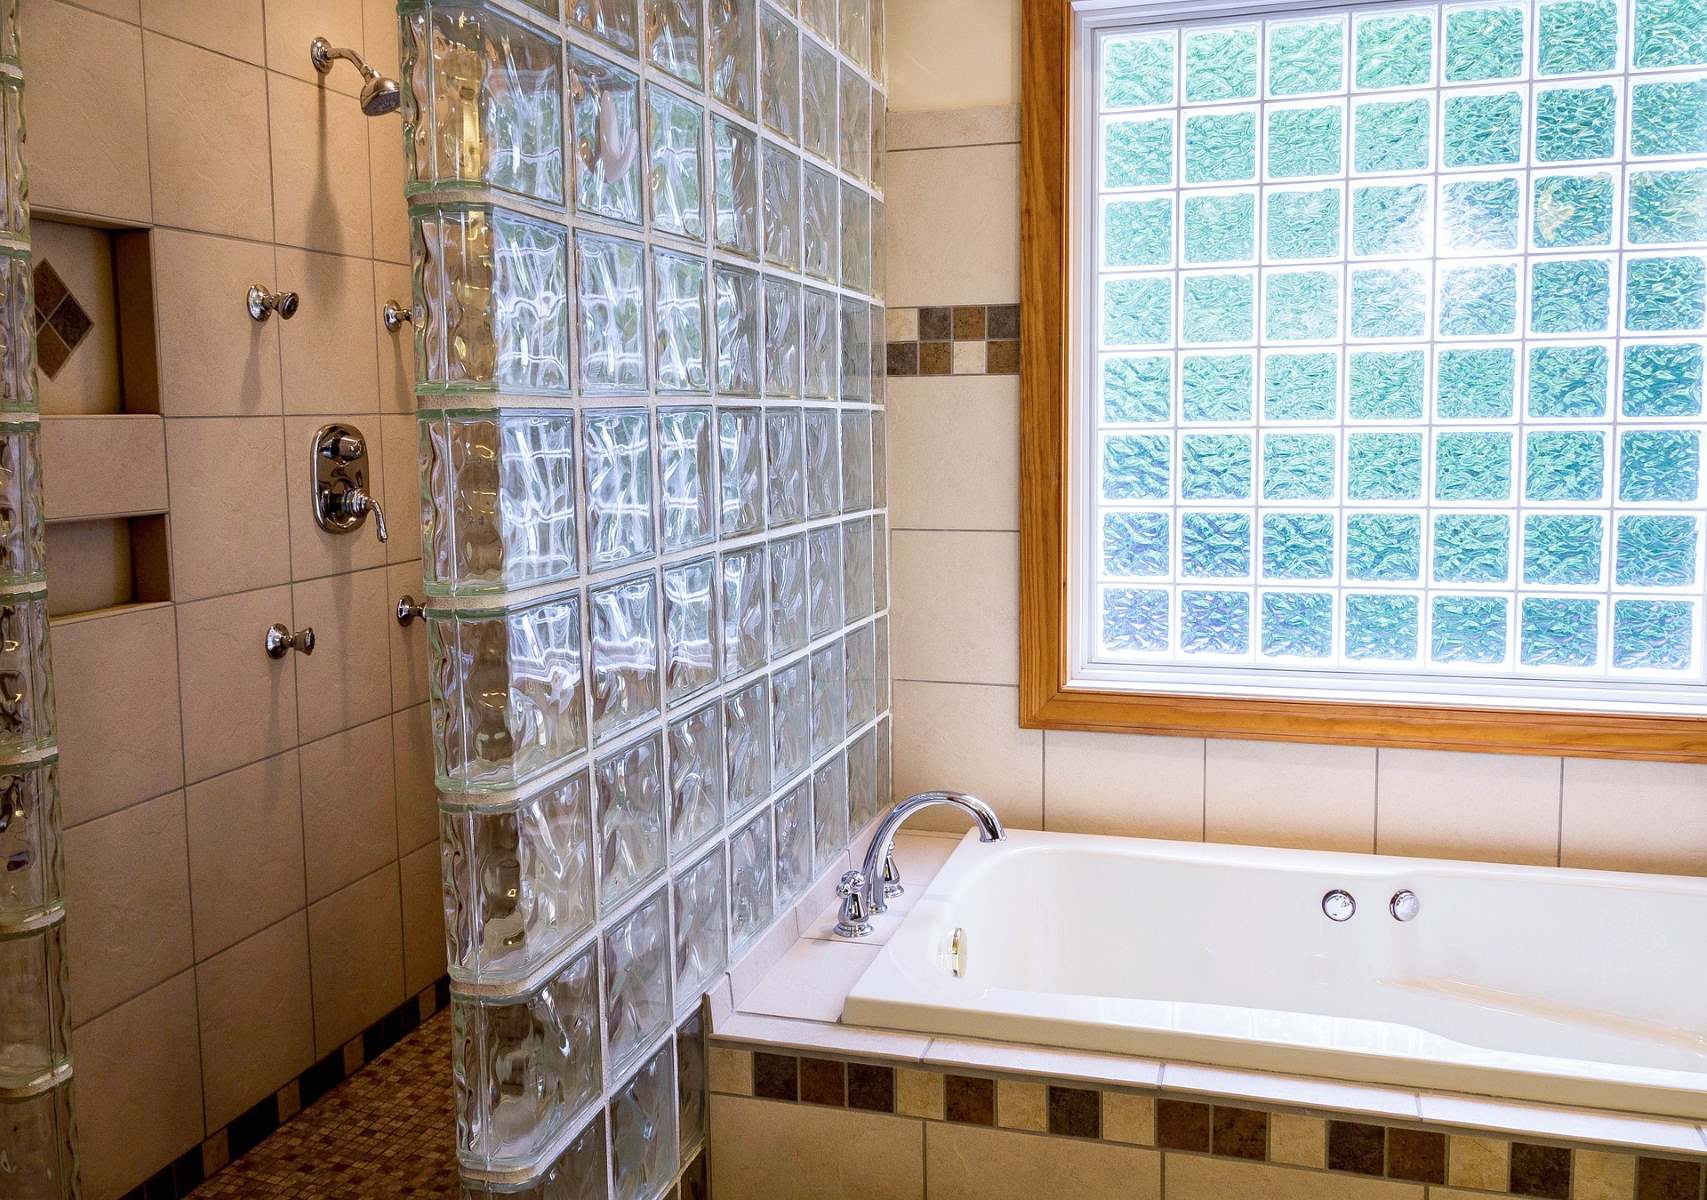
Glass block windows are known for their durability and aesthetic appeal, often found in bathrooms, basements, and other areas where natural light and privacy are desired. However, over time, these windows may require replacement due to damage, wear, or a desire for a different style. Before diving into the removal process, it's essential to assess the condition of the existing window and determine the best approach for removal.
In this comprehensive guide, we will walk you through the necessary steps to safely and effectively remove a glass block window. From gathering the essential tools and materials to cleaning the window opening post-removal, each step is crucial in ensuring a smooth and successful removal process. By following this guide, you'll be equipped with the knowledge and confidence to tackle this project with precision and care.
So, roll up your sleeves and get ready to transform your space by learning how to remove a glass block window like a pro. Let's dive into the step-by-step process and empower you to take on this rewarding DIY endeavor.
Key Takeaways:
- Removing a glass block window requires patience, precision, and the right tools. By following the step-by-step guide, homeowners can transform their living spaces with confidence and achieve their desired outcome.
- Whether installing a new window or covering the opening temporarily, the process empowers homeowners to shape their living environments. It’s a journey of empowerment, creativity, and the fulfillment of a vision.
Read more: How To Remove Glass Block Windows
Step 1: Gather the necessary tools and materials
Before embarking on the task of removing a glass block window, it's crucial to gather the essential tools and materials to ensure a smooth and efficient process. Here's a comprehensive list of what you'll need:
Tools:
- Safety Gear: Safety goggles, work gloves, and a dust mask are essential to protect yourself from debris and potential hazards during the removal process.
- Hammer and Chisel: These tools will be used to carefully remove the grout and mortar surrounding the glass blocks.
- Pry Bar: A sturdy pry bar will aid in gently loosening and removing the glass blocks from the window opening.
- Utility Knife: Use a sharp utility knife to cut through any caulking or sealant around the window frame.
- Putty Knife: This tool will come in handy for scraping away old sealant and adhesive from the window frame.
- Vacuum Cleaner: Having a vacuum on hand will help keep the work area clean and free of debris as you progress through the removal process.
Materials:
- Drop Cloth or Tarp: Lay down a protective covering to safeguard the surrounding area from dust, debris, and potential damage during the removal process.
- Plastic Sheeting: Use plastic sheeting to cover the window opening once the glass blocks have been removed, preventing any debris from entering the space.
- Duct Tape: Secure the plastic sheeting in place with duct tape to create a temporary barrier over the window opening.
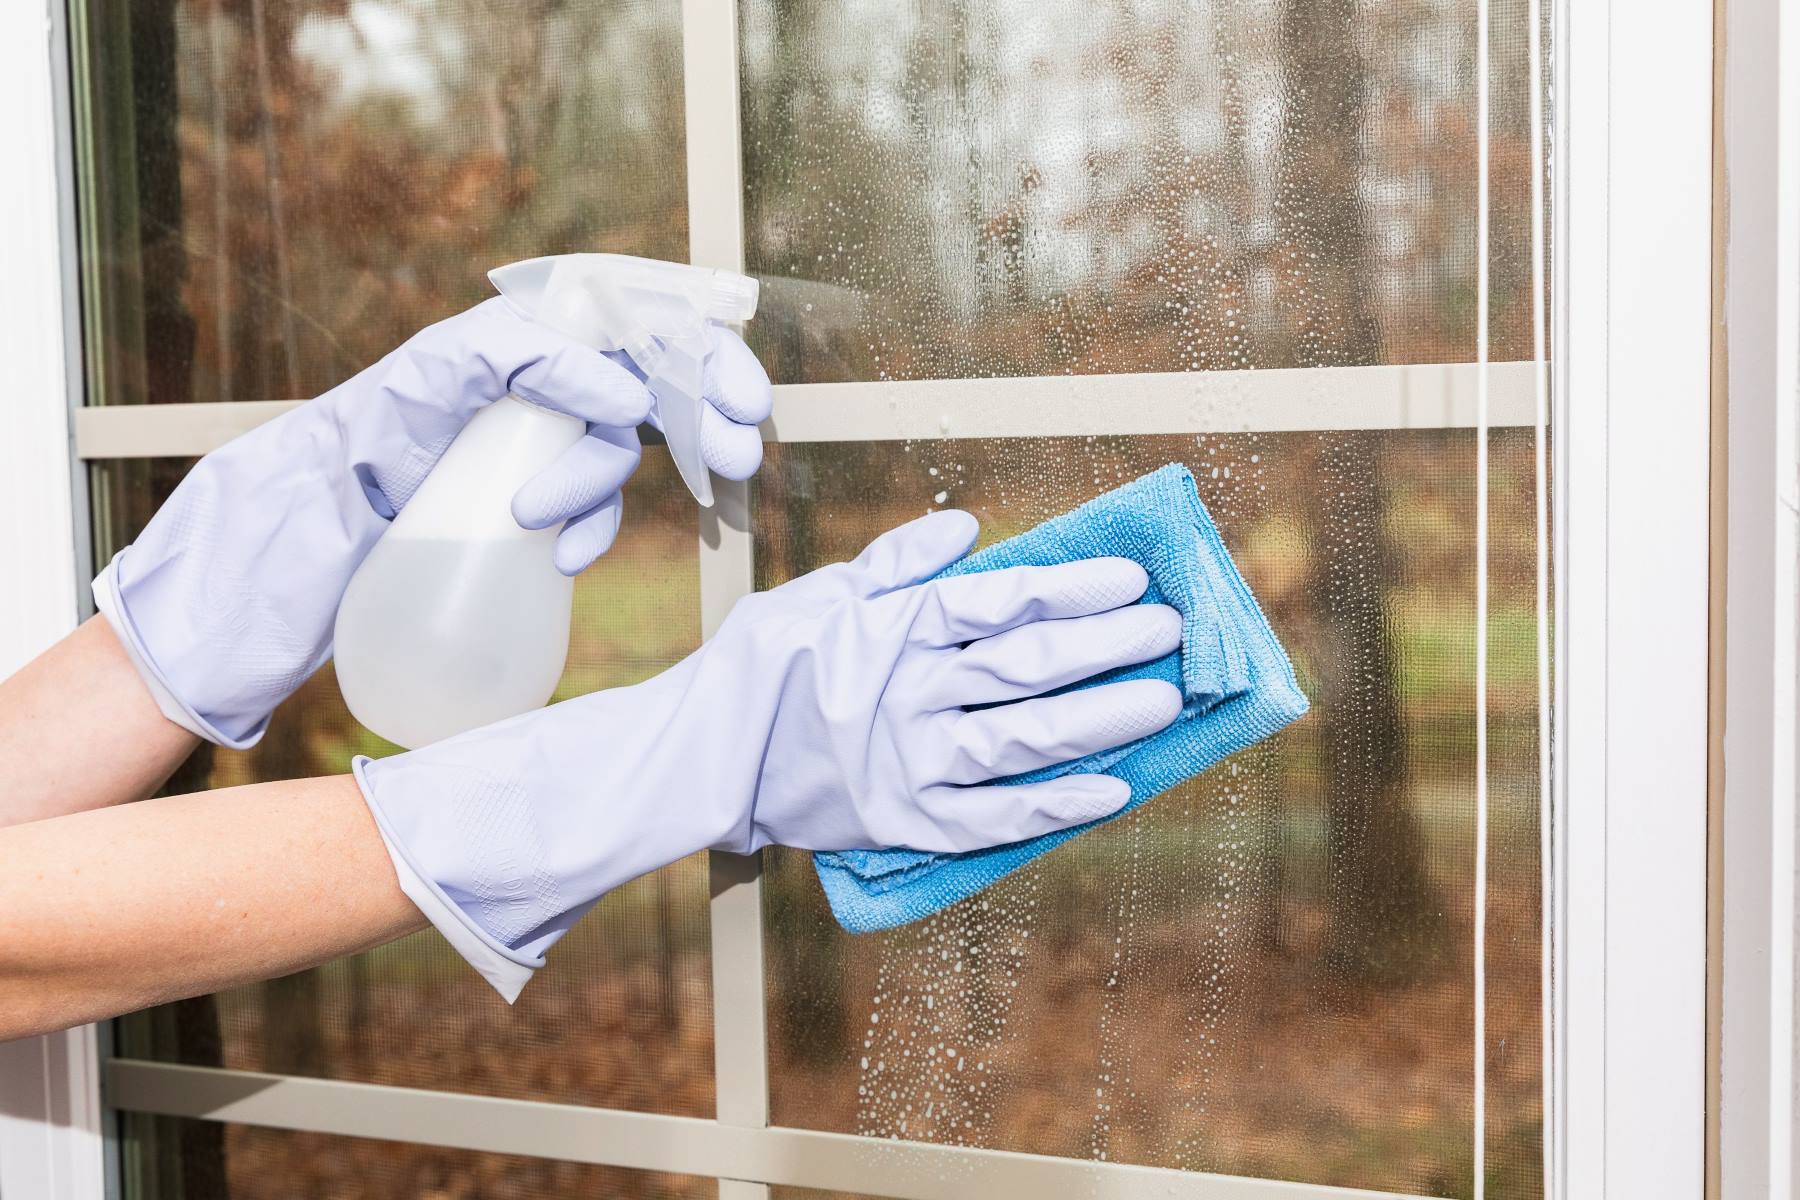
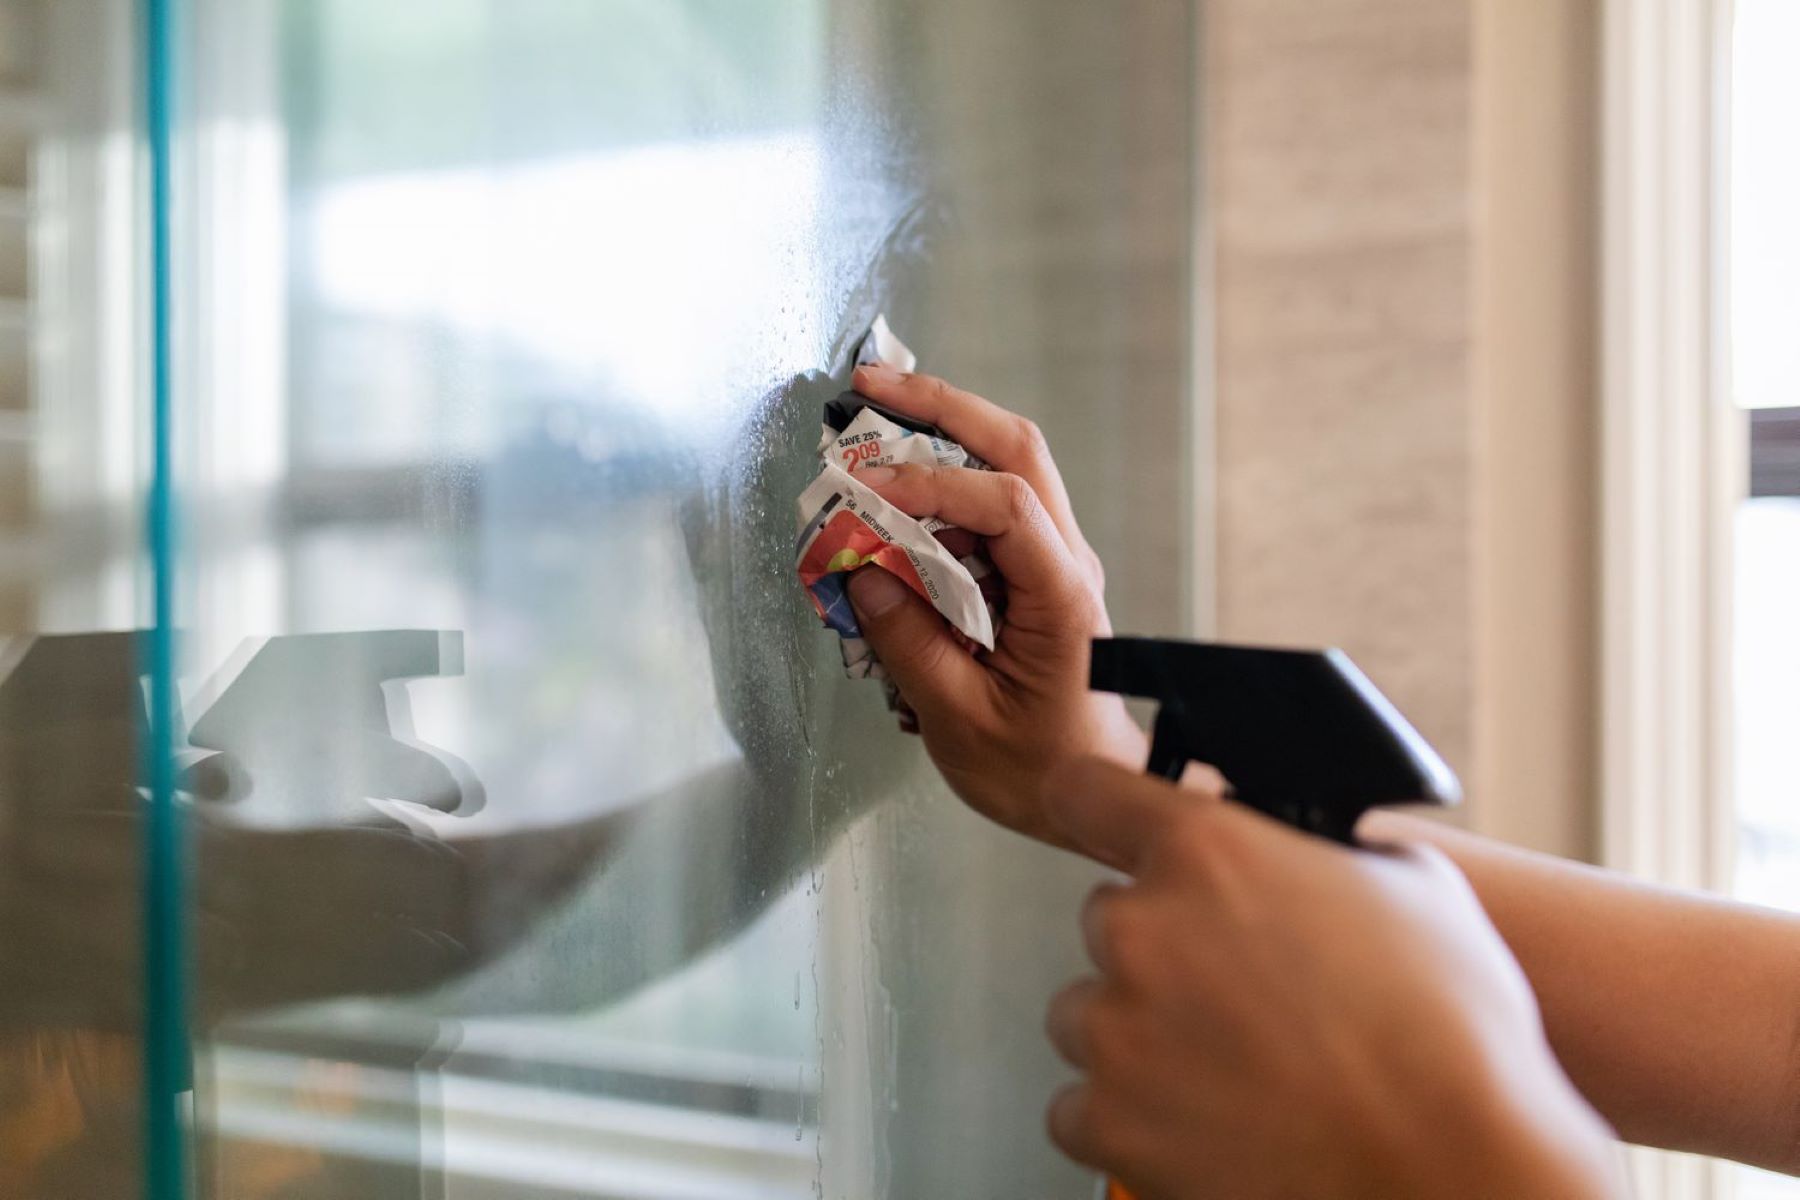
- Cleaning Supplies: Have a supply of glass cleaner, a sponge, and a bucket of soapy water ready to clean the window opening once the glass blocks have been removed.
- New Window or Covering: Depending on your plans for the space, you may need a new window to install after the glass blocks have been removed, or a temporary covering to seal the opening until a permanent solution is chosen.
By ensuring you have all the necessary tools and materials at your disposal, you'll be well-prepared to tackle the subsequent steps with confidence and efficiency. With the groundwork laid and the tools in hand, you're ready to move on to the next phase of the glass block window removal process.
Step 2: Remove the grout and mortar
Once you have gathered the necessary tools and materials, the next crucial step in removing a glass block window is to focus on the grout and mortar that secure the glass blocks in place. This step requires patience and precision to ensure the safe extraction of the glass blocks without causing damage to the surrounding structure.
To begin, carefully inspect the window frame and identify the areas where the grout and mortar are holding the glass blocks in place. Using a hammer and chisel, gently tap the tools against the grout lines to loosen and break up the grout. Take care to avoid excessive force, as this could lead to unintended damage to the surrounding blocks or frame.
As you work your way around the window, continue to chip away at the grout, gradually freeing the glass blocks from their secured position. It's important to maintain a steady hand and exercise caution to prevent any unnecessary breakage or splintering of the blocks.
In addition to addressing the grout, you'll also need to focus on the mortar that holds the blocks in place within the frame. Using the same hammer and chisel, carefully chip away at the mortar, working methodically to release the blocks from their fixed position. Take your time with this process, as the goal is to remove the mortar without causing damage to the blocks or the surrounding structure.
Throughout this step, it's essential to wear safety goggles and work gloves to protect yourself from any debris that may dislodge during the grout and mortar removal process. Additionally, having a vacuum cleaner on hand to promptly clean up any loose particles will help maintain a tidy work area and minimize the risk of debris spreading to other parts of the space.
By methodically removing the grout and mortar, you'll gradually free the glass blocks from their secured position, setting the stage for the next phase of the removal process. With patience and precision, this critical step brings you closer to successfully removing the glass block window and preparing the opening for the next stage of the project.
Read more: How To Install Glass Block Windows
Step 3: Carefully remove the glass blocks
With the grout and mortar successfully addressed, the focus now shifts to the careful removal of the glass blocks from the window opening. This step requires a delicate touch and a methodical approach to ensure the safe extraction of the blocks without causing damage to the surrounding structure.
Using a pry bar, gently work around the edges of each glass block, applying subtle pressure to loosen them from their position within the frame. It's crucial to exercise patience and precision during this process, as the goal is to free the blocks without causing any breakage or damage to the adjacent blocks or the window frame.
As you work through the removal, pay close attention to any areas where the blocks may be stubbornly adhered to the frame. In such instances, carefully apply additional pressure with the pry bar while ensuring that the surrounding blocks remain undisturbed. By approaching the removal with a methodical mindset, you can minimize the risk of unintended damage and maintain the integrity of the surrounding structure.
Once the glass blocks have been successfully loosened from the frame, carefully lift them out one by one, taking care to support their weight and prevent any sudden movements that could lead to breakage. It's advisable to have a designated area prepared to place the removed blocks, ensuring that they are safely stored and protected from accidental damage.
Throughout this process, it's essential to wear work gloves to protect your hands from any sharp edges or debris that may be present on the blocks. Additionally, maintaining a clean and organized work area will help prevent any accidental tripping hazards and ensure a smooth and efficient removal process.
As each glass block is carefully removed from the window opening, take a moment to inspect the frame and surrounding areas for any signs of damage or wear. By addressing any issues promptly, you can ensure that the space is prepared for the next phase of the project, whether it involves installing a new window or temporarily covering the opening.
By approaching the removal of the glass blocks with patience and precision, you can navigate this critical step with confidence, knowing that the integrity of the surrounding structure has been preserved. With the blocks safely removed, the project moves forward, bringing you closer to achieving your desired outcome for the space.
Step 4: Clean the window opening
With the glass blocks successfully removed, the focus now shifts to thoroughly cleaning the window opening to prepare it for the next phase of the project. This critical step involves removing any remaining debris, grime, and adhesive residue to ensure a clean and smooth surface for the installation of a new window or temporary covering.
Begin by using a vacuum cleaner to carefully remove any loose particles and dust from the window opening. Pay close attention to the corners and edges, ensuring that all debris is effectively cleared to create a clean foundation for the next steps. Once the visible debris has been removed, use a damp sponge and a bucket of soapy water to gently clean the interior surfaces of the window opening. This process helps eliminate any lingering dirt or grime, restoring the area to a clean and presentable state.
In addition to cleaning the interior surfaces, it's essential to address any adhesive residue or sealant that may remain on the window frame. Utilize a putty knife to carefully scrape away any stubborn adhesive, taking care to avoid causing damage to the frame. This meticulous approach ensures that the window opening is free from any obstructions that could hinder the installation of a new window or covering.
As you progress through the cleaning process, take a moment to inspect the window opening for any signs of damage or wear that may require attention before proceeding with the next phase of the project. Addressing any issues promptly will help ensure that the space is primed for the installation of a new window or the application of a temporary covering.
Once the window opening has been thoroughly cleaned and inspected, take a final pass with a dry cloth to remove any remaining moisture and ensure that the surfaces are dry and ready for the next steps. This attention to detail sets the stage for a seamless transition to the installation phase, allowing you to move forward with confidence and precision.
By dedicating time and care to cleaning the window opening, you're laying the groundwork for a successful continuation of the project. With the space now clean and prepared, you're ready to move on to the final phase of the glass block window removal process, whether it involves installing a new window or securing a temporary covering to seal the opening.
Use a hammer and chisel to carefully break the mortar around the glass blocks. Once the mortar is removed, gently push the blocks out of the opening.
Step 5: Install the new window or cover the opening
With the window opening now clean and prepared, the final phase of the glass block window removal process involves installing a new window or covering the opening to seal the space temporarily. The approach taken in this step will depend on your long-term plans for the area and the desired outcome for the space.
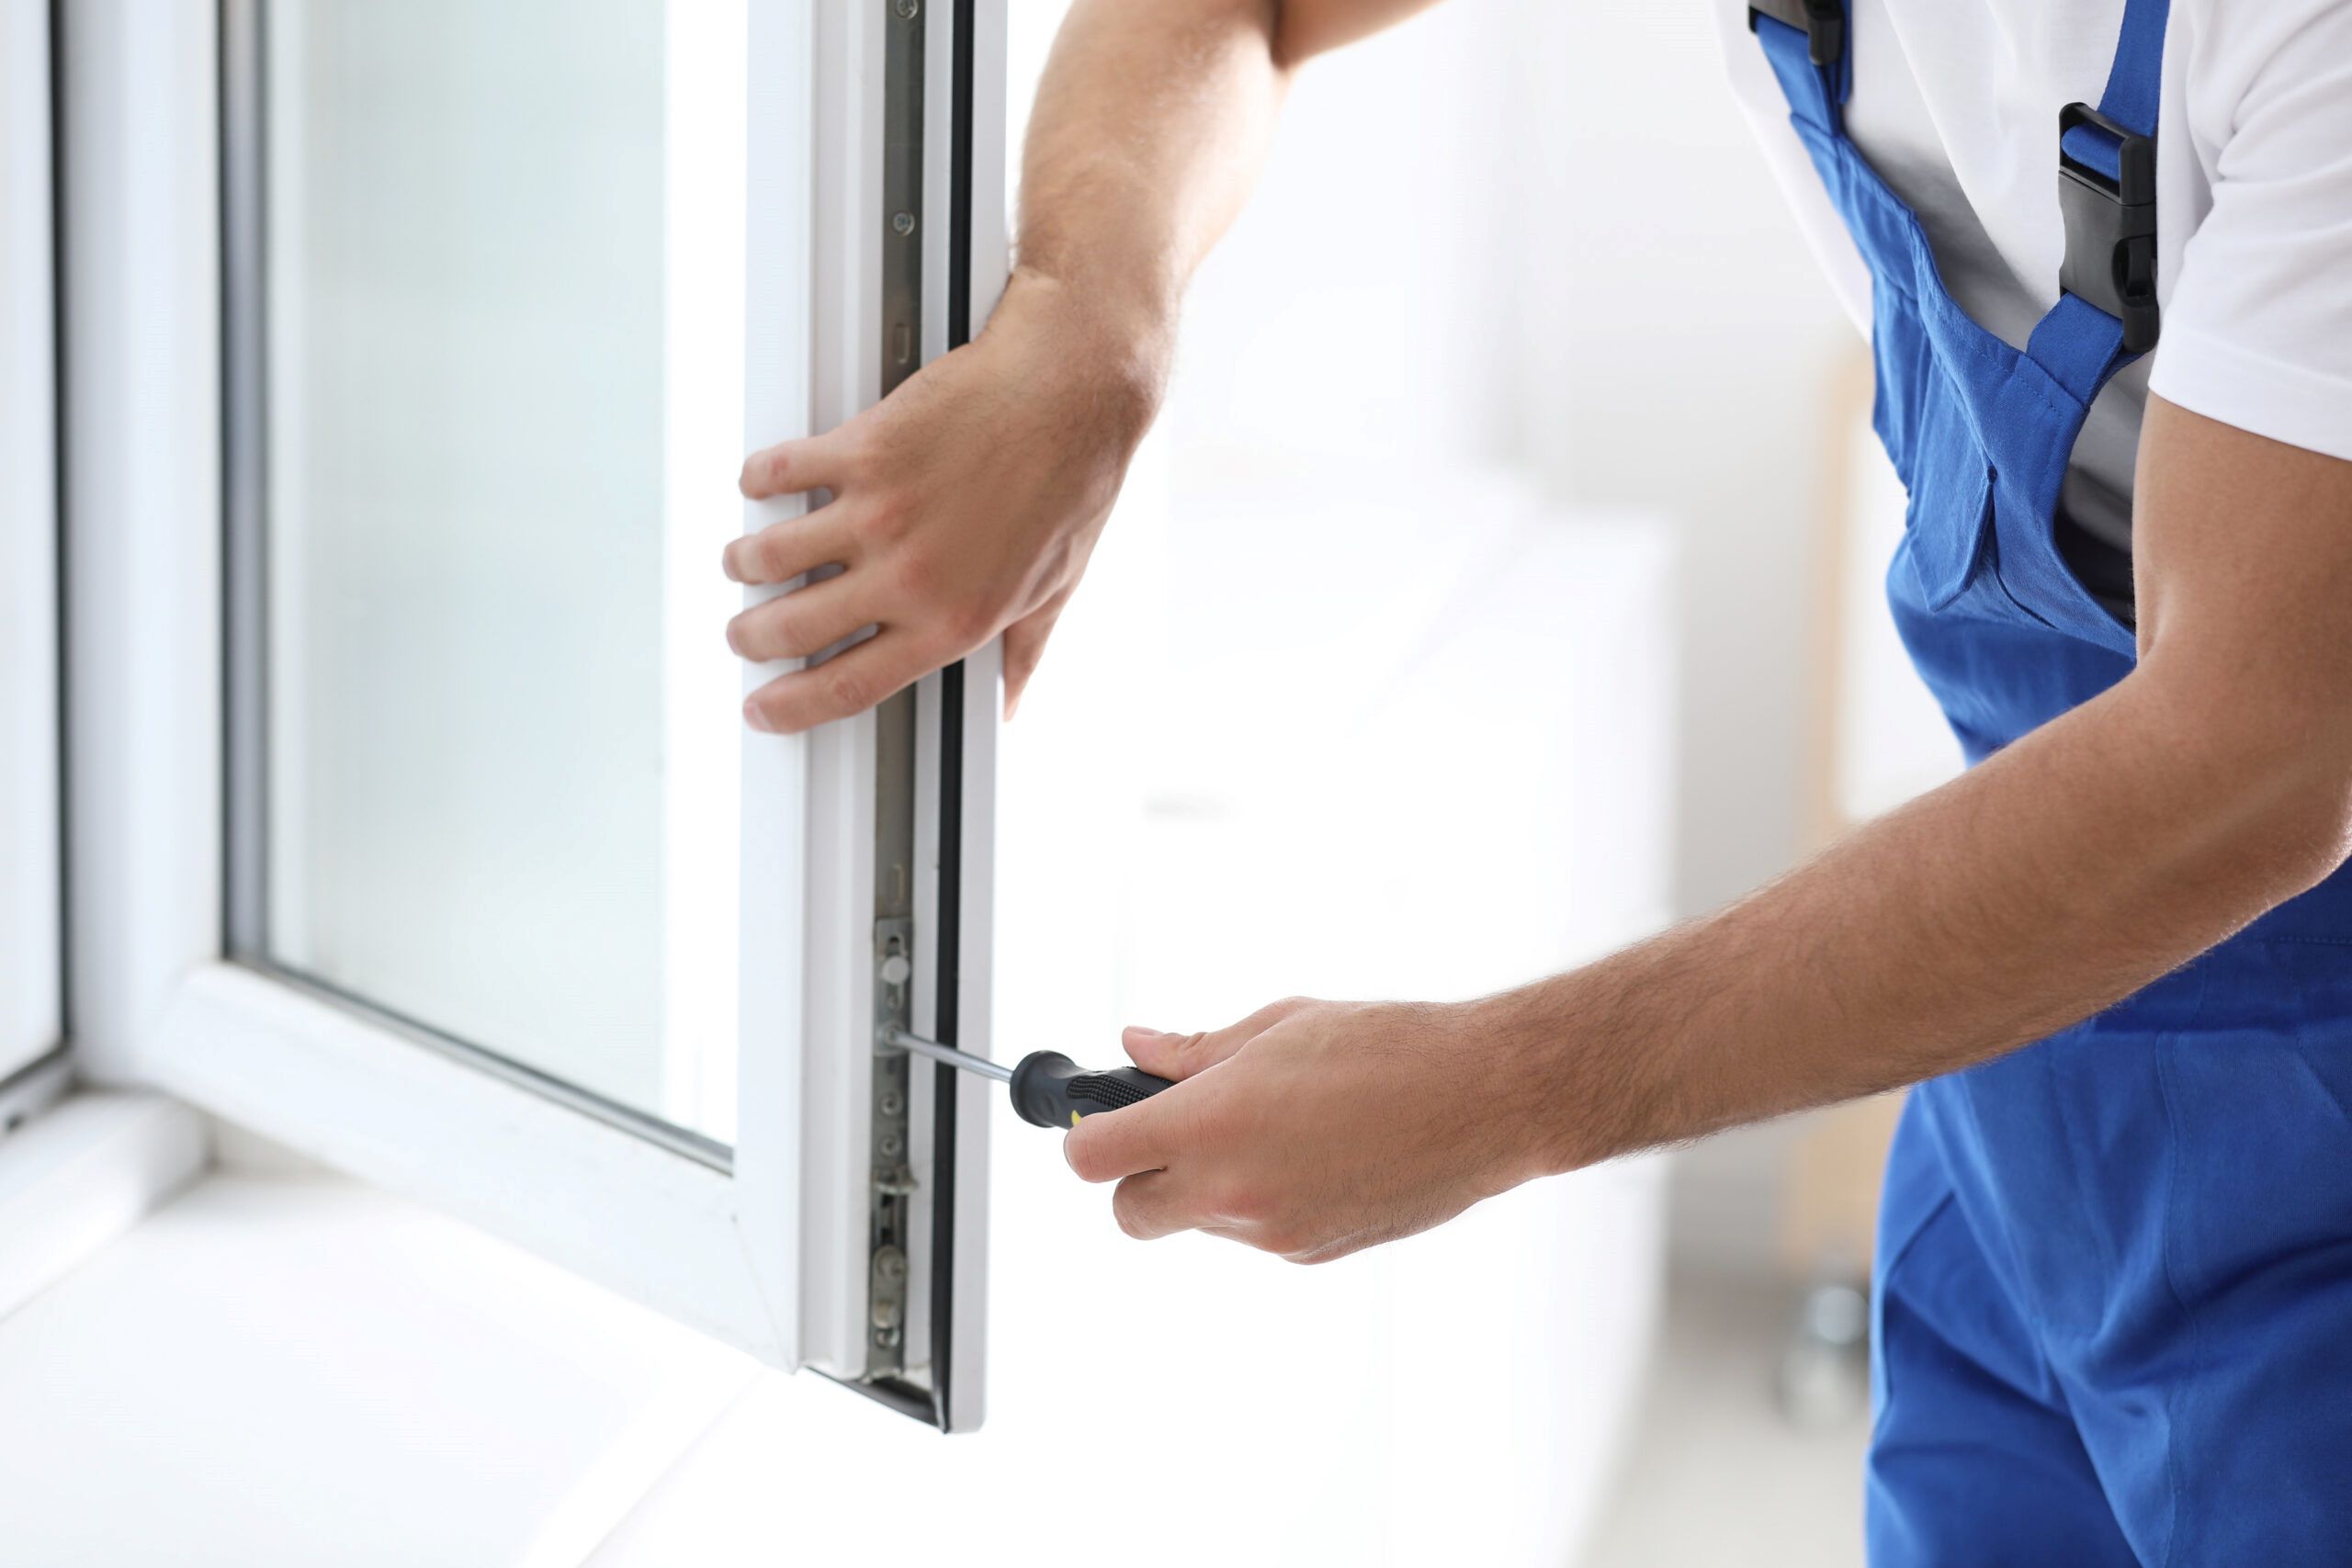
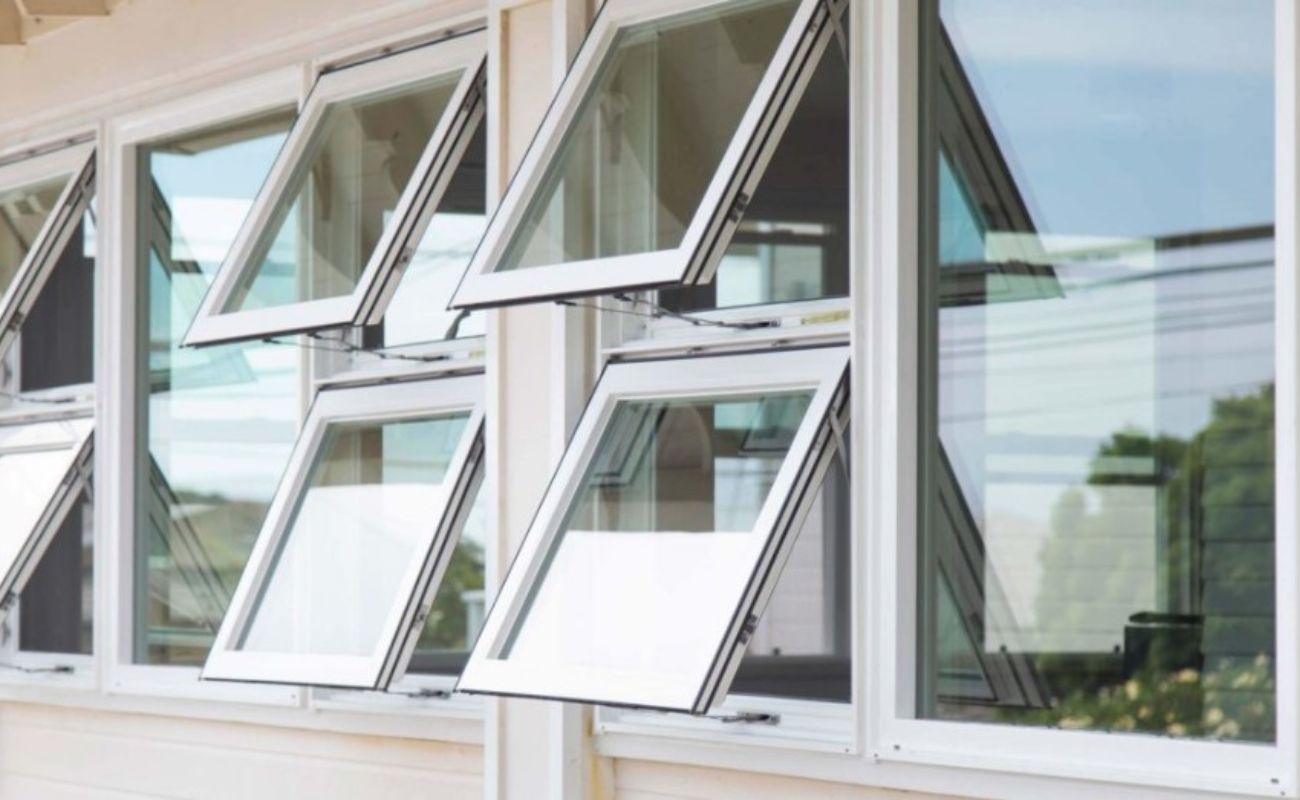
If you're opting to install a new window, carefully measure the dimensions of the window opening to ensure a precise fit for the replacement. Whether you're installing a traditional glass window, a modern energy-efficient option, or a specialty window to enhance privacy and natural light, following the manufacturer's guidelines for installation is crucial. Take the time to secure the new window in place, ensuring that it is level, properly sealed, and structurally sound. This step may involve the use of additional tools and materials, such as caulk, shims, and fasteners, to secure the new window within the opening. By following the recommended installation procedures, you can achieve a seamless and secure fit for the new window, enhancing the functionality and aesthetic appeal of the space.
In the event that a permanent window replacement is not immediately feasible, or if you're exploring alternative options for the space, covering the opening with a temporary solution is a practical approach. Consider using a sturdy piece of plywood or a custom-cut board to fit the dimensions of the window opening, securing it in place with screws or brackets. This temporary covering provides a protective barrier, safeguarding the interior space from the elements and maintaining security until a permanent window solution is chosen. Additionally, covering the opening with a temporary solution allows you the flexibility to carefully consider your long-term plans for the space without rushing into a hasty window installation.
Regardless of the approach taken, it's essential to prioritize safety, functionality, and aesthetic considerations when installing a new window or covering the opening. By carefully evaluating your options and selecting the most suitable solution for the space, you can ensure that the window opening is effectively addressed, setting the stage for a seamless transition to the next phase of your home improvement project.
As you complete the installation of the new window or covering the opening, take a moment to step back and admire the transformation that has taken place. Whether you've installed a modern window to enhance natural light and energy efficiency or secured a temporary covering to protect the space, your attention to detail and dedication to the project have yielded a tangible result. With the window opening now addressed, you've successfully navigated the glass block window removal process, bringing your vision for the space one step closer to reality.
Conclusion
In conclusion, the process of removing a glass block window is a rewarding endeavor that empowers homeowners to transform their living spaces with confidence and precision. By following the step-by-step guide outlined in this comprehensive resource, individuals can navigate the removal process with ease, whether they are preparing for a window replacement or exploring alternative options for the space.
Throughout the journey of removing a glass block window, each step plays a crucial role in ensuring a successful outcome. From gathering the necessary tools and materials to meticulously addressing the grout and mortar, every phase requires patience, attention to detail, and a commitment to preserving the integrity of the surrounding structure. By carefully removing the glass blocks and thoroughly cleaning the window opening, homeowners can lay the groundwork for the installation of a new window or the application of a temporary covering, tailored to their specific needs and preferences.
As the final phase of the removal process unfolds, the installation of a new window or the temporary covering of the opening marks the culmination of the project, bringing the vision for the space one step closer to realization. Whether homeowners opt for a modern window to enhance energy efficiency and aesthetic appeal or choose a temporary covering to safeguard the space while considering long-term plans, the dedication and care invested in the removal process yield tangible results.
Ultimately, the journey of removing a glass block window is a testament to the transformative power of home improvement projects. It empowers individuals to take an active role in shaping their living environments, creating spaces that align with their unique preferences and lifestyle needs. By embracing the process with enthusiasm and a willingness to learn, homeowners can embark on this rewarding endeavor with confidence, knowing that each step brings them closer to achieving their desired outcome.
As the removed glass block window gives way to new possibilities, the journey serves as a reminder of the potential for positive change within the home. Whether it's the promise of enhanced natural light, improved energy efficiency, or the opportunity to explore creative design alternatives, the removal of a glass block window opens doors to new beginnings and fresh perspectives.
In essence, the process of removing a glass block window is not just about the physical transformation of a space; it's about the journey of empowerment, creativity, and the fulfillment of a vision. It's a testament to the homeowner's ability to shape their surroundings and create a living environment that reflects their individuality and aspirations. With each step carefully navigated, the removal of a glass block window becomes a testament to the transformative potential that resides within every home.
Frequently Asked Questions about How To Remove A Glass Block Window
Was this page helpful?
At Storables.com, we guarantee accurate and reliable information. Our content, validated by Expert Board Contributors, is crafted following stringent Editorial Policies. We're committed to providing you with well-researched, expert-backed insights for all your informational needs.




0 thoughts on “How To Remove A Glass Block Window”