Home>Furniture & Design>Interior Design Trends>How To Clean Candle Wax From Glass
Interior Design Trends
How To Clean Candle Wax From Glass
Modified: August 27, 2024
Learn how to effectively remove candle wax from glass surfaces with our expert interior design tips. Keep up with the latest interior design trends!
(Many of the links in this article redirect to a specific reviewed product. Your purchase of these products through affiliate links helps to generate commission for Storables.com, at no extra cost. Learn more)
Introduction
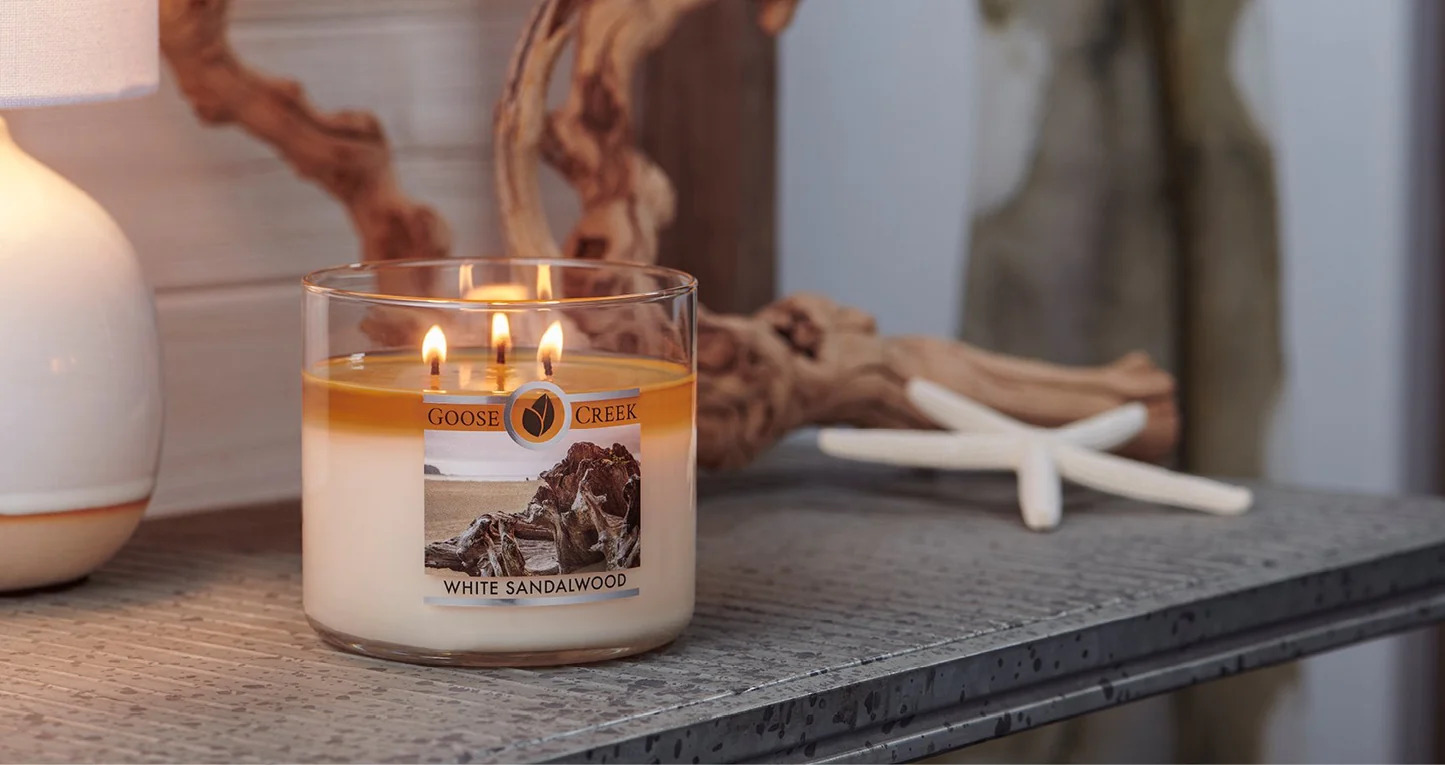
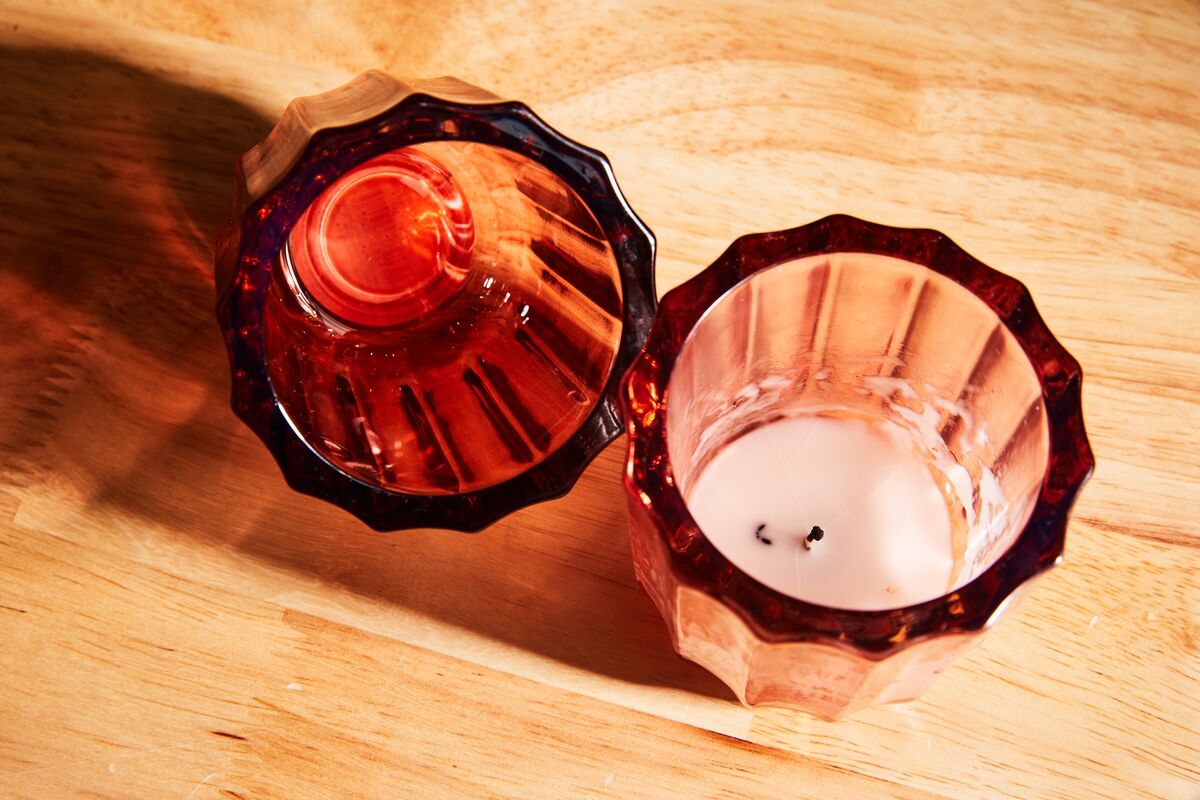
Candles have the remarkable ability to create a warm and inviting ambiance in any space. However, the wax from these beloved sources of light can sometimes find its way onto glass surfaces, leaving behind stubborn stains. Whether it's a dining table adorned with elegant candle holders or a decorative glass vase, dealing with wax residue can be a daunting task. Fortunately, with the right approach and a few simple materials, you can effectively remove candle wax from glass surfaces without causing damage.
In this comprehensive guide, we will walk you through the step-by-step process of safely and efficiently cleaning candle wax from glass. By following these instructions, you can restore the pristine appearance of your glassware and continue enjoying the soft glow of candlelight without the worry of unsightly wax buildup.
Let's dive into the materials you'll need and the precise steps to take in order to successfully tackle this common household challenge.
Key Takeaways:
- Say goodbye to stubborn wax on glass! Freeze, scrape, and clean with simple materials like a plastic bag, rubbing alcohol, and dish soap to restore your glassware’s pristine appearance.
- Freeze the wax, gently scrape it off, and clean with dish soap for sparkling glass. Enjoy the soft glow of candlelight without the worry of wax buildup.
Materials Needed
Before embarking on the task of removing candle wax from glass, it's essential to gather the necessary materials. Having the right tools at your disposal will streamline the process and ensure that you can effectively address the issue without causing damage to the glass surface. Here's what you'll need:
-
Freezer: A standard household freezer will serve as a valuable tool in the wax removal process. The cold temperature will aid in solidifying the wax, making it easier to remove from the glass.
-
Plastic Bag: Opt for a durable, resealable plastic bag that can accommodate the glass item. This will be used to contain the glass and wax during the freezing stage.
-
Butter Knife or Plastic Card: Select a sturdy butter knife or a plastic card, such as a credit card or loyalty card, to gently scrape the frozen wax from the glass surface. These items should be used with caution to avoid scratching the glass.
-
Rubbing Alcohol: This versatile cleaning agent is effective in dissolving any residual wax and removing stubborn stains. Ensure that the rubbing alcohol is at least 90% concentration for optimal results.
-
Soft Cloth or Microfiber Towel: Choose a soft, lint-free cloth or a microfiber towel to gently wipe the glass surface. This will help to remove any remaining wax residue and ensure a polished finish.
-
Dish Soap: A mild dish soap and warm water will be used to thoroughly clean the glass surface after the wax has been removed. This will help to eliminate any remaining traces of wax and restore the glass to its original luster.
-
Optional: Glass Cleaner: If desired, a specialized glass cleaner can be used to provide a streak-free and crystal-clear finish to the glass surface.
By assembling these materials, you'll be well-equipped to tackle the task of removing candle wax from glass surfaces with confidence and precision. With these tools in hand, you can proceed to the next steps and effectively restore the pristine appearance of your glassware.
Step 1: Freezing the Wax
Freezing the wax is a crucial initial step in the process of removing candle wax from glass. This method capitalizes on the principle that cold temperatures cause wax to solidify, making it easier to detach from the glass surface. To initiate this step, carefully place the glass item, such as a candle holder or decorative vase, inside a resealable plastic bag. Ensuring that the item is securely enclosed within the bag will prevent any potential mess during the freezing process.
Once the glass item is securely sealed within the plastic bag, position it in the freezer and allow it to remain undisturbed for approximately 1 to 2 hours. The extended exposure to the cold environment will effectively solidify the wax, rendering it brittle and easier to remove. It's important to exercise patience during this phase, as allowing ample time for the wax to freeze will significantly facilitate the subsequent removal process.
As the glass item undergoes the freezing process, the wax will gradually transition from a pliable state to a hardened form. This transformation is essential for the successful removal of the wax without causing damage to the glass surface. The low temperature of the freezer serves as a valuable ally in this endeavor, as it effectively alters the physical state of the wax, preparing it for the next phase of removal.
By subjecting the wax to freezing temperatures, you are effectively setting the stage for a seamless and efficient removal process. This method minimizes the risk of inadvertently spreading the wax or causing damage to the glass surface, ensuring that the subsequent steps can be carried out with precision and ease. Once the freezing duration has elapsed, the glass item can be carefully removed from the freezer, signaling the transition to the next phase of wax removal.
The process of freezing the wax serves as a strategic and effective approach to preparing the wax for removal from the glass surface. By leveraging the power of cold temperatures, you can expedite the subsequent steps and achieve optimal results in restoring the glass to its pristine condition. With the wax now solidified and ready for extraction, you can seamlessly progress to the next step of removing the wax from the glass surface.
This step sets the foundation for a successful wax removal process, laying the groundwork for the subsequent stages that will ultimately restore the glass to its original splendor. With the wax now frozen and primed for removal, you are well-positioned to proceed to the next phase and effectively eliminate the stubborn wax residue from the glass surface.
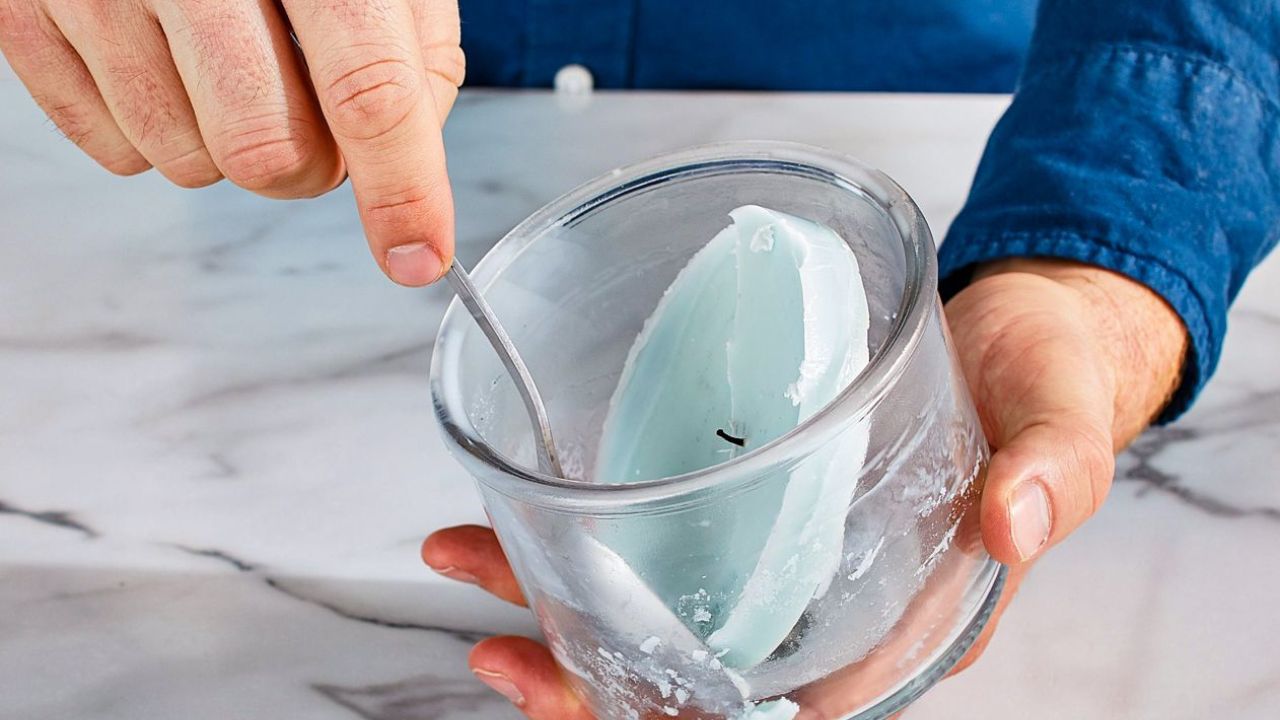
Place the glass in the freezer for a few hours to harden the wax. Then, use a butter knife to gently scrape off the wax. Finally, wipe the glass with a cloth and warm, soapy water to remove any residue.
Step 2: Removing the Wax
With the glass item now removed from the freezer, the next phase involves the careful and precise removal of the frozen wax from the glass surface. This step requires a delicate touch to ensure that the glass remains unharmed throughout the process. To initiate the wax removal, gently take the glass item out of the plastic bag, being mindful not to dislodge any frozen wax.
Once the glass item is securely in hand, use a butter knife or a plastic card to carefully scrape the frozen wax from the surface. It's crucial to exercise caution and apply gentle pressure to avoid scratching or damaging the glass. By leveraging the sturdy edge of the butter knife or plastic card, you can effectively dislodge the frozen wax from the glass, gradually lifting it away from the surface.
As you proceed with the wax removal, it's important to periodically assess the progress and adjust your approach as needed. If the wax proves resistant in certain areas, continue to delicately scrape and lift the frozen wax until the majority of it has been successfully removed.
In instances where the wax has adhered particularly stubbornly to the glass, you may find it helpful to reposition the glass item in the freezer for a brief period to further solidify the wax. This additional freezing phase can render the wax even more brittle, facilitating its removal with greater ease.
Once the bulk of the frozen wax has been successfully lifted from the glass surface, you may notice residual traces of wax remaining. To address these lingering remnants, dampen a soft cloth or microfiber towel with rubbing alcohol and gently dab at the remaining wax. The rubbing alcohol will effectively dissolve the residual wax, allowing you to meticulously wipe it away without causing damage to the glass.
As you work through this meticulous process, exercise patience and attention to detail to ensure that the glass surface is thoroughly cleansed of any remaining wax residue. Once the wax has been entirely removed, proceed to the next step to restore the glass to its original luster.
This phase of the wax removal process demands precision and care to safeguard the integrity of the glass surface. By delicately scraping and lifting the frozen wax and utilizing rubbing alcohol to address any residual remnants, you can effectively cleanse the glass of wax buildup, setting the stage for the final phase of restoring its pristine appearance.
Step 3: Cleaning the Glass
With the wax successfully removed from the glass surface, the final step involves thoroughly cleaning the glass to restore its original clarity and luster. This critical phase ensures that any residual wax, as well as any potential streaks or smudges, are effectively eliminated, leaving the glass in impeccable condition.
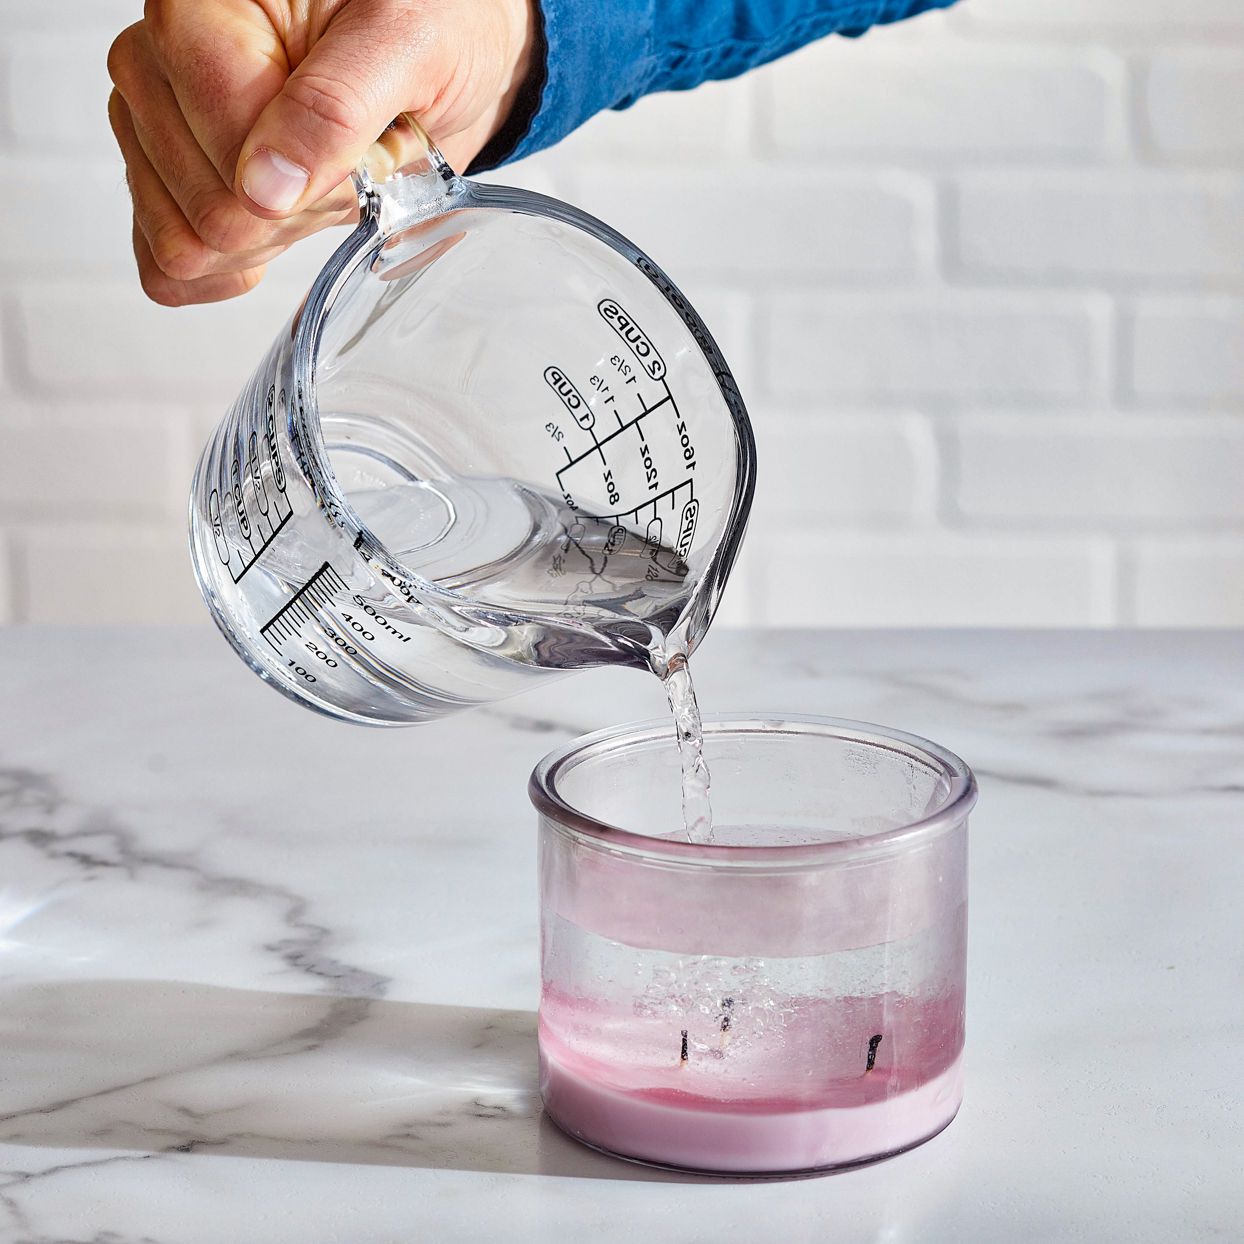
To commence the cleaning process, prepare a solution of warm water and mild dish soap in a clean container. The gentle nature of dish soap makes it an ideal choice for cleansing glass surfaces without causing damage. Dip a soft cloth or microfiber towel into the soapy solution, ensuring that it is adequately saturated but not dripping.
With the dampened cloth in hand, gently wipe the entire glass surface, paying particular attention to areas where the wax was previously situated. This thorough cleansing action serves to remove any remaining traces of wax and further polish the glass, preparing it for a flawless finish.
Following the initial cleansing, rinse the glass item under running water to remove any soapy residue. Once rinsed, carefully inspect the glass surface to ensure that it is free from any lingering wax or cleaning solution. Any remaining imperfections or streaks can be addressed using a specialized glass cleaner, if desired, to achieve a pristine, streak-free finish.
If opting to use a glass cleaner, spritz a small amount onto the glass surface and gently wipe it with a fresh, dry cloth or paper towel. This final touch ensures that the glass is left with a crystal-clear, immaculate appearance, free from any residual wax or cleaning agents.
Upon completing the cleaning process, allow the glass item to air dry or use a lint-free cloth to gently pat it dry. This final step ensures that the glass is left gleaming and free from any streaks or water spots, showcasing its inherent brilliance.
By meticulously cleansing the glass surface following the wax removal process, you can effectively restore its pristine condition and ensure that it remains a radiant focal point in your living space. With the removal of any remaining wax residue and the application of a thorough cleaning regimen, the glass is now ready to once again take center stage, exuding its natural elegance and charm.
This meticulous approach to cleaning the glass serves as the crowning touch in the process of removing candle wax from glass surfaces, culminating in a flawless and revitalized appearance. With the glass now immaculately cleansed and free from any remnants of wax, you can revel in the renewed splendor of your glassware, ready to adorn your home with its captivating allure.
Read more: How To Clean Candle Wax Out Of A Carpet
Conclusion
In conclusion, the process of removing candle wax from glass surfaces is a task that demands patience, precision, and the right materials. By following the step-by-step guide outlined in this comprehensive article, you can effectively restore the pristine appearance of your glassware and eliminate the stubborn remnants of wax without causing damage to the glass.
The initial step of freezing the wax serves as a strategic approach to solidifying the wax, making it easier to remove from the glass surface. This method harnesses the power of cold temperatures to alter the physical state of the wax, setting the stage for a seamless removal process. By allowing the wax to freeze within the confines of a plastic bag in the freezer, you can expedite the subsequent steps and achieve optimal results in restoring the glass to its original splendor.
The meticulous process of removing the frozen wax from the glass surface requires a delicate touch and careful attention to detail. By delicately scraping and lifting the frozen wax and utilizing rubbing alcohol to address any residual remnants, you can effectively cleanse the glass of wax buildup, setting the stage for the final phase of restoring its pristine appearance.
The final phase of thoroughly cleaning the glass ensures that any residual wax, as well as any potential streaks or smudges, are effectively eliminated, leaving the glass in impeccable condition. By employing a gentle dish soap solution and, if desired, a specialized glass cleaner, you can achieve a crystal-clear, immaculate appearance, free from any residual wax or cleaning agents.
By meticulously following these steps and utilizing the recommended materials, you can confidently address the challenge of removing candle wax from glass surfaces. This comprehensive guide equips you with the knowledge and tools necessary to restore the natural brilliance of your glassware, allowing it to once again take center stage in your living space.
With the wax successfully removed and the glass thoroughly cleansed, your glassware is now poised to exude its inherent elegance and charm, ready to enrich your home with its captivating allure. Embrace the renewed splendor of your glassware, knowing that you have mastered the art of effectively removing candle wax from glass surfaces, ensuring that they remain a radiant focal point in your living space.
Frequently Asked Questions about How To Clean Candle Wax From Glass
Was this page helpful?
At Storables.com, we guarantee accurate and reliable information. Our content, validated by Expert Board Contributors, is crafted following stringent Editorial Policies. We're committed to providing you with well-researched, expert-backed insights for all your informational needs.

0 thoughts on “How To Clean Candle Wax From Glass”