Home>Furniture & Design>Interior Design Trends>How To Remove A Picture Stuck To Glass
Interior Design Trends
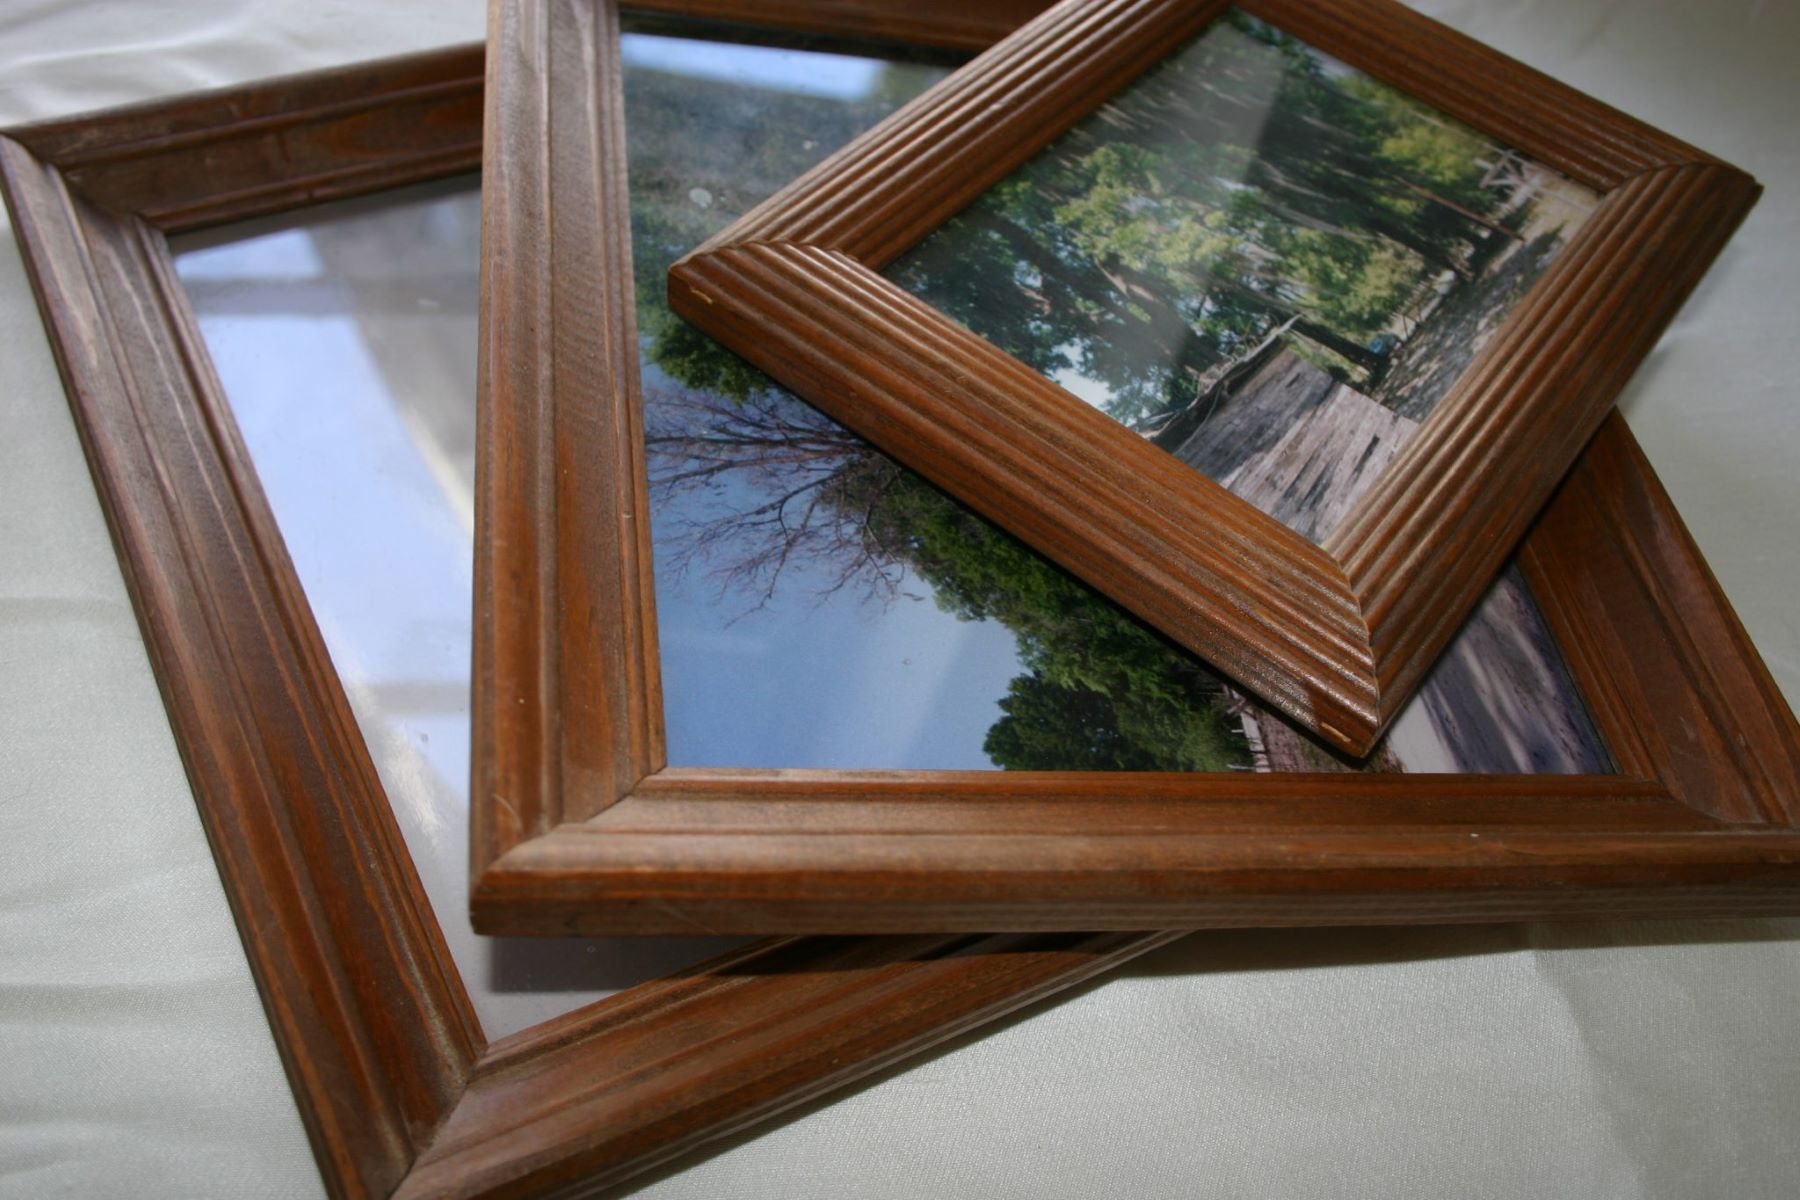
How To Remove A Picture Stuck To Glass
Published: February 4, 2024
Learn how to safely remove a picture stuck to glass with these interior design trends. Say goodbye to stubborn adhesives and preserve your glass surfaces.
(Many of the links in this article redirect to a specific reviewed product. Your purchase of these products through affiliate links helps to generate commission for Storables.com, at no extra cost. Learn more)
Introduction
Removing a picture that's stuck to glass can be a daunting task, but with the right approach and materials, it can be done effectively and without damaging the photo or the glass. Whether it's a cherished family photograph, a vintage print, or a work of art, the process of separating a picture from glass requires patience and precision. By following the steps outlined in this guide, you can safely and successfully remove a picture stuck to glass, restoring both the image and the glass surface to their original condition.
This article provides a comprehensive walkthrough of the process, including the materials needed and a step-by-step guide to ensure that the picture is removed without any damage. With a gentle touch and the right tools, you can free the picture from the glass and preserve it for years to come. Let's delve into the details of this delicate yet rewarding task, and discover the methods that will help you achieve a seamless separation.
Key Takeaways:
- Delicately prepare, apply moisture, and gently peel to safely remove a picture stuck to glass without damage. Use isopropyl alcohol, distilled water, and patience for a successful separation.
- Clean the glass surface meticulously to restore its clarity and showcase the picture with brilliance. Use gentle wiping and isopropyl alcohol for a pristine finish.
Read more: How To Remove A Stuck Lid From A Glass Jar
Materials Needed
When it comes to removing a picture stuck to glass, having the right materials at your disposal is crucial for a successful and damage-free separation. Here's a comprehensive list of the essential items you'll need to gather before embarking on this delicate task:
-
Isopropyl Alcohol: This is a key ingredient for loosening the adhesive that binds the picture to the glass. Isopropyl alcohol is effective in breaking down the sticky residue without causing damage to the photo or the glass surface.
-
Microfiber Cloth: A soft, lint-free microfiber cloth is ideal for gently wiping the glass surface and ensuring that it remains free from scratches or streaks during the removal process.
-
Plastic Card or Spatula: A plastic card or spatula can be used to carefully pry the picture away from the glass. Its thin, flexible edge allows for precise maneuvering without risking damage to the photo.
-
Distilled Water: Distilled water is a gentle and effective way to introduce moisture to the picture, helping to loosen its bond with the glass without causing any harm.
-
Hair Dryer: The application of heat can aid in softening the adhesive, making it easier to separate the picture from the glass. A hair dryer set to a low heat setting can be used for this purpose.
-
Gloves: Wearing gloves is advisable to protect the picture from the natural oils on your hands, as well as to shield your skin from any chemicals used in the process.
-
Flat Surface: Working on a flat and stable surface is essential for maintaining control and stability while removing the picture from the glass.
-
Protective Eyewear: While not always necessary, protective eyewear can be beneficial when using isopropyl alcohol or other solvents to ensure safety during the process.
By ensuring that you have these materials on hand, you'll be well-prepared to tackle the task of removing a picture stuck to glass with confidence and precision. Each item plays a crucial role in the process, contributing to a safe and effective separation of the picture from the glass surface. With these materials at your disposal, you're ready to proceed to the next steps and successfully free the picture from its glass enclosure.
Step 1: Prepare the Picture and Glass
Before diving into the process of removing a picture stuck to glass, it's crucial to prepare both the picture and the glass surface to ensure a smooth and safe separation. This initial step sets the foundation for the subsequent stages, allowing for a more controlled and effective removal process.
To begin, place the glass with the attached picture on a flat and stable surface, ensuring that it is well-supported and won't shift during the procedure. Next, put on protective gloves to shield the picture from the natural oils on your hands and to protect your skin from any chemicals that may be used in the process.
Once you're ready, carefully examine the edges of the picture to identify any areas where the adhesive may be particularly strong. Using a plastic card or spatula, gently slide the edge under the picture, taking care not to force it or cause any creases or tears. This initial maneuver helps to assess the level of adhesion and provides insight into the best approach for the subsequent steps.
With the picture lightly lifted at the edges, apply a small amount of isopropyl alcohol to a clean, lint-free microfiber cloth. Gently dab the cloth along the edges of the picture, allowing the alcohol to seep underneath and begin loosening the adhesive. Take care to avoid saturating the picture with the alcohol, as excessive moisture can damage the image.
In addition to the isopropyl alcohol, you can introduce a controlled amount of distilled water to the back of the picture, further aiding in the separation process. Lightly moisten the back of the picture with the distilled water, allowing it to penetrate the area where the picture and glass are bonded. This gentle introduction of moisture helps to weaken the adhesive without causing any harm to the picture.
As a precautionary measure, it's advisable to wear protective eyewear, especially if you anticipate using isopropyl alcohol or other solvents during the process. This simple step can help safeguard your eyes from any potential splashes or fumes, ensuring a safe and comfortable working environment.
By taking the time to meticulously prepare the picture and glass for the removal process, you set the stage for a successful and damage-free separation. This careful preparation lays the groundwork for the subsequent steps, allowing for a more controlled and effective approach to freeing the picture from the glass surface. With the picture and glass properly prepared, you're now ready to proceed to the next step and begin the process of separating the two with precision and care.
Step 2: Apply Moisture
After carefully preparing the picture and glass in the initial step, the next crucial phase involves the strategic application of moisture to facilitate the separation process. Introducing controlled moisture to the bonded area between the picture and the glass is instrumental in weakening the adhesive and easing the picture's release without causing any damage.
To apply moisture effectively, begin by ensuring that the picture is still lightly lifted at the edges, as initiated in the previous step. This allows for better access to the space between the picture and the glass, enabling the moisture to penetrate and loosen the adhesive. With the picture in this position, take a clean, lint-free microfiber cloth and lightly dampen it with distilled water. It's essential to use distilled water, as it is free from impurities that could potentially harm the picture.
Gently dab the moistened cloth along the edges of the picture, allowing the distilled water to seep into the bonded area. The goal is to introduce just enough moisture to weaken the adhesive without oversaturating the picture, which could lead to damage. By carefully and methodically applying the distilled water, you create an environment that encourages the gentle separation of the picture from the glass.
In addition to the use of distilled water, the application of controlled heat can further aid in the moisture application process. Using a hair dryer set to a low heat setting, direct the warm air towards the edges of the picture. The heat serves to enhance the effectiveness of the moisture, helping it to penetrate the adhesive and soften its grip on the glass surface. It's important to maintain a safe distance between the hair dryer and the picture, ensuring that the heat is applied gently and evenly without causing any adverse effects.
By combining the strategic application of distilled water with the gentle introduction of controlled heat, you create an environment that encourages the adhesive to loosen its hold on the glass. This careful balance of moisture and heat sets the stage for the subsequent steps, paving the way for a smooth and damage-free separation of the picture from the glass surface.
With the moisture applied and the adhesive gradually weakening, you're now ready to proceed to the next step and gently peel the picture away from the glass, bringing you closer to the successful completion of the picture removal process.
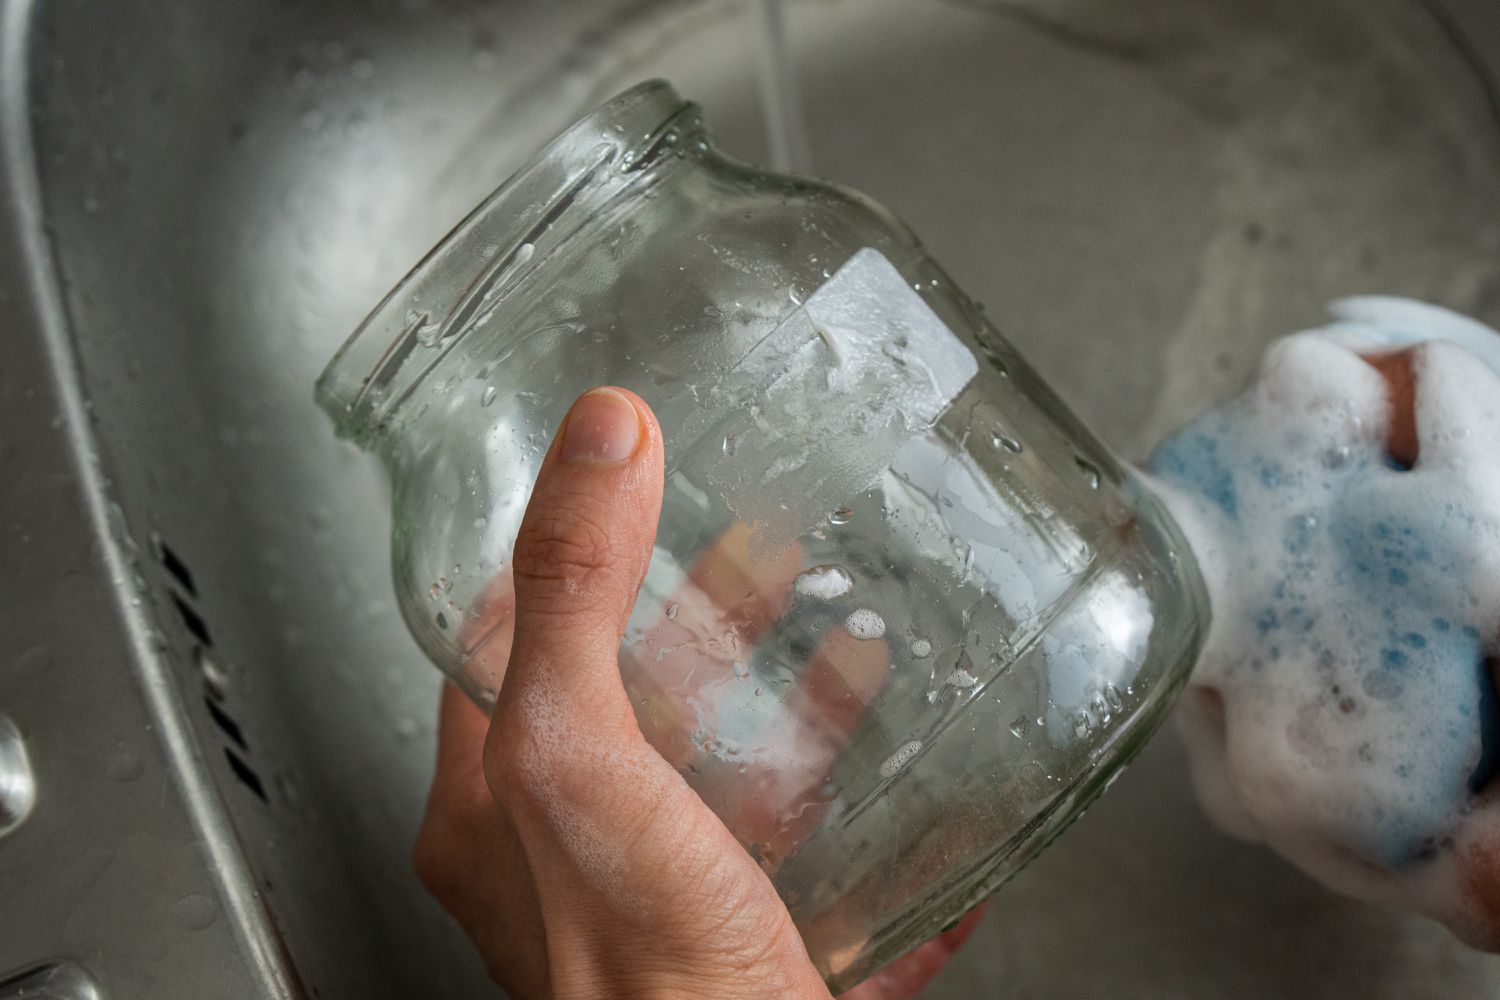
Soak the glass and picture in warm, soapy water for 10-15 minutes to loosen the adhesive. Gently peel the picture off, using a plastic scraper if needed. Avoid using sharp objects to prevent scratching the glass.
Step 3: Gently Peel the Picture
With the careful preparation and strategic application of moisture and heat completed in the previous steps, you are now poised to delicately peel the picture away from the glass. This pivotal stage requires patience and precision to ensure that the picture is separated without any damage or distortion.
Starting from one edge of the picture, use a plastic card or spatula to gently lift the corner that has been moistened and warmed. It's crucial to approach this step with a gentle touch, avoiding any sudden or forceful movements that could potentially crease or tear the picture. As the edge begins to lift, continue to slide the plastic card or spatula underneath, gradually working your way along the perimeter of the picture.
As you progress, periodically apply additional moisture using the distilled water-moistened cloth to the areas where the picture and glass are still bonded. This continuous introduction of moisture helps to sustain the weakening of the adhesive, making it easier to navigate the separation process. The goal is to maintain a controlled and gradual release of the picture from the glass, ensuring that no undue stress is placed on the image.
Throughout this process, it's essential to exercise patience and attentiveness, allowing the picture to release at its own pace. If you encounter areas where the adhesive seems particularly stubborn, refrain from applying excessive force. Instead, revisit the application of moisture and gentle heat to further encourage the adhesive to relinquish its grip.
As the picture gradually lifts away from the glass, continue to maneuver the plastic card or spatula underneath, guiding the separation with a steady and cautious hand. Take care to support the picture as it peels away, ensuring that it remains flat and free from any folds or bends.
Once the entire perimeter of the picture has been gently lifted and separated from the glass, carefully grasp the edges of the picture and continue to peel it away, maintaining a slow and controlled motion. As the picture releases, be mindful of any areas that may still be adhered, applying additional moisture and heat as needed to facilitate the complete separation.
By approaching this step with patience and a gentle touch, you can successfully peel the picture away from the glass, achieving a seamless and damage-free separation. With the picture now freed from its glass enclosure, you're ready to proceed to the final step and ensure that the glass surface is left clean and pristine, ready to showcase the picture once again.
Read more: How To Remove Stuck Faucet Handle
Step 4: Clean the Glass
After successfully removing the picture from the glass, it's essential to devote attention to cleaning the glass surface to restore its clarity and pristine condition. This final step ensures that the glass is free from any residual adhesive, moisture, or debris, preparing it to showcase the picture once again.
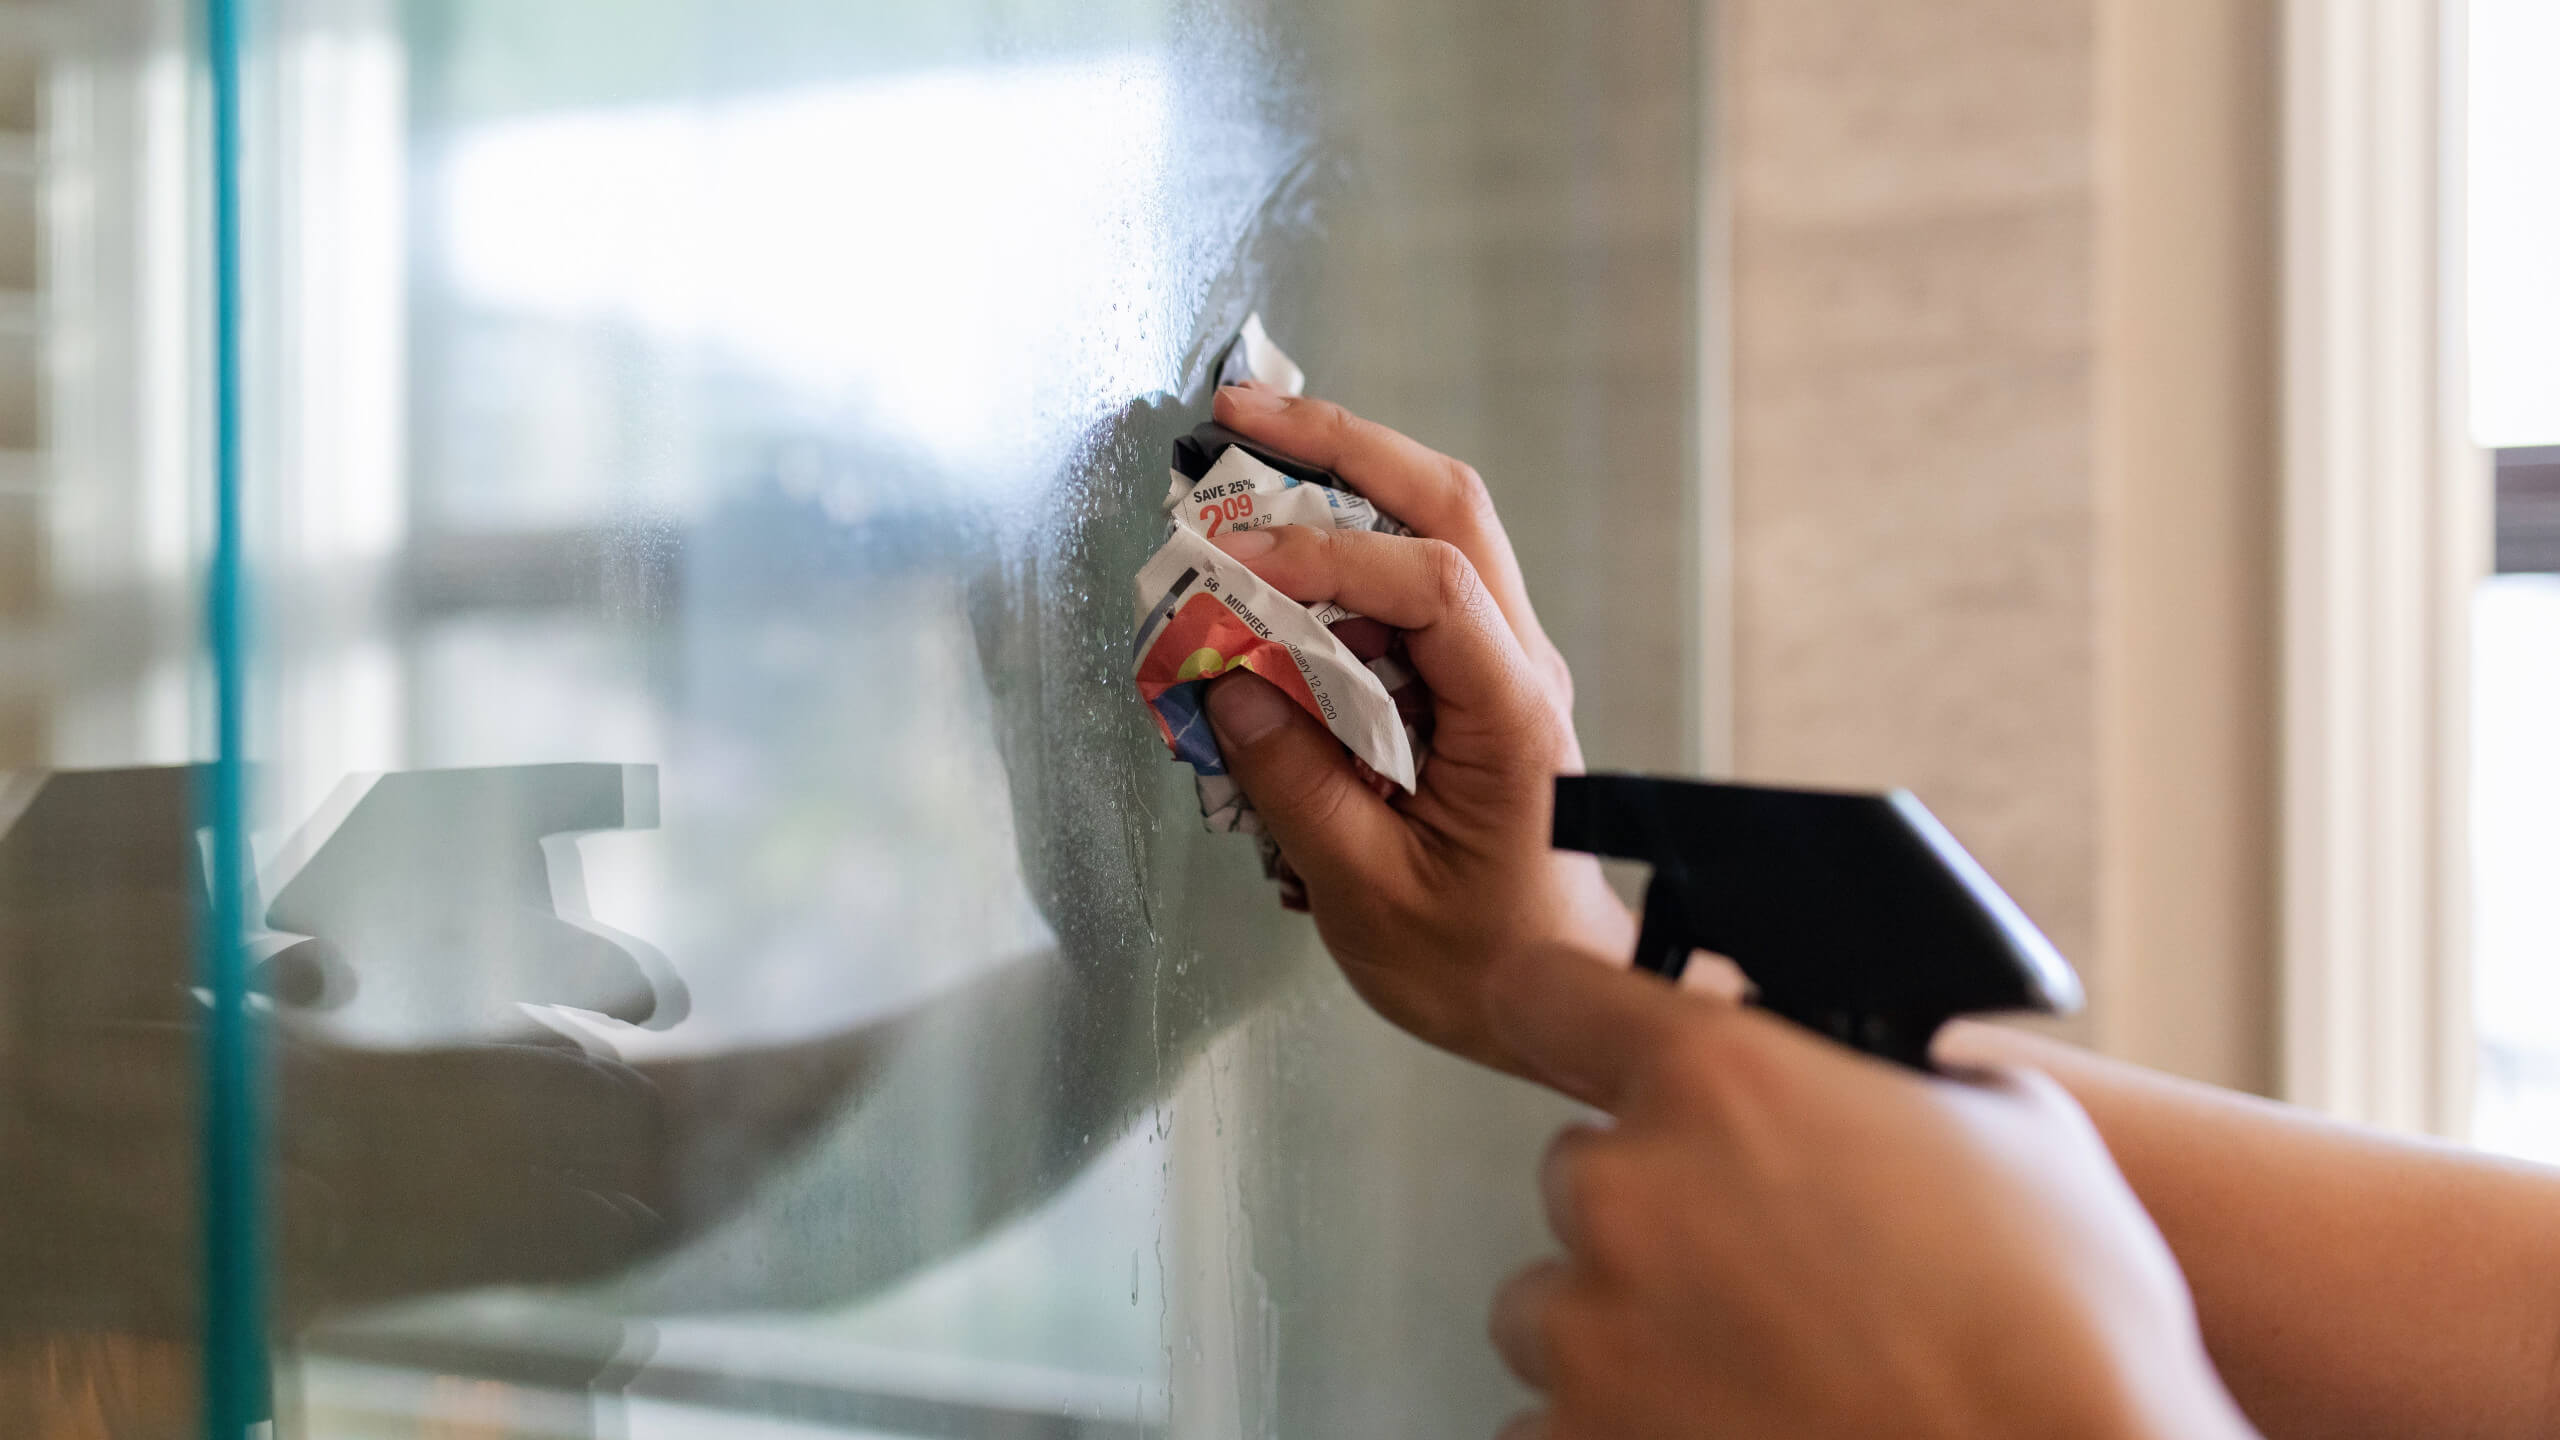
To begin the cleaning process, use a clean microfiber cloth to gently wipe the glass surface, removing any lingering moisture or adhesive residue. It's important to approach this step with a light touch, avoiding excessive pressure that could potentially scratch or damage the glass. By delicately wiping the surface, you can gradually eliminate any remaining traces of moisture and adhesive, restoring the glass to a clean state.
For areas where stubborn adhesive residue persists, a small amount of isopropyl alcohol can be applied to the microfiber cloth. With gentle and controlled movements, carefully dab the alcohol onto the affected areas, allowing it to break down the adhesive residue without harming the glass. Take care to use minimal amounts of alcohol, ensuring that it remains localized to the specific areas that require additional cleaning.
Once the adhesive residue has been effectively addressed, perform a final wipe of the glass surface using a fresh microfiber cloth to ensure that it is completely clean and free from any streaks or residue. This meticulous approach helps to guarantee that the glass is in optimal condition, ready to provide a clear and unobstructed view of the picture it will once again display.
In the event of any persistent streaks or marks on the glass, a glass cleaner specifically formulated for delicate surfaces can be used. Apply a small amount of the cleaner to a clean microfiber cloth and gently wipe the glass surface, ensuring that the cleaner is suitable for use on sensitive materials. This additional step can help to address any remaining imperfections, leaving the glass surface impeccably clean and ready to showcase the picture with clarity and brilliance.
By dedicating attention to cleaning the glass surface, you complete the picture removal process with a thorough and meticulous approach. The clean and pristine glass provides the perfect backdrop for the picture, ensuring that it can be displayed with clarity and distinction. With the glass now immaculately clean, the picture is ready to be showcased once again, free from its previous enclosure and prepared to captivate viewers with its beauty and significance.
Conclusion
In conclusion, the process of removing a picture stuck to glass demands patience, precision, and the right materials to achieve a successful and damage-free separation. By meticulously preparing the picture and glass, applying controlled moisture and heat, gently peeling the picture, and cleaning the glass surface, you can effectively restore both the picture and the glass to their original condition.
The careful preparation of the picture and glass sets the stage for a controlled and effective removal process. By assessing the level of adhesion and introducing isopropyl alcohol and distilled water, you create an environment that encourages the gentle separation of the picture from the glass. The strategic application of moisture and heat further aids in weakening the adhesive, paving the way for a smooth and damage-free separation.
Gently peeling the picture away from the glass requires patience and attentiveness. By using a plastic card or spatula and periodically applying additional moisture, you can delicately guide the picture's release without causing any damage or distortion. This step demands a gentle touch and a steady hand to ensure that the picture is separated seamlessly and without any creases or tears.
Finally, cleaning the glass surface ensures that it is free from any residual adhesive, moisture, or debris, preparing it to showcase the picture once again. By delicately wiping the glass surface and addressing any stubborn adhesive residue, you can restore the glass to a pristine condition, ready to provide a clear and unobstructed view of the picture it will once again display.
In essence, the process of removing a picture stuck to glass requires a delicate and methodical approach, with each step contributing to the successful and damage-free separation of the picture from the glass. By following the outlined steps and utilizing the essential materials, you can preserve the integrity of the picture and the glass, ensuring that both are ready to be showcased and admired once again. With patience, precision, and the right tools, you can master the art of freeing a picture from its glass enclosure, allowing it to shine with renewed brilliance and significance.
Frequently Asked Questions about How To Remove A Picture Stuck To Glass
Was this page helpful?
At Storables.com, we guarantee accurate and reliable information. Our content, validated by Expert Board Contributors, is crafted following stringent Editorial Policies. We're committed to providing you with well-researched, expert-backed insights for all your informational needs.


0 thoughts on “How To Remove A Picture Stuck To Glass”