Articles
How To Remove Closet Door
Modified: September 1, 2024
Learn effective techniques for home maintenance and discover how to easily remove closet doors to transform your living space.
(Many of the links in this article redirect to a specific reviewed product. Your purchase of these products through affiliate links helps to generate commission for Storables.com, at no extra cost. Learn more)
Introduction
Welcome to our step-by-step guide on how to remove a closet door. Whether you’re looking to replace your old door or simply want to create a more open and accessible space, removing a closet door is a relatively simple task that can be completed with a few basic tools and a little bit of patience. By following the instructions outlined in this article, you’ll be able to remove your closet door safely and efficiently.
Before we get started, it’s important to note that this guide is specifically for removing standard interior closet doors. If you have a custom or specialty door, it may require different steps or techniques. Additionally, always exercise caution when working with tools and follow proper safety measures to avoid any accidents.
Now that we’ve covered the necessary disclaimers, let’s gather the tools and materials you’ll need for this project.
Key Takeaways:
- Easily transform your space by following these simple steps to remove a closet door. Prepare your workspace, remove the hinges, and take down the door for a seamless transformation.
- With the right tools and materials, you can confidently tackle the task of removing a closet door. Safely detach the door and optionally patch or repaint the frame for a polished finish.
Read more: How To Frame A Closet Door
Tools and Materials Needed
Before you begin removing your closet door, it’s important to gather the necessary tools and materials. Here’s a list of what you’ll need:
- Phillips head screwdriver
- Flathead screwdriver
- Hammer
- Pliers
- Putty knife
- Safety goggles
- Dust mask
- Protective gloves
- Drop cloth or tarp
In addition to the tools, you’ll also need a few materials to help with the removal process:
- Painter’s tape
- Wood filler or spackling compound (if you plan on patching the door frame)
- Sandpaper
- Primer and paint (if you plan on repainting the door frame)
Having these tools and materials on hand will make the removal process much easier and ensure that you have everything you need to complete the project from start to finish.
Step 1: Prepare the Workspace
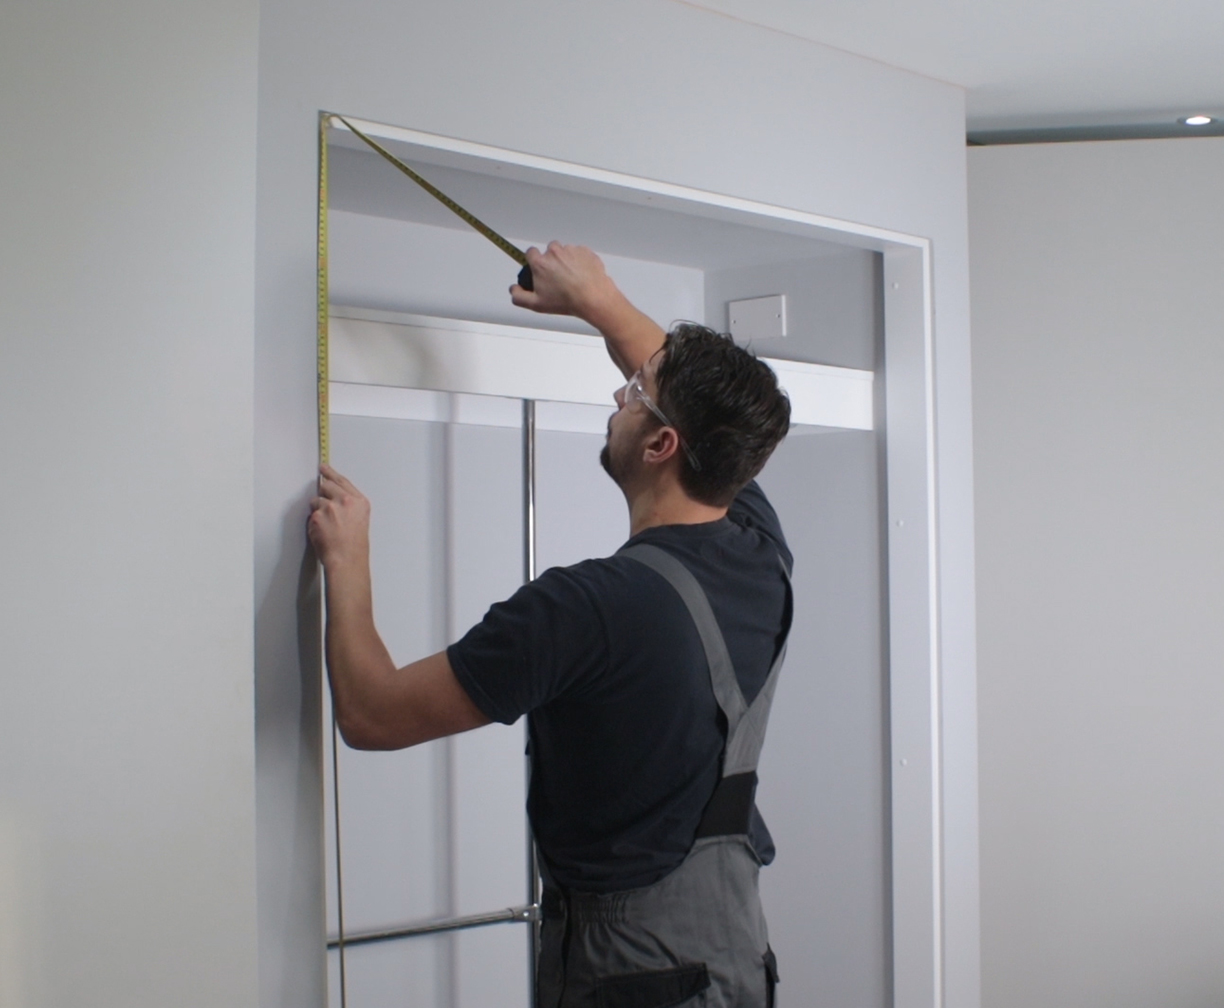
Before you begin removing the closet door, it’s important to prepare your workspace to ensure a smooth and efficient process. Follow these steps to properly prepare:
- Clean the area: Clear out any items or clutter from around the door and the surrounding area. This will create a clear and safe workspace, allowing you to move around freely.
- Protect the floor: Place a drop cloth or tarp on the floor beneath the door. This will catch any debris or paint chips that may fall during the removal process, protecting your floor from damage.
- Use painter’s tape: If you plan on patching or repainting the door frame after removal, use painter’s tape to protect the walls and trim from accidental damage or paint splatters.
- Put on safety gear: Before you start removing the door, be sure to put on safety goggles, a dust mask, and protective gloves. This will protect your eyes, lungs, and hands from any potential hazards.
By taking the time to prepare your workspace, you’ll create an organized and safe environment for removing the closet door. This will make the process much more efficient and enjoyable.
Step 2: Remove the Hinges
Now that you’ve prepared your workspace, it’s time to remove the hinges that hold the closet door in place. Follow these steps:
- Identify the hinges: Closet doors typically have two or three hinges attached to the door frame. Locate these hinges and identify the screws that hold them in place.
- Unscrew the hinges: Using a Phillips head screwdriver, begin unscrewing the screws that secure the hinges to the door frame. Start with the top hinge and work your way down to the bottom hinge.
- Set aside the screws: As you remove the screws, set them aside in a safe place. This will prevent them from getting misplaced or lost during the removal process.
- Repeat for all hinges: Once you’ve removed the screws from the top hinge, move on to the middle and bottom hinges, following the same process of unscrewing and setting aside the screws.
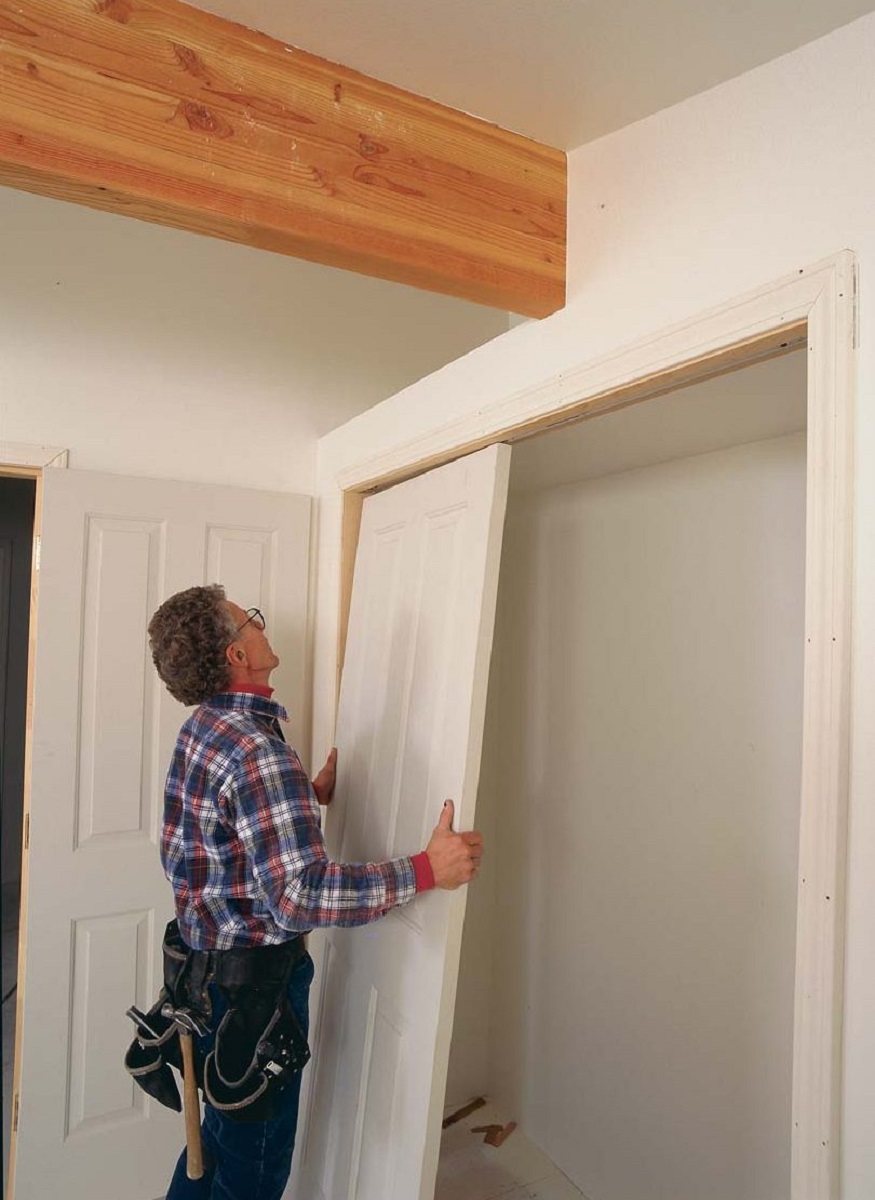
- Support the door: As you remove the screws from the hinges, make sure to support the weight of the door to prevent it from falling and causing any damage. You can use a helper or prop the door against a wall.
- Remove the door: Once all the hinges are unscrewed, carefully lift the door away from the hinge pins and set it aside in a safe place.
By removing the hinges, you’ve taken an important step towards removing the closet door. Now, let’s move on to the next step of the process.
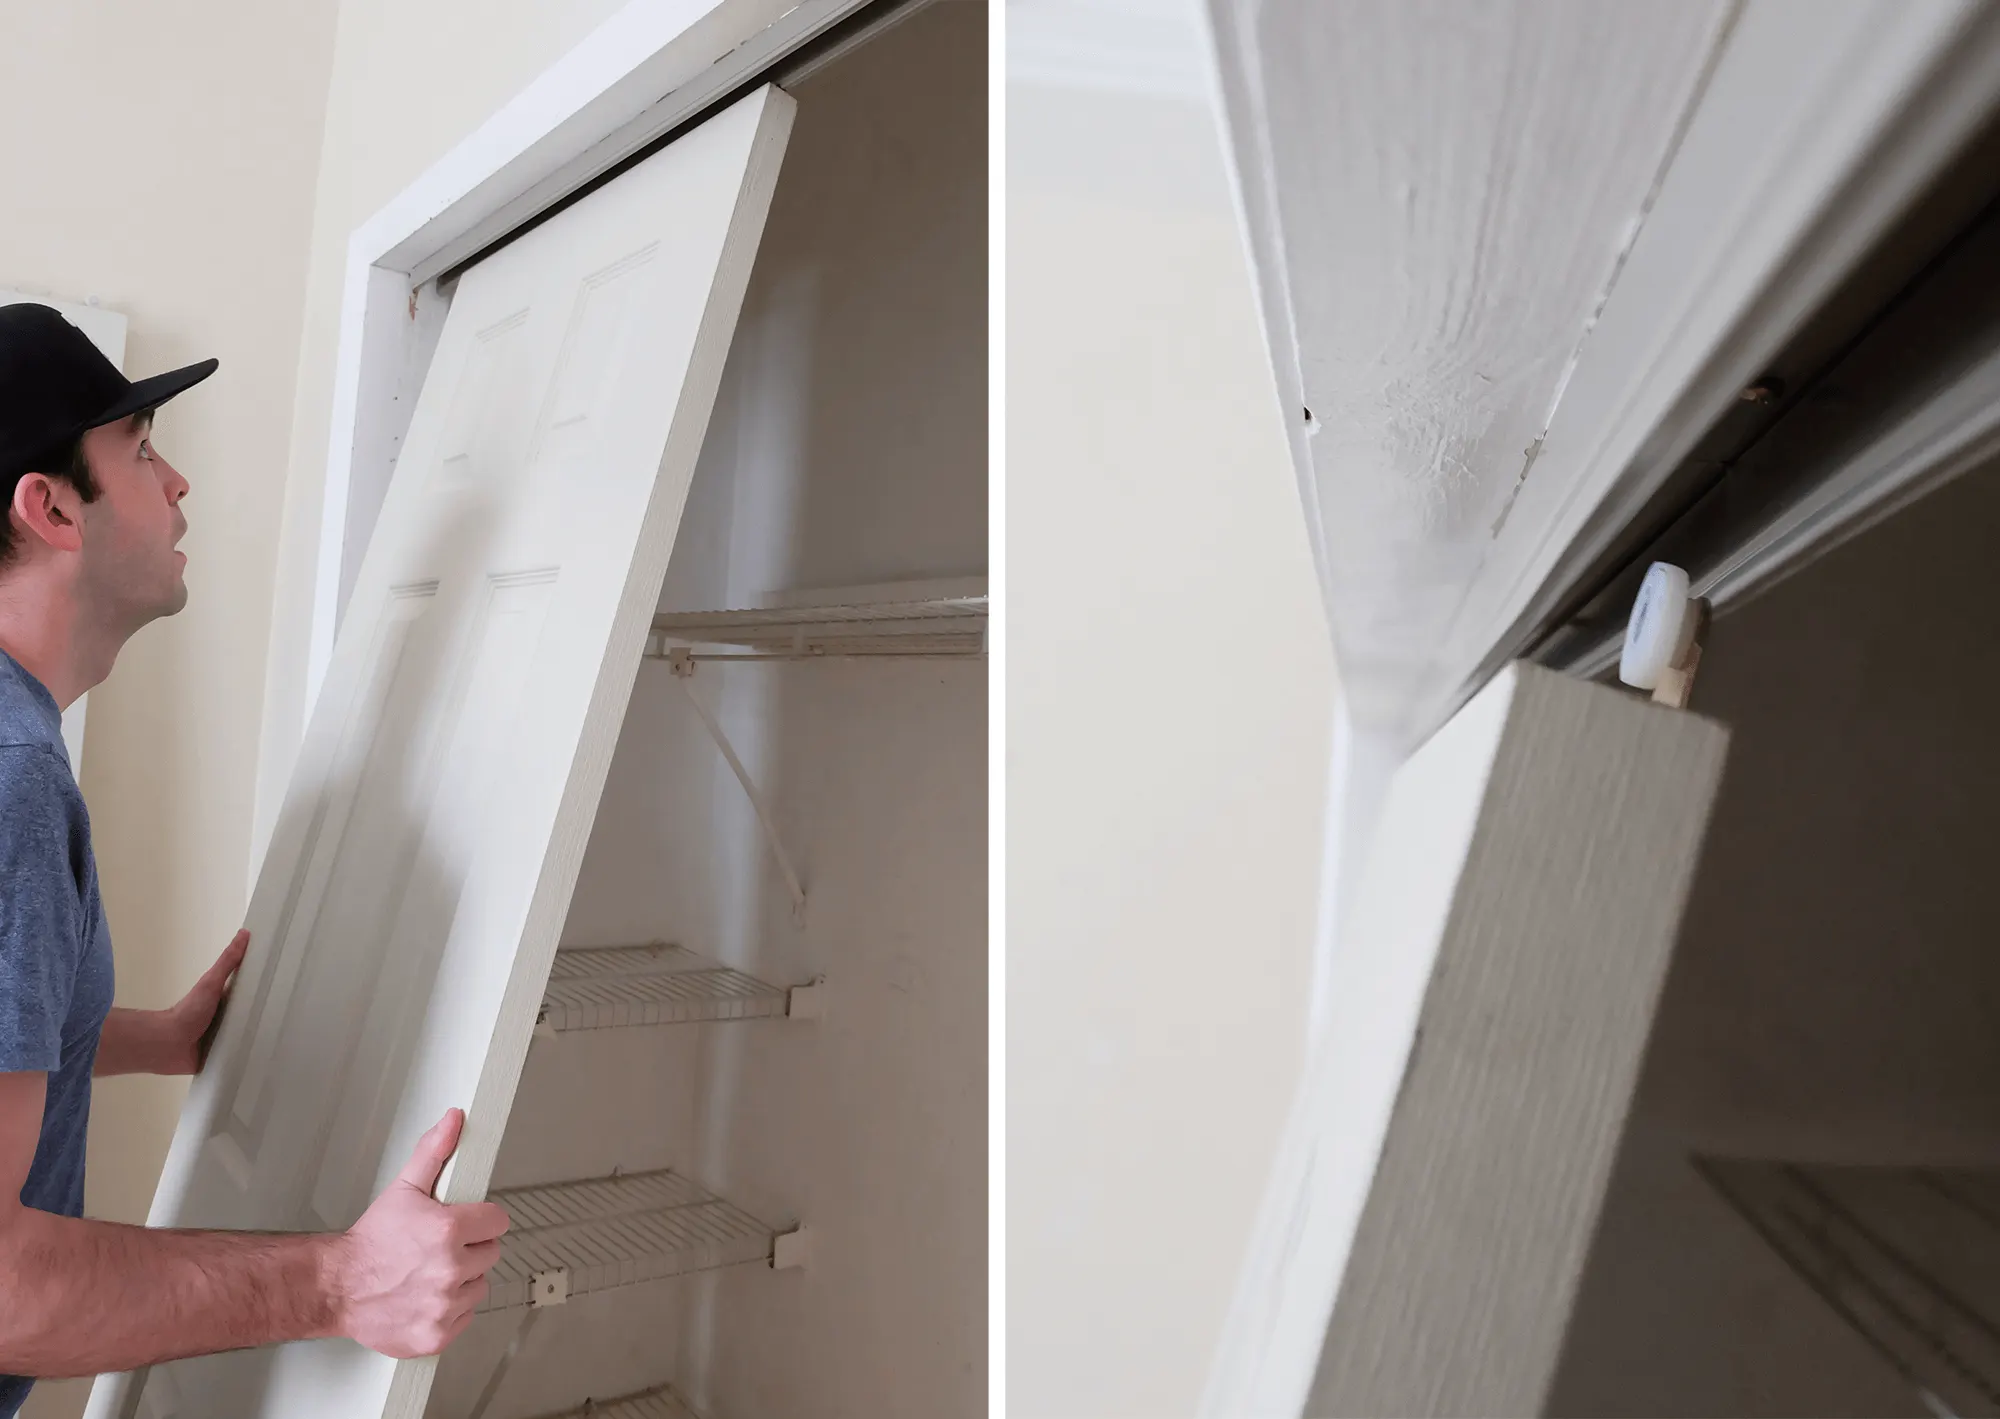
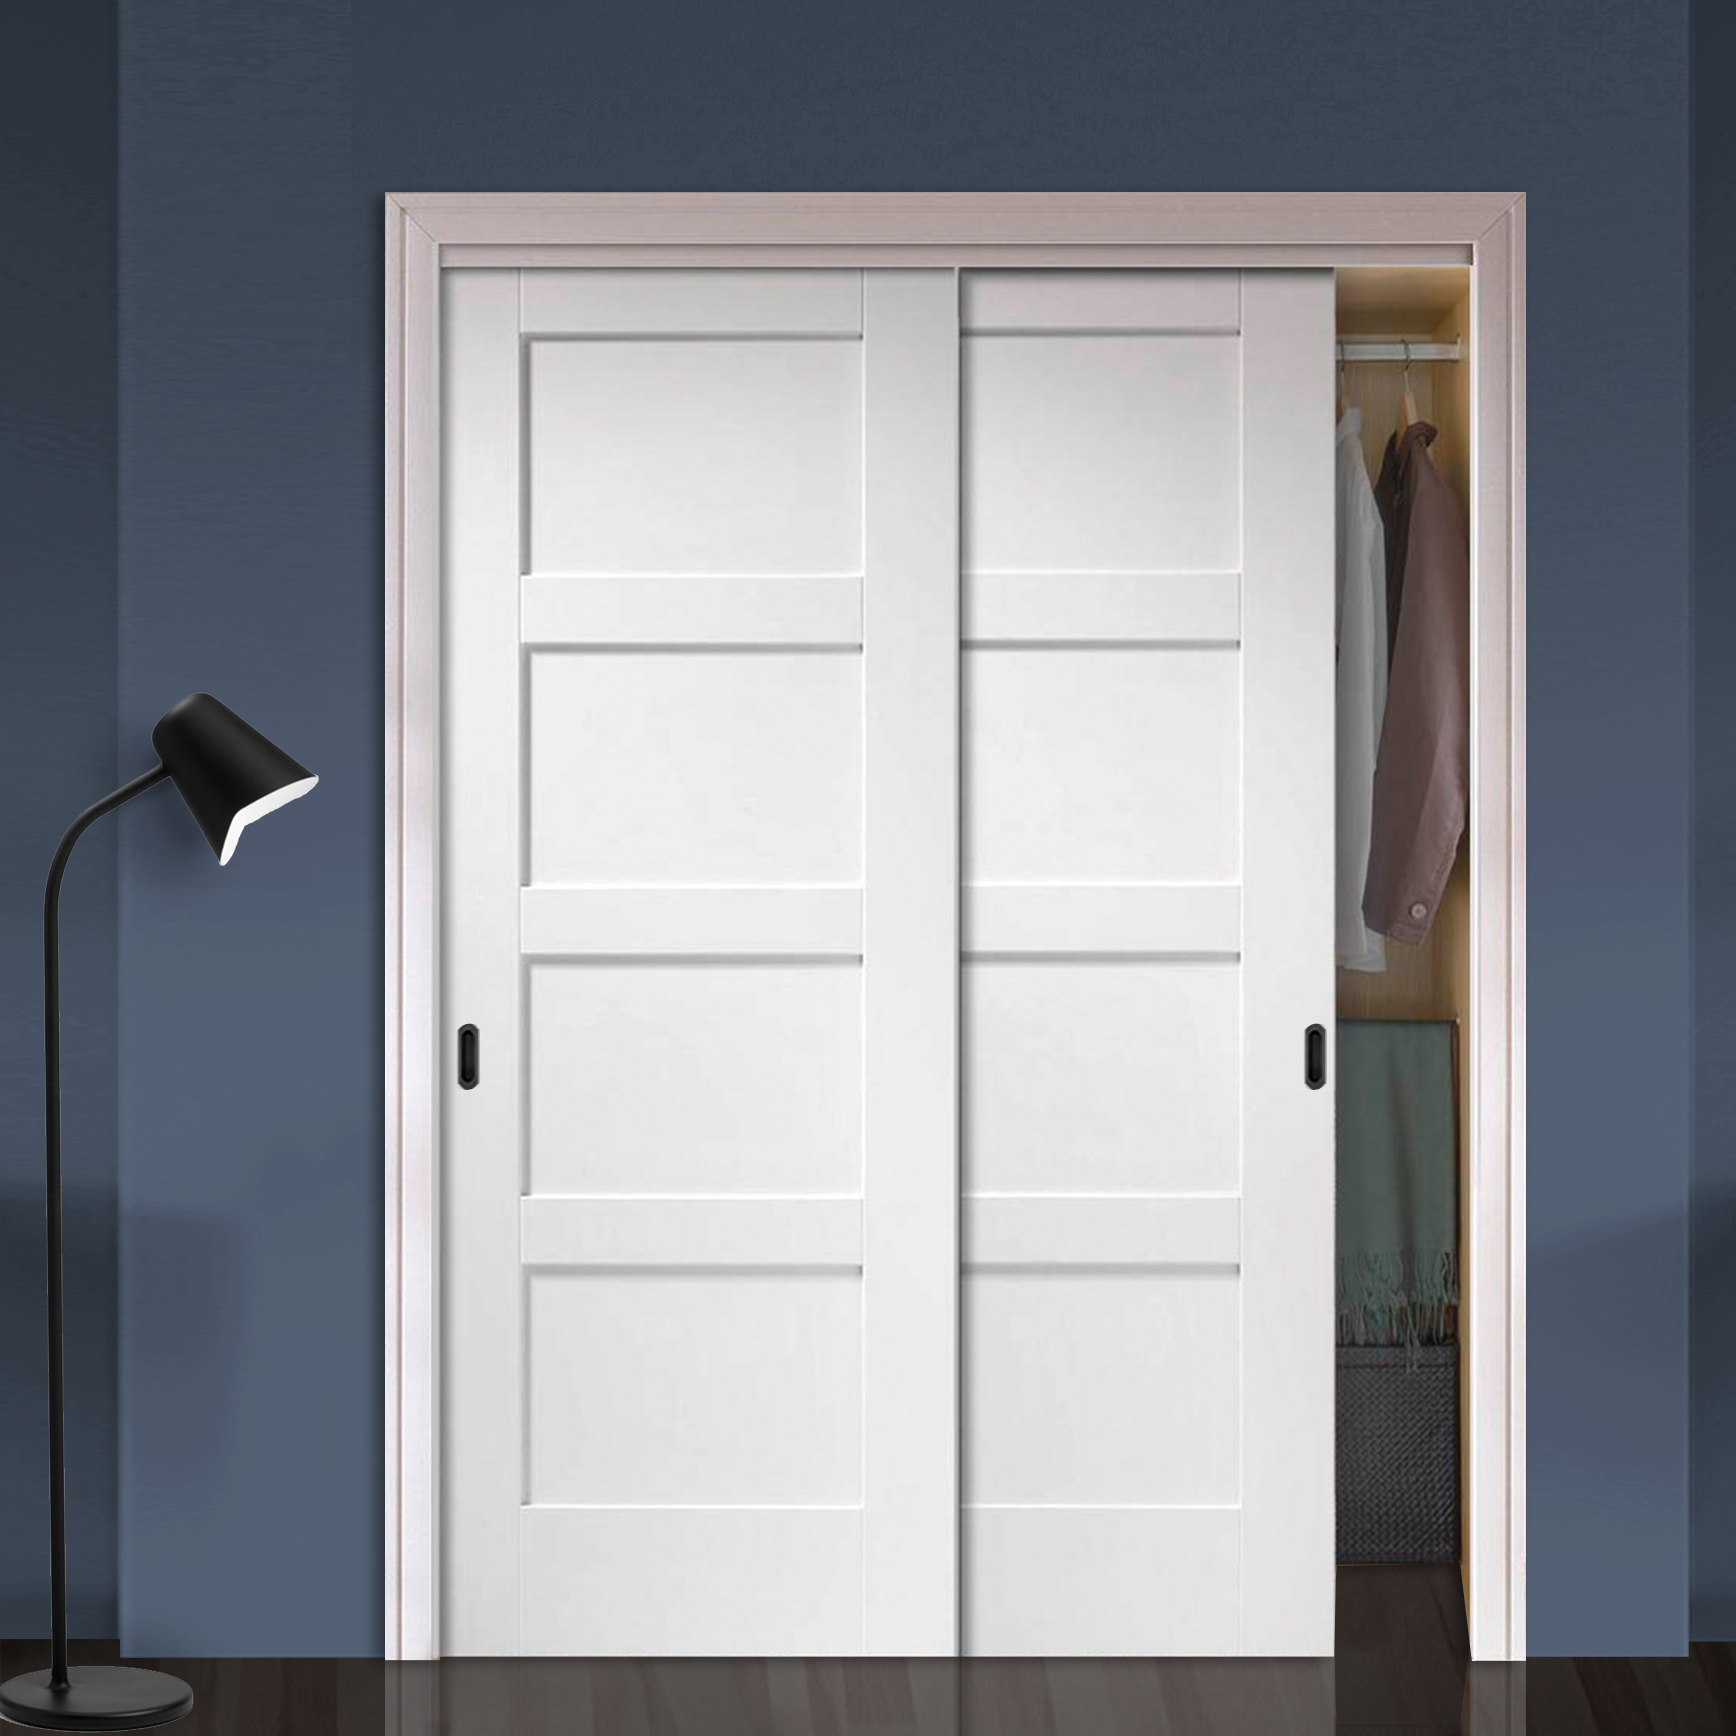
To remove a closet door, start by lifting the door and pulling the bottom towards you to release it from the track. Then, tilt the top of the door towards you and lift it off the track. Be sure to have someone help you if the door is heavy.
Step 3: Take Down the Door
Now that you have removed the hinges, it’s time to take down the closet door. Follow these steps to safely and effectively remove the door:
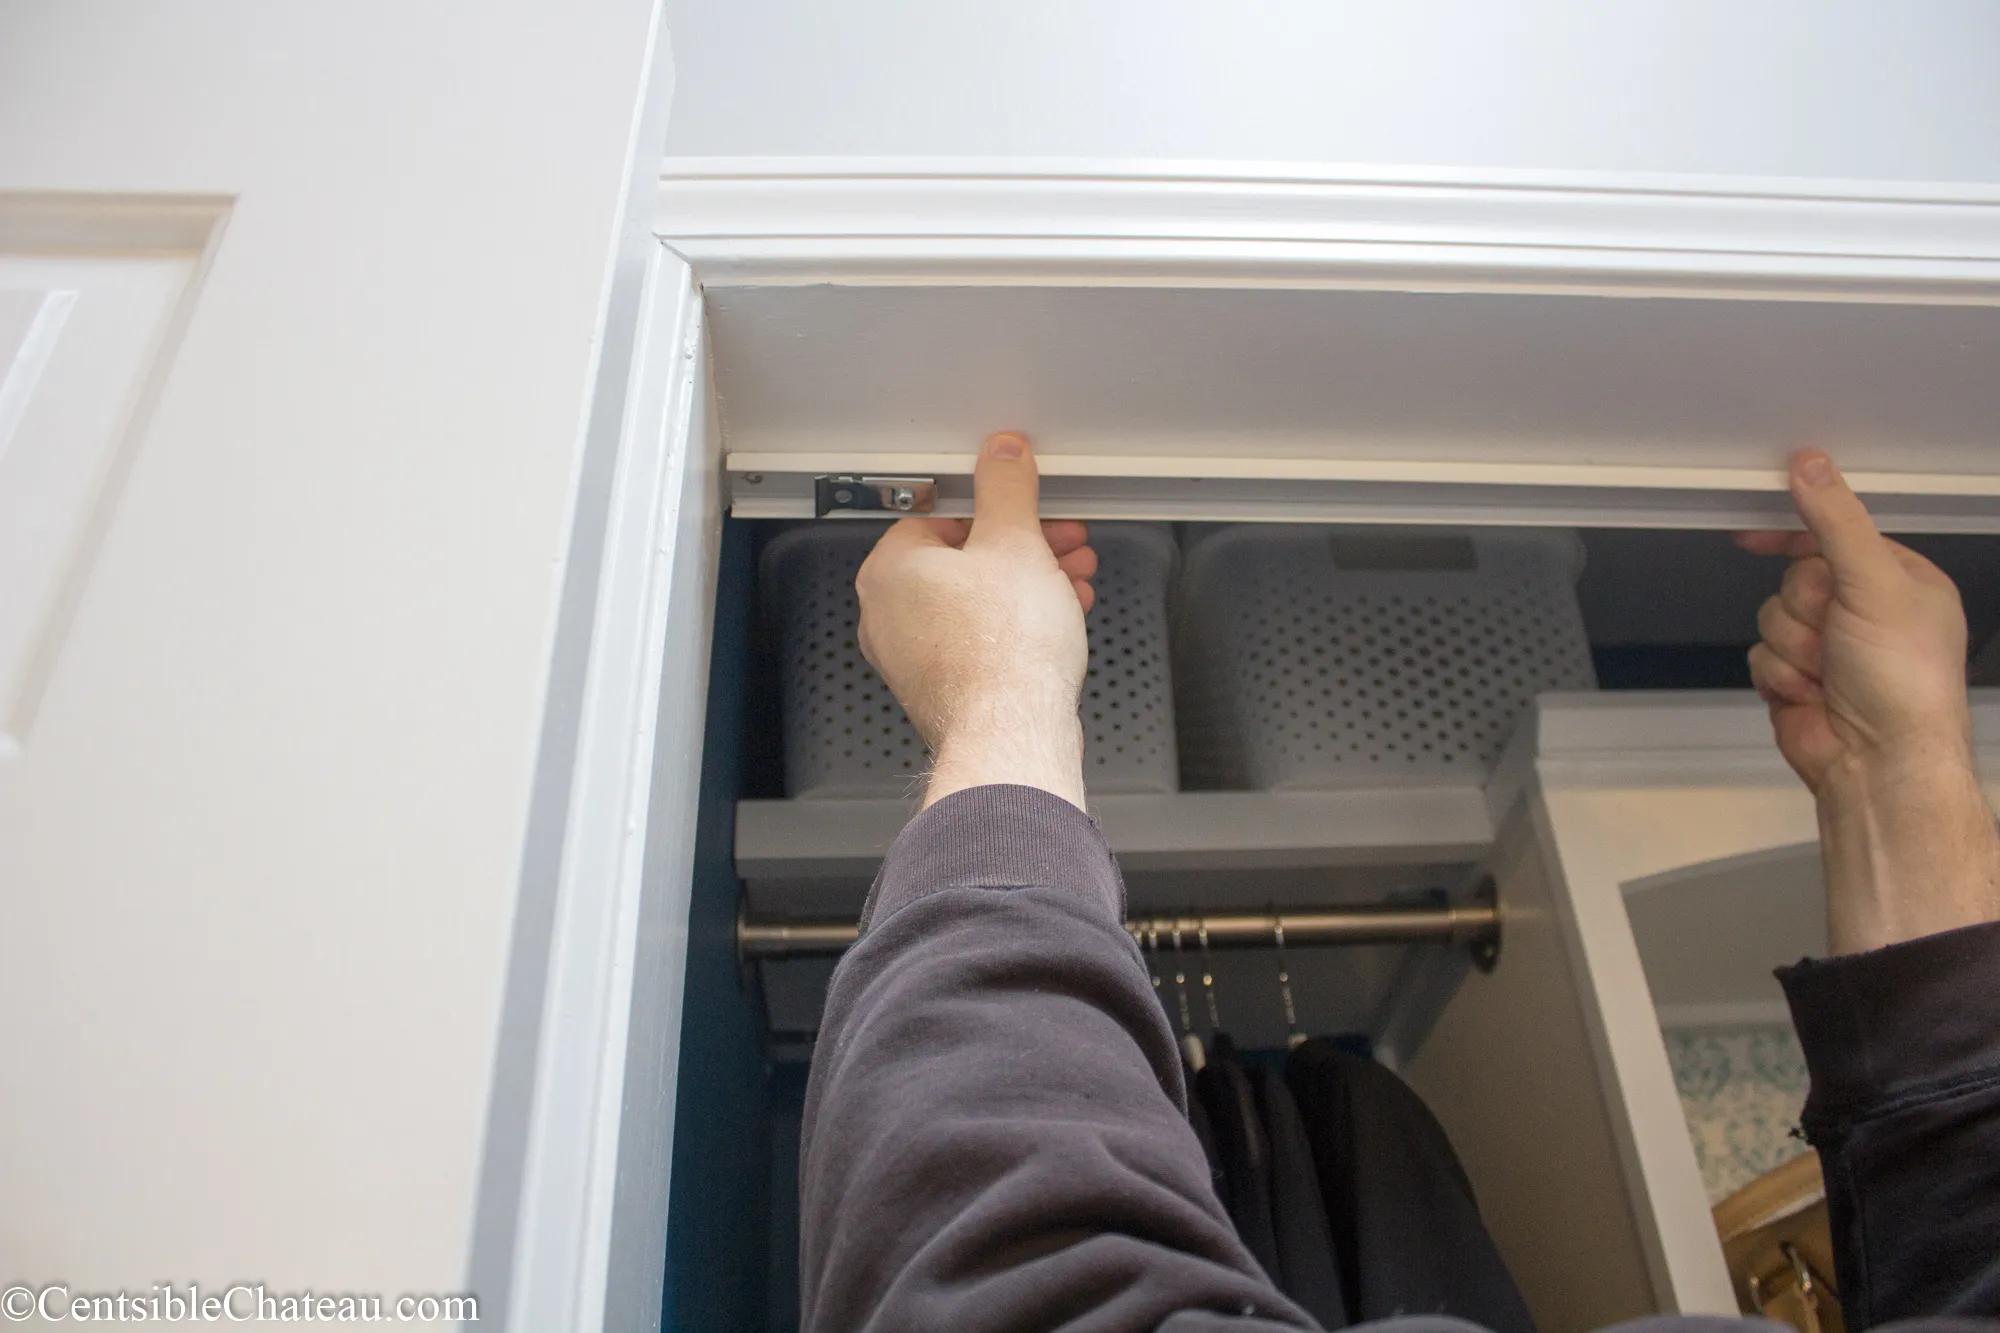
- Double-check for any remaining screws: Before attempting to remove the door, inspect the top and bottom edges of the door for any screws that may still be holding it in place. If you find any, use a screwdriver to remove them.
- Slide the door towards one side: Carefully slide the door towards one side of the door frame. This will dislodge the door from the track or guide that it rests on.
- Gently lift the door: Once the door is free from the track, gently lift it upwards to detach it from the frame. Be cautious of the weight and size of the door as you do this.
- Clear the doorway: Once the door is detached, set it aside in a safe location. Clear any debris or obstacles from the doorway to allow for easy maneuvering during the rest of the removal process.
By following these steps, you have successfully taken down the closet door. Now, let’s move on to the next step to ensure a complete removal process.
Read more: How To Decorate Closet Doors
Step 4: Detach the Door Handles or Knobs
After taking down the closet door, the next step is to detach the door handles or knobs. Here’s how you can do it:
- Identify the type of door handle or knob: Take a close look at the door handles or knobs to determine the type – whether they are secured with screws or have a hidden latch release mechanism.
- Remove screws: If your door handles or knobs are attached with screws, locate the screws on the inner side of the door and use a screwdriver to remove them. Be sure to keep track of the screws.
- Release hidden latch: If your door handles or knobs have a hidden latch release mechanism, examine the handle or knob closely to identify the release point. Look for small slots, buttons, or clips that can be pressed or pulled to release the handle or knob from the door.
- Detach the handles or knobs: Once you’ve either removed the screws or released the hidden latch, carefully pull the handles or knobs away from the door. If they don’t come off easily, double-check for any additional screws that might be holding them in place.
- Set aside the handles or knobs: Once detached, set the handles or knobs aside in a safe place. You may want to keep them for future use or replacement purposes.
By detaching the door handles or knobs, you’ve completed an essential step in the removal process. Now, let’s move on to the next step to ensure a smooth and clean finish.
Step 5: Patch or Repaint the Door Frame (optional)
Once the closet door is removed, you have the option to patch or repaint the door frame to achieve a polished and finished look. This step is completely optional, but if you choose to proceed, here’s what you need to do:
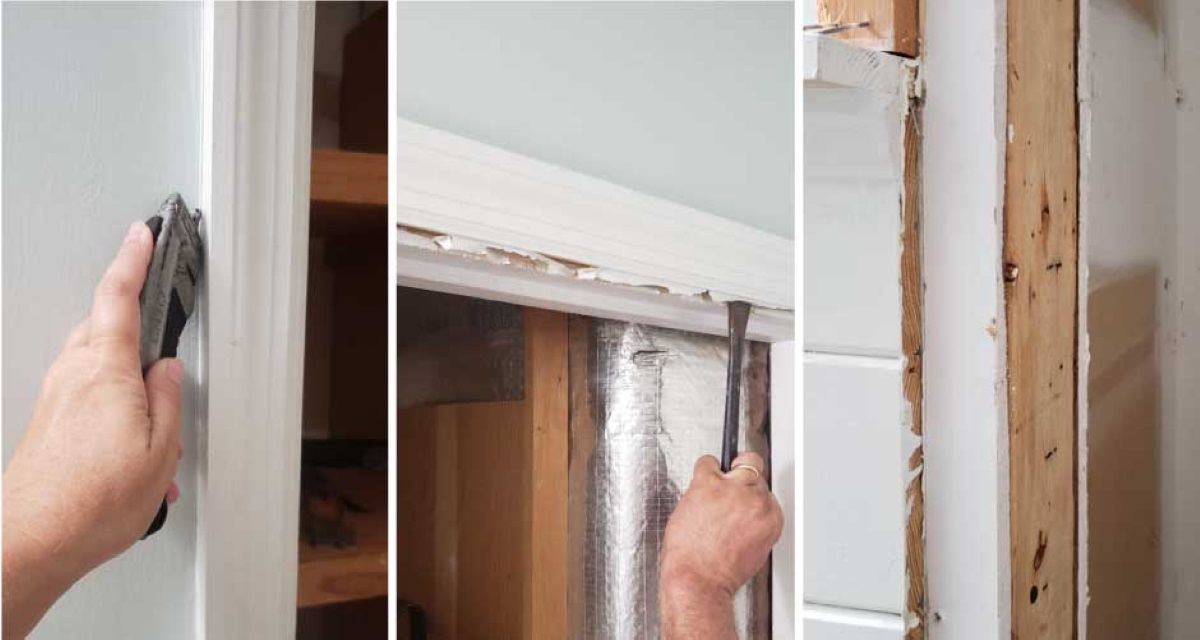
- Inspect the door frame: Examine the door frame for any dents, holes, or imperfections. If you notice any, you’ll want to patch them up before applying paint. Use a putty knife to remove loose debris or old paint chips from the areas that require patching.
- Patch the door frame: If there are any noticeable dents or holes in the door frame, fill them in using wood filler or spackling compound. Follow the manufacturer’s instructions on how to properly apply and smooth out the filler. Allow it to dry completely.
- Sand the patched areas: Once the filler is dry, use sandpaper to smooth out the patched areas. This will create a level surface for painting and ensure a seamless finish.
- Prime the door frame (optional): If you plan on repainting the door frame, it’s recommended to apply a coat of primer. This will help the paint adhere better and create a more durable finish. Allow the primer to dry according to the manufacturer’s instructions.
- Paint the door frame: Using a paintbrush or roller, apply a coat of paint to the door frame. Choose a color that complements your room’s decor. Allow the paint to dry completely before applying additional coats, if needed.
Patching or repainting the door frame is an optional step, but it can greatly enhance the overall appearance of your closet area. Take your time to ensure a smooth and professional finish, and enjoy the improved aesthetics of your space.
That concludes the steps for removing a closet door. You’ve successfully completed the process. We hope this guide has been helpful, and that you have a great experience in transforming your closet area. Good luck!
Conclusion
Congratulations! You have successfully learned how to remove a closet door. By following the step-by-step guide provided in this article, you can confidently take on this project with ease. Removing a closet door is a simple task that can completely transform the look and functionality of your space.
Remember to gather the necessary tools and materials before you start, and ensure you have taken the proper safety precautions. Prepare your workspace, remove the hinges, take down the door, detach the handles or knobs, and optionally patch or repaint the door frame for a polished finish.
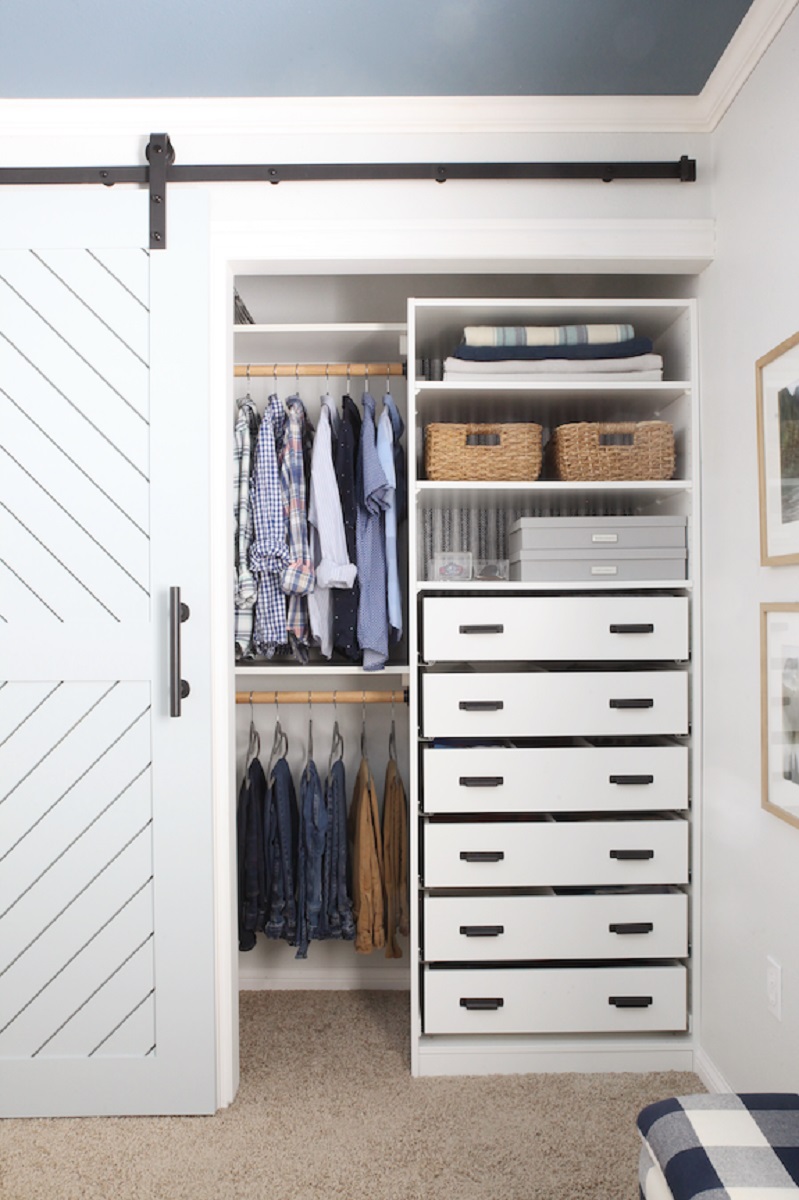
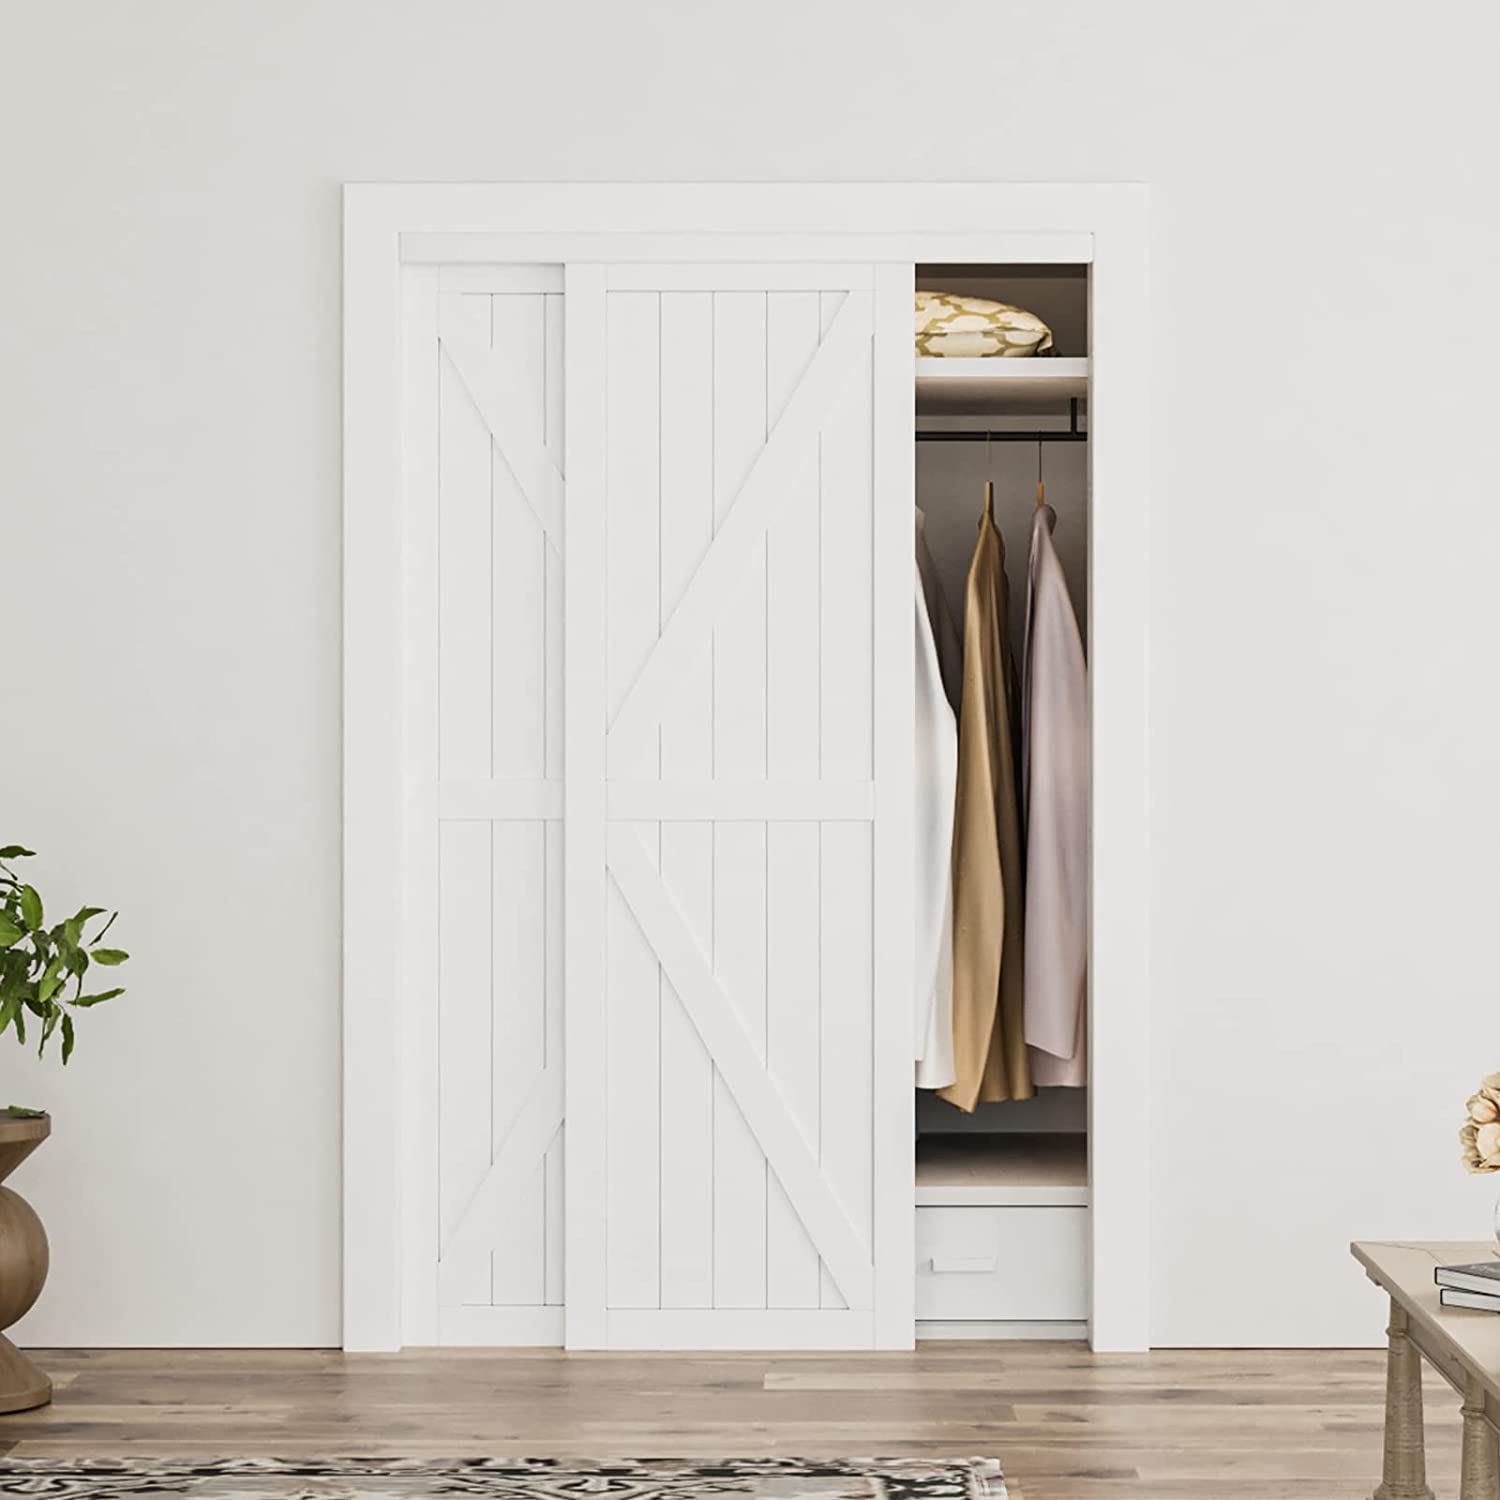
Removing a closet door opens up possibilities for various home improvement projects. Whether you are looking to replace the door, create an open shelving system, or simply enhance the accessibility of your closet, removing the door is the first step towards achieving your desired results.
We hope you found this guide helpful and that you now feel empowered to confidently remove a closet door. Remember to take your time, be careful with the tools, and enjoy the process of transforming your space. Good luck with your project!
Frequently Asked Questions about How To Remove Closet Door
Was this page helpful?
At Storables.com, we guarantee accurate and reliable information. Our content, validated by Expert Board Contributors, is crafted following stringent Editorial Policies. We're committed to providing you with well-researched, expert-backed insights for all your informational needs.


0 thoughts on “How To Remove Closet Door”