Home>Furniture & Design>Interior Design Trends>How To Stain A Glass
Interior Design Trends
How To Stain A Glass
Published: February 2, 2024
Learn how to incorporate the latest interior design trends by staining glass for a unique and modern look. Discover the step-by-step process for achieving stunning results.
(Many of the links in this article redirect to a specific reviewed product. Your purchase of these products through affiliate links helps to generate commission for Storables.com, at no extra cost. Learn more)
Introduction
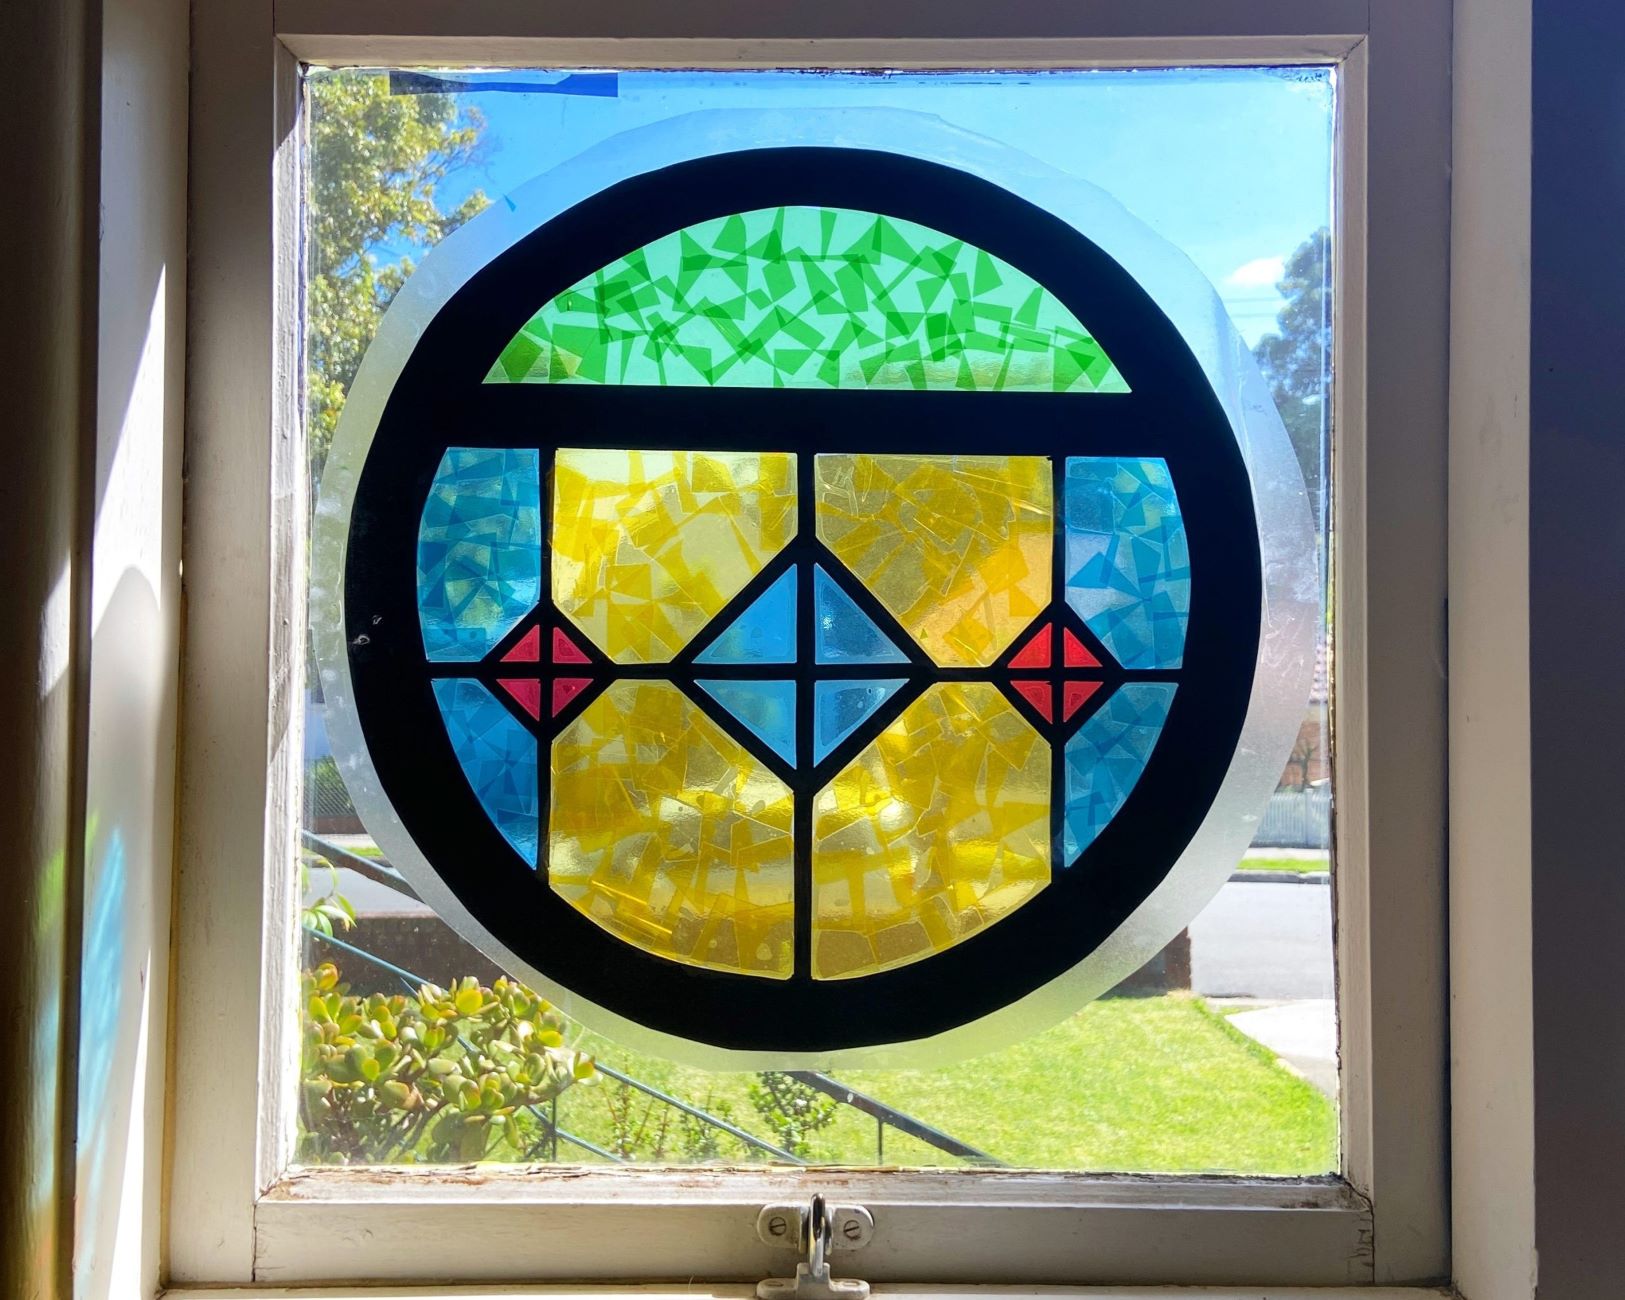
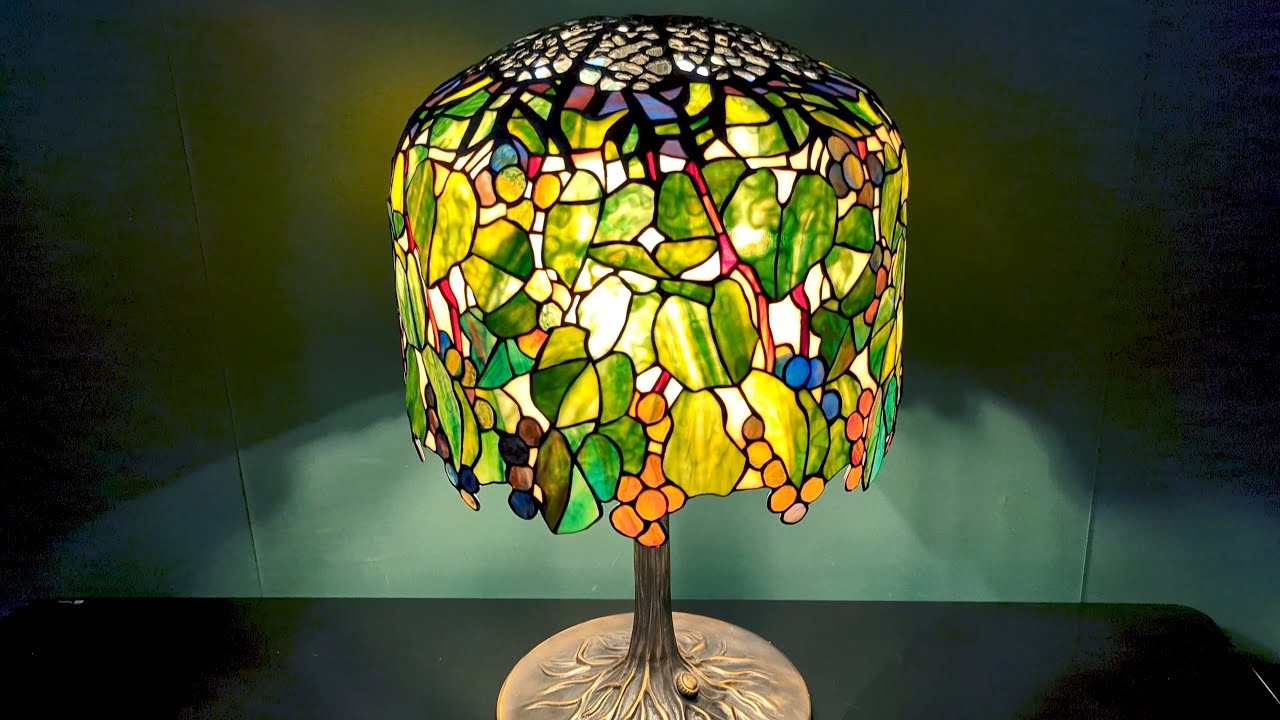
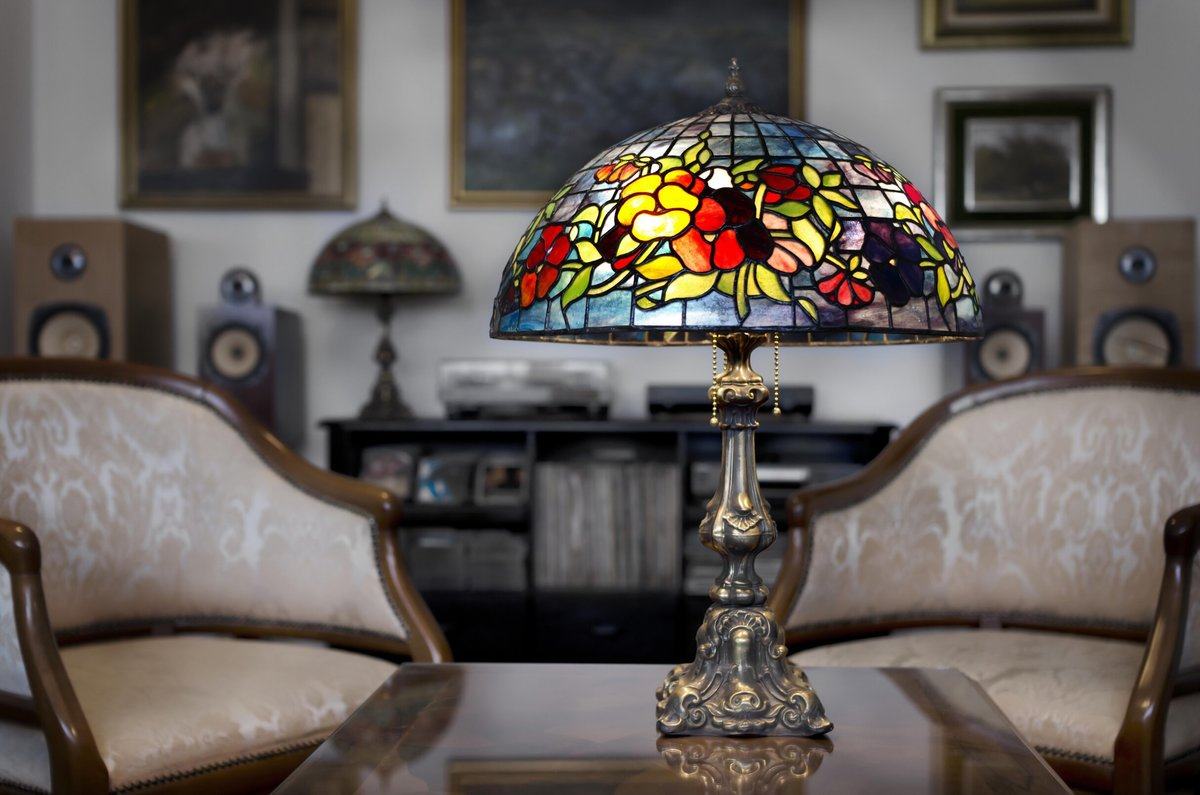
Stained glass has been a captivating art form for centuries, adorning the windows of majestic cathedrals, historic buildings, and modern homes. The intricate patterns and vibrant colors of stained glass create a mesmerizing interplay of light and color, adding a touch of elegance and beauty to any space. Whether you are a seasoned artisan or a novice enthusiast, learning how to stain glass can be a rewarding and creative endeavor.
Staining glass is a meticulous process that involves applying translucent or opaque colors to glass surfaces, resulting in stunning visual effects. From traditional religious motifs to contemporary abstract designs, the possibilities for creating unique stained glass pieces are endless. Whether you are crafting a decorative panel, a lampshade, or a window insert, mastering the art of staining glass allows you to infuse your living spaces with personalized, artistic flair.
In this comprehensive guide, we will delve into the intricate world of stained glass artistry, exploring the step-by-step process of staining glass to achieve professional-quality results. From selecting the right stain to preparing the glass surface, applying the stain, and finally, curing and sealing the finished piece, each stage of the staining process plays a crucial role in creating a masterpiece.
Whether you are a DIY enthusiast seeking to elevate your home decor or an aspiring stained glass artist looking to hone your craft, this guide will equip you with the knowledge and techniques needed to embark on your stained glass journey with confidence. So, roll up your sleeves, unleash your creativity, and let's dive into the enchanting realm of stained glass artistry.
Key Takeaways:
- Embrace the Art of Stained Glass
Discover the enchanting world of stained glass artistry, from selecting the perfect stain to infusing vibrant colors onto glass surfaces. Unleash your creativity and elevate your living spaces with personalized, artistic flair. - Preserve the Brilliance of Stained Glass
Master the meticulous process of curing and sealing stained glass to safeguard its enduring beauty. With the right techniques, you can fortify your masterpiece against environmental elements and ensure its captivating allure for generations to come.
Read more: How To Solder Stained Glass
Choosing the Right Stain
Selecting the right stain is a pivotal step in the stained glass creation process, as it directly influences the final appearance and durability of the artwork. When choosing a stain, it is essential to consider factors such as transparency, color intensity, and compatibility with the type of glass being used. Here are the key considerations to keep in mind when selecting the perfect stain for your stained glass project:
-
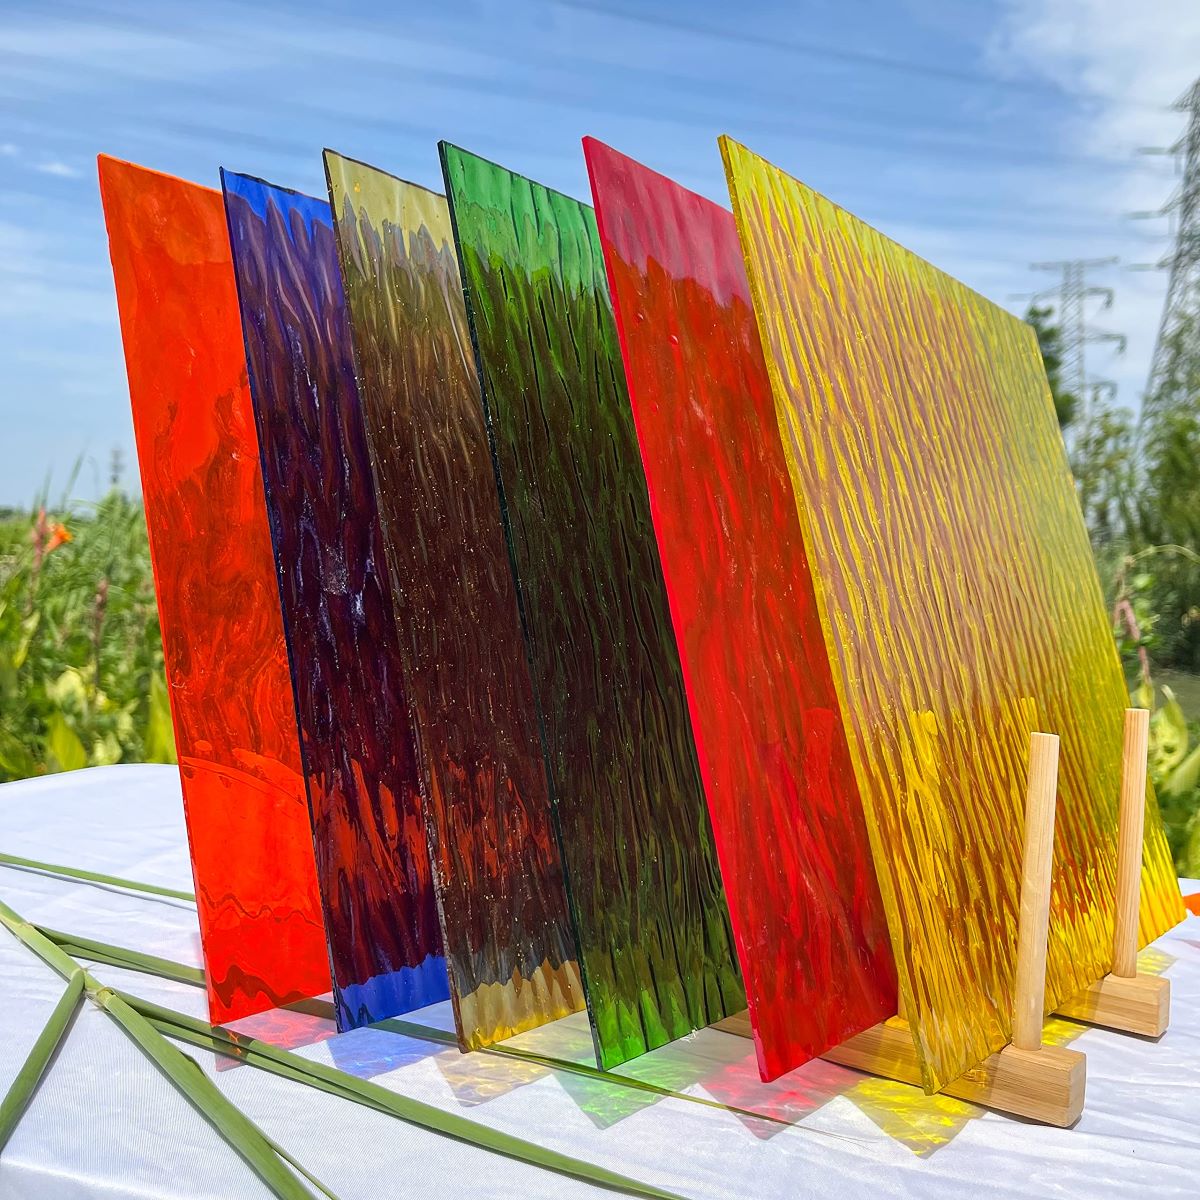
Transparency and Opacity: Stains come in a range of transparency levels, from translucent to opaque. Translucent stains allow light to pass through, creating a luminous effect, while opaque stains offer a more solid, dense coloration. The choice between transparent and opaque stains depends on the desired visual impact of the stained glass piece. For intricate designs that require a delicate interplay of light and color, translucent stains are often preferred, whereas bold, solid-colored designs may call for opaque stains.
-
Color Selection: The color palette of stained glass is as diverse as it is captivating. From rich jewel tones to soft pastels, the array of available colors allows for endless creative expression. When selecting colors, consider the overall aesthetic of the project and the intended placement of the finished piece. Warm, vibrant hues can infuse a space with energy and warmth, while cool, serene tones evoke a sense of tranquility. Additionally, consider how the chosen colors will harmonize with the surrounding decor and architectural elements.
-
Glass Compatibility: Different types of glass, such as clear, textured, or opalescent, may react differently to various stains. It is crucial to choose stains that are compatible with the specific type of glass being used in the project. Some stains are formulated for use on clear glass, while others are designed to adhere to textured or opalescent surfaces. Ensuring compatibility between the stain and the glass substrate is essential for achieving optimal adhesion and color vibrancy.
-
Quality and Longevity: Opting for high-quality stains is paramount to the longevity and visual appeal of the finished stained glass piece. Quality stains are formulated to resist fading, chipping, and discoloration over time, ensuring that the artwork retains its brilliance for years to come. Investing in reputable, professional-grade stains is a worthwhile decision that contributes to the overall durability and aesthetic value of the stained glass creation.
By carefully considering these factors and conducting thorough research on available stain options, you can confidently select the ideal stain to bring your stained glass vision to life. The right stain not only enhances the visual impact of the artwork but also contributes to its enduring beauty and resilience. With the perfect stain in hand, you are ready to embark on the next phase of the stained glass journey: preparing the glass surface for the application of the chosen stain.
Preparing the Glass Surface
Preparing the glass surface is a critical precursor to the staining process, laying the foundation for optimal adhesion and color vibrancy. Properly preparing the glass surface ensures that the stain adheres uniformly and securely, resulting in a flawless and enduring finish. Here's a detailed look at the essential steps involved in preparing the glass surface for staining:
-
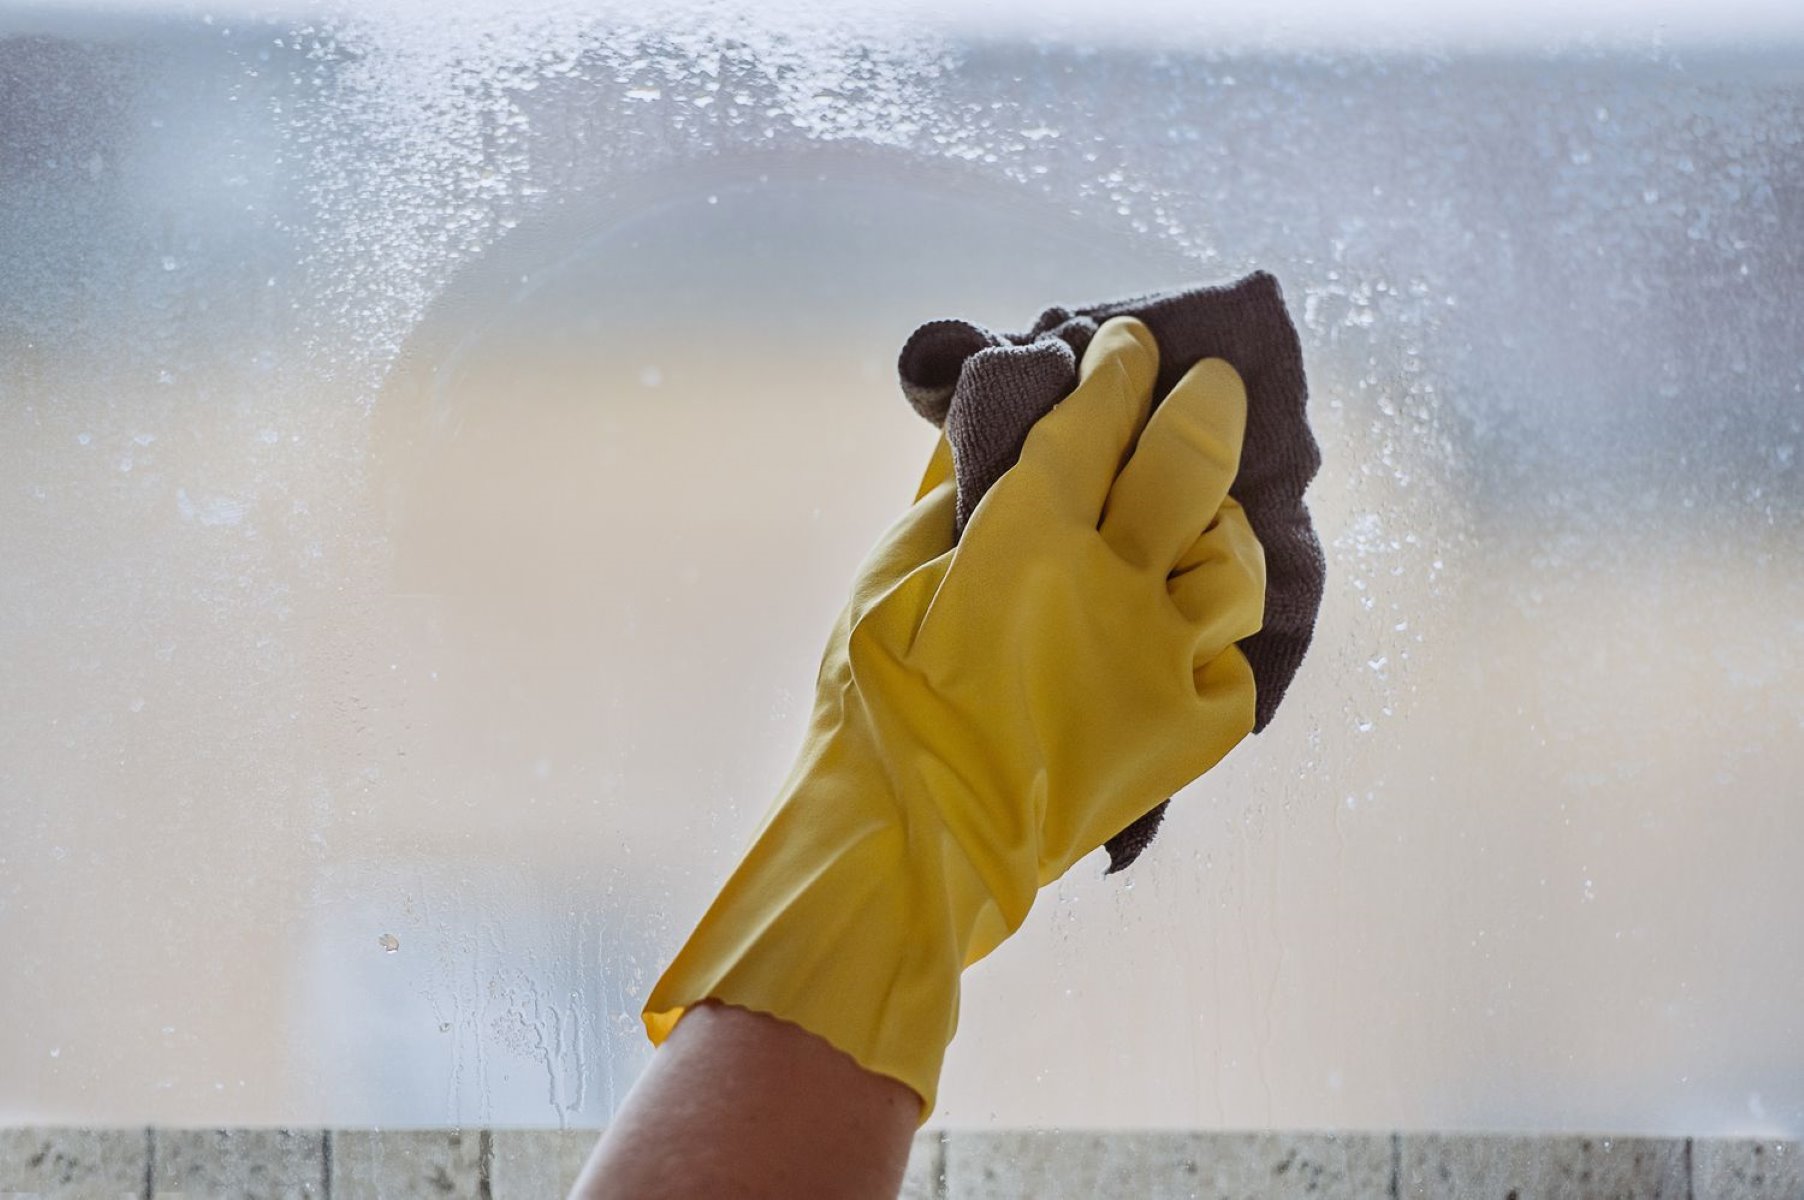
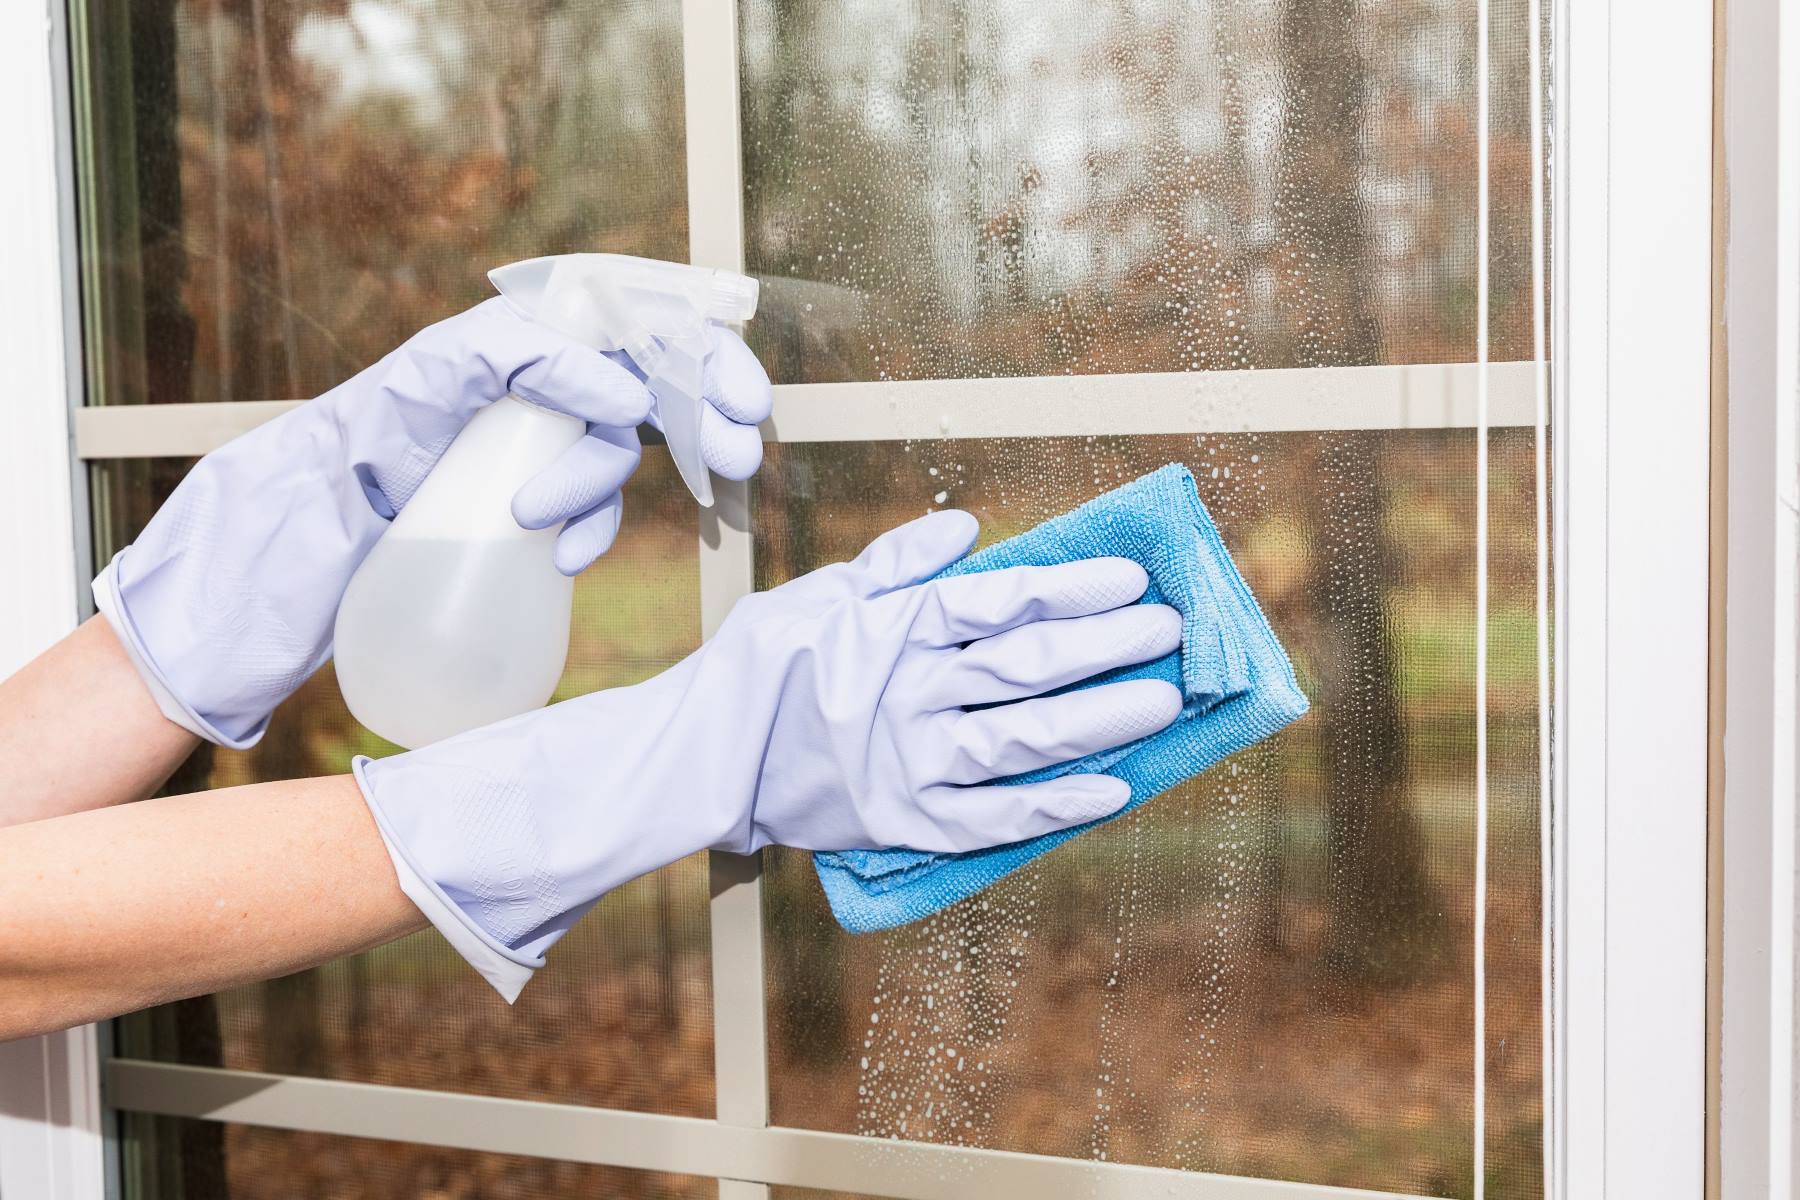
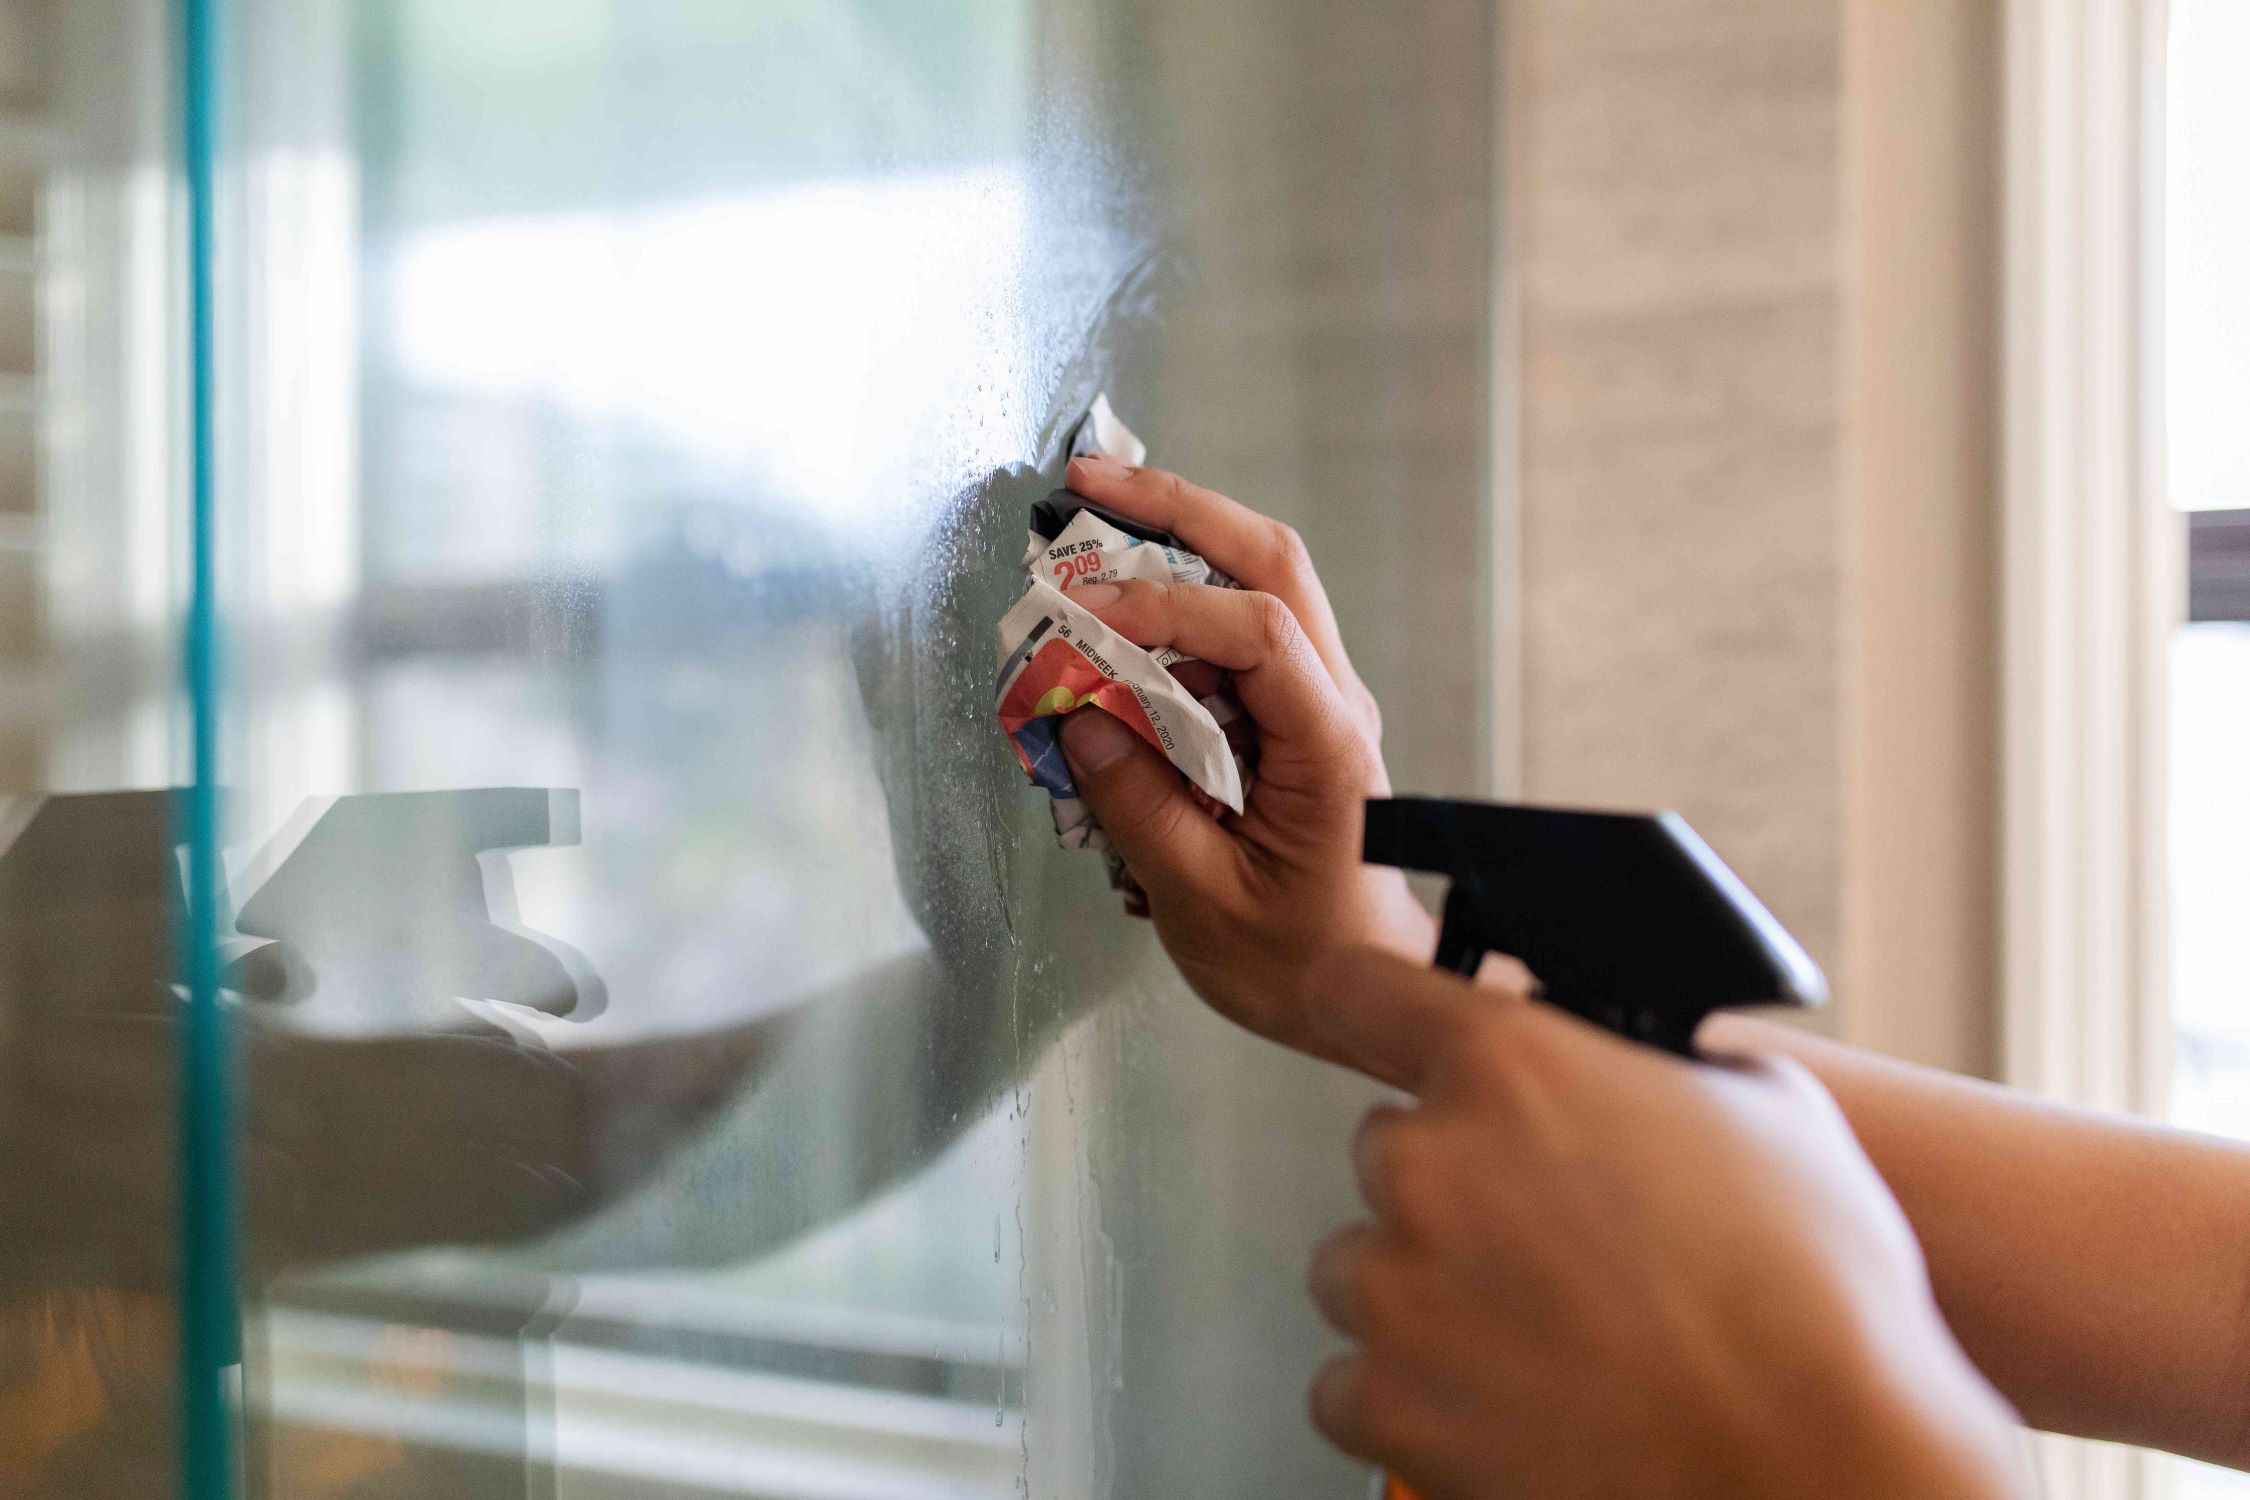
Cleaning the Glass: Begin by thoroughly cleaning the glass surface to remove any dust, dirt, or residue that may hinder the adhesion of the stain. Use a gentle glass cleaner or a solution of mild dish soap and water to cleanse the glass, ensuring that it is free from any contaminants that could compromise the staining process.
-
Drying the Glass: After cleaning, allow the glass to dry completely. Use a lint-free cloth to remove any remaining moisture, ensuring that the glass surface is entirely free from water or cleaning solution. A dry surface is essential for the proper adhesion of the stain and prevents any unwanted streaking or watermarks in the finished piece.
-
Applying a Glass Primer (Optional): In some cases, applying a glass primer before staining can enhance the adhesion and durability of the stain. A glass primer creates a receptive surface for the stain to bond with, promoting long-lasting color retention and preventing peeling or flaking over time. If you opt to use a glass primer, carefully follow the manufacturer's instructions for application and drying times.
-
Masking and Protecting Areas: If your stained glass project involves intricate designs or specific areas that you wish to remain free of stain, use masking tape or a liquid latex barrier to protect these sections. By carefully masking off designated areas, you can ensure precise application of the stain and maintain clean, defined edges in the final design.
-
Inspecting for Imperfections: Before proceeding with the staining process, inspect the glass surface for any imperfections, such as scratches, chips, or blemishes. Address any flaws by gently polishing the glass with a fine-grit abrasive or glass polishing compound, ensuring that the surface is smooth and free from any irregularities that could affect the application of the stain.
By meticulously preparing the glass surface through thorough cleaning, drying, optional priming, masking, and inspecting, you set the stage for a successful and visually stunning staining process. The attention to detail in preparing the glass surface lays the groundwork for a flawless and enduring stained glass creation, ensuring that the final piece exudes brilliance and craftsmanship. With the glass surface meticulously prepared, you are now ready to embark on the next phase of the stained glass journey: applying the chosen stain to bring your artistic vision to life.
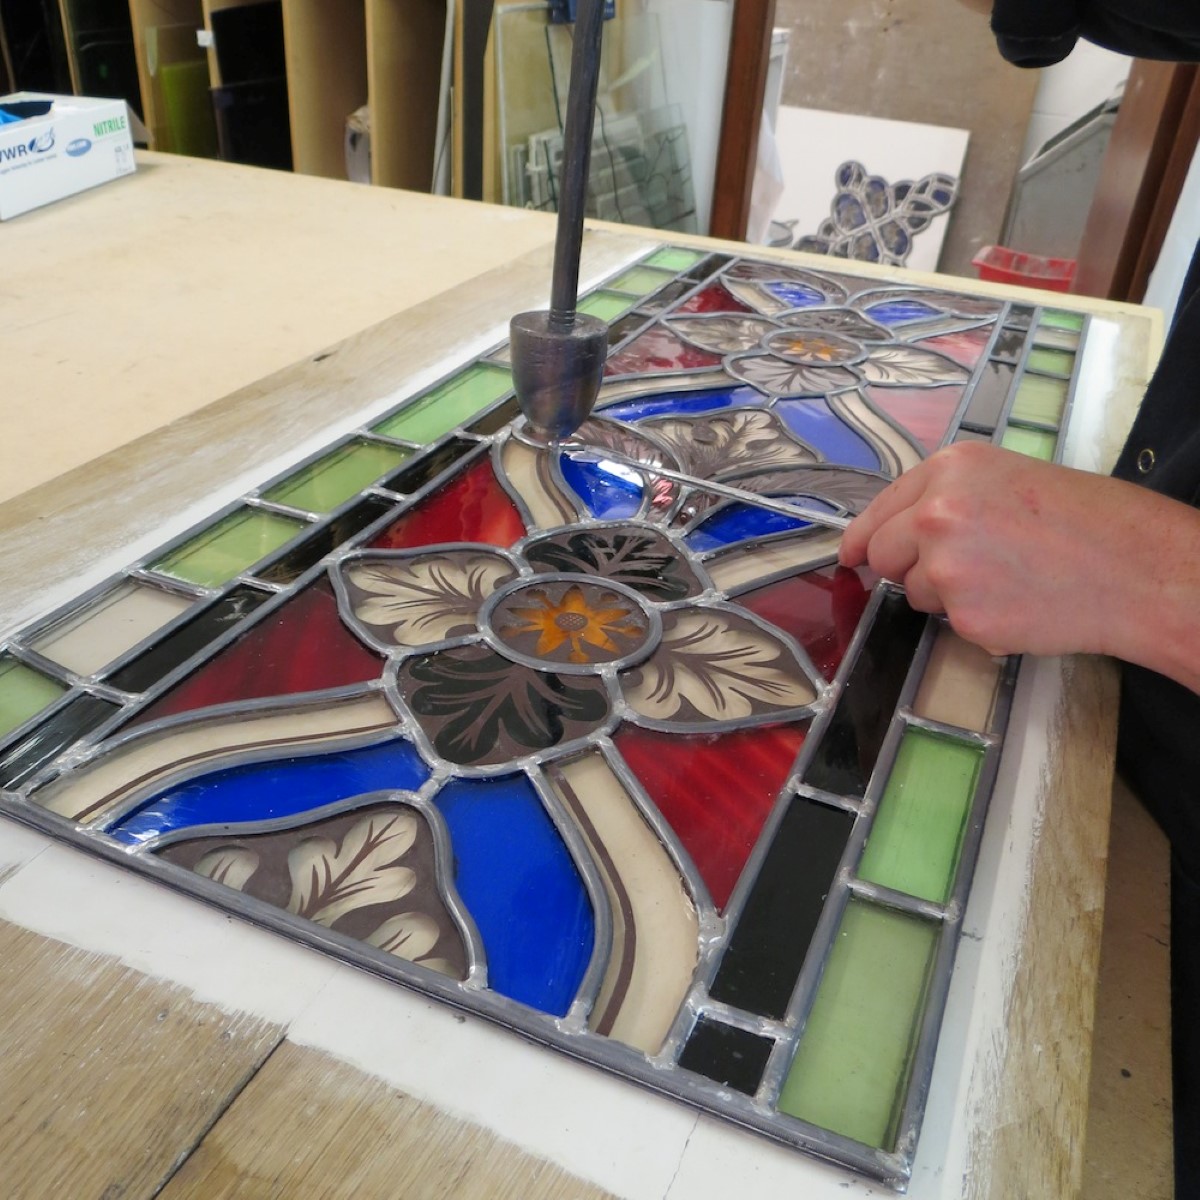
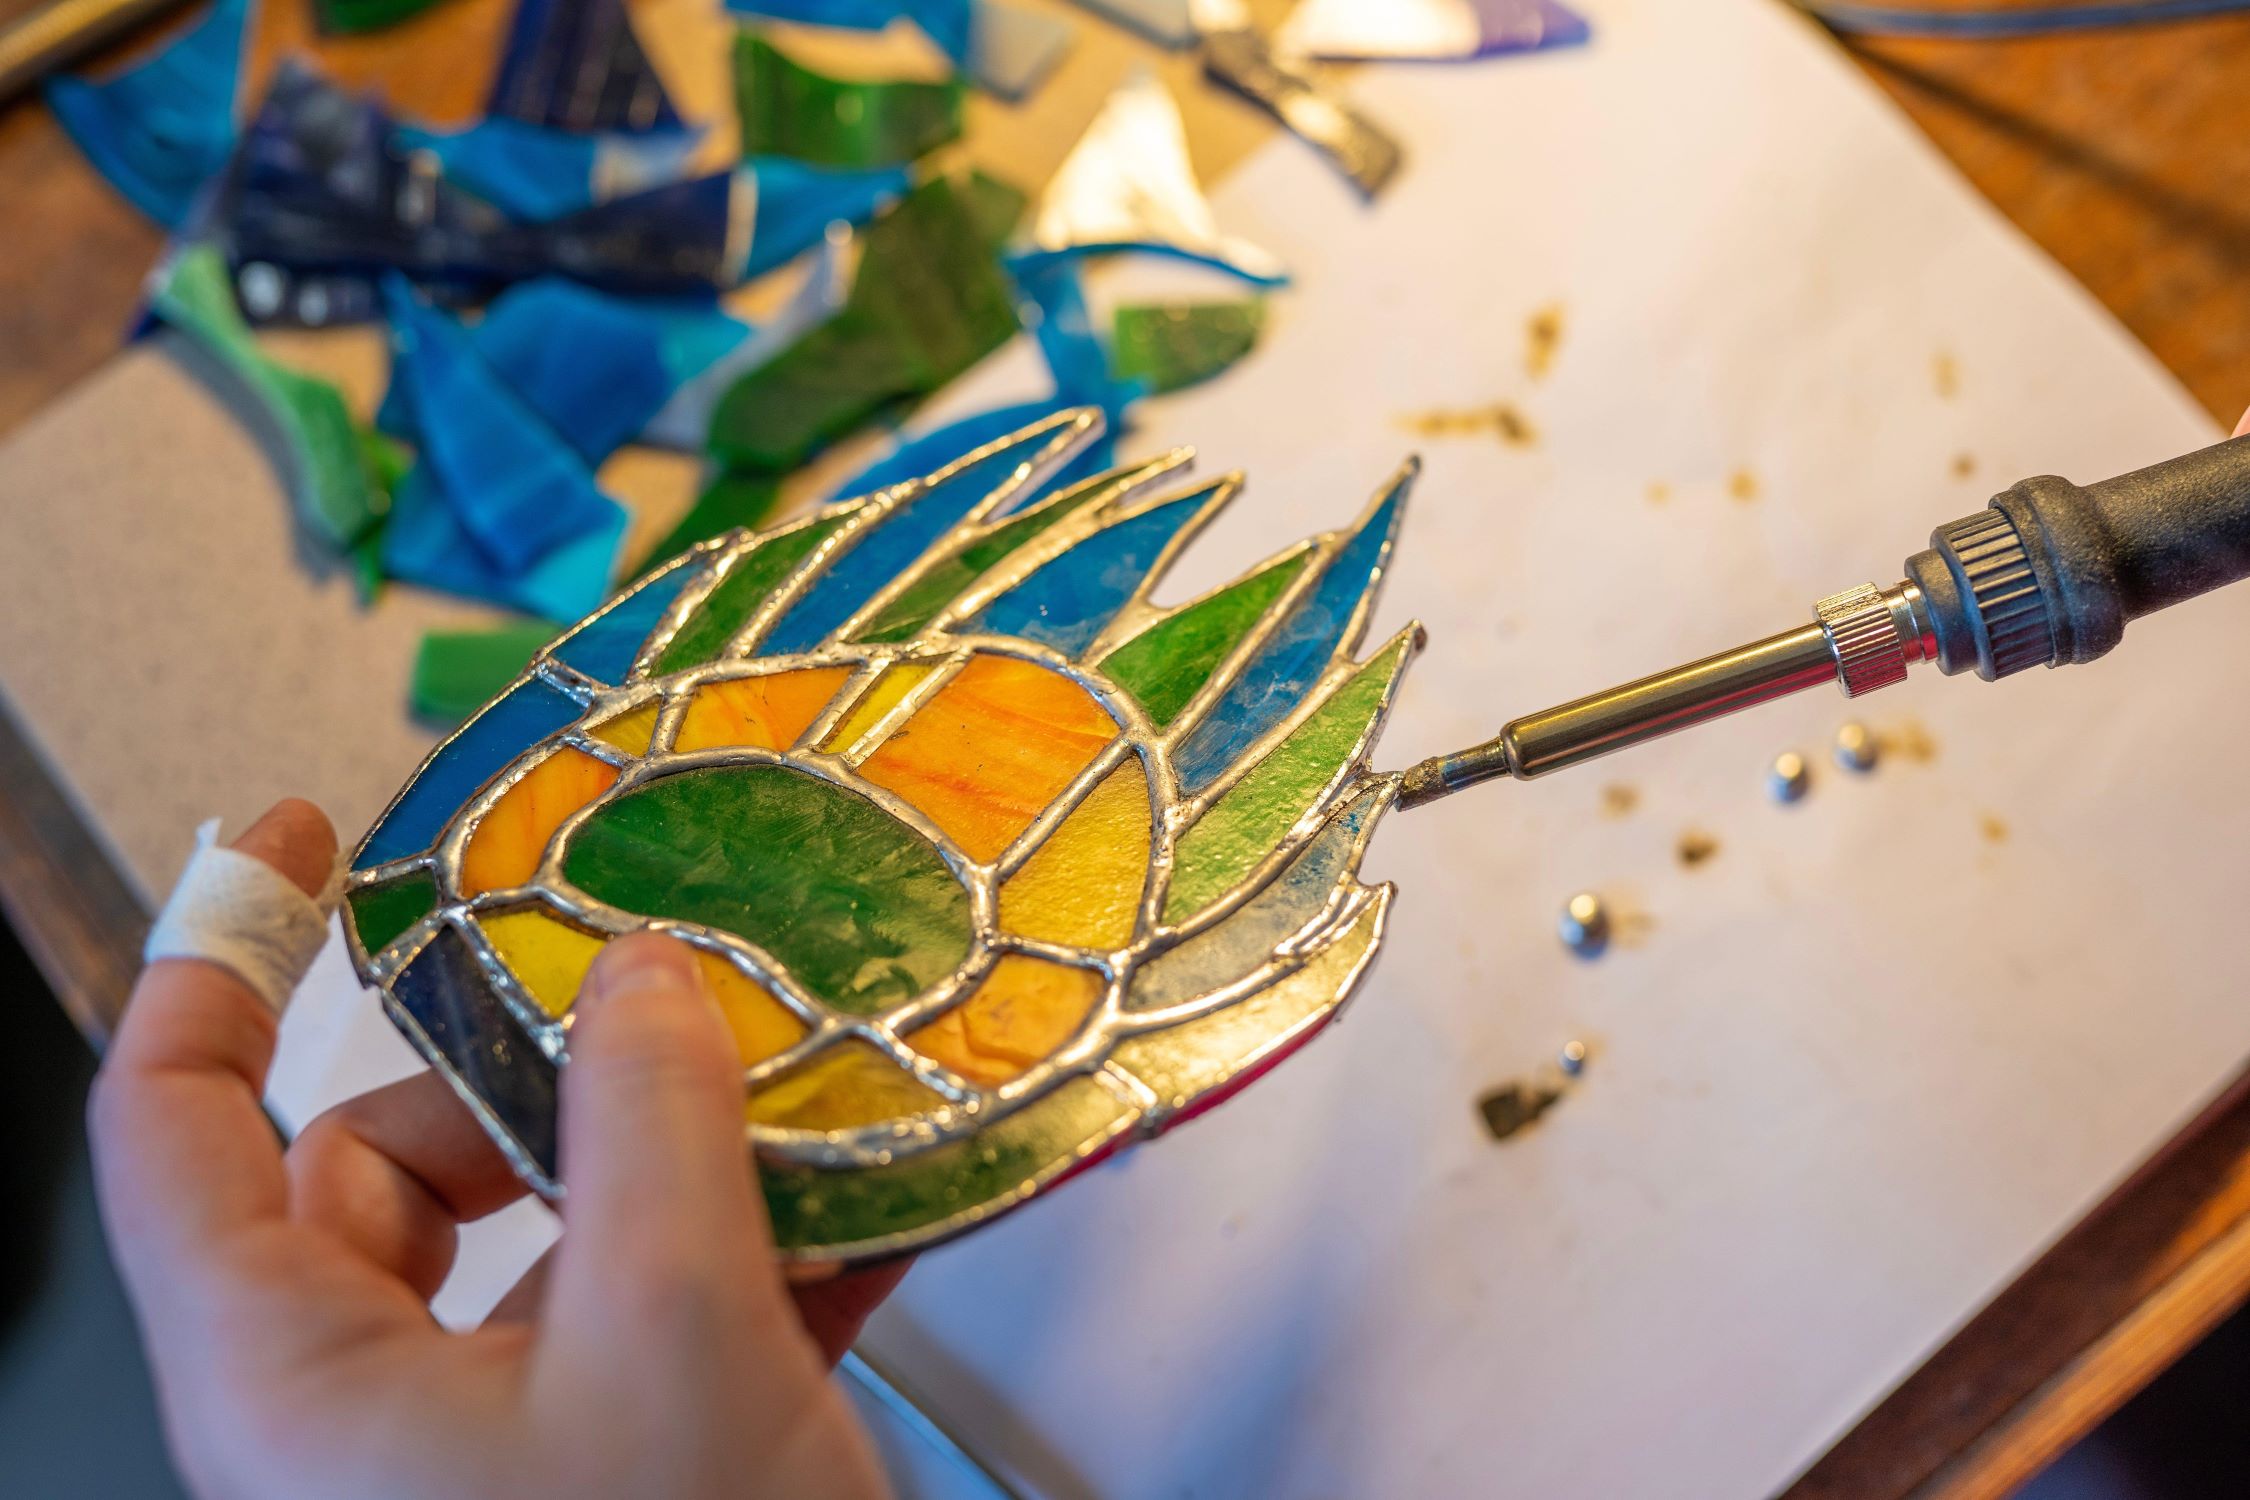
Applying the Stain
Applying the stain is a pivotal stage in the creation of stained glass, where the transformative infusion of color brings the artistic vision to life. The application process demands precision, patience, and a keen eye for detail to achieve a flawless and vibrant finish. Here's a comprehensive overview of the essential steps involved in applying the stain to the meticulously prepared glass surface:
-
Selecting the Appropriate Tools: Before commencing the staining process, ensure that you have the necessary tools at hand. A selection of fine brushes, ranging in size to accommodate different areas of the design, is essential for precise application. Additionally, consider the viscosity of the stain and choose brushes that are suitable for handling the desired consistency of the product.
-
Mixing and Testing the Stain: If working with multiple colors or custom blends, thoroughly mix the stain to achieve a consistent hue. It is advisable to conduct a small test application on a spare piece of glass to assess the color intensity and transparency of the stain. This step allows for adjustments to be made before applying the stain to the main project, ensuring that the desired visual effect is achieved.
-
Applying the Stain with Precision: Begin the application process with a steady hand and a deliberate approach. Dip the brush into the stain, ensuring that it is adequately loaded without excess dripping. Carefully apply the stain to the designated areas of the glass, using smooth, even strokes to achieve uniform coverage. Exercise caution to prevent the stain from seeping into masked-off sections or overlapping onto adjacent colors.
-
Layering and Blending Colors: For projects incorporating multiple colors or intricate shading, layering and blending the stains is a technique that adds depth and dimension to the design. Allow each layer of stain to dry before applying subsequent colors, ensuring that the hues remain distinct and vibrant. Delicately blend the edges of different colors to create seamless transitions and captivating visual effects.
-
Achieving Desired Transparency: Depending on the desired effect, adjust the application of the stain to control its transparency. For areas where light transmission is desired, such as in decorative window panels, apply translucent stains with a lighter touch to allow the natural luminosity of the glass to shine through. Conversely, for areas requiring opaque coverage, apply the stain more generously to achieve a solid, dense coloration.
-
Drying and Inspecting the Stained Glass: Once the staining process is complete, allow the glass to dry thoroughly according to the manufacturer's recommended drying times. After drying, carefully inspect the stained glass for any imperfections, streaks, or uneven coverage. Touch up any areas as needed, ensuring that the stained glass exhibits a flawless and vibrant finish.
By meticulously following these steps and exercising precision and care throughout the staining process, you can achieve a stunning and enduring stained glass creation that captivates with its luminous colors and meticulous craftsmanship. With the stain expertly applied and the glass surface infused with vibrant hues, the final phase of the stained glass journey awaits: curing and sealing the masterpiece to preserve its beauty for generations to come.
When staining glass, make sure to clean the surface thoroughly before applying the stain. Use a small brush to apply the stain in thin, even layers for the best results.
Curing and Sealing the Stained Glass
Curing and sealing the stained glass is the final, crucial step in the stained glass creation process, ensuring the longevity, durability, and visual allure of the finished masterpiece. This phase involves meticulously safeguarding the stained glass against environmental elements and fortifying its structural integrity to withstand the test of time. Here's a detailed exploration of the essential procedures involved in curing and sealing stained glass:
Read more: How To Hang Stained Glass
Curing the Stained Glass
After the application of the stain, the stained glass must undergo a curing process to allow the colors to fully bond with the glass surface. Curing typically involves allowing the stained glass to air-dry for a specified period, during which the stain sets and adheres securely to the glass. The duration of the curing process varies depending on the type of stain used and environmental factors such as temperature and humidity. It is imperative to follow the manufacturer's guidelines for curing times to ensure optimal color retention and adhesion.
Sealing the Stained Glass
Once the stained glass has completed the curing process, sealing it is essential to protect the colors from fading, moisture, and physical wear. Sealing the stained glass creates a protective barrier that enhances its resilience and preserves the vibrancy of the colors. The following steps outline the process of sealing stained glass:
-
Selecting a Sealant: Choose a high-quality, UV-resistant sealant specifically formulated for stained glass applications. Opt for a sealant that offers long-term protection against UV radiation, moisture, and environmental pollutants, safeguarding the stained glass from deterioration.
-
Applying the Sealant: Using a fine brush or applicator, carefully apply the sealant to the entire surface of the stained glass, ensuring even coverage. Pay particular attention to the edges and crevices to seal any vulnerable areas where moisture or contaminants could penetrate.
-
Allowing for Drying and Curing: After applying the sealant, allow the stained glass to dry and cure according to the manufacturer's recommendations. This critical phase allows the sealant to form a resilient, protective layer that fortifies the stained glass against external factors.
-
Inspecting and Touching Up: Once the sealant has dried, inspect the stained glass for any irregularities or areas that may require additional sealing. Touch up any imperfections to ensure comprehensive protection and a flawless finish.
By meticulously following the procedures for curing and sealing the stained glass, you fortify the artwork against the effects of time and environmental factors, ensuring that it retains its brilliance and allure for generations to come. The culmination of the curing and sealing process marks the transformation of stained glass into a resilient, enduring masterpiece that illuminates spaces with its captivating colors and timeless beauty.
Frequently Asked Questions about How To Stain A Glass
Was this page helpful?
At Storables.com, we guarantee accurate and reliable information. Our content, validated by Expert Board Contributors, is crafted following stringent Editorial Policies. We're committed to providing you with well-researched, expert-backed insights for all your informational needs.


0 thoughts on “How To Stain A Glass”