Furniture
How To Make A Stained Glass Lamp Shade
Modified: October 19, 2024
Learn how to create a stunning stained glass lamp shade for your furniture, adding a touch of elegance and uniqueness to your home decor.
(Many of the links in this article redirect to a specific reviewed product. Your purchase of these products through affiliate links helps to generate commission for Storables.com, at no extra cost. Learn more)
Introduction
Welcome to the world of stained glass lamp shades! A stained glass lamp shade is not only a functional piece of decor but also a stunning work of art that adds beauty and ambiance to any room. Whether you are a seasoned DIY enthusiast or just starting your journey into the world of stained glass, this guide will provide you with step-by-step instructions and valuable tips to create your very own stained glass lamp shade.
Creating a stained glass lamp shade requires attention to detail, patience, and a passion for craftsmanship. It allows you to express your creativity by choosing designs, colors, and textures that reflect your personal style. With the right materials, tools, and techniques, you can transform individual pieces of glass into a breathtaking lamp shade that will be the centerpiece of any space.
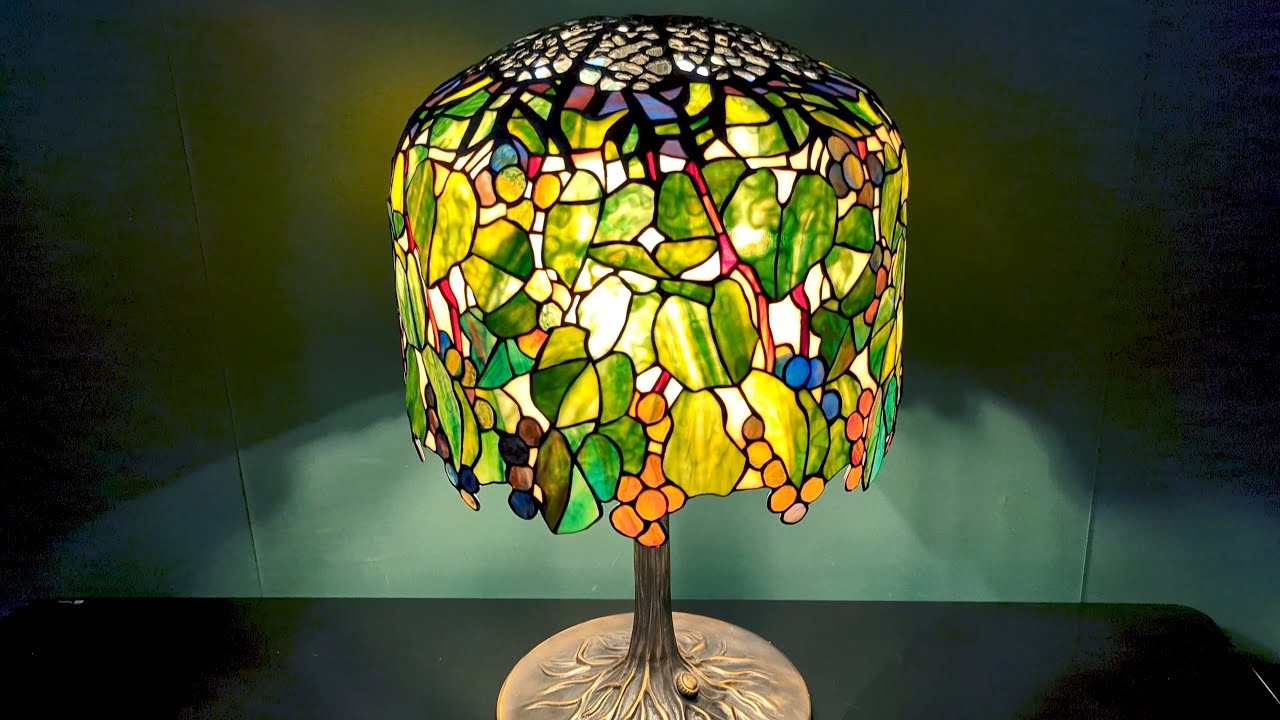
Stained glass lamp shades have a rich history dating back centuries. They were popularized during the Art Nouveau and Art Deco movements, with iconic designers and artists like Louis Comfort Tiffany leading the way. Today, artisans and hobbyists continue to explore this beautiful craft, keeping the tradition alive and adding their unique touch to each creation.
In this guide, we will walk you through the process of making a stained glass lamp shade from start to finish. We will cover the materials you need, how to choose a design, and the steps involved in preparing the glass, cutting and fitting the pieces, foiling and soldering, and finally, cleaning and finishing your lamp shade.
Don’t be intimidated! While creating a stained glass lamp shade may seem challenging, especially for beginners, with practice and patience, you’ll gain confidence and develop your skills. Remember, each piece you create is a unique work of art, and imperfections add character. So, let your creativity flow and enjoy the process of bringing your stained glass lamp shade to life!
Key Takeaways:
- Creating a stained glass lamp shade is a labor of love that requires patience, attention to detail, and a passion for craftsmanship. The process, from choosing a design to attaching the shade to the lamp base, results in a stunning work of art that adds beauty and elegance to any room.
- Embracing imperfections and unleashing creativity are essential in the journey of making a stained glass lamp shade. Each project refines skills, explores new design possibilities, and fosters the joy of this timeless art form.
Read more: How To Repair A Stained Glass Lamp Shade
Materials Needed
Before you begin creating your stained glass lamp shade, it’s essential to gather all the necessary materials. Having everything on hand will ensure a smooth and uninterrupted creative process. Here are the materials you’ll need:
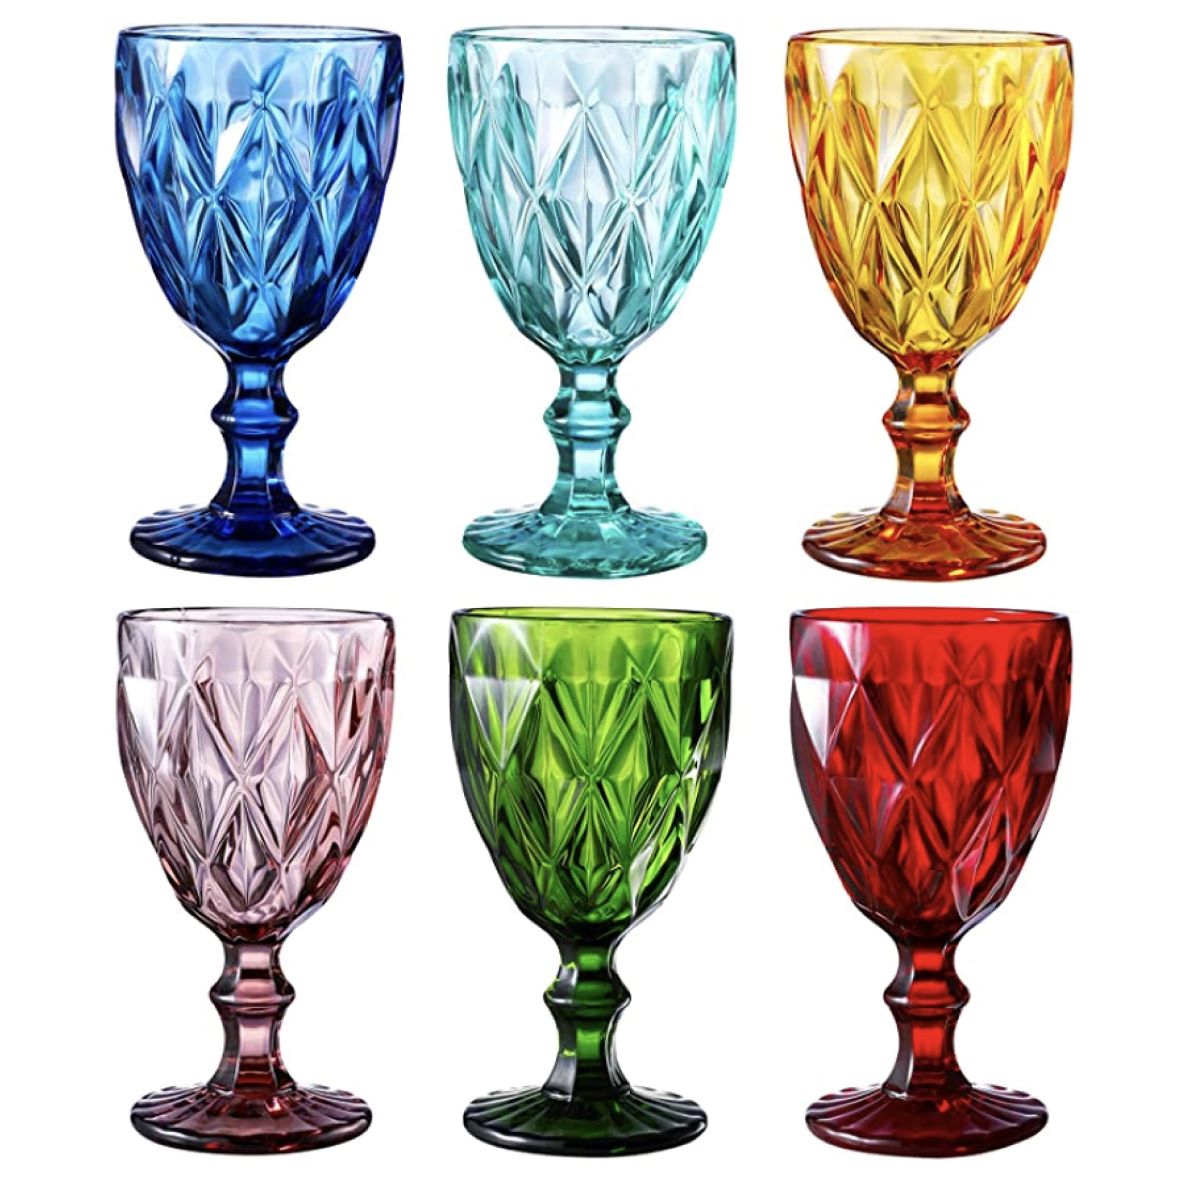
- Stained Glass Sheets: Choose a variety of colors and textures that suit your design aesthetic. Ensure the glass is compatible with the lamp shade project. You can find stained glass sheets at your local glass supplier or online.
- Glass Cutter: A glass cutter with a carbide wheel will help you score and cut the glass accurately. Make sure to choose a cutter that feels comfortable in your hand.
- Glass Grinder: This tool is essential for smoothing the edges of the glass pieces and creating a perfect fit. Look for a grinder that has a diamond-coated grinding wheel for optimal performance.
- Glass Nipper: The glass nipper is used for breaking the glass sheets into smaller, more manageable pieces. It’s especially handy when working with irregular shapes or making intricate cuts.
- Copper Foil: Copper foil is used to wrap around the edges of the glass pieces. This creates a surface for soldering and adds strength to the lamp shade. Choose the width of the foil based on the thickness of the glass.
- Flux: Flux is used in the soldering process to help the solder flow smoothly and create a strong bond between the glass pieces.
- Soldering Iron: A soldering iron with a temperature control feature is recommended to achieve the desired precision. Additionally, make sure to have a stand and a soldering iron tip cleaner for safe and efficient soldering.
- Solder: Choose a solder that is specifically designed for stained glass projects. The most common type is a 60/40 tin/lead solder, but you can also opt for lead-free alternatives.
- Flux Brush: A flux brush is used to apply flux to the copper foil and soldering areas. Look for a brush with natural bristles that can withstand the high temperatures during soldering.
- Patina: Patina is a chemical solution that adds a beautiful finish to the solder lines. Select a color that complements your design and follow the manufacturer’s instructions for application.
- Lamp Base and Harp: The lamp base and harp are necessary components to support the stained glass lamp shade. Choose a base that accommodates the size and weight of your shade and ensure it has a standard socket and electrical cord.
- Lamp Holder: The lamp holder, also known as a socket assembly, holds the light bulb in place. Make sure it is compatible with your lamp base and provides the necessary safety features.
- Other Tools and Supplies: You may also need safety glasses, a soldering iron stand, safety gloves, a glass cleaner, running pliers, pattern shears, a marker, and a soldering iron temperature control device.
Having these materials ready before you start will save you time and ensure you have everything you need to complete the project. Keep in mind that some specialty items may require ordering online or visiting a stained glass supplier. Now that you have gathered your materials, it’s time to move on to choosing a design for your stained glass lamp shade.
Choosing a Design
Choosing a design for your stained glass lamp shade is an exciting part of the creative process. It allows you to showcase your personal style and create a unique piece of art. Here are a few considerations to keep in mind when selecting a design:
- Functionality: Consider where you plan to place the lamp shade and how it will be used. If you’re creating a table lamp, you may want a design that provides a good amount of light. For a decorative accent lamp, you can explore more intricate and artistic designs.
- Style: Determine the overall style you want to achieve. Are you drawn to Art Nouveau-inspired designs with flowing lines and organic shapes? Or do you prefer geometric and symmetrical Art Deco patterns? Understanding your preferred style will help narrow down your design choices.
- Size and Shape: Consider the size and shape of your lamp base. The lamp shade should be proportionate and complement the base. Also, take into account the space where the lamp will be placed. A large lamp shade may overpower a small table, while a smaller shade may get lost in a larger room.
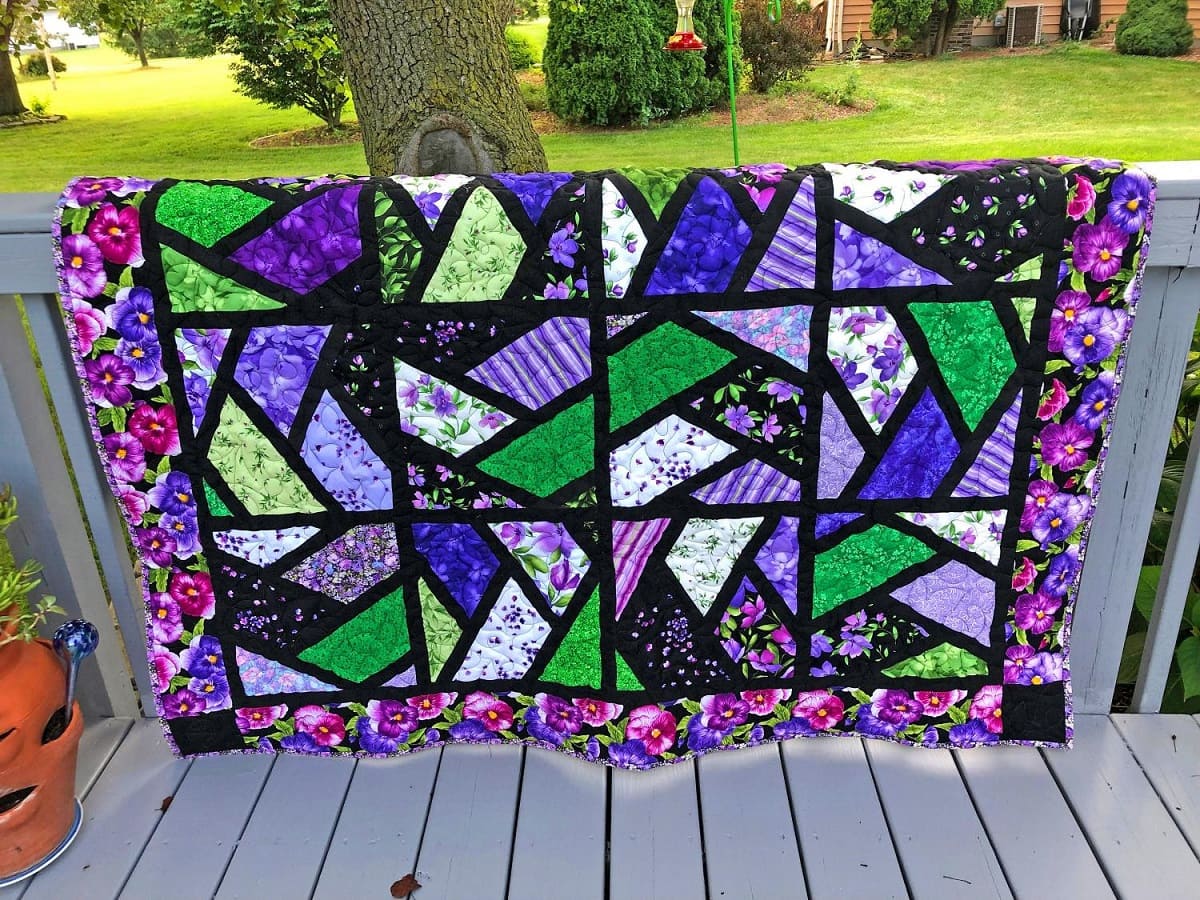
- Color Palette: Think about the color palette that will best suit your design aesthetic and the room’s decor. Stained glass comes in a variety of colors and textures, allowing you to create vibrant, muted, or monochromatic designs. Consider how different colors will interact when the lamp is lit, as the light will pass through the glass and create a beautiful display.
- Complexity: Assess your skill level and the amount of time you’re willing to dedicate to the project. If you’re a beginner, choosing a simpler design with fewer intricate details may be a good starting point. As you gain experience, you can gradually challenge yourself with more complex patterns and techniques.
- Inspiration: Look for inspiration in books, magazines, online galleries, and even nature. Take note of designs that catch your eye and use them as a starting point for creating your own unique lamp shade. You can also use pattern books or download printable patterns from stained glass websites.
Once you’ve considered these factors, it’s time to sketch out your design. Use graph paper or a design software to create a scaled drawing of your lamp shade. This will help you visualize the placement of glass pieces and ensure a balanced and cohesive design.
Remember, the design process is all about unleashing your creativity and making a personalized statement. Trust your instincts, embrace experimentation, and have fun exploring different design possibilities until you find the perfect fit for your stained glass lamp shade.
Preparing the Glass
Before you start cutting and shaping the glass for your stained glass lamp shade, it’s important to properly prepare the glass sheets. This preparation process ensures that the glass is clean, smooth, and ready for the cutting and assembly stages. Here are the steps to prepare the glass:
- Clean the Glass: Begin by cleaning each sheet of glass to remove any dirt, dust, or fingerprints. Use a glass cleaner or a mild dish soap diluted with water. Gently wipe the surface of the glass with a lint-free cloth or a soft sponge. Allow the glass to dry completely before moving on to the next step.
- Inspect for Flaws: Carefully inspect each sheet of glass for any flaws, such as cracks, chips, or scratches. These flaws can affect the integrity of the glass and may cause problems during the cutting and assembly process. Set aside any damaged pieces and choose alternative sheets that are in good condition for your project.
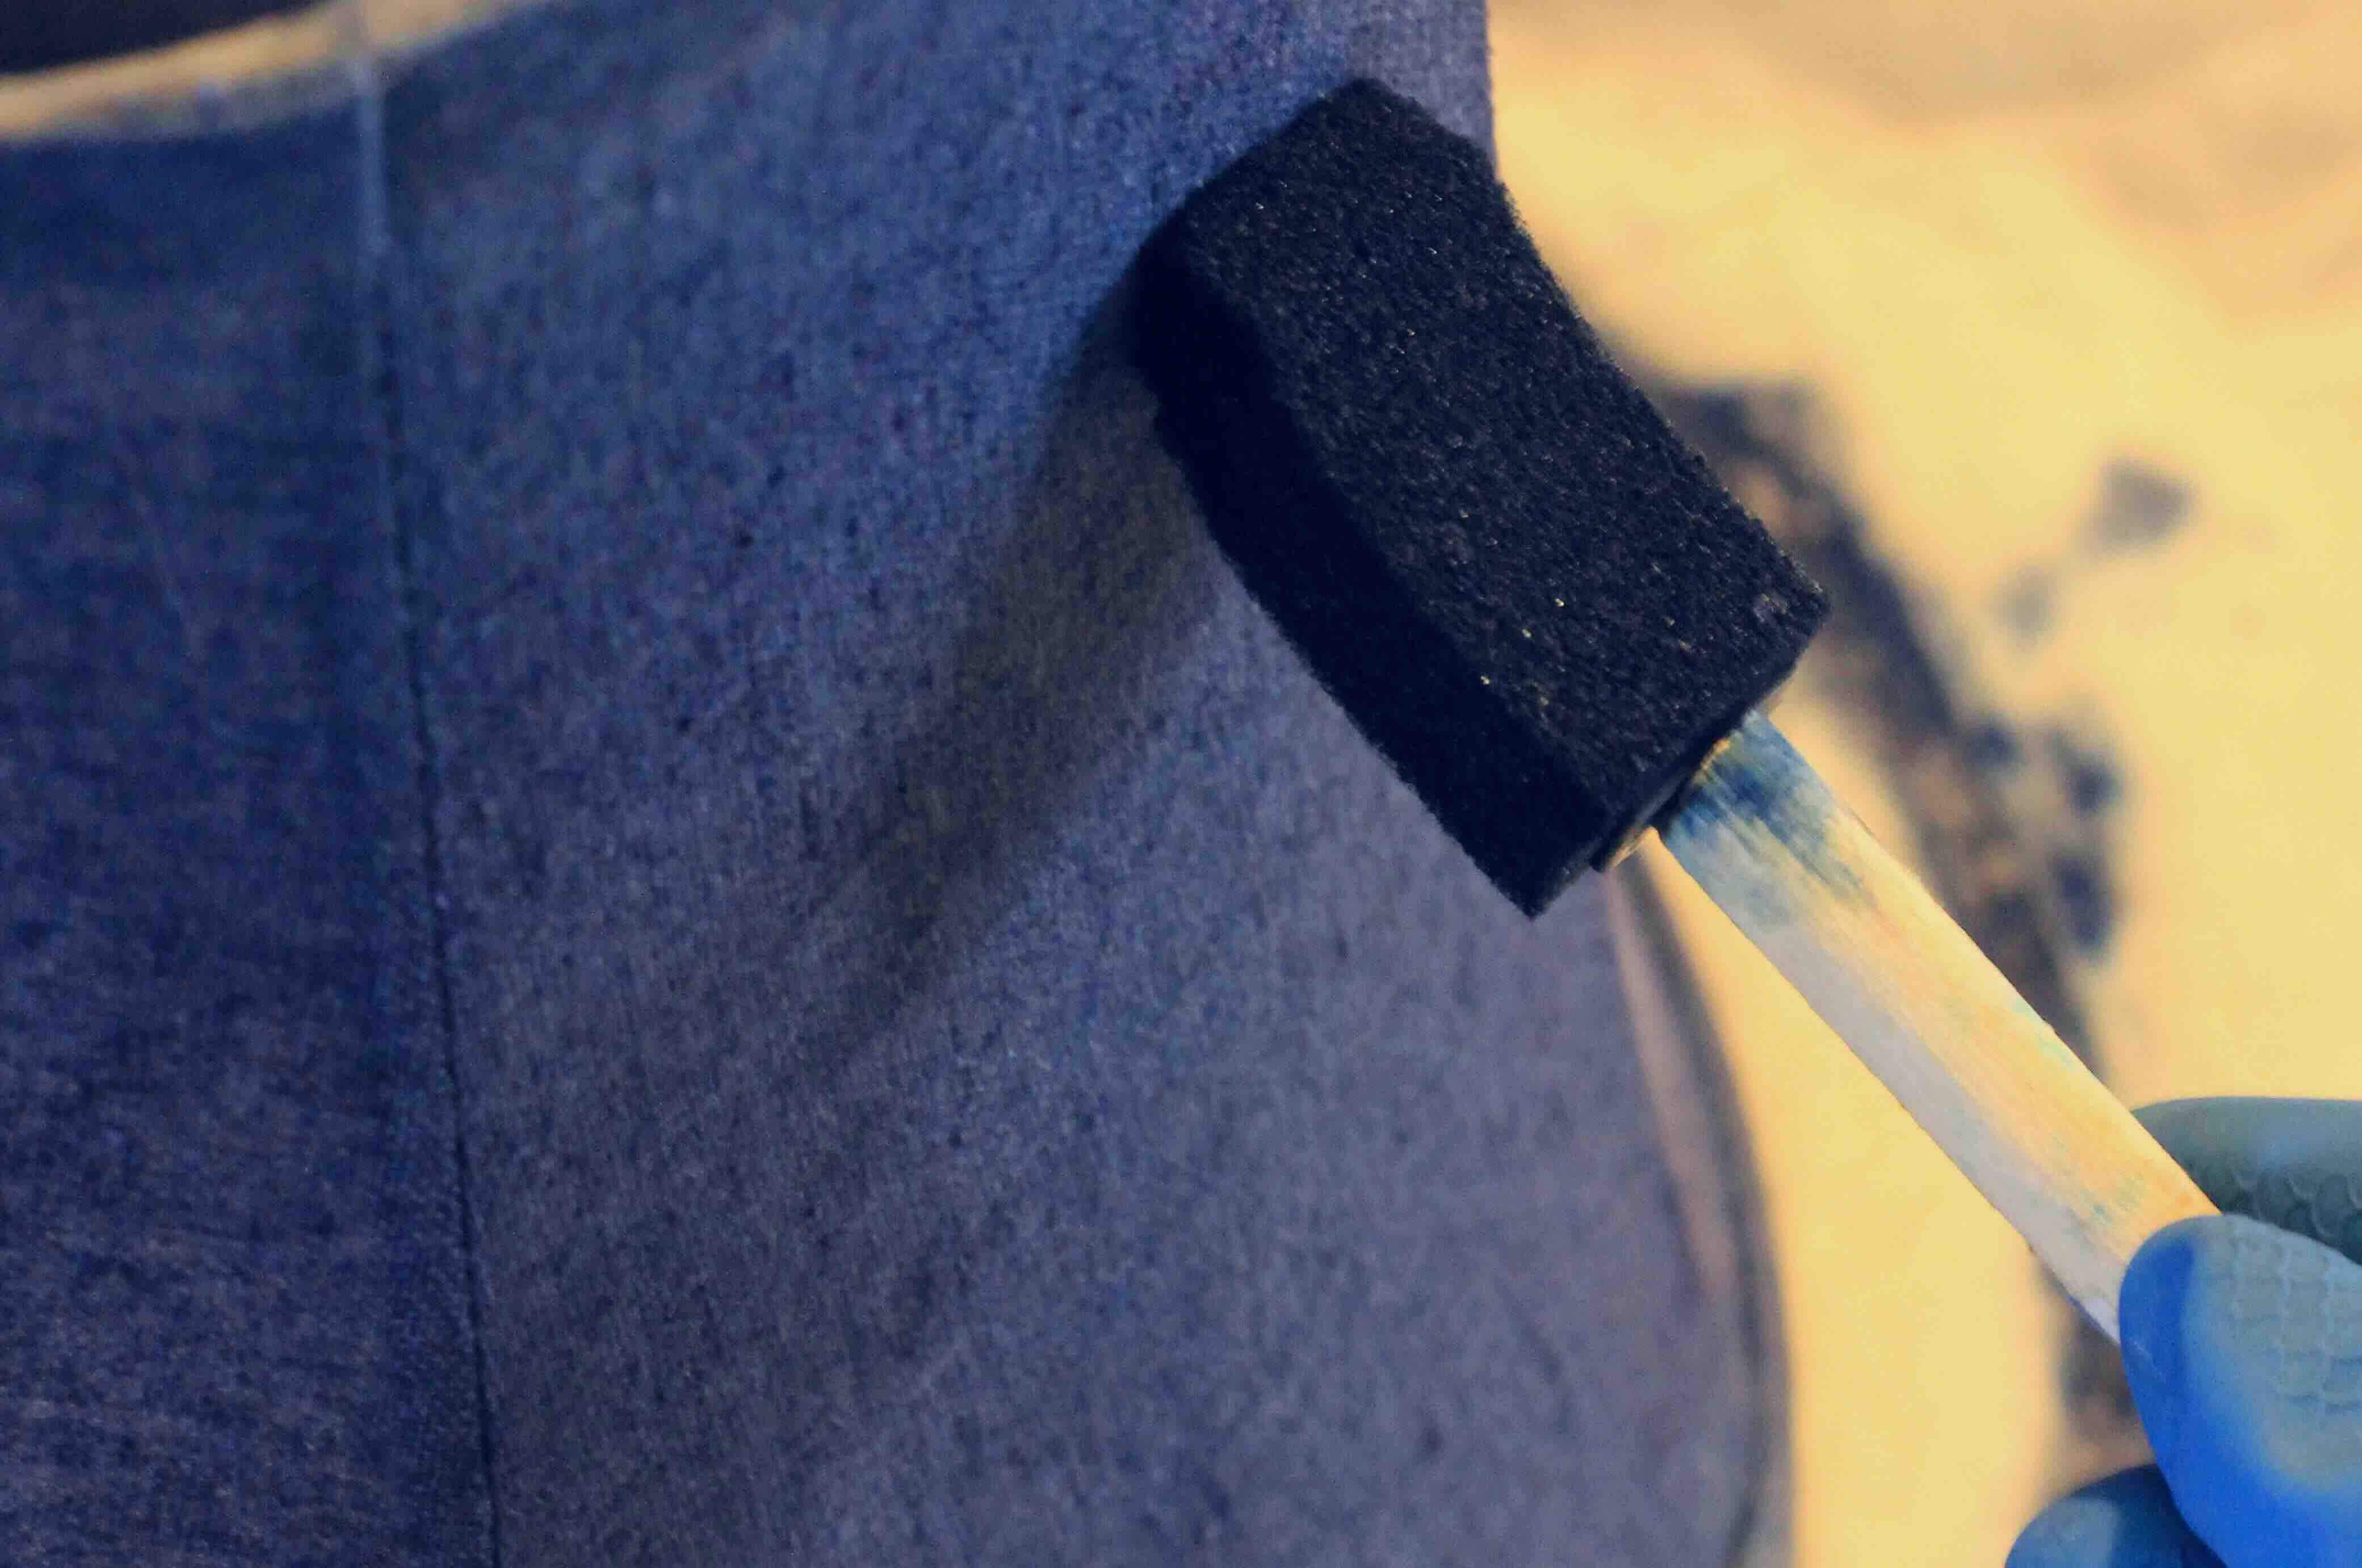
- Apply a Protective Coating (Optional): If desired, you can apply a thin layer of clear glass sealer to both sides of the glass sheets. This sealer helps prevent fingerprints, stains, and moisture from interfering with the transparency and color of the glass. Allow the sealer to dry according to the manufacturer’s instructions before proceeding.
- Pattern Transfer: Transfer your design onto the glass by placing the pattern template on top of the glass sheet and securing it in place. You can use pattern shears to cut the paper to fit the glass precisely. Trace the outline of the pattern onto the glass with a marker, ensuring that all lines and details are accurately transferred.
By following these steps, you ensure that your glass is clean, free from flaws, and ready to be transformed into your stained glass lamp shade. The preparation process sets the stage for a smooth and successful cutting and assembly process.
Now that you’ve prepared the glass, it’s time to move on to the exciting part – cutting the glass into the desired shapes for your stained glass lamp shade!
Cutting the Glass
The process of cutting the glass is a crucial step in creating your stained glass lamp shade. It requires precision and attention to detail to ensure that the glass pieces fit together seamlessly. Here are the steps to successfully cut the glass:
- Prepare the Cutting Area: Find a clean, well-lit, and flat surface to serve as your cutting area. Place a cutting mat or a thick piece of cardboard on the surface to protect it from scratches.
- Score the Glass: Using a glass cutter, hold it firmly in your hand and apply consistent pressure as you score along the lines of your pattern. Start from one edge of the glass and carefully move along the traced lines. Make sure your cuts are clean and extend from edge to edge. Avoid stopping and starting within a cut, as this can lead to inaccuracies in the final shape.
- Break the Glass: After scoring the glass, you need to break it along the scored lines. To do this, position the scored line just over the edge of a table or the edge of your cutting surface. Place one hand on each side of the scored line and apply equal and steady pressure to snap the glass apart. Use smooth and controlled movements to prevent the glass from fracturing in unintended areas.
- Refine the Edges: Once the glass is broken, you may notice rough edges or uneven edges. Use a glass grinder to smooth and refine the edges. Gently hold the glass against the grinder’s rotating wheel, applying light pressure as you move the glass along the curve of the wheel. Take care not to grind away too much glass or alter the shape of the piece.
Repeat the above steps for each piece of glass in your design, taking your time to ensure accuracy and precision. It’s important to note that cutting glass can be challenging, especially for beginners, so be patient and practice proper safety precautions. Always wear safety glasses and protective gloves to protect yourself from any potential accidents or injuries.
Remember, practice makes perfect when it comes to cutting glass. If you find that your first attempts are not as precise as you’d like, don’t be discouraged. With practice and experience, your cutting skills will improve, and you’ll be able to create beautifully shaped pieces for your stained glass lamp shade.
Next, we will learn how to grind and fit the pieces together to prepare for the assembly stage of your stained glass lamp shade.
When cutting glass for a stained glass lamp shade, always wear safety goggles to protect your eyes from any shards or splinters that may fly off during the cutting process.
Read more: How To Make A Paper Lamp Shades
Grinding and Fitting the Pieces
Once you have cut the glass pieces for your stained glass lamp shade, the next step is to grind and fit them together. This process involves refining the edges of the glass and ensuring that the pieces fit snugly for a seamless assembly. Follow these steps to grind and fit the glass pieces:
- Prepare the Glass Grinder: Set up your glass grinder according to the manufacturer’s instructions. Make sure to wear safety glasses and protective gloves during this process.
- Grind the Edges: Hold each glass piece against the grinder’s rotating wheel and move it in a gentle, circular motion. Start by grinding the edges that will be joined together. Aim to remove any rough or jagged areas so that the pieces fit together smoothly. Be careful not to grind away too much glass or alter the shape of the piece.
- Check the Fit: After grinding the edges, it’s important to check the fit of the glass pieces. Place them on your pattern or the surface where they will be assembled and ensure they fit together as desired. If any adjustments are needed, gently grind the edges until the pieces fit properly.
- Mark the Pieces: To maintain the alignment of the glass pieces during assembly, use a marker to mark corresponding points on adjacent pieces. These marks will serve as guides when you apply copper foil and solder the pieces together.
- Dry Assembly: Before moving on to the foiling and soldering stage, perform a dry assembly to ensure that all pieces fit together perfectly. This step allows you to identify any issues or adjustments that need to be made before permanently joining the glass pieces.
Grinding and fitting the glass pieces is a delicate process that requires attention to detail. Take your time to refine the edges, check the fit, and make any necessary adjustments. By doing so, you’ll ensure that the pieces fit together seamlessly, setting the stage for successful foiling and soldering.
Now that your glass pieces are ground and fitted, it’s time to move on to the next stage – foiling and soldering.
Foiling and Soldering
Foiling and soldering are essential steps in the assembly process of your stained glass lamp shade. These techniques not only hold the glass pieces together but also provide strength and stability to the final structure. Follow these steps to effectively foil and solder your glass pieces:
- Prepare the Copper Foil: Cut the copper foil into strips using scissors or a foil dispenser. The width of the foil should match the thickness of your glass. Lay the foil strips flat on a clean surface, sticky side up.
- Apply the Foil: Take one piece of glass at a time and carefully press it against the adhesive side of the copper foil. Start at one edge and firmly press the foil onto the glass, making sure it adheres tightly and wraps around the edges. Repeat the process for all the glass pieces in your design.
- Burnish the Foil: Use a burnisher or a small tool to rub the copper foil on each glass piece. Apply gentle pressure to smooth out any wrinkles or air bubbles and ensure a secure bond between the glass and the foil. This step is crucial for creating strong solder seams.
- Arrange the Foiled Pieces: Once all the glass pieces are foiled, arrange them according to your design, making sure they fit snugly together. Use the marks made during the fitting stage to align the pieces correctly.
- Solder the Joints: Heat your soldering iron and apply flux to the foiled joints. Using the soldering iron, touch the solder to the joint, letting it melt and flow around the foil and between the glass pieces. Create a continuous bead of solder along the entire length of each joint. Take care to ensure that the solder distributes evenly and creates a smooth, sturdy seam.
- Reinforce the Solder Joints: After soldering the joints, reinforce the seams by adding an extra layer of solder. This additional layer increases strength and stability. Smooth out any rough areas and blend the solder seamlessly with the glass surface.
Throughout the foiling and soldering process, focus on maintaining consistency in the solder lines. Aim for smooth and even seams, keeping the solder proportionate to the size of the glass pieces. Take breaks if needed to avoid fatigue and ensure optimal soldering results.
Remember, foiling and soldering can be challenging at first, but with practice and patience, you’ll improve your technique and achieve professional-looking results. The next step is to clean and finish your stained glass lamp shade.
Cleaning and Finishing
After completing the foiling and soldering process for your stained glass lamp shade, it’s important to clean and finish the piece to bring out its full beauty and ensure its longevity. Follow these steps to effectively clean and finish your lamp shade:
- Clean the Solder Lines: Use a soft brush or a toothbrush to gently scrub the solder lines with a mixture of water and mild dish soap. This will remove any flux residue, dirt, or fingerprints from the soldered surface. Rinse the lamp shade with clean water and pat it dry with a soft cloth.
- Apply Patina (Optional): If desired, you can enhance the appearance of the solder lines by applying patina. Patina is available in various colors and finishes. Using a small brush, carefully apply the patina to the solder lines, following the manufacturer’s instructions. Allow the patina to dry completely.
- Clean the Glass: Use a glass cleaner specifically designed for stained glass to clean the glass portions of your lamp shade. Spray the cleaner onto a lint-free cloth or paper towel and gently wipe the glass to remove any smudges or fingerprints. Avoid spraying the cleaner directly onto the glass to prevent it from seeping into the foiled joints.
- Buff the Glass: For an added shine, use a dry, lint-free cloth to buff the glass surfaces of your lamp shade. Make sure to remove any streaks or residue from the cleaning process. This step will give your lamp shade a beautiful, polished finish.
By cleaning and finishing your stained glass lamp shade, you’ll not only improve its aesthetic appeal but also ensure its overall durability and longevity. Regular maintenance and cleaning will help preserve the beauty of the glass and maintain the integrity of the soldered seams.
Once the cleaning and finishing process is complete, the final step is to attach the lamp shade to the lamp base and prepare it for illumination.
Attaching the Shade to the Lamp
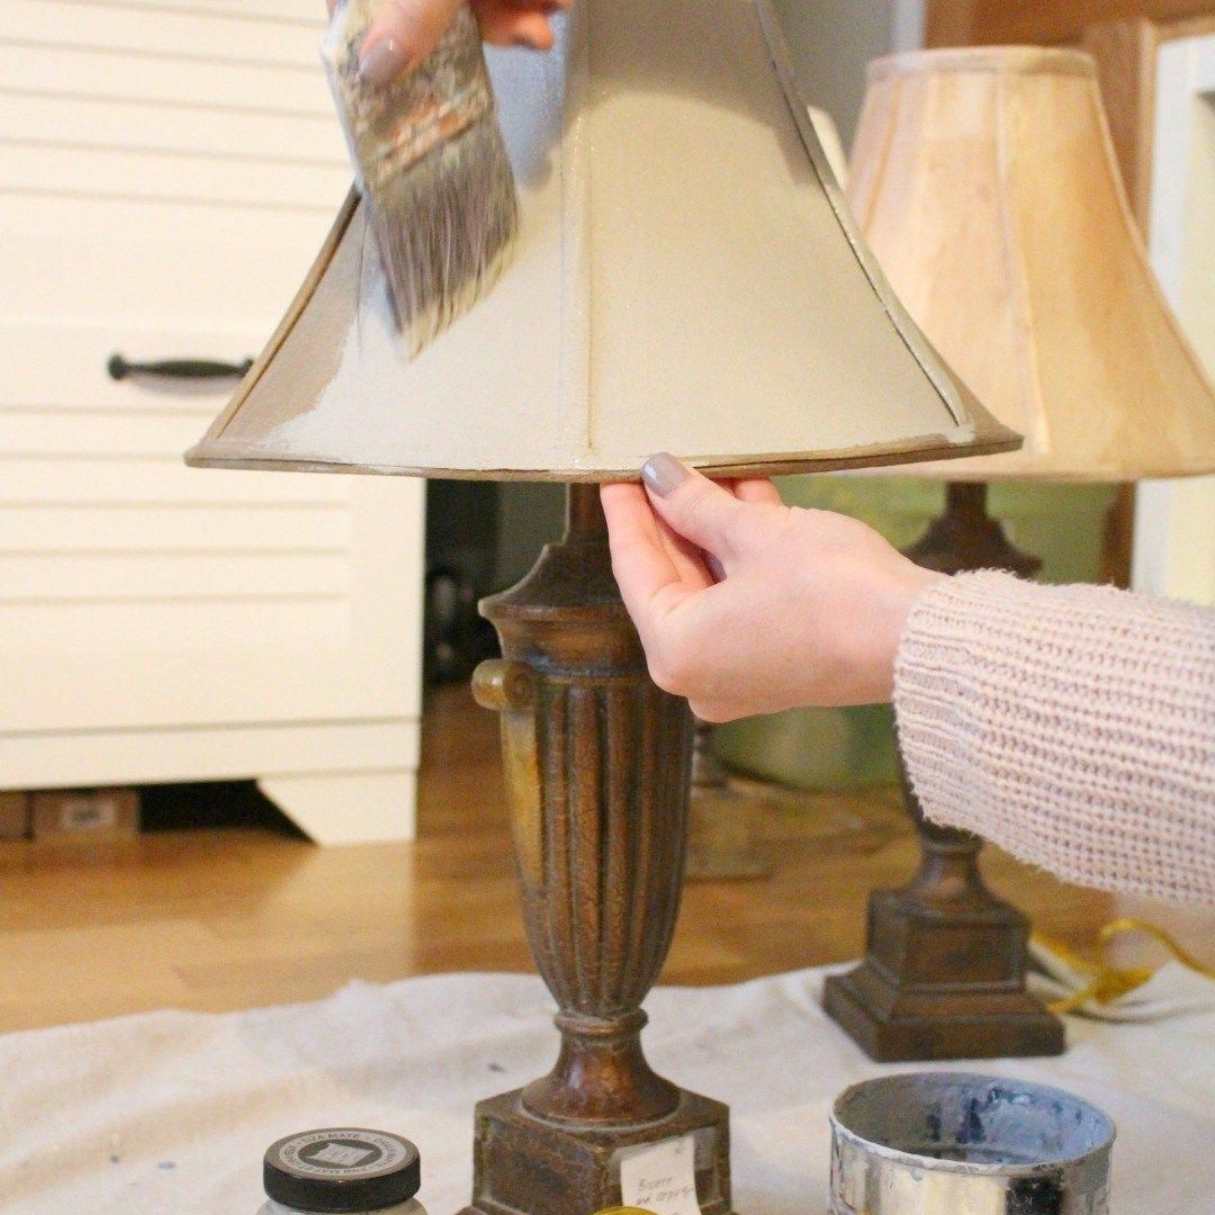
Attaching the stained glass lamp shade to the lamp base is the final step in bringing your creation to life. This process requires careful handling and secure attachment to ensure the lamp shade remains stable and aligned. Follow these steps to effectively attach the shade to the lamp:
- Prepare the Lamp Base: Ensure that the lamp base is clean and free from any dust or debris. Make sure the lamp base has a standard socket and electrical cord that is in good condition.
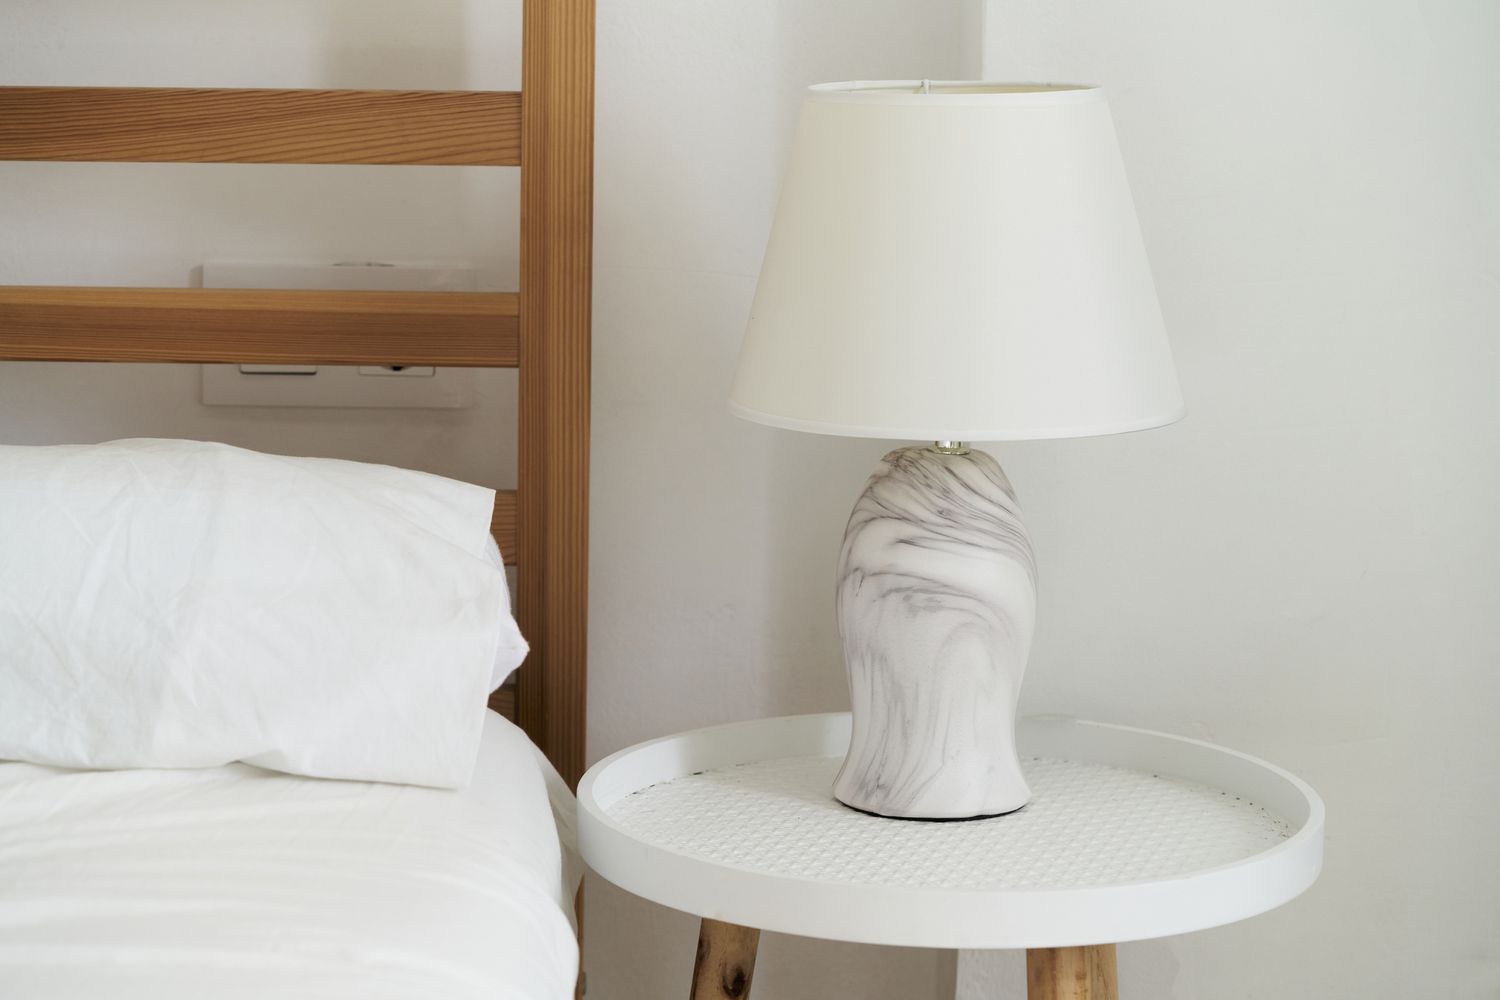
- Center the Shade: Center the lamp shade on the lamp base. Adjust the position until the shade is balanced and symmetrically aligned with the base. Take care to check the shade from different angles to ensure it looks visually appealing from all sides.
- Secure the Shade: Depending on the type of lamp base, there are different methods to secure the shade. Some lamp bases have a threaded rod or finial that can be used to hold the shade in place. Others may require additional hardware or adhesive to secure the shade.
- Threaded Rod or Finial: If your lamp base has a threaded rod or finial, carefully place the shade onto the socket and align it with the rod. Slowly thread the finial or nut onto the rod, starting with a few turns by hand. Once it is securely in place, use a screwdriver or pliers to tighten the finial or nut further. Take caution not to overtighten and risk damaging the shade or the base.
- Additional Hardware: If your lamp base does not have a threaded rod or finial, you may need to use additional hardware to secure the shade. Consult with the lamp base manufacturer or a hardware store for suitable options. Follow the provided instructions to install the hardware, ensuring that the shade is stable and aligned.
- Test the Stability: Once the shade is attached, gently test the stability by carefully moving and adjusting the lamp. Ensure that the shade remains securely in place without any wobbling or tilting. If needed, make any necessary adjustments to ensure a stable and balanced fit.
By following these steps, you will successfully attach the stained glass lamp shade to the lamp base, completing your project. Take a moment to step back and admire your beautiful creation, knowing that you have completed a labor of love and craftsmanship.
Now, all that’s left is to add a light bulb and enjoy the mesmerizing play of colors and patterns that your stained glass lamp shade will bring to any space!
Read more: How To Make A Macrame Lamp Shade
Conclusion
Congratulations on creating your own stained glass lamp shade! You’ve embarked on a journey of creativity and craftsmanship, transforming sheets of glass into a stunning work of art. As you’ve learned throughout this guide, making a stained glass lamp shade requires patience, attention to detail, and a passion for the craft.
From choosing a design to cutting and shaping the glass, from foiling and soldering to cleaning and finishing, every step has contributed to the creation of your unique lamp shade. The process may have been challenging at times, but the end result is undoubtedly worth it.
Your stained glass lamp shade not only adds beauty and elegance to any room but also serves as a testament to your artistic ability and personal style. It is a true focal point, attracting attention and admiration from all who see it.
Remember, your journey as a stained glass artist doesn’t end here. Each project you undertake will help you further refine your skills and explore new design possibilities. Feel free to experiment with different colors, textures, and techniques to create even more elaborate and intricate stained glass lamp shades.
Additionally, consider sharing your newfound knowledge and passion with others. You may inspire someone else to embark on their own stained glass adventure, fostering creativity and spreading the joy of this timeless art form.
Now, find the perfect spot for your stained glass lamp shade, illuminate it with a warm bulb, and watch as the colors dance and cast a mesmerizing glow across the room. Take a moment to appreciate the beauty of your creation and the satisfaction that comes with bringing an idea to life.
Enjoy the ambiance and personalized touch that your stained glass lamp shade brings to your space. Revel in the knowledge that you have not only crafted a functional piece of decor but created a beautiful and unique work of art with your own hands.
Congratulations once again on your stained glass lamp shade masterpiece, and may your creative journey continue to flourish!
Frequently Asked Questions about How To Make A Stained Glass Lamp Shade
Was this page helpful?
At Storables.com, we guarantee accurate and reliable information. Our content, validated by Expert Board Contributors, is crafted following stringent Editorial Policies. We're committed to providing you with well-researched, expert-backed insights for all your informational needs.


0 thoughts on “How To Make A Stained Glass Lamp Shade”