Home>Furniture & Design>Interior Design Trends>How To Create Stained Glass
Interior Design Trends
How To Create Stained Glass
Modified: February 18, 2024
Learn how to incorporate the latest interior design trend of stained glass into your home decor. Discover tips and ideas for creating stunning stained glass features. Elevate your interior design with this timeless trend.
(Many of the links in this article redirect to a specific reviewed product. Your purchase of these products through affiliate links helps to generate commission for Storables.com, at no extra cost. Learn more)
Introduction
Stained glass art has a rich history dating back to ancient times, and its timeless beauty continues to captivate people around the world. The intricate designs and vibrant colors of stained glass have adorned cathedrals, palaces, and homes, adding a touch of elegance and artistry to any space. Creating stained glass artwork is a rewarding and fulfilling craft that allows individuals to express their creativity while mastering a traditional art form.
The process of creating stained glass involves a series of intricate steps, from selecting the right materials to carefully crafting and assembling the glass pieces. Each stage requires precision, patience, and a keen eye for detail, making stained glass art both challenging and immensely satisfying. Whether you are a seasoned artisan or a novice enthusiast, delving into the world of stained glass art offers a unique opportunity to explore the intersection of art, craftsmanship, and design.
In this comprehensive guide, we will delve into the art of creating stained glass, providing step-by-step instructions and valuable insights to help you embark on your stained glass journey. From selecting the perfect design to mastering the techniques of cutting, foiling, and soldering, this guide will equip you with the knowledge and skills needed to bring your stained glass visions to life. Additionally, we will explore the various materials and tools essential for creating stained glass artwork, ensuring that you are well-prepared to embark on this creative endeavor.
Whether you aspire to craft a stunning stained glass window, a decorative panel, or a unique piece of art, this guide will serve as your companion, offering guidance and inspiration as you venture into the captivating world of stained glass artistry. With dedication, practice, and a passion for creativity, you can unlock the potential to create breathtaking stained glass masterpieces that will be cherished for generations to come. Let's embark on this artistic journey and discover the enchanting realm of stained glass craftsmanship together.
Key Takeaways:
- Dive into the captivating world of stained glass artistry with this comprehensive guide, from selecting materials to mastering techniques, and create timeless masterpieces that captivate and inspire.
- Unleash your creativity and bring your stained glass visions to life with precision and passion. From choosing designs to mastering cutting and soldering, embark on a fulfilling artistic journey.
Read more: How To Stain A Glass
Materials and Tools Needed
Creating stunning stained glass artwork requires a precise selection of materials and tools to ensure the successful execution of your designs. From glass cutters to soldering irons, each item plays a crucial role in the intricate process of crafting stained glass masterpieces. Here's a comprehensive list of the essential materials and tools needed to embark on your stained glass journey:
Glass:
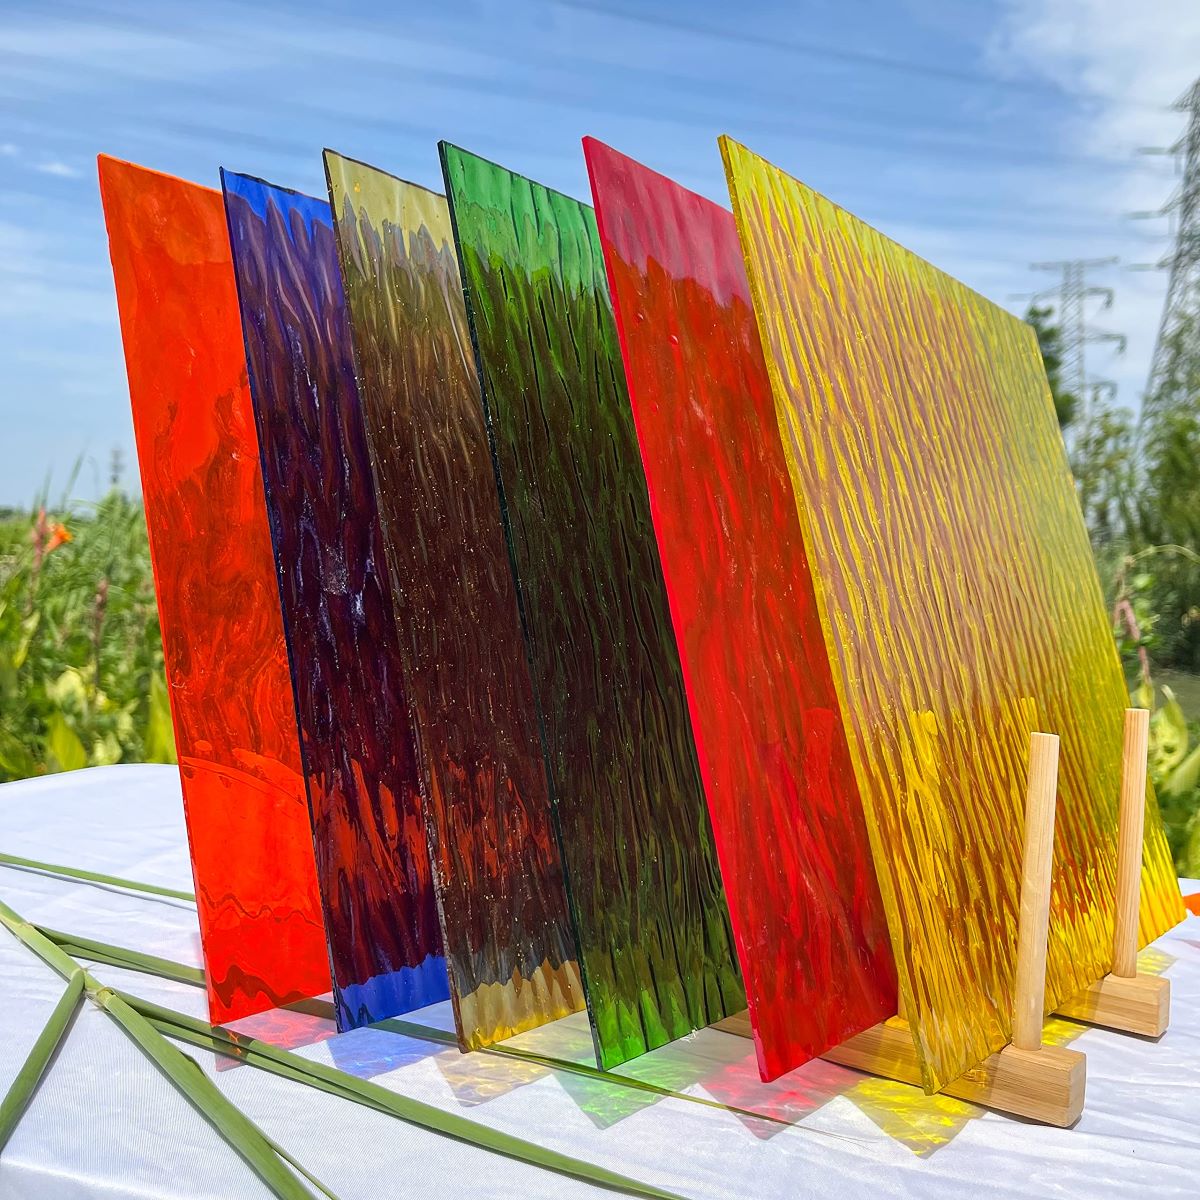
- Sheet Glass: Select a variety of colored sheet glass to bring your designs to life. Consider the transparency, texture, and opalescence of the glass to achieve the desired visual effects.
- Scrap Glass: Keep an assortment of scrap glass pieces for practice cuts and experimentation with different techniques.
Tools:
- Glass Cutter: Invest in a high-quality glass cutter with a carbide wheel for precise scoring and breaking of glass sheets.
- Glass Breaker/Grozer Pliers: These pliers are essential for breaking glass along score lines and shaping glass edges.
- Glass Grinder: A grinder with diamond bits is indispensable for smoothing and shaping glass edges after cutting.
- Foiling Tools: Acquire a foiling tool to apply copper foil smoothly and evenly around the edges of glass pieces.
- Soldering Iron: A temperature-controlled soldering iron with a fine tip is essential for soldering copper foil seams and assembling glass pieces.
- Solder: Use lead-free solder for a safe and durable bond between the foiled glass pieces.
- Flux: An essential component for the soldering process, flux promotes the flow of solder and ensures strong, clean seams.
- Soldering Iron Stand: A stand provides a safe place to rest the hot soldering iron when not in use.
- Safety Gear: Prioritize safety with protective eyewear, gloves, and a well-ventilated workspace to minimize exposure to glass shards and soldering fumes.
Additional Supplies:
- Copper Foil: Choose a suitable width of copper foil to wrap around the edges of glass pieces before soldering.
- Pattern and Tracing Paper: Utilize pattern paper for designing and tracing paper for transferring patterns onto glass.
- Patina and Polish: Invest in patina to chemically treat solder seams for a professional finish, and a glass polish to enhance the luster of your artwork.
By assembling these essential materials and tools, you will be well-equipped to embark on your stained glass endeavors with confidence and precision. Each item serves a specific purpose in the creation of stained glass art, ensuring that you have the necessary resources to bring your artistic visions to fruition. With these foundational elements in place, you are ready to move on to the next exciting phase of your stained glass journey: choosing a design.
Read more: How To Hang Stained Glass
Choosing a Design
Selecting a design is a pivotal step in the creation of stained glass artwork, as it sets the foundation for the entire creative process. When choosing a design, consider the visual impact, complexity, and personal significance of the subject matter. Whether you opt for a traditional floral motif, a geometric pattern, or a custom design inspired by nature, the possibilities are as diverse as your imagination.
Begin by exploring various sources of inspiration, such as art books, architectural elements, or even your surroundings. Nature often serves as a boundless wellspring of inspiration, offering an array of organic shapes, textures, and colors that can be translated into captivating stained glass designs. Additionally, historical patterns, cultural motifs, and contemporary art can provide valuable insights and ideas for your stained glass creations.
As you contemplate different design options, consider the scale and intended placement of your artwork. Will it adorn a window, a door, or a standalone panel? Understanding the spatial context in which the stained glass will be displayed can influence the design's composition and overall aesthetic. For instance, a window panel may benefit from designs that play with light and transparency, while a freestanding panel could accommodate intricate details and vibrant colors.
Furthermore, take into account the technical aspects of the design, especially if you are new to stained glass art. Opting for a simpler design with well-defined shapes and minimal intricate details can facilitate the cutting, foiling, and assembly processes, allowing you to hone your skills while creating a visually striking piece. As you gain proficiency and confidence, you can gradually venture into more elaborate and challenging designs, pushing the boundaries of your artistic capabilities.
Ultimately, the design you choose should resonate with your artistic vision and evoke a sense of personal connection. Whether it reflects your cultural heritage, celebrates a cherished memory, or simply captures the beauty of the world around you, your chosen design should inspire and motivate you throughout the creative journey. By carefully selecting a design that speaks to your heart and ignites your creativity, you lay the groundwork for a truly meaningful and captivating stained glass masterpiece.
Preparing the Glass
Preparing the glass is a crucial preliminary step in the creation of stained glass artwork, ensuring that the glass surfaces are clean, smooth, and ready for the intricate processes that lie ahead. This stage involves meticulous attention to detail and a focus on achieving the ideal foundation for cutting, foiling, and assembling the glass pieces.
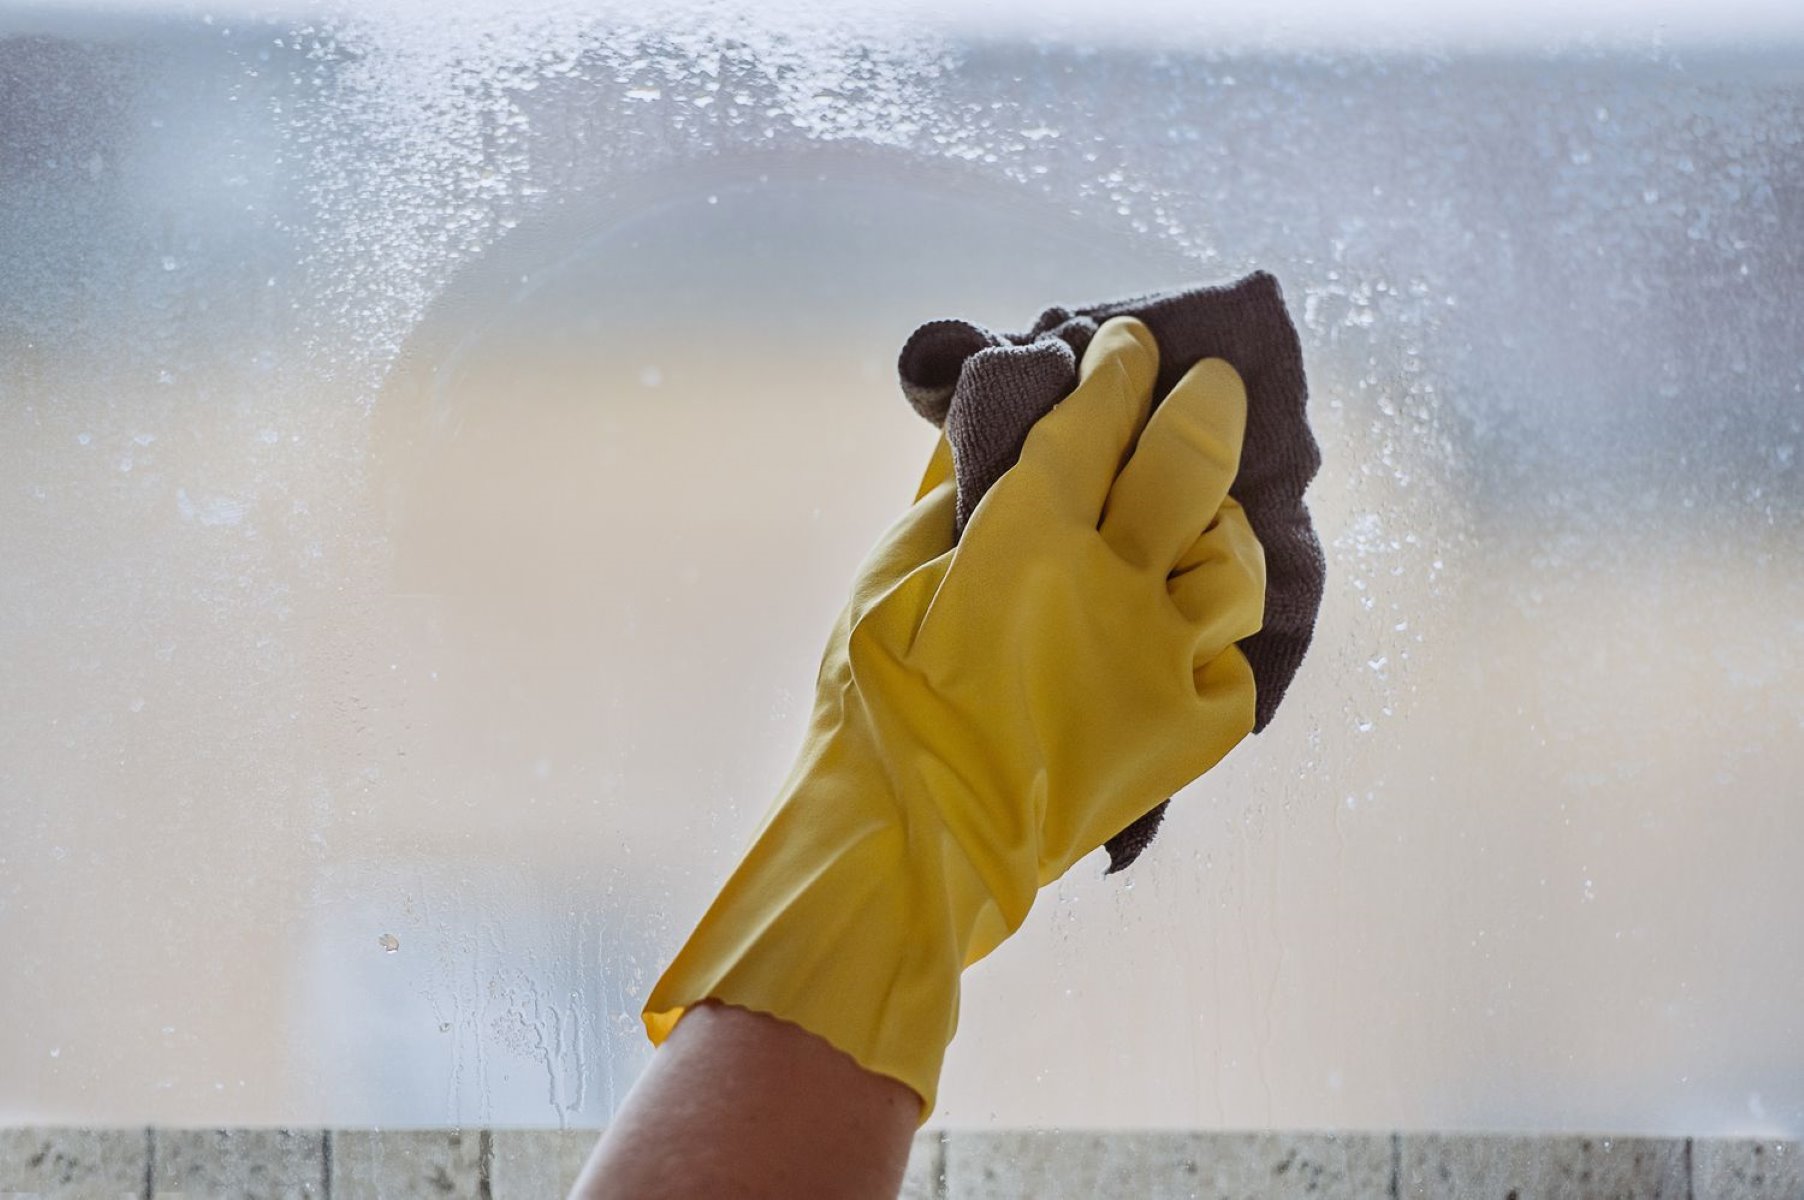
To begin, gather the selected sheet glass and inspect each piece for any imperfections, such as scratches, blemishes, or irregularities. Carefully clean the glass surfaces using a mild detergent or glass cleaner to remove any dust, fingerprints, or residue that may hinder the cutting and foiling processes. Thoroughly drying the glass with a lint-free cloth is essential to prevent watermarks and ensure a pristine surface for the next steps.
Once the glass is clean and dry, assess the texture and orientation of each sheet to determine the most suitable areas for cutting. Consider the direction of the glass grain and any unique features, such as streaks or swirls, that can enhance the visual appeal of the final artwork. By taking the time to evaluate the characteristics of the glass, you can strategically plan the placement of your design elements to maximize the inherent beauty of the material.
In addition to visual inspection, it is important to handle the glass with care to avoid unnecessary breakage or damage. Utilize a sturdy work surface, such as a dedicated glass-cutting table or a smooth, flat area covered with a protective layer, to support the glass during the preparation process. This minimizes the risk of accidental breakage and provides a stable foundation for precise cutting and handling.
Furthermore, consider the layout of your design and the dimensions of the glass pieces needed for each element. Using pattern and tracing paper, transfer the design onto the glass surfaces with precision, ensuring that the outlines are clearly defined and accurately represent the intended shapes and contours. This step lays the groundwork for the subsequent cutting process, guiding you as you transform the pristine glass sheets into the individual components of your stained glass masterpiece.
By meticulously preparing the glass with attention to cleanliness, texture, handling, and design layout, you establish a solid starting point for the intricate craft of creating stained glass artwork. This meticulous preparation sets the stage for the next phase: cutting the glass, where precision and skill come together to shape the raw material into the envisioned elements of your design.
Cutting the Glass
The process of cutting glass is a delicate and precise art that requires skill, patience, and a steady hand. This crucial stage transforms the pristine glass sheets into the individual components of your design, laying the foundation for the intricate assembly of your stained glass artwork.
To begin, gather your glass cutter and a suitable work surface, ensuring that you have a stable and well-lit area to facilitate the cutting process. Before making any cuts, it is essential to familiarize yourself with the glass cutter and practice scoring on scrap glass to gauge the pressure and technique required for clean, accurate cuts.
When cutting the glass, it is crucial to score along the intended lines with a confident, fluid motion, applying consistent pressure to create a visible line without exerting excessive force that could result in breakage. The precision of the score line determines the success of the subsequent breaking process, making it imperative to maintain a steady hand and a focused mindset throughout the cutting endeavor.
Once the glass is scored, employ grozer pliers to carefully break the glass along the scored line, exerting gentle pressure to encourage a clean separation. It is essential to exercise caution and patience during this step, as the controlled breaking of the glass determines the accuracy and integrity of the resulting pieces.
As you progress through the cutting process, pay close attention to the specific shapes and dimensions required for each element of your design, ensuring that the glass pieces align with the traced outlines and fit seamlessly into the overall composition. Precision and attention to detail are paramount, as they dictate the cohesion and visual harmony of the assembled artwork.
Moreover, embrace the learning curve and allow yourself the opportunity to refine your cutting skills through practice and experimentation. Each cut presents an opportunity to hone your technique and gain a deeper understanding of the glass's behavior, empowering you to execute increasingly intricate and refined cuts as you advance in your stained glass journey.
By mastering the art of cutting glass with precision and finesse, you lay the groundwork for the subsequent stages of foiling, soldering, and assembly, setting the stage for the realization of your stained glass vision. With each carefully executed cut, you inch closer to transforming raw glass into a captivating work of art, infused with your creativity and dedication to the timeless craft of stained glass.
Foiling the Glass
Foiling the glass is a pivotal stage in the creation of stained glass artwork, marking the transition from individual glass pieces to a cohesive assembly ready for soldering. This process involves meticulously wrapping the edges of each cut glass piece with copper foil, a crucial step that facilitates the secure bonding of the pieces and ensures structural integrity.
To begin, select the appropriate width of copper foil based on the thickness of the glass and the desired aesthetic outcome. The foil should wrap around the edges of the glass smoothly and evenly, providing a uniform surface for the solder to adhere to. With precision and care, apply the copper foil to the perimeter of each glass piece, ensuring that the edges are fully covered and the foil adheres securely to the glass surface.
As you foil the glass pieces, pay close attention to the corners and intricate contours, adjusting the foil to conform to the shape of the glass and maintain a consistent width along the entire perimeter. This meticulous approach ensures that the foil encapsulates the edges of the glass, creating a seamless transition from one piece to the next.
Furthermore, burnish the foil gently with a fid or a specialized tool to ensure firm adhesion and smooth, wrinkle-free application. The burnishing process not only enhances the bond between the foil and the glass but also contributes to the overall visual appeal of the foiled pieces, preparing them for the subsequent soldering stage.
Additionally, consider the positioning of the foiled glass pieces in relation to the overall design, ensuring that they align accurately with the traced outlines and fit seamlessly into the intended composition. This attention to detail sets the stage for a cohesive and visually harmonious assembly, where each foiled piece contributes to the unified beauty of the stained glass artwork.
By meticulously foiling each glass piece with precision and care, you prepare the foundation for the next phase: soldering the glass. The successful completion of the foiling process sets the stage for the seamless integration of the glass pieces, bringing your stained glass vision one step closer to realization.
When creating stained glass, always wear safety goggles to protect your eyes from glass shards. Use a glass cutter to make precise cuts and always handle the glass with care to avoid injury.
Read more: How To Solder Stained Glass
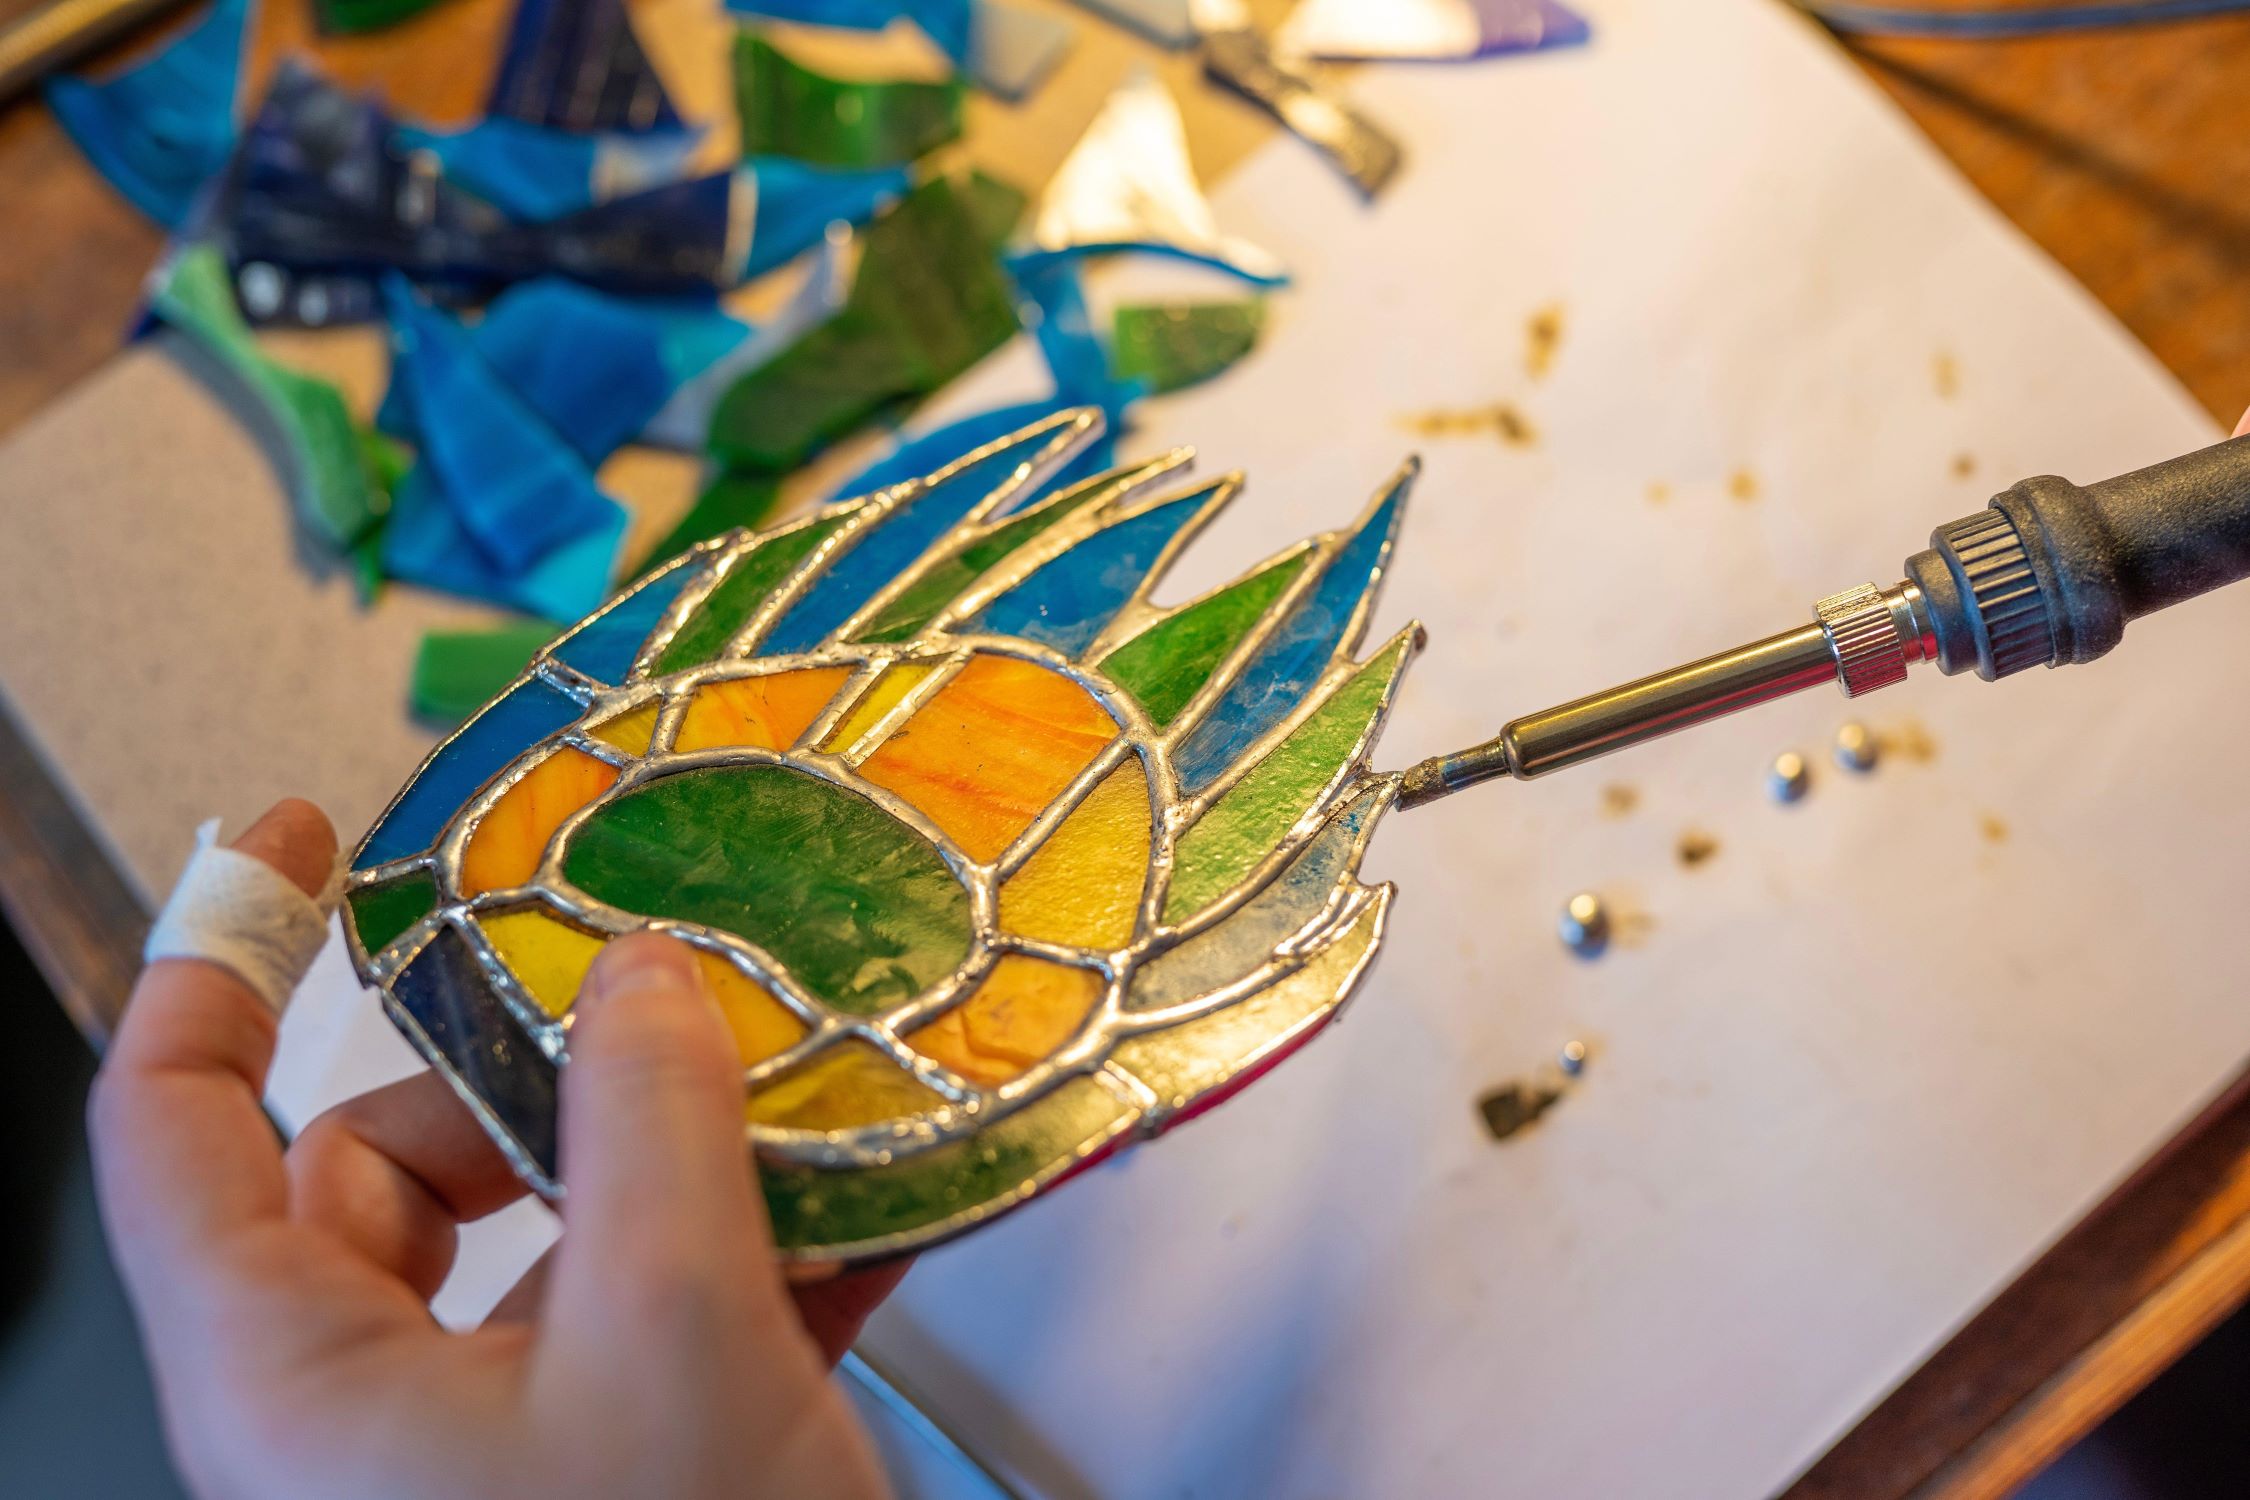
Soldering the Glass
Soldering the glass is a pivotal stage in the creation of stained glass artwork, where individual foiled glass pieces are skillfully united to form a cohesive and enduring assembly. This transformative process involves the application of solder, a fusible metal alloy, to create secure bonds between the foiled glass edges, ultimately shaping the intricate design into a unified masterpiece.
To commence the soldering process, ensure that your soldering iron is heated to the appropriate temperature, allowing the solder to flow smoothly and create strong, durable seams. A temperature-controlled soldering iron with a fine tip is essential for achieving precise and controlled application of the solder, ensuring that the foiled glass pieces are seamlessly joined without excessive heat exposure.
As you embark on the soldering journey, approach each foiled glass seam with deliberate and steady movements, allowing the molten solder to flow evenly along the copper foil and create a robust bond between the adjacent glass pieces. The rhythmic motion of the soldering iron, coupled with a judicious application of solder, yields clean, uniform seams that enhance the structural integrity and visual appeal of the assembled artwork.
Furthermore, prioritize the flux, a vital component that promotes the flow of solder and facilitates the formation of strong, clean seams. Apply a thin layer of flux along the foiled seams before soldering, ensuring that it covers the copper foil and prepares the surface for the solder to adhere effectively. The flux not only aids in the soldering process but also contributes to the overall strength and longevity of the assembled glass pieces.
As you navigate the intricate landscape of soldering, exercise patience and precision, allowing the solder to solidify and form resilient bonds that withstand the test of time. Embrace the opportunity to refine your soldering technique, honing your ability to create seamless, visually captivating seams that elevate the craftsmanship and artistry of your stained glass creation.
Moreover, prioritize safety throughout the soldering process, wearing protective eyewear and gloves to minimize exposure to hot solder and flux. Additionally, ensure adequate ventilation in your workspace to mitigate the fumes produced during the soldering endeavor, fostering a safe and comfortable environment for the realization of your stained glass vision.
By mastering the art of soldering with finesse and dedication, you bring the individual foiled glass pieces together, uniting them into a cohesive and enduring assembly that embodies the timeless allure of stained glass art. With each carefully soldered seam, you breathe life into your design, infusing it with strength, beauty, and the promise of lasting legacy.
Cleaning and Finishing
Cleaning and finishing are the essential final steps in the creation of stained glass artwork, marking the culmination of meticulous craftsmanship and attention to detail. This stage encompasses a series of critical tasks aimed at refining the visual presentation, enhancing the structural integrity, and ensuring the enduring beauty of the completed stained glass masterpiece.
To commence the cleaning process, carefully inspect the soldered seams and glass surfaces for any residual flux, oxidation, or debris resulting from the soldering stage. Utilize a mild detergent or specialized glass cleaner to gently cleanse the soldered seams and glass panels, removing any traces of flux and soldering residue. Thoroughly drying the artwork with a lint-free cloth is imperative to prevent watermarks and ensure a pristine, lustrous surface that showcases the vibrant colors and intricate details of the stained glass.
Following the cleansing phase, shift your focus to the finishing touches that elevate the visual appeal and longevity of the stained glass artwork. Consider applying a patina to the soldered seams, a chemical treatment that imparts a uniform, professional finish while enhancing the contrast and definition of the solder lines. The application of patina not only adds a touch of sophistication to the artwork but also serves as a protective layer, safeguarding the soldered seams from tarnishing and environmental factors.
Once the patina has been applied and allowed to set, proceed to polish the entire stained glass artwork using a high-quality glass polish. This final step accentuates the luster and clarity of the glass, unveiling its inherent brilliance and captivating radiance. The gentle buffing and polishing process not only enhance the visual allure of the artwork but also contribute to its resilience and longevity, ensuring that the stained glass masterpiece retains its timeless beauty for years to come.
As you meticulously clean and finish the stained glass artwork, take pride in the culmination of your dedication and artistry, knowing that each carefully executed step contributes to the enduring allure and craftsmanship of the completed masterpiece. With the artwork now gleaming with brilliance and adorned with the professional finish of patina, it is ready to take its place as a captivating centerpiece, a cherished window panel, or a treasured work of art that embodies the timeless elegance and artistry of stained glass craftsmanship.
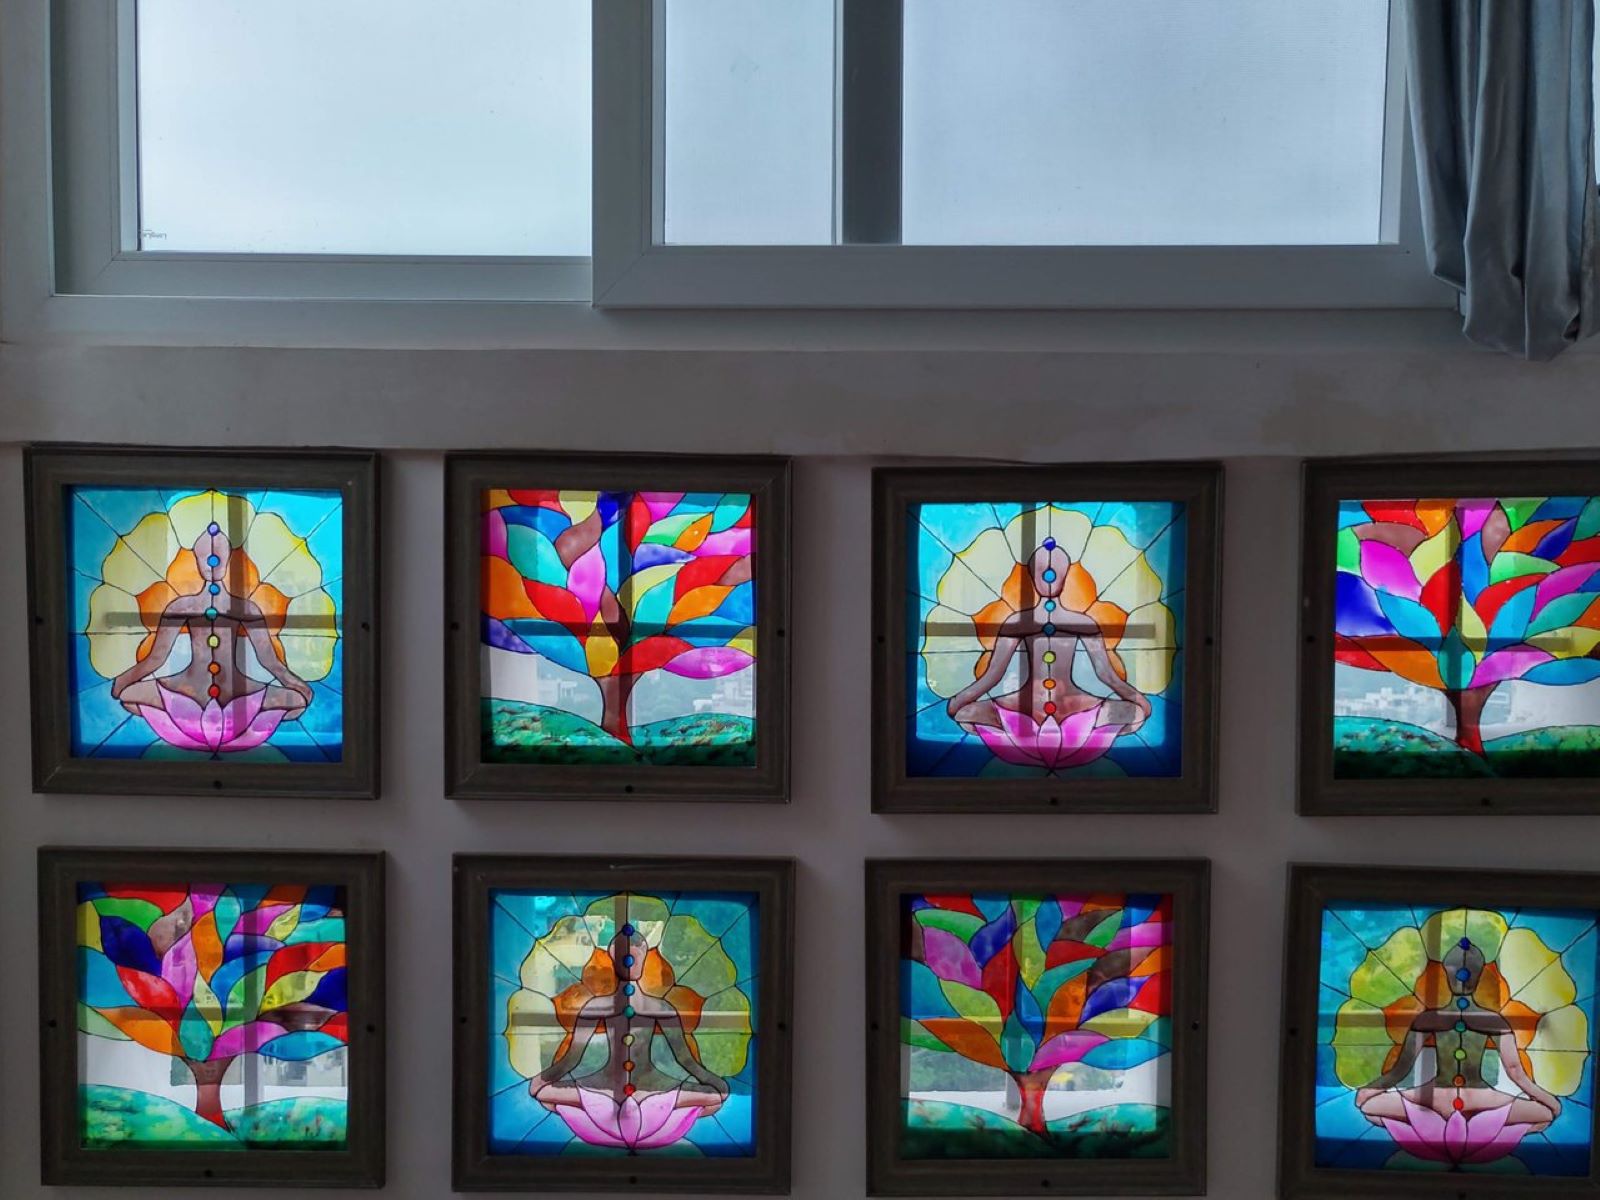
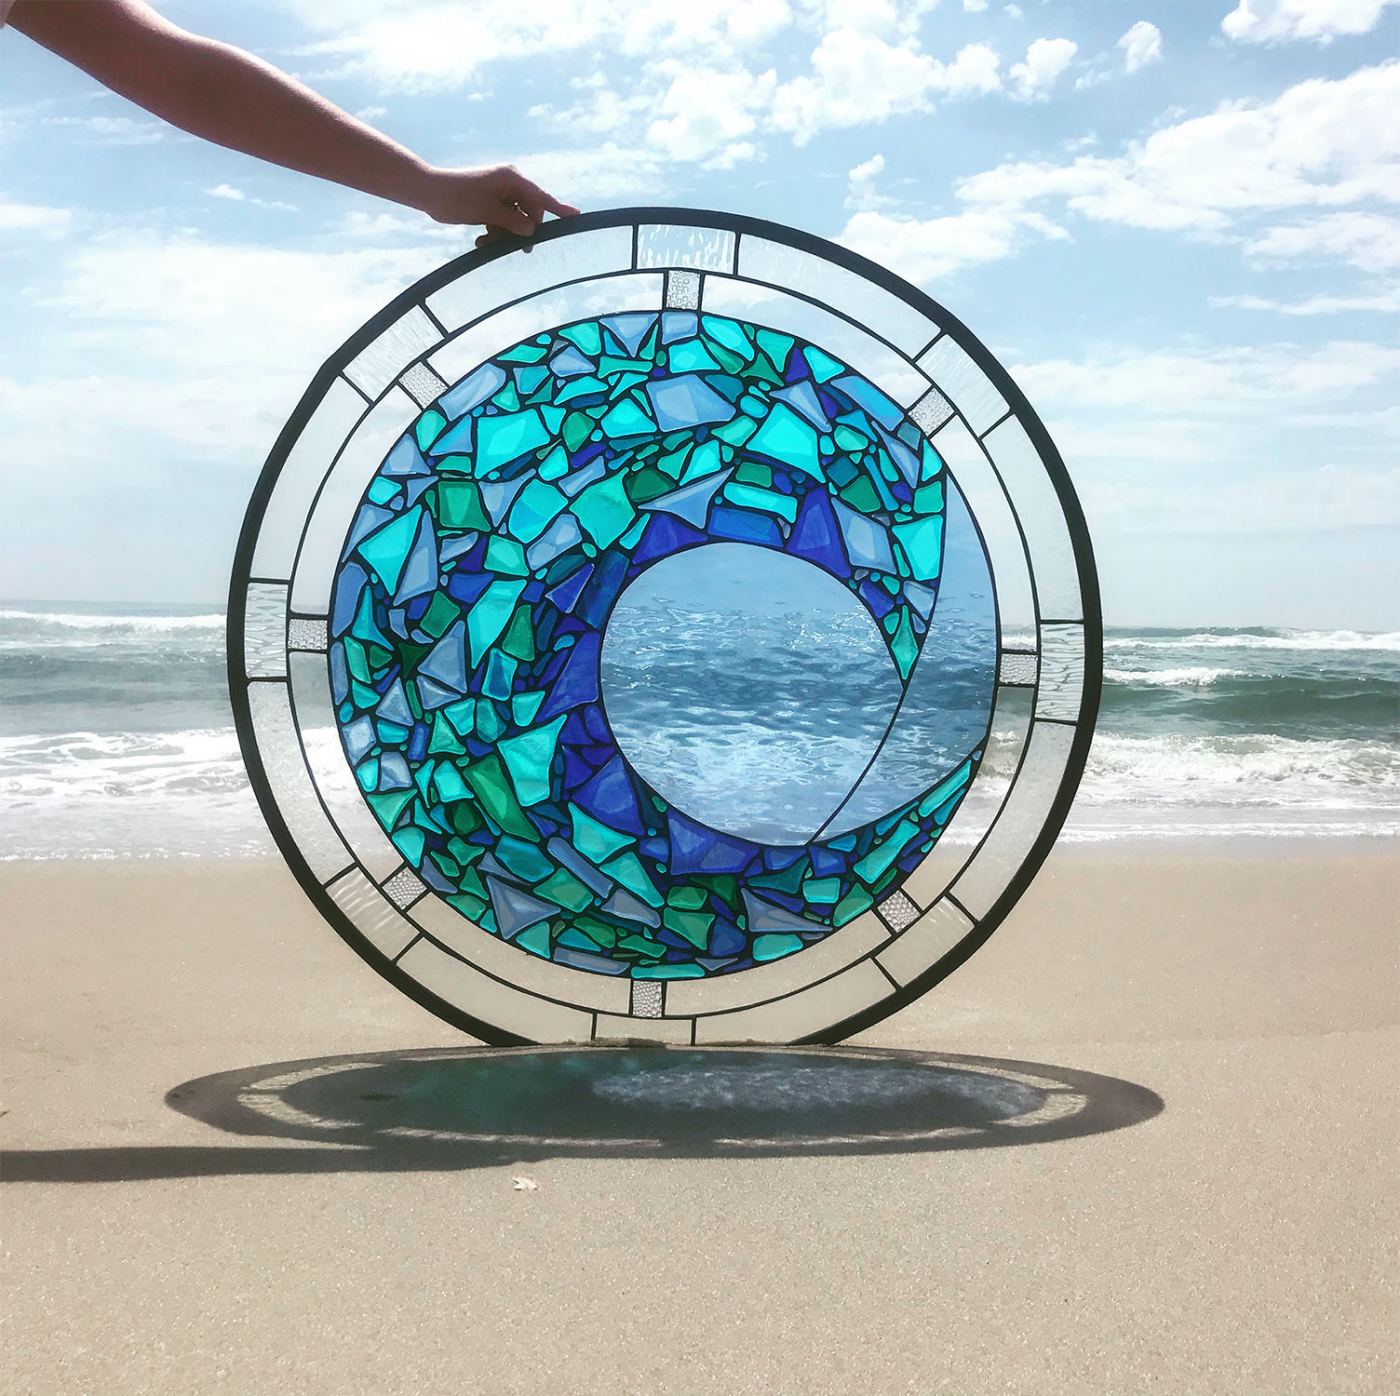
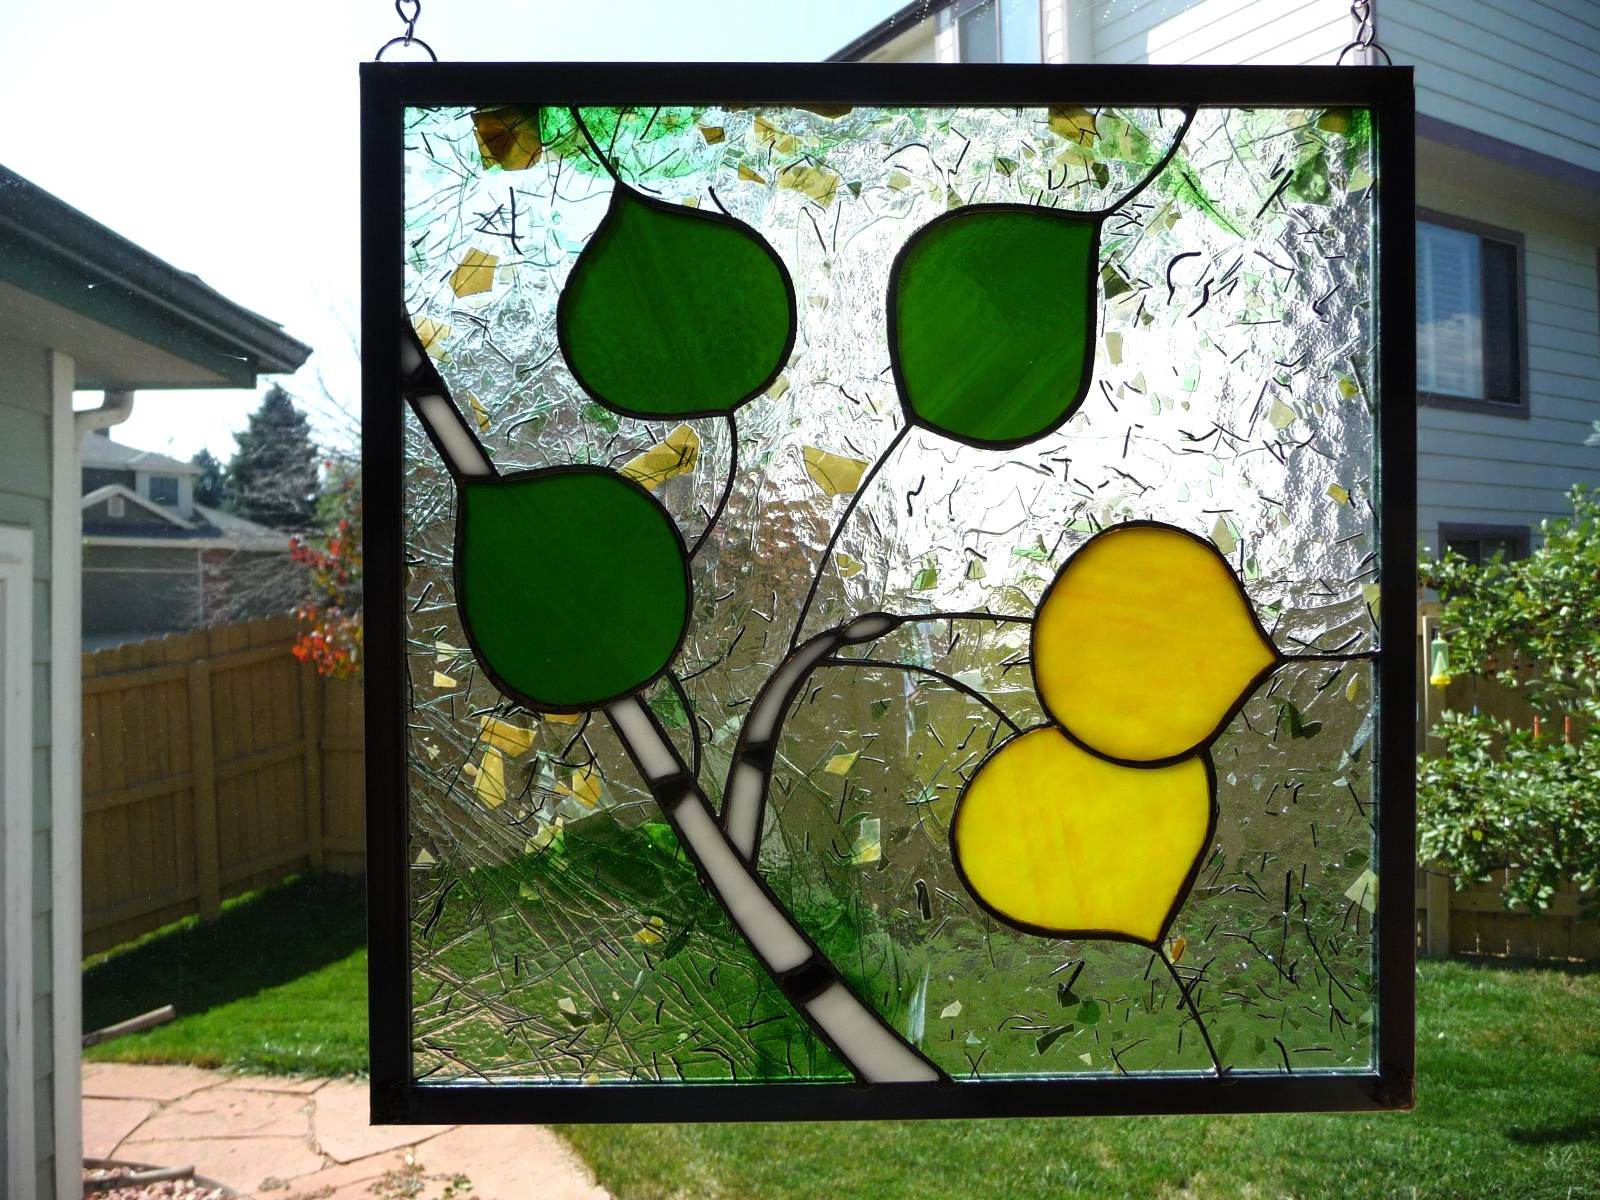
Displaying Your Stained Glass Artwork
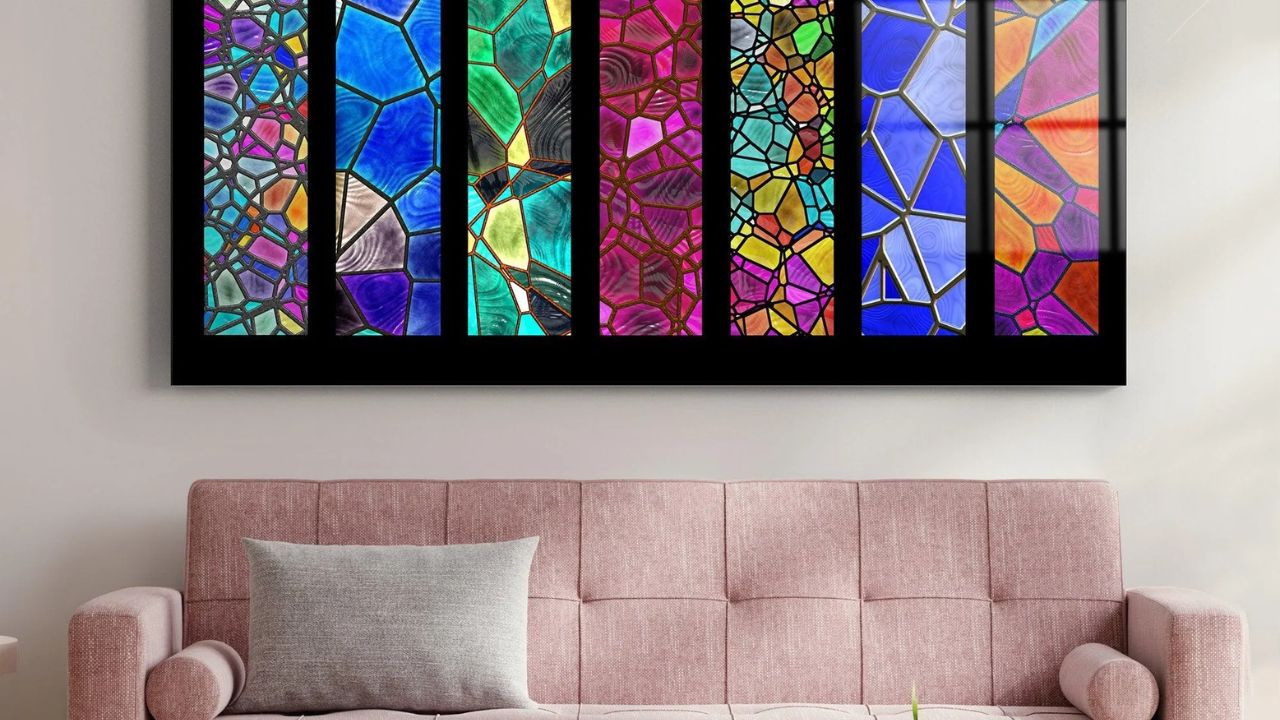
Displaying your stained glass artwork is a pivotal step that brings your creation to life, allowing it to be admired and appreciated in its intended setting. Whether you have crafted a window panel, a decorative panel, or a standalone art piece, the manner in which you present your stained glass artwork can significantly enhance its impact and visual appeal.
Consider the placement of your stained glass artwork, taking into account the natural light and surrounding environment. If your creation is a window panel, strategically position it to capture and diffuse natural light, allowing the vibrant colors and intricate details to radiate throughout the space. The interplay of light and glass adds a dynamic dimension to the artwork, creating captivating displays of color and shadow that evolve with the changing daylight.
For standalone stained glass panels, explore various mounting and display options that complement the aesthetic and dimensions of the artwork. Whether suspended from a ceiling, mounted on a stand, or integrated into a custom frame, the display method should accentuate the unique beauty of the stained glass while harmonizing with the surrounding decor. Consider the visual flow and focal points within the space, ensuring that your artwork becomes a captivating centerpiece that captivates and inspires.
Furthermore, if your stained glass artwork is intended for public display or exhibition, explore opportunities to showcase it in galleries, art shows, or cultural events. Sharing your creation with a broader audience not only enriches the artistic community but also provides a platform for your artwork to be celebrated and admired by enthusiasts and connoisseurs.
Additionally, consider the long-term preservation and maintenance of your stained glass artwork, especially if it is intended for outdoor or architectural installations. Implement protective measures such as UV-resistant coatings, periodic cleaning, and structural support to safeguard the artwork from environmental elements and ensure its enduring beauty for years to come.
By thoughtfully considering the display and preservation of your stained glass artwork, you honor the craftsmanship and creativity invested in its creation, ensuring that it continues to enchant and inspire viewers with its timeless allure and artistic expression. Whether adorning a private residence, a public space, or a gallery, your stained glass masterpiece becomes a testament to the enduring legacy of this captivating art form.
Frequently Asked Questions about How To Create Stained Glass
Was this page helpful?
At Storables.com, we guarantee accurate and reliable information. Our content, validated by Expert Board Contributors, is crafted following stringent Editorial Policies. We're committed to providing you with well-researched, expert-backed insights for all your informational needs.


0 thoughts on “How To Create Stained Glass”