Home>Furniture & Design>Interior Design Trends>How To Start Stained Glass
Interior Design Trends
How To Start Stained Glass
Modified: October 18, 2024
Learn the latest interior design trends and techniques for creating stunning stained glass art. Discover how to start your stained glass journey today!
(Many of the links in this article redirect to a specific reviewed product. Your purchase of these products through affiliate links helps to generate commission for Storables.com, at no extra cost. Learn more)
Introduction
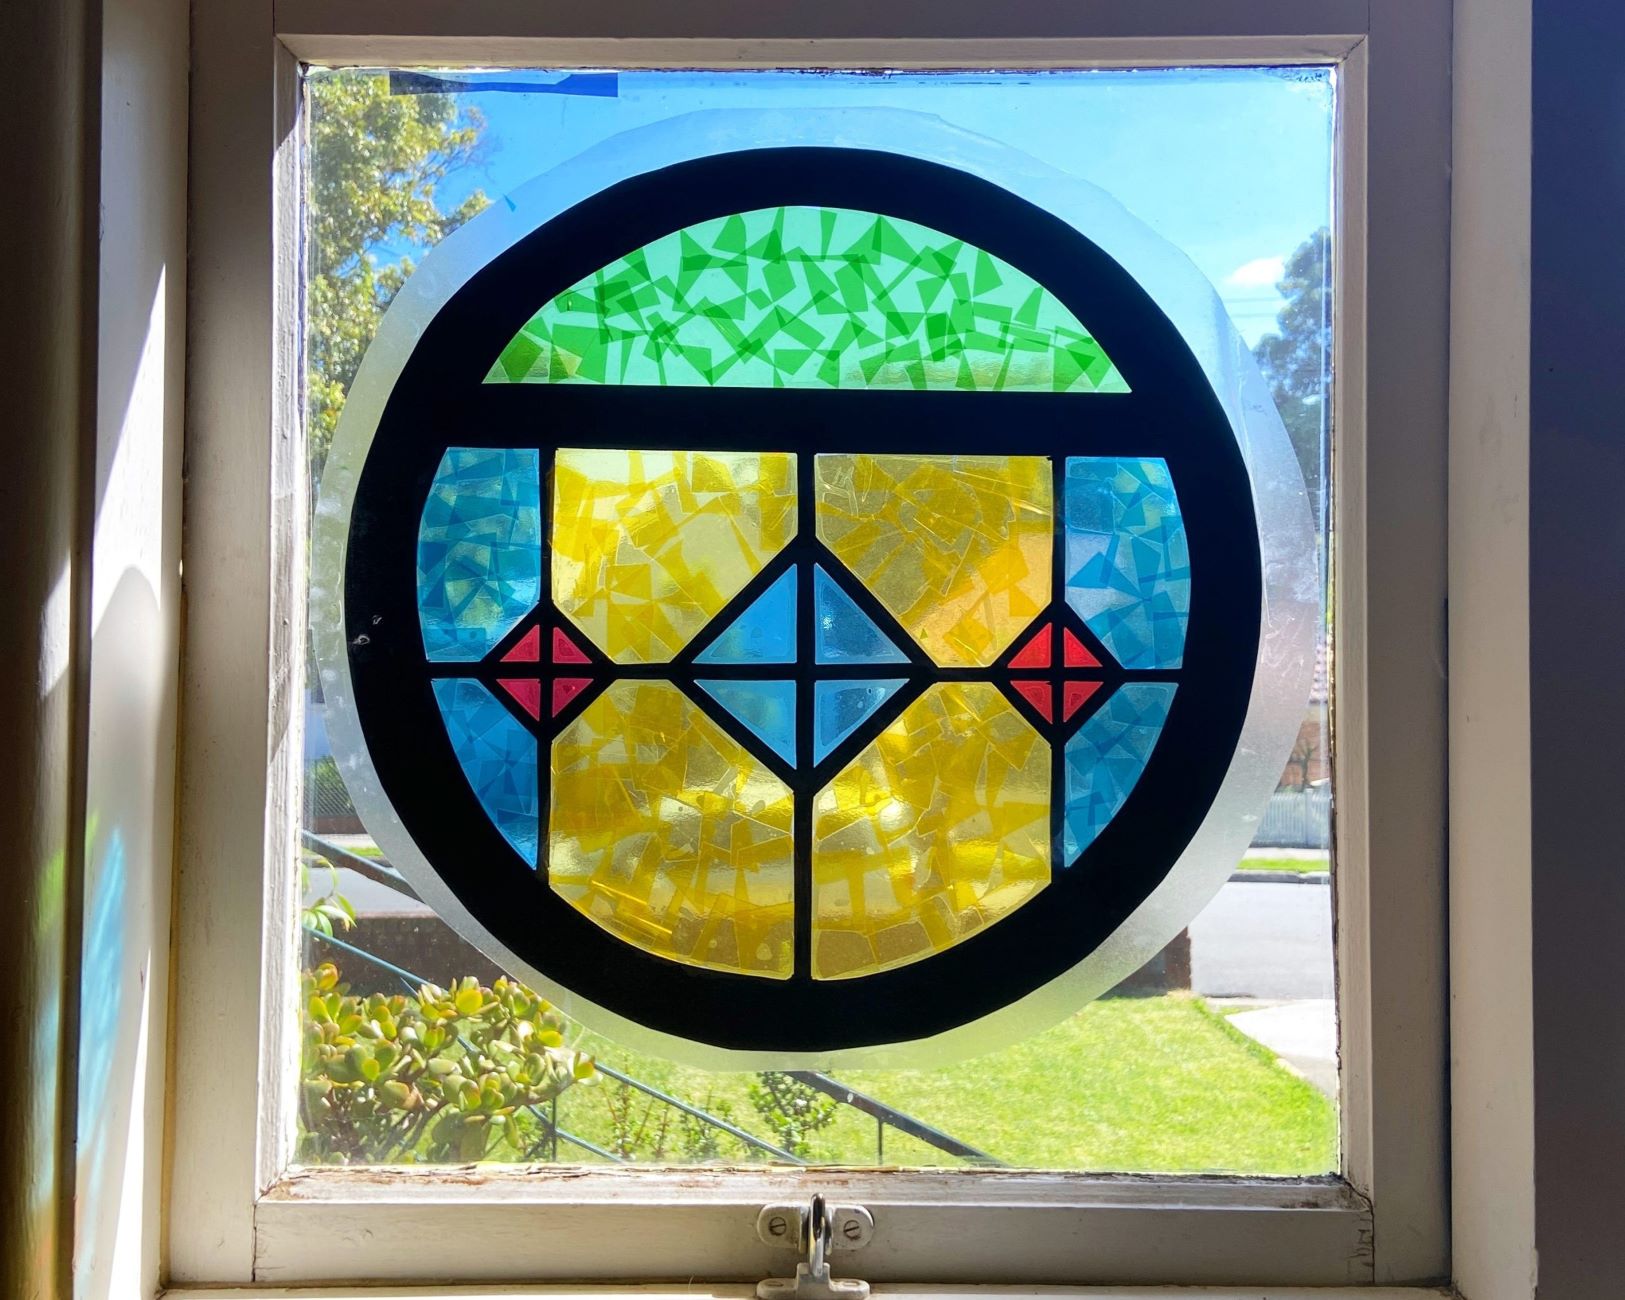
Embarking on the journey of creating stained glass art is a captivating and rewarding endeavor. The art of stained glass has a rich history, dating back to medieval times when it adorned the windows of majestic cathedrals. Today, it continues to captivate enthusiasts and artists alike with its timeless beauty and intricate craftsmanship.
Creating stained glass art is a blend of creativity, precision, and patience. It involves the meticulous process of cutting, shaping, assembling, and soldering individual pieces of colored glass to form a stunning mosaic of light and color. Whether you are a seasoned artisan or a novice enthusiast, the process of crafting stained glass offers a unique opportunity to unleash your creativity and bring a touch of elegance to your surroundings.
In this comprehensive guide, we will delve into the step-by-step process of creating stained glass art, from gathering the necessary tools and materials to the final touches of cleaning and finishing. Each step is a crucial part of the artistic journey, and by following this guide, you will gain valuable insights into the intricate art of stained glass creation.
As you embark on this creative endeavor, it's essential to approach it with a sense of curiosity and a willingness to embrace the learning process. Each piece of stained glass art is a reflection of the artist's vision and skill, making it a deeply personal and expressive form of artistry.
So, let's embark on this enchanting journey into the world of stained glass art, where creativity knows no bounds, and the interplay of light and color brings forth a mesmerizing tapestry of beauty and elegance. Whether you are drawn to the timeless allure of traditional designs or inspired to explore innovative patterns, the art of stained glass invites you to unleash your imagination and craft a masterpiece that will illuminate your surroundings with its radiant charm.
Key Takeaways:
- Creating stained glass art is a captivating journey that requires precision and patience. Gathering the right tools and materials is crucial for bringing your artistic vision to life.
- Choosing a design and pattern is pivotal in stained glass art. Whether drawing inspiration from nature or exploring contemporary aesthetics, the design sets the tone for the captivating interplay of light and color.
Read more: How To Stain A Glass
Step 1: Gather Necessary Tools and Materials
Before embarking on the captivating journey of creating stained glass art, it is essential to gather the necessary tools and materials to ensure a smooth and fulfilling creative process. The art of stained glass requires precision and attention to detail, and having the right equipment at your disposal is crucial for bringing your artistic vision to life.
Essential Tools:
-
Glass Cutter: A high-quality glass cutter is the cornerstone of stained glass artistry. It allows for precise cutting of glass pieces, enabling the creation of intricate designs with clean edges.
-
Glass Grinder: This tool is indispensable for smoothing the edges of cut glass pieces, ensuring a perfect fit during the assembly process.
-
Soldering Iron: A reliable soldering iron is essential for joining the individual glass pieces together with solder, creating a strong and seamless bond.
-
Soldering Flux and Lead-Free Solder: These materials are used in the soldering process to create durable and visually appealing connections between the glass pieces.
-
Glass Scorer: A glass scorer is used to create score lines on the glass, facilitating precise breaking along desired shapes and patterns.
-
Safety Equipment: Safety should always be a top priority when working with glass. Safety goggles, gloves, and a well-ventilated workspace are essential for protecting yourself during the glass cutting and soldering processes.
Essential Materials:
-
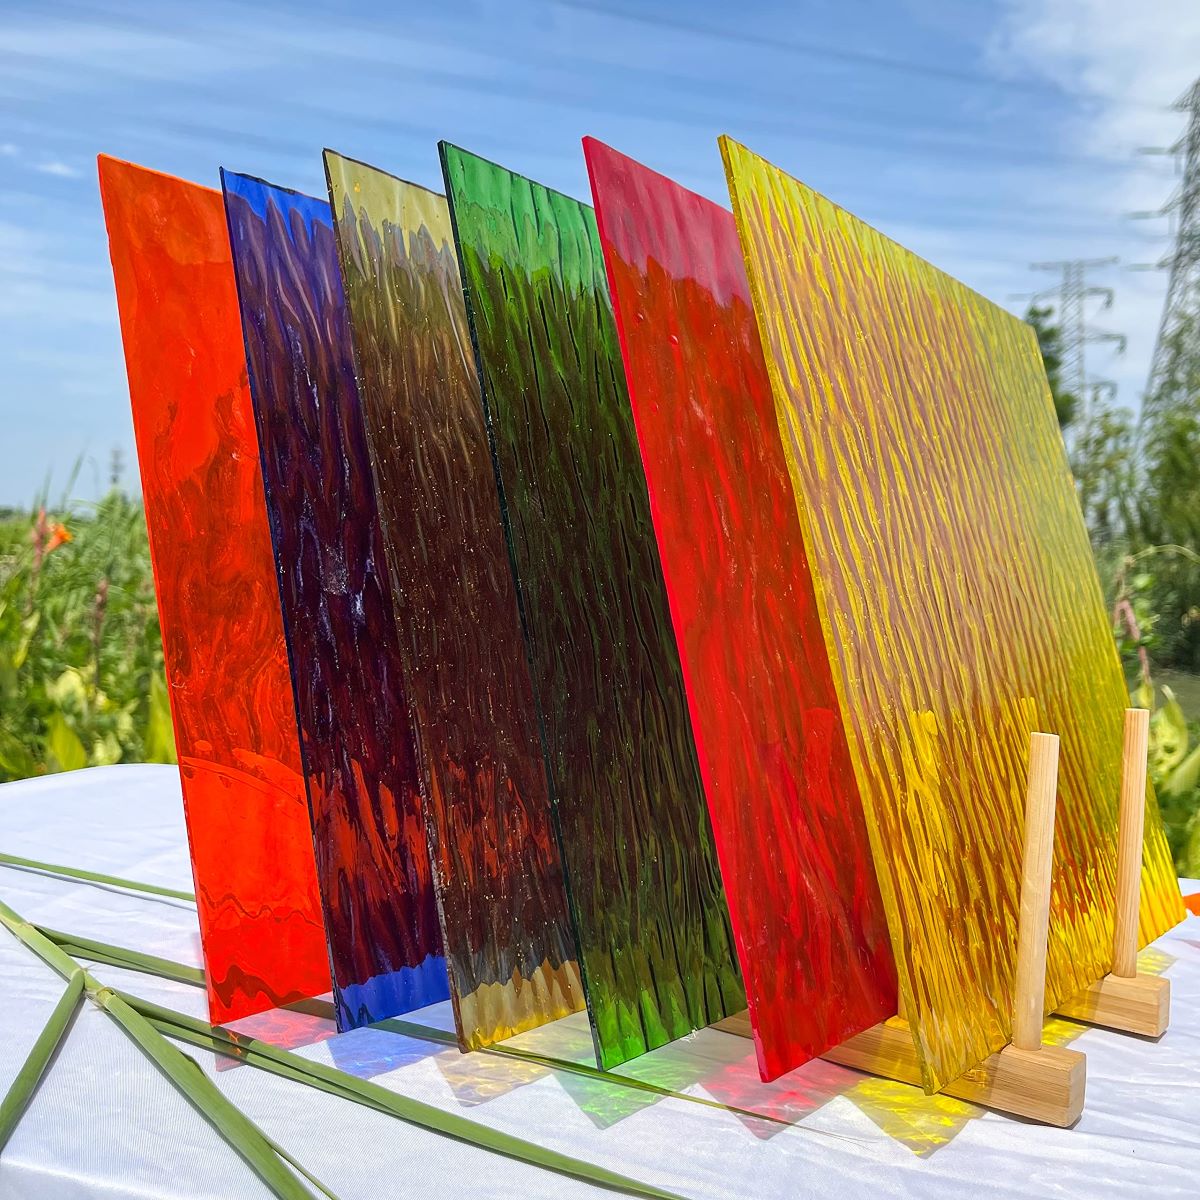
Stained Glass Sheets: Selecting high-quality stained glass sheets in an array of colors is fundamental to the artistic process. These sheets will form the basis of your design and contribute to the overall aesthetic of the finished piece.
-
Copper Foil or Lead Came: Copper foil or lead came is used to wrap around the edges of the glass pieces, providing a surface for soldering and creating a cohesive structure.
-
Pattern Paper: A sturdy pattern paper is essential for tracing and transferring your chosen design onto the glass sheets, serving as a guide for the cutting and assembly process.
-
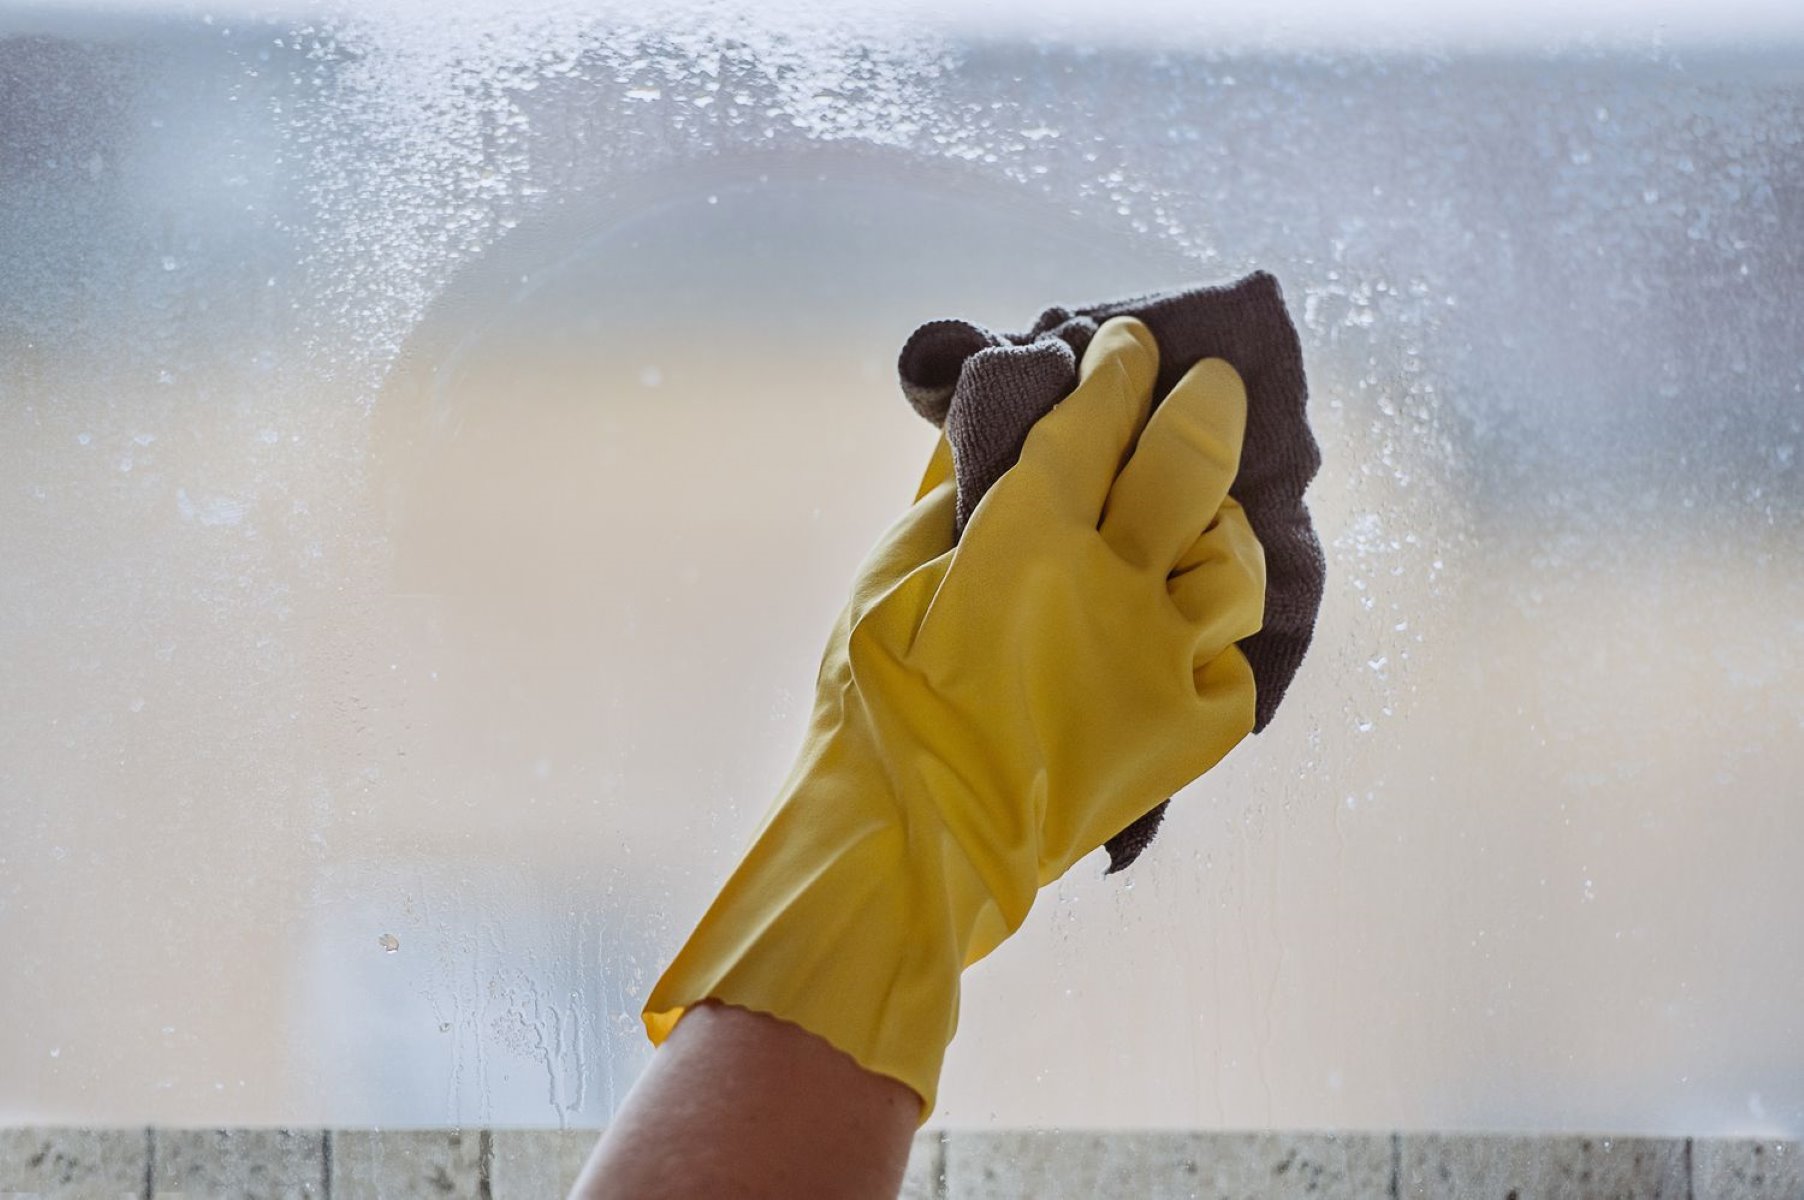
Glass Cleaner and Polish: Keeping your glass pieces clean and free of residue is crucial for achieving a flawless finish. High-quality glass cleaner and polish will ensure that your stained glass art radiates with clarity and brilliance.
By assembling these essential tools and materials, you are laying the foundation for a successful and fulfilling journey into the art of stained glass creation. With these resources at your disposal, you are poised to embark on the next step: choosing a design and pattern that will serve as the artistic centerpiece of your stained glass masterpiece.
Step 2: Choose a Design and Pattern
Selecting a design and pattern is a pivotal step in the creation of stained glass art, as it sets the artistic tone and visual narrative of the final piece. Whether you are drawn to traditional motifs, nature-inspired themes, or abstract compositions, the design you choose will serve as the guiding force behind the creative process.
When contemplating a design for your stained glass art, consider the interplay of light and color as integral elements of the composition. The chosen design should lend itself to the captivating dance of light that will emanate through the finished piece, creating a mesmerizing display of hues and shadows.
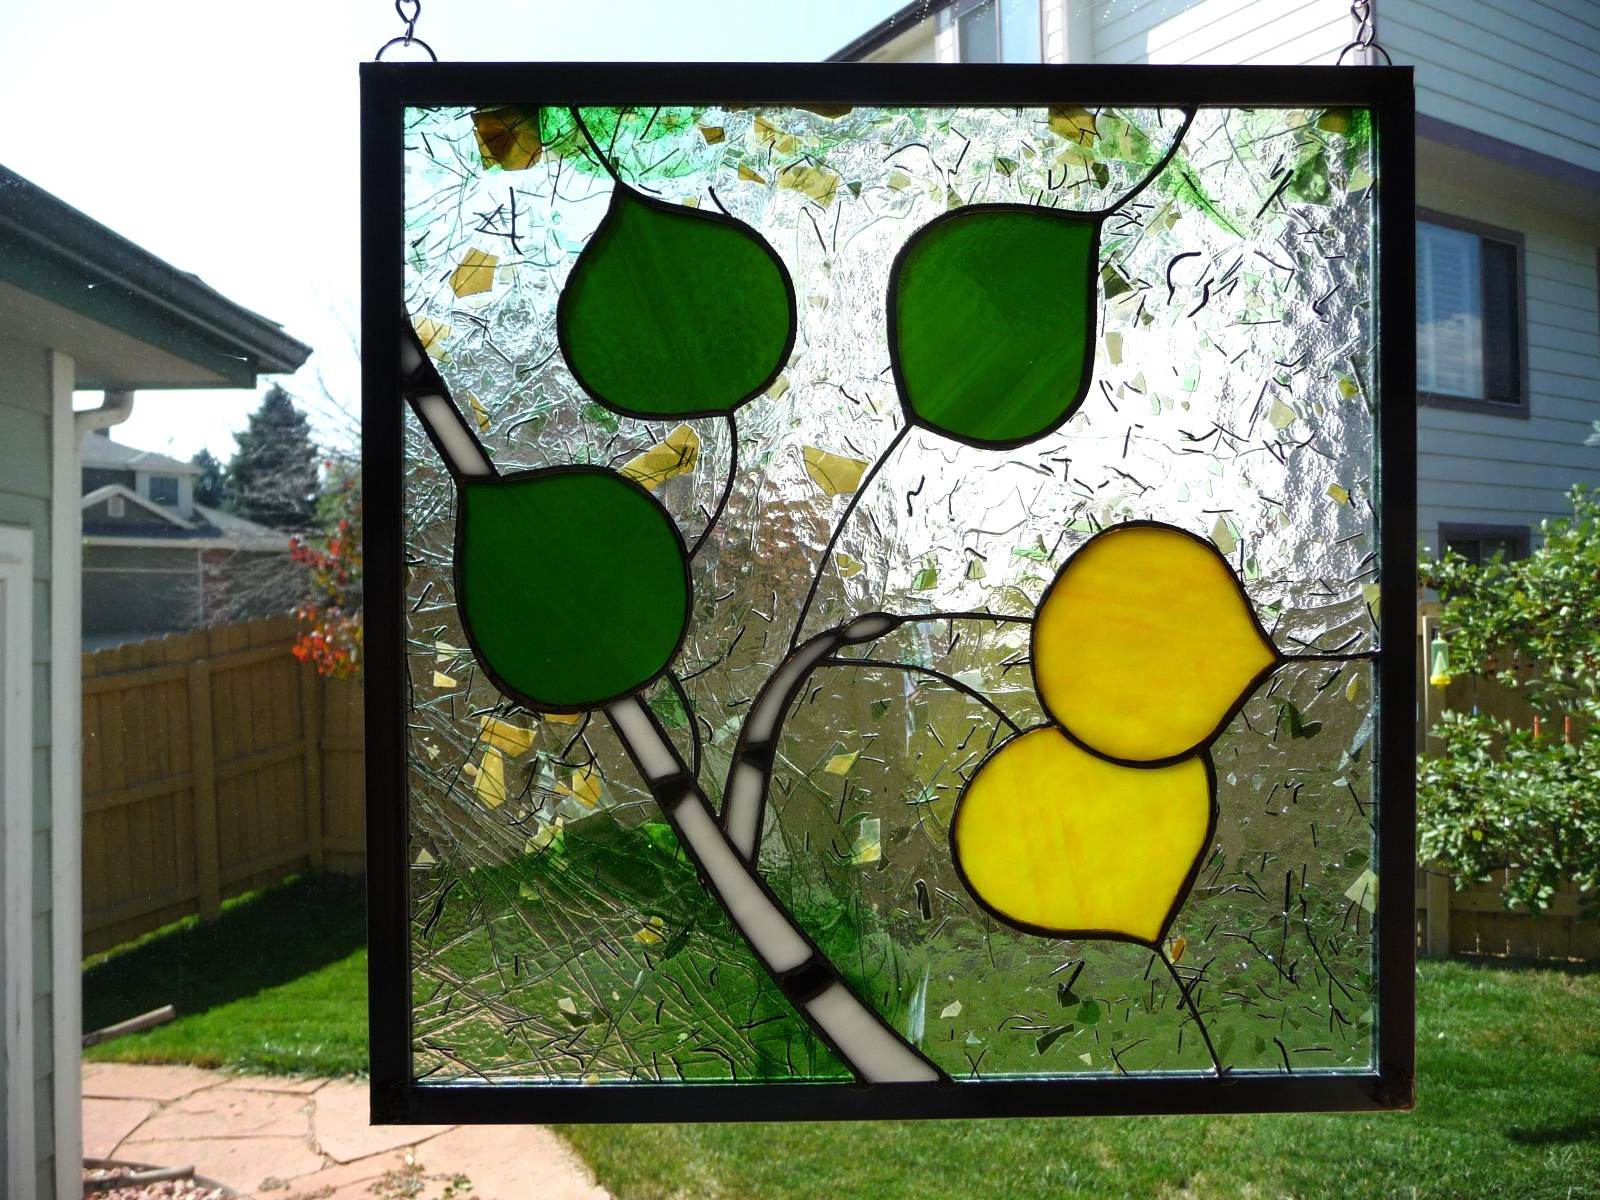
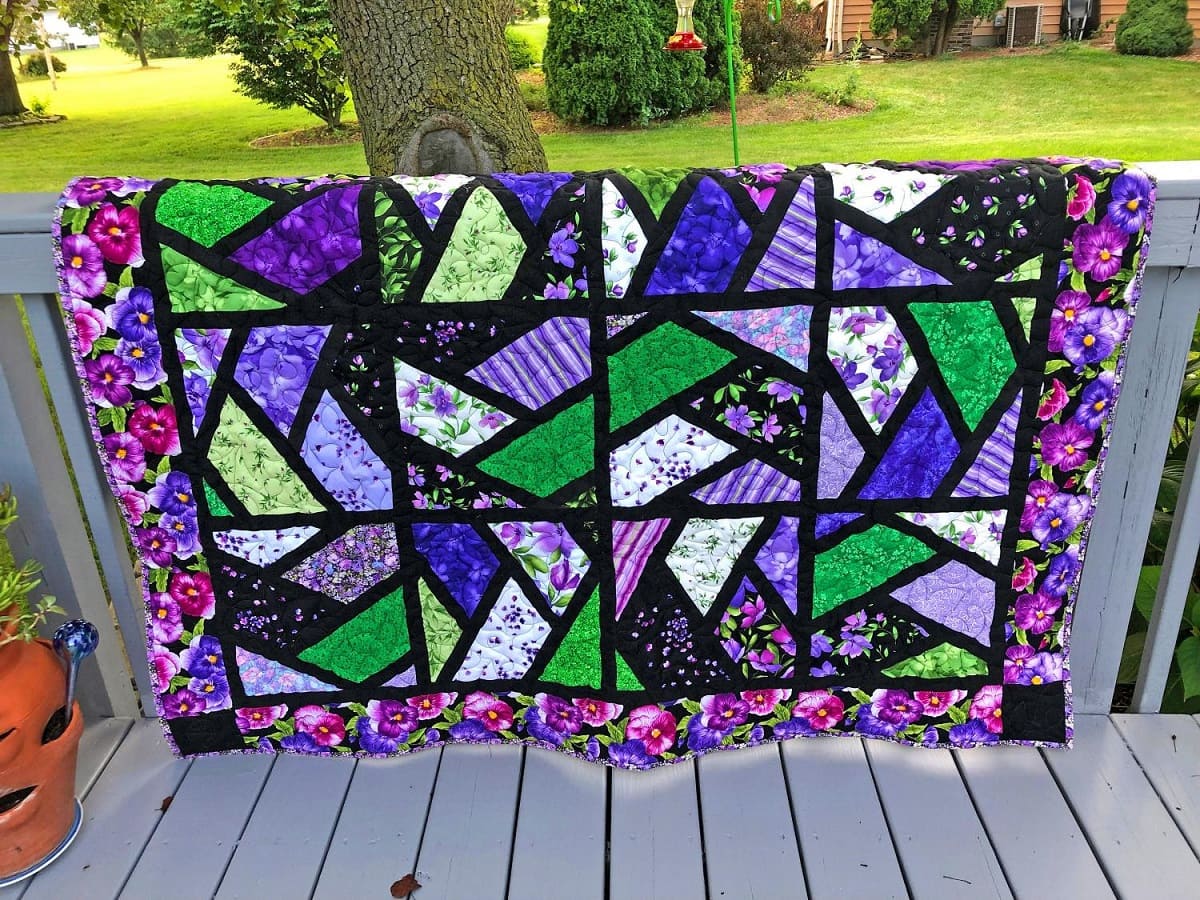
One approach to selecting a design is to draw inspiration from nature's boundless beauty. Delicate floral patterns, majestic landscapes, and intricate depictions of wildlife can infuse your stained glass art with a sense of organic elegance and timeless charm. The graceful curves of petals, the vibrant hues of a sunset, or the intricate details of a butterfly's wings can serve as captivating motifs for your artistic expression.
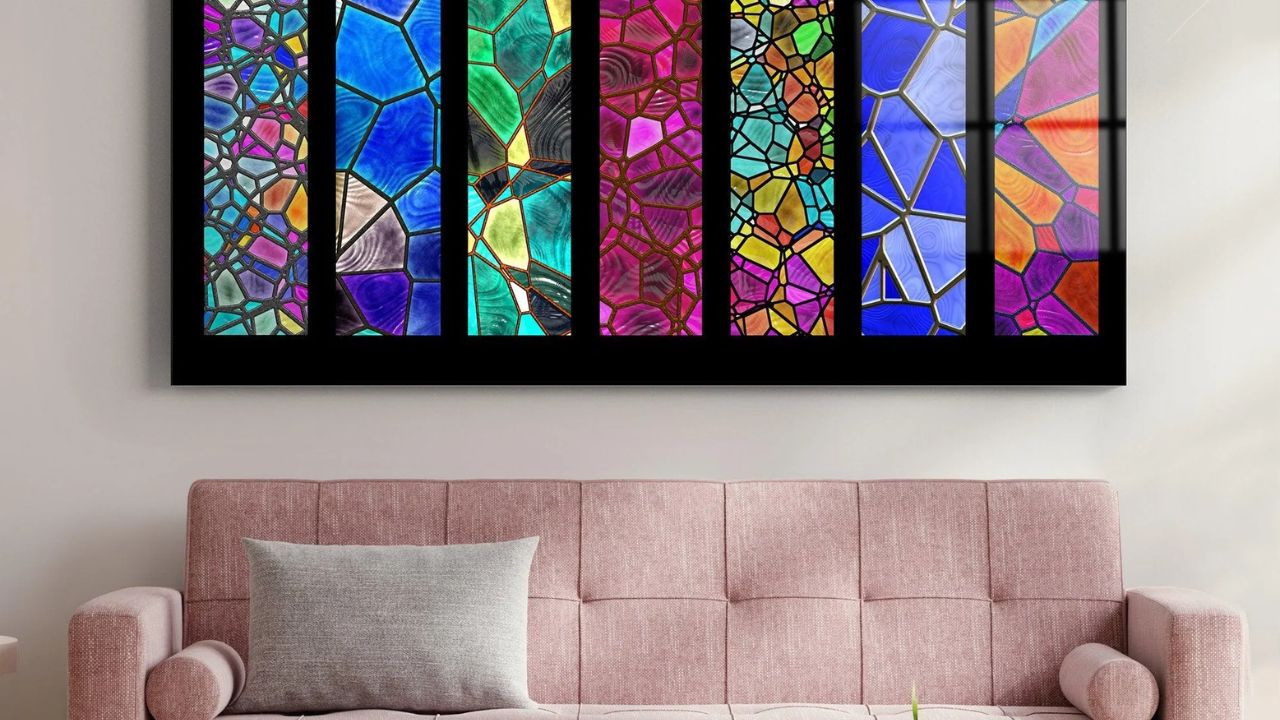
For those inclined towards a more contemporary aesthetic, abstract designs offer a platform for bold experimentation and innovative expression. Geometric patterns, asymmetrical compositions, and avant-garde motifs can ignite a sense of modernity and artistic freedom within your stained glass art, inviting viewers to engage with the interplay of shapes and colors in a dynamic and thought-provoking manner.
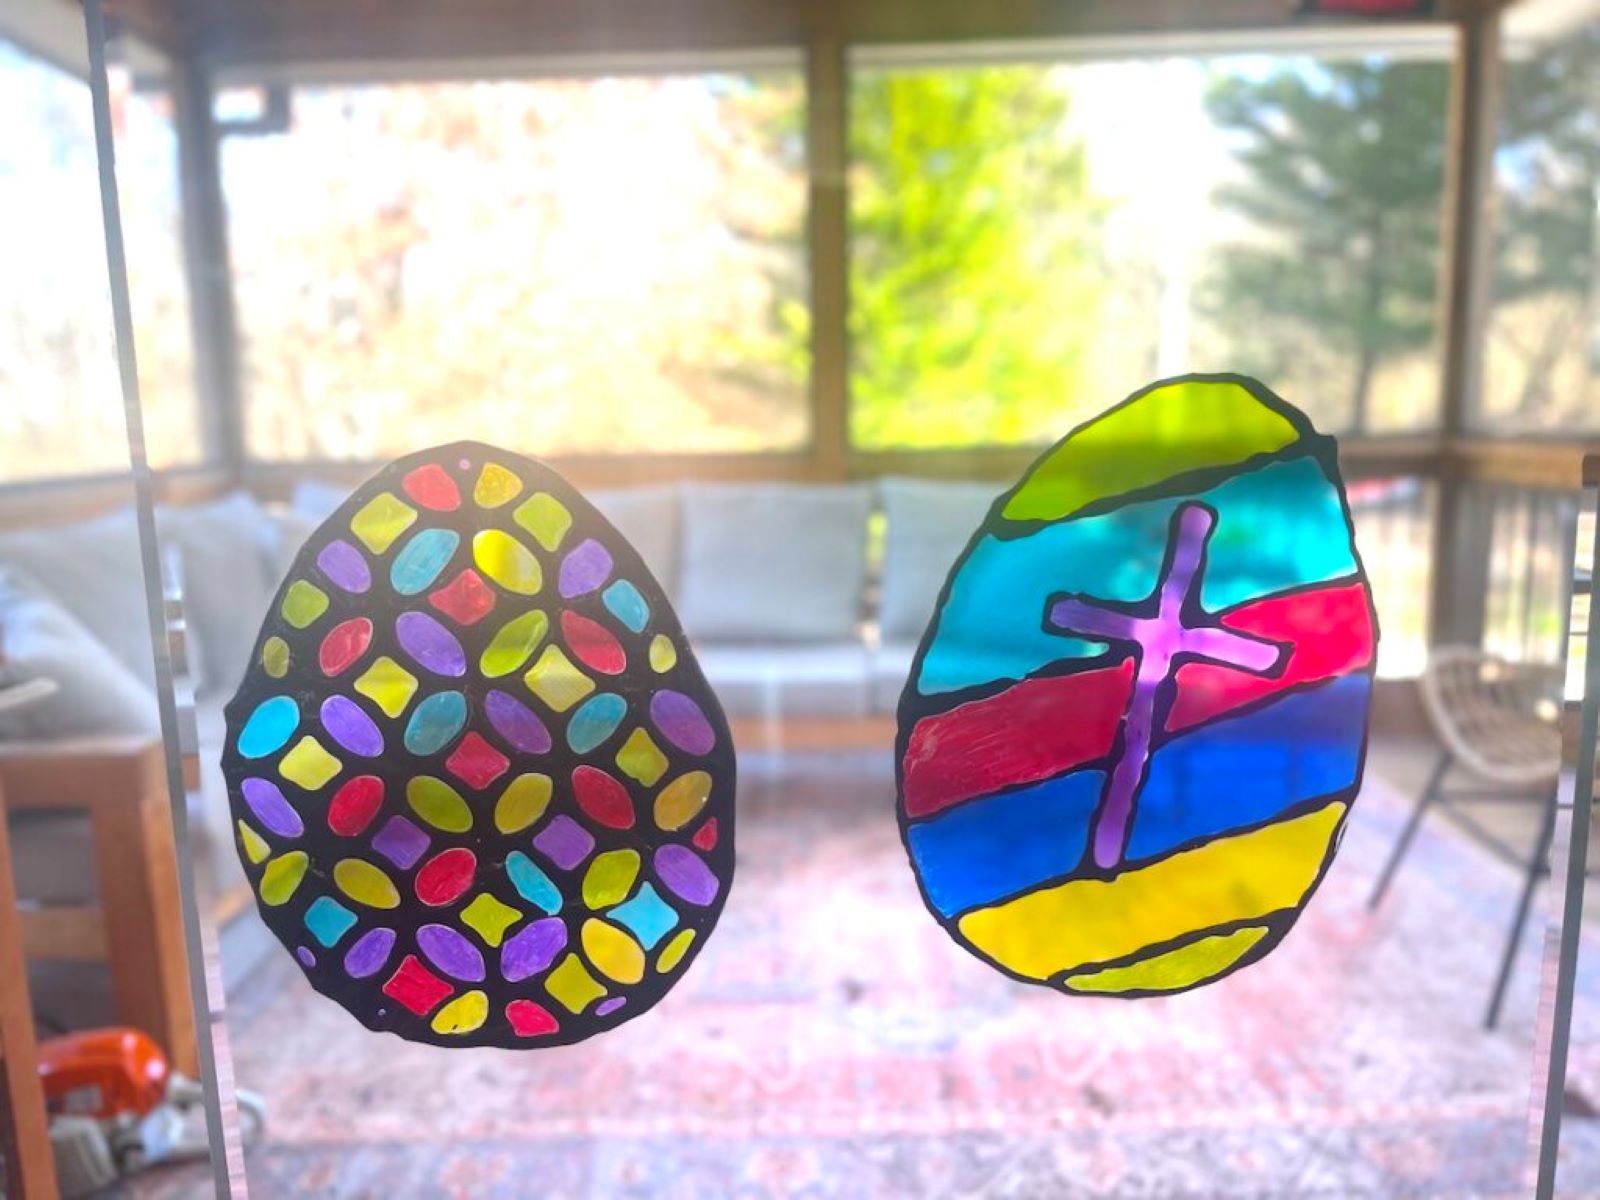
Furthermore, drawing inspiration from cultural and historical influences can enrich your design choices, allowing you to weave narratives and symbolism into your stained glass art. Whether inspired by ancient symbols, traditional art forms, or architectural marvels, incorporating cultural motifs can infuse your creation with depth and significance, inviting viewers to explore the layers of meaning embedded within the artwork.
As you contemplate various design possibilities, consider the spatial dynamics of your chosen pattern and its compatibility with the dimensions of your stained glass project. The design should harmonize with the intended placement of the finished piece, whether it adorns a window, a door, or a standalone panel, ensuring that its visual impact is maximized within its designated space.
Ultimately, the design and pattern you choose should resonate with your artistic vision and evoke a sense of wonder and beauty. It should be a reflection of your creative spirit and a testament to the boundless possibilities of stained glass artistry. With the design selected, you are poised to embark on the next phase of the creative journey: cutting and shaping the glass pieces to bring your vision to radiant life.
Read more: How To Solder Stained Glass
Step 3: Cut and Shape the Glass Pieces
The process of cutting and shaping the glass pieces is a pivotal phase in the creation of stained glass art, where precision and artistry converge to bring the chosen design to life. This step requires a steady hand, meticulous attention to detail, and a deep appreciation for the transformative power of glass as a medium of artistic expression.
To begin, carefully transfer the chosen design onto the stained glass sheets using pattern paper as a guide. With the design in place, use a glass cutter to score along the traced lines, ensuring smooth and deliberate movements to achieve clean and precise cuts. Each incision into the glass carries the potential to shape the visual narrative of the artwork, making the cutting process a delicate yet empowering act of creation.
Once the glass pieces are scored, the next step involves breaking along the scored lines to shape the individual elements of the design. This is where the artistry of glass shaping comes into play, as the controlled application of pressure and finesse determines the contours and intricacies of each piece. A glass breaker or running pliers can be utilized to gently coax the glass along the scored lines, allowing for graceful separation and refinement of the shapes.
Following the breaking process, the edges of the glass pieces may require smoothing and shaping to ensure a perfect fit during the assembly phase. This is where a glass grinder becomes an indispensable tool, allowing for precise adjustments and meticulous refinement of the edges. With careful attention to detail, the grinder transforms rough edges into seamless contours, ensuring that each piece aligns harmoniously with the overall design.
Throughout the process of cutting and shaping the glass pieces, it is essential to maintain a sense of patience and reverence for the transformative journey that each piece undergoes. The act of shaping glass is a testament to the artist's ability to harness the raw potential of the medium, sculpting it into a manifestation of their creative vision.
As the glass pieces take on their defined forms, they become a testament to the artist's skill and dedication, each one bearing the imprint of their artistic spirit. With the glass pieces meticulously cut, shaped, and refined, the stage is set for the next phase of the artistic odyssey: assembling the stained glass mosaic that will embody the artist's vision and captivate viewers with its radiant allure.
Step 4: Assemble the Stained Glass
Assembling the stained glass marks a pivotal phase in the artistic journey, where individual glass pieces coalesce into a mesmerizing mosaic of color and form. This process requires precision, patience, and a keen eye for harmonizing the intricate elements of the chosen design.
To commence the assembly, lay out the cut and shaped glass pieces in accordance with the design, ensuring a meticulous arrangement that captures the essence of the envisioned artwork. The interplay of colors and shapes begins to unfold, offering a glimpse of the captivating visual narrative that will soon grace the finished piece.
Once the layout is perfected, the next step involves wrapping the edges of each glass piece with copper foil or lead came, depending on the chosen technique. This meticulous wrapping process provides a stable surface for soldering, ensuring that each piece seamlessly integrates into the cohesive structure of the stained glass composition.
With the edges wrapped, the glass pieces are delicately positioned to form a unified whole, guided by the intricate contours and interlocking elements of the design. This phase demands a steady hand and a profound appreciation for the transformative power of assembly, where individual pieces transcend their solitary existence to become integral parts of a radiant tapestry.
As the assembly progresses, the artist witnesses the gradual emergence of their vision, as the glass pieces intertwine to create a captivating interplay of light and color. Each piece contributes to the dynamic visual narrative, adding depth and dimension to the overall composition.
Throughout the assembly process, meticulous attention is devoted to ensuring that each glass piece aligns seamlessly with its counterparts, creating a fluid and harmonious fusion of form and hue. This meticulous alignment is essential for achieving a cohesive and visually captivating stained glass artwork.
As the final pieces fall into place, the assembled stained glass artwork stands as a testament to the artist's skill and dedication, each element a reflection of their creative spirit. The completed assembly radiates with the timeless allure of stained glass artistry, inviting viewers to immerse themselves in the captivating dance of light and color that defines the finished masterpiece.
With the stained glass art assembled, the stage is set for the next phase of the creative odyssey: soldering the pieces together to solidify the artistic vision and bring forth a radiant testament to the beauty of stained glass art.
When starting stained glass, invest in quality tools and materials to ensure better results. Practice safety measures when working with glass and always follow proper techniques for cutting and assembling.
Step 5: Solder the Pieces Together
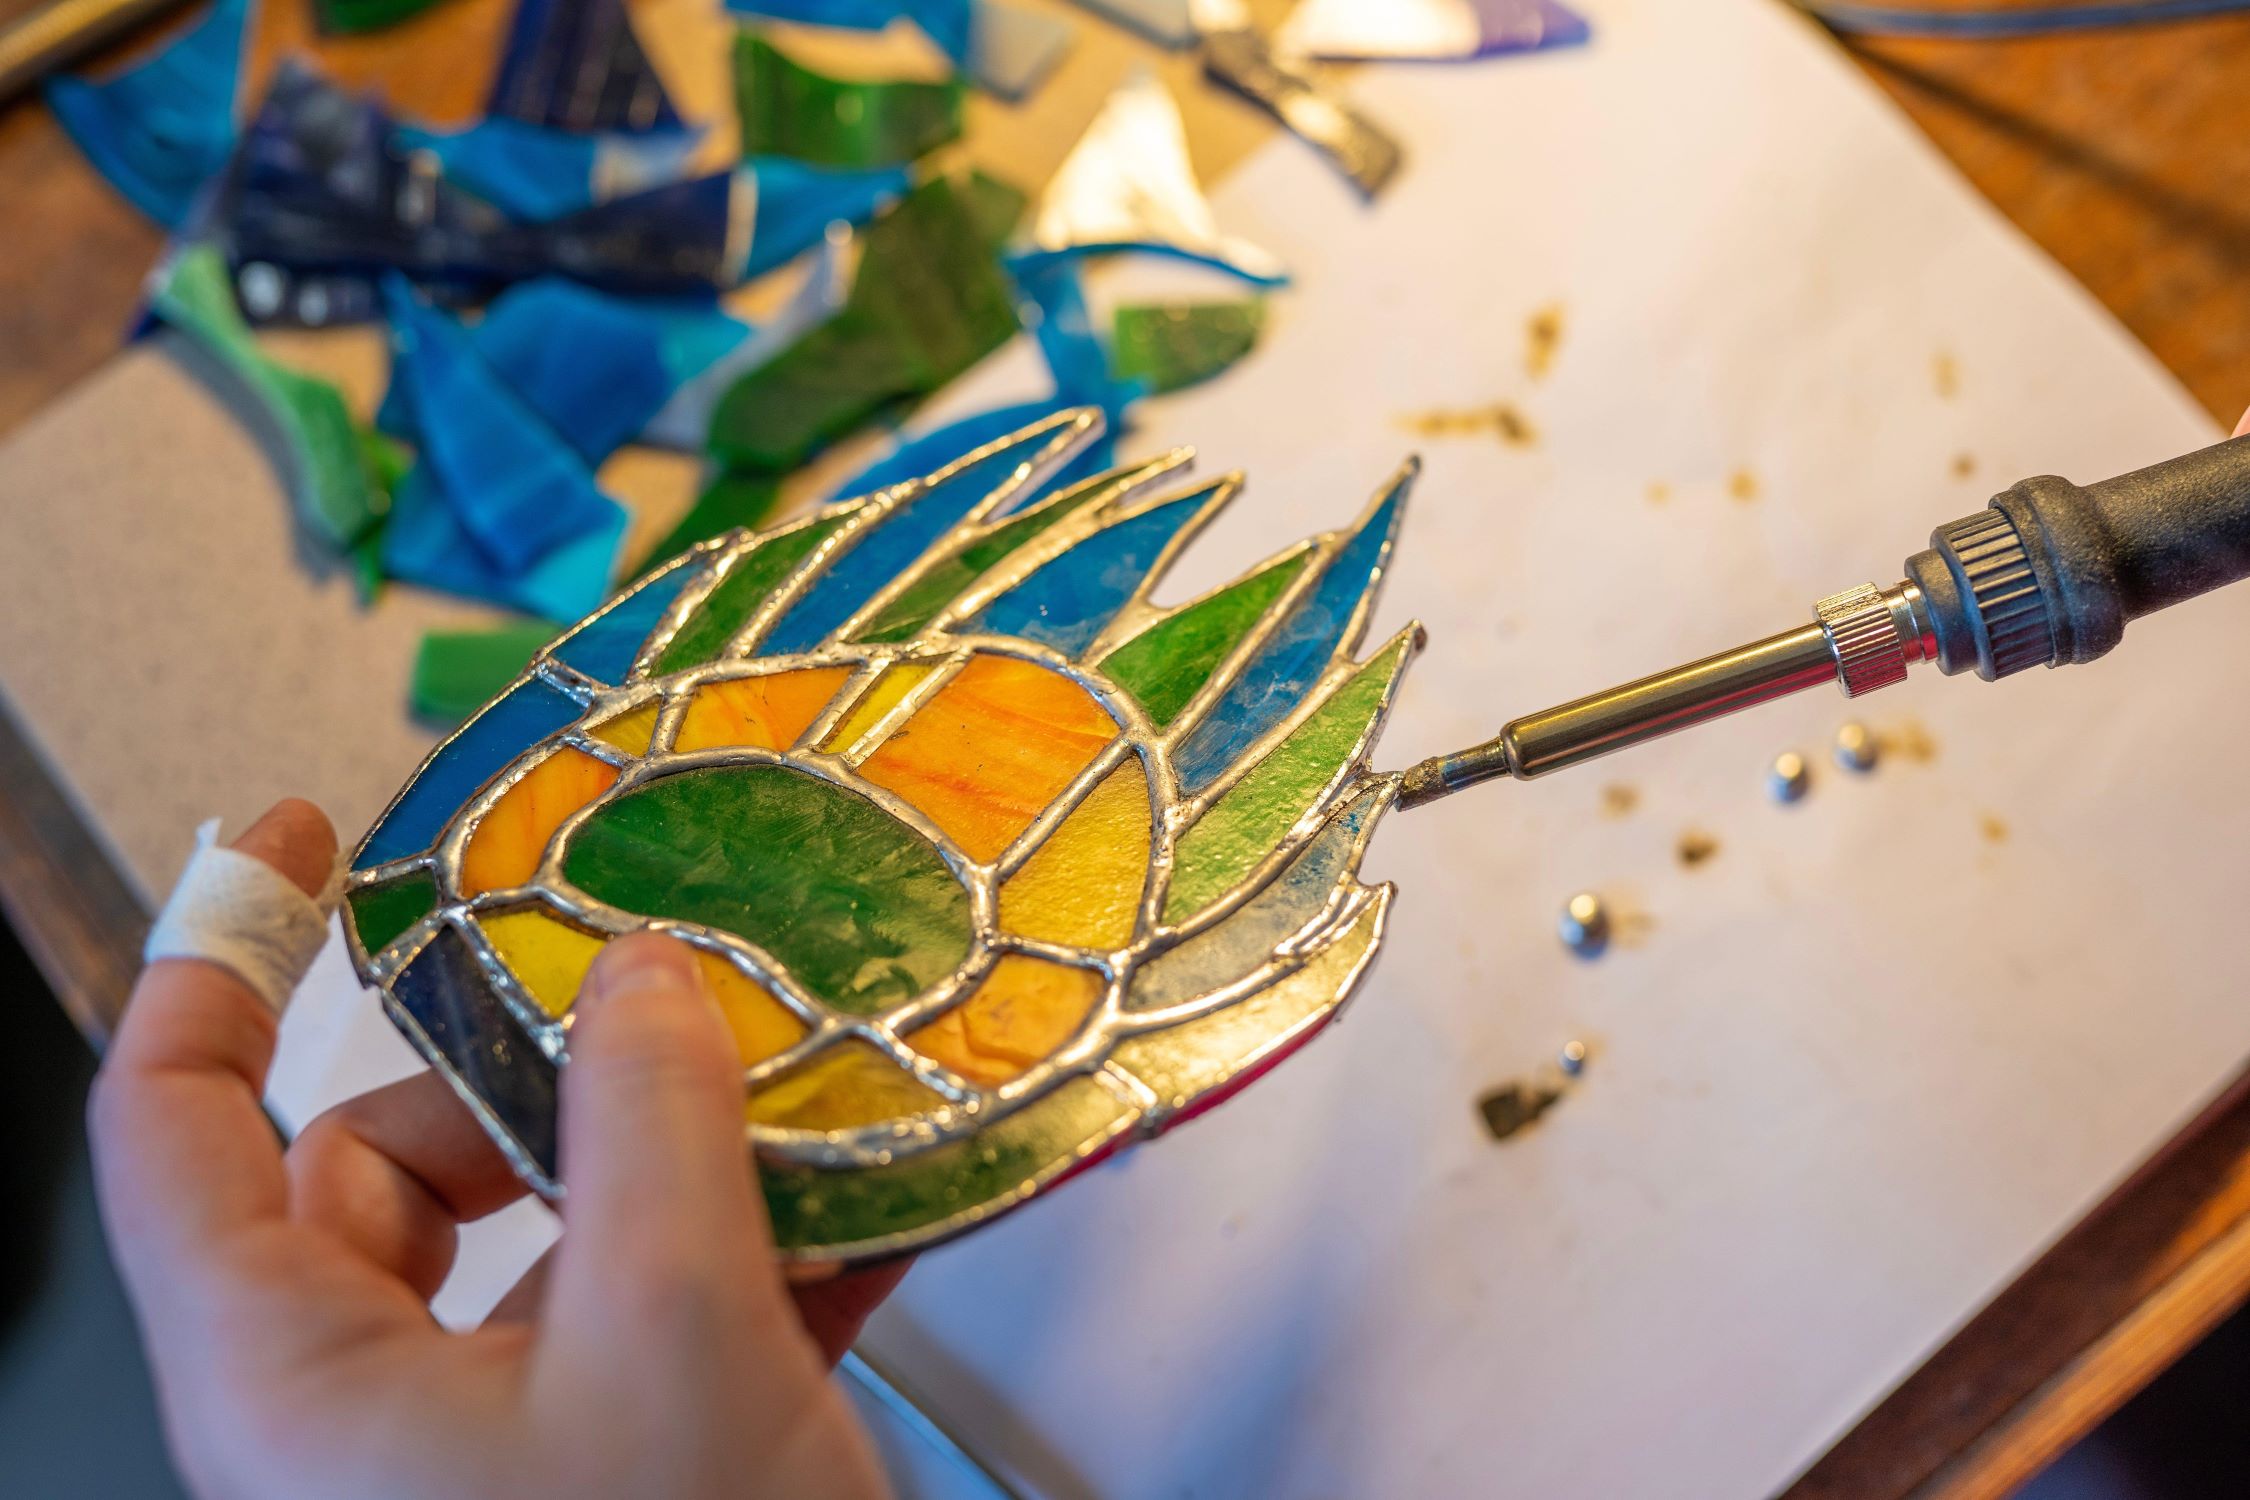
Soldering the pieces together is a transformative phase in the creation of stained glass art, where individual elements become unified through the alchemy of molten metal. This process demands precision, finesse, and a deep understanding of the interplay between heat, solder, and glass, culminating in the seamless fusion of the assembled pieces into a cohesive masterpiece.
To commence the soldering process, the assembled stained glass artwork is delicately positioned on a stable surface, allowing for unhindered access to the seams and joints. The soldering iron, a tool of precision and artistry, becomes the conduit through which the individual glass pieces are bonded together, creating a durable and visually captivating union.
As the soldering iron is heated to the optimal temperature, soldering flux is meticulously applied to the seams, preparing the surface for the seamless integration of molten solder. The flux serves as a catalyst, facilitating the flow of solder and ensuring a strong and enduring bond between the glass pieces.
With the flux in place, the soldering iron becomes the instrument of transformation, as molten solder is delicately applied along the seams, creating a graceful fusion that unites the individual elements into a singular, radiant composition. The artist's hand guides the soldering iron with precision, coaxing the molten metal to envelop the seams, creating a seamless and durable connection that will endure as a testament to the artistry of stained glass creation.
Throughout the soldering process, the artist maintains a delicate balance of heat and control, ensuring that the solder flows smoothly and evenly, creating a visually appealing and structurally sound bond. Each stroke of the soldering iron becomes a brushstroke of artistry, as the molten metal weaves its way along the seams, imbuing the stained glass artwork with strength and unity.
As the final seams are soldered, the artwork undergoes a profound transformation, transcending its individual components to become a radiant testament to the artist's skill and dedication. The soldered joints stand as a testament to the artist's mastery, each one a reflection of their unwavering commitment to bringing forth a masterpiece that will captivate and inspire.
With the pieces soldered together, the stained glass artwork embodies the timeless allure of the craft, inviting viewers to immerse themselves in the captivating interplay of light and color that defines the finished masterpiece.
Step 6: Clean and Finish the Stained Glass
Cleaning and finishing the stained glass marks the final phase of the artistic journey, where meticulous attention to detail and a commitment to excellence culminate in the realization of a radiant masterpiece. This transformative process involves refining the artwork to achieve a flawless finish, ensuring that the stained glass radiates with clarity, brilliance, and enduring beauty.
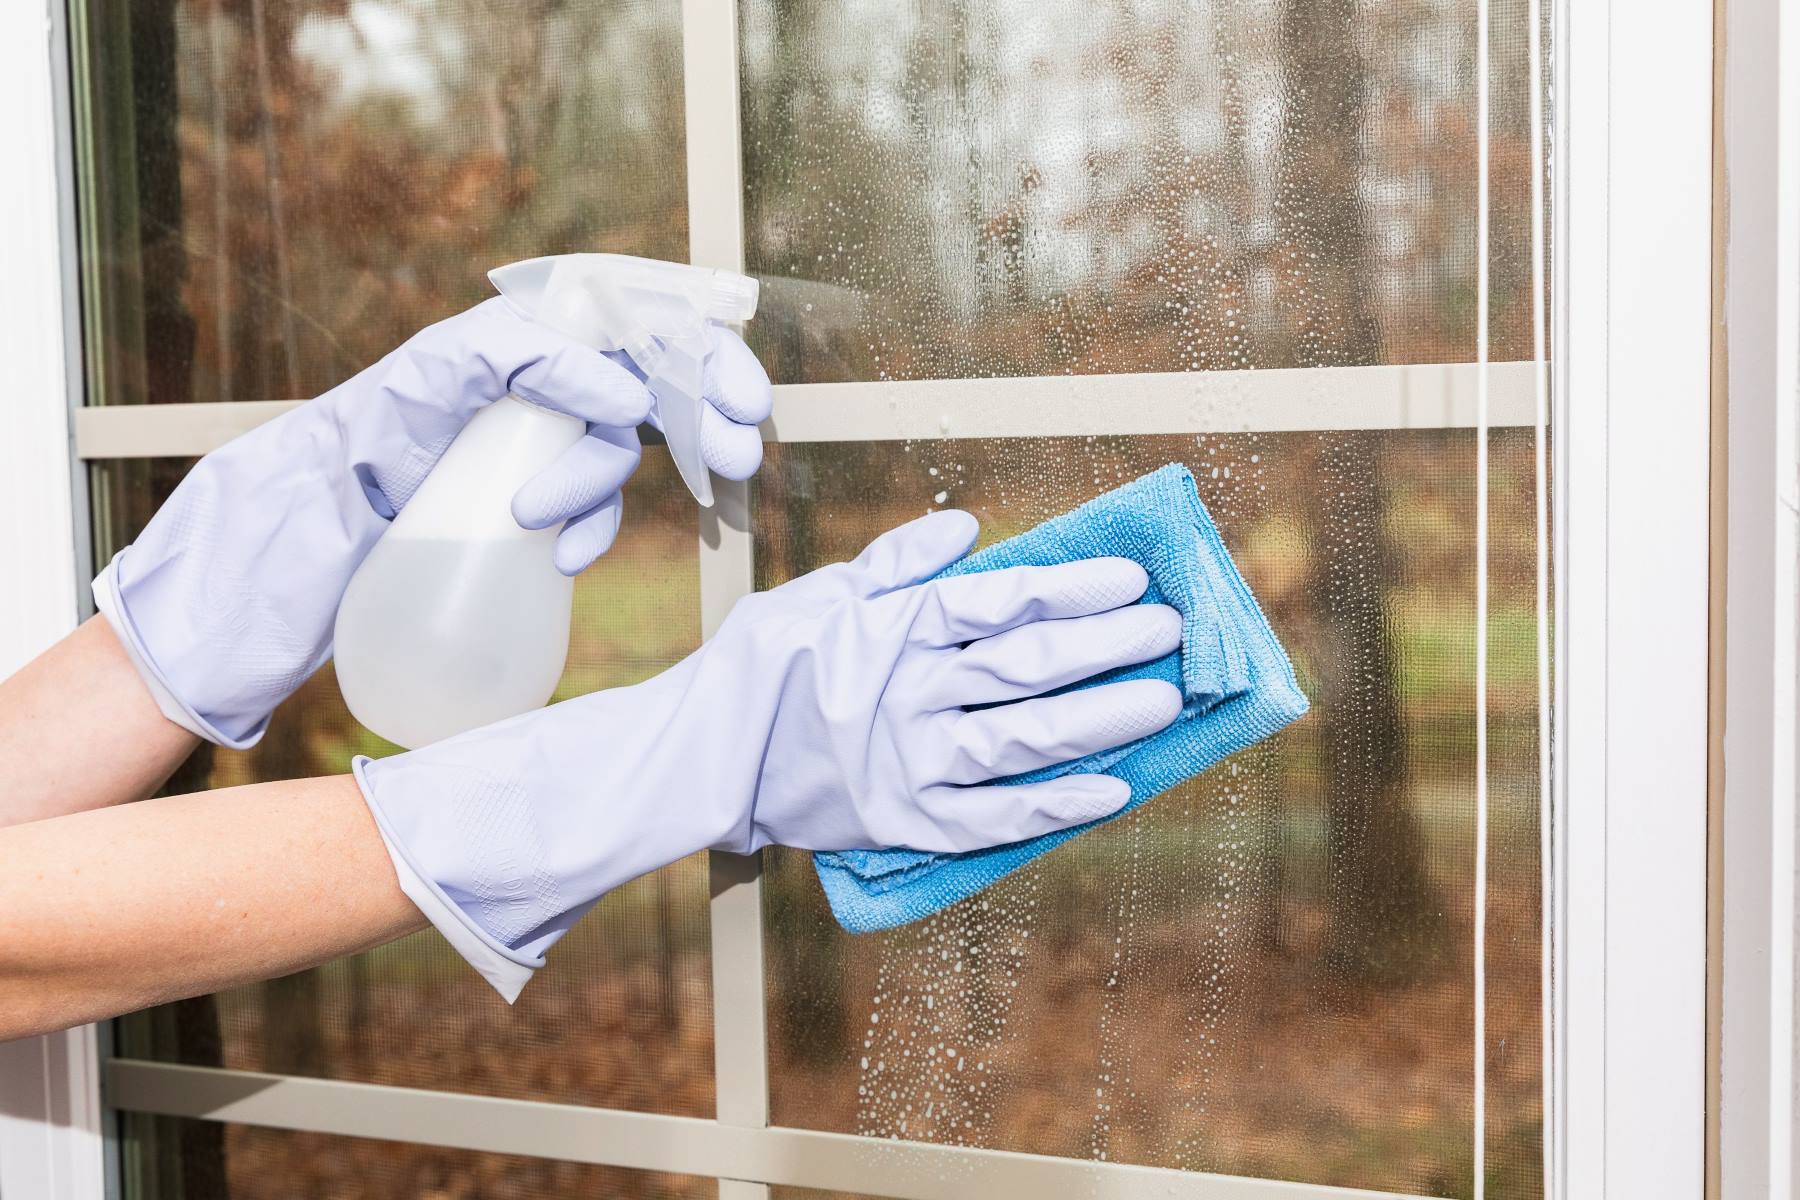
To commence the cleaning and finishing process, the soldered stained glass artwork is delicately inspected to identify any residual flux, soldering marks, or imperfections that may detract from its visual appeal. A gentle yet thorough cleaning is essential to remove any traces of flux and solder residue, ensuring that the artwork gleams with pristine clarity.
High-quality glass cleaner is meticulously applied to the surface of the stained glass, gently removing any lingering residue and restoring the glass to its immaculate state. This meticulous cleaning process is a testament to the artist's dedication to presenting a flawless and visually captivating artwork, free from any blemishes or imperfections.
Following the cleaning phase, the stained glass is delicately polished to enhance its luster and brilliance, elevating the visual impact of the artwork to new heights. The careful application of glass polish brings forth the innate radiance of the glass, allowing it to shimmer and glow with captivating allure.
As the polishing process unfolds, the artist witnesses the transformative power of meticulous care and attention, as the stained glass artwork evolves into a radiant testament to the beauty of the craft. Each stroke of the polishing cloth becomes a gesture of reverence for the artistry imbued within the stained glass, ensuring that its luminous beauty captivates and inspires all who behold it.
With the cleaning and finishing process complete, the stained glass artwork stands as a testament to the artist's unwavering commitment to excellence and the enduring allure of stained glass artistry. The finished piece radiates with timeless beauty, inviting viewers to immerse themselves in the captivating interplay of light and color that defines the masterpiece.
In the culmination of the cleaning and finishing phase, the stained glass artwork emerges as a radiant testament to the artist's skill, dedication, and reverence for the transformative power of stained glass artistry.
Read more: How To Hang Stained Glass
Conclusion
In the culmination of the stained glass creation journey, we are met with a testament to the enduring allure of artistic expression and the transformative power of craftsmanship. Each step of the process, from gathering the essential tools and materials to the meticulous assembly and finishing, has been a testament to the artist's dedication, skill, and unwavering commitment to excellence.
As we reflect on the journey of creating stained glass art, we are reminded of the profound interplay of creativity and precision that defines this timeless craft. The art of stained glass invites us to embrace the beauty of tradition while exploring the boundless possibilities of innovation, weaving a narrative of artistic evolution and timeless elegance.
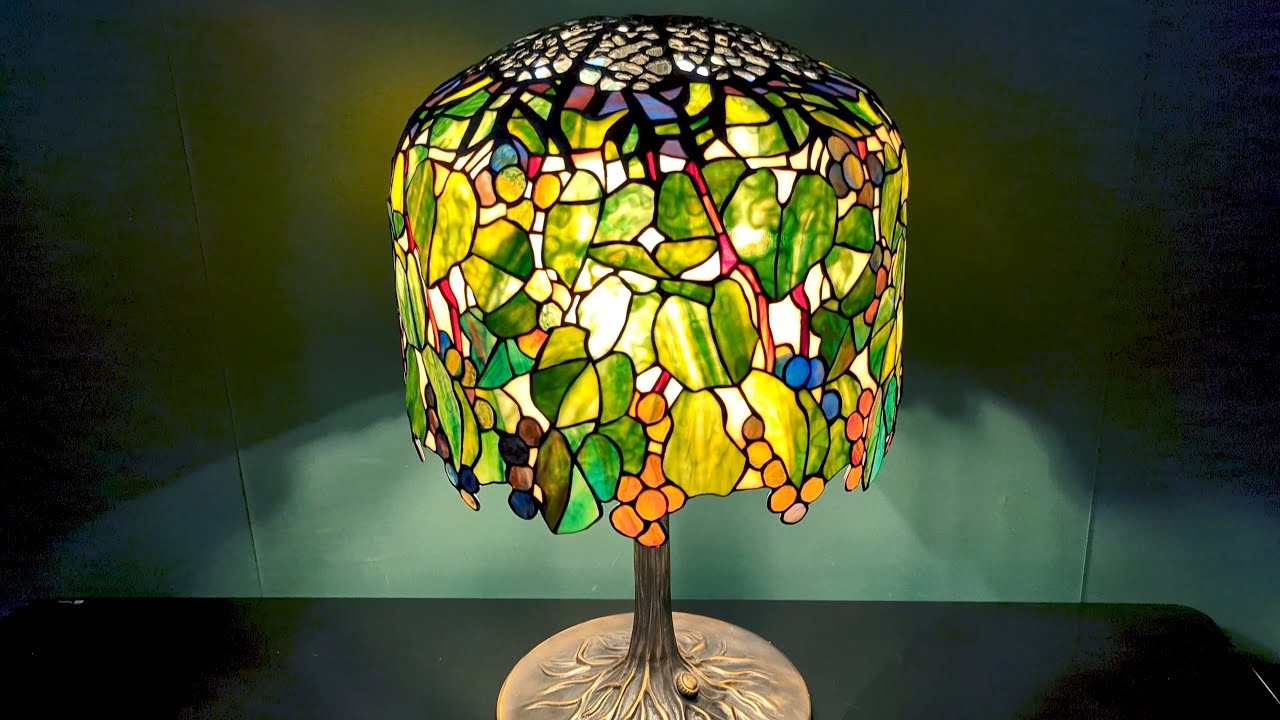
The completed stained glass artwork stands as a radiant testament to the artist's vision, skill, and dedication. It embodies the captivating dance of light and color, inviting viewers to immerse themselves in its mesmerizing allure. Each meticulously cut, shaped, and soldered piece is a reflection of the artist's artistry, a testament to their ability to harness the transformative potential of glass as a medium of expression.
Furthermore, the stained glass artwork serves as a bridge between the past and the present, honoring the rich tradition of stained glass craftsmanship while embracing contemporary creativity and expression. It invites us to witness the convergence of history and innovation, where time-honored techniques intertwine with modern artistic sensibilities to create a masterpiece that transcends temporal boundaries.
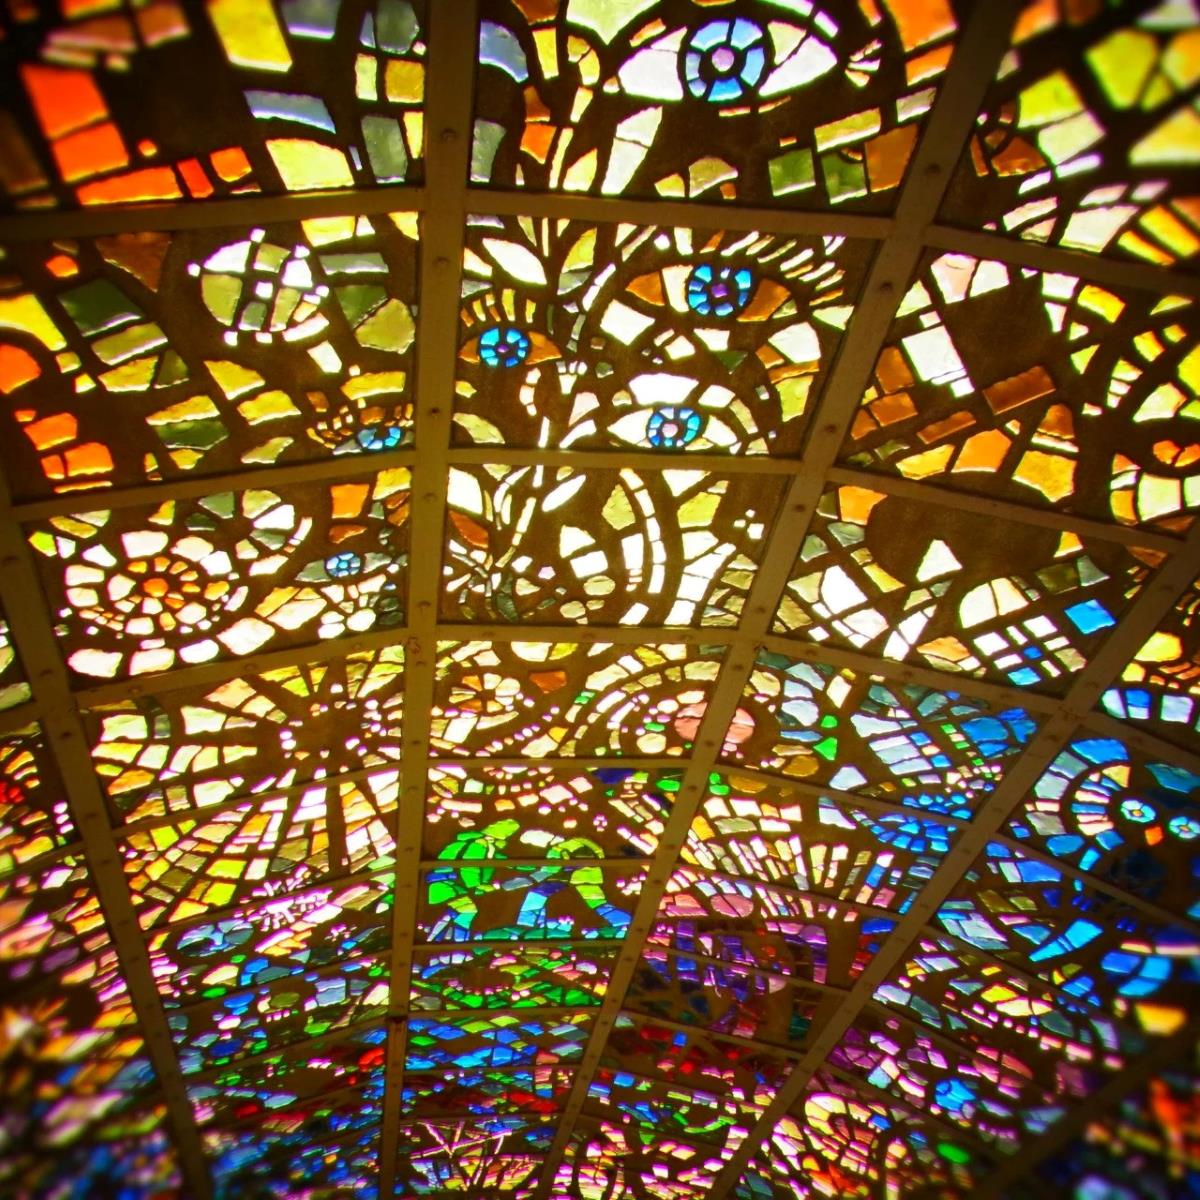
As the light dances through the vibrant hues and intricate contours of the stained glass, it illuminates not only the physical space it inhabits but also the hearts and minds of those who behold it. The artwork becomes a source of inspiration, inviting contemplation and evoking a sense of wonder and beauty that transcends language and culture.
In conclusion, the journey of creating stained glass art is a testament to the enduring allure of artistic expression and the transformative power of craftsmanship. It invites us to embrace tradition, innovation, and the boundless possibilities of creativity, weaving a narrative of timeless elegance and artistic evolution. As we behold the completed stained glass artwork, we are reminded of the profound impact of artistry and the enduring beauty of the craft, inviting us to immerse ourselves in the captivating interplay of light and color that defines the masterpiece.
Frequently Asked Questions about How To Start Stained Glass
Was this page helpful?
At Storables.com, we guarantee accurate and reliable information. Our content, validated by Expert Board Contributors, is crafted following stringent Editorial Policies. We're committed to providing you with well-researched, expert-backed insights for all your informational needs.


0 thoughts on “How To Start Stained Glass”