Home>Furniture & Design>Interior Design Trends>How To Install A Sliding Glass Door

Interior Design Trends
How To Install A Sliding Glass Door
Published: February 2, 2024
Learn how to install a sliding glass door and stay updated on the latest interior design trends. Enhance your home with modern style and functionality.
(Many of the links in this article redirect to a specific reviewed product. Your purchase of these products through affiliate links helps to generate commission for Storables.com, at no extra cost. Learn more)
Introduction
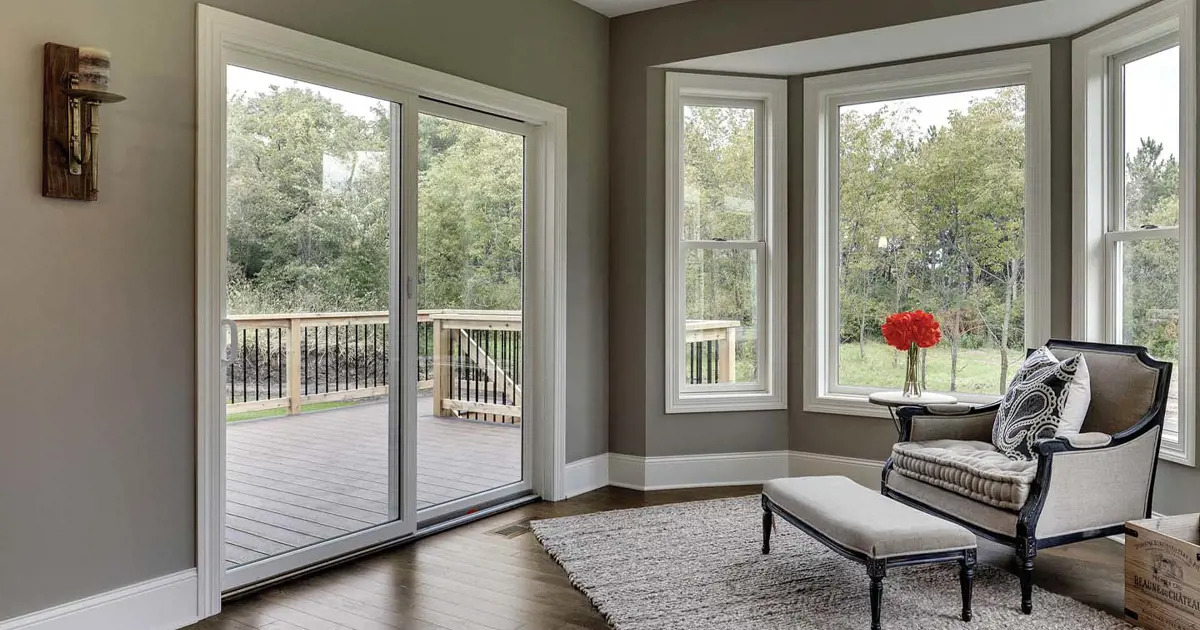
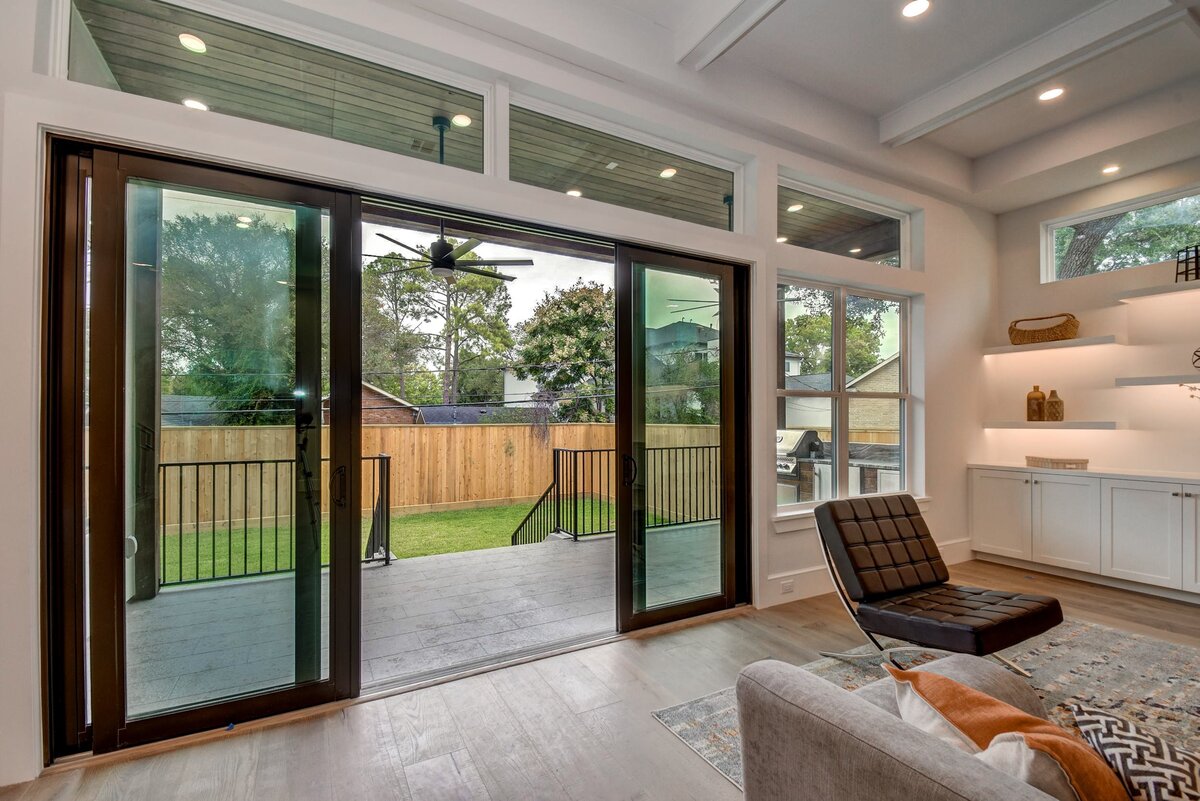
Installing a sliding glass door can transform the ambiance of a room, allowing natural light to flood in and providing a seamless connection between indoor and outdoor spaces. Whether you're upgrading your home or embarking on a new construction project, the installation process requires careful planning and precise execution. By following the steps outlined in this guide, you can successfully install a sliding glass door and elevate the aesthetic and functionality of your living space.
A sliding glass door not only enhances the visual appeal of a room but also improves ventilation and energy efficiency. The unobstructed view it offers can create a sense of spaciousness, making it an ideal addition to any home. Additionally, the ease of access to outdoor areas makes it perfect for entertaining guests or simply enjoying the beauty of your surroundings.
Before diving into the installation process, it's essential to gather the necessary tools and materials to ensure a smooth and efficient workflow. From measuring the opening to securing the door frame and installing the glass panels, each step demands precision and attention to detail. Throughout this guide, you'll learn the key considerations and techniques required to complete the installation with confidence.
As you embark on this project, keep in mind that safety should always be a top priority. Handling glass panels and working with power tools requires caution and adherence to best practices. By taking the time to familiarize yourself with the installation process and carefully following each step, you can achieve a professional-looking result while minimizing the risk of accidents.
With the right tools, a clear understanding of the steps involved, and a methodical approach, you can successfully install a sliding glass door and enhance the beauty and functionality of your home. Let's begin the journey toward creating a seamless transition between your indoor and outdoor spaces, bringing a touch of modern elegance to your living environment.
Key Takeaways:
- Elevate your living space with a sliding glass door, bringing in natural light and creating a seamless connection between indoor and outdoor areas. Follow precise steps for a professional installation and enjoy the modern elegance it brings.
- Prioritize safety, precision, and attention to detail when installing a sliding glass door. From gathering tools to testing the door’s functionality, meticulous care ensures a seamless and visually stunning addition to your home.
Read more: How To Install A Sliding Glass Door
Step 1: Gather the necessary tools and materials
Before embarking on the installation of a sliding glass door, it's crucial to gather all the essential tools and materials to ensure a smooth and efficient process. Here's a comprehensive list of items you'll need:
Tools:
- Measuring Tape: Accurate measurements are vital for a precise fit, so a reliable measuring tape is indispensable.
- Level: Ensures that the door frame and panels are installed perfectly straight and plumb.
- Screwdriver and Drill: For securing the door frame and attaching hardware.
- Caulking Gun: Used to apply sealant around the door frame for weatherproofing.
- Utility Knife: Essential for cutting and trimming materials during the installation process.
- Hammer: For gently tapping the door frame into place and securing fasteners.
- Safety Glasses and Gloves: Protect your eyes and hands during the installation, especially when handling glass panels and using power tools.
Materials:
- Sliding Glass Door Kit: Ensure that the kit includes all necessary components, such as the door frame, sliding panels, and hardware.
- Shims: Used for leveling and adjusting the door frame within the opening.
- Screws and Fasteners: Ensure you have the appropriate screws and fasteners for securing the door frame and hardware.
- Sealant: Choose a high-quality sealant to weatherproof the door frame and prevent air or water infiltration.
- Insulation: Proper insulation materials will help improve energy efficiency and maintain a comfortable indoor environment.
- Safety Equipment: Prioritize safety with gloves, safety glasses, and any other protective gear necessary for the installation process.
By ensuring that you have all the necessary tools and materials at your disposal, you can streamline the installation process and minimize interruptions. Additionally, having the right equipment on hand allows you to maintain a steady pace and address any challenges that may arise during the installation. With these tools and materials at your disposal, you're ready to move on to the next step of measuring the opening and preparing for the installation of the sliding glass door.
Step 2: Measure the opening
Accurate measurements are crucial for a successful sliding glass door installation. Before proceeding with the actual installation, it's essential to measure the opening where the door will be installed. This step requires precision and attention to detail to ensure that the door fits perfectly and operates smoothly.
Start by measuring the width of the opening at the top, middle, and bottom. It's important to take these measurements at multiple points to account for any irregularities in the opening. Record the smallest measurement to ensure that the door frame will fit without any issues.
Next, measure the height of the opening on both the left and right sides, as well as at the center. Again, record the smallest measurement to accommodate any variations in the opening's dimensions. It's crucial to measure from the highest point of the subfloor to the top of the opening to ensure that the door frame will fit properly.
In addition to the width and height measurements, it's essential to check the squareness of the opening. Measure the diagonals from corner to corner to ensure that they are equal in length. If the diagonals are not equal, adjustments may be necessary to ensure that the door frame fits properly and operates smoothly.
When measuring the opening, it's important to account for any obstructions or irregularities that may affect the installation. Take note of any protrusions, uneven surfaces, or structural elements that could impact the placement of the door frame.
Once you have gathered all the necessary measurements, double-check them to ensure accuracy. It's always a good idea to measure multiple times to avoid errors that could lead to complications during the installation process.
By meticulously measuring the opening and taking into account any irregularities, you can lay the groundwork for a successful sliding glass door installation. These precise measurements will guide the subsequent steps of preparing the opening and installing the door frame, setting the stage for a seamless and professional installation process.
Read more: How To Install Sliding Wardrobe Doors
Step 3: Prepare the opening
Preparing the opening for the installation of a sliding glass door is a critical step that sets the stage for a seamless and secure fit. This process involves ensuring that the opening is structurally sound, properly sealed, and ready to accommodate the door frame and panels. By meticulously preparing the opening, you can create an ideal environment for the successful installation of the sliding glass door.
Clearing the Area
Before proceeding with the preparation, it's essential to clear the area around the opening. Remove any obstructions, debris, or existing door components to create a clean and unobstructed workspace. This includes removing any trim, hardware, or remnants from the previous door to ensure a fresh start for the installation.
Inspecting the Surrounding Structure
Carefully inspect the surrounding structure, including the walls, floor, and ceiling around the opening. Look for signs of damage, rot, or structural issues that may need to be addressed before proceeding with the installation. It's crucial to ensure that the surrounding structure is stable and capable of supporting the weight of the sliding glass door.
Weatherproofing and Insulation
Proper weatherproofing and insulation are essential for creating a secure and energy-efficient seal around the door frame. Apply a high-quality sealant to the perimeter of the opening to prevent air and water infiltration. Additionally, install insulation around the door frame to improve energy efficiency and maintain a comfortable indoor environment.
Read more: How To Install A Sliding Closet Door
Leveling and Adjustments
Using shims and a level, ensure that the opening is perfectly level and plumb. Make any necessary adjustments to correct any irregularities in the opening, ensuring that the door frame will fit securely and operate smoothly. This step is crucial for preventing issues such as binding or uneven operation of the sliding glass panels.
Reinforcement and Support
Depending on the construction of the surrounding walls, it may be necessary to reinforce and provide additional support for the door frame. This is particularly important for larger or heavier sliding glass doors. Consult with a professional if reinforcement or structural modifications are required to ensure the long-term stability and safety of the installation.
By meticulously preparing the opening, addressing any structural concerns, and ensuring proper weatherproofing and insulation, you can create an optimal environment for the successful installation of a sliding glass door. This meticulous preparation sets the stage for the next steps of installing the door frame and sliding glass panels, bringing you closer to the completion of this transformative home improvement project.
Step 4: Install the door frame
Installing the door frame is a pivotal stage in the process of fitting a sliding glass door. This step demands precision and attention to detail to ensure that the door frame is securely positioned and properly aligned within the prepared opening. By following the outlined steps, you can effectively install the door frame and progress toward the completion of the installation process.
Positioning the Frame
Carefully place the door frame into the prepared opening, ensuring that it fits snugly and aligns with the surrounding structure. Use shims to adjust and level the frame as needed, ensuring that it is perfectly plumb and level. This meticulous alignment is crucial for the smooth operation and stability of the sliding glass door.
Read more: How To Install Blinds On Sliding Doors
Securing the Frame
Once the door frame is positioned correctly, secure it in place using screws and fasteners. Be mindful of the manufacturer's guidelines for the recommended fastening points and techniques. It's essential to follow these instructions to ensure the structural integrity and stability of the door frame.
Weatherproofing and Sealing
Apply a high-quality sealant around the perimeter of the door frame to create a weatherproof seal. This sealant serves as a barrier against air and water infiltration, enhancing the energy efficiency and durability of the installation. Pay close attention to the corners and joints, ensuring that they are thoroughly sealed to prevent any potential leaks.
Testing and Adjustments
After securing the door frame, test the operation of the sliding glass panels to ensure smooth and effortless movement. Make any necessary adjustments to the frame or hardware to address any issues such as binding or misalignment. This step is crucial for ensuring that the sliding glass door operates seamlessly and meets the desired performance standards.
Final Checks
Conduct a thorough inspection of the installed door frame, checking for any gaps, unevenness, or potential issues. Address any discrepancies promptly to ensure that the door frame is securely in place and properly sealed. This meticulous attention to detail is essential for the long-term performance and durability of the sliding glass door installation.
By meticulously following these steps, you can successfully install the door frame and advance toward the final stages of the sliding glass door installation. The secure and precise installation of the door frame sets the stage for the subsequent step of installing the sliding glass panels, bringing you closer to the completion of this transformative home improvement project.
Read more: How To Install Sliding Door Lock
Step 5: Install the sliding glass panels
With the door frame securely in place, the next crucial step in the installation process is to install the sliding glass panels. This phase requires precision and care to ensure that the panels fit seamlessly within the frame, operate smoothly, and provide a secure barrier between indoor and outdoor spaces. By following the detailed steps outlined below, you can effectively install the sliding glass panels and bring the installation closer to completion.
Preparing the Panels
Before installing the sliding glass panels, carefully inspect them for any damage or defects. Ensure that the panels are clean and free from any debris that could affect their operation. Additionally, verify that the hardware, such as rollers and tracks, is in optimal condition and ready for installation.
Lifting and Positioning
With the assistance of a partner, carefully lift and position the first sliding glass panel into the designated track within the door frame. Ensure that the panel aligns smoothly with the frame and moves effortlessly along the track. Take care to avoid any undue force or impact that could potentially damage the panel or the surrounding structure.
Securing and Adjusting
Once the first panel is in place, secure it within the track according to the manufacturer's guidelines. This typically involves attaching the panel to the rollers and adjusting them to achieve a smooth and level fit. Test the panel's movement to ensure that it slides open and closed with ease, making any necessary adjustments to the hardware or alignment as needed.
Read more: How To Install A Patio Sliding Door
Installing the Second Panel
Following the successful installation of the first panel, proceed to lift and position the second sliding glass panel into the adjacent track. Similar to the first panel, ensure that it aligns seamlessly with the frame and moves smoothly along the track. Secure the panel in place and make any necessary adjustments to achieve optimal alignment and operation.
Testing and Final Adjustments
After both panels are installed, thoroughly test their movement to ensure that they slide open and close without any issues. Check for smooth operation, proper alignment, and a secure seal when closed. Make any final adjustments to the hardware or alignment to address any potential issues and ensure the optimal performance of the sliding glass panels.
By meticulously following these steps, you can successfully install the sliding glass panels and bring the installation of the sliding glass door to its final stages. The precise and careful installation of the panels sets the stage for the subsequent step of testing the door and making any necessary adjustments, bringing you closer to the completion of this transformative home improvement project.
Step 6: Test the door and make adjustments
After the installation of the sliding glass door and its components, it's crucial to thoroughly test the door's functionality and make any necessary adjustments to ensure optimal performance. This step serves as the final quality check, allowing you to address any potential issues and fine-tune the door's operation for seamless functionality.
Testing the Movement
Begin by testing the sliding glass panels' movement along the tracks. Open and close the door multiple times to assess the smoothness of operation. Pay attention to any resistance, dragging, or uneven movement, as these issues can indicate misalignment or hardware problems. The panels should glide effortlessly along the tracks, providing easy access to the outdoor space.
Checking the Seal
While testing the door's movement, carefully inspect the seal between the sliding glass panels and the door frame. When closed, the panels should form a secure and airtight seal to prevent air and water infiltration. Look for any gaps or inconsistencies in the seal, as these can compromise the door's energy efficiency and weather resistance. Address any seal-related issues promptly to ensure a tight and secure closure.
Verifying Locking Mechanism
Test the locking mechanism to ensure that it functions as intended. The door should lock securely, providing peace of mind in terms of security and protection. Verify that the locking mechanism engages smoothly and that the door remains firmly secured when locked. If any issues are identified, make the necessary adjustments to ensure the reliable operation of the locking system.
Adjusting Hardware and Alignment
If any issues are detected during the testing phase, such as uneven movement, misalignment, or hardware-related issues, proceed to make the required adjustments. This may involve fine-tuning the rollers, adjusting the tracks, or realigning the panels within the frame. Carefully follow the manufacturer's guidelines for making these adjustments to avoid causing further issues.
Re-testing and Fine-tuning
After making adjustments, re-test the door to assess the impact of the changes. Repeat the opening and closing process, checking for improvements in the door's movement, seal, and locking mechanism. Continue fine-tuning as needed until the door operates smoothly, seals effectively, and locks securely.
By meticulously testing the door and making necessary adjustments, you can ensure that the sliding glass door functions optimally and meets the desired performance standards. This final step sets the stage for the successful completion of the installation, providing you with a seamlessly operating and aesthetically pleasing addition to your living space.
Read more: How To Install Sliding Patio Doors
Conclusion
In conclusion, the installation of a sliding glass door represents a transformative home improvement project that enhances both the aesthetic appeal and functionality of a living space. Throughout the installation process, meticulous attention to detail, precise measurements, and careful execution are essential to ensure a seamless and professional outcome.
By gathering the necessary tools and materials, measuring the opening, preparing the space, installing the door frame, positioning the sliding glass panels, and conducting thorough testing and adjustments, homeowners can achieve a successful installation that elevates the ambiance of their homes.
The addition of a sliding glass door not only introduces an abundance of natural light but also creates a seamless connection between indoor and outdoor spaces. This feature is particularly valuable for homeowners who seek to embrace the beauty of their surroundings while enjoying the comfort of their interior spaces.
Furthermore, the installation of a sliding glass door contributes to improved energy efficiency, ventilation, and the overall visual appeal of a home. The unobstructed view it offers can create a sense of spaciousness, making it an ideal addition to any living environment.
As homeowners embark on this transformative project, it is crucial to prioritize safety, precision, and adherence to best practices. Handling glass panels and working with power tools demands caution and careful consideration to ensure a smooth and secure installation process.
Ultimately, the successful installation of a sliding glass door represents a significant enhancement to the home, offering a modern and elegant touch that enriches the living experience. By following the comprehensive steps outlined in this guide, homeowners can confidently embark on this project, knowing that they are well-equipped to achieve a professional and visually stunning result.
Frequently Asked Questions about How To Install A Sliding Glass Door
Was this page helpful?
At Storables.com, we guarantee accurate and reliable information. Our content, validated by Expert Board Contributors, is crafted following stringent Editorial Policies. We're committed to providing you with well-researched, expert-backed insights for all your informational needs.


0 thoughts on “How To Install A Sliding Glass Door”