Home>Furniture & Design>Living Room Furniture>How To Fix A Squeaky Rocker Recliner
Living Room Furniture
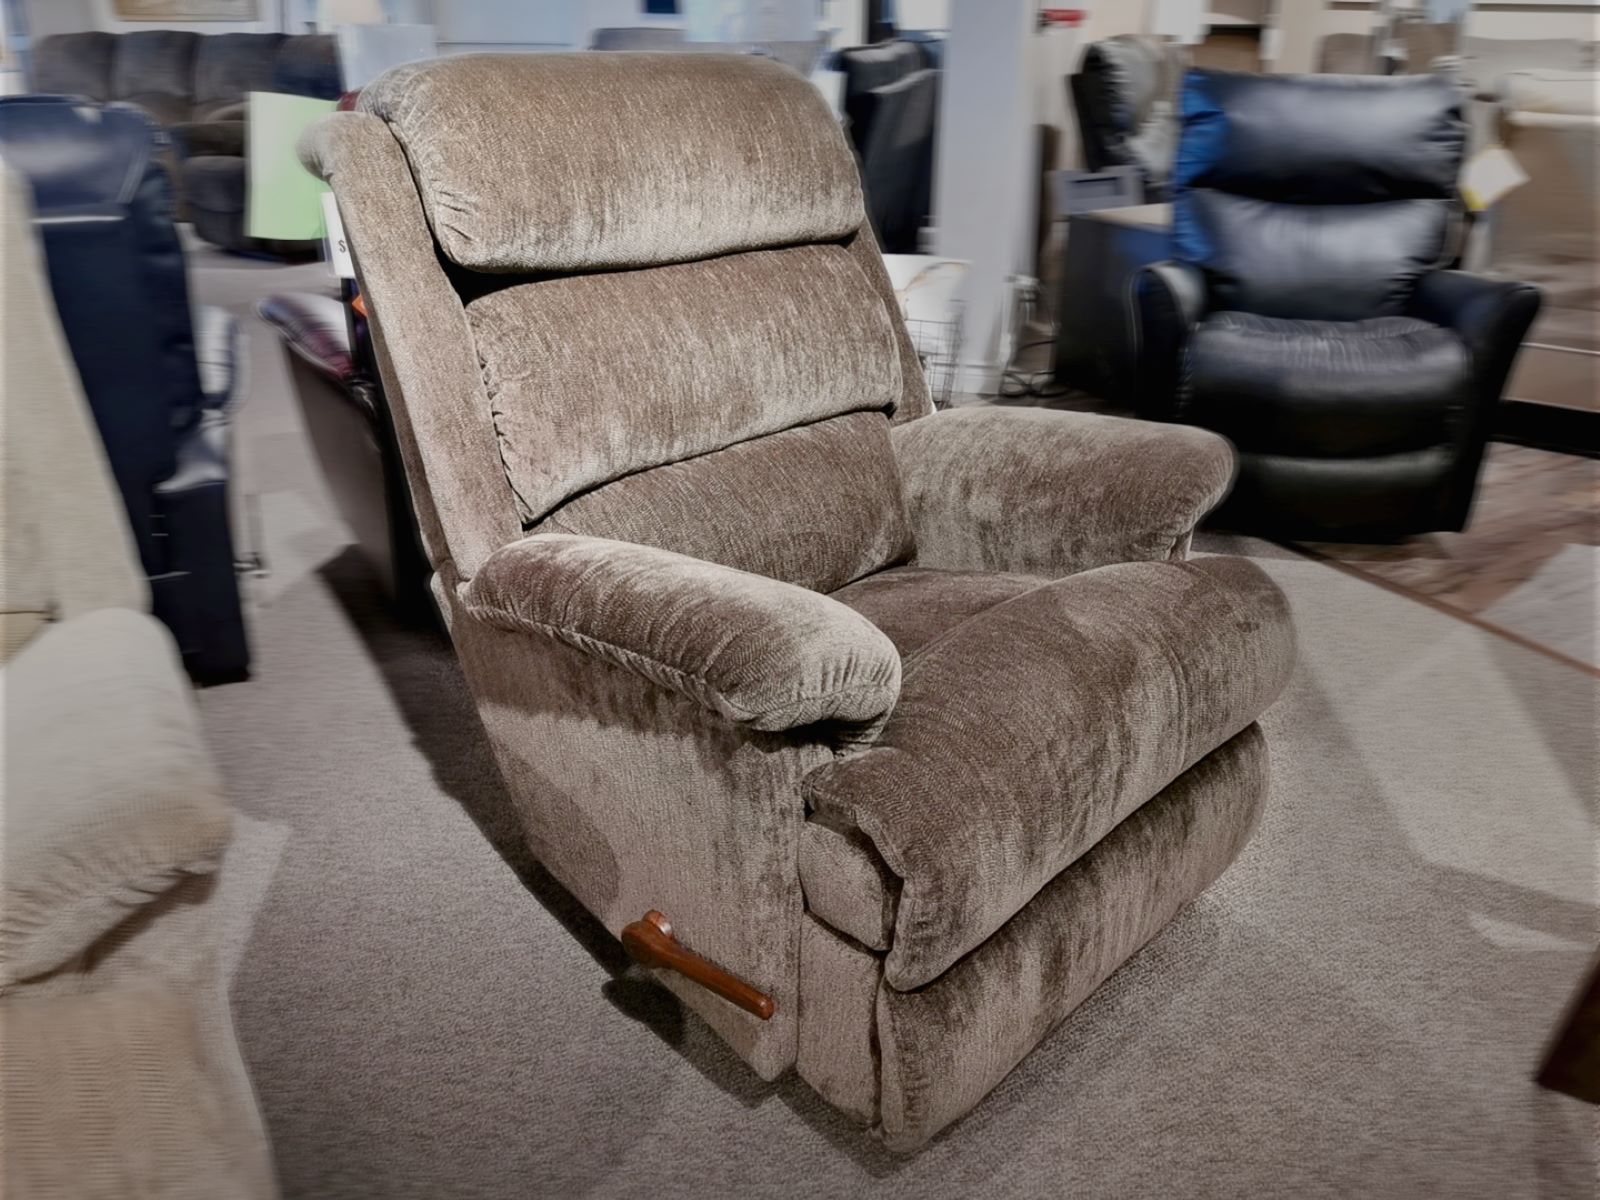
How To Fix A Squeaky Rocker Recliner
Modified: August 16, 2024
Learn how to fix a squeaky rocker recliner with our easy step-by-step guide. Upgrade your living room furniture and design today.
(Many of the links in this article redirect to a specific reviewed product. Your purchase of these products through affiliate links helps to generate commission for Storables.com, at no extra cost. Learn more)
Introduction
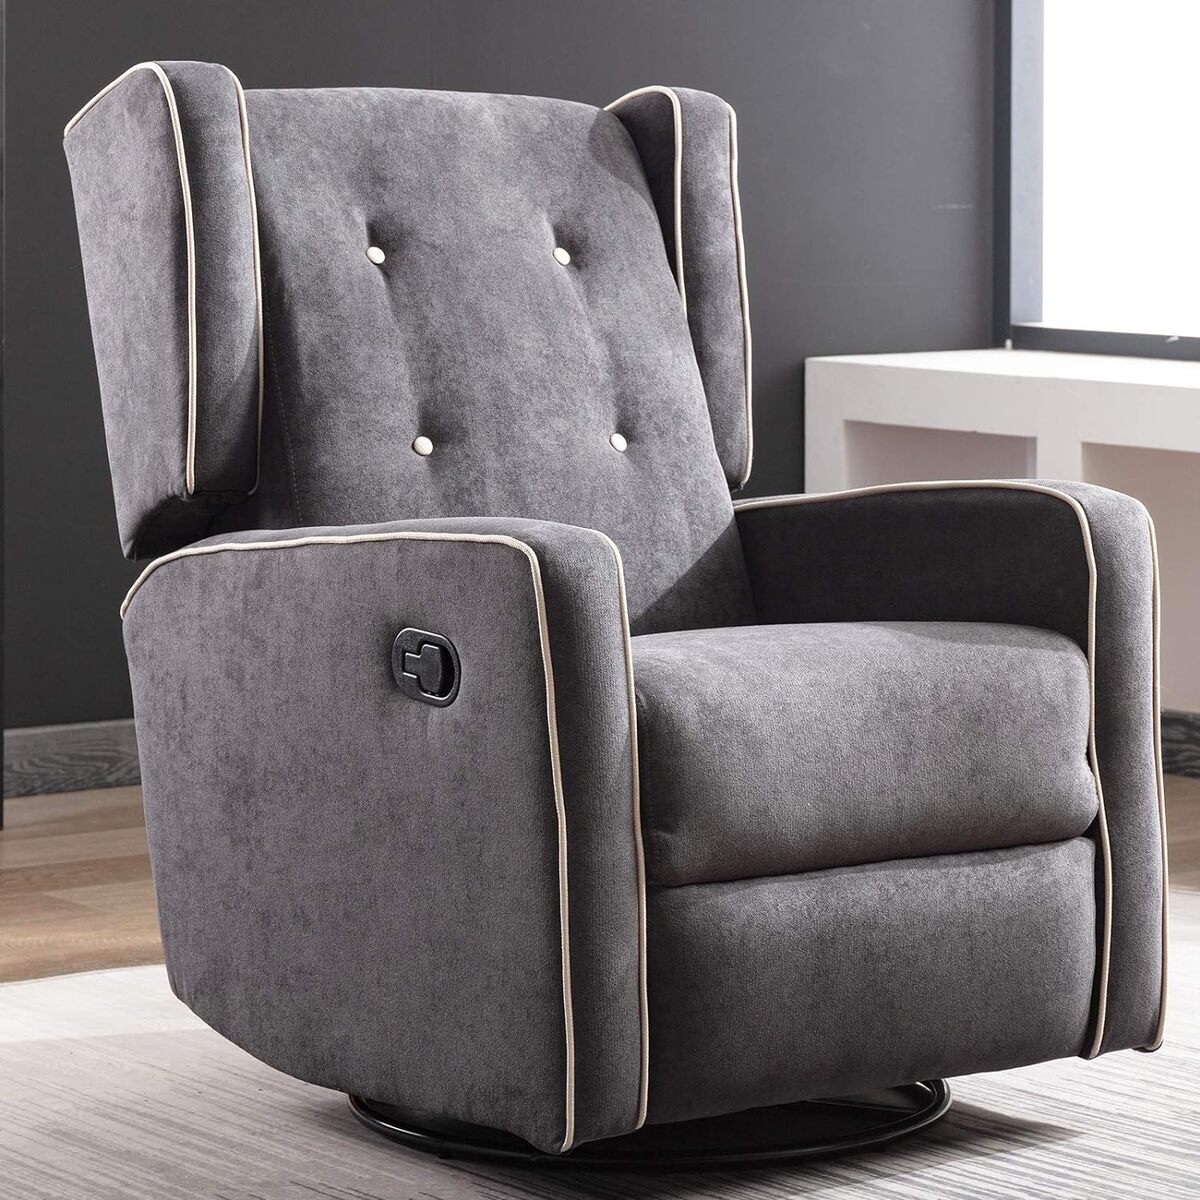
Welcome to our comprehensive guide on how to fix a squeaky rocker recliner. There’s nothing quite as frustrating as a squeaky piece of furniture, especially when it’s your favorite spot to relax and unwind. A squeaky rocker recliner can disrupt the tranquility of your living room and make it difficult to fully enjoy your downtime.
But fear not! We are here to help you silence that annoying squeak and restore your rocker recliner to its former glory. In this guide, we will walk you through step-by-step instructions on how to identify the source of the squeak and take the necessary actions to fix it.
Before we dive into the specific steps, it’s important to note that while some repairs can be easily done at home, others may require professional assistance. If you’re unsure or uncomfortable with any aspect of the repair process, it’s always best to consult a furniture expert to avoid further damage and ensure your safety.
Now, let’s get started on the journey to a squeak-free rocker recliner!
Key Takeaways:
- Say goodbye to annoying squeaks in your favorite rocker recliner by following our comprehensive guide. From tightening screws to adding extra padding, you can restore tranquility to your living room oasis.
- Don’t let a squeaky recliner disrupt your relaxation. With our step-by-step instructions, you can troubleshoot and fix the source of the squeak, ensuring countless hours of quiet comfort in your newly restored rocker recliner.
Read more: What Is A Rocker Recliner
Step 1: Identify the Source of the Squeak
The first step in fixing a squeaky rocker recliner is to identify the source of the problem. Squeaks can originate from various areas, so it’s essential to determine the exact cause before proceeding with any repairs.
Begin by sitting in the recliner and rocking back and forth. Listen for the squeak and try to determine where it is coming from. Is it coming from the seat, the backrest, or the armrests? Pay close attention to the location and intensity of the sound.
Once you have identified the general area, it’s time to do some detective work. Start by visually inspecting the recliner for any visible signs of damage or wear. Look for loose screws, bolts, or any broken or missing parts. Examine the springs, tension rods, and handles for any signs of damage or misalignment.
Next, try gently pressing on different parts of the recliner to see if you can replicate the squeak. Apply pressure to the seat, backrest, and armrests, and listen for any squeaking sounds. This will help you pinpoint the exact location of the problem.
If you still can’t determine the source of the squeak, try enlisting the help of a friend or family member. Have them sit in the recliner while you listen for the sound. This can provide a different perspective and make it easier to locate the source.
Remember, identifying the source of the squeak is crucial for effective repairs. Once you have a clear understanding of where the problem lies, you can confidently move on to the next steps in fixing your squeaky rocker recliner.
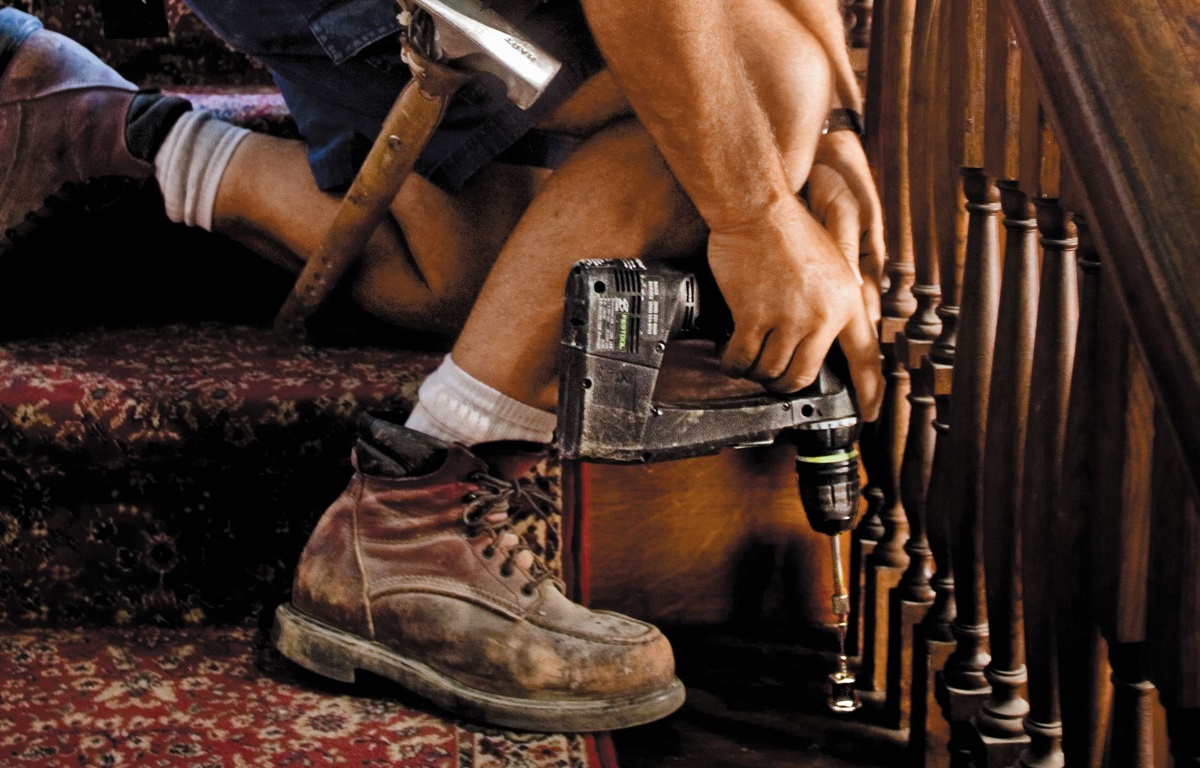
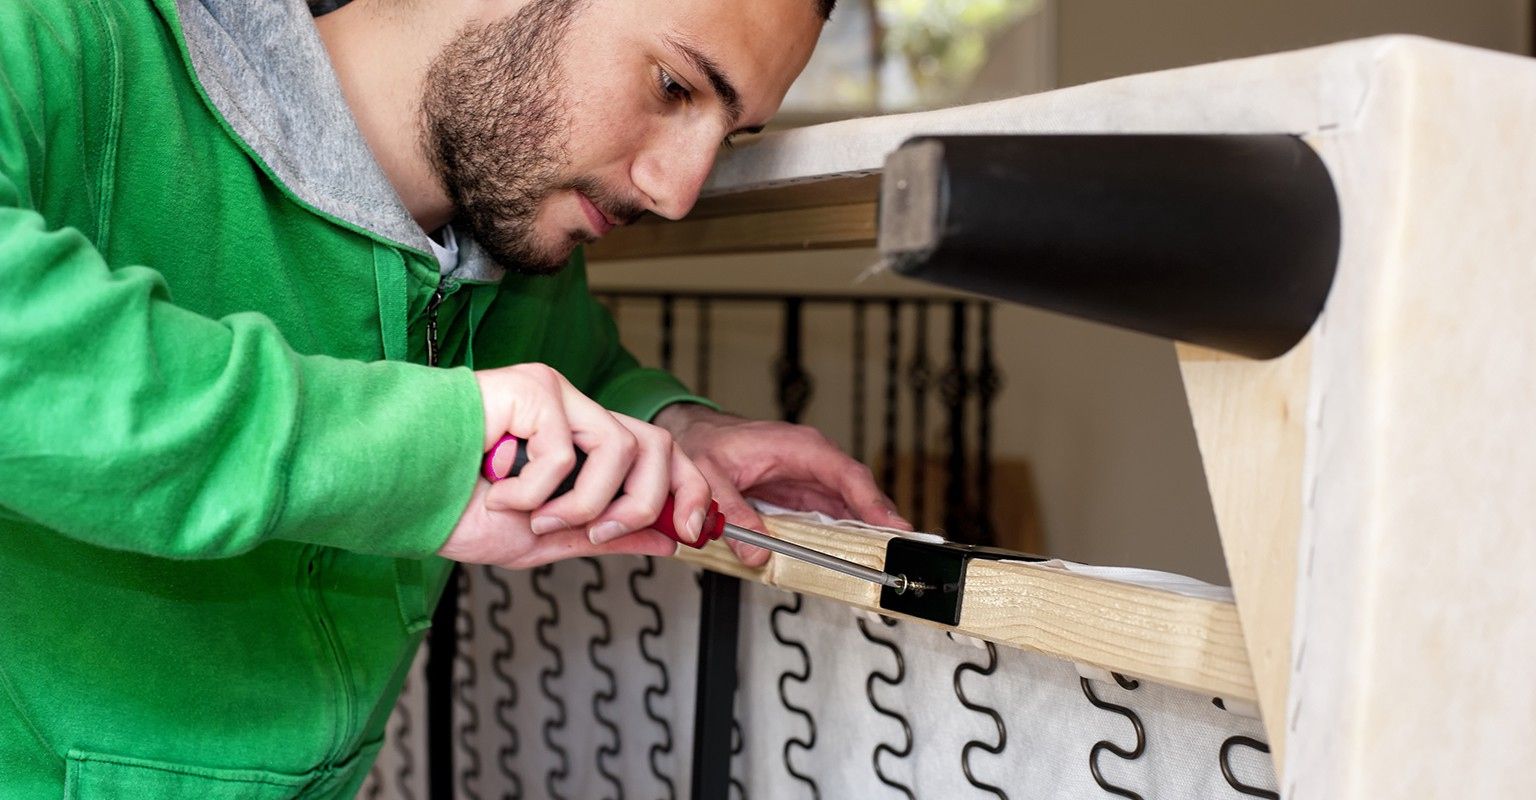
Step 2: Tighten Loose Screws and Bolts
After identifying the source of the squeak, it’s time to tackle one of the most common culprits – loose screws and bolts. Over time, the constant rocking and movement of a rocker recliner can cause these fasteners to loosen, leading to annoying squeaks.
Start by flipping the recliner onto its back or side, depending on the design. Use a screwdriver or an appropriate tool to tighten any loose screws or bolts that you identified during your inspection. Pay close attention to the areas where the squeak is most pronounced.
If you can’t find any loose fasteners, it’s still a good idea to give all the screws and bolts a thorough check and tighten them if necessary. The movement of the recliner can gradually loosen these components, even if they aren’t directly causing the squeak.
Another tip is to apply a small amount of wood glue or adhesive to the threads of the screws before tightening them. This can help create a stronger bond and prevent them from coming loose again in the future.
Once you have tightened all the screws and bolts, flip the recliner back to its upright position and test it by rocking back and forth. Listen carefully to see if the squeak has diminished or disappeared. If the squeak persists, don’t worry – there are still more steps to take in our journey to a squeak-free rocker recliner.
Note: Be cautious not to overtighten the screws or bolts, as this can damage the wood or metal components of your recliner. Use firm but gentle pressure when tightening, and if you encounter resistance, stop immediately to avoid any potential harm to the furniture.
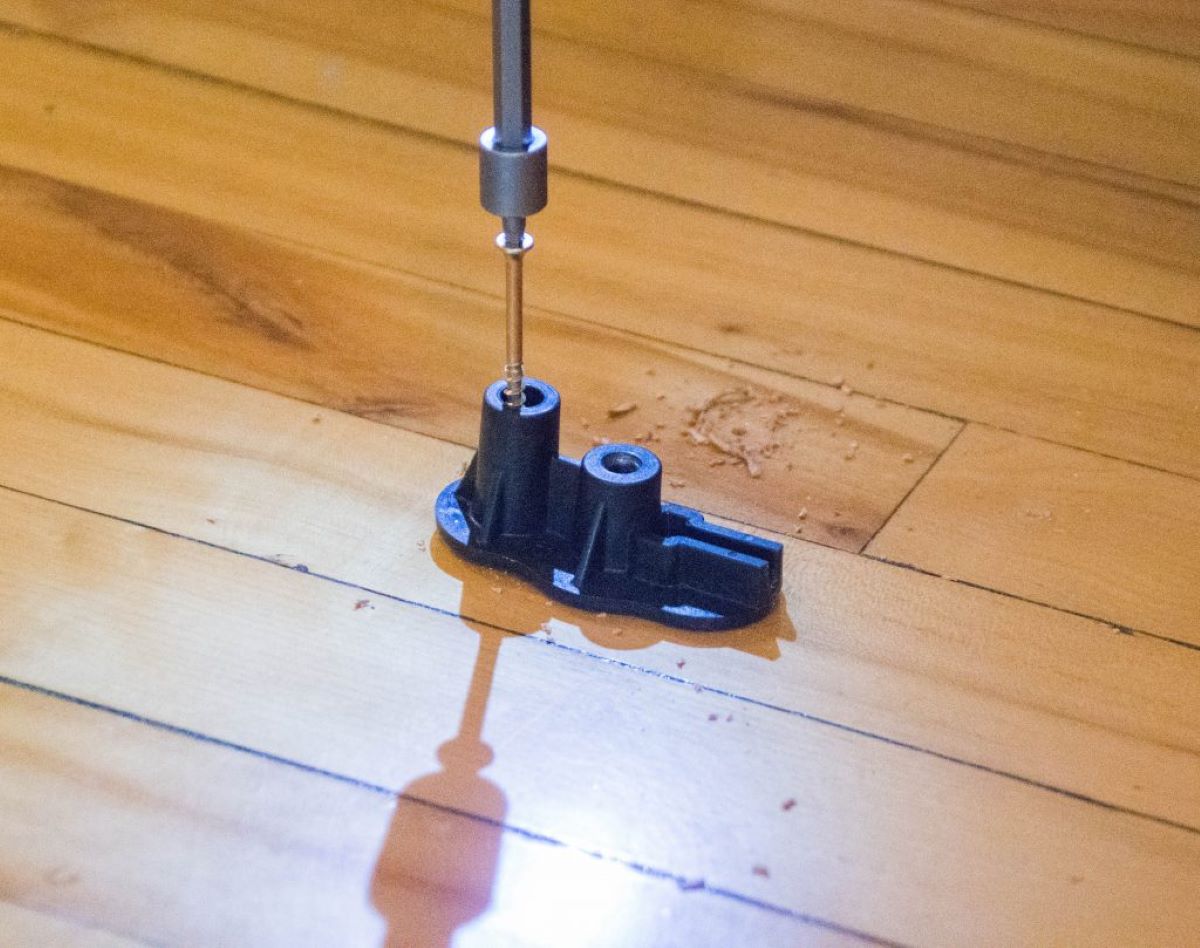
Step 3: Lubricate the Moving Parts
If tightening the screws and bolts did not eliminate the squeak, the next step is to lubricate the moving parts of your rocker recliner. Over time, the friction between metal or plastic components can cause squeaks and creaks. Lubrication helps reduce this friction and restore smooth movement.
Start by identifying the areas where the moving parts come into contact. This can include the pivot points, swivel mechanism, hinges, and any other joints or connections that enable the reclining and rocking motion. Apply a high-quality furniture lubricant or a specific lubricating spray designed for recliners to these areas.
Before applying the lubricant, make sure to read the manufacturer’s instructions and follow them carefully. Some lubricants may require you to first clean the surfaces or remove any old lubricant residue. Use a soft brush or cloth to gently remove any dirt or debris that has accumulated in the crevices.
Once the surfaces are clean, apply the lubricant sparingly. Be mindful not to overdo it, as excess lubricant can attract more dirt and dust over time. Use a small amount and distribute it evenly over the moving parts. Then, gently work the recliner back and forth to spread the lubricant and ensure it reaches all the necessary areas.
After applying the lubricant, give the recliner a test run to see if the squeak has diminished. If needed, reapply the lubricant or try a different type of lubrication if the squeak persists. It may also be helpful to periodically lubricate the moving parts as part of your regular maintenance routine to prevent future squeaks.
Please note that certain recliners may have specific recommendations for lubrication. For example, leather recliners might require a different type of lubricant or conditioning treatment to keep the material in good condition. Always refer to the manufacturer’s instructions or consult a furniture expert if you’re unsure about the appropriate lubrication method for your specific rocker recliner.
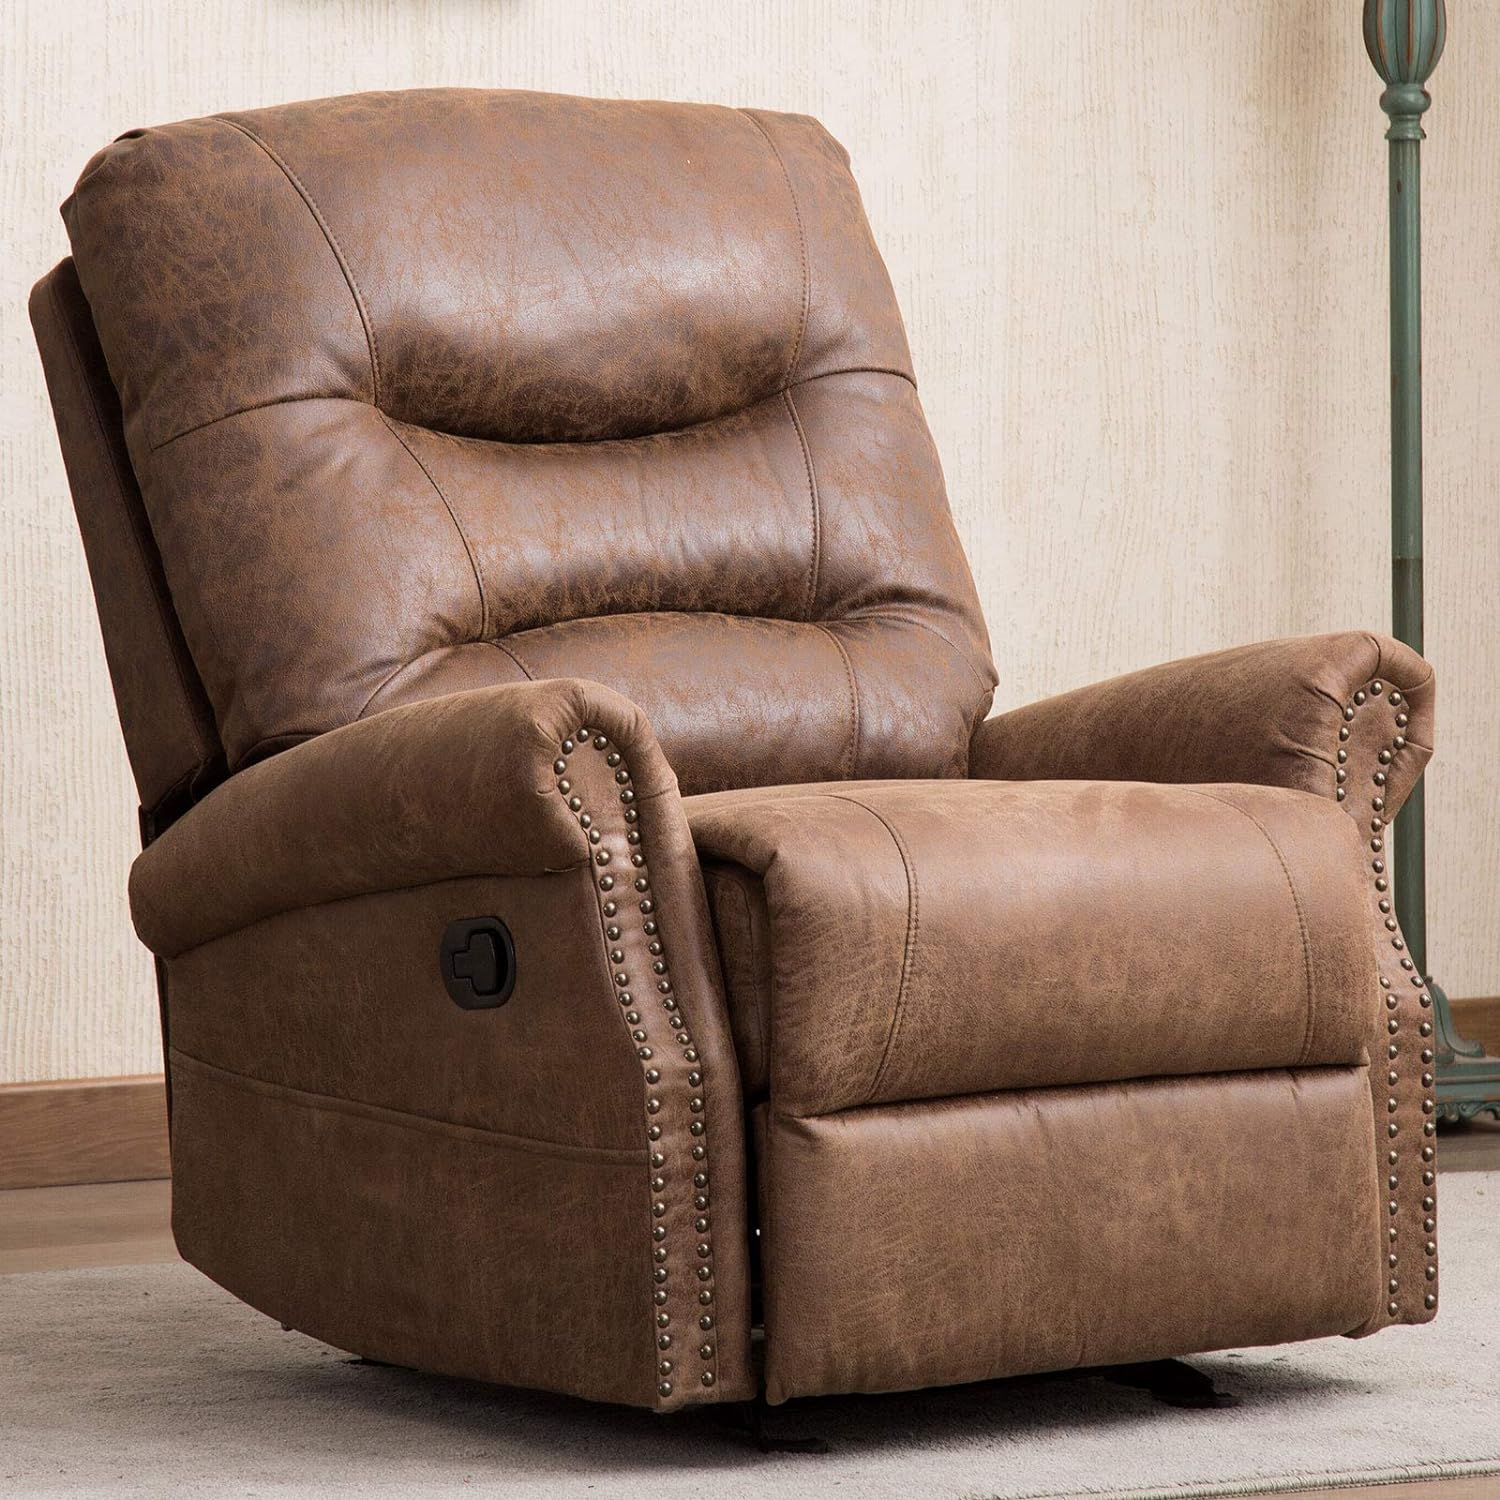
Step 4: Replace Worn or Damaged Springs
If the squeak persists even after tightening the screws and lubricating the moving parts, it’s time to inspect the springs of your rocker recliner. Worn or damaged springs can often be the cause of squeaks and discomfort in recliners.
Start by examining the springs for any visible signs of wear, such as sagging or deformities. Check if any springs are broken or disconnected. If you notice any issues with the springs, it’s best to replace them to ensure the optimal functionality of your recliner.
Replacing springs may require some disassembly of the recliner, so it’s important to refer to the manufacturer’s instructions or consult a professional if you’re not confident in your ability to perform this task. Some recliners have accessible spring systems, while others may require removing the upholstery or backrest to reach the springs.
When replacing springs, it’s crucial to use the appropriate size and type of springs recommended by the manufacturer. Contact the manufacturer or a furniture expert to ensure you acquire the correct replacement springs for your specific rocker recliner model.
Once you have the new springs, carefully remove the old ones and install the replacements. Ensure that the springs are securely attached and properly aligned. Take care to follow any assembly instructions provided by the manufacturer to guarantee a correct and safe installation.
Once you have replaced the worn or damaged springs, test the recliner to see if the squeak has been eliminated. Sit in the recliner and rock back and forth to check if the movement is smooth and quiet. If the squeak persists, consider moving on to the next step in our guide.
Remember, if you’re unsure or uncomfortable with replacing springs yourself, it’s always best to seek the assistance of a professional. They have the knowledge and expertise to ensure the job is done correctly and safely.
Read more: How To Make A Recliner Into A Rocker
Step 5: Check and Adjust the Tension Rods
If your rocker recliner continues to squeak after following the previous steps, it’s time to check and adjust the tension rods. Tension rods are responsible for maintaining the balance and stability of the recliner, and if they are misaligned or improperly adjusted, it can lead to squeaks and discomfort.
Start by locating the tension rods on your recliner. They are usually located underneath the seat or attached to the frame. The number and position of tension rods may vary depending on the design of your rocker recliner.
Inspect the tension rods for any signs of damage or misalignment. Look for any bends, twists, or loose connections. If you notice any issues, make the necessary adjustments or consider replacing the tension rods.
To adjust the tension rods, you may need to use a wrench or a specialized tool provided by the manufacturer. Carefully follow the instructions specific to your recliner model. Typically, you can increase or decrease the tension by tightening or loosening the nuts or bolts that secure the tension rods in place.
It’s important to make small, incremental adjustments to avoid over-tightening or loosening the tension rods too much. Test the recliner after each adjustment to evaluate its impact on the squeak. Continue making adjustments as needed until you find the right balance.
Remember to ensure the tension rods are evenly adjusted on both sides of the recliner to maintain stability and prevent any lopsidedness. Take your time and be patient during this process to achieve the desired result.
After making the necessary adjustments to the tension rods, test the recliner by rocking back and forth. Listen for any squeaking sounds. If the squeak persists, proceed to the next step in our guide to troubleshoot further.
Note: If you’re uncertain about adjusting or replacing tension rods yourself, it’s recommended to consult a professional to avoid causing any damage to your recliner or compromising its structural integrity.
Check the recliner’s springs and lubricate any squeaky joints with a silicone-based lubricant. Tighten any loose screws or bolts to eliminate the squeaking.
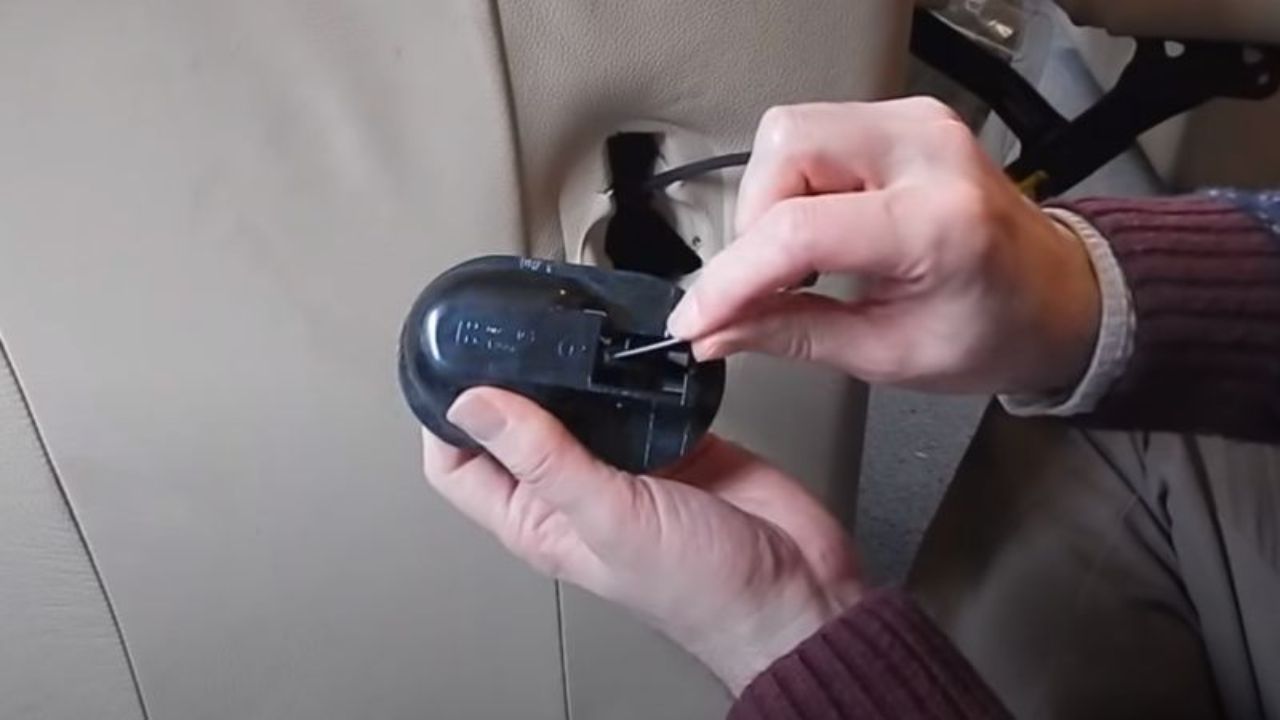
Step 6: Inspect and Repair the Handle or Lever Mechanism
If your rocker recliner is still squeaking, it’s time to turn your attention to the handle or lever mechanism. The handle or lever is responsible for initiating the reclining motion, and if it is worn or damaged, it can contribute to squeaks and instability.
Start by thoroughly inspecting the handle or lever mechanism. Look for any signs of wear, such as cracks, breaks, or loose connections. Check if the handle is securely attached and if the mechanism moves smoothly when you engage it.
If you notice any damage or issues with the handle or lever mechanism, you may need to repair or replace it. Consult the manufacturer’s instructions or contact a furniture expert to determine the appropriate course of action for your specific recliner model.
If the handle or lever mechanism requires repair, you may need to disassemble the recliner to access and work on the mechanism. Follow the provided instructions and use caution to avoid damaging other parts of the recliner during this process.
Repairing the handle or lever mechanism may involve replacing broken components, tightening loose connections, or lubricating certain parts to restore smooth movement. Carefully follow the recommended repair procedures to ensure that the mechanism functions properly without causing any further damage to your recliner.
Once you have repaired or replaced the handle or lever mechanism, give the recliner a test run. Engage the mechanism and recline the chair, then return it to the upright position. Listen for any squeaks or creaks during the movement, and evaluate whether the repairs have resolved the issue.
If the squeak persists, don’t lose hope! There are still a few more steps to explore in our quest to silence your squeaky rocker recliner.
Note: If you’re unsure about performing the repairs yourself or if the damage is extensive, it’s recommended to seek the assistance of a professional furniture repair service to ensure a proper fix without compromising the recliner’s functionality and safety.
Step 7: Realign or Repair the Metal Frame
If your rocker recliner is persistently squeaking, it’s time to examine the metal frame. A misaligned or damaged frame can cause significant friction, resulting in annoying squeaks and an overall unstable recliner.
Start by visually inspecting the metal frame of your rocker recliner. Look for any signs of warping, bends, or breaks in the frame structure. Pay close attention to the areas where the squeak is most prominent.
If you notice any misalignment issues or visible damage to the metal frame, it may require a realignment or repair. Depending on the severity of the damage, you may need to consult a professional furniture repair service for assistance.
For minor misalignments, you can attempt to realign the frame yourself. Carefully assess the problem areas and use gentle force to adjust the frame back into its proper position. Take caution not to use excessive force, as it can potentially cause further damage.
If there are any broken or severely damaged parts of the metal frame, it’s best to consult a professional to determine the appropriate repair or replacement procedure. Trying to repair a significantly damaged frame without the necessary expertise can lead to further complications.
Once you have realigned or repaired the metal frame, test the recliner by rocking it back and forth. Listen carefully to see if the squeak has been eliminated or reduced. If you can still hear the squeak, there are a few more steps to explore in our guide to help you achieve a quiet and comfortable rocker recliner.
Note: Metal frame repairs can be complex, and it’s essential to exercise caution to avoid any injuries or further damage to your recliner. Seeking professional assistance is always recommended if you’re unsure about your ability to handle metal frame realignment or repairs.
Step 8: Add Additional Padding or Support
If your rocker recliner is still squeaking, it’s time to consider adding additional padding or support to the affected areas. Sometimes, the squeak may be caused by insufficient cushioning or lack of support, resulting in friction and noise.
Start by identifying the areas where the squeak is most pronounced. It could be the seat, backrest, or armrests. Look for any signs of inadequate padding or worn-out cushioning in these areas.
To add extra padding, you can use materials like foam inserts, high-density padding, or even folded blankets or towels. Place the padding strategically in the affected areas to eliminate any gaps or spaces that may be causing the squeak.
For example, if the squeak is coming from the seat, lift the upholstery and insert the padding underneath the existing cushioning. Ensure that the padding is evenly distributed and provides adequate support.
If the squeak is originating from the backrest or armrests, you can carefully remove the fabric covers and add padding directly to those areas. Use caution during this process to avoid damaging the upholstery or any other components of the recliner.
Additionally, consider checking if there are any loose or sagging springs or webbing in the affected areas. If so, you can reinforce them with zip ties or replace them if necessary. This will help restore the proper support and reduce the squeak.
After adding the additional padding or support, carefully reassemble the recliner, making sure that everything is properly secured. Test the recliner by sitting in it and rocking back and forth to check if the squeak has improved or disappeared.
If the squeak persists, there is one final step in our guide that you can try before considering professional assistance.
Note: Adding additional padding or support can be a temporary solution, and it may not completely eliminate the squeak in the long run. If the issue persists, it’s advisable to consult a furniture expert for a more thorough assessment and potential repairs.
Read more: How To Fix A Squeaky Door
Step 9: Test and Enjoy Your Squeak-Free Rocker Recliner
Congratulations! You’ve made it to the final step in our guide to fixing a squeaky rocker recliner. After diligently following the previous steps, it’s time to put your efforts to the test and enjoy your newly restored and squeak-free recliner.
Sit in your rocker recliner and gently rock back and forth to see if the squeak has been eliminated. Take a moment to appreciate the silence and smooth motion that you have achieved through your troubleshooting efforts.
If you still detect any lingering squeaks, it may be worthwhile to go back and revisit the previous steps to ensure you haven’t missed anything. Double-check the screws and bolts for any loosening, apply lubrication to the moving parts, or reassess the tension rods and padding. It’s possible that a minor adjustment or additional support could make all the difference.
Throughout this process, remember to keep the manufacturer’s instructions in mind, especially if your rocker recliner is still under warranty. It’s always important to take appropriate steps while avoiding any actions that may void your warranty or cause unintended damage.
Once you have successfully eliminated the squeak and confirmed that your recliner is functioning smoothly, it’s time to sit back, relax, and enjoy your favorite pastimes without the distraction of an annoying noise.
Whether it’s reading a book, watching TV, or simply taking a well-deserved nap, a quiet and comfortable recliner adds a touch of bliss to your living room or relaxation space.
Remember to periodically inspect and maintain your rocker recliner to prevent future squeaks and ensure its longevity. Regular cleaning, lubrication, and tightening of screws and bolts can go a long way in preserving the performance and comfort of your beloved recliner.
If you encounter any difficulties or if the squeak returns after some time, don’t hesitate to seek professional help. Furniture experts have the knowledge and expertise to diagnose and resolve complex issues, giving you peace of mind and a worry-free reclining experience.
So, kick back, put your feet up, and enjoy your squeak-free rocker recliner!
Conclusion
Fixing a squeaky rocker recliner can be a frustrating task, but with the right guidance and a little persistence, you can restore your recliner’s peace and quiet. By following the steps outlined in this comprehensive guide, you have learned how to identify the source of the squeak, tighten screws and bolts, lubricate moving parts, replace worn springs, adjust tension rods, repair handle or lever mechanisms, realign or repair the metal frame, add additional padding or support, and finally, test and enjoy your squeak-free rocker recliner.
Throughout the process, it’s important to strike a balance between fixing the squeak and ensuring the safety and integrity of your recliner. If you’re ever uncertain or uncomfortable with any step, it’s best to seek the assistance of a professional furniture expert.
Remember that proper maintenance and regular checks can help prevent squeaks in the future. Take the time to inspect your recliner, clean it regularly, and perform routine maintenance tasks such as tightening screws and lubricating moving parts. This will not only keep your rocker recliner in top condition but also extend its lifespan.
A squeak-free rocker recliner creates a more enjoyable and relaxing space in your living room. The absence of an annoying noise allows you to fully unwind and experience the utmost comfort in your favorite reclining spot.
So, don’t let a squeaky recliner disrupt your tranquility any longer. Take the necessary steps, troubleshoot the problem areas, and soon you’ll be able to enjoy countless hours of quiet relaxation in your newly restored and squeak-free rocker recliner.
Thank you for joining us on this journey to fixing a squeaky rocker recliner. We hope this guide has been helpful, and we wish you many peaceful and enjoyable moments in your recliner for years to come!
Now that you've mastered fixing a squeaky rocker recliner, why stop there? Dive into our guide on DIY home improvement for more hands-on projects to spruce up your space. From simple fixes to more ambitious undertakings, you'll find plenty of practical advice to transform your home, one project at a time. Ready to tackle more challenges? Our comprehensive tips and tricks will ensure you're well-equipped for the task ahead.
Frequently Asked Questions about How To Fix A Squeaky Rocker Recliner
Was this page helpful?
At Storables.com, we guarantee accurate and reliable information. Our content, validated by Expert Board Contributors, is crafted following stringent Editorial Policies. We're committed to providing you with well-researched, expert-backed insights for all your informational needs.


0 thoughts on “How To Fix A Squeaky Rocker Recliner”