Home>Furniture & Design>Living Room Furniture>How To Replace Seat Springs In A Lazy Boy Rocker Recliner

Living Room Furniture
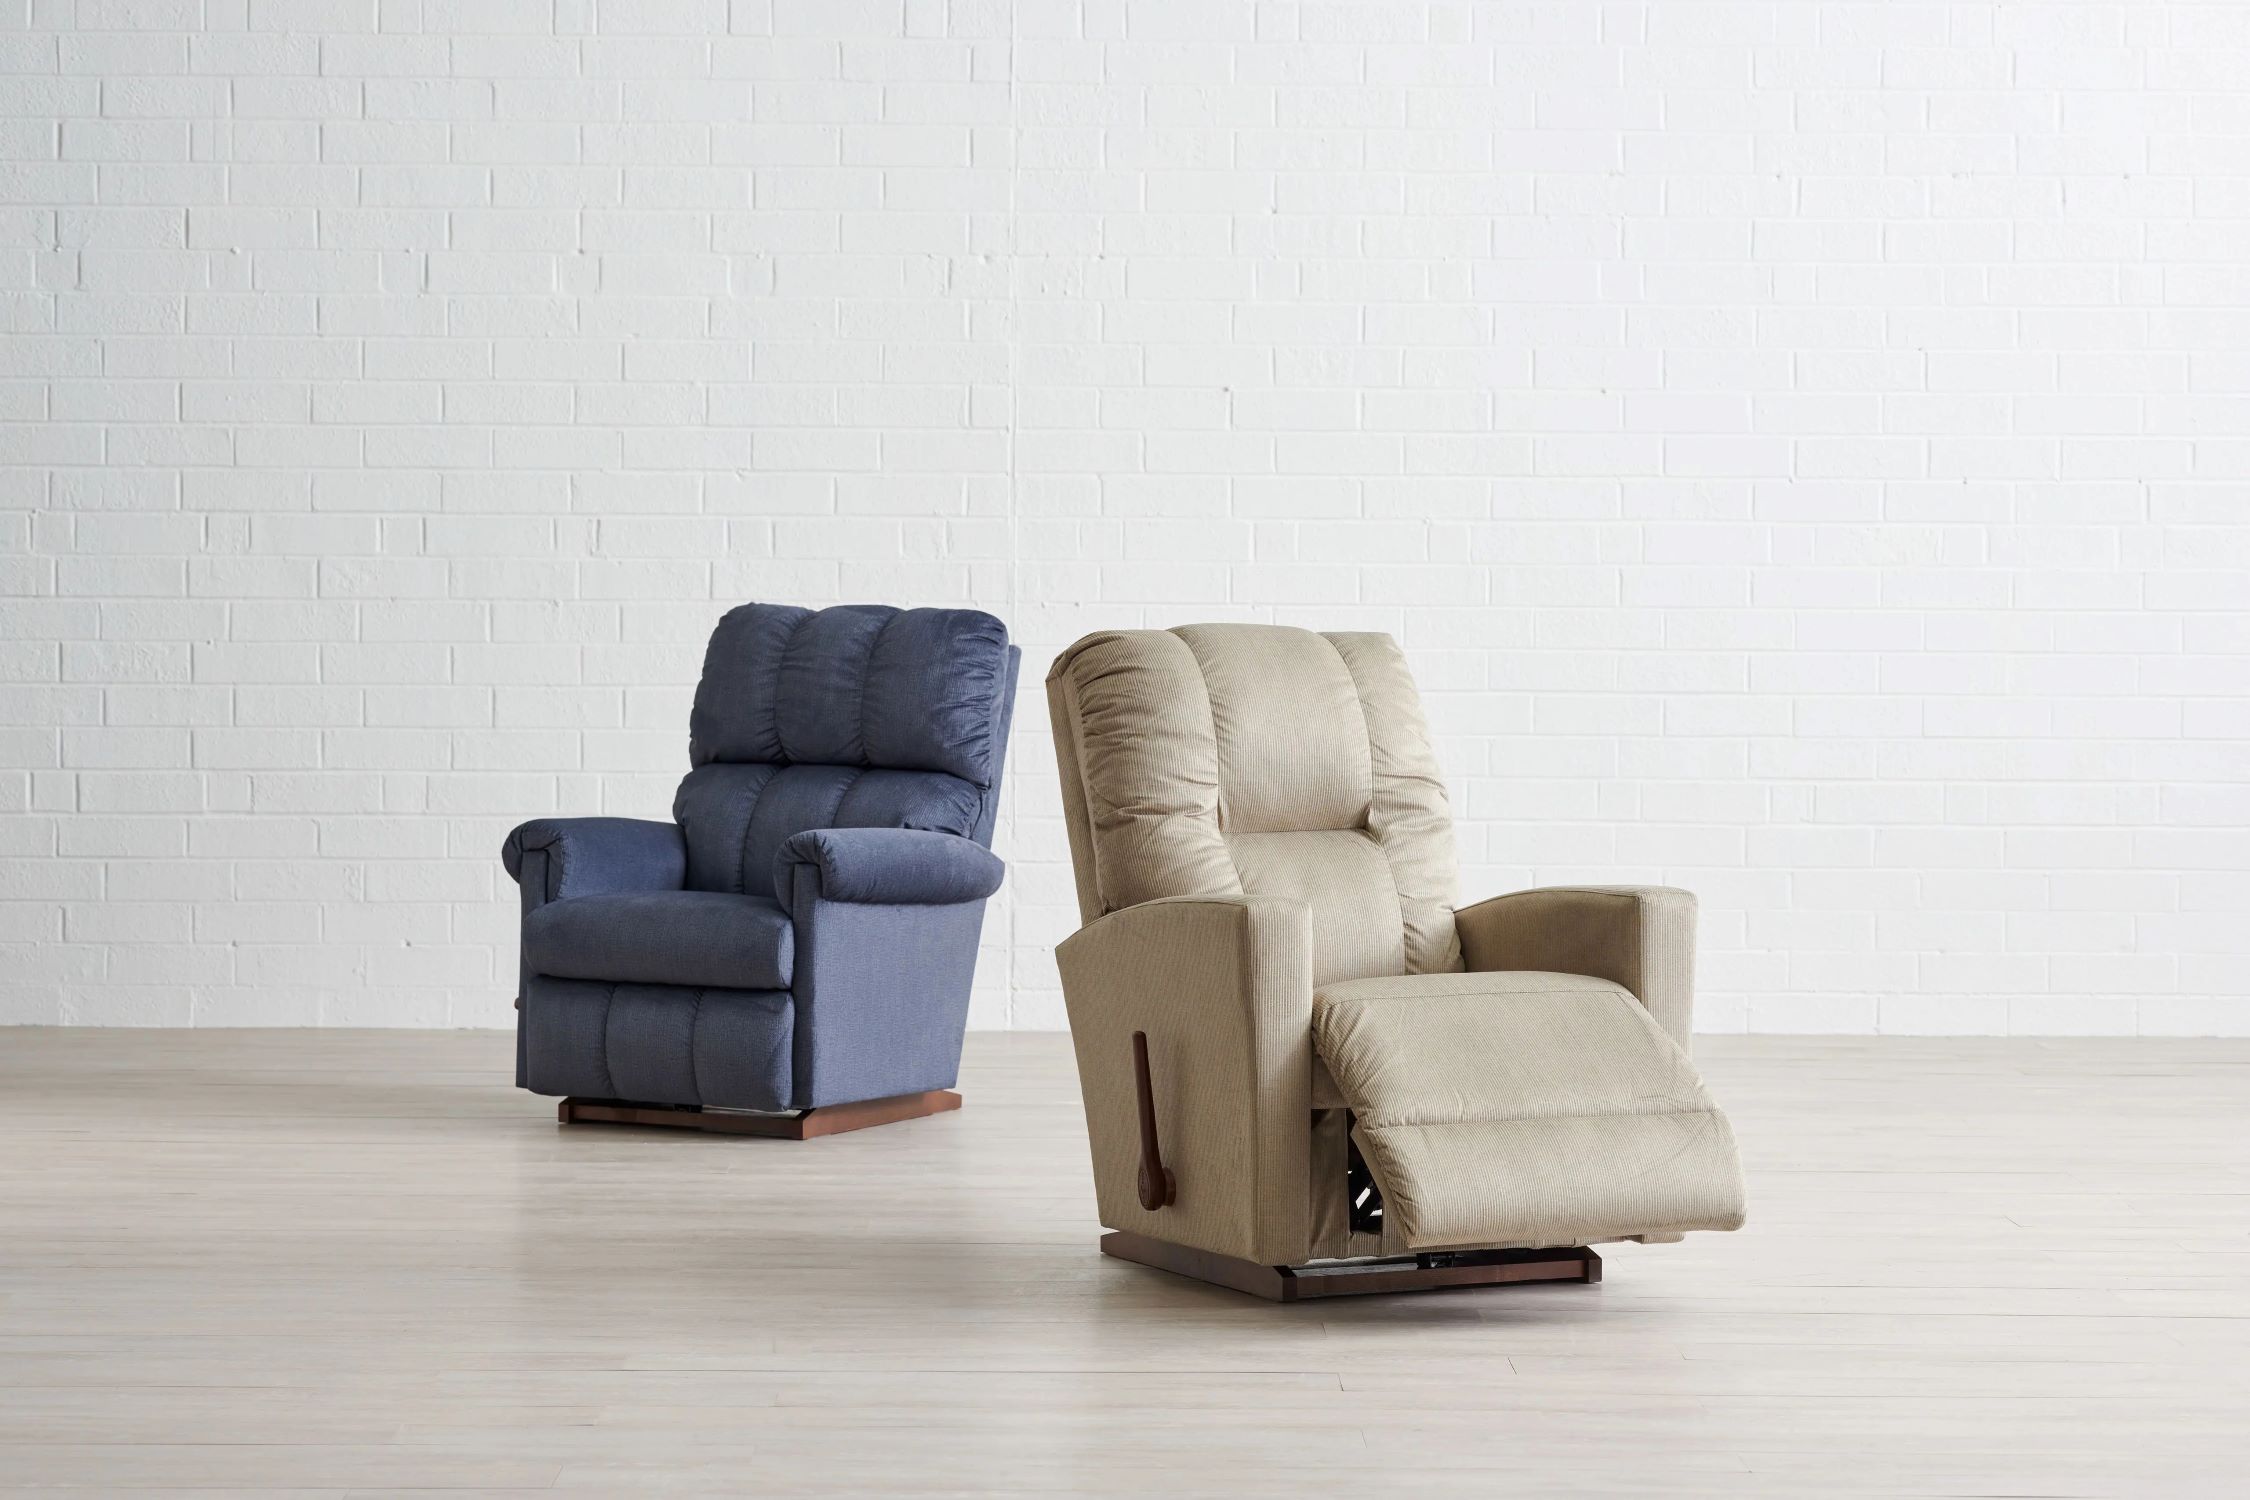
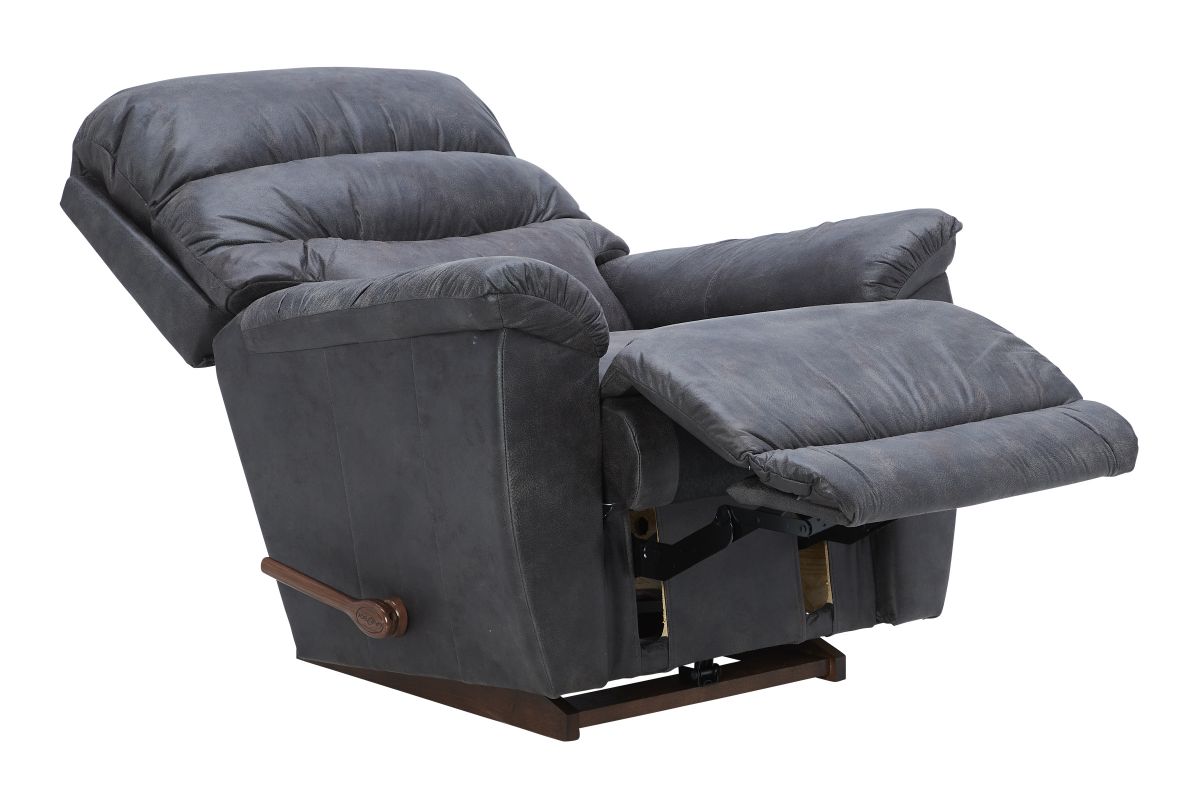
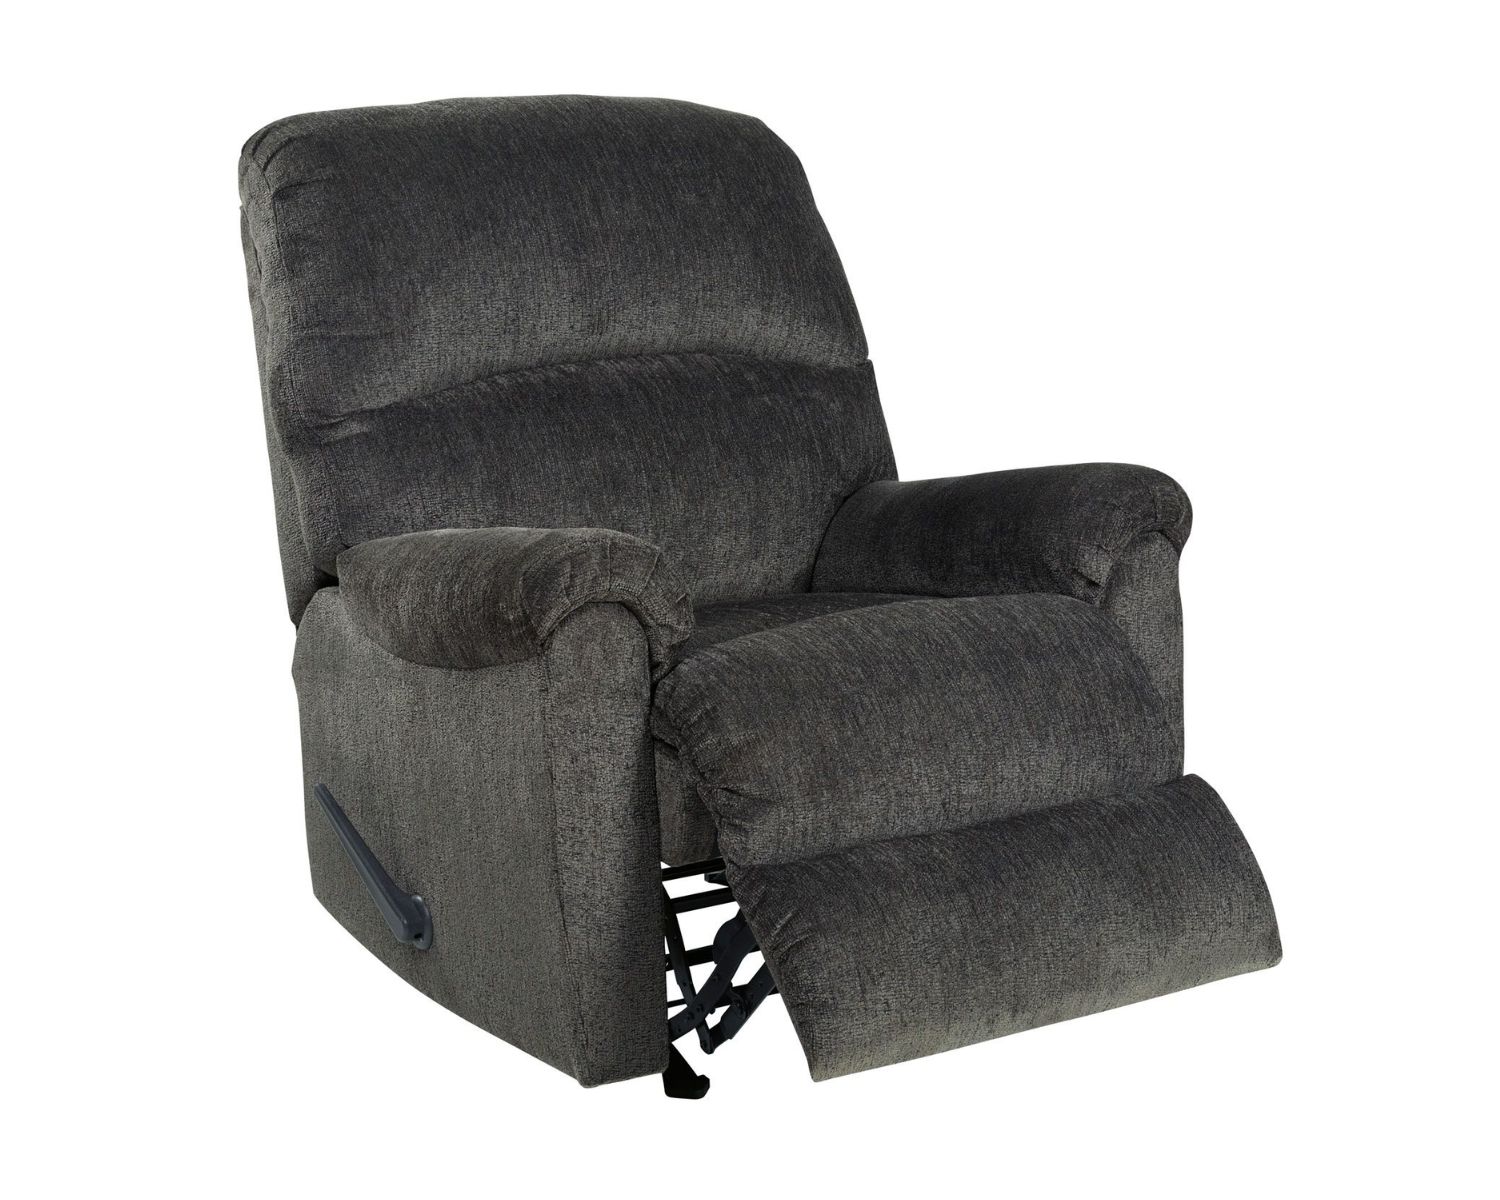
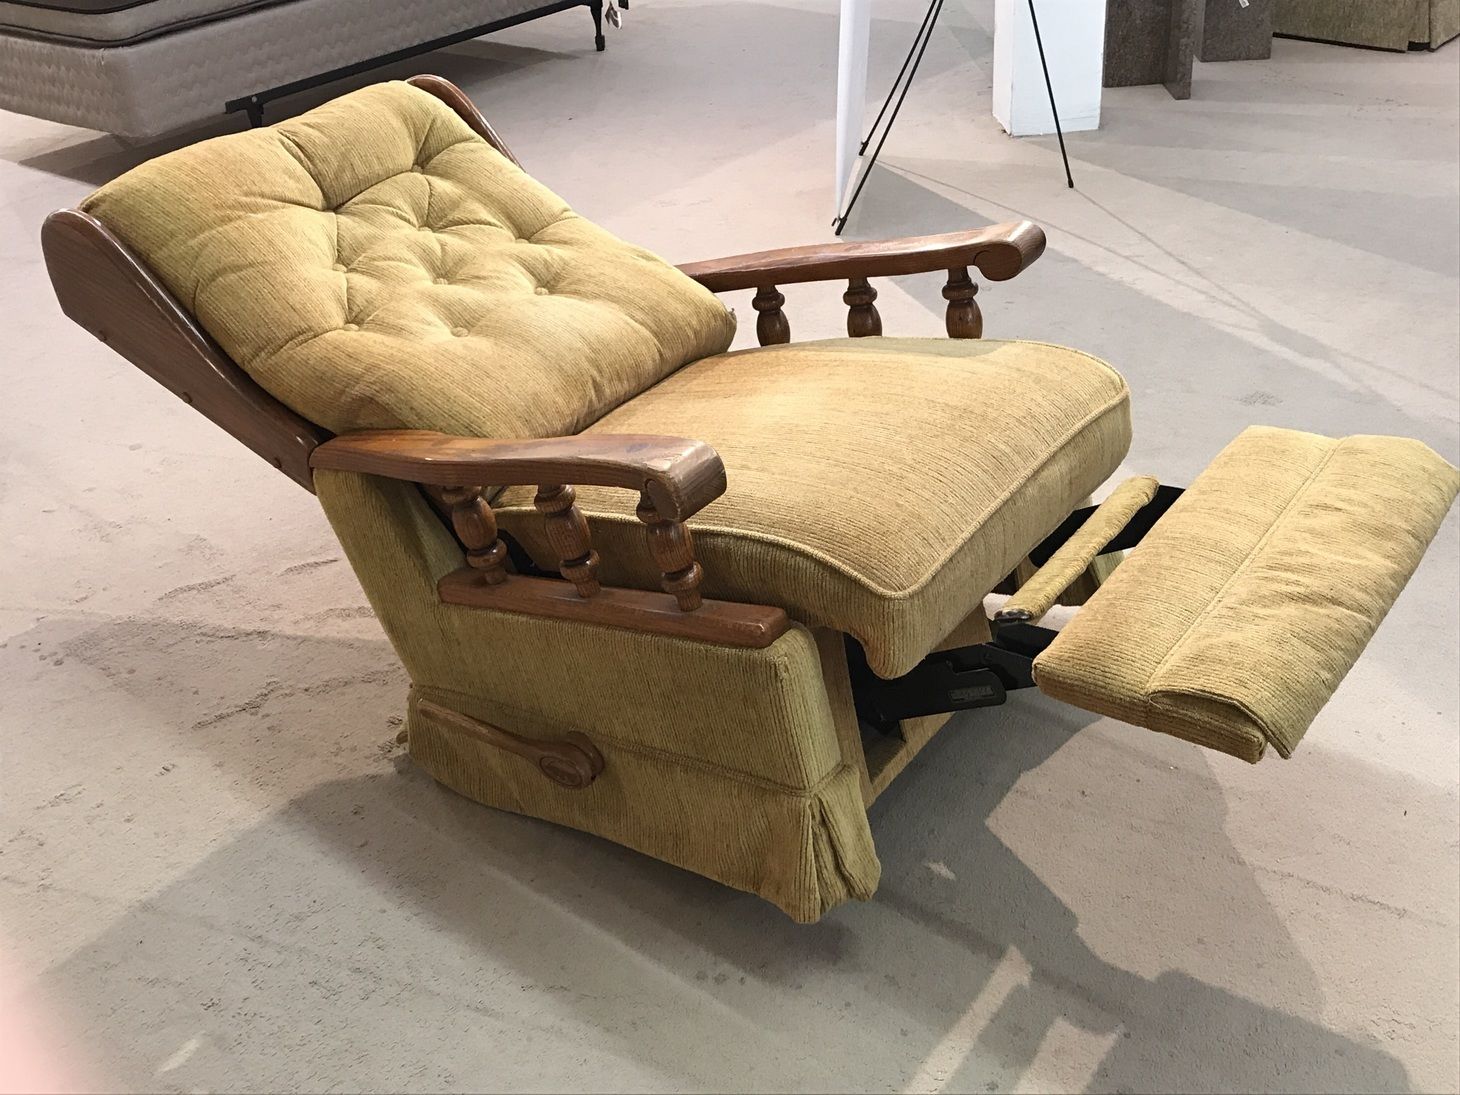
How To Replace Seat Springs In A Lazy Boy Rocker Recliner
Modified: August 28, 2024
Learn how to easily replace seat springs in your Lazy Boy rocker recliner to restore comfort and functionality. Get expert tips and step-by-step instructions for a quick furniture fix. Ideal for living room furniture and design enthusiasts.
(Many of the links in this article redirect to a specific reviewed product. Your purchase of these products through affiliate links helps to generate commission for Storables.com, at no extra cost. Learn more)
Introduction
Replacing seat springs in a Lazy Boy rocker recliner can breathe new life into your favorite piece of furniture. Over time, the springs in a recliner can wear out, leading to sagging and discomfort. By replacing the seat springs, you can restore the comfort and support of your recliner, prolonging its lifespan and ensuring many more hours of relaxation.
Whether you're a seasoned DIY enthusiast or a novice looking to tackle a new project, replacing seat springs in a Lazy Boy rocker recliner is a manageable task that can yield satisfying results. With the right tools, materials, and a bit of patience, you can revitalize your recliner and enjoy the comfort it once provided.
In this comprehensive guide, we will walk you through the step-by-step process of replacing the seat springs in your Lazy Boy rocker recliner. From removing the old springs to installing the new ones and testing the recliner, we'll cover everything you need to know to successfully complete this project. By following these instructions, you can bring back the support and comfort of your beloved recliner, saving both time and money compared to purchasing a new one.
So, gather your tools and let's embark on this rewarding journey of rejuvenating your Lazy Boy rocker recliner. With a little effort and dedication, you'll soon be able to relax in your newly revitalized recliner, enjoying the comfort and support it was designed to provide. Let's get started!
Key Takeaways:
- Revitalize your favorite recliner by replacing worn-out seat springs. Enjoy a comfortable and sustainable furniture upgrade with simple DIY skills and a few essential tools.
- Transform your living space with a rejuvenated Lazy Boy rocker recliner. Save money, reduce waste, and gain DIY confidence while restoring comfort and functionality.
Read more: How To Adjust A Lazy Boy Recliner
Tools and Materials Needed
To successfully replace the seat springs in your Lazy Boy rocker recliner, you'll need a few essential tools and materials. Before beginning the project, ensure that you have the following items on hand:
Tools:
- Screwdriver Set: A set of screwdrivers, including both flathead and Phillips head varieties, will be necessary for removing screws and accessing the internal components of the recliner.
- Needle-Nose Pliers: These will come in handy for gripping and manipulating small components within the recliner's frame.
- Staple Remover: A staple remover will be essential for detaching any upholstery or fabric that may be securing the seat springs.
- Rubber Mallet: A rubber mallet can be used to gently tap components into place without causing damage.
- Wire Cutters: Wire cutters will be useful for trimming and adjusting the new seat springs to fit the recliner's frame.
Materials:
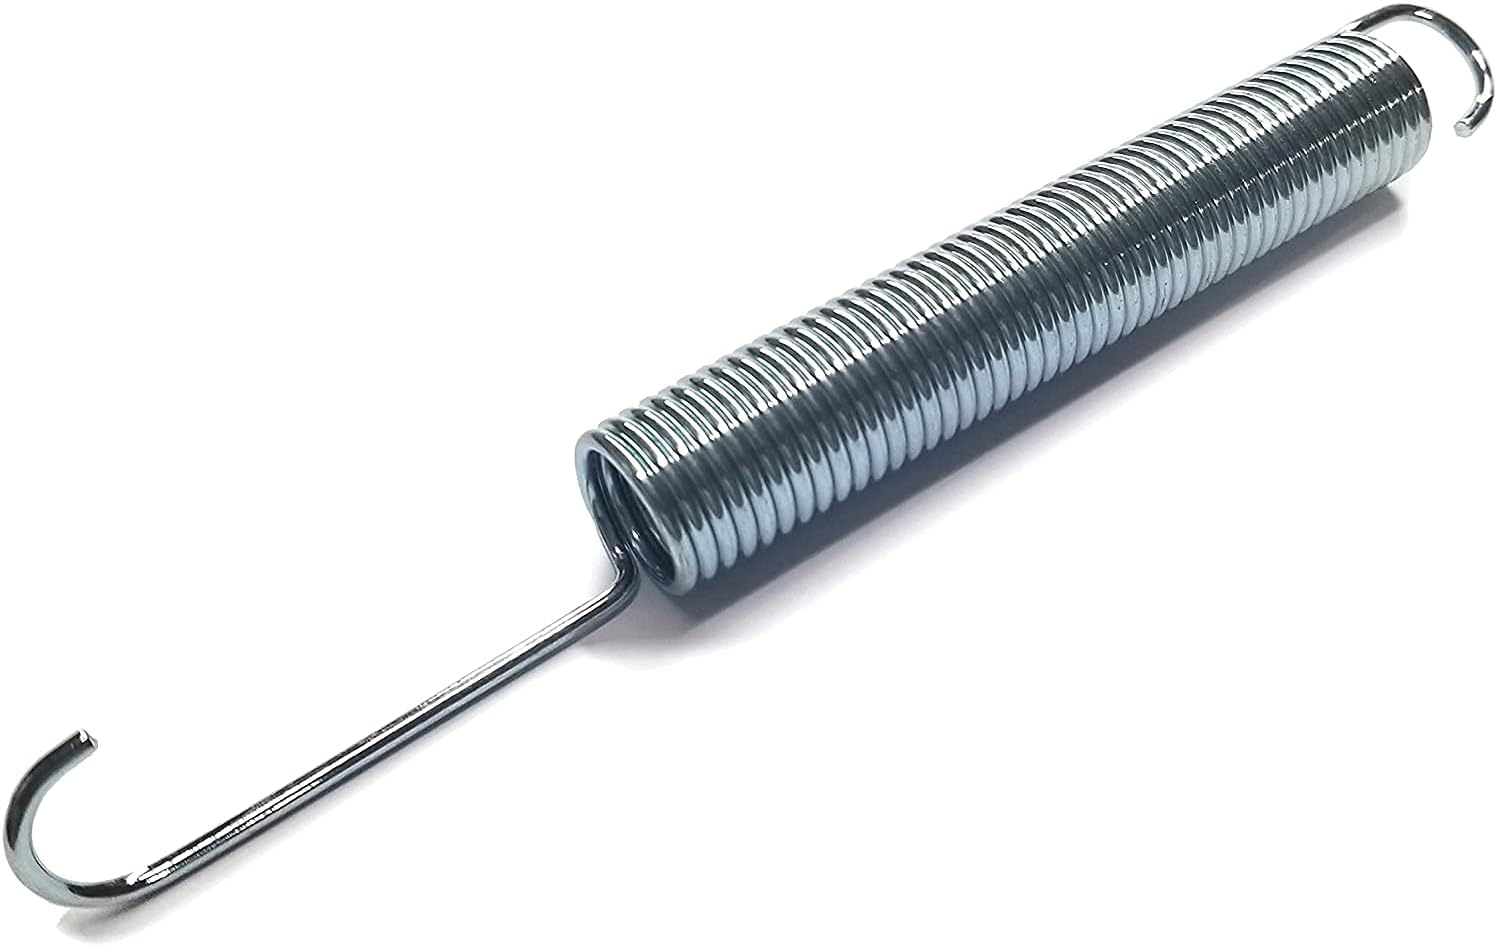
- Replacement Seat Springs: Ensure that you have the correct type and size of seat springs that are compatible with your Lazy Boy rocker recliner model.
- Upholstery Fabric: If the upholstery needs to be removed to access the seat springs, you may need extra fabric to replace any damaged or worn sections.
- Staples: Depending on the condition of the existing upholstery, you may need new staples to reattach the fabric securely.
- Safety Gloves: It's important to protect your hands during the process, so a pair of safety gloves is recommended.
- Safety Glasses: To safeguard your eyes from any debris or small components that may become dislodged during the project, safety glasses are essential.
By ensuring that you have these tools and materials at your disposal, you'll be well-prepared to tackle the task of replacing the seat springs in your Lazy Boy rocker recliner. With the right equipment in hand, you can proceed with confidence, knowing that you have everything you need to complete the project efficiently and effectively.
Removing the Old Seat Springs
Before you begin the process of removing the old seat springs from your Lazy Boy rocker recliner, it's essential to ensure that you have ample workspace and access to the necessary tools. Clear a well-lit area where you can comfortably maneuver around the recliner, and gather the screwdriver set, needle-nose pliers, staple remover, and any other tools required for the task.
-
Prepare the Recliner: Start by reclining the chair to its fully extended position, allowing easy access to the underside of the seat. If there is any existing upholstery covering the bottom of the recliner, carefully remove it using the staple remover. Take note of the placement of the staples, as you will need to reattach the upholstery later.
-
Locate the Seat Springs: Once the underside of the seat is exposed, you will be able to locate the old seat springs. They are typically secured to the recliner's frame with screws or clips. Use the appropriate screwdriver to remove any screws or fasteners holding the springs in place. Keep track of the hardware to ensure that it can be reused or replaced as needed.
-
Detach the Old Springs: With the fasteners removed, carefully detach the old seat springs from the recliner's frame. Depending on the design of the recliner, the springs may be connected to the frame using clips or hooks. Use the needle-nose pliers to manipulate and release the springs from their attachments, taking care to avoid damaging the surrounding components.
-
Inspect the Frame: While the old seat springs are removed, take the opportunity to inspect the recliner's frame for any signs of wear or damage. Look for cracks, loose joints, or any other issues that may affect the performance of the new seat springs. Address any necessary repairs or reinforcement before proceeding with the installation of the replacement springs.
-
Dispose of the Old Springs: Once the old seat springs have been removed and the frame has been inspected, safely dispose of the old springs according to local regulations. If the springs are salvageable, consider repurposing them for other DIY projects or recycling them responsibly.
By following these steps, you can effectively remove the old seat springs from your Lazy Boy rocker recliner, preparing the recliner for the installation of new, supportive springs. With the old springs out of the way, you are one step closer to revitalizing your recliner and restoring its comfort and functionality.
Read more: How To Clean A Lazy Boy Recliner
Installing the New Seat Springs
With the old seat springs successfully removed and the recliner's frame inspected, it's time to proceed with the installation of the new seat springs. This phase of the project is crucial, as it directly impacts the comfort and support provided by the recliner. By following these steps, you can ensure that the new seat springs are securely and correctly installed, allowing you to enjoy a rejuvenated seating experience.
-
Prepare the New Seat Springs: Before installing the new seat springs, carefully inspect them to ensure they are free from any defects or damage. Verify that the size and design of the replacement springs align with the specifications of your Lazy Boy rocker recliner. If necessary, make any adjustments to the springs to ensure a proper fit within the recliner's frame.
-
Position the New Springs: With the replacement seat springs ready, position them within the recliner's frame according to the original configuration. Align the springs securely, ensuring that they are centered and evenly spaced to provide balanced support across the entire seating area. Take care to orient the springs in the correct direction, as indicated by the manufacturer's guidelines.
-
Secure the Springs: Once the new seat springs are properly positioned, secure them to the recliner's frame using the appropriate fasteners. Depending on the design of your recliner, this may involve attaching the springs with screws, clips, or other fastening mechanisms. Use the necessary tools to ensure that the springs are firmly and securely affixed to the frame, minimizing any potential for shifting or instability.
-
Adjust and Test: After securing the new seat springs, carefully test the tension and positioning of each spring to confirm that they are functioning as intended. Sit in the recliner and assess the level of support and comfort provided by the new springs. Make any necessary adjustments to the springs' positioning or tension to achieve the desired level of support and responsiveness.
-
Reattach the Upholstery: If the upholstery was removed to access the old seat springs, reattach it to the underside of the recliner using the original or replacement staples. Ensure that the fabric is taut and secure, with no excess slack that may interfere with the performance of the new seat springs.
By meticulously following these steps, you can successfully install the new seat springs in your Lazy Boy rocker recliner, effectively revitalizing its comfort and support. With the replacement springs securely in place, you are one step closer to enjoying the rejuvenated seating experience that your recliner was designed to provide.
When replacing seat springs in a Lazy Boy Rocker Recliner, make sure to carefully remove the old springs and measure them before purchasing new ones. It’s important to choose springs that are the right size and strength to ensure proper support and comfort.
Testing the Recliner
With the new seat springs securely installed and the upholstery reattached, it's time to put your rejuvenated Lazy Boy rocker recliner to the test. Testing the recliner is a critical step in ensuring that the replacement springs provide the desired level of comfort, support, and functionality. By carefully evaluating the performance of the recliner, you can confirm that the new seat springs have effectively restored its original comfort and usability.
To begin the testing process, gently recline the chair to its various positions, taking note of the smoothness and stability of the movement. Pay close attention to any signs of unevenness or resistance, as these may indicate issues with the installation or tension of the new seat springs. The recliner should move fluidly and effortlessly, providing consistent support throughout the range of motion.
Next, take a seat in the recliner and assess the level of comfort and support provided by the new seat springs. Notice how the springs respond to your weight and movement, ensuring that they offer the appropriate level of firmness and resilience. As you settle into the chair, evaluate the distribution of support across the seating area, confirming that the springs maintain balanced and uniform cushioning.
While seated, test the recliner's ability to support different positions, including upright sitting, partial reclining, and full reclining. Observe how the seat springs adapt to these positions, ensuring that they provide stable and reliable support without excessive sagging or shifting. The recliner should offer consistent comfort and support regardless of the chosen seating configuration.
As you test the recliner, listen for any unusual sounds or creaks that may indicate issues with the new seat springs or their attachment to the recliner's frame. A properly installed set of seat springs should operate quietly and smoothly, without any distracting noises that could detract from the overall experience of using the recliner.
Finally, spend some time relaxing in the recliner, allowing yourself to fully experience the comfort and support provided by the new seat springs. Pay attention to how the springs conform to your body's contours, offering a supportive and ergonomic seating experience. The recliner should feel rejuvenated, providing a level of comfort and relaxation that rivals its original condition.
By thoroughly testing the recliner, you can ensure that the new seat springs have been installed correctly and are functioning as intended. This step allows you to identify and address any potential issues before finalizing the project, ultimately ensuring that your Lazy Boy rocker recliner is ready to deliver many more hours of comfortable and enjoyable seating.
Conclusion
In conclusion, the process of replacing the seat springs in a Lazy Boy rocker recliner is a rewarding endeavor that can breathe new life into a beloved piece of furniture. By following the step-by-step instructions outlined in this guide, you can successfully rejuvenate your recliner, restoring its comfort, support, and functionality.
Throughout the project, you have learned how to remove the old seat springs, prepare the recliner for the installation of new springs, and securely install and test the replacement components. Each phase of the process has been carefully explained, providing you with the knowledge and confidence to tackle this DIY project with ease.
By investing the time and effort to replace the seat springs in your Lazy Boy rocker recliner, you have not only saved money compared to purchasing a new recliner but also contributed to the sustainability of your furniture. Revitalizing existing pieces through simple repairs and upgrades is an environmentally conscious choice that reduces waste and extends the lifespan of cherished items.
Furthermore, the satisfaction of successfully completing this project extends beyond the practical benefits. You have gained valuable hands-on experience and honed your DIY skills, empowering you to take on future furniture maintenance and improvement projects with confidence.
As you settle back into your newly revitalized recliner, you can take pride in the knowledge that you have restored its comfort and functionality, ensuring many more hours of relaxation and enjoyment. The investment of time and effort in replacing the seat springs has resulted in a tangible and meaningful improvement to your living space.
In the end, the rejuvenation of your Lazy Boy rocker recliner serves as a testament to the transformative power of simple DIY projects. By taking the initiative to address issues such as worn seat springs, you have not only preserved a cherished piece of furniture but also cultivated a sense of accomplishment and self-sufficiency.
So, as you recline in your newly revitalized Lazy Boy rocker recliner, take a moment to appreciate the impact of your efforts. Your commitment to maintaining and improving your living space has resulted in a comfortable and inviting environment that reflects your care and dedication. With the knowledge and skills gained from this project, you are well-equipped to continue enhancing your surroundings and enjoying the fruits of your DIY endeavors.
Frequently Asked Questions about How To Replace Seat Springs In A Lazy Boy Rocker Recliner
Was this page helpful?
At Storables.com, we guarantee accurate and reliable information. Our content, validated by Expert Board Contributors, is crafted following stringent Editorial Policies. We're committed to providing you with well-researched, expert-backed insights for all your informational needs.


0 thoughts on “How To Replace Seat Springs In A Lazy Boy Rocker Recliner”