Home>Furniture>Living Room Furniture>How To Recover Cushions For Glider Rocker
Living Room Furniture
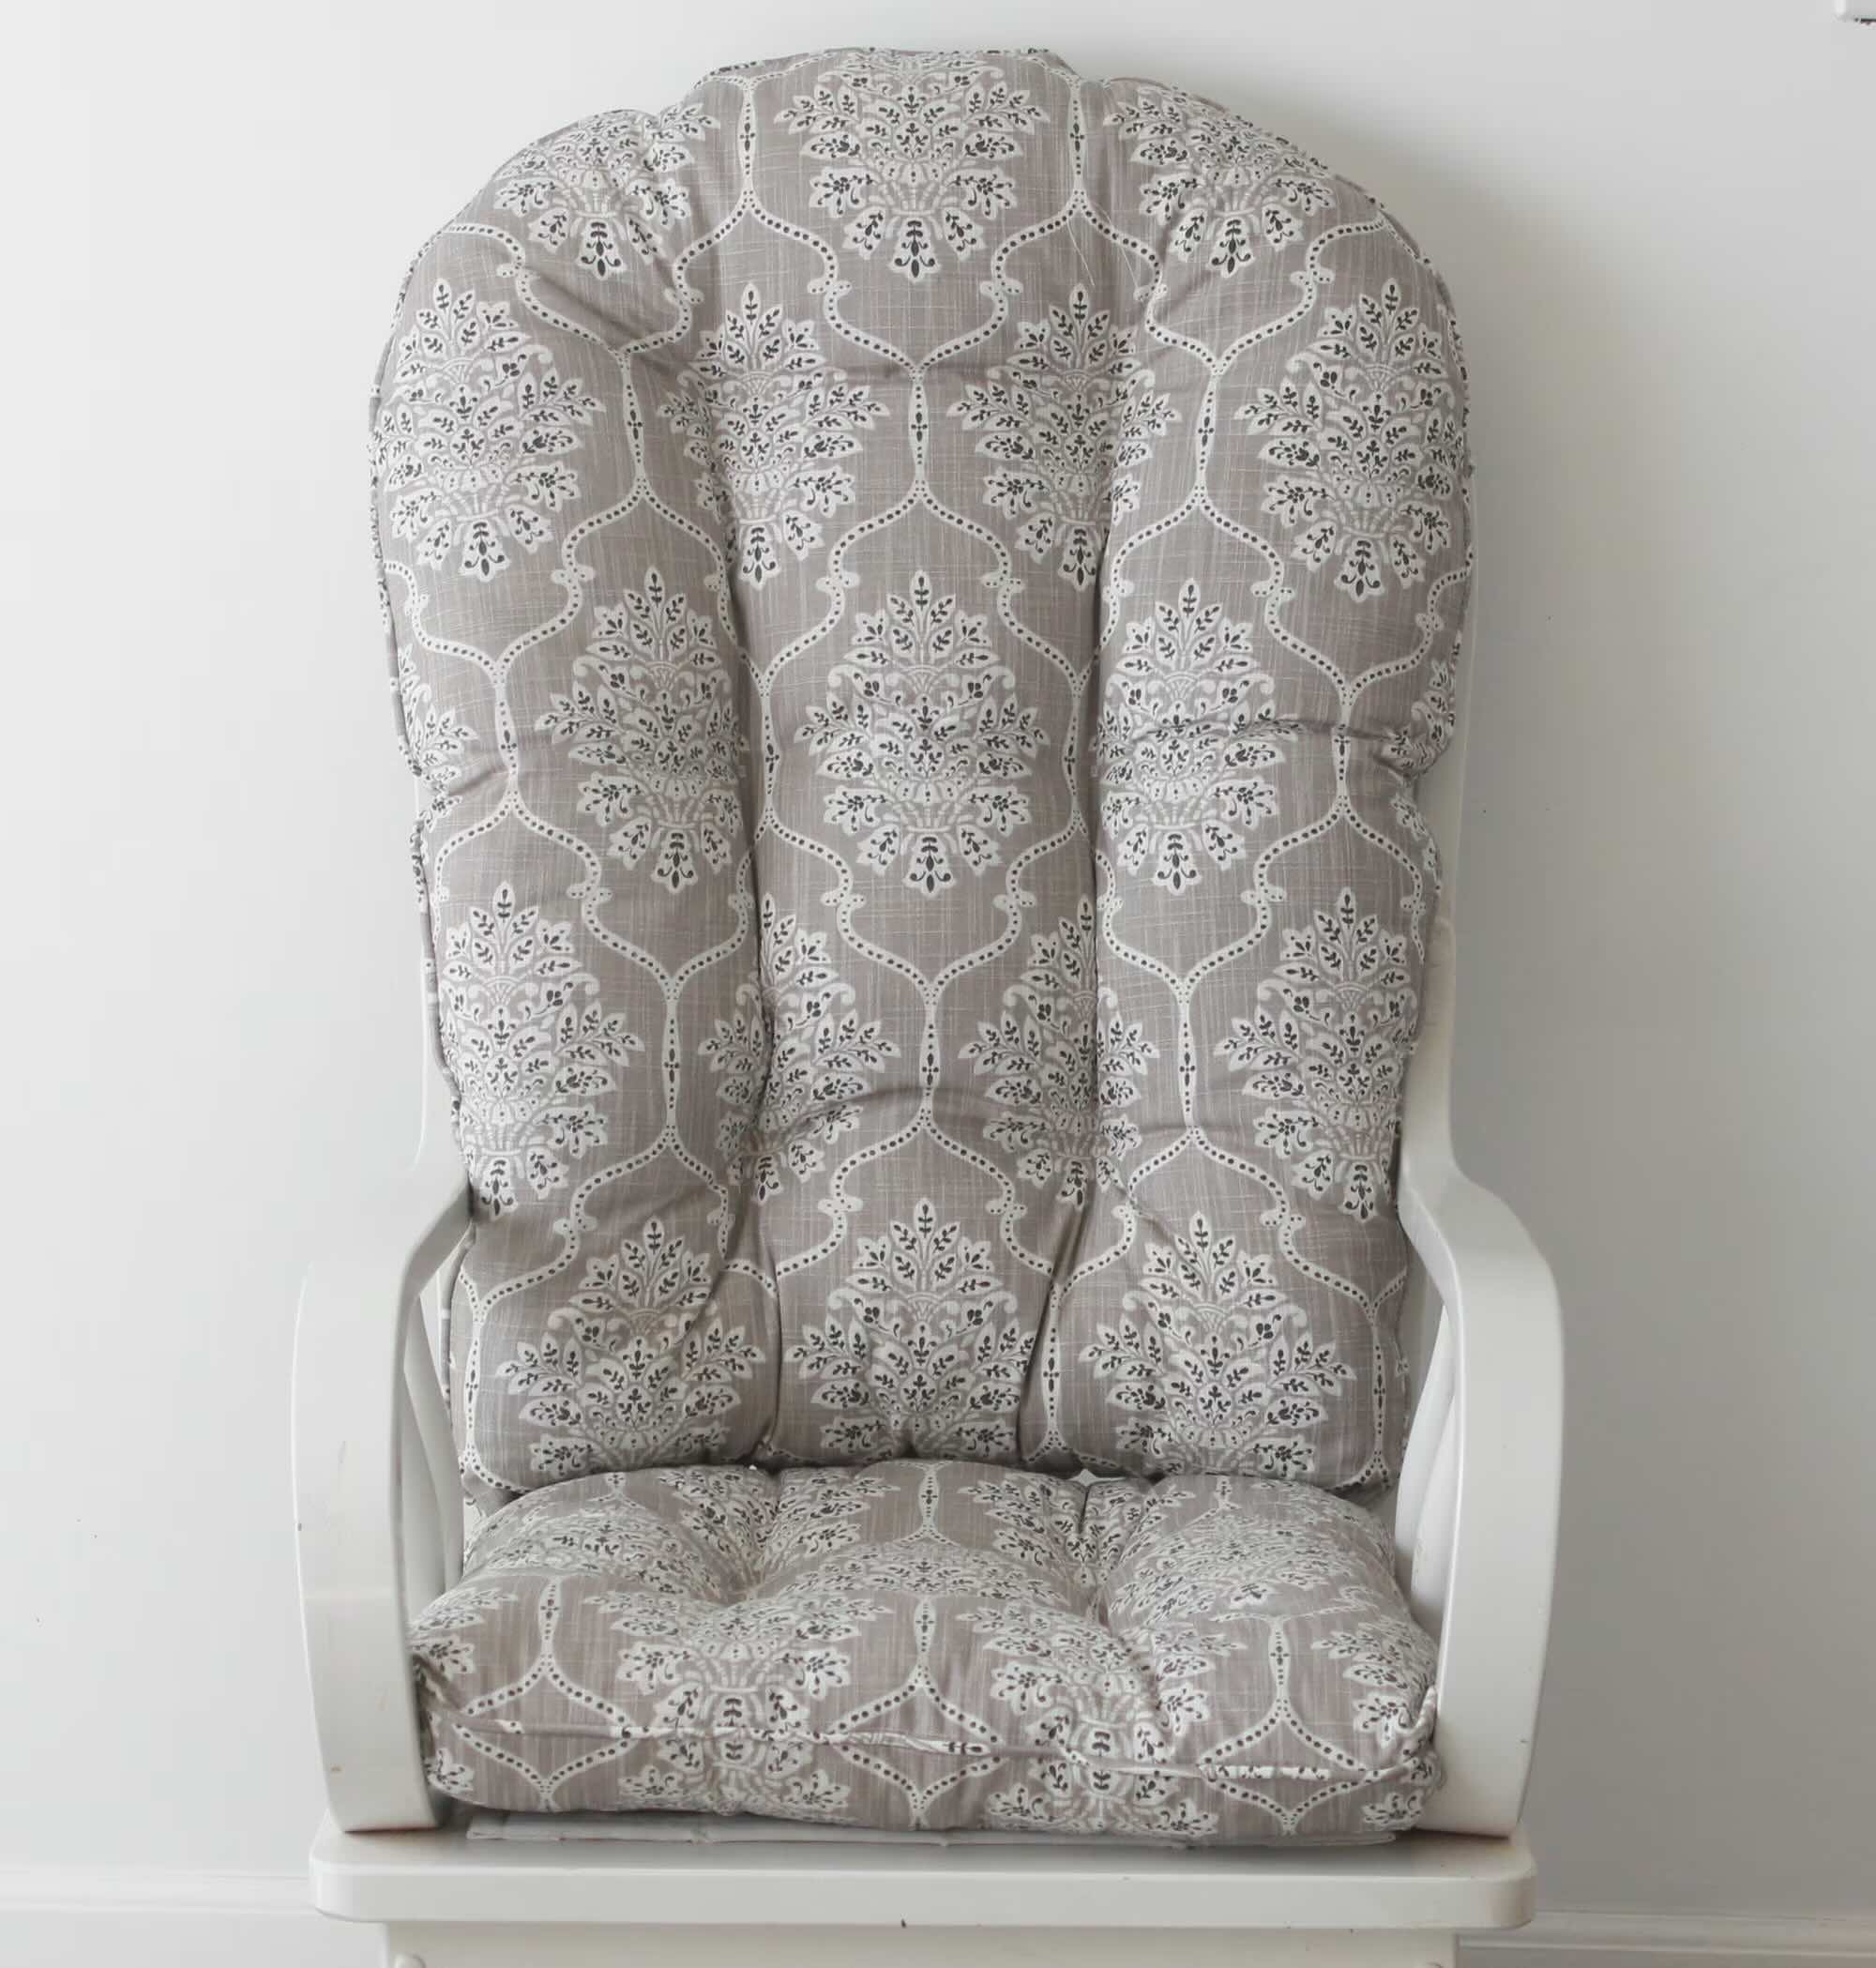
How To Recover Cushions For Glider Rocker
Modified: March 16, 2024
Learn how to recover cushions for your glider rocker in your living room. Transform your living room furniture with this easy DIY project.
(Many of the links in this article redirect to a specific reviewed product. Your purchase of these products through affiliate links helps to generate commission for Storables.com, at no extra cost. Learn more)
Introduction
Welcome to our comprehensive guide on how to recover cushions for a glider rocker! If you own a glider rocker and its cushions are worn out or no longer match your decor, don’t worry. With some basic sewing skills and a little bit of time, you can give your glider rocker a fresh new look.
Recovering the cushions not only allows you to customize the appearance of your glider rocker, but it also gives you the opportunity to choose fabrics that are more durable and easy to clean. Whether you’re a DIY enthusiast or simply looking to save some money on professional reupholstering, this guide will walk you through the process step by step.
Before we dive into the details, it’s important to note that recovering cushions for a glider rocker does require some basic sewing skills and access to a sewing machine. If you’re new to sewing, don’t be discouraged! This project is considered to be of medium difficulty and can be completed with patience and attention to detail.
Throughout this guide, we’ll cover everything from choosing the right fabric to reassembling your glider rocker with the newly recovered cushions. So grab your measuring tape and let’s get started on transforming your glider rocker!
Key Takeaways:
- Transform your glider rocker with a fresh look by recovering the cushions. Choose durable, stain-resistant fabric and follow the step-by-step guide for a stylish and comfortable DIY project.
- Keep your glider rocker looking great with regular maintenance. Clean, rotate, and protect the cushions to ensure long-lasting comfort and style in your living room.
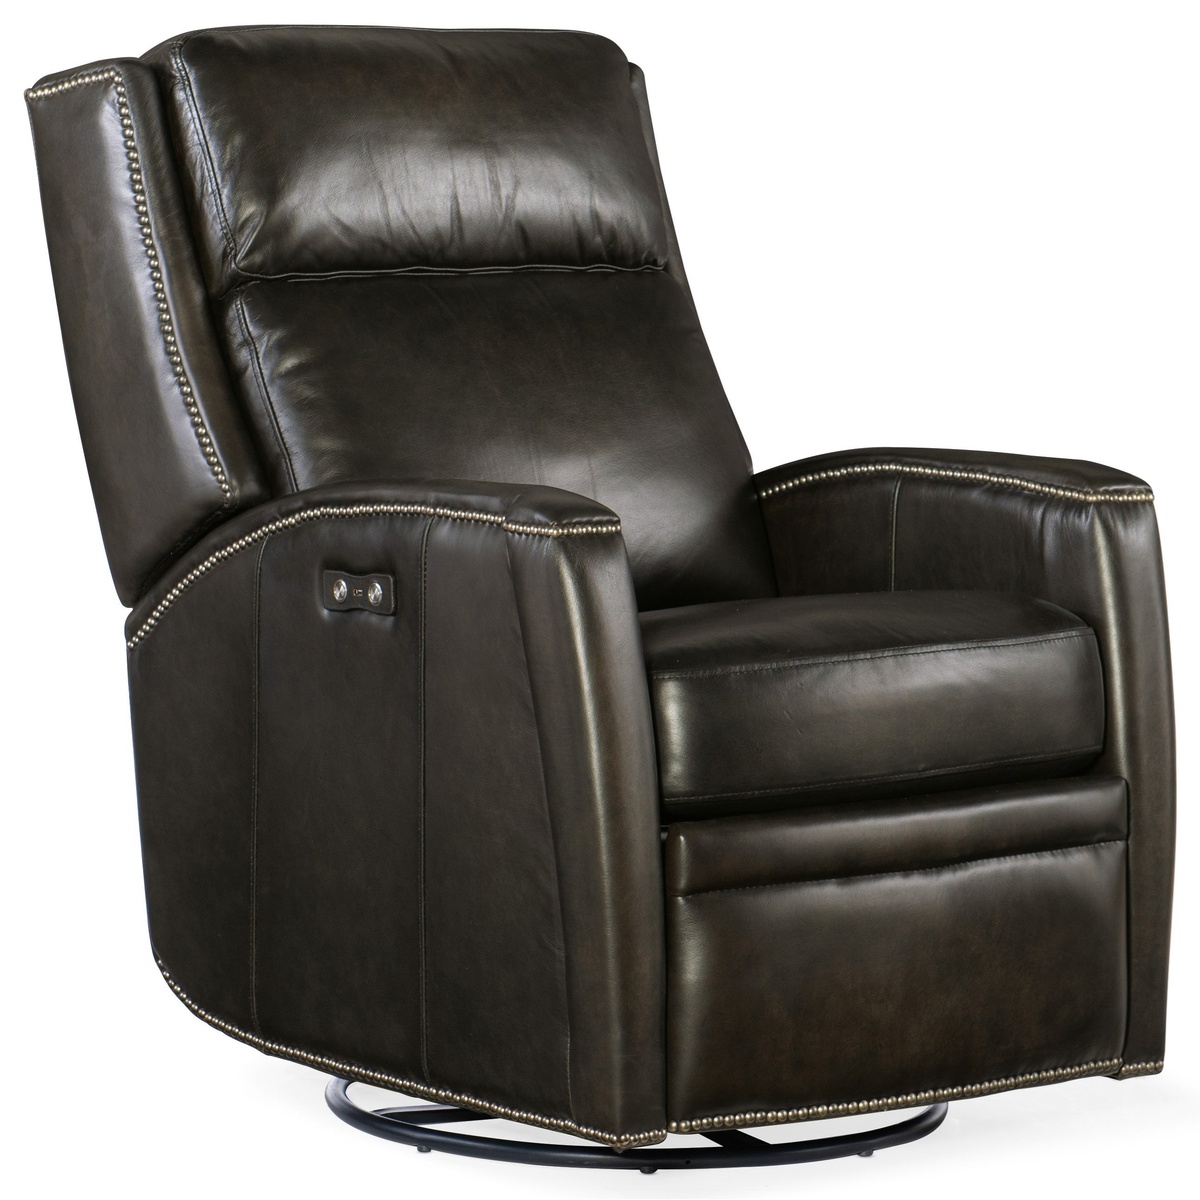
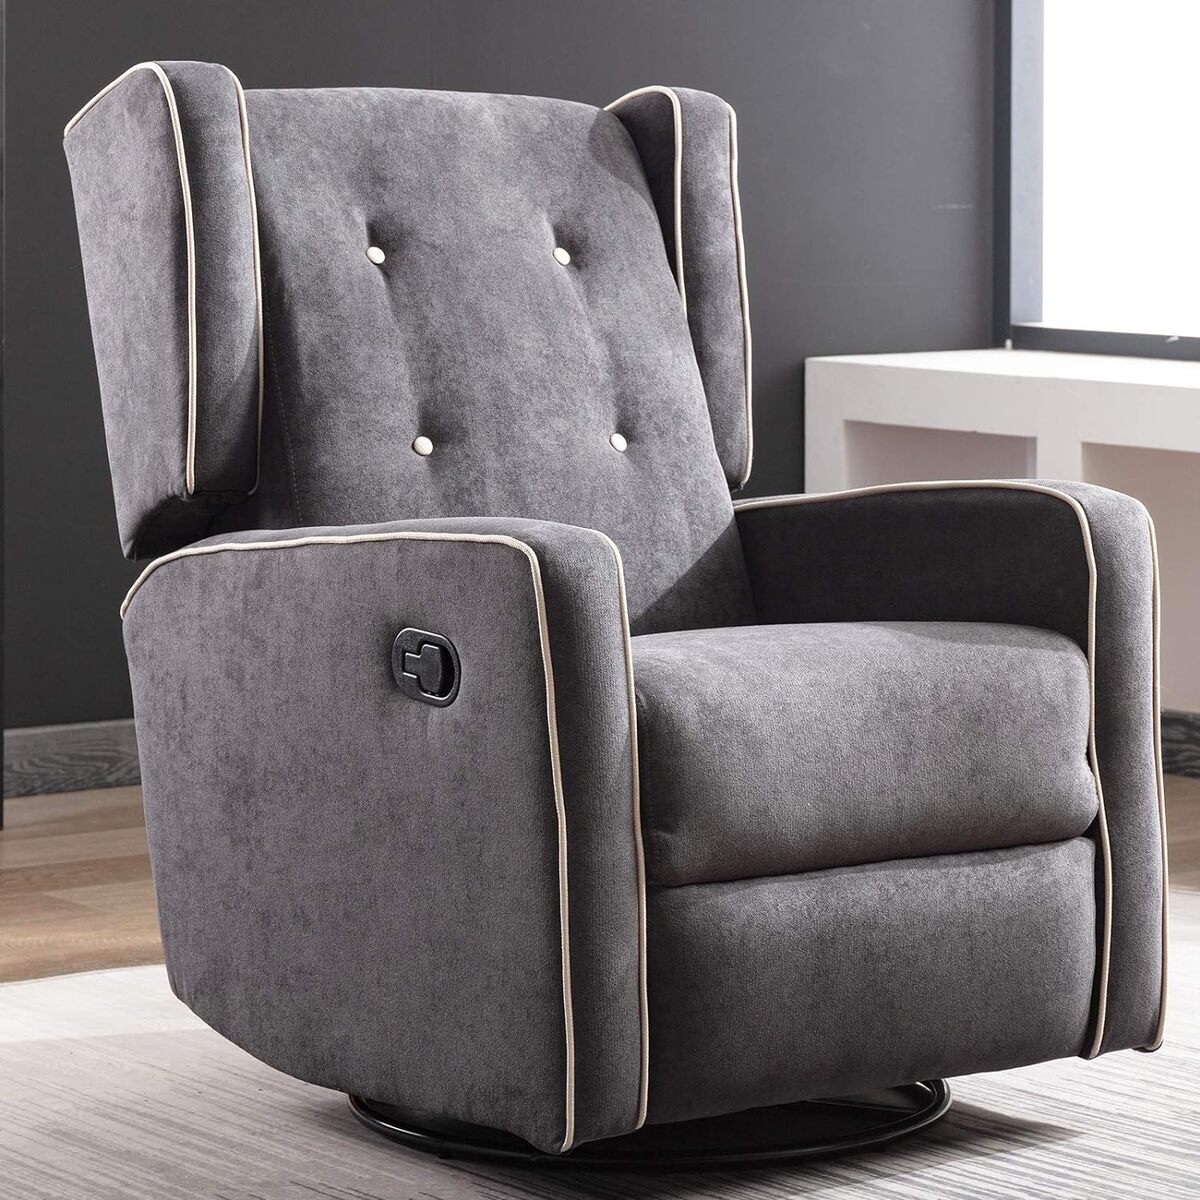
Read also: 12 Amazing Glider Cushions For 2025
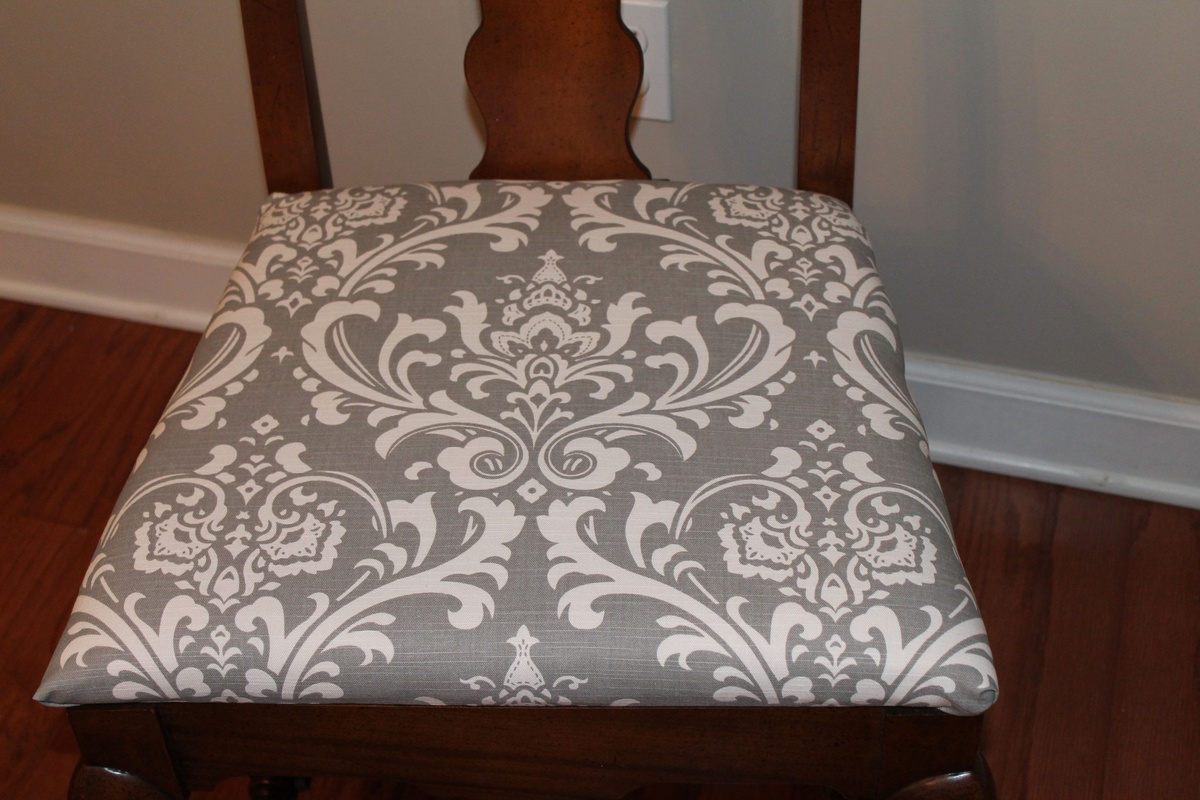
Choosing the Right Fabric
When it comes to recovering cushions for your glider rocker, selecting the right fabric is crucial. You’ll want to choose a fabric that not only complements your existing decor but is also durable, easy to clean, and comfortable to sit on. Here are some key factors to consider when selecting the fabric for your cushions:
- Durability: Since glider rockers are meant to be used frequently, it’s important to choose a fabric that can withstand constant use. Look for fabrics that have a high abrasion resistance rating to ensure they can withstand the rigors of daily rocking.
- Stain Resistance: Accidents happen, especially if you have children or pets in the house. Opt for fabrics that are stain-resistant or have been treated with a stain-resistant finish. This will make it easier to clean up spills and keep your cushions looking fresh.
- Color and Pattern: Consider the overall color scheme and design of the room where your glider rocker is placed. Choose a fabric that complements the existing decor and adds a visual appeal to the space. You can go for bold patterns or subtle textures, depending on your personal style preference.
- Comfort: Comfort is key when it comes to seating. Look for fabrics that are soft and comfortable to sit on. Consider fabrics with a good amount of padding or cushioning to provide a cozy seating experience.
- Cleaning and Maintenance: Ensure that the fabric you choose is easy to clean and maintain. Opt for fabrics that can be spot cleaned or are machine washable. This will make it easier to keep your cushions looking fresh and new.
When browsing for fabrics, it’s a good idea to request fabric swatches or samples from the supplier. This will allow you to see and feel the fabric in person before making a final decision. It’s also worth considering the longevity of the fabric. Choose materials that are known for their durability and are likely to withstand regular use and wear and tear.
By taking these factors into consideration, you can ensure that you choose the perfect fabric for your glider rocker cushions. Remember, the fabric you choose will play a significant role in the appearance, comfort, and durability of your newly recovered cushions.
Measuring the Cushions
Before you can start recovering the cushions for your glider rocker, you’ll need to take accurate measurements to ensure a proper fit. Measurements are important to ensure that you have enough fabric for each cushion and to avoid any potential fabric wastage. Here’s a step-by-step guide on how to measure your cushions:
- Remove the Cushions: Take the cushions off the glider rocker and place them on a flat surface. Make sure they are completely flat and not compressed.
- Measure the Width and Length: Use a measuring tape to measure the width and length of each cushion. Start from the outer edge of the cushion and measure straight across for the width. For the length, measure from one end to the other in a straight line.
- Measure the Thickness: Measure the thickness of each cushion by placing the tape measure at the bottom edge and extending it to the top edge. This will give you the thickness measurement.
- Record the Measurements: Write down the width, length, and thickness measurements for each cushion. It’s a good idea to double-check your measurements to ensure accuracy.
- Add Seam Allowance: Depending on your sewing experience and the type of cushion cover you plan to make, you’ll need to add seam allowance to your measurements. Seam allowance is the additional fabric you add to the measurements to allow for sewing and fitting the cover onto the cushion. Typically, adding 1 inch to each measurement is a good rule of thumb.
Once you have measured and recorded the dimensions of each cushion, you’ll have the necessary information to purchase your fabric. Keep in mind that it’s always better to have slightly more fabric than not enough, so it’s a good idea to round up your measurements when ordering or purchasing your fabric.
Accurate measurements are key to ensure a well-fitting cushion cover. Taking the time to measure properly will save you from any frustration or issues down the line when you start sewing the new covers for your cushions.
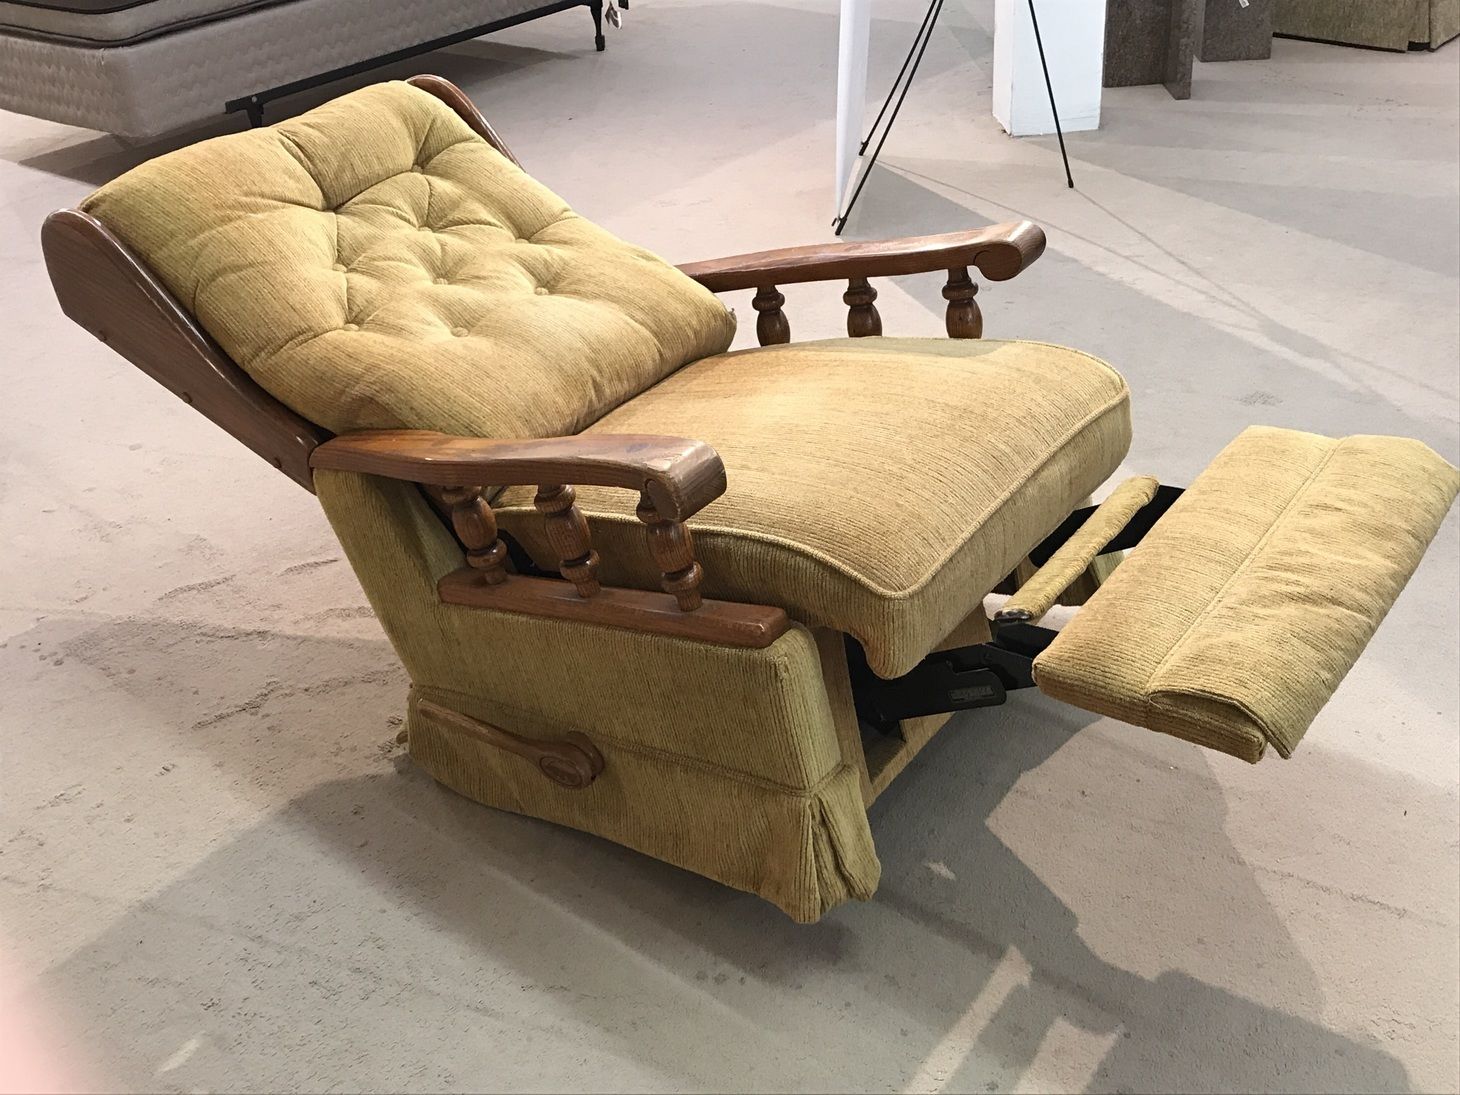
Disassembling the Glider Rocker
Before you can recover the cushions for your glider rocker, you’ll need to disassemble the chair to access the cushions. While the disassembly process may vary depending on the specific design of your glider rocker, the following general steps will guide you through the process:
- Clear the Area: Start by clearing the area around the glider rocker to create space for disassembly. This will prevent any damage to surrounding furniture or potential tripping hazards.
- Remove the Cushions: Take off the cushions from the glider rocker by carefully lifting them off one by one. Set them aside in a safe place where they won’t get damaged or dirty during the disassembly process.
- Check for Fasteners: Look for any screws, bolts, or fasteners that are holding the different parts of the glider rocker together. This could include screws on the arms, backrest, or base of the chair. Use the appropriate tools, such as a screwdriver or Allen wrench, to remove these fasteners.
- Remove the Arms: If your glider rocker has removable arms, detach them by removing any screws or bolts that secure them to the main frame of the chair. Keep track of the screws or bolts so you can easily reassemble the chair later.
- Separate the Rocker Base: If your rocker base is detachable, follow the instructions provided by the manufacturer to separate it from the rest of the chair. This may involve removing screws or releasing locking mechanisms.
- Take Note of the Disassembly Process: As you disassemble the glider rocker, take note of the order in which the pieces are removed. This will make reassembling the chair much easier later on.
It’s important to take your time and be cautious when disassembling your glider rocker. Keep all the screws, bolts, and other small parts in a labeled bag or container to ensure they don’t get lost. Taking photos of the disassembly process can also be helpful as a visual reference for reassembly.
By following these steps, you’ll be able to disassemble your glider rocker safely and efficiently, allowing you to proceed with recovering the cushions.
Removing the Old Upholstery
Now that you have disassembled your glider rocker, it’s time to remove the old upholstery from the cushions. Removing the old upholstery is an important step in preparing the cushions for the new fabric. Follow these steps to effectively remove the old upholstery:
- Lay Out the Cushions: Start by laying out the cushions on a flat surface. This will provide you with a stable and accessible area to work on.
- Inspect the Cushions: Take a close look at the cushions and identify how the old upholstery is attached. Typically, upholstery will be secured with staples or a combination of staples and fabric glue.
- Remove Staples: Use a staple remover or a flat-head screwdriver to carefully remove the staples holding the old upholstery in place. Work your way around the cushion, gradually removing the staples and releasing the fabric.
- Detach Velcro or Ties: In some cases, the old upholstery may be secured with Velcro or fabric ties. Carefully detach these fasteners to completely remove the upholstery from the cushions.
- Inspect the Cushion Foam: Take a moment to inspect the condition of the cushion foam. If the foam is worn out or damaged, you may need to consider replacing it to ensure optimal comfort and support.
- Remove any Residual Glue: If there is any fabric glue residue left on the foam, gently scrape it off using a plastic scraper or your fingers. Be careful not to damage the foam in the process.
Removing the old upholstery can be a time-consuming process, especially if there are many staples to remove. Take your time and be cautious to avoid tearing or damaging the cushion foam. It’s a good practice to have a container nearby to collect the removed staples for safe and easy disposal.
Once you have successfully removed the old upholstery from the cushions, you are ready to move on to the next step—sewing the new cushion covers!
When recovering cushions for a glider rocker, make sure to measure the cushions carefully and choose a durable, easy-to-clean fabric. Use a staple gun to secure the fabric tightly for a professional finish.
Read more: How To Recover Patio Cushions
Sewing the New Cushion Covers
With the old upholstery successfully removed from the cushions, it’s time to start sewing the new cushion covers. Sewing the covers will not only give your cushions a fresh and updated look but also ensure a snug and tailored fit. Follow these steps to sew the new cushion covers:
- Prepare the Fabric: Lay out your chosen fabric on a flat surface and ensure it is clean and free from any wrinkles. If necessary, iron the fabric on a low heat setting to remove any creases.
- Place the Cushion on the Fabric: Position the cushion on the fabric and align it in a way that maximizes fabric usage and pattern placement. Leave a generous seam allowance on all sides of the cushion.
- Mark and Cut the Fabric: Use fabric chalk or a washable fabric marker to mark the outline of the cushion on the fabric. Add an additional 1 inch to the marked outline to account for seam allowance. Cut the fabric along the marked lines.
- Sew the Side Seams: Fold the fabric in half with the right sides facing inwards. Pin the side seams together and sew a straight stitch along the sides, leaving one side open for inserting the cushion.
- Create the Opening: On the open side of the cover, fold the fabric 1 inch towards the inside and pin it in place. This will create the opening for inserting the cushion later.
- Finish the Edges: To prevent fraying, sew a zigzag stitch or use a serger along the raw edges of the cover. This will ensure durability and longevity of the cushion cover.
- Insert the Cushion: Turn the cover right side out and gently insert the cushion into the opening. Adjust the cushion so that it fills out the cover evenly.
- Close the Opening: Fold the fabric on the opening and pin it in place. Use a needle and thread or a sewing machine to sew the opening shut with a hidden or visible stitch.
Remember to remove the pins as you sew and take your time to ensure neat and secure stitches. Once you have completed sewing the new cushion covers, you can move on to the next step—attaching the covers to the cushions.
Sewing the new cushion covers allows you to customize the look and feel of your glider rocker cushions while ensuring a perfect fit. Get creative with the choice of fabric and embellishments to add your personal touch to the covers.
Attaching the New Cushion Covers
Now that you have sewn the new cushion covers for your glider rocker, it’s time to attach them to the cushions. Properly attaching the new covers will ensure a secure and tidy finish. Follow these steps to attach the new cushion covers:
- Prepare the Cushions: Make sure that the cushions are clean and free from any dust or debris. This will help ensure a smooth and even attachment of the new covers.
- Insert the Cushions: Gently insert each cushion into its respective cover through the opening that was left during the sewing process. Take extra care to ensure that the cushions are positioned properly and fully fill out the covers.
- Smooth Out the Fabric: Once the cushions are inserted, carefully smooth out the fabric to eliminate any wrinkles or creases. Use your hands to adjust the fabric and ensure a neat appearance.
- Secure the Opening: If you left the opening of the cushion cover visible, use a needle and thread or a sewing machine to sew the opening closed. Make sure to use small, discreet stitches for a clean and hidden finish.
- Secure with Velcro or Ties (Optional): If your cushions had Velcro or fabric ties in the original design, you can use them to secure the new cushion covers in place. Attach the Velcro strips or tie the fabric ties tightly to hold the covers securely onto the cushions.
- Smooth and Adjust: After securing the covers, take a moment to smooth out any imperfections or unevenness in the fabric. Adjust the covers as needed to ensure a tight and snug fit.
Attaching the new cushion covers is the final step in recovering your glider rocker cushions. Take your time during this process to ensure that the covers are applied neatly and securely. This will ensure that your cushions look great and stay in place, even with regular use.
With the new covers attached, you’re now ready to reassemble your glider rocker and enjoy the fresh, updated look of your cushions.
Reassembling the Glider Rocker
Now that you have recovered and attached the new cushion covers, it’s time to reassemble your glider rocker. Follow these steps to put everything back together:
- Retrieve the Disassembled Parts: Gather all the disassembled parts of your glider rocker, including the base, arms, and any screws or bolts.
- Align the Rocker Base: If the rocker base is detachable, align it with the main frame of the chair. Make sure the holes in the base and the frame line up properly.
- Secure the Rocker Base: Use the appropriate screws or bolts to securely attach the rocker base to the chair frame. Tighten them carefully and ensure that the base is stable and level.
- Attach the Arms: If your glider rocker has removable arms, position them in the designated spots on the chair frame. Use the screws or bolts to securely attach the arms to the frame.
- Set the Cushions in Place: Carefully place each reupholstered cushion back onto the glider rocker. Ensure that the cushions sit properly and securely in their designated positions.
- Double-Check the Stability: Give the glider rocker a gentle shake and rock it back and forth to test its stability. Make any necessary adjustments to ensure that all parts are securely fastened.
It’s important to take your time during the reassembly process to ensure that all parts are correctly aligned and securely attached. Double-check your work to avoid any issues with stability or safety while using the chair.
Once you have successfully reassembled your glider rocker, take a moment to appreciate the fresh look and improved comfort of your recovered cushions. You can now enjoy the relaxing gliding motion of your chair in style.
Tips for Maintenance and Care
To keep your newly recovered cushions and glider rocker in pristine condition, it’s important to follow proper maintenance and care practices. Here are some useful tips to extend the longevity of your cushions and ensure the continued comfort of your glider rocker:
- Regular Cleaning: Vacuum or brush off any dust or debris from the cushions regularly to prevent buildup. Spot clean any spills or stains immediately using a gentle upholstery cleaner or a mixture of mild detergent and water. Avoid using harsh chemicals that may damage the fabric.
- Rotate Cushions: To ensure even wear and maintain the shape of the cushions, rotate them periodically. This helps distribute the pressure and prevents certain areas from becoming more worn than others.
- Avoid Direct Sunlight: Prolonged exposure to direct sunlight can cause fading and damage to the fabric. Place your glider rocker in a location where it is not directly exposed to sunlight or use window coverings to protect it.
- Use Slipcovers or Protective Covers: Consider using slipcovers or protective covers for your cushions. Slipcovers can be easily removed and washed, providing an extra layer of protection for your cushions against spills and stains.
- Check and Tighten Fasteners: Regularly check and tighten any screws or bolts on your glider rocker. Loose fasteners can affect the stability and safety of the chair.
- Inspect Cushion Foam: Periodically check the condition of the cushion foam. Over time, foam can become compressed or deteriorate. If you notice any issues, consider replacing the foam to maintain optimal comfort.
- Keep Pets and Sharp Objects Away: Pets and sharp objects can cause damage to the fabric and the cushions. Keep pets away from the glider rocker and avoid placing sharp objects or accessories that may snag or tear the fabric.
- Read and Follow Manufacturer’s Instructions: If your glider rocker or cushion fabric came with specific care instructions from the manufacturer, be sure to read and follow them accordingly. This will help you avoid any potential damage or voiding of warranties.
By implementing these maintenance and care practices, you can prolong the lifespan of your glider rocker cushions and keep them looking and feeling their best. Regular cleaning and proper care will ensure that your glider rocker remains a comfortable and stylish addition to your living room for years to come.
Read more: How To Recover Sofa Cushions
Conclusion
Congratulations on successfully recovering the cushions for your glider rocker! By following the steps outlined in this guide, you have transformed the look and feel of your glider rocker, giving it a fresh and updated appearance. Recovering the cushions not only allows you to customize the design and color to match your personal style and décor but also enhances the comfort and durability of your glider rocker.
Choosing the right fabric, measuring the cushions accurately, disassembling the glider rocker, removing the old upholstery, sewing the new cushion covers, attaching the covers, and reassembling the glider rocker were all crucial steps in this process. Each step required attention to detail and careful execution to achieve the desired results.
Remember to follow the tips for maintenance and care to preserve the condition of your recovered cushions and glider rocker. By implementing regular cleaning, rotating the cushions, avoiding direct sunlight, and checking the fasteners, you can ensure the longevity and continued enjoyment of your glider rocker.
Recovering the cushions for your glider rocker is a satisfying and cost-effective project that can breathe new life into your furniture. It allows you to unleash your creativity and make a unique statement in your living room. Whether you’re an experienced sewing enthusiast or a newcomer to the world of DIY, this guide has provided you with a comprehensive and easy-to-follow process for recovering your glider rocker cushions.
We hope that this guide has been informative and helpful to you. Remember to take your time, be patient, and enjoy the process of transforming your glider rocker into a cozy and stylish seating option. Have fun and happy gliding!
Frequently Asked Questions about How To Recover Cushions For Glider Rocker
Was this page helpful?
At Storables.com, we guarantee accurate and reliable information. Our content, validated by Expert Board Contributors, is crafted following stringent Editorial Policies. We're committed to providing you with well-researched, expert-backed insights for all your informational needs.


0 thoughts on “How To Recover Cushions For Glider Rocker”