Home>Furniture & Design>Living Room Furniture>How To Make A Wine Rack
Living Room Furniture
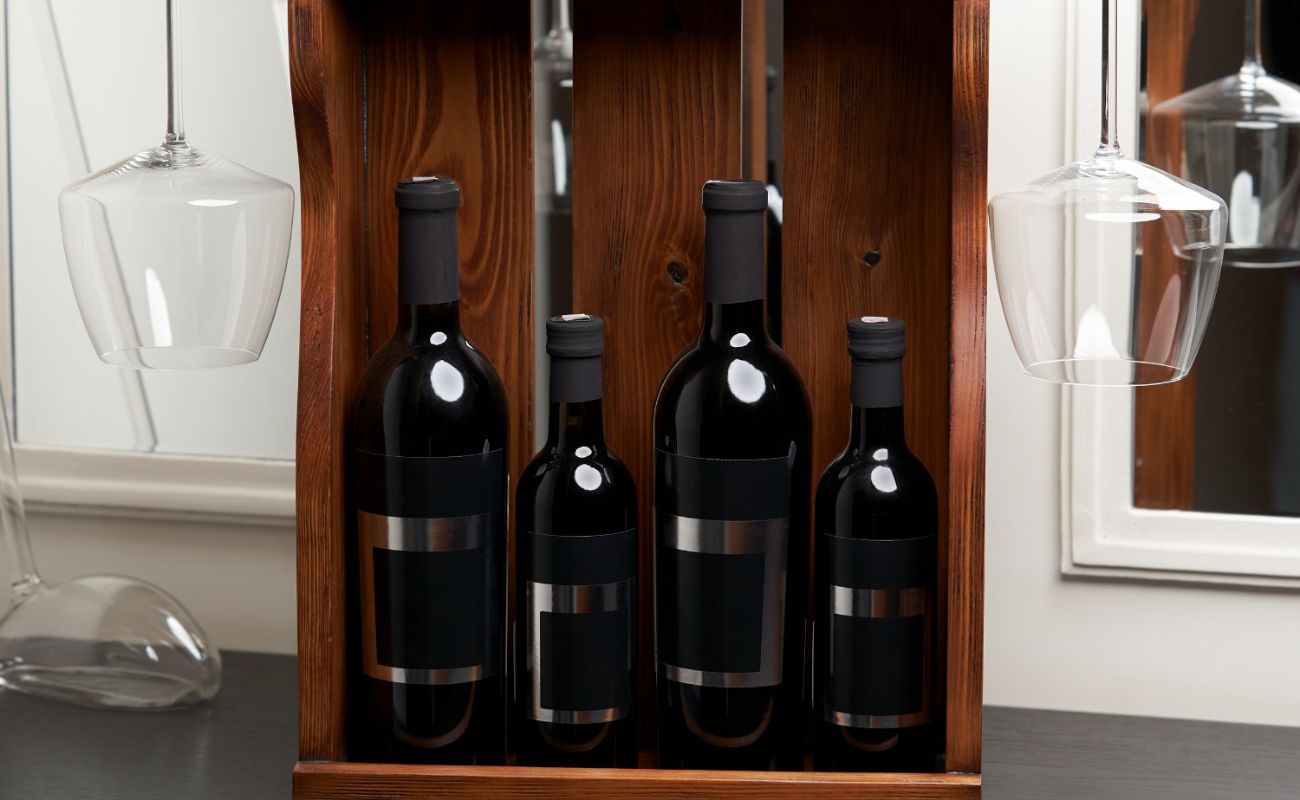
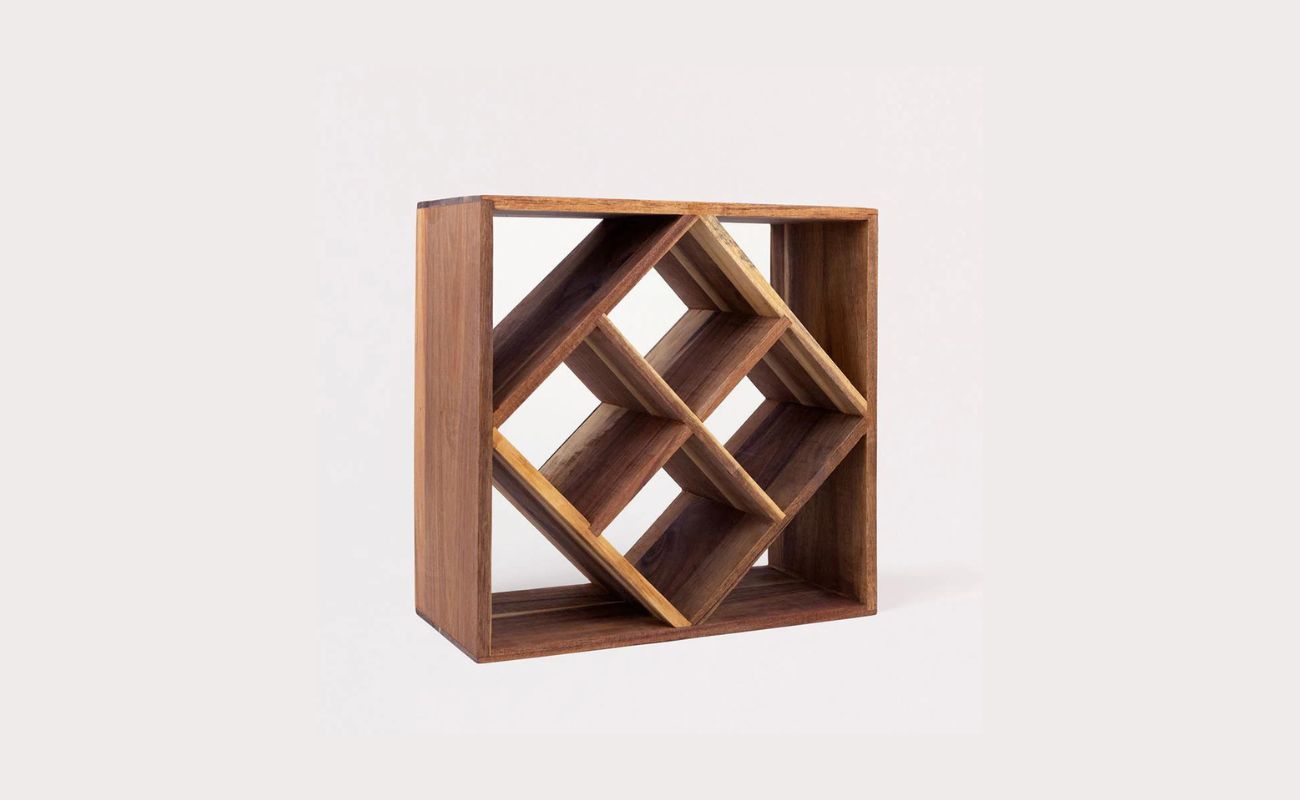
How To Make A Wine Rack
Modified: October 20, 2024
Learn how to make a stylish and functional wine rack for your living room furniture and design. Enhance your space with this easy DIY project.
(Many of the links in this article redirect to a specific reviewed product. Your purchase of these products through affiliate links helps to generate commission for Storables.com, at no extra cost. Learn more)
Introduction
Welcome to this step-by-step guide on how to make a wine rack. Are you a wine enthusiast looking for a stylish and functional way to store your bottles? Or perhaps you’re a DIY enthusiast looking for a new project to showcase your skills? Either way, constructing your own wine rack can be a rewarding and fulfilling experience. Not only will you have a custom-designed piece to showcase your wine collection, but you will also have the satisfaction of creating something with your own hands.
In this guide, we will take you through the process of creating a wine rack from scratch. From measuring and cutting the wood to assembling and installing the finished product, we will cover each step in detail. By the end of this guide, you’ll have a beautiful wine rack that fits your space and personal taste.
To get started, let’s gather the materials and tools you’ll need for this project.
Key Takeaways:
- Create a personalized wine rack to showcase your DIY skills and add elegance to your space. Follow the step-by-step guide to measure, cut, assemble, and install your custom-designed piece.
- Tailor your wine rack to fit your space and style, from compact designs to larger racks. Personalize with your favorite stain or paint color for a unique and functional storage solution.
Read more: How To Make A Riddling Wine Rack
Materials Needed
Before diving into the construction process, let’s make sure you have all the necessary materials and tools on hand. Here’s what you’ll need:
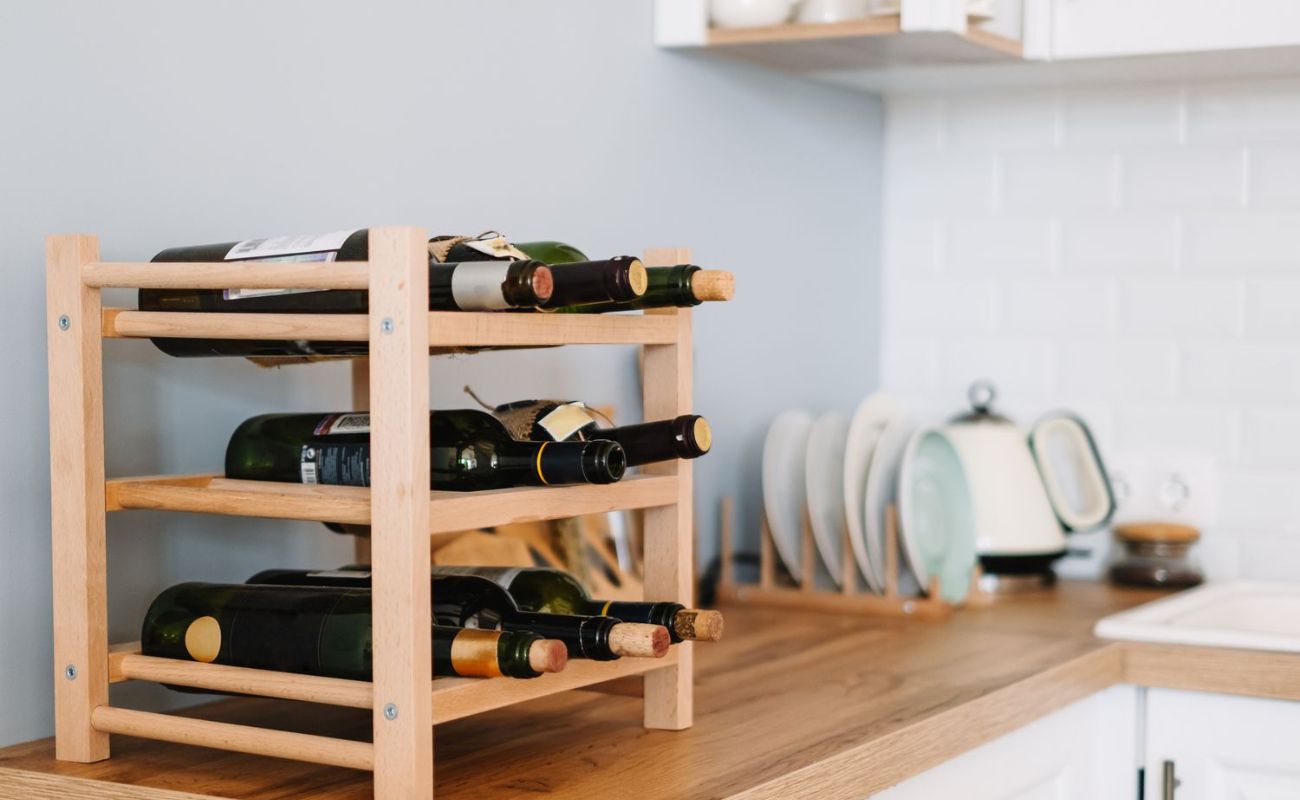
1. Wood: Choose a sturdy and durable wood for your wine rack. Popular options include pine, oak, or birch. You will need enough wood to create the desired dimensions of your wine rack.
2. Saw: A saw will be essential for cutting the wood to size. A miter saw or circular saw would work best for this project.
3. Sandpaper: To achieve a smooth and polished finish, you’ll need sandpaper. Start with a coarse grit (around 80-100) to remove any rough edges, then work your way up to a finer grit (around 180-220) for a smoother surface.
4. Wood Glue: Wood glue will help ensure a sturdy and secure assembly of your wine rack. Look for a strong adhesive specifically designed for woodworking.
5. Clamps: Clamps will be useful for holding the wood pieces together while the glue dries.
6. Drill: You’ll need a drill with a drill bit that matches the size of the screws you will use for assembly.
7. Screws: Choose screws that are appropriate for your wood thickness and provide ample support for the weight of the wine bottles.
8. Wall Mount Bracket: If you plan to hang your wine rack on the wall, you’ll need a sturdy wall mount bracket that can support the weight of the rack and the bottles.
9. Stain or Paint: Depending on your preference, you may want to stain or paint your wine rack to match your existing decor. Choose a stain or paint color that complements your space.
10. Brushes or Rollers: Brushes or rollers will be necessary for applying the stain or paint to your wine rack.
11. Safety Gear: Always prioritize safety during construction. Don’t forget to wear safety goggles, gloves, and a mask to protect yourself from dust and fumes.
Now that you have gathered all the necessary materials and tools, we can move on to the first step of creating your wine rack: measuring and marking.
Step 1: Measure and Mark
The first step in constructing your wine rack is to measure and mark the dimensions for your wooden pieces. This will ensure that your wine rack fits the space you have designated for it.
Start by measuring the area where you plan to install the wine rack. Take into account the height, width, and depth of the space, as well as any obstacles or objects that may affect the placement of the rack.
Using these measurements, transfer them onto your wood. Use a pencil to mark the measurements clearly and accurately. You’ll want to mark the lengths of the side panels, the shelves, and any additional components you plan to include in your design.
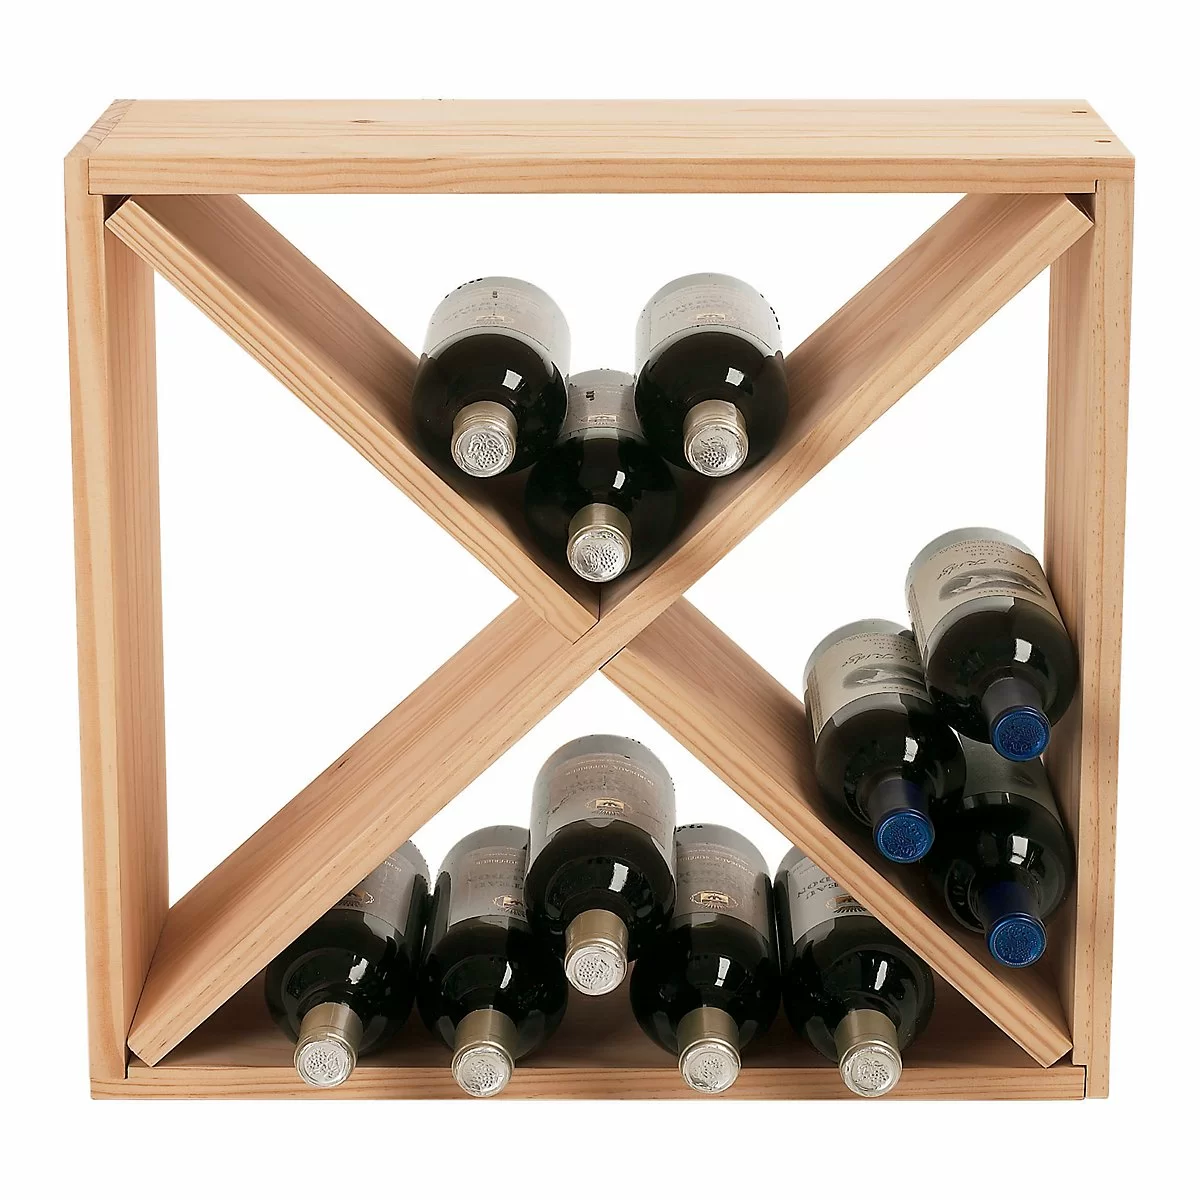
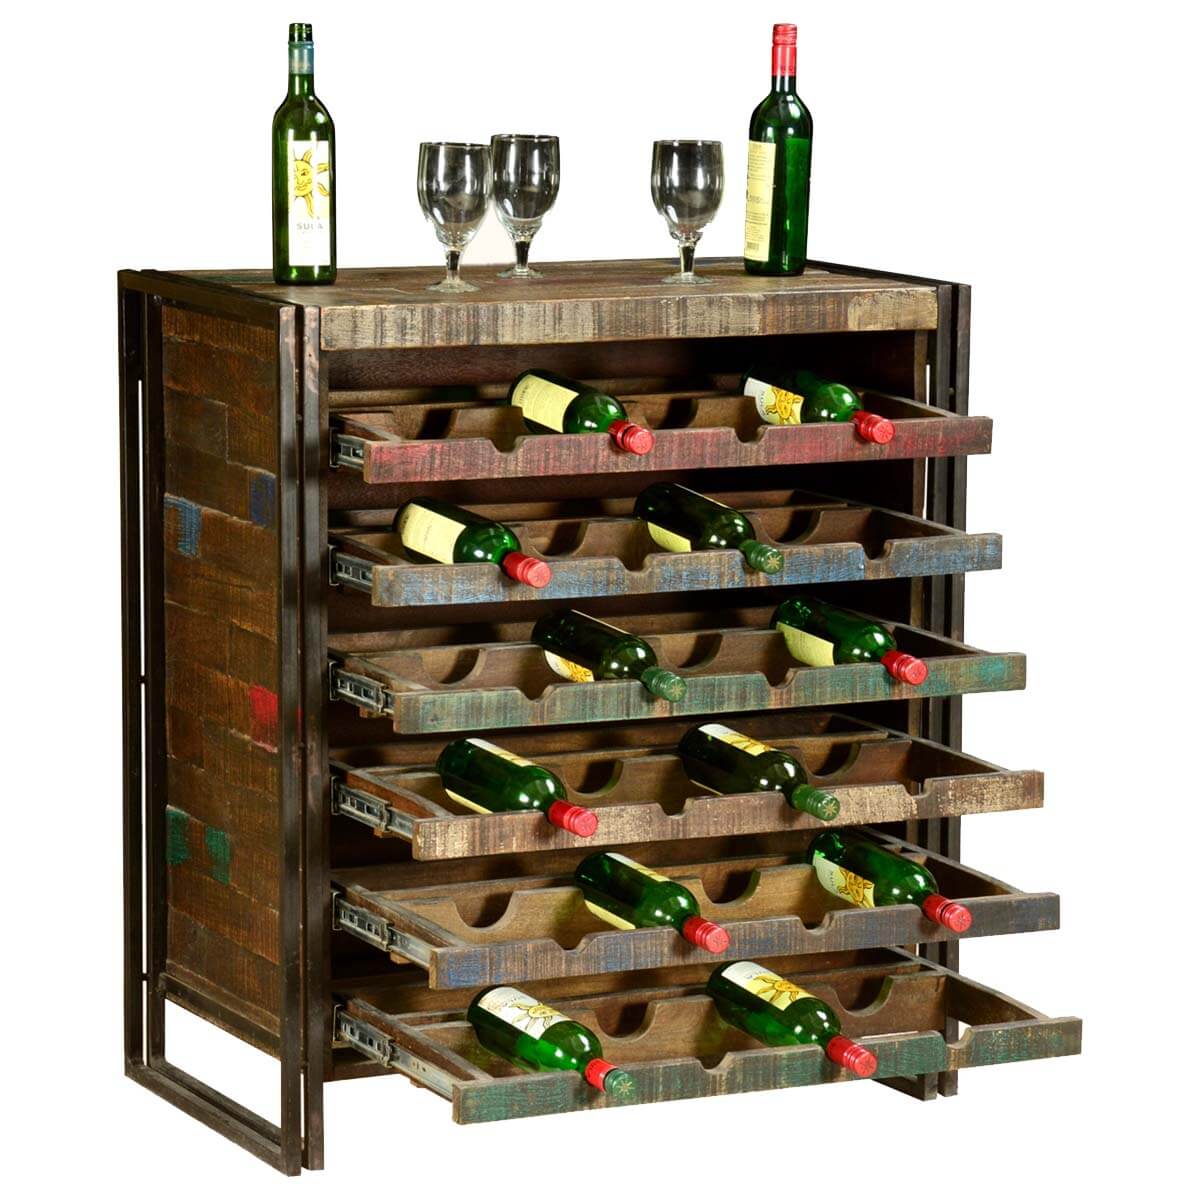
Next, determine the number of wine bottle slots you want in each shelf. Typically, a wine rack can hold between 6 to 12 bottles per shelf, depending on your preference and available space. Divide the width of the shelf by the desired number of slots to determine the width of each opening. Mark these measurements on the wood as well.
Once all the measurements are marked, double-check to ensure accuracy. It’s better to be precise in this step to avoid any issues during assembly.
Remember that you can customize the dimensions and design of the wine rack according to your preferences. Feel free to get creative and make adjustments to create a unique and functional piece that suits your needs.
With the measurements and markings complete, you’re ready to move on to the next step: cutting the wood pieces.
Step 2: Cut the Wood Pieces
Now that you have measured and marked the dimensions for your wine rack, it’s time to cut the wood pieces according to those measurements. This step is crucial in ensuring that all the pieces fit together properly and create a sturdy structure.
Start by setting up your saw in a safe and stable area. Make sure you have a clear workspace and take all necessary safety precautions, such as wearing safety goggles and gloves.
Refer to your measurements and markings to determine the required lengths of the side panels, shelves, and any additional components. Measure twice and cut once to ensure accuracy.
If you have a miter saw or circular saw, these are ideal for making straight and precise cuts. Secure the wood piece firmly against the saw blade and guide it smoothly and steadily through the cut. Take your time and maintain a steady hand to avoid any accidents.
Alternatively, if you don’t have access to power tools, a handsaw can be used. It may require more effort and time, but with patience and proper technique, you can achieve accurate cuts.
Remember to label your wood pieces as you cut them to keep track of which ones are for the side panels, shelves, and other components.
After cutting all the pieces, double-check their measurements and make any necessary adjustments. Ensure that they fit together smoothly and snugly.
Now that you have all the wood pieces cut to the appropriate sizes, it’s time to move on to the next step: sanding the wooden pieces.
Step 3: Sand the Wooden Pieces
Once you have cut the wood pieces for your wine rack, it’s essential to sand them to create a smooth and polished finish. Sanding will not only enhance the appearance of your wine rack but also remove any rough edges and splinters, making it safe to handle.
Start by gathering the necessary sandpaper. You’ll want to use a coarse-grit sandpaper, such as 80 or 100, to begin with. This will help remove any imperfections and rough surfaces. As you progress, switch to a finer-grit sandpaper, like 180 or 220, to achieve a smoother finish.
Before sanding, make sure to protect yourself by wearing safety goggles and a dust mask. Sanding can produce fine dust particles that can irritate the eyes and respiratory system.
Hold the wood piece firmly and run the sandpaper over its surface in the direction of the wood grain. Apply even pressure while maintaining a steady motion. Be sure to cover all sides and edges of the wood piece to achieve a consistent finish.
Pay extra attention to the edges and corners, as these areas can be prone to splinters. Use the sandpaper to round off any sharp edges and create a smooth transition between surfaces.
Once you’ve finished sanding with the coarse-grit sandpaper, switch to the finer-grit sandpaper for a final pass. This will give the wood a smooth and refined texture.
After sanding, wipe away any dust or debris with a clean cloth or tack cloth. This will prepare the wood for the next steps of assembly.
Remember, the sanding process is crucial for creating a professional-looking wine rack. Take your time, be thorough, and pay attention to detail. The effort you put into sanding will be reflected in the final product.
Now that the wood pieces are sanded and ready, it’s time to move on to the next step: assembling the wine rack.
When making a wine rack, be sure to measure the dimensions of your wine bottles to ensure they will fit securely in the rack. This will prevent any accidental breakage or damage to your bottles.
Read more: How To Make A Wine Rack Out Of PVC
Step 4: Assemble the Wine Rack
With the wood pieces cut and sanded, it’s time to assemble your wine rack. This step involves joining the various components together to create a sturdy and functional structure.
Begin by laying out all the wood pieces in front of you. Take a moment to familiarize yourself with each piece and identify which ones will serve as the side panels, shelves, and any additional components.
Apply a thin layer of wood glue to the edges of the side panels where the shelves will be attached. This will help create a strong bond between the pieces.
Position the first shelf onto the glued edges of the side panels, ensuring it is level and aligned. Use clamps to hold the pieces together and provide pressure while the glue dries. Make sure to wipe away any excess glue that squeezes out.
Repeat this process for each shelf, carefully aligning them with the marked measurements and using clamps to hold them in place. Take your time to ensure each shelf is level and secure before moving to the next one.
After all the shelves are attached, double-check the alignment and stability of the wine rack. Make any adjustments if needed and tighten the clamps accordingly.
Let the wood glue dry completely according to the manufacturer’s instructions. This typically takes a few hours, but it’s best to leave it overnight for a strong and secure bond.
Once the glue is dry, remove the clamps and inspect the wine rack. Check for any loose connections or gaps between the wood pieces. If necessary, apply additional glue and insert small finishing nails or screws for extra reinforcement.
Take the time to make sure your wine rack is solid and stable before proceeding to the next step. A properly assembled rack will ensure the safety of your wine bottles and make the installation process easier.
Now that your wine rack is assembled, you can move on to the next step: attaching the wall mount bracket (if desired) for added support.
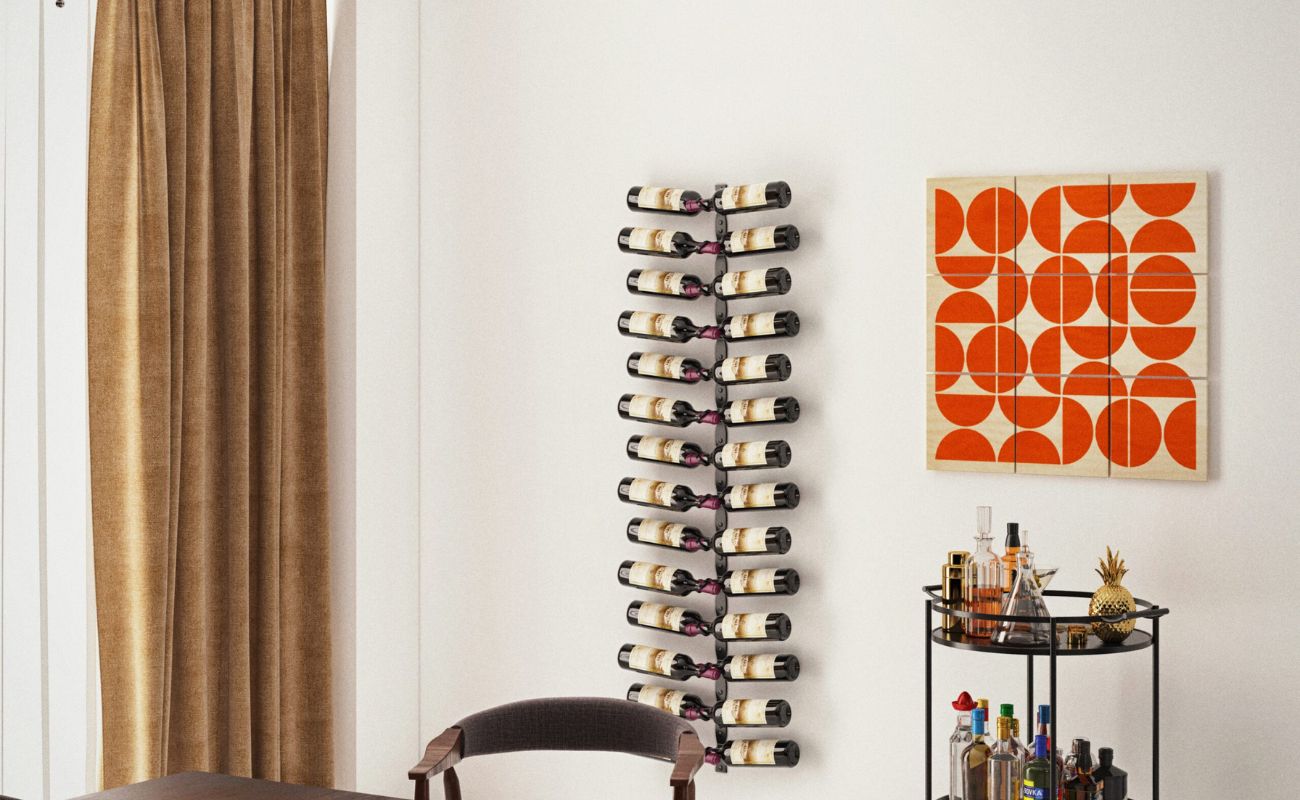
Step 5: Attach the Wall Mount Bracket
If you plan to hang your wine rack on the wall, it’s important to ensure it is securely attached for stability and safety. Attaching a wall mount bracket will provide added support and prevent the rack from tipping over or falling.
Before proceeding, determine the ideal location for your wine rack on the wall. Consider factors such as the weight of the rack and the wine bottles it will hold. Choose a sturdy and suitable wall that can support the load.
First, hold the wall mount bracket against the back of the wine rack. Determine the appropriate position for the bracket, taking into account the weight distribution and the desired height of the rack.
Using a pencil or marker, mark the screw holes on the back of the rack where the bracket will be attached. Make sure the markings are accurate and align with the bracket’s holes.
Next, remove the bracket and set it aside. Grab your drill and a drill bit that matches the recommended size for the screws provided with the wall mount bracket.
Position the drill bit on one of the marked screw holes and drill a pilot hole into the wood. Repeat this process for all the marked screw holes on the back of the wine rack.
With the pilot holes in place, line up the wall mount bracket with the holes and attach it to the back of the wine rack using the provided screws. Make sure the screws are tightened securely, but be cautious not to overtighten and risk damaging the wood.
Test the stability of the wine rack by gently pushing and pulling on it. Ensure that it is firmly attached to the bracket and doesn’t wobble or feel loose.
Once you are satisfied with the stability, you can proceed to the next step: staining or painting the wine rack to enhance its appearance.
Note: If you prefer not to wall mount your wine rack, you can skip this step and move on to the next one.
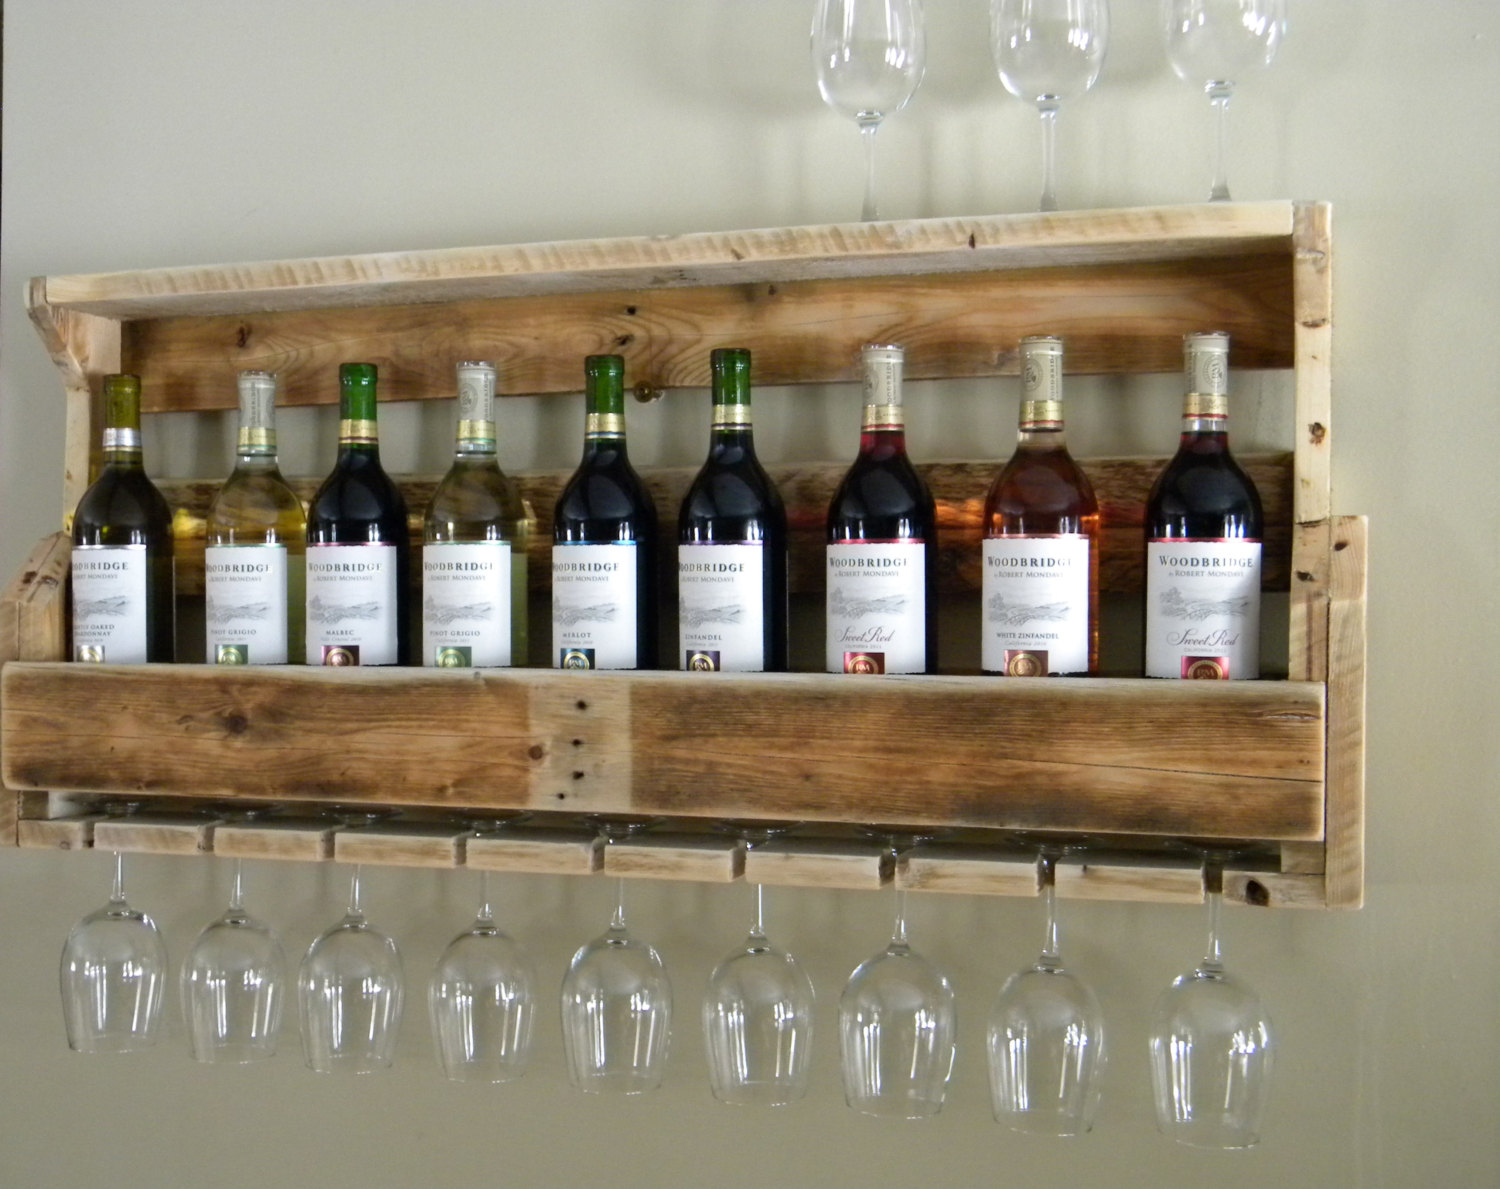
Step 6: Stain or Paint the Wine Rack
Now that your wine rack is assembled and securely mounted (if applicable), it’s time to add the finishing touch by staining or painting it. This step will not only enhance the appearance of the wine rack but also protect the wood from wear and tear.
Before proceeding, make sure the wood surface is clean and free from dust or debris. Use a clean cloth or tack cloth to wipe away any residue.
If you choose to stain the wine rack, start by stirring the stain thoroughly to ensure an even color. Apply the stain using a brush or a clean rag, following the direction of the wood grain. Work in small sections and wipe off any excess stain with a cloth for a consistent finish. Allow the stain to dry completely according to the manufacturer’s instructions.
On the other hand, if you prefer to paint the wine rack, choose a paint color that complements your space and aligns with your personal taste. Apply the paint using a brush or a roller, ensuring even coverage on all surfaces. Apply multiple coats if necessary, allowing each coat to dry before proceeding to the next. This will ensure a smooth and flawless finish.
Whether you choose to stain or paint, consider using a clear sealant as a final protective layer. This will help to preserve the color and longevity of the finish. Apply the sealant according to the manufacturer’s instructions and allow it to dry completely.
Remember to work in a well-ventilated area and take appropriate safety precautions, such as wearing gloves and a mask, when working with stains or paints.
Once your stain or paint has dried and the sealant is applied, inspect your wine rack for any touch-ups or additional coats that may be needed. Make sure the finish is smooth and even, enhancing the beauty of the wood and highlighting its grain.
With the wine rack stained or painted to perfection, it’s time to move on to the final step: installing the wine rack in your chosen location.
Step 7: Install the Wine Rack
Congratulations! You’ve reached the final step of the wine rack construction process: installing the rack in its designated location. Proper installation ensures that your wine rack is securely in place and ready to display your collection.
Start by deciding where you want to install the wine rack. Take into consideration factors such as accessibility, visibility, and the overall aesthetic of the space.
If you have chosen to wall mount the wine rack, use a stud finder to locate and mark the studs on the wall. This will provide additional support and stability to the rack.
Hold the wine rack against the wall at the desired height and level it using a spirit level. Once you have found the perfect position, mark the wall through the screw holes of the wall mount bracket.
Using an appropriate drill bit, drill pilot holes into the marked spots on the wall. Make sure the holes are aligned with the studs for added strength.
Next, align the screw holes of the wall mount bracket with the pilot holes on the wall. Insert the screws and tighten them using a screwdriver or drill. Ensure the rack is securely fastened to the wall, but be careful not to overtighten and cause damage.
Once the wine rack is properly installed, take a step back and admire the finished product. Ensure that the rack is level and stable, with no wobbling or tilting.
Now it’s time to fill your wine rack with your favorite bottles. Carefully place the bottles on the shelves, ensuring they are snug and secure. Organize them in a way that is visually appealing and easy to access.
Remember to periodically check and adjust the position of the rack to ensure it remains stable and secure on the wall.
With the wine rack installed and filled with your prized collection, take a moment to appreciate the craftsmanship and effort you put into creating your own custom piece.
Enjoy the convenience and elegance of having a dedicated space to showcase and store your wine, all thanks to your DIY skills and creativity.
Cheers to your successful wine rack installation, and may it bring joy and sophistication to your living space for years to come!
Thank you for following this comprehensive step-by-step guide. We hope you found it helpful and inspiring. Cheers!
Read more: How Deep Is A Wine Rack
Conclusion
Congratulations on completing your journey of constructing a wine rack from scratch! By following this comprehensive guide, you have learned the essential steps of measuring, cutting, sanding, assembling, staining or painting, and finally installing your wine rack.
Building your own wine rack not only allows you to showcase your DIY skills but also provides you with a unique and personalized storage solution for your wine collection. It adds a touch of elegance and sophistication to your living space while keeping your bottles organized and within reach.
Throughout the construction process, you have gained knowledge in using tools, measuring and marking accurately, joining wood pieces securely, and applying finishes for a polished look. It’s a satisfying accomplishment to see the transformation from raw materials to a functional and aesthetically pleasing wine rack.
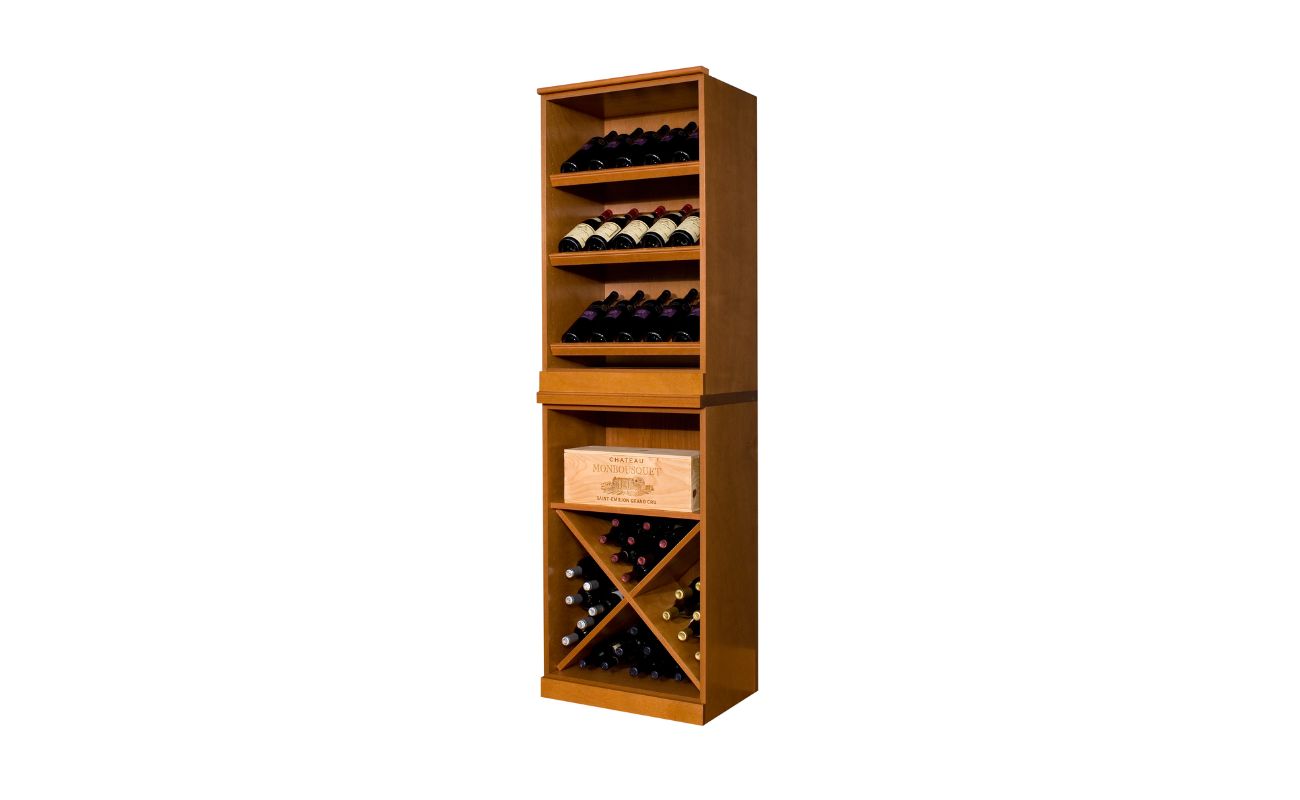
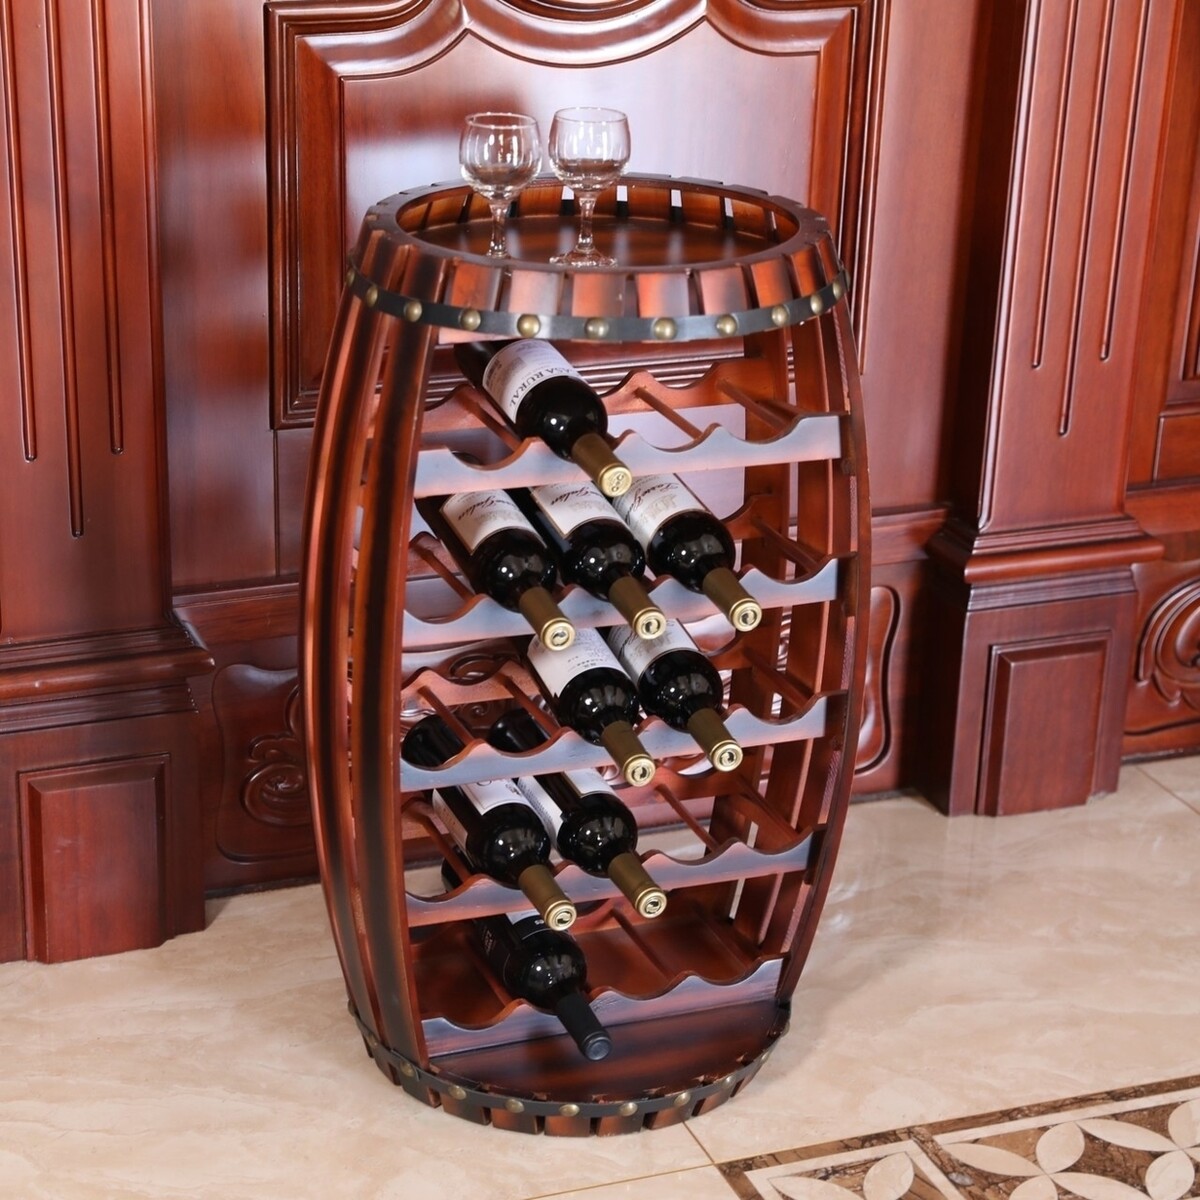
Remember, you can tailor your wine rack to fit your specific needs and style preferences. Whether you choose a compact design for a small apartment or a larger rack for an expansive wine collection, the possibilities are endless. Personalize it with your favorite stain or paint color to match your existing decor.
As you enjoy your newly constructed wine rack, remember to care for it by regularly dusting and cleaning it to maintain its beauty and longevity. Keep an eye on the stability of the rack and make any adjustments as needed.
Now, pour yourself a glass of your favorite wine and bask in the pride of your successful DIY endeavor. Cheers to your craftsmanship and creativity!
Thank you for joining us on this journey of creating a wine rack. We hope this guide has inspired you and provided you with the knowledge to embark on future woodworking projects. Happy wine storing and showcasing!
Frequently Asked Questions about How To Make A Wine Rack
Was this page helpful?
At Storables.com, we guarantee accurate and reliable information. Our content, validated by Expert Board Contributors, is crafted following stringent Editorial Policies. We're committed to providing you with well-researched, expert-backed insights for all your informational needs.

0 thoughts on “How To Make A Wine Rack”