Home>Furniture & Design>Living Room Furniture>How To Build A Lattice Wine Rack
Living Room Furniture
How To Build A Lattice Wine Rack
Modified: August 20, 2024
Discover how to enhance your living room with a stylish lattice wine rack. Find unique furniture and design ideas for your space. Elevate your home decor today!
(Many of the links in this article redirect to a specific reviewed product. Your purchase of these products through affiliate links helps to generate commission for Storables.com, at no extra cost. Learn more)
**
Introduction
**
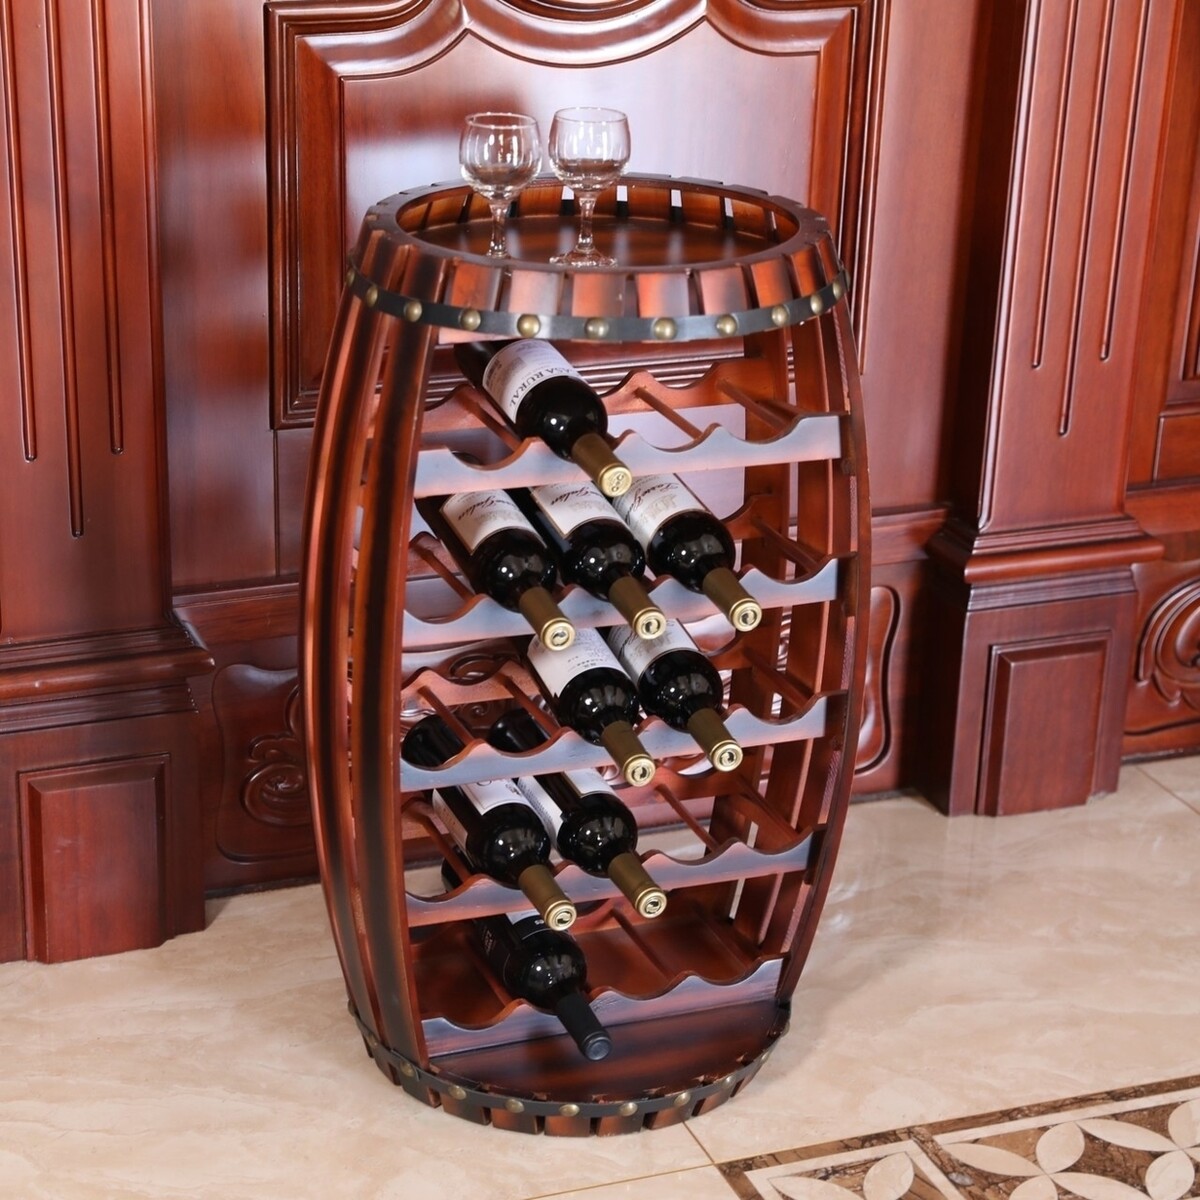
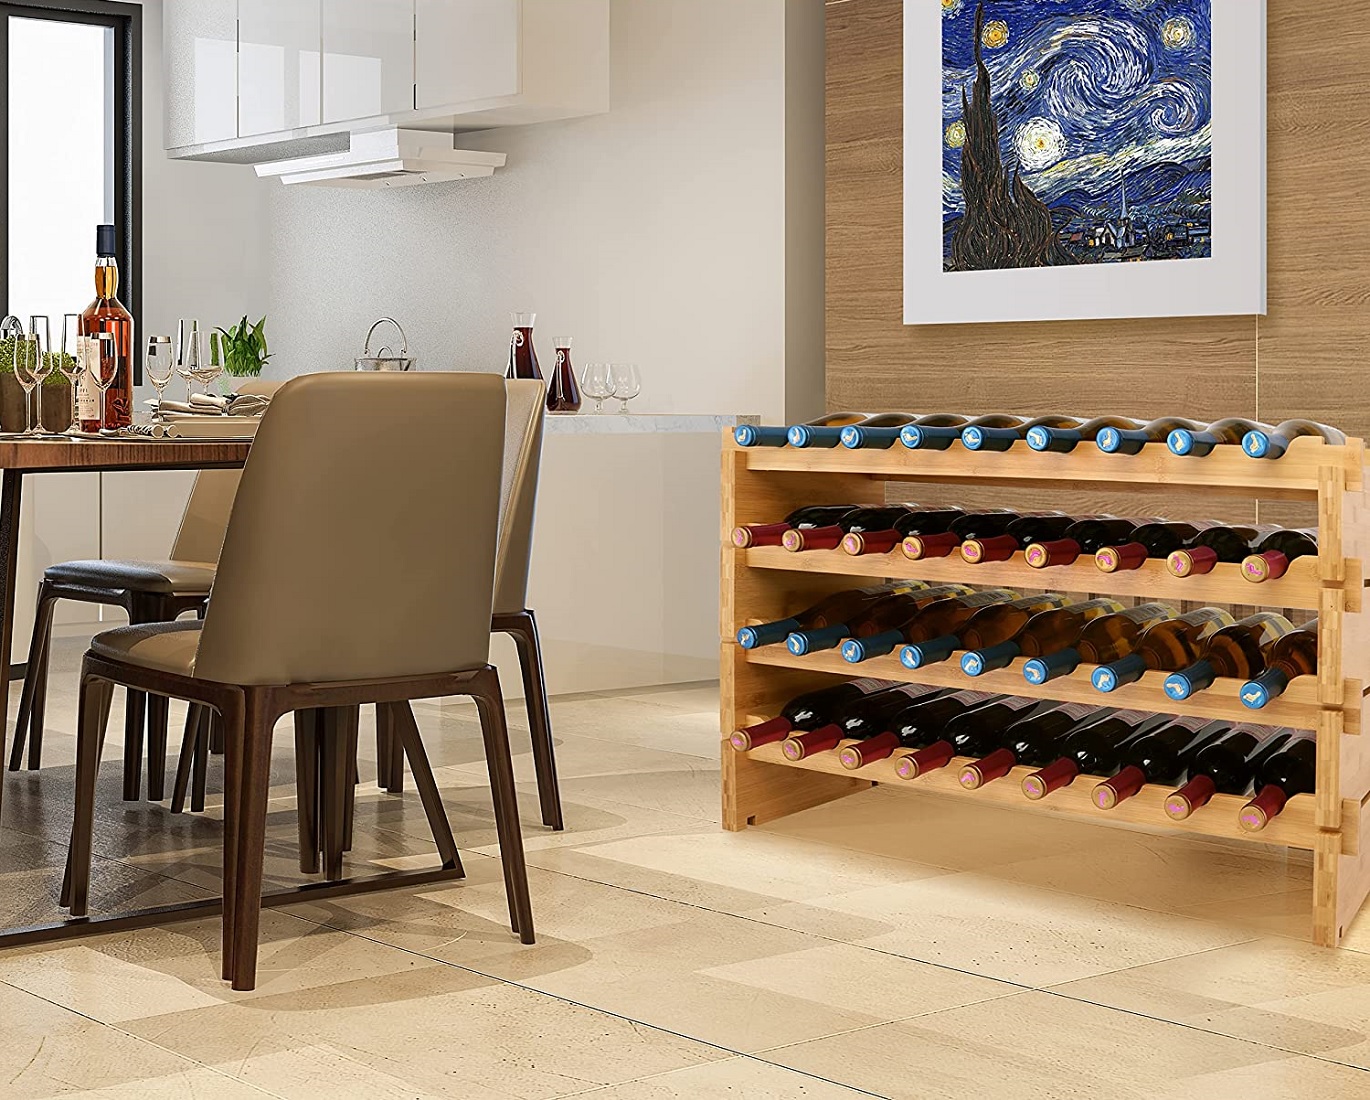
Welcome to the world of wine and woodworking! If you appreciate both fine wine and the art of crafting, combining the two can result in a delightful project. Building a lattice wine rack not only adds a touch of elegance to your living space but also provides a practical storage solution for your favorite vintages. Whether you're a seasoned woodworker or a novice DIY enthusiast, creating a lattice wine rack can be a rewarding and enjoyable endeavor.
Imagine the satisfaction of showcasing your wine collection in a custom-made rack that complements your home decor. The lattice design adds a stylish and visually appealing element to the functional purpose of storing and displaying your bottles. As you embark on this woodworking journey, you'll have the opportunity to hone your skills, unleash your creativity, and add a personalized touch to your living space.
In this guide, we will walk you through the step-by-step process of building a lattice wine rack, from gathering the necessary materials and tools to the finishing touches that will elevate the aesthetics of your creation. Whether you choose to embark on this project solo or enlist the help of a friend or family member, the satisfaction of crafting a beautiful and functional piece will be well worth the effort.
So, roll up your sleeves, gather your tools, and let's dive into the world of woodworking and wine as we embark on the journey of creating a lattice wine rack that will become a centerpiece of your living space. Let's uncork our creativity and bring this project to life!
Key Takeaways:
- Building a lattice wine rack is a rewarding woodworking project that combines creativity and practicality, allowing you to showcase your wine collection in a stylish and personalized way.
- By following the step-by-step process and adding finishing touches, you can create a stunning lattice wine rack that adds elegance to your living space while honing your woodworking skills.
Read more: How To Build A Wine Rack In A Cabinet
Materials and Tools
Before diving into any woodworking project, it’s essential to gather the necessary materials and tools to ensure a smooth and efficient construction process. For the lattice wine rack, you’ll need the following:
Materials:
- 1×4 pine boards: These will form the primary structure of the wine rack.
- Lattice strips: Choose lattice strips that are sturdy and aesthetically pleasing.
- Wood glue: Opt for a high-quality wood glue to ensure strong and durable joints.
- Wood screws: Select screws of appropriate length to securely fasten the components together.
- Sandpaper: To smooth the surfaces and edges of the wood for a professional finish.
- Stain or paint: Depending on your preference, you can choose a stain to enhance the natural beauty of the wood or opt for paint to coordinate with your decor.
- Wood finish: A clear wood finish will protect the rack from moisture and add a polished look.
- Hanging hardware: If you plan to mount the wine rack on the wall, ensure you have the necessary hardware for secure installation.
Tools:
- Measuring tape: An essential tool for accurate dimensions and cuts.
- Saw: A miter saw or a simple handsaw will be required for cutting the wood to the desired lengths.
- Drill and drill bits: For pre-drilling holes and driving screws into the wood.
- Screwdriver: Both Phillips and flathead screwdrivers may be needed, depending on the screws you use.
- Sandpaper or sander: To smooth the wood surfaces for a professional finish.
- Paintbrushes or staining cloths: For applying the stain or paint evenly.
- Safety goggles and gloves: Always prioritize safety when working with wood and power tools.
With these materials and tools at your disposal, you’ll be well-equipped to begin constructing your lattice wine rack. Now that you have everything you need, let’s move on to the first step: cutting the wood.
Step 1: Cutting the Wood
With the materials and tools gathered, it’s time to embark on the first step of building your lattice wine rack: cutting the wood. Precise and accurate cuts are crucial to ensure that the components fit together seamlessly and the overall structure is sturdy and visually appealing.
Begin by measuring and marking the 1×4 pine boards according to the dimensions of the wine rack you envision. The dimensions will depend on the number of wine bottles you intend to store and the space where the rack will be placed. Using a measuring tape and a pencil, mark the boards for the vertical supports, horizontal shelves, and any additional components based on your design.
Once the boards are marked, carefully cut them to the specified lengths using a saw. A miter saw is ideal for achieving precise angles and cuts, but a handsaw can also be used effectively with attention to accuracy. Take your time with each cut to ensure that the pieces are uniform and free from splinters or rough edges.
After cutting the main structural components, it’s time to prepare the lattice strips. Measure and cut the lattice strips to fit within the dimensions of the assembled frame, ensuring that they will securely hold the wine bottles while adding an elegant touch to the rack’s design.
As you complete the cutting process, take the opportunity to sand the edges and surfaces of the wood to remove any roughness and achieve a smooth finish. This will not only enhance the visual appeal of the rack but also prevent any potential splinters when handling the finished piece.
Once the wood is cut and sanded, you’re ready to move on to the next step: assembling the frame of the lattice wine rack. The precision and care taken during the cutting phase will set the foundation for a well-constructed and visually striking wine storage solution.
Read more: How To Build A Wine Rack Out Of Pallets
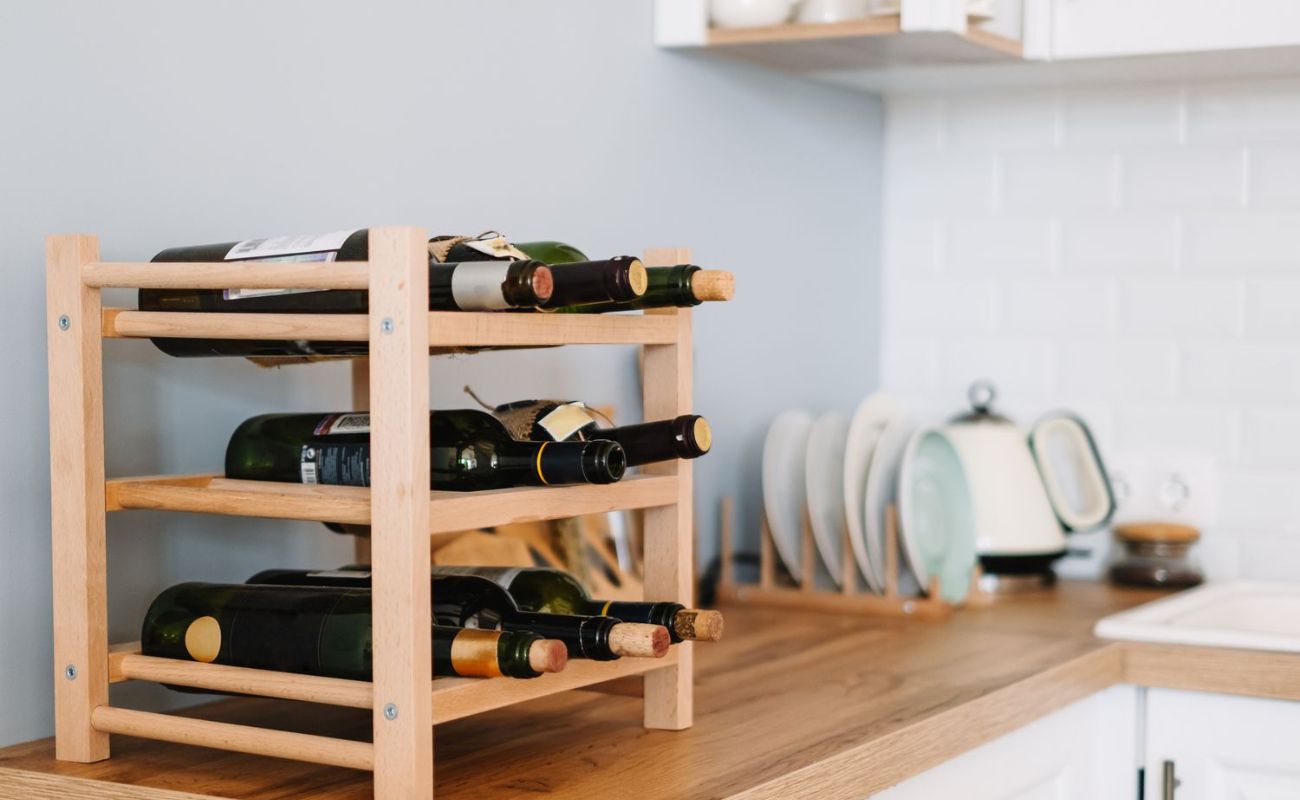
Step 2: Assembling the Frame
Now that the wood has been cut to the appropriate dimensions, it’s time to bring the lattice wine rack to life by assembling the frame. This step is where the individual components come together to form the foundational structure of the rack, setting the stage for the lattice and the bottles it will cradle.
Begin by laying out the cut pieces of 1×4 pine boards in the configuration outlined by your design. Whether you opt for a simple rectangular frame or a more intricate pattern, ensure that the pieces fit together snugly and align as intended. Use a square tool to check for right angles and make any necessary adjustments to ensure the frame is true and level.
Once satisfied with the arrangement, apply a thin, even layer of high-quality wood glue to the joints where the boards meet. This will create a strong bond between the components, adding stability to the frame. After applying the glue, use wood screws to secure the joints further, ensuring a durable and long-lasting connection.
As the frame takes shape, pay attention to the details of the assembly. Confirm that the vertical supports are evenly spaced to accommodate the wine bottles, and that the horizontal shelves are level and securely attached. Taking the time to ensure precision during this stage will result in a well-constructed frame that provides a solid foundation for the lattice and the wine bottles it will hold.
With the frame assembled and the joints secured, take a moment to admire your progress. The skeletal structure of the lattice wine rack is now in place, ready to receive the finishing touches that will elevate it from a collection of wood pieces to a functional and visually appealing storage solution. As you move forward to the next step, envision the satisfaction of seeing your creation come together, with each component serving a purpose in the final design.
As we continue our journey of crafting a lattice wine rack, the next step will involve adding the lattice to the frame, bringing an element of elegance and practicality to the structure. Let’s move forward with enthusiasm and determination, knowing that each step brings us closer to the completion of this rewarding woodworking project.
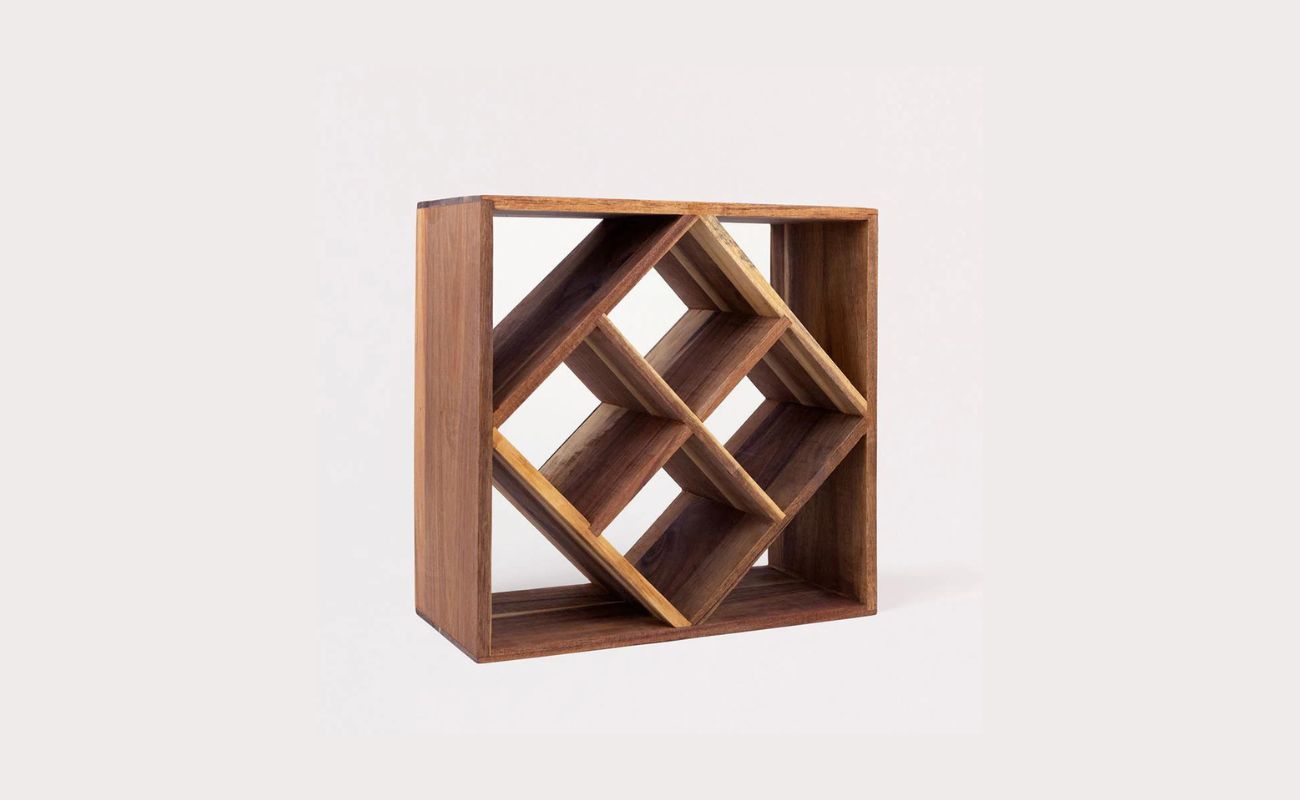
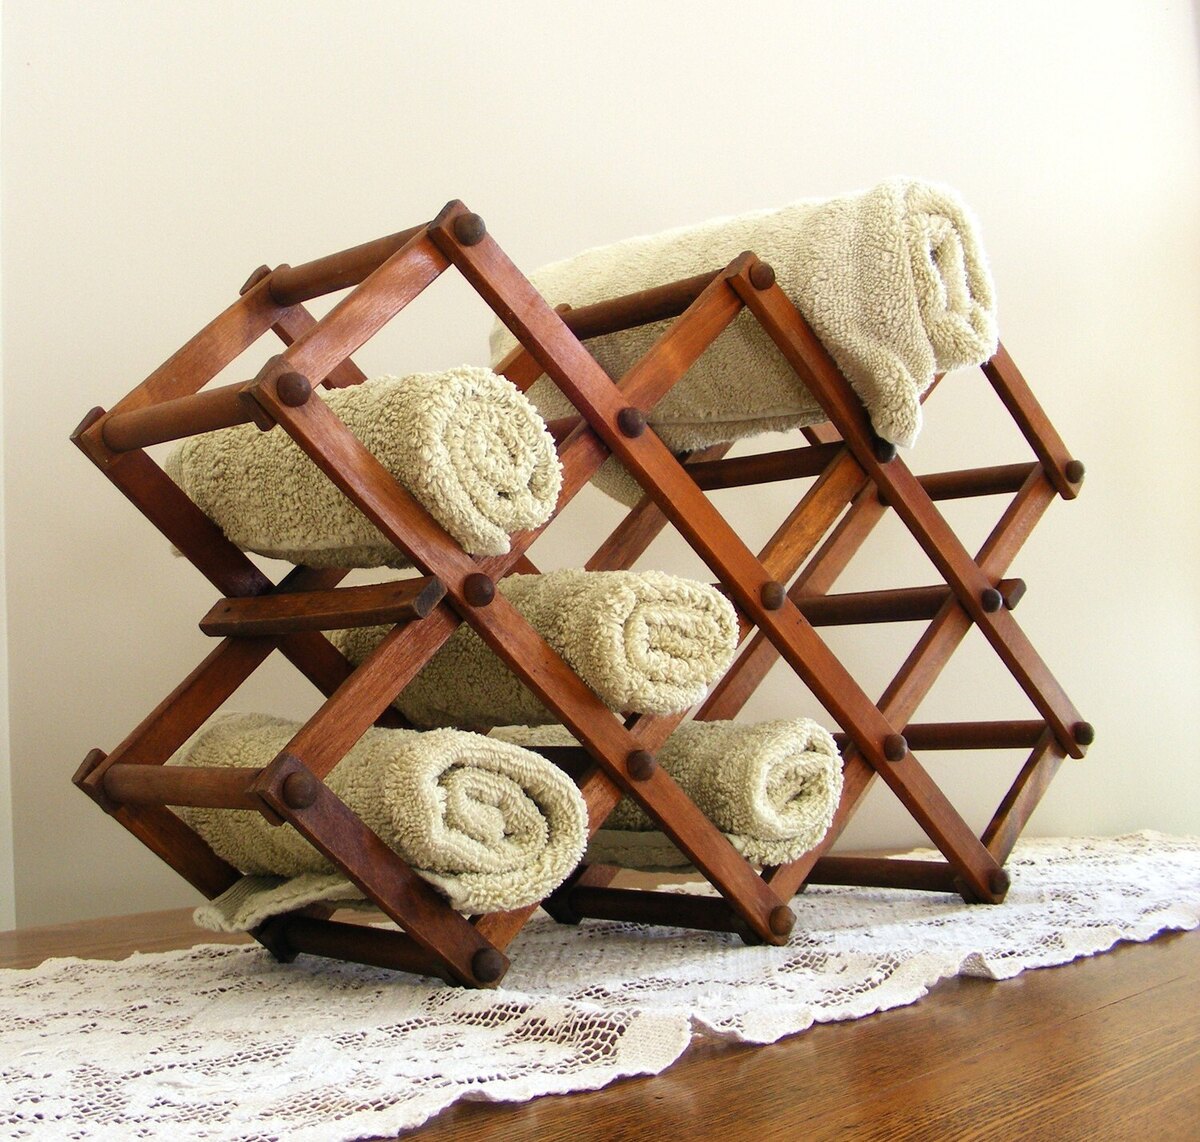
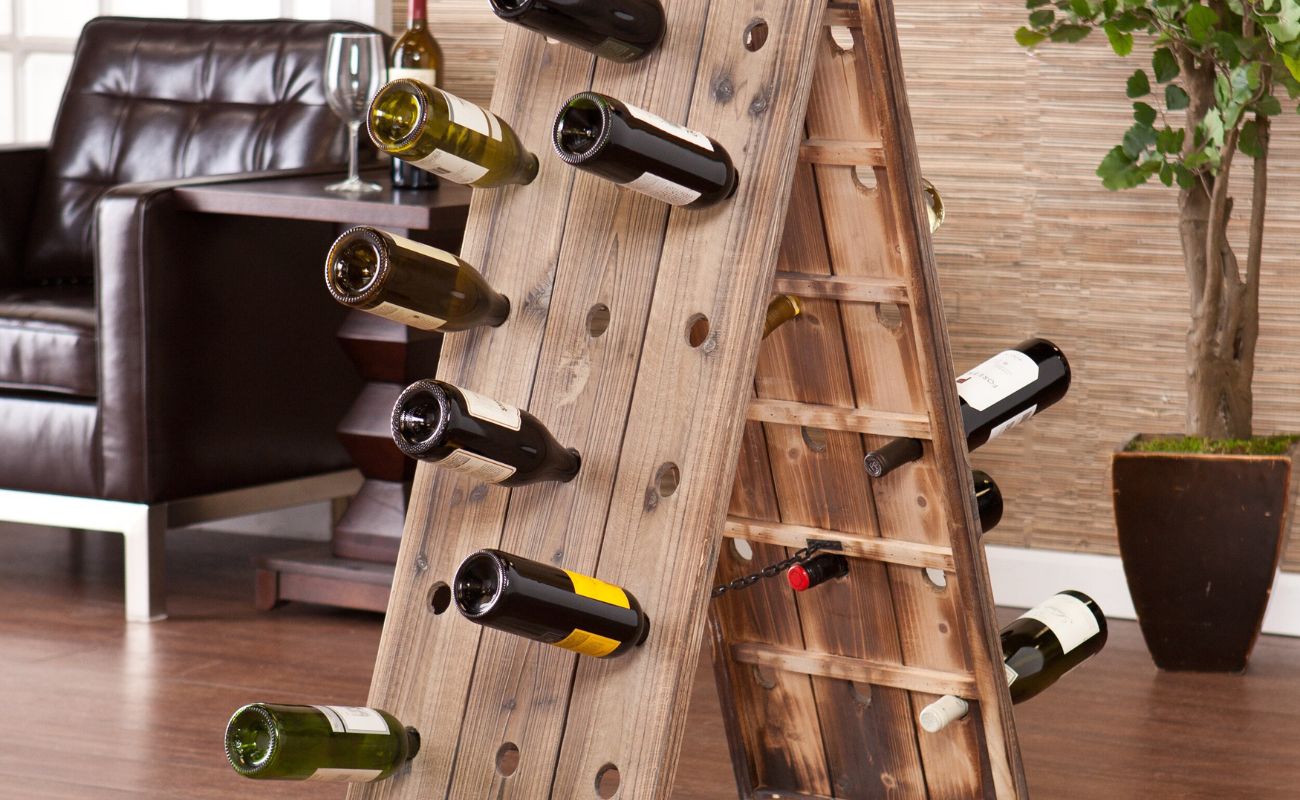
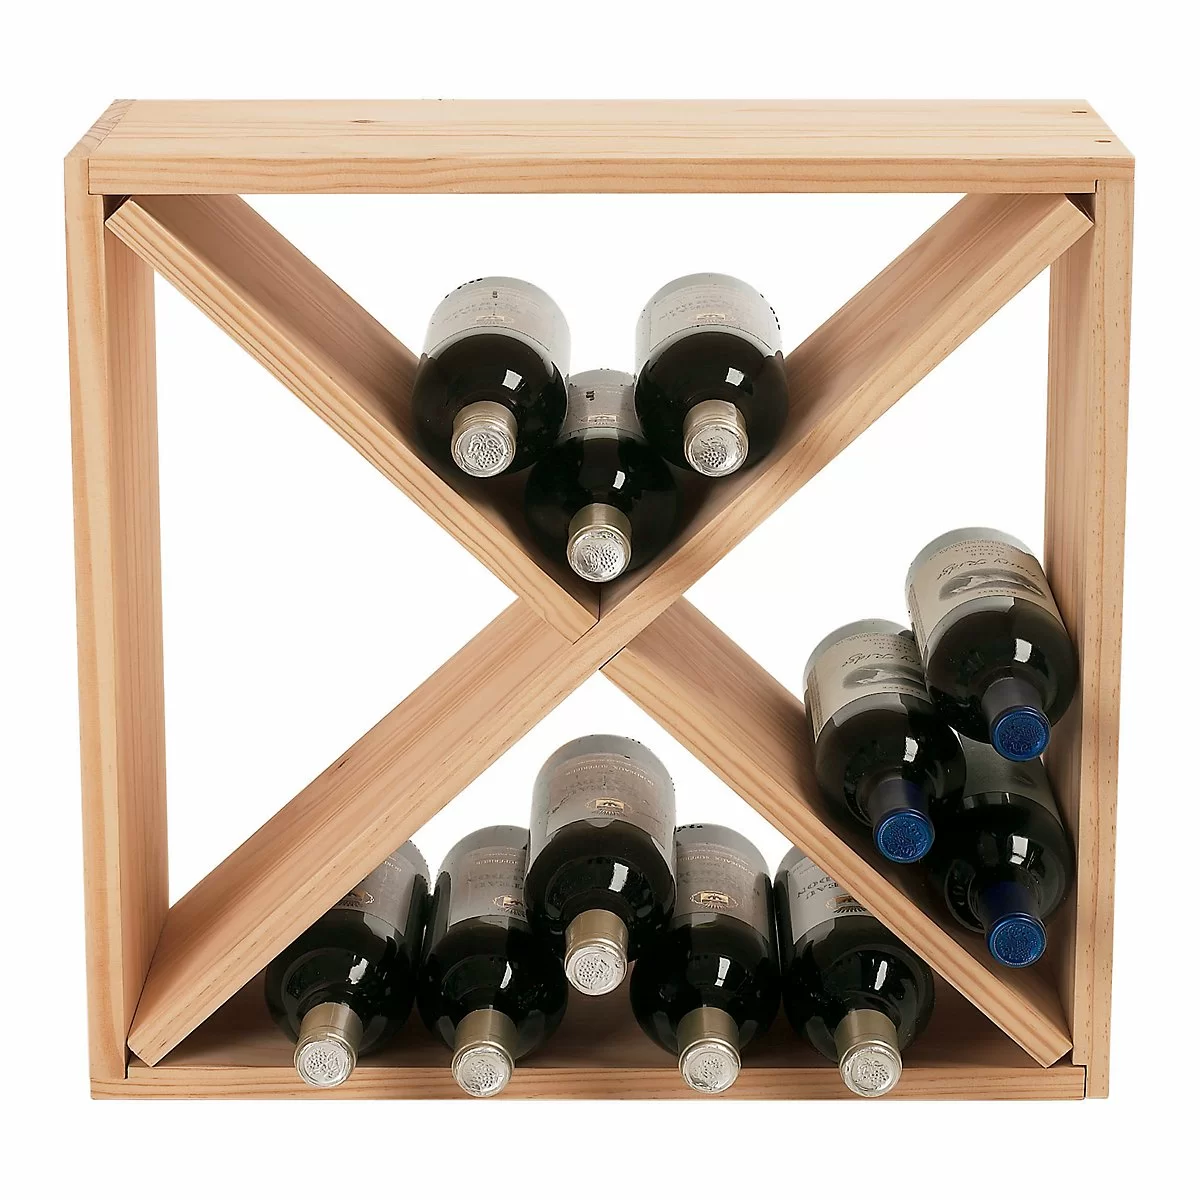
Step 3: Adding the Lattice
With the frame of the lattice wine rack securely assembled, the time has come to introduce the defining feature of this project: the lattice. Adding the lattice not only enhances the visual appeal of the rack but also provides the functional purpose of cradling and organizing your cherished wine bottles in an elegant display.
Begin by carefully positioning the lattice strips within the frame, ensuring that they align with the design you envisioned. The lattice can be arranged in a variety of patterns, from simple horizontal and vertical crossings to more elaborate crisscross designs, depending on your preference and the aesthetic you wish to achieve.
As you position the lattice, use wood glue to secure the strips to the frame, creating a strong bond that will withstand the weight of the wine bottles. Apply the glue sparingly and evenly to ensure a secure attachment, taking care to avoid excess glue that may mar the appearance of the lattice.
Once the lattice strips are in place, reinforce their attachment by using brad nails or small finishing nails to further secure them to the frame. This additional reinforcement adds stability and durability to the lattice, ensuring that it can support the weight of the wine bottles while maintaining its decorative appeal.
As the lattice becomes integrated into the frame, take a moment to appreciate the transformation taking place. The once bare frame is now adorned with the intricate beauty of the lattice, creating a visually captivating structure that will elegantly showcase your wine collection.
With the lattice securely in place, your lattice wine rack is nearing completion. The addition of the lattice not only enhances the functionality of the rack but also elevates its aesthetic appeal, turning it into a focal point of your living space. As we approach the final steps of this woodworking endeavor, the finishing touches will bring the project to its culmination, ready to serve as a testament to your craftsmanship and creativity.
When building a lattice wine rack, make sure to measure and cut the wood accurately to ensure a snug fit. Use a level to ensure the rack is straight and secure it firmly to the wall to prevent accidents.
Step 4: Finishing Touches
As you approach the final stage of constructing your lattice wine rack, it’s time to add the finishing touches that will elevate the visual appeal and ensure the longevity of your creation. These details will not only enhance the overall aesthetics of the rack but also contribute to its functionality and durability, creating a piece that seamlessly integrates into your living space.
Begin by sanding the entire surface of the wine rack, paying attention to the edges and corners to achieve a smooth and polished finish. This step not only enhances the tactile appeal of the rack but also removes any rough spots or imperfections, preparing the wood for the application of stain or paint.
Depending on your preference, apply a wood stain that complements the existing decor of your space and accentuates the natural beauty of the wood. Alternatively, if you prefer a pop of color, consider painting the rack to coordinate with your interior design scheme. Regardless of your choice, ensure that the stain or paint is applied evenly and allowed to dry thoroughly before proceeding to the next step.
After the stain or paint has dried, apply a clear wood finish to protect the rack from moisture and wear, adding a layer of durability to the surface. The wood finish not only safeguards the rack but also enhances the richness of the stain or paint, creating a lustrous and professional appearance.
Once the finishing touches are complete, it’s time to install any necessary hanging hardware if you plan to mount the wine rack on the wall. Ensure that the hardware is securely attached, capable of supporting the weight of the rack and the wine bottles it will hold. If you prefer a freestanding rack, consider adding felt pads to the bottom to protect your floors and prevent any potential scratches.
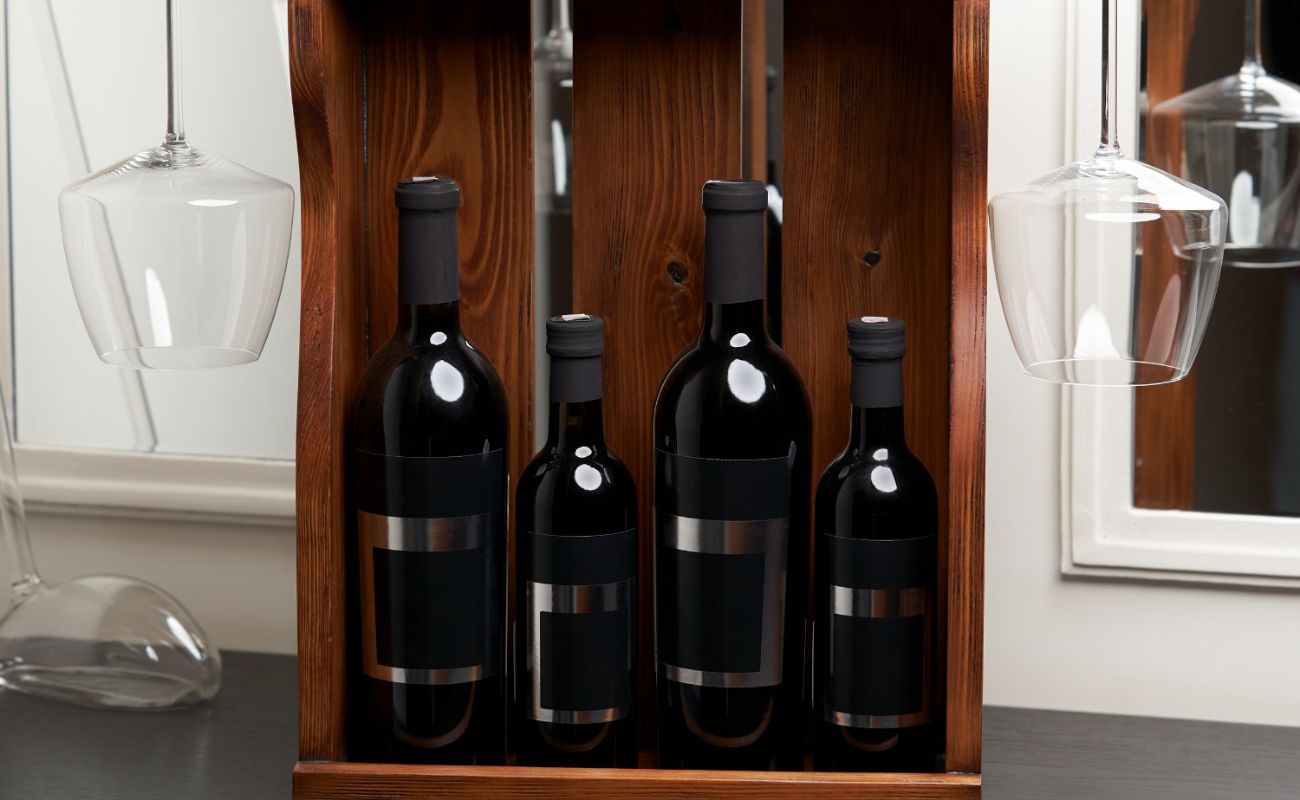
With the finishing touches applied and the wine rack fully assembled, take a moment to admire your handiwork. The lattice wine rack is now a stunning addition to your living space, seamlessly blending functionality and aesthetics into a single piece of craftsmanship. As you step back and view the completed project, revel in the satisfaction of bringing your vision to life and creating a beautiful and practical storage solution for your cherished wine collection.
Congratulations on completing your lattice wine rack! Whether it stands as a testament to your woodworking skills or a newfound passion for crafting, this project represents a journey of creativity and accomplishment. As you find the perfect spot to showcase your creation, may it serve as a reminder of the joy and fulfillment found in the art of woodworking.
Conclusion
Congratulations on successfully completing the construction of your lattice wine rack! This woodworking endeavor has not only resulted in a functional and visually appealing storage solution for your wine collection but has also provided a platform for expressing your creativity and craftsmanship. As you reflect on the journey from raw materials to a finished piece, consider the skills you’ve honed and the satisfaction of bringing a personalized creation into your living space.
Building a lattice wine rack extends beyond the mere act of assembling wood and lattice strips. It embodies the fusion of practicality and artistry, where the love for woodworking intersects with the appreciation for fine wine. The process of measuring, cutting, assembling, and finishing has not only yielded a tangible product but has also enriched your understanding of woodworking techniques and the transformative power of craftsmanship.
As you find the perfect place to display your lattice wine rack, take pride in the fact that it is a testament to your dedication and creativity. Whether it graces your kitchen, dining area, or living room, it will serve as a conversation piece, showcasing your ability to blend form and function into a single, elegant creation.
Moreover, the journey of crafting a lattice wine rack may have ignited a passion for woodworking and DIY projects, inspiring you to embark on future endeavors that allow you to unleash your creativity and bring practical, yet beautiful, pieces into existence. The skills and knowledge gained from this project will undoubtedly serve as a foundation for future woodworking pursuits, empowering you to take on more ambitious projects with confidence and enthusiasm.
As you raise a glass to celebrate the completion of your lattice wine rack, remember the sense of accomplishment that comes with creating something with your own hands. Whether you’re a seasoned woodworker or a newcomer to the craft, this project has provided a canvas for self-expression and a tangible symbol of your dedication to craftsmanship.
So, here’s to the lattice wine rack that now graces your home, a testament to your creativity, perseverance, and the joy of woodworking. May it serve as a reminder of the fulfillment found in creating something beautiful and functional, and may it inspire you to continue exploring the world of woodworking with passion and purpose.
Frequently Asked Questions about How To Build A Lattice Wine Rack
Was this page helpful?
At Storables.com, we guarantee accurate and reliable information. Our content, validated by Expert Board Contributors, is crafted following stringent Editorial Policies. We're committed to providing you with well-researched, expert-backed insights for all your informational needs.


0 thoughts on “How To Build A Lattice Wine Rack”