Home>Furniture & Design>Living Room Furniture>How To Build A Wine Rack In A Cabinet
Living Room Furniture
How To Build A Wine Rack In A Cabinet
Modified: August 28, 2024
Learn how to build a stylish wine rack in a cabinet with our step-by-step guide. Transform your living room furniture and design with this functional and space-saving addition.
(Many of the links in this article redirect to a specific reviewed product. Your purchase of these products through affiliate links helps to generate commission for Storables.com, at no extra cost. Learn more)
Introduction
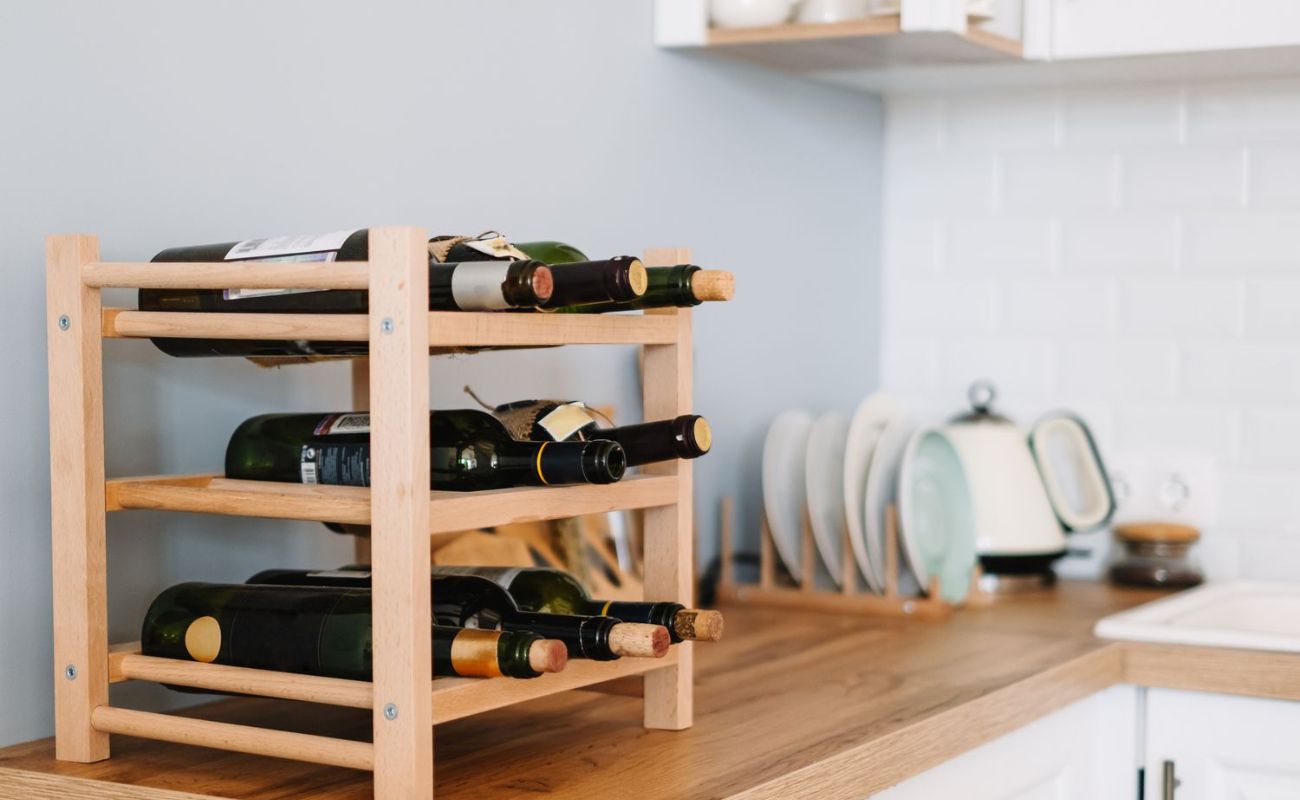
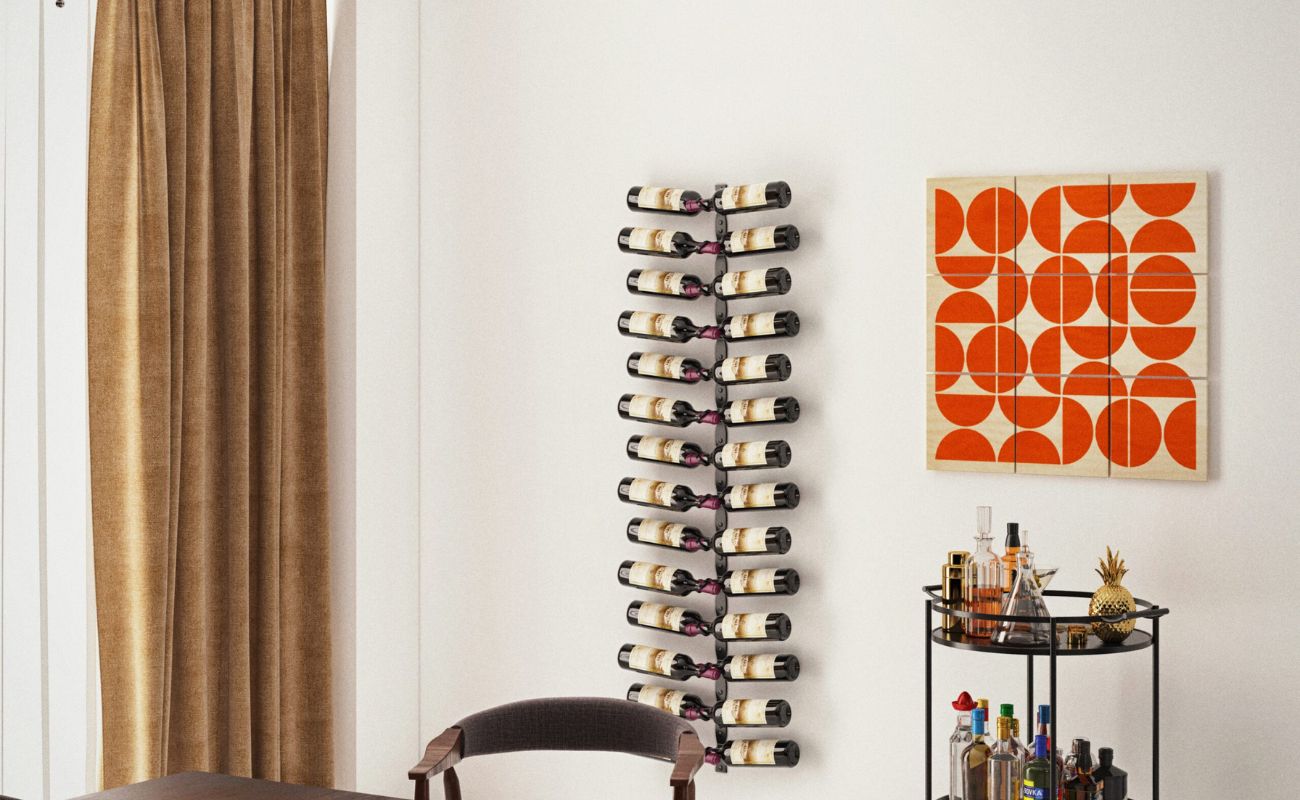
Welcome to the world of wine aficionados, where the perfect bottle deserves the perfect storage. If you’re a wine lover, you know that having a dedicated wine rack in your living room or dining area can not only add a touch of elegance to your space but also keep your prized bottles properly organized and easily accessible. In this article, we will guide you through the process of building a wine rack in a cabinet, allowing you to create a stylish and functional storage solution for your favorite vintages.
Before we dive into the intricacies of building a wine rack, it’s important to understand the significance of proper wine storage. Wine is a delicate and temperamental beverage that requires optimal environmental conditions to age gracefully and develop its full flavor potential. Factors such as temperature, humidity, and light exposure can have a significant impact on the taste and quality of your wine. By investing time and effort into building a wine rack, you can ensure that your bottles are stored in an environment that promotes perfect maturation.
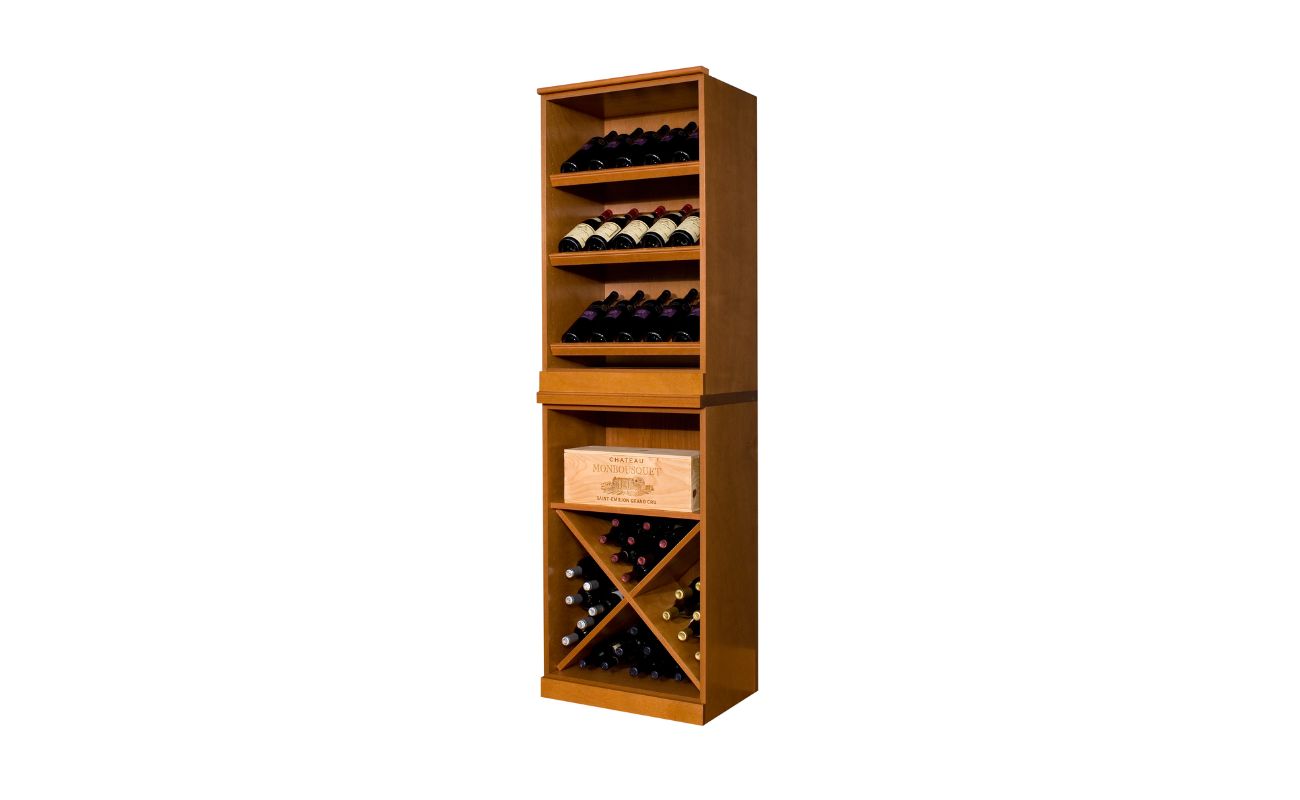
Building a wine rack in a cabinet offers several advantages. Firstly, it allows you to maximize space utilization by converting an existing cabinet into a dedicated wine storage area. This is especially beneficial for those with limited square footage or for those who prefer a more discreet storage option. Additionally, a cabinet wine rack provides a protected and secure environment for your bottles, shielding them from any potential damage or accidents that may occur in an open storage display.
In this step-by-step guide, we will outline the process of building a wine rack in a cabinet, from planning and measurements to the finishing touches. We will also highlight the materials and tools you will need, ensuring that you have everything on hand to complete the project successfully. So, grab a glass of your favorite wine, put on your handyman (or handywoman) cap, and let’s get started on creating the wine rack of your dreams!
Key Takeaways:
- Create a stylish and functional wine rack in your cabinet to showcase your collection, optimize space, and maintain the integrity of your prized vintages. Cheers to craftsmanship and the joys of indulging in fine wine!
- By carefully planning, measuring, and assembling each component, you can build a custom wine rack that adds elegance to your living space and showcases your collection in an organized and visually appealing manner. Cheers to the perfect bottle and the perfect storage!
Read more: How To Build A Lattice Wine Rack
Step 1: Planning and Measurements
Before you embark on building your wine rack in a cabinet, it’s essential to start with careful planning and accurate measurements. This ensures that your wine rack fits perfectly within your cabinet and accommodates the number of bottles you want to store. Here’s a step-by-step breakdown of what you need to do:
- Assess your cabinet: Take a good look at the cabinet where you plan to install the wine rack. Consider its dimensions, the available space, and any potential obstructions that may affect the placement of the wine rack.
- Determine the number of bottles: Decide how many wine bottles you want your rack to hold. This will help you determine the dimensions and design of the rack.
- Measure the cabinet: With a measuring tape, carefully measure the width, height, and depth of the cabinet. Take accurate measurements to ensure a snug fit for your wine rack.
- Consider the bottle dimensions: Take into account the dimensions of the wine bottles you plan to store. Different bottle sizes may require modifications in the spacing between wine rack sections.
- Create a design: Using graph paper or a digital design tool, create a rough sketch of your wine rack design. Consider factors such as the arrangement of wine rack sections, spacing between shelves, and any additional features you want to incorporate, such as a display area for wine glasses.
- Double-check your measurements: Before proceeding to the next step, double-check all your measurements to ensure accuracy. This will save you from any potential headaches during the construction process.
By following these planning and measurement steps, you will lay a solid foundation for building your wine rack. Taking the time to plan and measure accurately will help you avoid mistakes and ensure that your wine rack fits seamlessly into your cabinet, providing a practical and aesthetically pleasing storage solution for your wine collection.
Step 2: Materials and Tools Needed
Now that you have a clear plan and accurate measurements for your wine rack, it’s time to gather the necessary materials and tools. Here’s a list of what you’ll need:
Materials:
- Wood boards: Choose high-quality hardwood boards or plywood that is sturdy and durable. The thickness of the boards will depend on the size and weight of the wine bottles you plan to store.
- Wood screws: Select screws that are appropriate in length for attaching the wood boards together securely.
- Sandpaper: Use sandpaper to smooth any rough edges and surfaces of the wood.
- Wood stain or paint: If desired, choose a wood stain or paint of your choice to enhance the appearance of the wine rack.
- Protective finish: Apply a protective finish, such as polyurethane or lacquer, to protect the wood from moisture and wear.
Tools:
- Measuring tape: A measuring tape is essential for taking accurate measurements.
- Saw: A saw, such as a circular saw or a miter saw, will be needed to cut the wood boards to the desired dimensions.
- Drill: A power drill is necessary for drilling pilot holes and attaching the wood boards together.
- Screwdriver: Use a screwdriver or a drill with a screwdriver bit to tighten the wood screws.
- Sandpaper: Have sandpaper or a sanding block handy to smooth the wood surfaces.
- Paintbrushes: If you choose to stain or paint the wine rack, have a few paintbrushes of various sizes available.
Before you start building your wine rack, make sure you have all the materials and tools mentioned above. It’s always better to be prepared upfront to avoid any unnecessary delays during the construction process. Also, don’t forget to wear appropriate safety gear, such as safety glasses and gloves, when using power tools or handling materials.
With all the materials and tools ready, you’re now one step closer to creating a beautiful and functional wine rack that will showcase your collection and elevate the aesthetic of your living space.
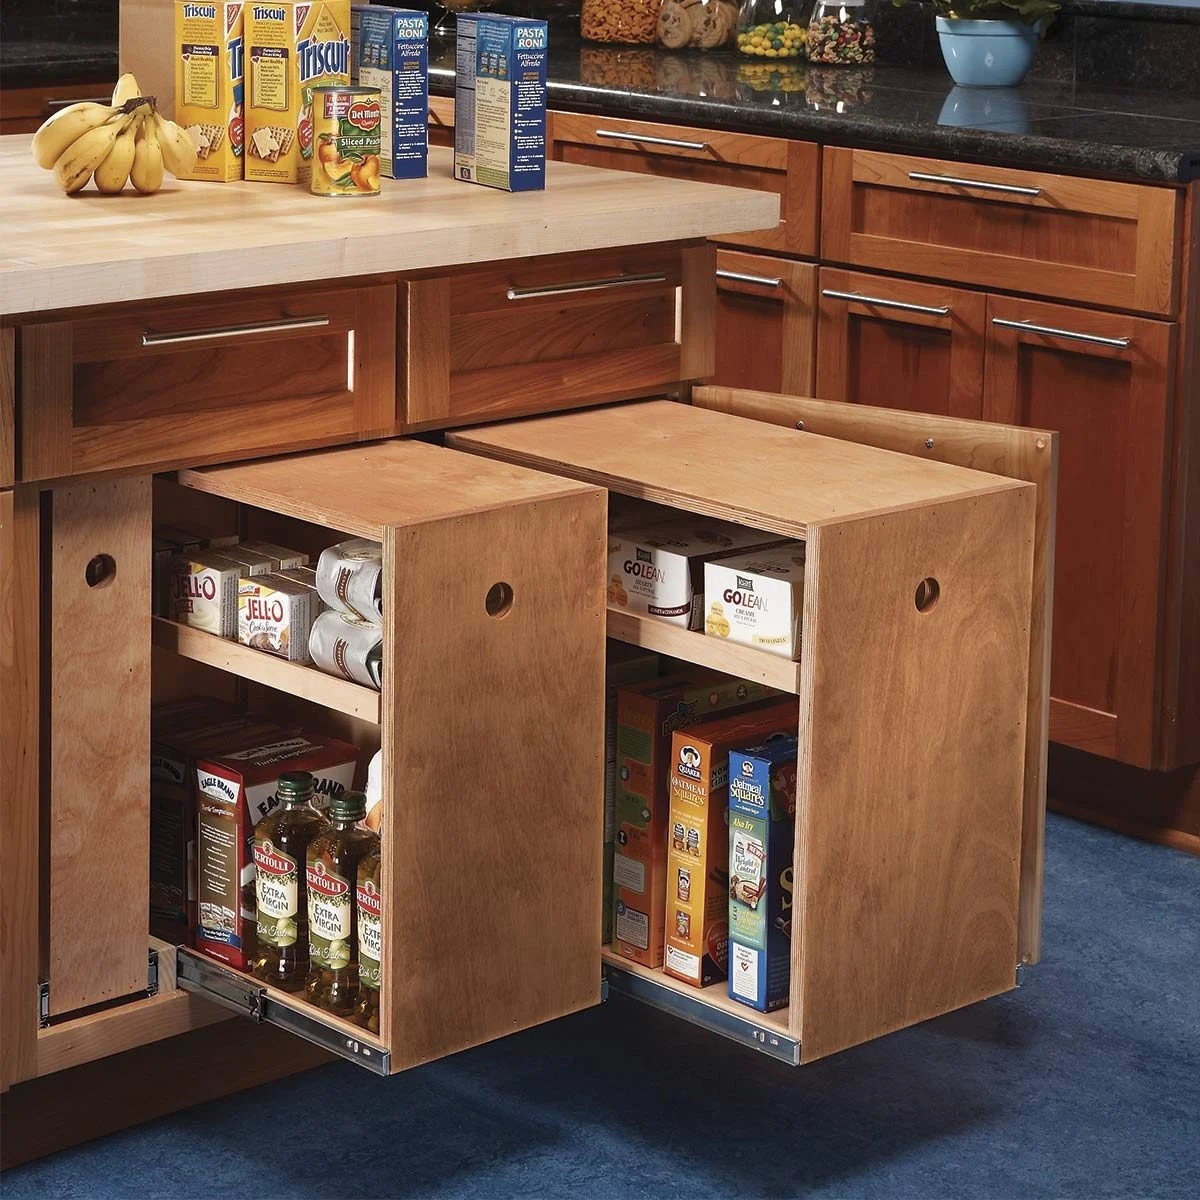
Step 3: Removing Cabinet Shelves
Once you have gathered all the necessary materials and tools, it’s time to start the construction process by removing the existing shelves from the cabinet. Removing the shelves will create the space needed for your wine rack. Follow these steps:
- Empty the cabinet: Before you begin, make sure to remove any items from the cabinet to create a clear workspace.
- Assess the shelf attachment: Take a close look at how the existing shelves are attached to the cabinet. They may be secured with screws, nails, or brackets.
- Remove the screws or nails: Using a screwdriver or a hammer, carefully remove any screws or nails that are securing the shelves to the cabinet. Be cautious not to damage the cabinet or the surrounding areas.
- Detach any brackets: If the shelves are attached with brackets, use a screwdriver or a power drill to remove the brackets from both the shelves and the cabinet walls.
- Slide out the shelves: Once the screws, nails, and brackets are removed, gently slide out the shelves from the cabinet. Depending on the design, you may need to tilt and lift the shelves to remove them completely.
It’s important to handle the shelves with care to avoid any injuries or damage to the cabinet. Take your time and proceed cautiously throughout the process.
After removing the shelves, take a moment to clean and inspect the cabinet. Wipe away any dust or debris that may have accumulated and check for any damage. This will ensure a clean working environment for the next steps of building your wine rack.
With the cabinet shelves successfully removed, you can now move on to the next step of creating the base for your wine rack. This will provide a solid foundation for the wine rack sections and make your cabinet ready for the installation process.
Step 4: Creating Wine Rack Base
Now that you have cleared the cabinet and removed the existing shelves, it’s time to create the base for your wine rack. The base will provide stability and support for the wine rack sections. Follow these steps to create the wine rack base:
- Measure and mark: Measure the width and depth of your cabinet, and use those measurements to mark the dimensions on your wood board. This will serve as the base of your wine rack.
- Cut the wood board: Use a saw to cut the wood board to the desired dimensions for your wine rack base. Make sure to wear safety glasses and follow proper safety precautions while using the saw.
- Sand the edges and surfaces: Use sandpaper to smooth any rough edges and surfaces of the wood board. This will ensure a clean and polished appearance for your wine rack base.
- Test the fit: Place the wood board inside the cabinet to test the fit. Ensure that it sits securely and evenly on the cabinet floor.
- Secure the wine rack base: Using wood screws, attach the wood board to the cabinet floor. Make sure to place the screws evenly spaced along the edges of the board, ensuring a secure and stable base.
Creating a solid base for your wine rack is crucial to provide stability and prevent any wobbling or tipping. It’s important to use high-quality materials and ensure a secure attachment to the cabinet floor.
Once the wine rack base is in place, take a moment to step back and admire your progress. The foundation is set, and you’re ready to move on to the next exciting step of installing the wine rack sections. Stay tuned for the next step, where we’ll guide you through the process of building and installing the wine rack sections in your cabinet.
When building a wine rack in a cabinet, make sure to measure the dimensions of the cabinet and the wine bottles to ensure a proper fit. Use sturdy materials and secure the rack to the cabinet for stability.
Read also: 12 Amazing Wine Rack Cabinet For 2025
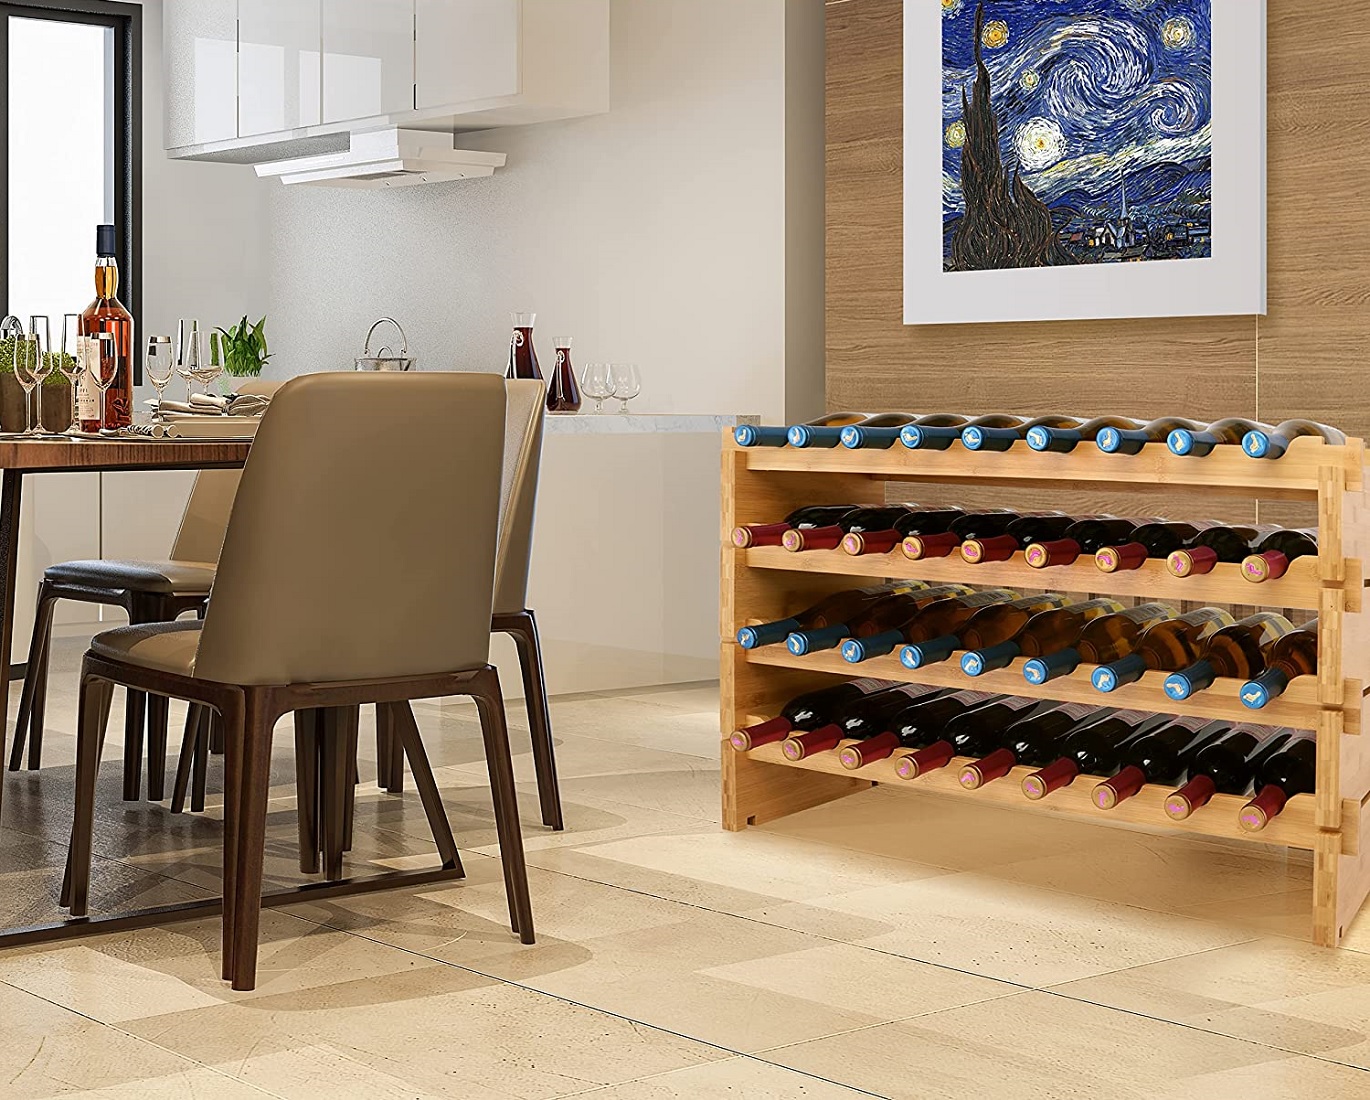
Step 5: Installing Wine Rack Sections
With the wine rack base securely in place, it’s time to move on to the exciting step of installing the wine rack sections. This is where your wine bottles will be stored, creating a beautiful display for your collection. Here’s how you can proceed:
- Determine the size of the wine rack sections: Based on the dimensions of your cabinet and the number of wine bottles you plan to store, calculate the size and spacing for each wine rack section. This will help you ensure a snug fit and efficient use of space.
- Measure and mark: Use your measuring tape and a pencil to measure and mark the dimensions for each wine rack section on your wood boards. Make sure to account for the thickness of the board when marking the measurements.
- Cut the wood boards: Using a saw, carefully cut the wood boards to the marked dimensions for each wine rack section. Ensure clean and straight cuts for a professional finish.
- Sand the edges and surfaces: Use sandpaper to smooth any rough edges and surfaces of the wood boards. This will prevent any potential snagging or splintering when handling the wine bottles.
- Arrange and position the wine rack sections: Position the wood boards in the designated spots on the wine rack base. Ensure that they are evenly spaced and aligned properly.
- Secure the wine rack sections: Using your drill and wood screws, attach the wood boards to the wine rack base. Make sure to screw from the bottom of the base for a cleaner and more polished look.
During the installation process, it’s important to pay attention to the spacing between each wine rack section. You want to allow enough room for the wine bottles to be easily inserted and removed, while also ensuring a secure and snug fit.
After securing the wine rack sections, take a step back and admire your progress. Your wine rack is taking shape, and it’s starting to look like a beautiful addition to your cabinet. Now, it’s time to move on to the next step and ensure that the wine bottles are properly secured in place. Join us for Step 6, where we’ll guide you through the process of securing the wine bottles in the rack.
Step 6: Securing Wine Bottles
Now that your wine rack sections are securely in place, it’s time to ensure that your precious wine bottles are held firmly and safely. Properly securing the wine bottles will prevent them from tipping over or rolling, keeping them in good condition and reducing the risk of accidents. Follow these steps to secure your wine bottles:
- Determine the bottle spacing: Consider the size and shape of your wine bottles and determine the appropriate spacing between each bottle. This will depend on the dimensions of your wine rack sections and the number of bottles you plan to store.
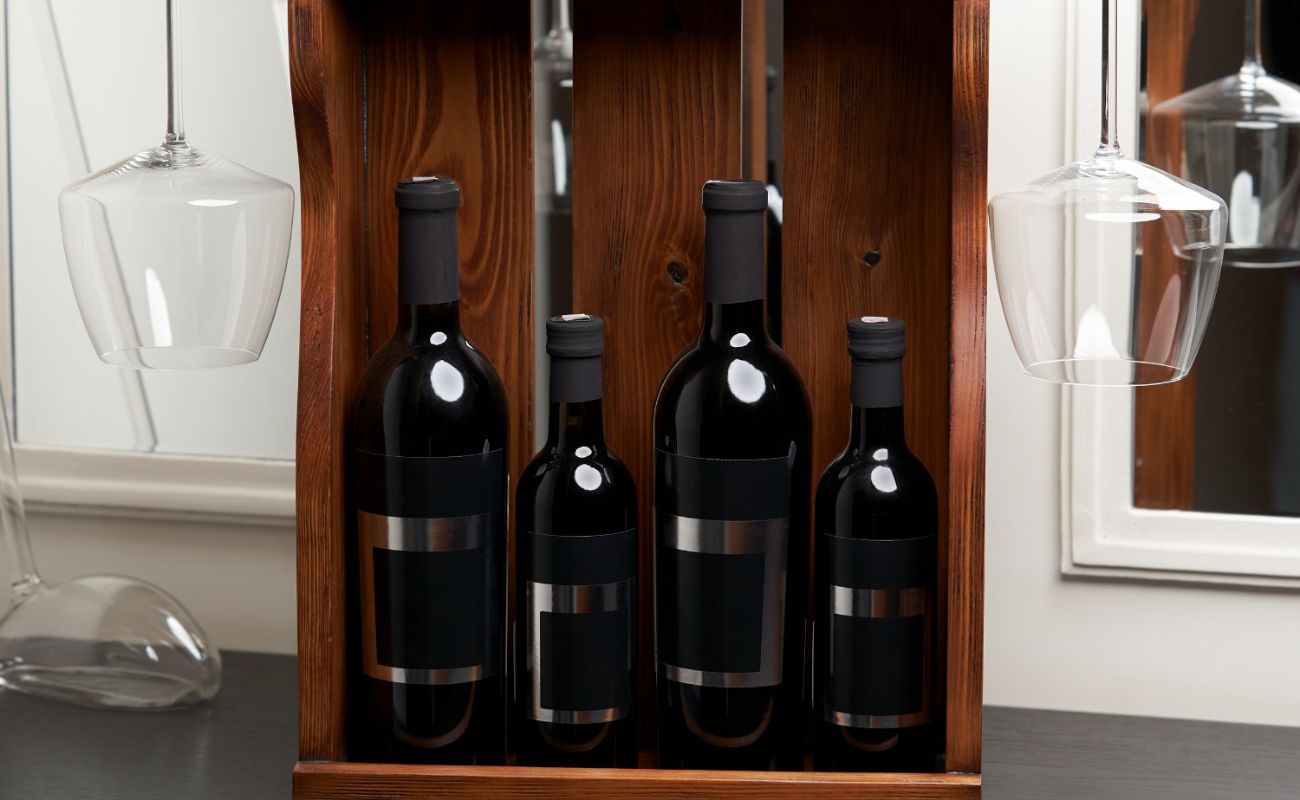
- Install bottle holders: Using either pre-made bottle holders or custom-made wooden dowels, install them along each wine rack section. These holders will act as dividers and keep the wine bottles in place.
- Measure and mark: Measure the spacing for each bottle holder and use a pencil to mark the positions on the wood boards. Ensure that the spacing is consistent throughout the rack.
- Drill holes: Using a drill and an appropriately sized drill bit, carefully drill holes at each marked position. The holes should be slightly smaller than the diameter of the bottle holders or wooden dowels.
- Insert the bottle holders: Insert the bottle holders or wooden dowels into the drilled holes. Ensure a secure fit, with the holders extending above the top of the wine rack sections to prevent the bottles from accidentally tipping over.
- Test the stability: Gently insert a few wine bottles into the holders to test the stability and secure fit. Make any necessary adjustments to the bottle holders or spacing as needed.
By securing your wine bottles in the rack, you can have peace of mind knowing that they are safely stored and easily accessible. Take your time during this step to ensure a proper fit and stability for each bottle.
With the wine bottles securely in place, you are one step closer to completing your wine rack project. Stay tuned for the next step, where we’ll guide you through the finishing touches that will add the final touches of beauty and functionality to your wine rack in a cabinet.
Step 7: Finishing Touches
Congratulations! You have successfully built and secured your wine rack in a cabinet. Now it’s time to add those finishing touches that will elevate the aesthetic appeal and functionality of your wine storage. Follow these steps to put the final touches on your wine rack:
- Sand and smooth: Use fine-grit sandpaper to sand any rough edges or surfaces of the wood. This step will ensure a smooth and polished finish for your wine rack.
- Apply a protective finish: Consider applying a protective finish, such as polyurethane or lacquer, to the wood surfaces of your wine rack. This will not only enhance the appearance but also provide added durability and protection against moisture.
- Stain or paint: If desired, stain or paint your wine rack to match your interior décor. Choose a color that complements the overall aesthetic of the room and apply it evenly using a brush or foam roller. Allow the stain or paint to dry completely before proceeding.
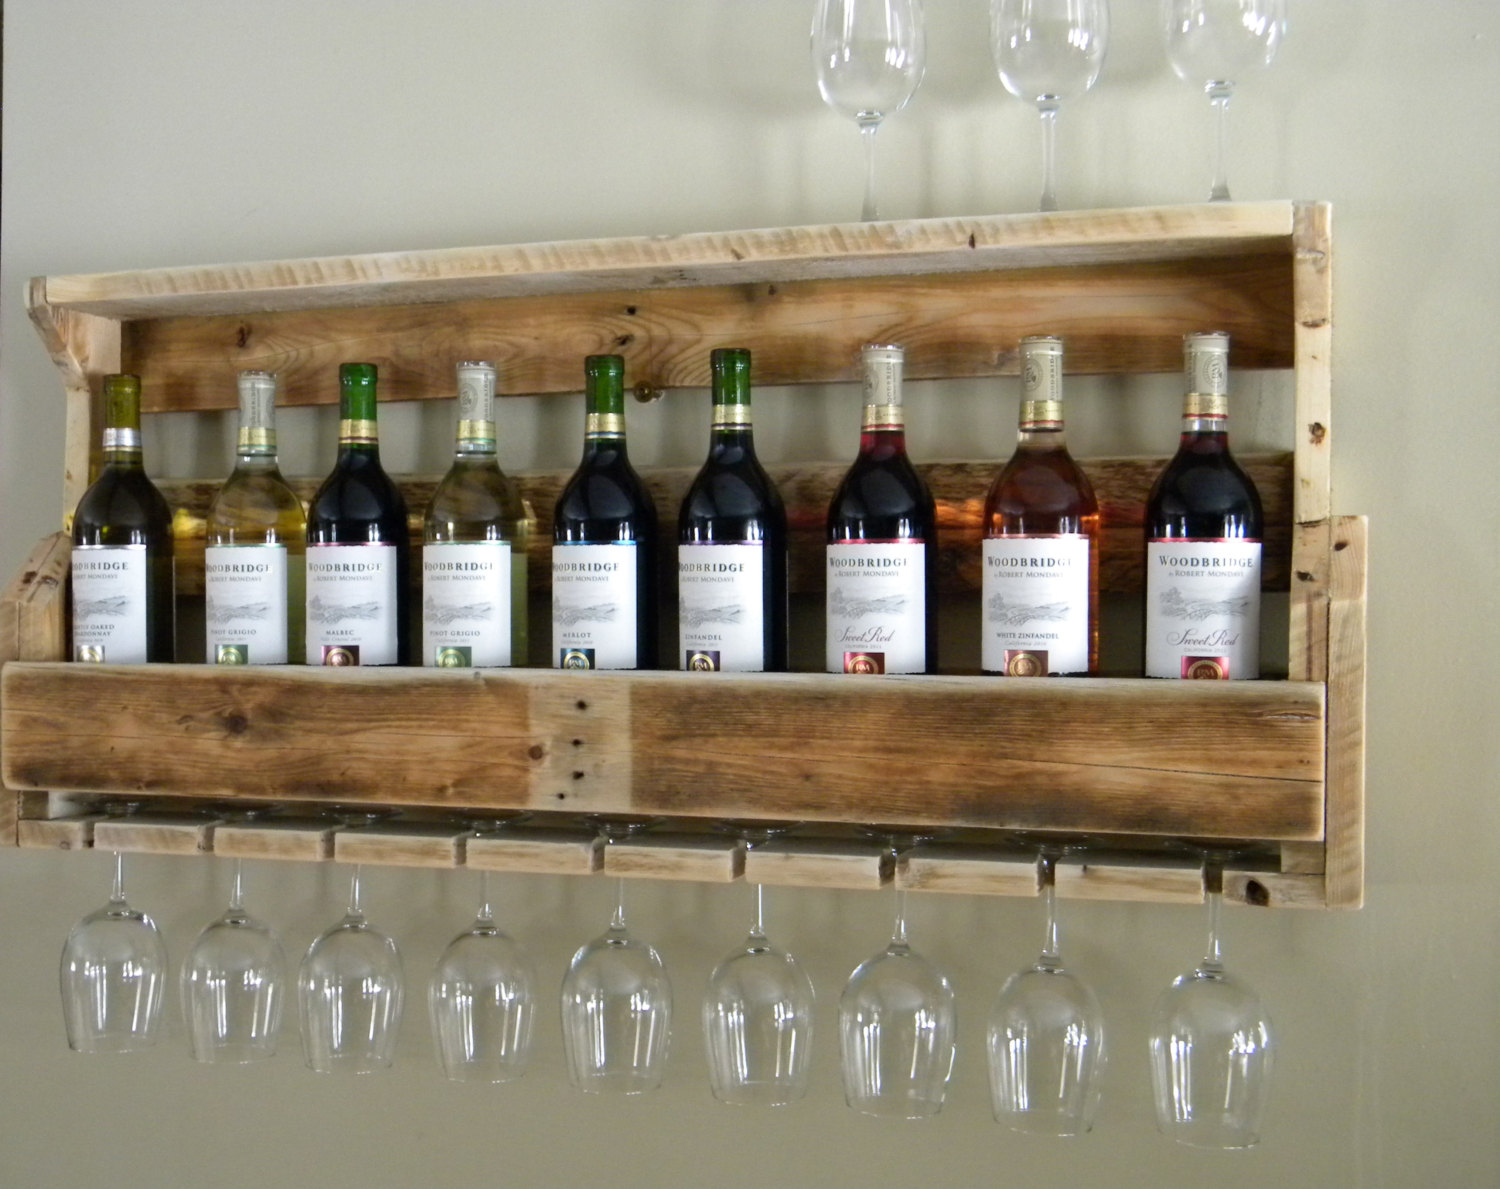
- Install wine glass holders: Consider incorporating wine glass holders on the underside of your wine rack to conveniently store and display your wine glasses. Attach them securely using screws or specialized glass holders.
- Organize and showcase: Arrange your wine bottles in an organized and visually pleasing manner within the wine rack. Consider grouping them by variety or region to make it easier to locate your favorite bottle when the occasion calls for it.
- Add labels or tags: To easily identify your wine bottles, you can consider adding labels or tags that display important information such as the type of wine, vintage, or tasting notes.
- Accessorize: Add personal touches and accessories to your wine rack, such as decorative accents, wine-related artwork, or LED lighting to create a captivating display.
Remember, the finishing touches are an opportunity to let your personality shine through and create a wine rack that is not only functional but also a beautiful focal point in your living room or dining area.
With the final touches complete, step back and admire your creation. You have built a custom wine rack in a cabinet that is not only practical but also showcases your wine collection in style. Now, it’s time to sit back, relax, and enjoy a glass of your favorite vintage!
Conclusion
Congratulations on successfully completing your journey to build a wine rack in a cabinet! By following the steps outlined in this guide, you have created a stylish and functional storage solution for your wine collection. Not only does your wine rack provide a secure and organized space for your bottles, but it also adds a touch of elegance to your living room or dining area.
Throughout the process, you carefully planned, measured, and assembled each component, ensuring that everything was executed with precision and attention to detail. By considering the size and spacing of your wine rack sections and properly securing the wine bottles, you have created a storage solution that optimizes space and maintains the integrity of your prized vintages.
Remember, the base you built provides stability, the wine rack sections securely hold your bottles, and the finishing touches add that personal touch of style. The result is a custom wine rack that showcases your collection in an organized and visually appealing manner.
Now, it’s time to sit back, relax, and enjoy the fruits of your labor. Invite friends and loved ones to admire your wine rack and share in the pleasure of sampling your favorite wines. Cheers to your craftsmanship and the joys of indulging in fine wine!
Thank you for embarking on this wine rack building adventure with us. We hope you found this guide insightful, informative, and enjoyable. Cheers to the perfect bottle and the perfect storage!
Frequently Asked Questions about How To Build A Wine Rack In A Cabinet
Was this page helpful?
At Storables.com, we guarantee accurate and reliable information. Our content, validated by Expert Board Contributors, is crafted following stringent Editorial Policies. We're committed to providing you with well-researched, expert-backed insights for all your informational needs.

0 thoughts on “How To Build A Wine Rack In A Cabinet”