Home>Furniture & Design>Living Room Furniture>How To Mount A Wine Rack To The Wall
Living Room Furniture
How To Mount A Wine Rack To The Wall
Modified: January 5, 2024
Learn how to easily mount a wine rack to the wall in your living room using quality living room furniture and design. Enhance your space with functional and stylish storage for your favorite wines.
(Many of the links in this article redirect to a specific reviewed product. Your purchase of these products through affiliate links helps to generate commission for Storables.com, at no extra cost. Learn more)
Introduction
Welcome to the world of wine enthusiasts! Having a designated space for storing and displaying your wine collection is not only practical but also adds a touch of elegance to your living room. When it comes to showcasing your wine bottles, a wall-mounted wine rack is a stylish and space-saving solution. In this article, we will guide you through the process of mounting a wine rack to your living room wall.
Before proceeding with the installation, it is important to consider a few factors to ensure a successful outcome. These factors include choosing the right location, gathering the necessary materials and tools, and ensuring the stability and functionality of the wine rack once mounted. By following the steps outlined in this article, you’ll be well on your way to creating a stunning display for your wine collection.
So, let’s uncork the details and dive into the step-by-step process of mounting a wine rack to the wall of your living room!
Key Takeaways:
- Elevate your living room with a stylish and functional wall-mounted wine rack. Follow the step-by-step guide to ensure a secure and visually pleasing display for your wine collection.
- Create a visually appealing and conversation-worthy focal point in your living room with a securely mounted wine rack. Enjoy easy access to your wine collection while adding a touch of elegance to your space.
Step 1: Gather Materials and Tools
Before you begin the installation process, it is crucial to gather all the necessary materials and tools. This ensures that you have everything at hand and saves you from any unnecessary delays during the installation. Here are the materials and tools you will need:
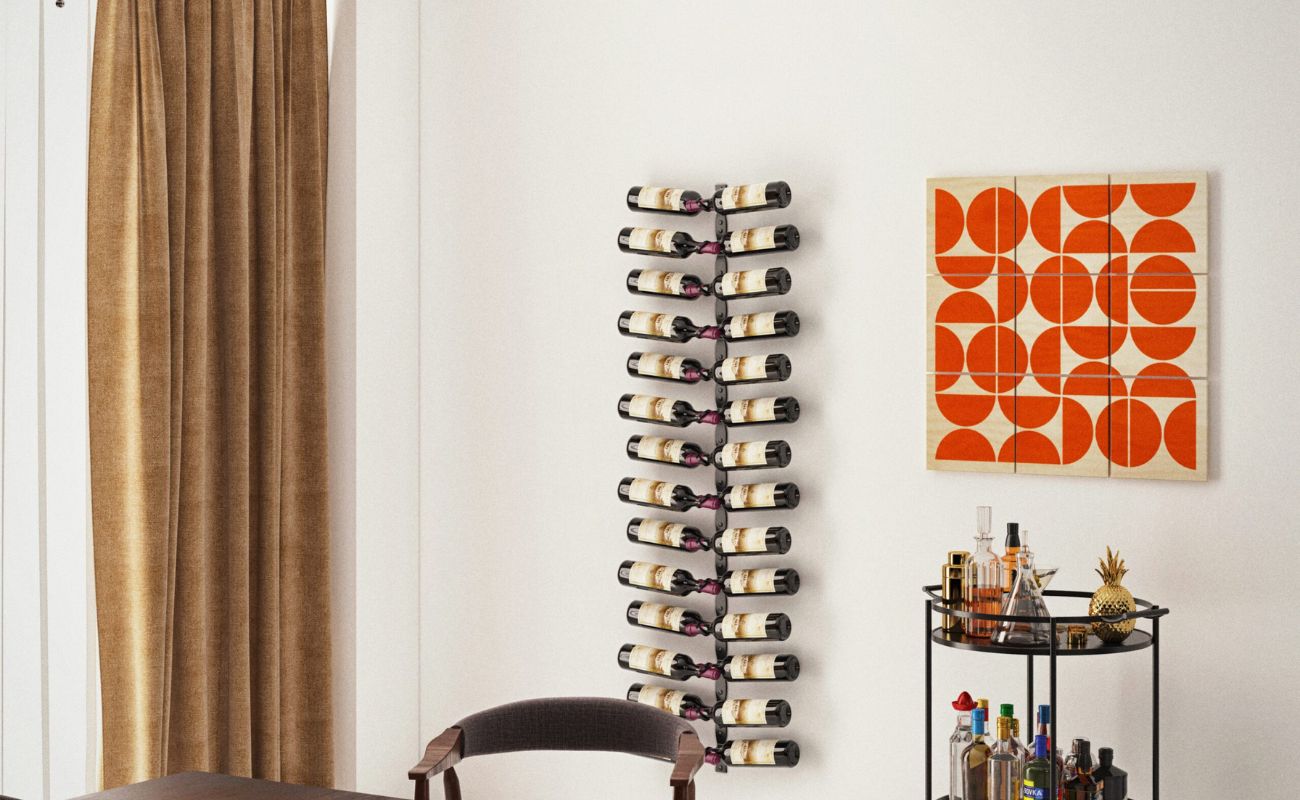
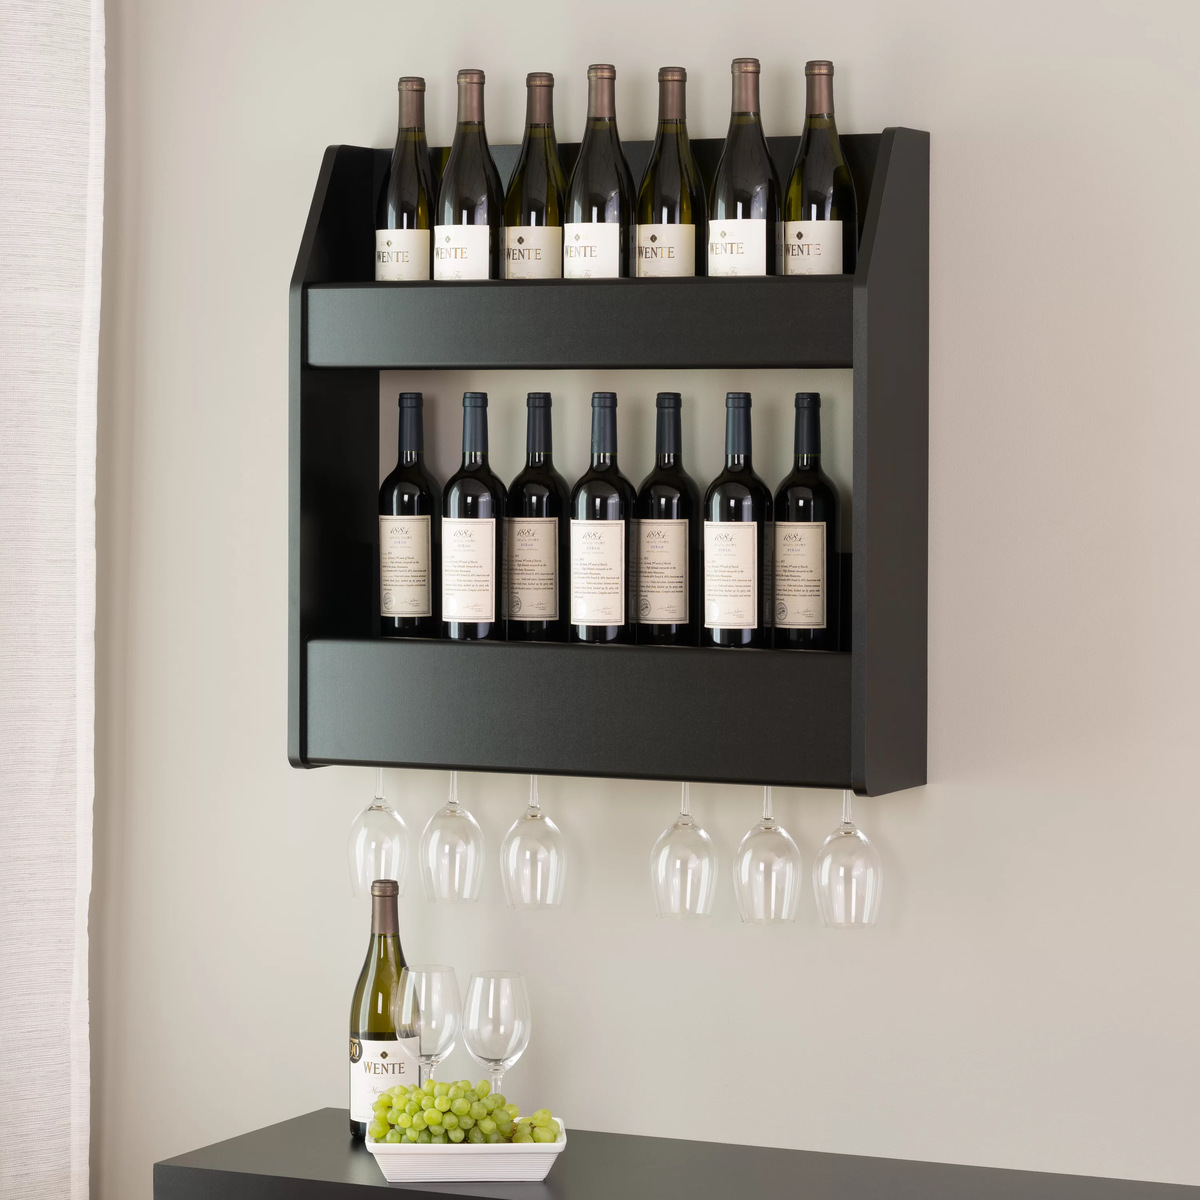
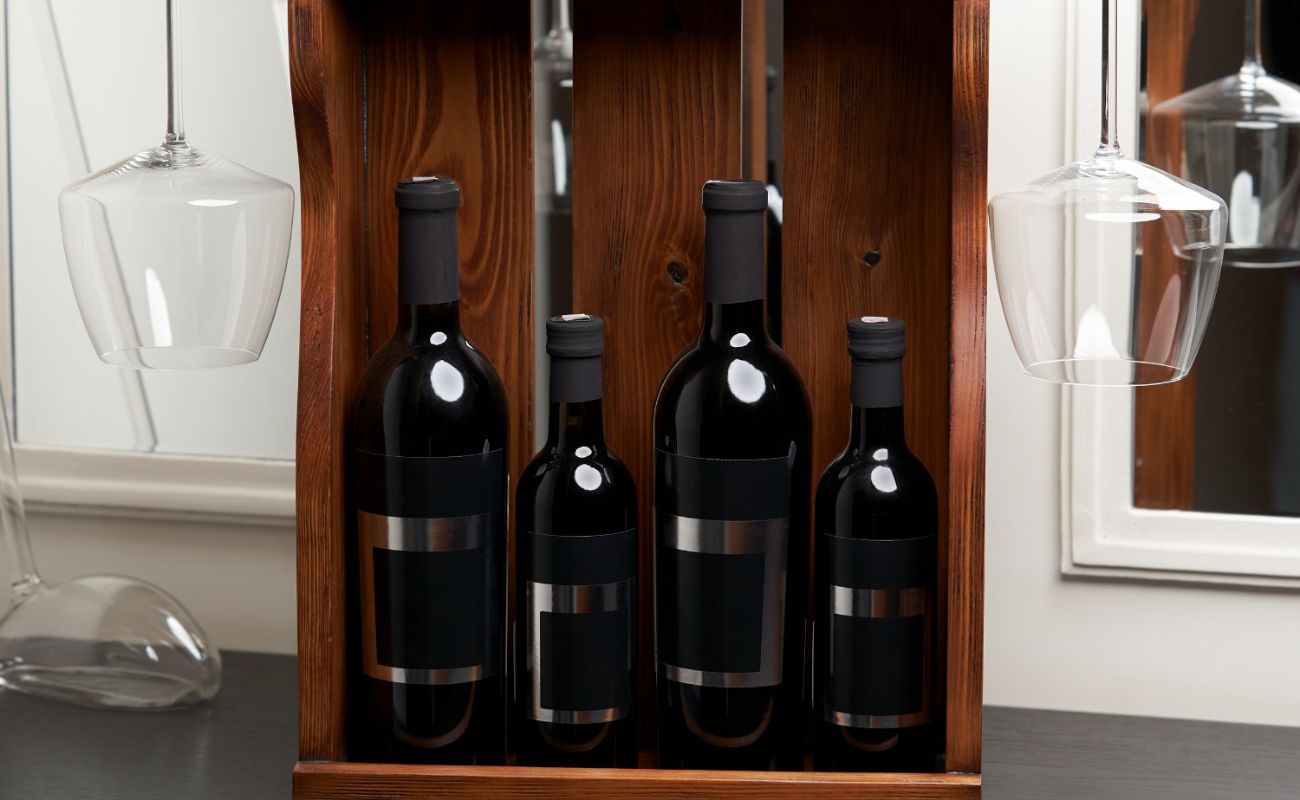
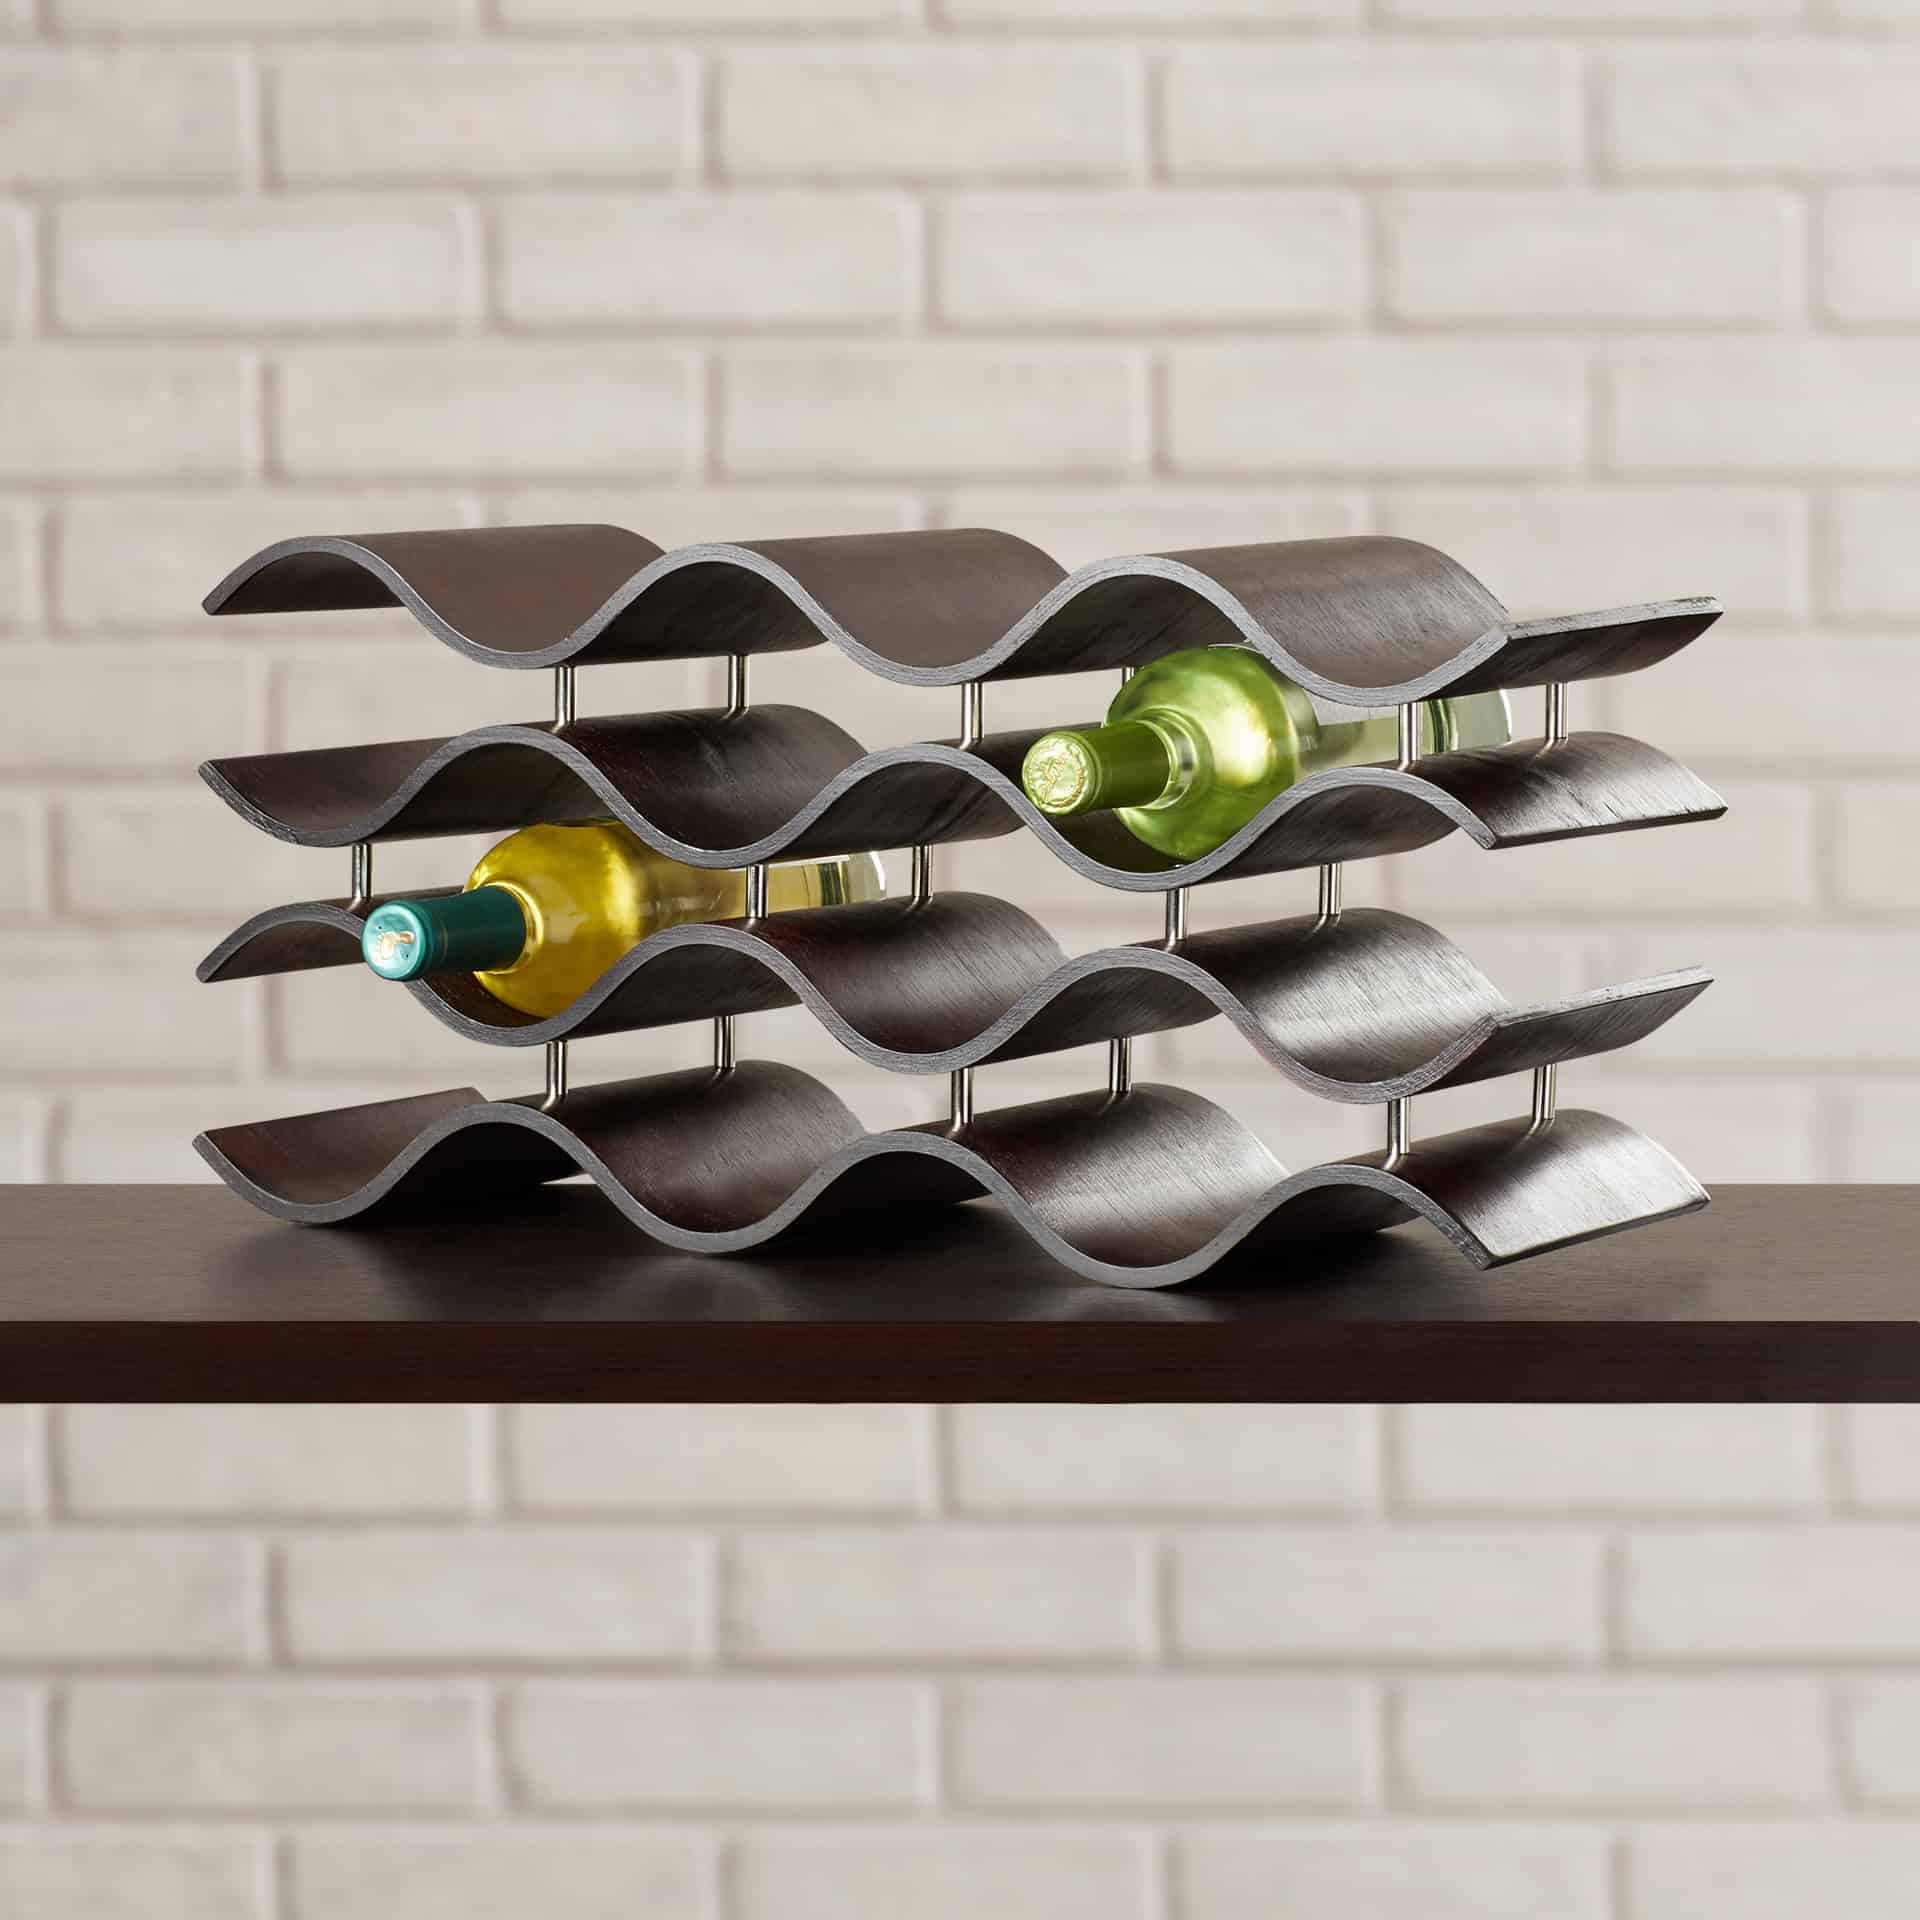
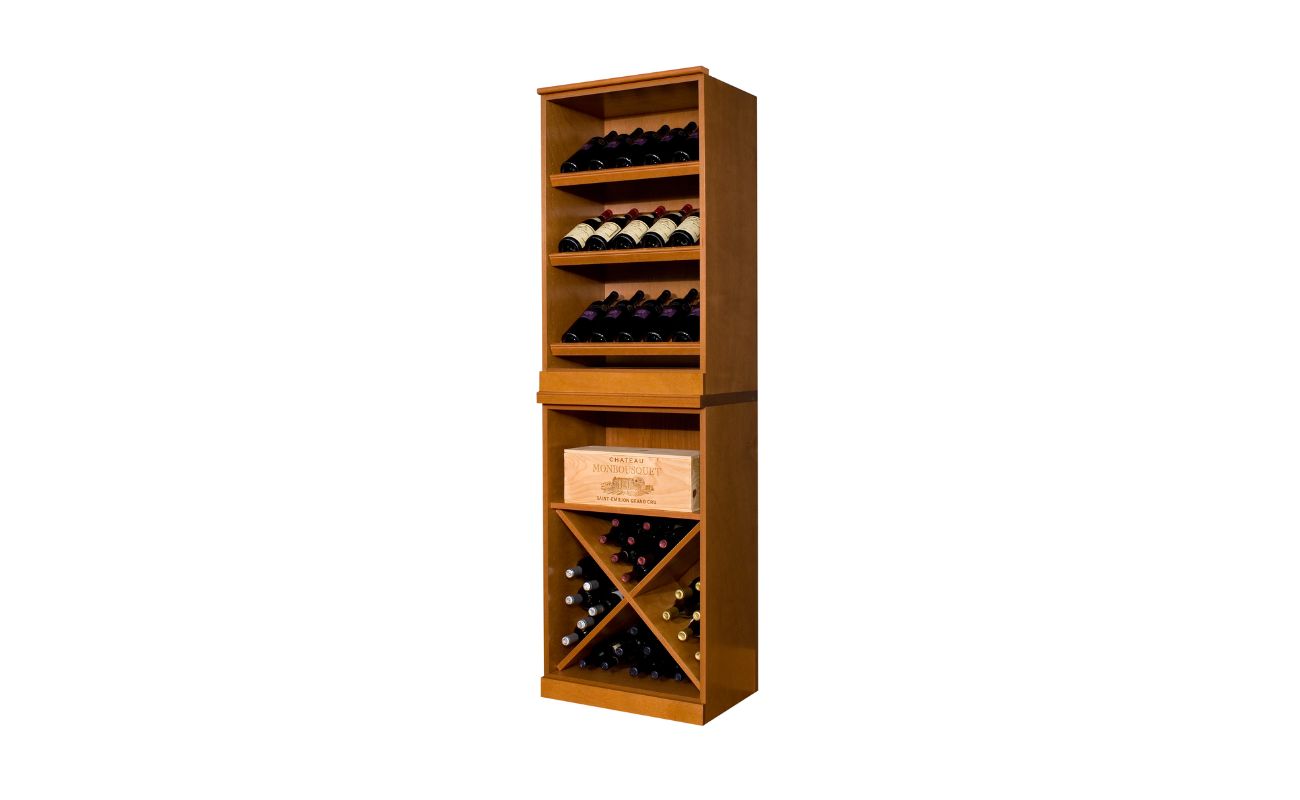
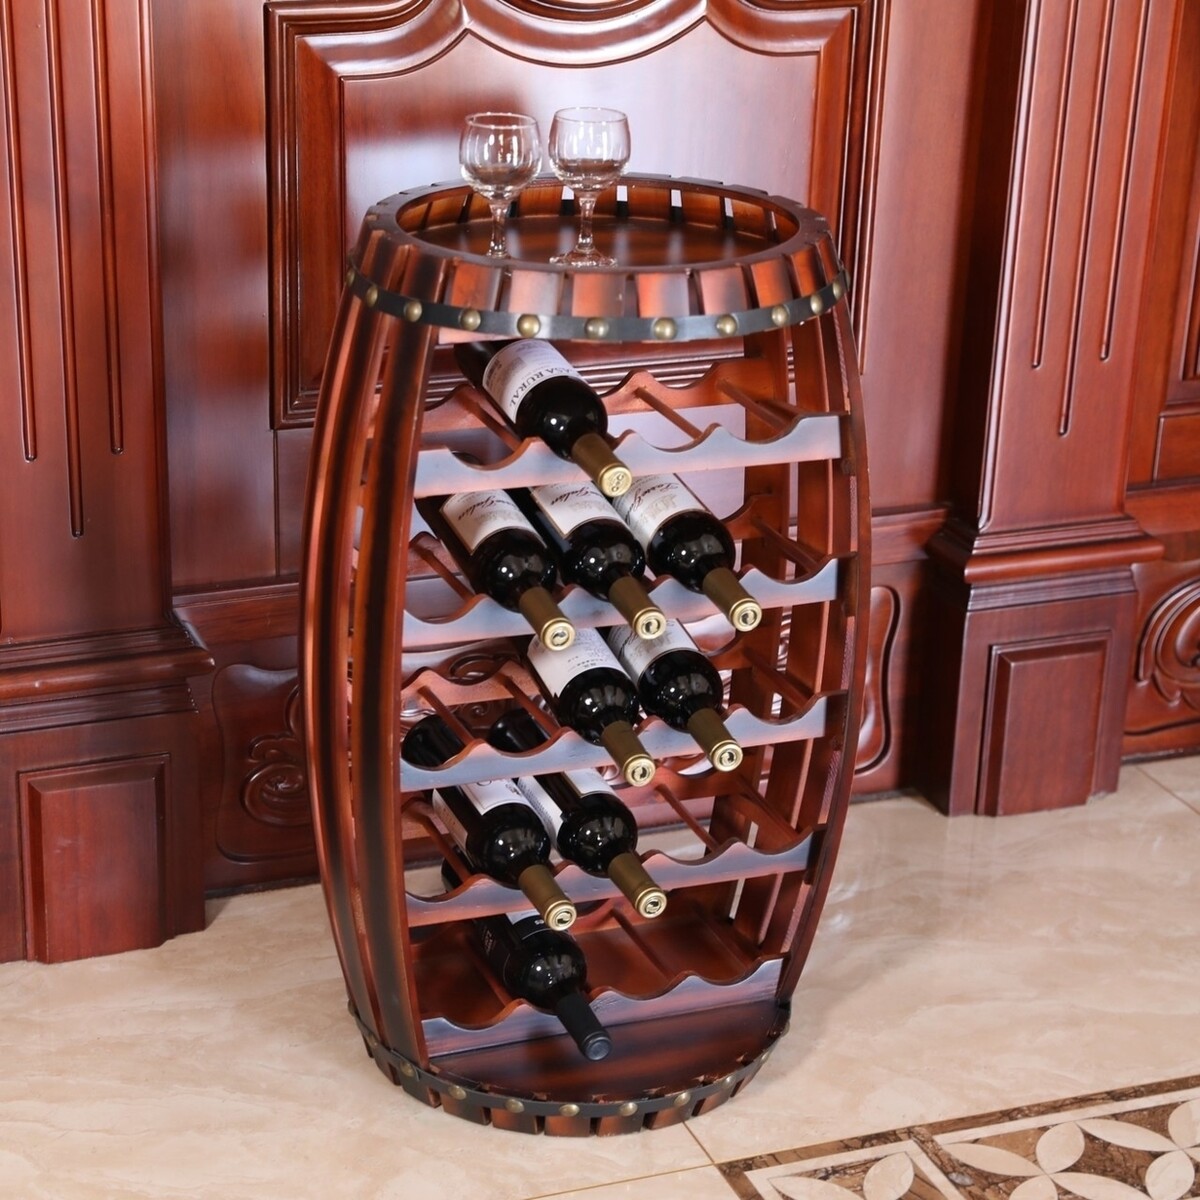
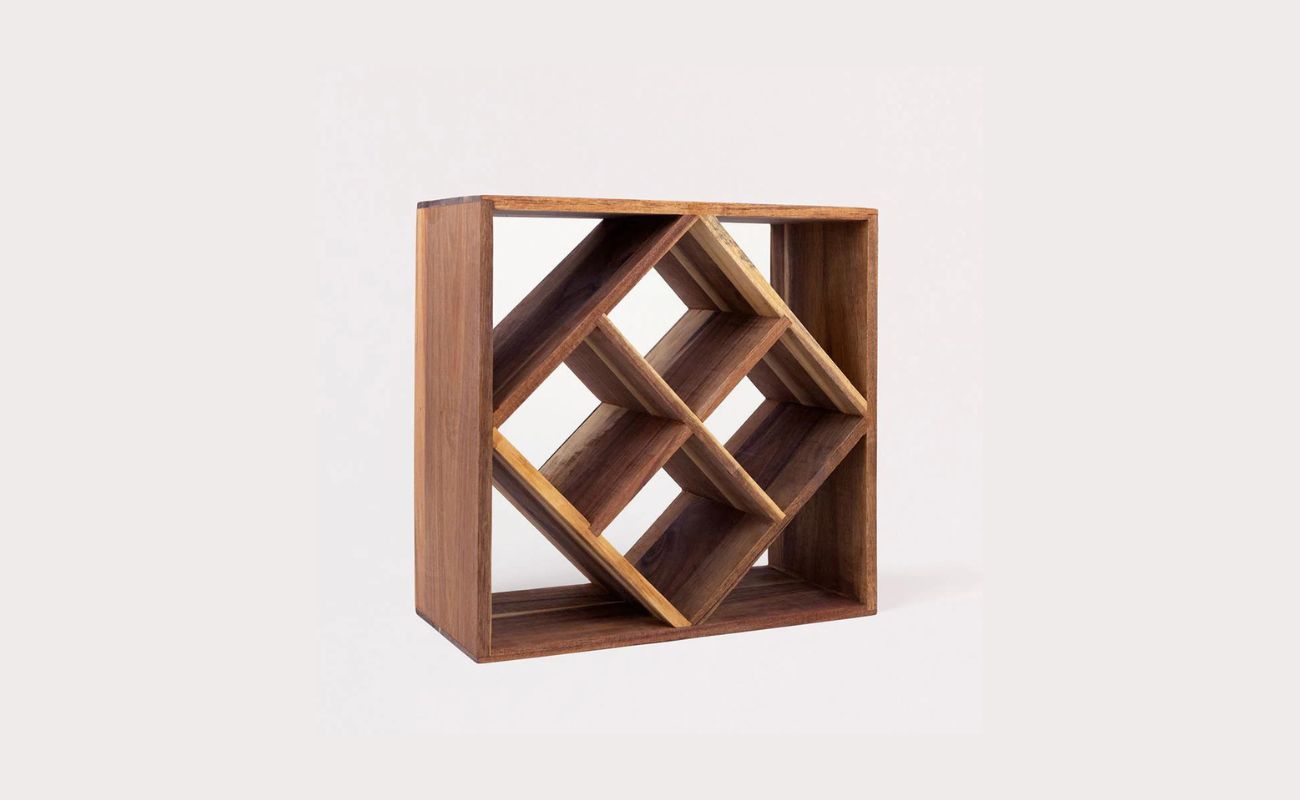
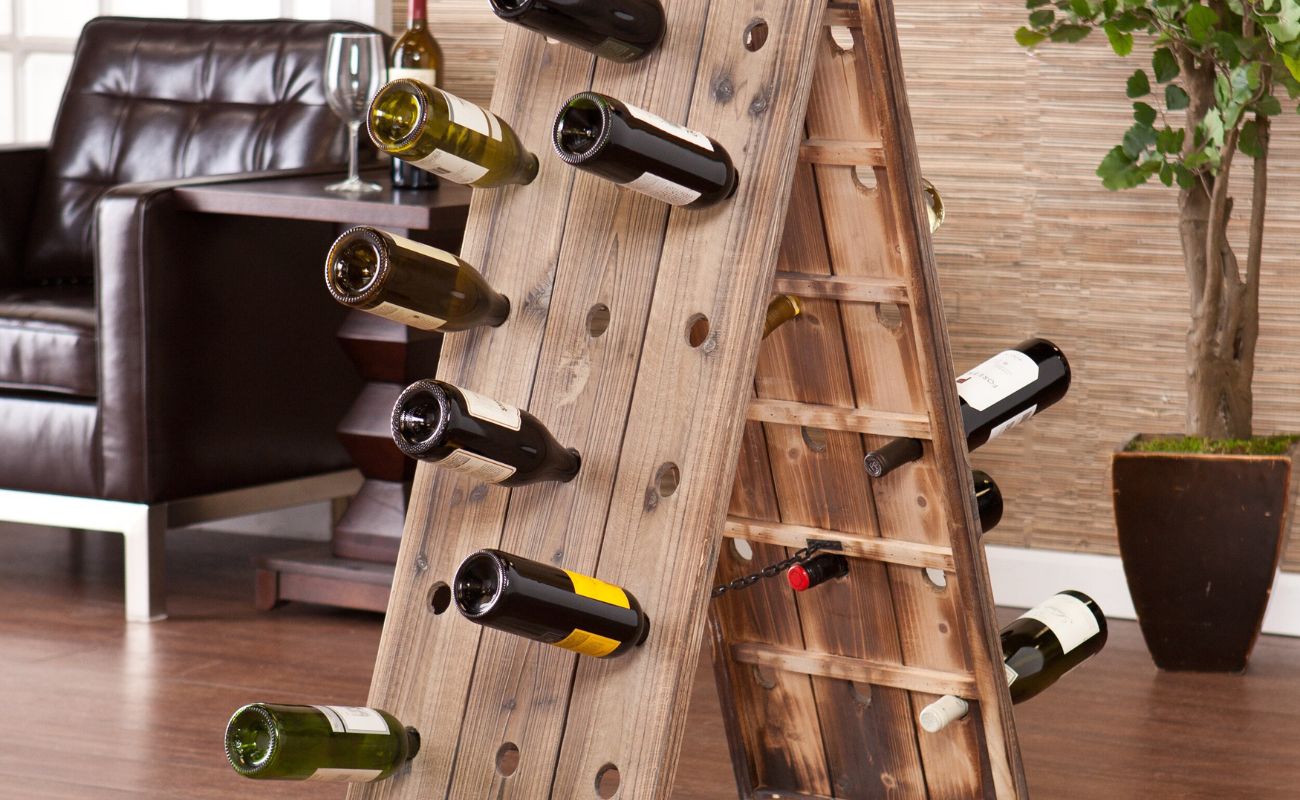
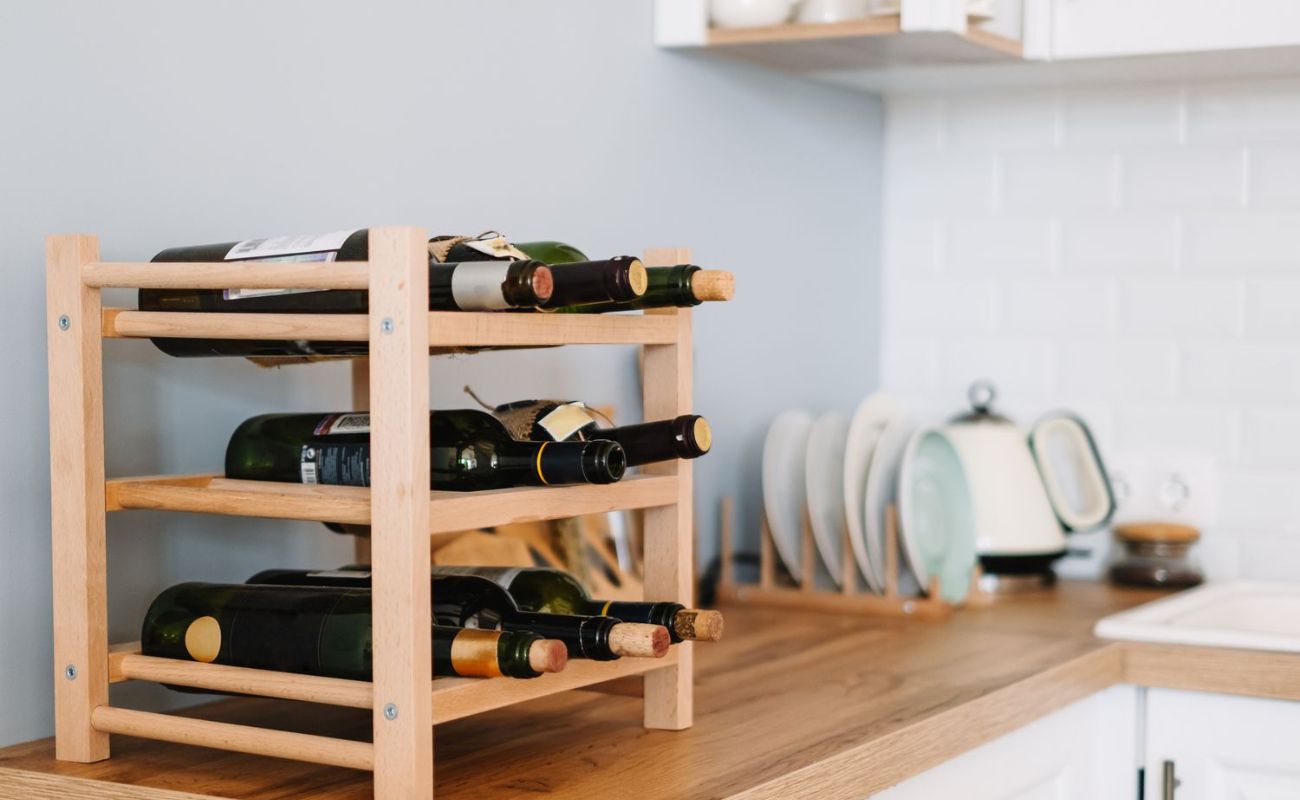
1. Wine Rack: Choose a wine rack that suits your style and the size of your wine collection. Consider factors such as the material, capacity, and design of the wine rack. Whether you prefer a wooden wine rack or a metal one, make sure it complements your living room decor.
2. Mounting Hardware: Check if the wine rack comes with its own mounting hardware. If not, you will need to purchase appropriate screws, wall anchors, and brackets. The specific hardware you need may vary depending on the construction of your wall.
3. Measuring Tape: Accurate measurements are essential for a successful installation. A measuring tape will help you determine the placement and spacing of the wine rack on the wall.
4. Level: A level tool will ensure that your wine rack is perfectly straight once installed. You don’t want your wine bottles tilting to one side!
5. Screwdriver or Drill: Depending on the type of wall and mounting hardware, you may need a screwdriver or drill to secure the wine rack to the wall. If you have a power drill, it can make the installation process faster and easier.
6. Pencil: Use a pencil to mark the wall for accurate measurements and drilling points. The pencil marks can be easily wiped off once the installation is complete.
7. Safety Gear: It’s always a good idea to wear safety goggles and gloves while installing the wine rack. This protects your eyes from any flying debris and ensures your hands are safe from sharp edges.
Once you have gathered all the necessary materials and tools, you are ready to move on to the next step: choosing the right location for your wall-mounted wine rack.
Step 2: Choose the Right Location
Choosing the right location for your wall-mounted wine rack is crucial for both aesthetic appeal and functionality. Here are some factors to consider when selecting the ideal spot:
- Visibility: Choose a location that allows your wine collection to be prominently displayed and easily visible. Consider areas in your living room that catch the eye, such as a blank wall or an empty space above a sideboard or buffet table.
- Accessibility: Ensure that the wine rack is easily accessible for you to retrieve and showcase your favorite bottles. Avoid installing it too high or too low, as it may become inconvenient to reach.
- Lighting: Natural or artificial lighting can have a significant impact on your wine collection. Avoid placing the wine rack in direct sunlight, as it can potentially damage the wine. Consider installing it in an area with proper ambient lighting or incorporating subtle accent lighting to enhance the visual appeal.
- Temperature and Humidity: Wine is sensitive to temperature and humidity fluctuations. Avoid areas near heat sources, such as radiators or fireplaces, as well as damp or excessively humid locations, like basements or bathrooms. Opt for a space in your living room with stable temperature and humidity levels.
- Weight Capacity: Ensure that the chosen wall can support the weight of the wine rack and the bottles it will hold. Consider the weight of the wine rack itself, as well as the weight of the bottles when fully loaded. If you have any concerns about the wall’s stability, consult a professional to assess its load-bearing capacity.
Once you have considered these factors, take measurements of the chosen location and proceed to the next step: measuring and marking the wall for installation.
Step 3: Measure and Mark the Wall
Accurate measurements and proper marking are essential for a successful installation of your wall-mounted wine rack. Here’s how to measure and mark the wall:
- Start by measuring the width and height of your wine rack. This will help you determine the exact placement and spacing on the wall.
- Using a measuring tape, measure and mark the desired height on the wall where you want to install the wine rack. Use a pencil to make the marks.
- Next, measure and mark the width by finding the center point of the desired location. Divide the width of the wine rack in half and make a mark on each side of the center point. These marks will indicate the edges of the wine rack.
- Double-check your measurements to ensure accuracy. Use a level to make sure the marks are straight and aligned.
- If you plan to install multiple wine racks, repeat the measuring and marking process for each rack, considering the spacing between them.
Take a step back and assess the marks on the wall to ensure they align with your intended placement and the overall aesthetics of your living room. Once you are satisfied with the measurements and marks, move on to the next step: installing wall anchors (if needed).
Step 4: Install Wall Anchors (if needed)
Before proceeding with the installation of your wall-mounted wine rack, it’s important to determine if you need to use wall anchors. Wall anchors are essential when mounting heavy objects or when the wall material is not strong enough to support the weight. Here’s how to install wall anchors:
- Check the instructions provided with your wine rack to see if it requires wall anchors. Some wine racks may come with their own mounting system that doesn’t require additional anchors.
- If wall anchors are needed, choose the appropriate type based on your wall material. Common types of wall anchors include plastic anchors, toggle bolts, or hollow wall anchors. Ensure that the anchors are suitable for the weight and load of your wine rack.
- Using a drill bit slightly smaller than the size of the wall anchor, drill a hole at each marked location on the wall. The depth of the hole should be slightly longer than the length of the wall anchor.
- Gently tap the wall anchor into the drilled hole using a hammer. Make sure the anchor is flush with the wall surface.
- If using toggle bolts or hollow wall anchors, follow the specific instructions provided with the anchor to secure it properly into the wall.
- Repeat the process for each marked location on the wall.
Installing wall anchors provides a sturdy and secure foundation for your wall-mounted wine rack, ensuring that it doesn’t wobble or fall off the wall. Once the anchors are in place, you’re ready to move on to the next step: positioning the wine rack.
Use a stud finder to locate the wall studs for secure mounting. Use appropriate screws and anchors for the wall type. Double check the level before securing the wine rack.
Read more: How To Build A Wall-Mounted Coat Rack
Step 5: Position the Wine Rack
Now that you have completed the preparations, it’s time to position your wine rack on the wall. Follow these steps to ensure proper alignment and placement:
- Hold the wine rack against the wall, aligning it with the marked measurements and wall anchors (if used). Double-check that the rack is level by using a level tool.
- Adjust the position of the wine rack as needed to achieve the desired aesthetic and functional placement. Take your time to find the perfect position that showcases your wine collection in the best way.
- Once you are satisfied with the position, make small pencil marks through the mounting holes of the wine rack onto the wall. This will serve as a guide for the drilling process.
- Set the wine rack aside and review the pencil marks on the wall to ensure proper alignment.
- If necessary, adjust the pencil marks to make any final adjustments before drilling.
Remember, precision is key at this stage to ensure a level and aesthetically pleasing installation. Taking the time to position the wine rack accurately will result in a stunning display of your wine collection. With the position determined, you’re ready to move on to the next step: securing the wine rack to the wall.
Step 6: Secure the Wine Rack to the Wall
Now that you have positioned the wine rack on the wall, it’s time to secure it in place. Follow these steps to ensure a sturdy and reliable installation:
- Using the marks on the wall as a guide, drill pilot holes through the marked positions. Make sure to use a drill bit that is slightly smaller than the size of the screws provided with your wine rack.
- Attach the mounting brackets or brackets included with your wine rack to the wall using screws. Start by screwing in the top screw of each bracket, then the bottom screw. Tighten the screws securely, but be cautious not to over-tighten and damage the brackets or the wall.
- If your wine rack has multiple mounting brackets, repeat the same process for each bracket.
- Refer to the instructions provided with your wine rack to securely attach the wine rack itself to the mounting brackets. This may involve aligning slots or hooks and sliding the rack onto the brackets or using screws to connect the rack to the brackets.
- Once the wine rack is securely attached to the wall brackets, gently test its stability by nudging it and making sure it doesn’t move or wobble excessively. If it feels unstable, double-check the screws and brackets to ensure they are properly tightened.
By securely fastening the wine rack to the wall, you can have peace of mind knowing that your wine collection will be safely displayed. With the wine rack in place and stable, it’s time for the final step: testing the stability.
Step 7: Test Stability
After securing the wine rack to the wall, it is important to test its stability to ensure that your wine collection is safe and secure. Here’s how to properly test the stability:
- Gently shake the wine rack to check for any wobbling or movement. It is normal for some slight movement, but it should not feel loose or unstable.
- Inspect the screws, brackets, and mounting hardware to ensure they are securely fastened. If you notice any loose screws or brackets, tighten them as needed.
- Place a few empty wine bottles or similarly weighted items on the wine rack to simulate the weight of a full collection. This will help determine if the rack can handle the load without sagging or becoming unstable.
- Observe the wine rack for a few minutes to ensure that it remains stable and level. If you notice any issues with stability or sagging, consider reinforcing the mounting brackets, adding extra screws, or consulting with a professional.
- Check the wall for any signs of stress or damage. If you notice any cracks or other issues, it may be necessary to consult a professional to assess the wall’s structure and make any necessary repairs.
By testing the stability of your wall-mounted wine rack, you can ensure that it is secure and capable of safely holding your wine bottles. If the rack passes the stability test without any issues, congratulations! You have successfully mounted your wine rack to the wall.
Remember to periodically inspect the wine rack and its mounting to ensure ongoing stability and address any maintenance or adjustment needs. With your wine rack now securely mounted, you can proudly display your wine collection in your living room, creating a visually appealing and functional focal point for wine enthusiasts to admire.
Cheers to your newly mounted wine rack and the enjoyment it will bring to your living room!
Conclusion
Congratulations! You have successfully completed the process of mounting a wine rack to the wall of your living room. By following the steps outlined in this article, you have created a stylish and functional space to showcase your wine collection.
Throughout the installation process, you learned how to gather the necessary materials and tools, choose the right location, measure and mark the wall, install wall anchors if needed, position the wine rack, secure it to the wall, and test its stability. By paying attention to these steps, you have ensured a secure and visually pleasing display for your wine bottles.
Remember to periodically check the stability of your wine rack and make any necessary adjustments or maintenance to keep it in optimal condition. Regularly dust and clean your wine rack to maintain its aesthetic appeal and preserve the quality of your cherished bottles.
Now, sit back, relax, and admire the beautiful display of your wine collection. Your newly mounted wine rack adds a touch of elegance and sophistication to your living room. It not only serves as a functional storage solution but also becomes a conversation starter and a visual centerpiece.
Whether you are hosting a gathering or enjoying a quiet evening at home, having your wine collection easily accessible and tastefully displayed brings joy and convenience to every wine enthusiast.
Don’t forget to share your newfound knowledge with friends and family who may also be interested in mounting a wine rack to their own living room walls. Cheers to adding that perfect touch of style and design to your living space!
Frequently Asked Questions about How To Mount A Wine Rack To The Wall
Was this page helpful?
At Storables.com, we guarantee accurate and reliable information. Our content, validated by Expert Board Contributors, is crafted following stringent Editorial Policies. We're committed to providing you with well-researched, expert-backed insights for all your informational needs.


0 thoughts on “How To Mount A Wine Rack To The Wall”