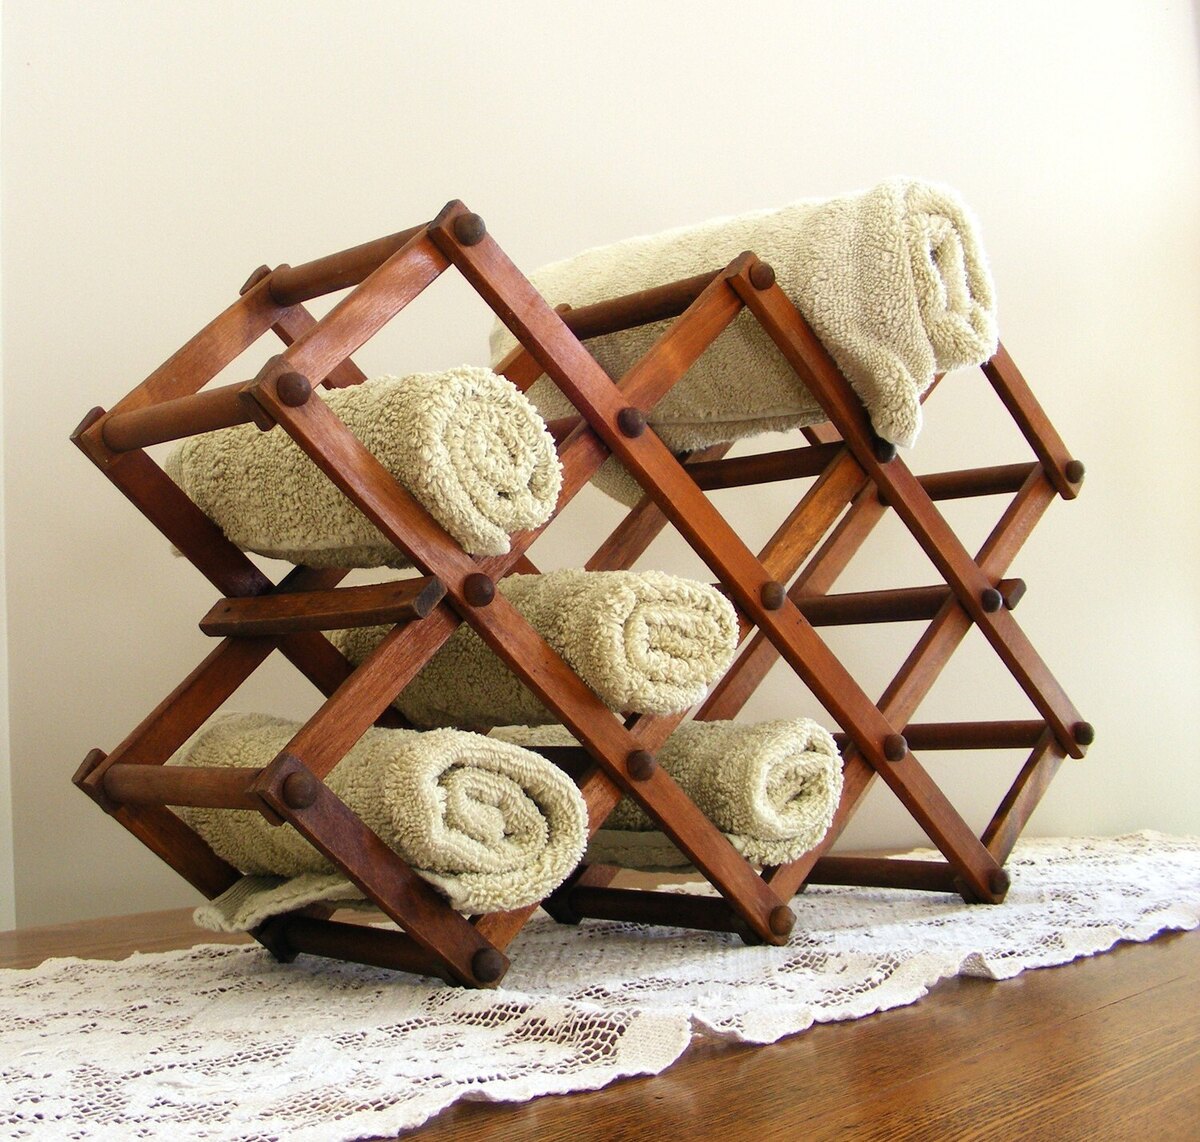
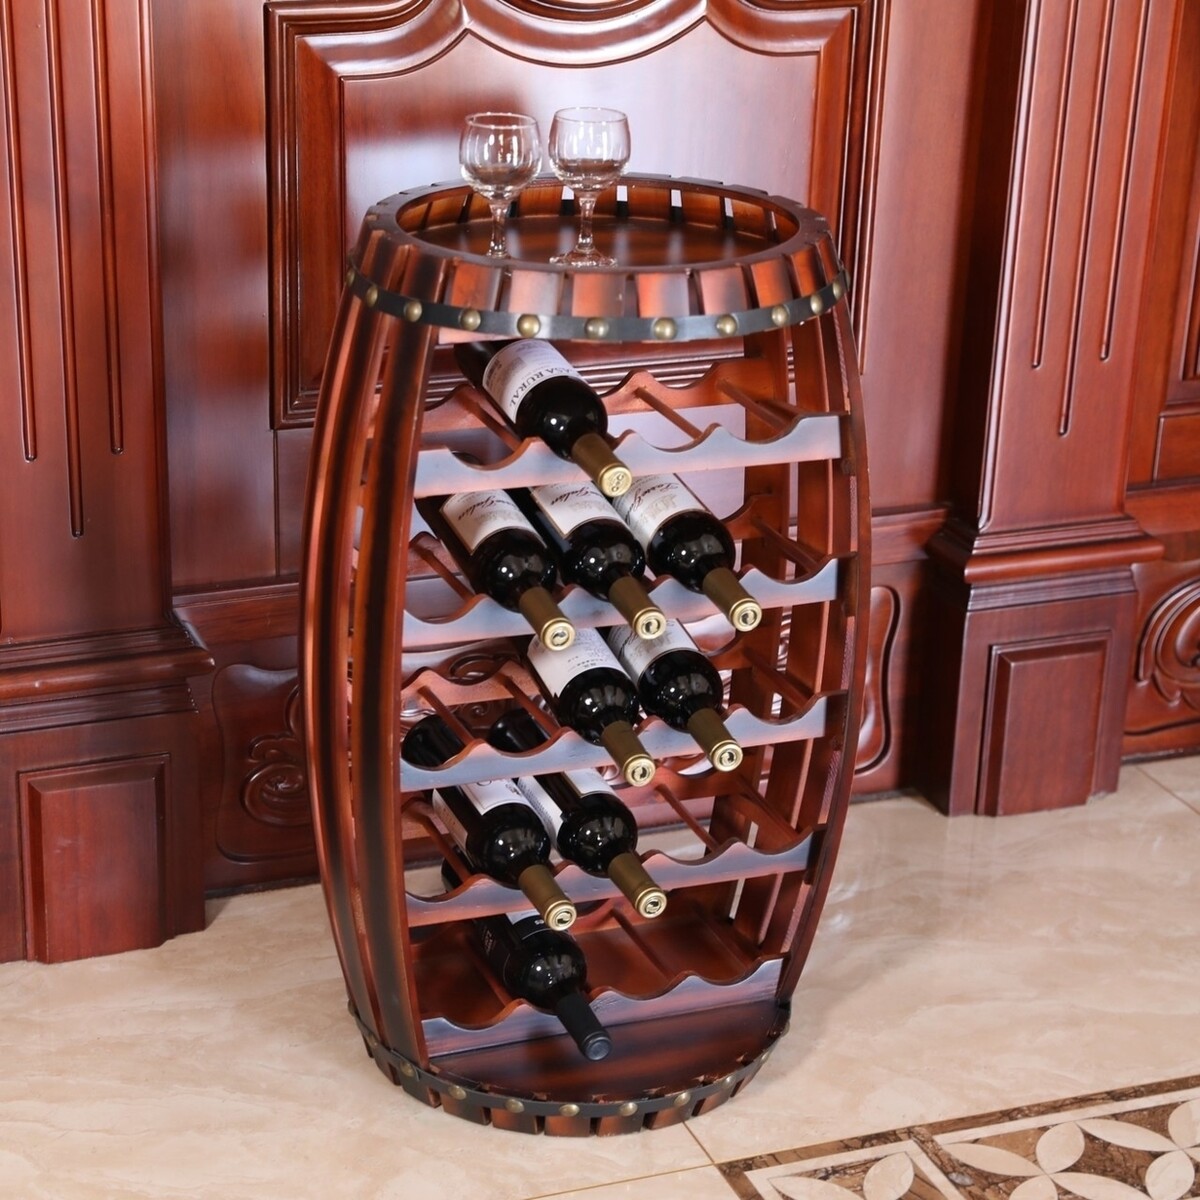
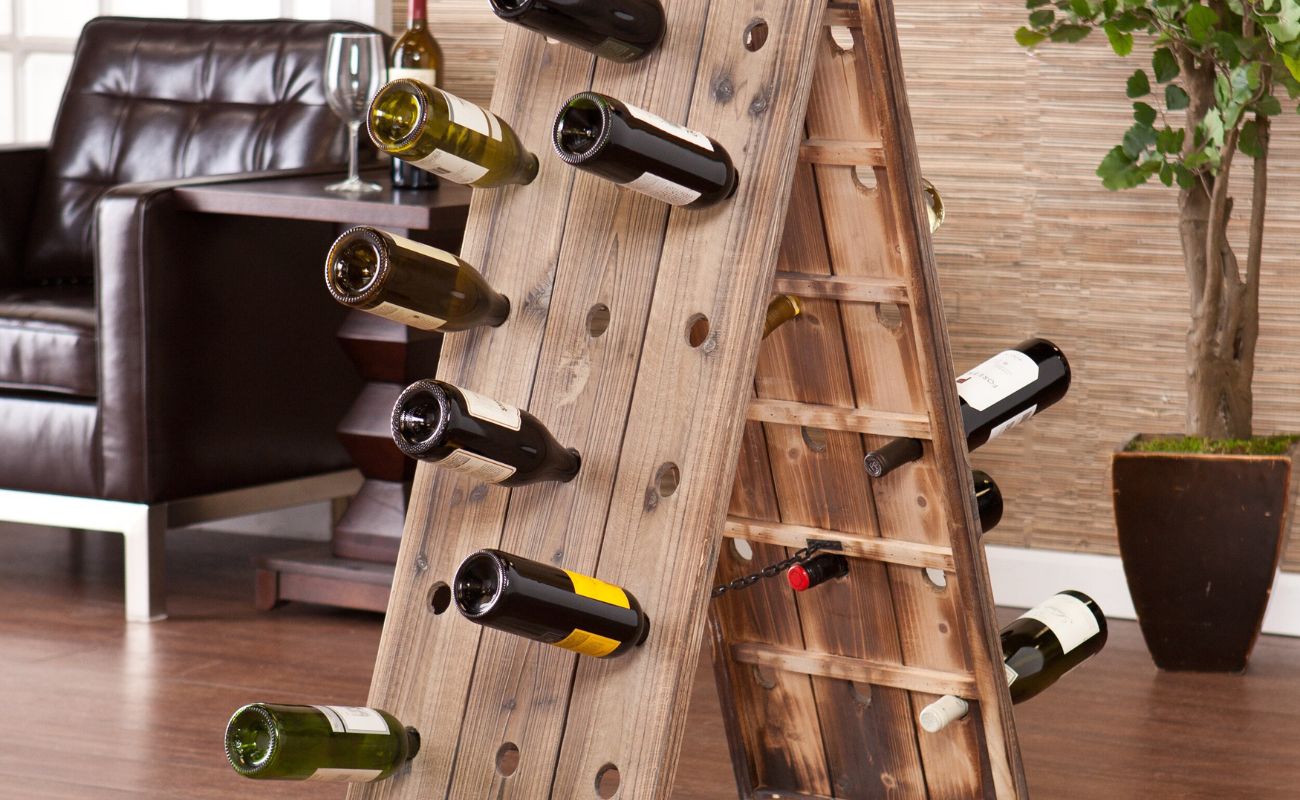
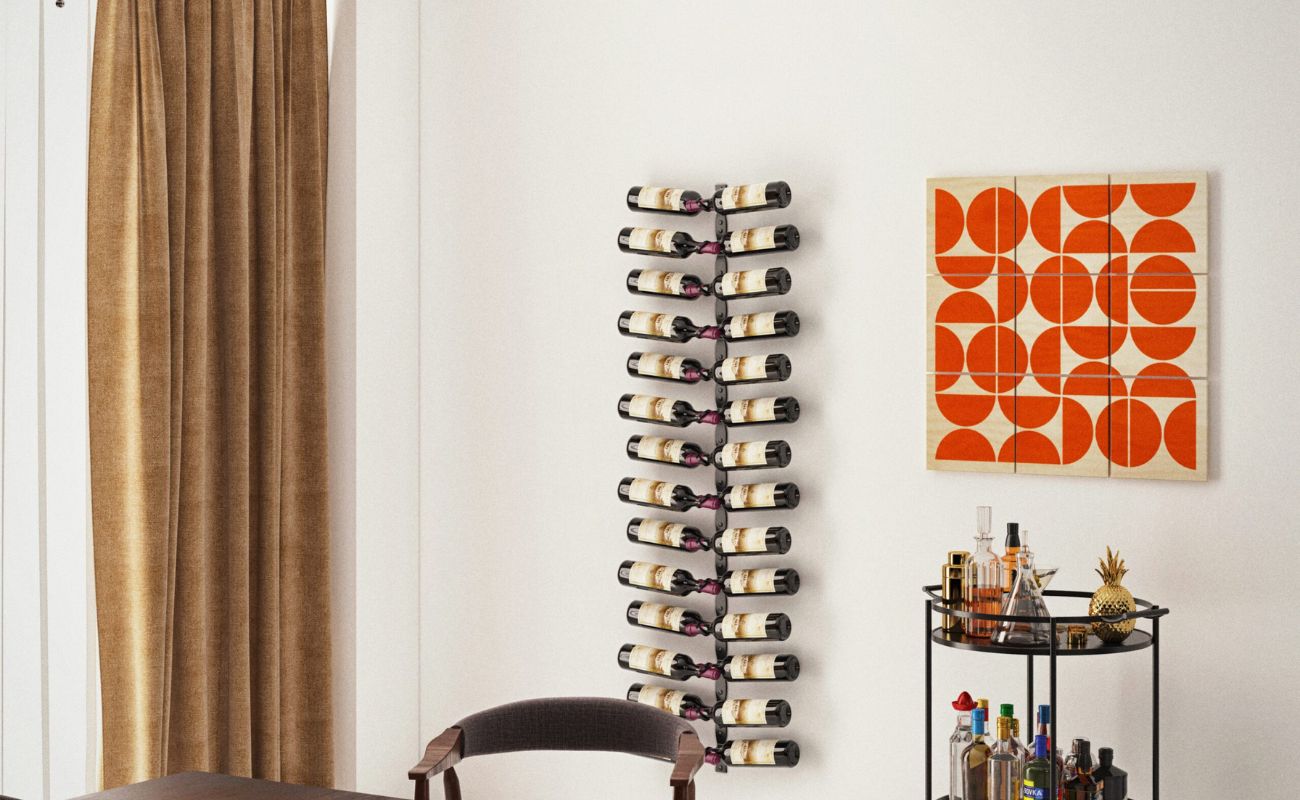
Home>Furniture & Design>Living Room Furniture>How To Build A Wine Rack Out Of Pallets
Living Room Furniture
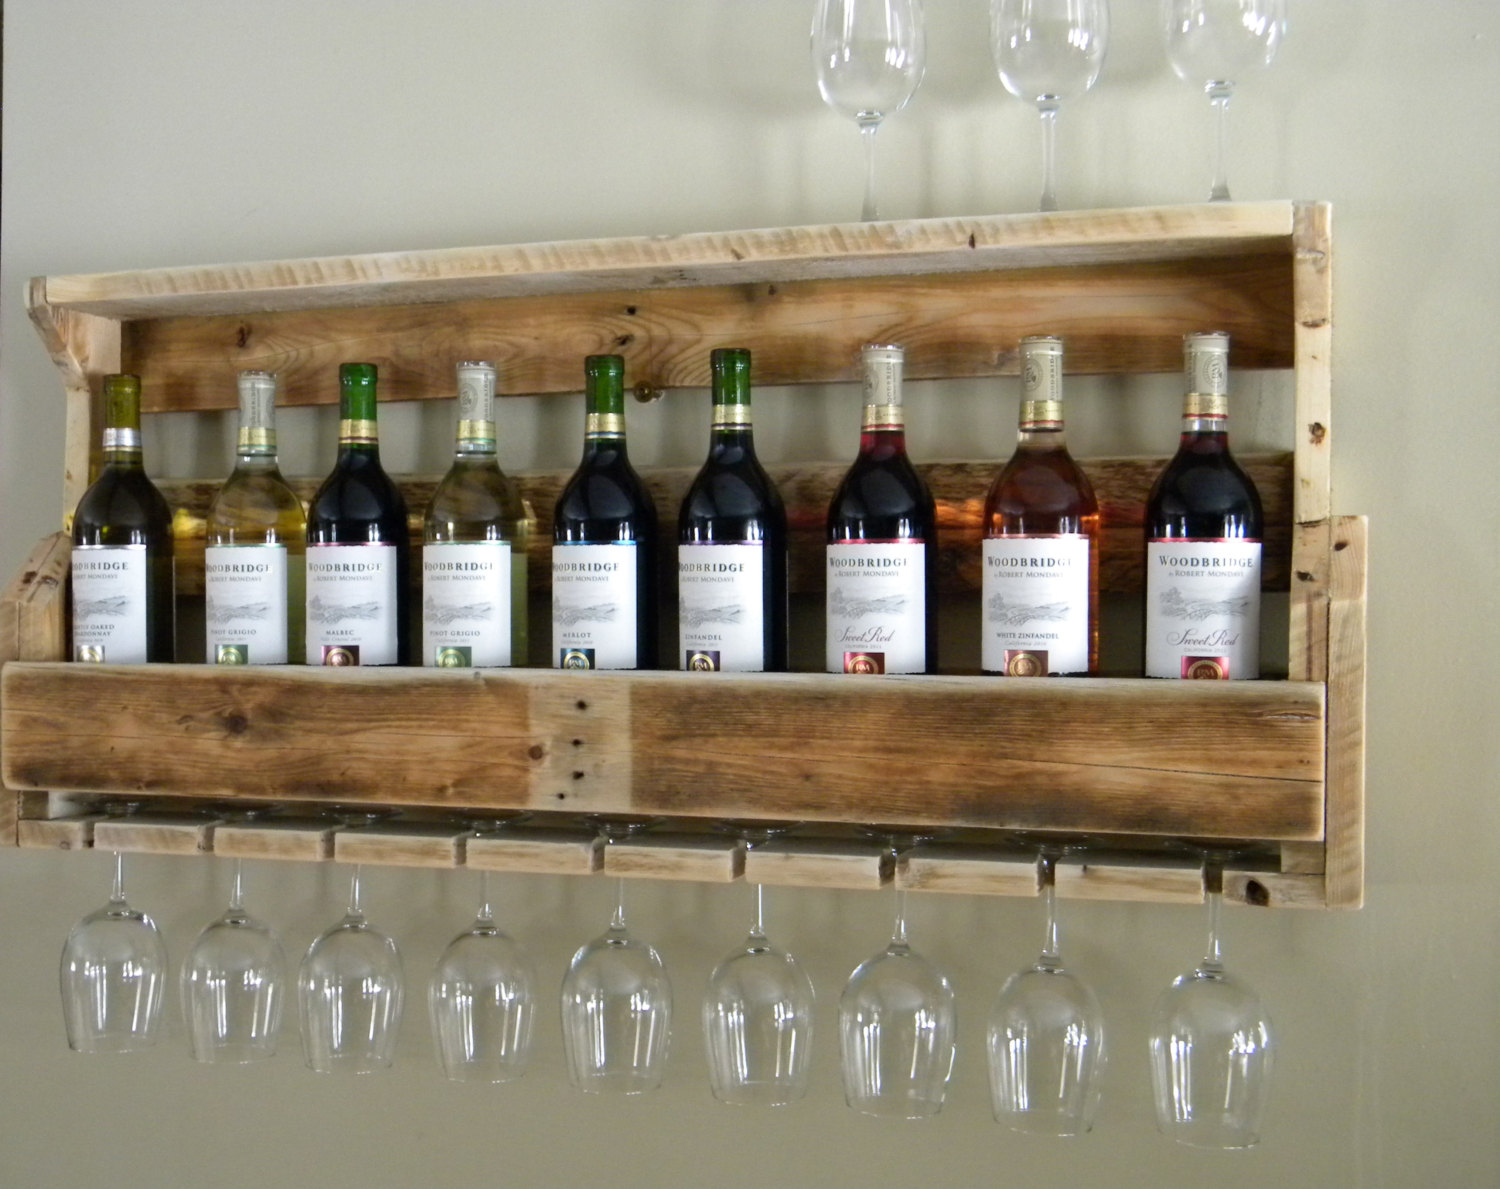
How To Build A Wine Rack Out Of Pallets
Modified: May 6, 2024
Learn how to repurpose pallets into a stylish wine rack for your living room. Discover creative furniture and design ideas for your home.
(Many of the links in this article redirect to a specific reviewed product. Your purchase of these products through affiliate links helps to generate commission for Storables.com, at no extra cost. Learn more)
Introduction
Welcome to the world of DIY wine rack construction! Building a wine rack out of pallets is not only a sustainable and cost-effective project but also a fantastic way to add a touch of rustic charm to your living space. Whether you're a wine enthusiast looking for a creative storage solution or a crafty individual eager to embark on a hands-on woodworking venture, this step-by-step guide will equip you with the knowledge and inspiration needed to transform reclaimed pallets into a stylish and functional wine rack.
In this article, we'll delve into the materials required for this project and explore the process of disassembling, cutting, and sanding the pallet wood. We'll then guide you through the assembly and mounting stages, offering valuable tips and insights along the way. By the end of this journey, you'll not only have a beautiful wine rack to showcase your favorite vintages but also a sense of accomplishment from having crafted a unique piece of furniture with your own hands.
So, roll up your sleeves, gather your tools, and let's dive into the world of DIY pallet wine rack construction. Whether you're a seasoned woodworker or a novice DIY enthusiast, this project is sure to ignite your creativity and leave you with a stunning addition to your home decor. Let's get started!
Key Takeaways:
- Transform reclaimed pallets into a stylish wine rack with basic tools and DIY skills. Embrace sustainability and craftsmanship to create a unique piece of furniture for your living space.
- From disassembling pallets to mounting the finished wine rack, enjoy the rewarding journey of crafting a functional and charming storage solution for your favorite wines. Celebrate your creativity and woodworking skills!
Read more: How To Build A Dresser Out Of Pallets
Materials Needed
Before embarking on your pallet wine rack project, it’s essential to gather the necessary materials and tools. Here’s a comprehensive list of what you’ll need:
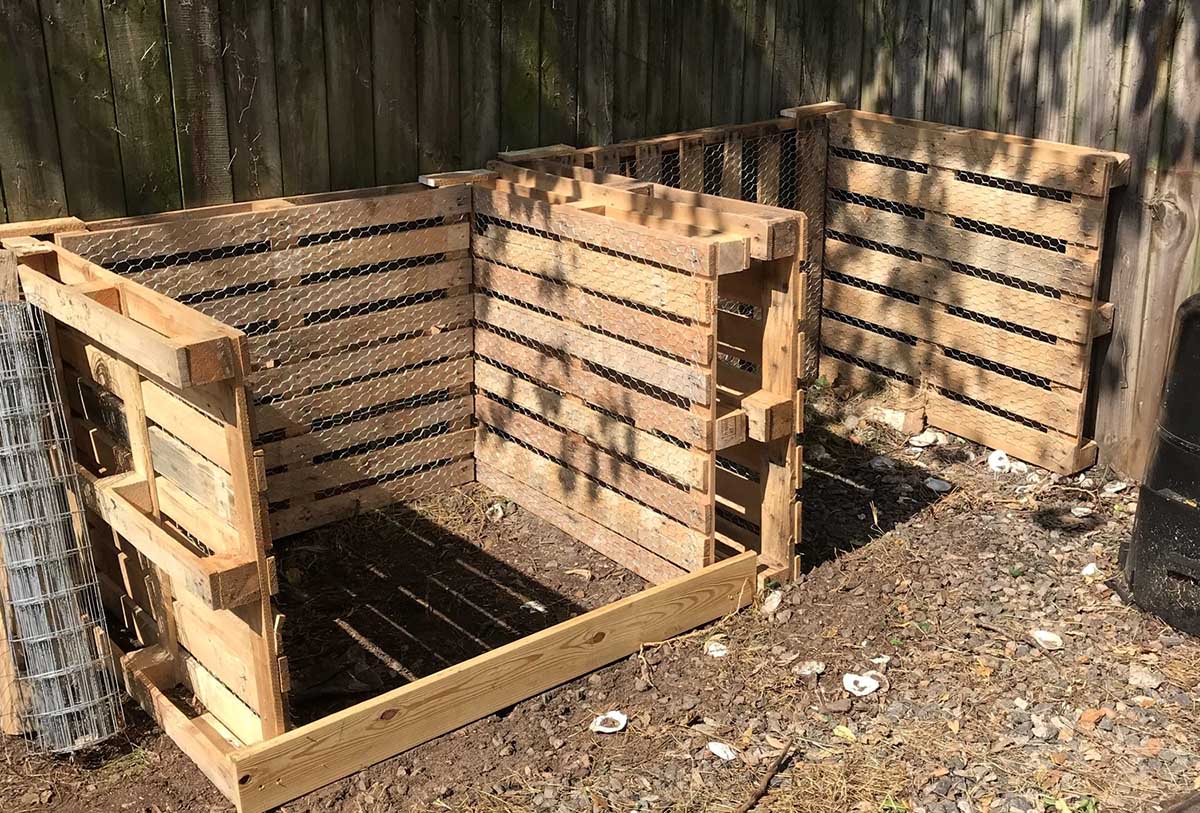
- Reclaimed pallets: Look for pallets in good condition, preferably with intact and sturdy wooden planks. You can often find them at local businesses, warehouses, or recycling centers.
- Tape measure: A reliable tape measure will be essential for taking accurate dimensions during the cutting and assembly stages.
- Saw: A circular saw or a handsaw will be required for cutting the pallet wood to the desired lengths. Ensure that the saw blade is suitable for cutting through wood.
- Sandpaper or sander: To smoothen the rough surfaces of the pallet wood and achieve a polished finish, you’ll need sandpaper or a power sander. Different grits may be necessary for varying degrees of coarseness.
- Wood screws: Select sturdy wood screws of appropriate lengths to securely fasten the wooden pieces during the assembly process.
- Drill: A power drill will be indispensable for creating pilot holes and driving the wood screws into place.
- Wood glue: Opt for high-quality wood glue to reinforce the joints and enhance the structural integrity of the wine rack.
- Level: A spirit level will aid in ensuring that the wine rack is mounted perfectly straight and level on the wall.
- Stain or paint (optional): If you desire a specific finish for your wine rack, consider acquiring wood stain or paint to add a personalized touch to the final product.
- Protective gear: Safety should always be a priority. Equip yourself with safety goggles, gloves, and a dust mask to safeguard against potential hazards during the woodworking process.
By gathering these materials and tools, you’ll be well-prepared to commence the exciting journey of crafting your pallet wine rack. With everything in place, you’re ready to move on to the first step: disassembling the pallets.
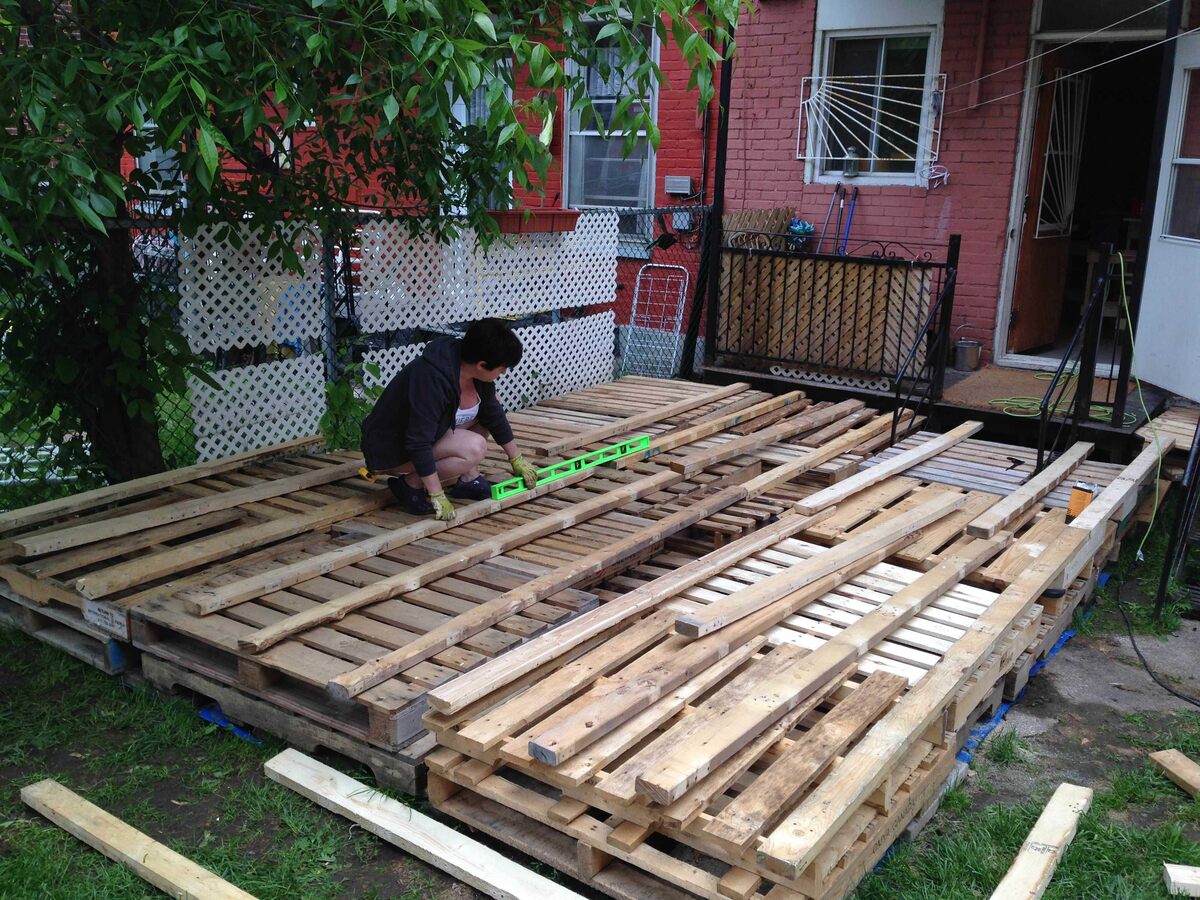
Step 1: Disassembling the Pallets
Disassembling the pallets is the initial and crucial step in repurposing the wood for your wine rack. Here’s a systematic approach to effectively break down the pallets:
- Assess the pallets: Examine the pallets to identify any damaged or weak areas. Select pallets with sturdy and intact wooden planks for the best results.
- Remove the nails: Use a claw hammer, pry bar, or a reciprocating saw to carefully extract the nails from the pallet wood. Exercise caution to avoid splintering or damaging the planks during this process.
- Separate the planks: Once the nails are removed, carefully separate the individual wooden planks from the pallet frame. Take care to preserve the length and integrity of the planks as you work.
- Inspect and clean the wood: After disassembling the pallets, inspect the wooden planks for any protruding nails, rough edges, or splinters. Use a wire brush or sandpaper to remove any debris or imperfections from the surface of the wood.
By meticulously disassembling the pallets and preparing the wooden planks for the subsequent stages, you’ll set the foundation for crafting a sturdy and visually appealing wine rack. With the pallet wood ready for transformation, you’re now prepared to proceed to the next step: cutting the pallet wood to the required dimensions.
Step 2: Cutting the Pallet Wood
Once the pallets are disassembled, the next phase involves cutting the wooden planks to the appropriate lengths for constructing the wine rack. Here’s a guide to effectively cutting the pallet wood:
- Measure and mark: Use a tape measure to determine the desired lengths for the wine rack components, such as the vertical supports, horizontal shelves, and any additional features you plan to incorporate. Mark these measurements on the pallet wood with a pencil or a suitable marking tool.
- Cut the wood: Employ a saw, such as a circular saw or handsaw, to carefully cut the wooden planks according to the marked measurements. Ensure precision and accuracy during the cutting process to achieve uniform pieces that will fit together seamlessly during assembly.
- Smooth the edges: After cutting the wood, use sandpaper or a power sander to smooth the edges and surfaces of the wooden components. This step is essential for creating a professional and refined finish while minimizing the risk of splinters.
By meticulously measuring, cutting, and refining the pallet wood, you’ll be one step closer to bringing your wine rack vision to life. The process of cutting the wood plays a pivotal role in determining the structural integrity and aesthetic appeal of the final product. With the wooden components prepared, it’s time to transition to the next phase: sanding the wood to achieve a polished and refined texture.
When building a wine rack out of pallets, make sure to sand down the wood to remove any rough edges and splinters. This will give your wine rack a polished and professional look.
Step 3: Sanding the Wood
As you progress in crafting your pallet wine rack, the step of sanding the wood is essential for achieving a smooth and polished finish. Follow these guidelines to effectively sand the wooden components:
- Select the appropriate sandpaper: Depending on the initial condition of the wood and the desired level of smoothness, choose the appropriate grit of sandpaper. Coarser grits, such as 80-120, are suitable for removing rough surfaces and imperfections, while finer grits, such as 180-220, can be used to achieve a refined and smooth texture.
- Sand the surfaces: Use the selected sandpaper to gently sand the surfaces of the wooden components, including the edges and faces. Work in the direction of the wood grain to avoid leaving noticeable sanding marks and to achieve a consistent finish across the planks.
- Round the edges (optional): For a more polished and visually appealing appearance, consider rounding the sharp edges of the wooden pieces using sandpaper. This additional step can enhance the tactile and aesthetic qualities of the wine rack.
- Remove dust and debris: After sanding, use a clean cloth or a tack cloth to wipe away the dust and debris from the wood surfaces. This will prepare the components for the subsequent assembly and finishing stages.
By diligently sanding the wood, you’ll elevate the overall quality and tactile appeal of your wine rack, ensuring that it exudes a professional and refined look. With the wooden components now smooth and prepared for assembly, it’s time to move on to the next step: assembling the wine rack itself.
Read more: How To Build A Wine Rack In A Cabinet
Step 4: Assembling the Wine Rack
With the pallet wood prepared and refined, it’s time to embark on the exciting phase of assembling the wine rack. Follow these steps to effectively bring the components together:
- Plan the layout: Lay out the wooden pieces according to the design and dimensions of your wine rack. This will provide a visual guide and ensure that the assembly process proceeds smoothly.
- Create pilot holes: Use a drill to create pilot holes in the wooden components where screws will be inserted. This step is crucial for preventing the wood from splitting and for facilitating the insertion of screws during assembly.
- Apply wood glue: Prior to fastening the wooden pieces together, apply wood glue along the joining edges. The wood glue will enhance the strength and stability of the joints, contributing to the overall durability of the wine rack.
- Secure the joints: Utilize wood screws to securely fasten the wooden components together, following the designated layout. Exercise care to align the pieces accurately and achieve a snug fit during the assembly process.
- Reinforce the structure: Once the primary assembly is complete, assess the structural integrity of the wine rack. If necessary, add additional screws or apply more wood glue to reinforce the joints and enhance the stability of the construction.
By meticulously assembling the wine rack, you’ll witness the transformation of individual wooden components into a cohesive and functional piece of furniture. With the wine rack taking shape, the final step awaits: mounting the completed creation in your living space, ready to showcase your cherished wine collection.
Step 5: Mounting the Wine Rack
As the assembly of your pallet wine rack nears completion, the final step involves mounting the finished creation in your desired space. Follow these guidelines to effectively and securely mount the wine rack:
- Select the mounting location: Choose a suitable location for your wine rack, ensuring that it complements the aesthetic of the room and provides convenient access to your wine collection. Consider factors such as wall space, visibility, and the overall layout of the room.
- Mark the mounting points: Use a pencil and a level to mark the precise points on the wall where the wine rack will be mounted. Ensure that the markings align with the key mounting locations on the back of the wine rack.
- Install wall anchors or screws: Depending on the wall material and the weight of the wine rack, install appropriate wall anchors or screws at the marked points. This step is crucial for ensuring a secure and stable attachment to the wall.
- Mount the wine rack: With the wall anchors or screws in place, carefully lift the wine rack and align it with the marked points on the wall. Securely affix the wine rack to the wall, ensuring that it is level and firmly anchored.
- Assess stability and alignment: Once the wine rack is mounted, assess its stability and alignment. Use a level to confirm that the wine rack is perfectly horizontal and adjust as needed to achieve a balanced and visually appealing display.
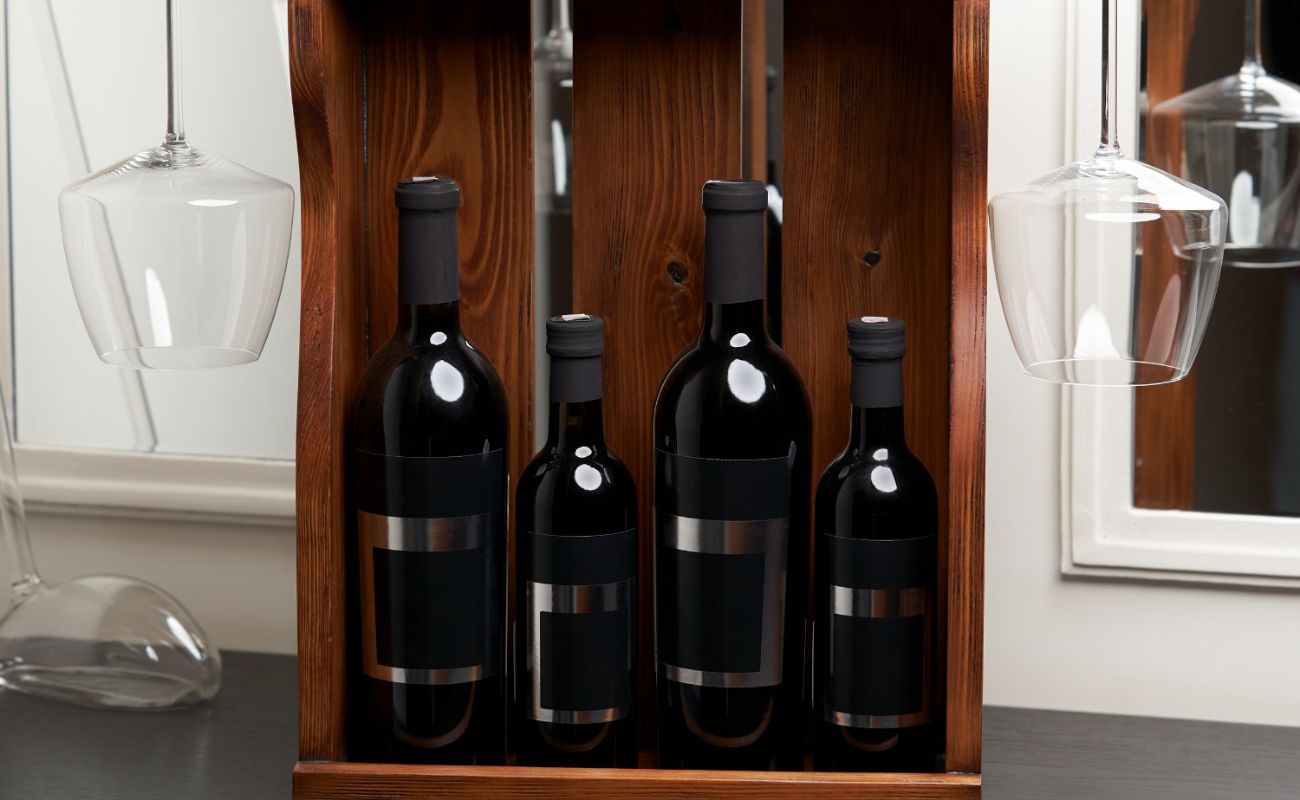
With the wine rack securely mounted, step back and admire the transformation of reclaimed pallet wood into a functional and aesthetically pleasing storage solution for your favorite wines. Your DIY journey has culminated in the creation of a unique and personalized piece of furniture that adds character and charm to your living space.
By following these steps, you’ve not only crafted a practical wine storage solution but also infused your living space with the warmth and character of handcrafted furniture. Your pallet wine rack stands as a testament to your creativity and craftsmanship, ready to showcase and safeguard your cherished wine collection for years to come.
Conclusion
Congratulations on completing your journey of transforming reclaimed pallets into a stunning wine rack! Through disassembling the pallets, cutting and sanding the wood, assembling the wine rack, and mounting it in your living space, you’ve not only crafted a practical storage solution but also imbued your home with the rustic charm of handcrafted furniture.
By embracing the art of DIY woodworking, you’ve not only demonstrated your creativity and resourcefulness but also contributed to sustainable living by repurposing materials that might have otherwise gone to waste. Your pallet wine rack stands as a testament to the potential for beauty and functionality within reclaimed materials, adding a unique touch to your living space while showcasing your cherished wine collection.
As you admire your completed wine rack, take pride in the craftsmanship and attention to detail that went into each step of the process. From selecting the pallets to meticulously sanding the wood and securing the wine rack to the wall, your dedication has yielded a one-of-a-kind piece that reflects your personal style and woodworking skills.
Whether you’re an experienced woodworker or a novice DIY enthusiast, this project has provided a rewarding opportunity to engage with sustainable design and hands-on craftsmanship. Your wine rack not only serves as a functional and stylish storage solution but also serves as a conversation piece, showcasing your ingenuity and passion for woodworking.
As you raise a glass to celebrate your completed wine rack, take a moment to appreciate the journey you’ve undertaken and the sense of accomplishment that comes with bringing your vision to life. Your pallet wine rack is more than just a furniture piece; it’s a testament to your creativity, craftsmanship, and commitment to sustainable living.
With your new wine rack proudly on display, you can look forward to enjoying your favorite vintages in a space enriched by the character and warmth of handcrafted furniture. Cheers to your DIY success and the countless memories that await in the company of your beautifully showcased wine collection!
If you're thrilled about transforming pallets into a chic wine rack, why not broaden your crafting skills further? For those who revel in personal touches, learning about DIY projects will surely spark your creativity. Fancy more repurposing ideas? Our guide on pallet furniture offers numerous ingenious designs waiting for your touch. And if you're eager to dive deeper into the craft, don't miss our roundup of woodworking trends set to dominate next year, perfect for planning future projects.
Frequently Asked Questions about How To Build A Wine Rack Out Of Pallets
Was this page helpful?
At Storables.com, we guarantee accurate and reliable information. Our content, validated by Expert Board Contributors, is crafted following stringent Editorial Policies. We're committed to providing you with well-researched, expert-backed insights for all your informational needs.


0 thoughts on “How To Build A Wine Rack Out Of Pallets”