Home>Dining>Tableware>How To Redo The Upholstery On Dining Chairs
Tableware
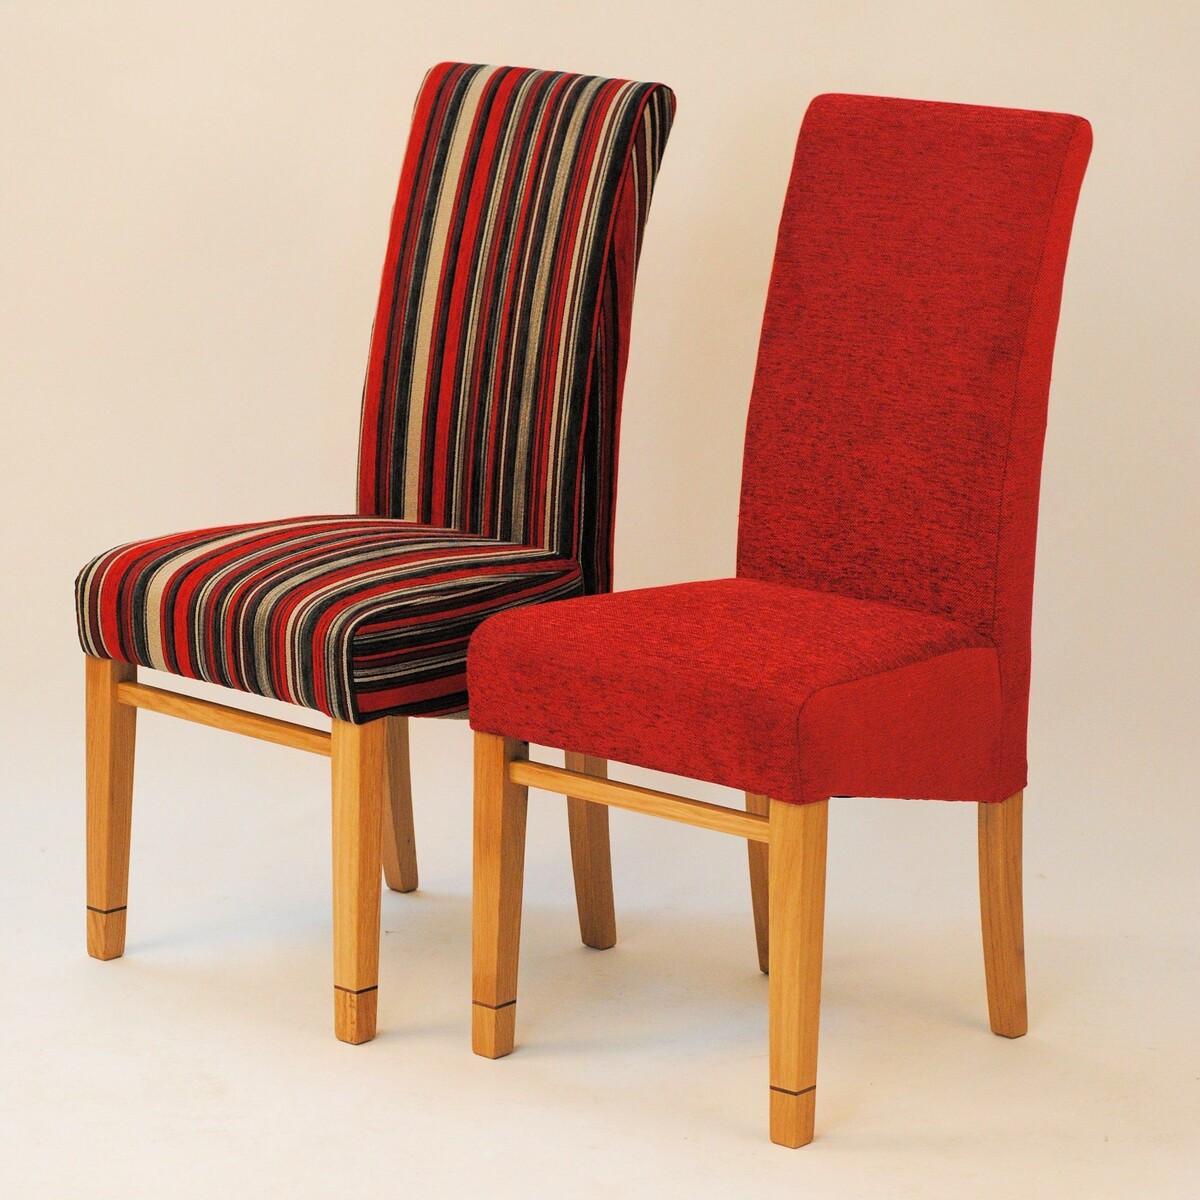
How To Redo The Upholstery On Dining Chairs
Modified: December 7, 2023
Learn how to redo the upholstery on dining chairs and transform your tableware with this simple DIY tutorial. Upgrade the look of your dining area effortlessly!
(Many of the links in this article redirect to a specific reviewed product. Your purchase of these products through affiliate links helps to generate commission for Storables.com, at no extra cost. Learn more)
Introduction
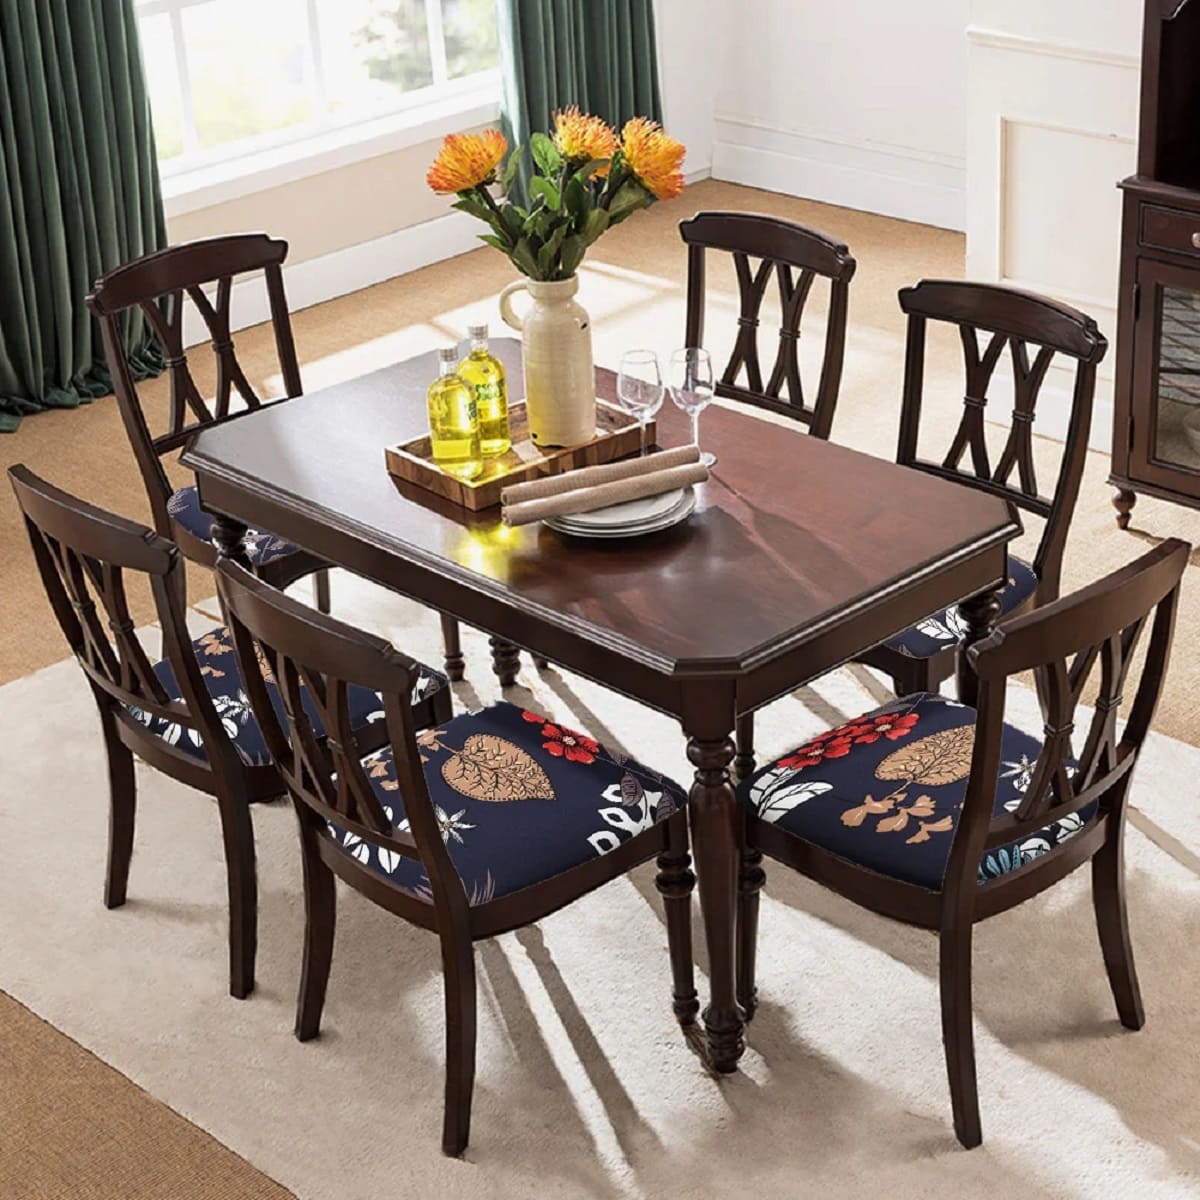
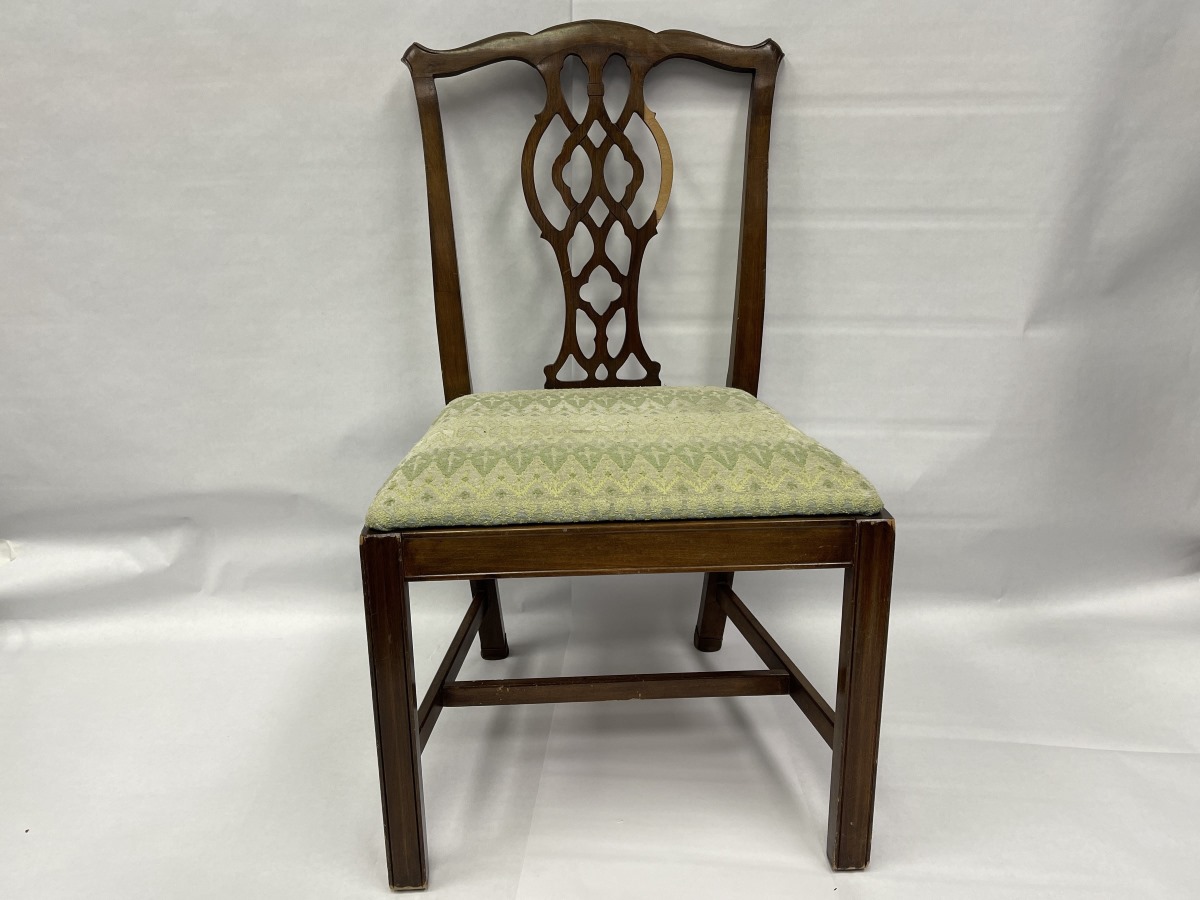
When it comes to giving your dining room a fresh new look, one easy and cost-effective way to do so is by redoing the upholstery on your dining chairs. Not only will this give your chairs a stylish update, but it will also provide an opportunity to add a personal touch to your dining space.
Redoing the upholstery on dining chairs may seem like a daunting task, but with the right tools, materials, and a little bit of patience, it can be a rewarding DIY project. In this article, we will guide you through the step-by-step process of removing the old upholstery, repairing and preparing the chair frame, measuring and cutting new upholstery fabric, padding and attaching the new upholstery, and adding finishing touches.
Whether you have worn-out chairs that are in dire need of a makeover or you simply want to change the fabric to match your evolving interior design style, this article has got you covered. So, let’s dive in and learn how to redo the upholstery on dining chairs!
Key Takeaways:
- Transform your dining room with a fresh new look by redoing the upholstery on your dining chairs. Follow the step-by-step guide to achieve stylish and comfortable seating options that reflect your personal style.
- Gather the necessary tools and materials to embark on a rewarding DIY project. Choose durable upholstery fabric, take accurate measurements, and pay attention to detail to achieve professional-looking results and elevate the overall look of your dining room.
Read more: How To Mix Dining Chairs
Tools and Materials Needed
Before you begin the upholstery project, it’s important to gather all the necessary tools and materials to ensure a smooth and successful process. Here’s a list of items you’ll need:
Tools:
- Staple remover
- Needle-nose pliers
- Screwdriver
- Scissors
- Measuring tape
- Hot glue gun and glue sticks
- Upholstery hammer or mallet
- Staple gun
- Trimming tool or utility knife
Materials:
- Upholstery fabric of your choice
- Upholstery batting or foam
- Dust cover fabric
- Cardboard or chipboard for seat support
- Upholstery thread
- Upholstery nails or decorative trim (optional)
These tools and materials will provide you with everything you need to remove the old upholstery, repair any damage, measure and cut the new fabric, and secure it in place. It’s a good idea to gather all these items before you begin, so you can work efficiently and avoid any unnecessary delays.
Make sure to choose upholstery fabric that suits your personal style and complements your dining room decor. Additionally, consider the durability and ease of cleaning when selecting your fabric, as dining chairs are prone to spills and stains. Take accurate measurements of your chairs to ensure you purchase enough fabric for the project.
Now that you have all the necessary tools and materials ready, let’s move on to the next step: removing the old upholstery.
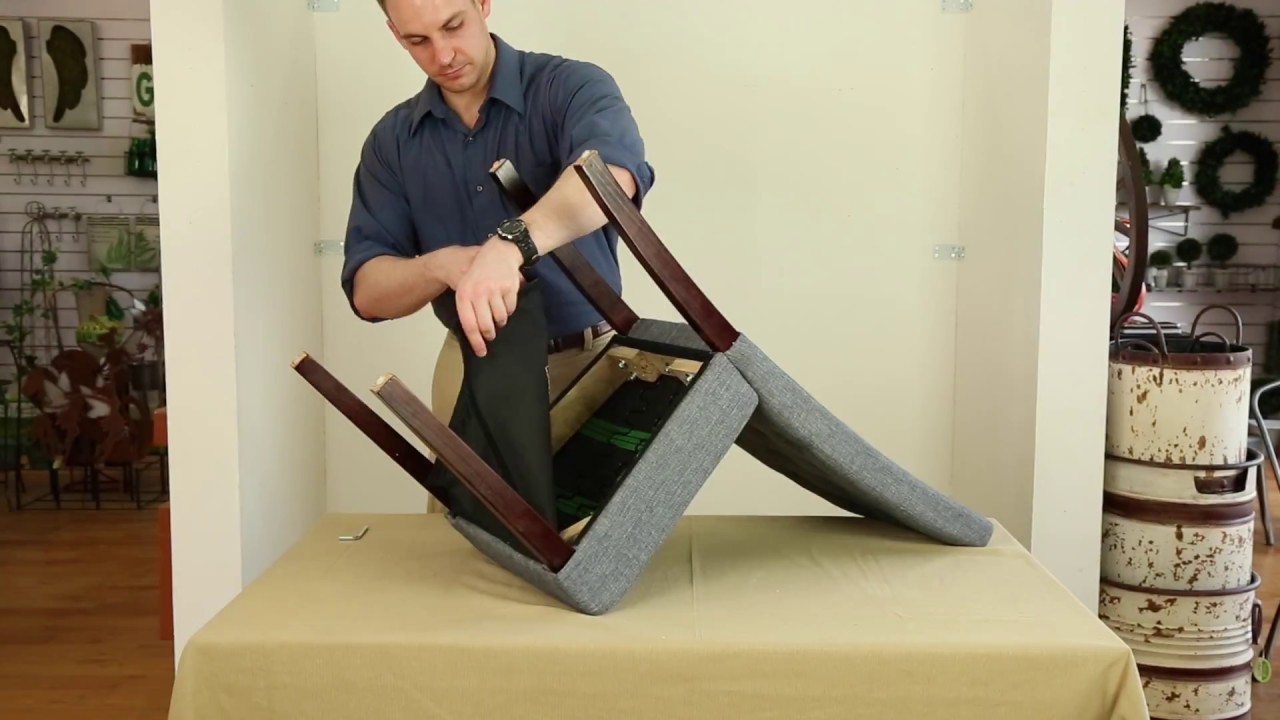
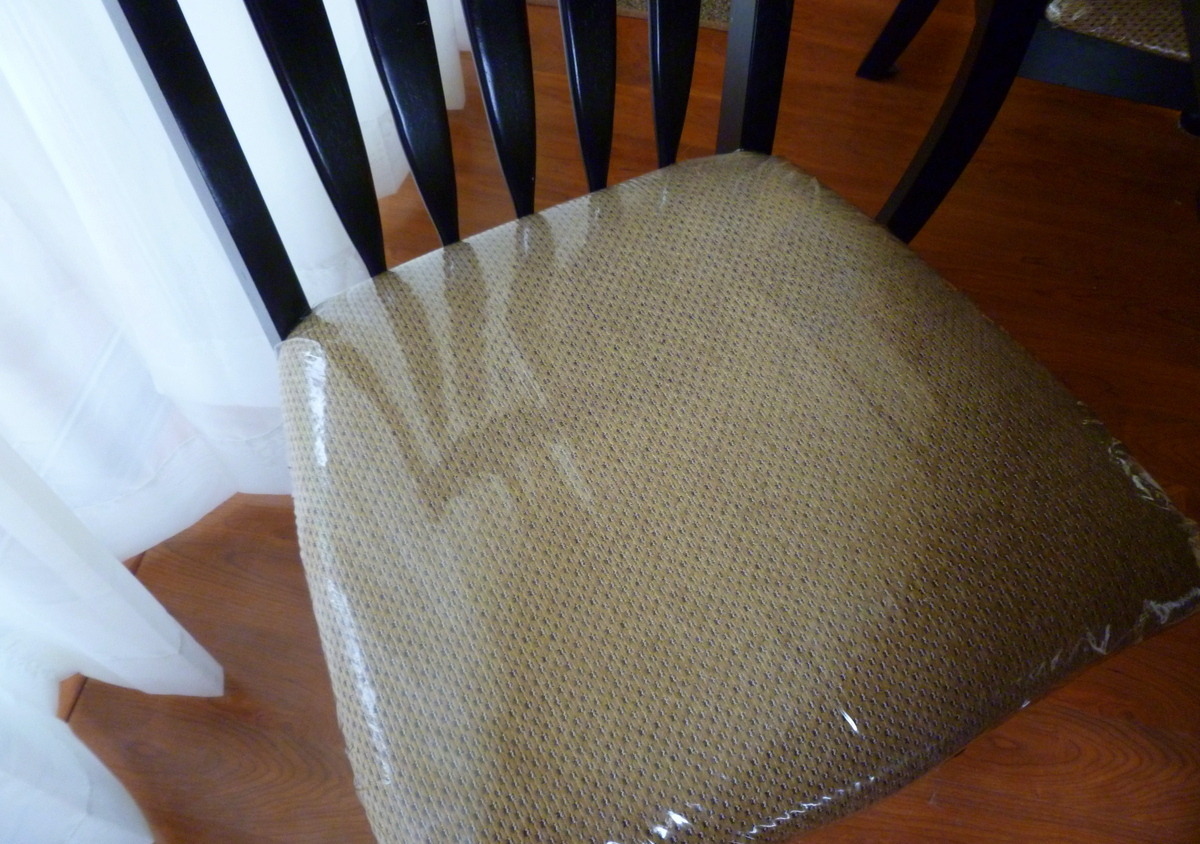
Removing the Old Upholstery
Before you can begin the process of redoing the upholstery on your dining chairs, you’ll first need to remove the old upholstery. This step is essential to ensure a clean and fresh start for your project. Here’s how to do it:
- Start by flipping the chair upside down and carefully inspecting the underside. Look for any screws or nails holding the upholstery in place. Use a screwdriver or needle-nose pliers to remove these fasteners.
- Next, use a staple remover or needle-nose pliers to gently lift and remove the staples or tacks securing the upholstery fabric to the chair frame. Take your time to avoid damaging the fabric or frame.
- As you remove the staples, be mindful of any padding or foam that may be attached to the fabric. Carefully detach it and set it aside for later use.
- Once you have removed all the staples and tacks, take the old upholstery fabric off the chair frame. Depending on its condition, you can choose to discard it or salvage any reusable parts.
- Inspect the chair frame for any damage or repairs that may be needed. If you notice any loose joints or broken pieces, now is the time to make the necessary fixes before proceeding.
By following these steps, you can successfully remove the old upholstery from your dining chairs. Remember to handle the fabric and frame with care to avoid any unnecessary damage. Once you have completely removed the old upholstery, you’re ready to move on to the next step: repairing and preparing the chair frame.
Read more: How To Paint Dining Chairs?
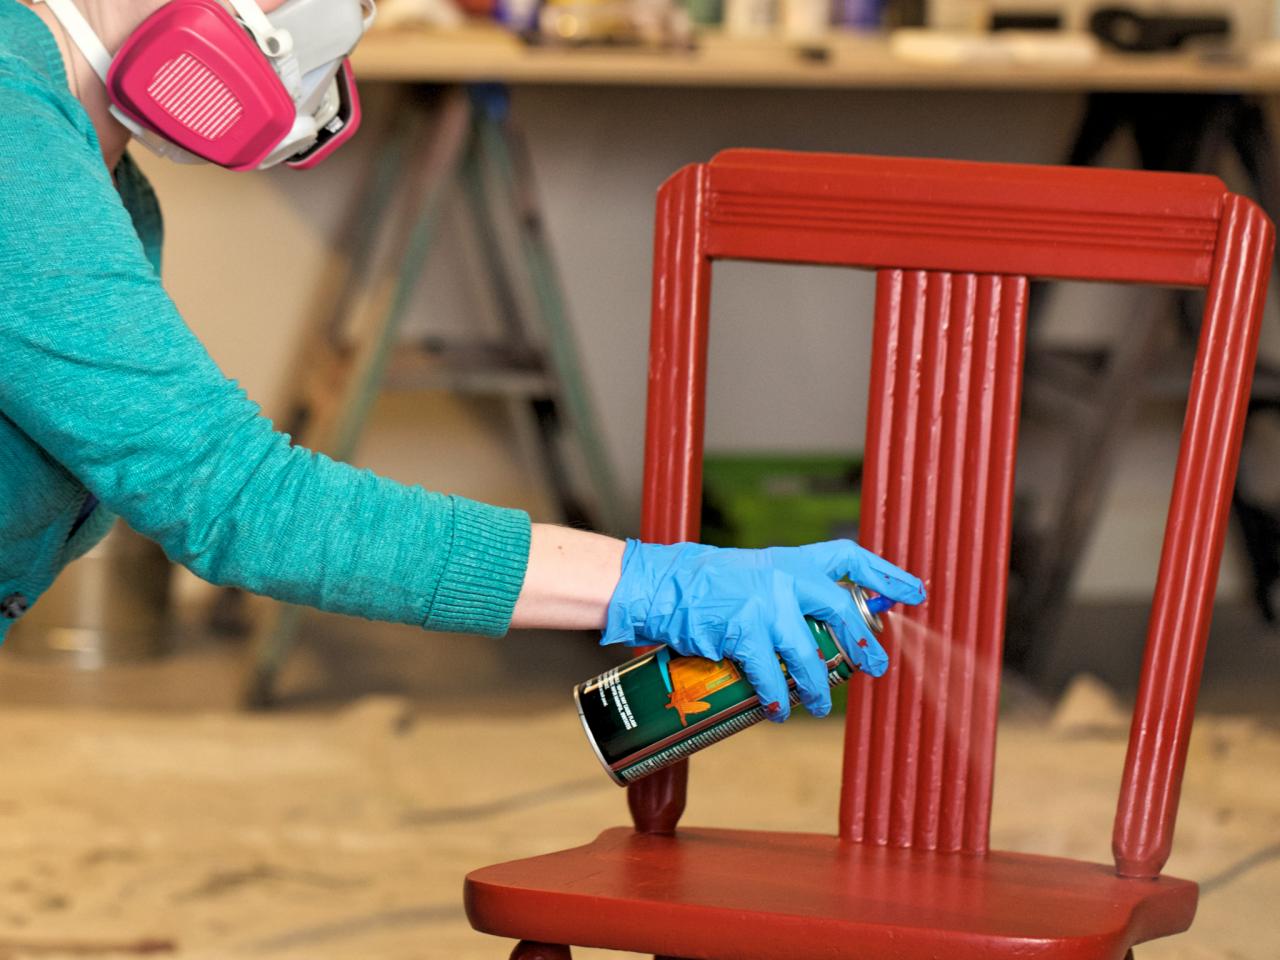
Repairing and Preparing the Chair Frame
Now that you have successfully removed the old upholstery from your dining chairs, it’s time to focus on repairing and preparing the chair frame. This step is crucial to ensure that your chairs are not only comfortable but also sturdy and durable. Follow these steps to get your chair frame ready for the new upholstery:
- Inspect the chair frame for any loose joints or broken pieces. If you find any, use a screwdriver or appropriate tools to tighten screws or repair any damage. Reinforce weak joints with wood glue if necessary, and allow sufficient drying time.
- Check the seat support of your chair. If it’s damaged or worn out, consider replacing it with a new piece of sturdy cardboard or chipboard. Measure the dimensions of the seat and cut the replacement material to fit securely.
- If the seat support is intact, but there are dents or uneven spots, use upholstery padding to fill in the gaps and create a smooth surface. Trim the padding to the size of the seat and secure it with adhesive or a staple gun.
- Once the repairs are complete, ensure that the chair frame is clean and free from any dust or debris. Use a damp cloth or a vacuum cleaner to thoroughly clean the frame.
By taking the time to repair and prepare the chair frame, you are ensuring that your dining chairs are in good condition and will provide a solid foundation for the new upholstery. Now that your frame is ready, let’s move on to the next step: measuring and cutting the new upholstery fabric.
Measuring and Cutting New Upholstery Fabric
Now that you have repaired and prepared the chair frame, it’s time to move on to the exciting step of measuring and cutting the new upholstery fabric. This step is crucial to ensure a proper fit and a polished finished look. Follow these steps to measure and cut the fabric for your dining chairs:
- Start by measuring the seat of your chair. Use a measuring tape to determine the dimensions of the seat, making sure to include the depth and overhang required for a proper fit.
- Transfer these measurements onto your upholstery fabric. Use chalk or fabric marking pens to outline the seat shape on the wrong side of the fabric.
- Before cutting the fabric, add an extra allowance of 2-3 inches on all sides. This allows for wrapping the fabric around the chair frame and securing it in place.
- Using fabric scissors, carefully cut along the marked lines, ensuring a clean and even cut. Take your time to avoid any mistakes or jagged edges.
Once you have accurately measured and cut the upholstery fabric for the seat, repeat the process for the backrest and any additional sections of the chair that require new upholstery.
It’s important to choose upholstery fabric that is durable, easy to clean, and matches your desired aesthetic. Consider the color, pattern, and texture of the fabric to ensure it complements your dining room decor. Take your time during this step to ensure that you have enough fabric and that it is cut precisely to the correct dimensions.
Now that your upholstery fabric is ready, let’s move on to the next step: padding and attaching the new upholstery.
When redoing the upholstery on dining chairs, make sure to choose a durable and easy-to-clean fabric. Consider the style and color of your dining room to ensure the new upholstery complements the space.
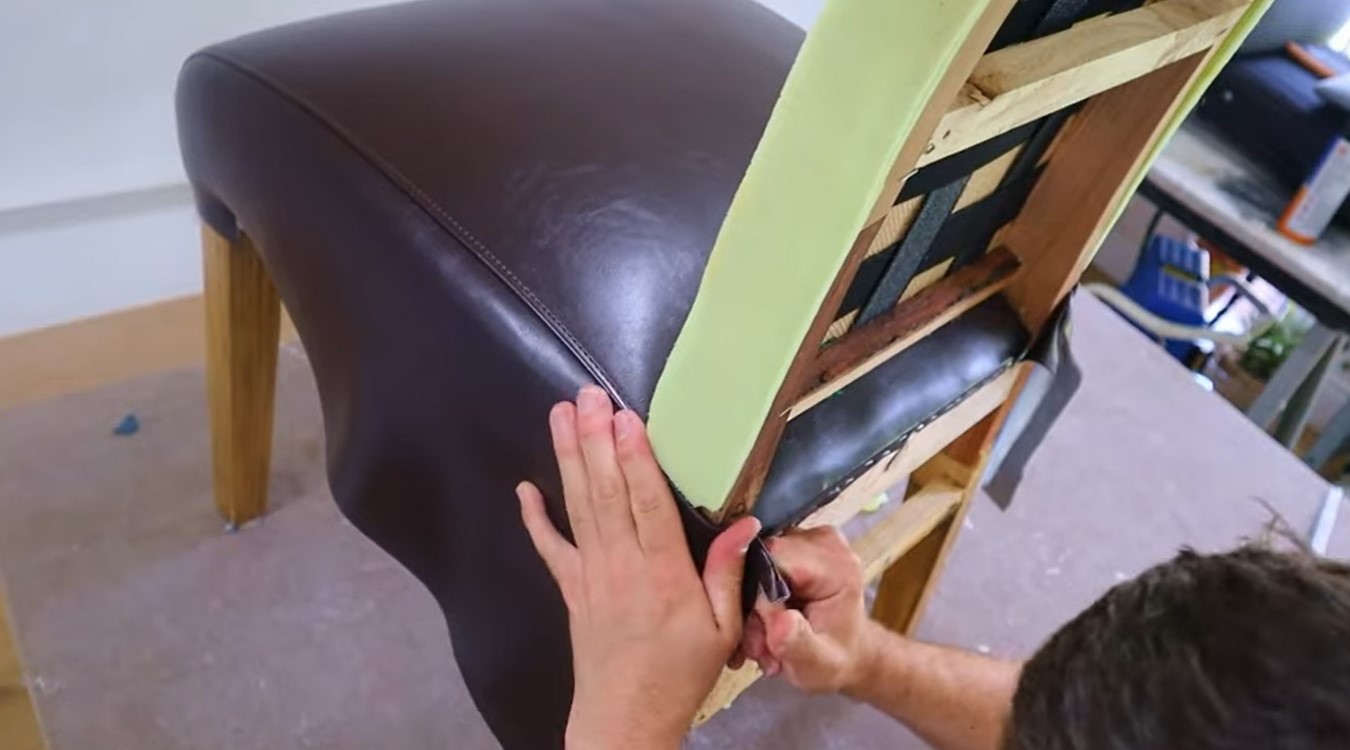
Padding and Attaching the New Upholstery
With the new upholstery fabric cut and ready, it’s time to move on to padding and attaching the fabric to the chair frame. This step will provide comfort and ensure a professional-looking finish. Follow these steps to properly pad and attach the new upholstery:
- Start by placing the upholstery batting or foam onto the seat of the chair. Make sure it covers the entire surface and provides enough cushioning. Trim any excess if necessary.
- If you’re using foam, secure it to the chair frame using adhesive or a staple gun. Apply the adhesive according to the manufacturer’s instructions and press the foam onto the seat. If using a staple gun, stretch the batting tightly over the foam and staple it in place along the edges of the seat.
- Next, position the cut upholstery fabric over the padding and seat. Make sure the fabric is centered and aligned properly with the chair frame.
- Starting from one side, pull the fabric taut and secure it to the chair frame using a staple gun. Begin by stapling the fabric in the center of each side, and then work your way outwards, placing staples about 1-2 inches apart. Be careful to keep the fabric smooth and free from wrinkles as you staple.
- Continue stapling and pulling the fabric tightly on each side, working your way around the seat until all sides are securely attached.
- For corners, create neat folds by pulling the fabric tightly and folding it under itself. Secure the folds with staples, ensuring a clean and professional appearance.
- Trim any excess fabric with scissors, leaving a small allowance for a neat finish. Be careful not to cut too close to the staples.
By following these steps, you can properly pad and attach the new upholstery fabric to your dining chairs. Take your time during this process to ensure that the fabric is smooth and wrinkle-free, and that it is pulled tightly for a professional result.
Now that the new upholstery is in place, we can move on to adding the finishing touches to complete the transformation.
Adding Finishing Touches
With the new upholstery securely in place, it’s time to add the finishing touches to your dining chairs. These final steps will elevate the look of your chairs and give them a polished and personalized touch. Follow these steps to complete the transformation:
- If desired, you can add decorative trim or upholstery nails to enhance the look of your chairs. This can be applied along the edges or seams of the upholstery fabric for an elegant and finished appearance. Use a hot glue gun or upholstery hammer to attach the trim or nails securely.
- Carefully inspect the chair for any loose staples or rough edges. Use a staple remover or trimming tool to remove any excess staples or fabric that may be visible or pose a risk of snagging.
- Consider adding a dust cover fabric to the underside of the chair. This fabric will not only provide a clean and polished appearance but also protect the upholstery from dust and dirt. Cut the fabric to fit the underside of the chair and use a staple gun to attach it securely.
- Once you have completed these finishing touches, take a step back and inspect your newly upholstered chairs. Make any necessary adjustments or neatening to ensure a professional and visually appealing result.
By adding these finishing touches, you can transform your dining chairs into statement pieces that reflect your personal style and elevate the overall look of your dining room. Take your time during this step to ensure that each detail is in place and contributes to the desired aesthetic.
Congratulations! You have successfully redone the upholstery on your dining chairs. Now you can sit back, relax, and enjoy your refreshed and stylish dining space.
Read more: How To Measure A Dining Chair
Conclusion
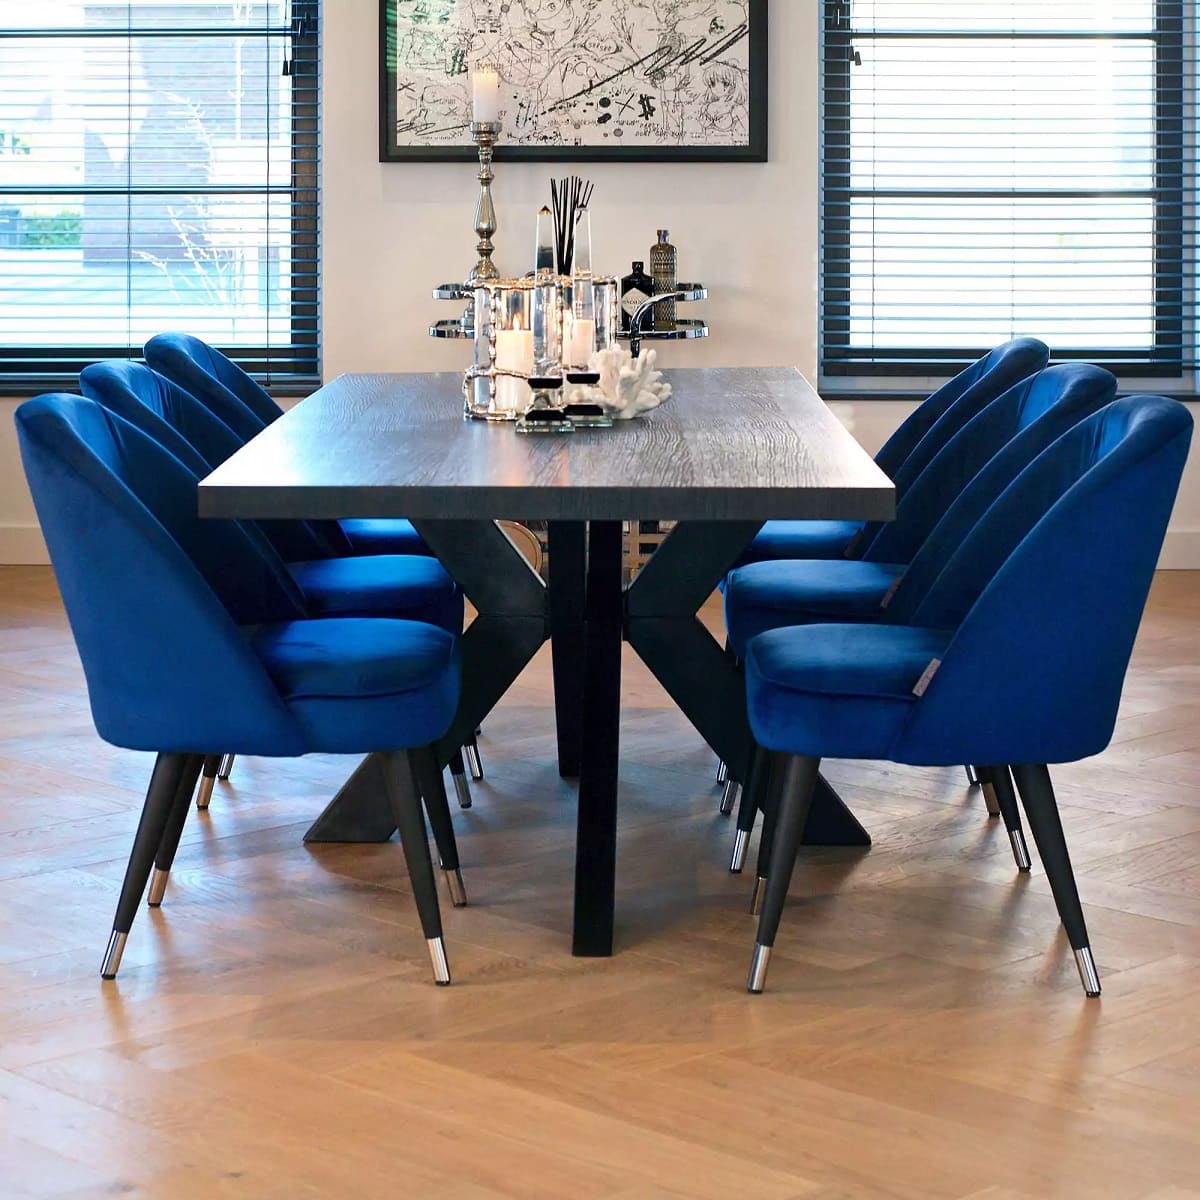
Redoing the upholstery on your dining chairs can breathe new life into your dining room and provide an opportunity to showcase your personal style. With the right tools, materials, and a little bit of patience, this DIY project can be a rewarding and cost-effective way to give your chairs a fresh and updated look.
In this article, we covered the step-by-step process of removing the old upholstery, repairing and preparing the chair frame, measuring and cutting the new upholstery fabric, padding and attaching the new upholstery, and adding the finishing touches.
Remember to gather all the necessary tools and materials before starting the project to ensure a smooth workflow. Take accurate measurements and choose upholstery fabric that complements your dining room decor and withstands the demands of daily use.
By following the steps outlined in this article and paying attention to detail, you can achieve professional-looking results and transform your dining chairs into stylish and comfortable seating options.
We hope this guide has inspired you to embark on your upholstery journey and explore your creativity. So, go ahead and give your dining room a fresh new look with fabulous upholstered chairs!
Frequently Asked Questions about How To Redo The Upholstery On Dining Chairs
Was this page helpful?
At Storables.com, we guarantee accurate and reliable information. Our content, validated by Expert Board Contributors, is crafted following stringent Editorial Policies. We're committed to providing you with well-researched, expert-backed insights for all your informational needs.


0 thoughts on “How To Redo The Upholstery On Dining Chairs”