Home>Furniture & Design>Living Room Furniture>How To Replace Recliner Handle Spring
Living Room Furniture
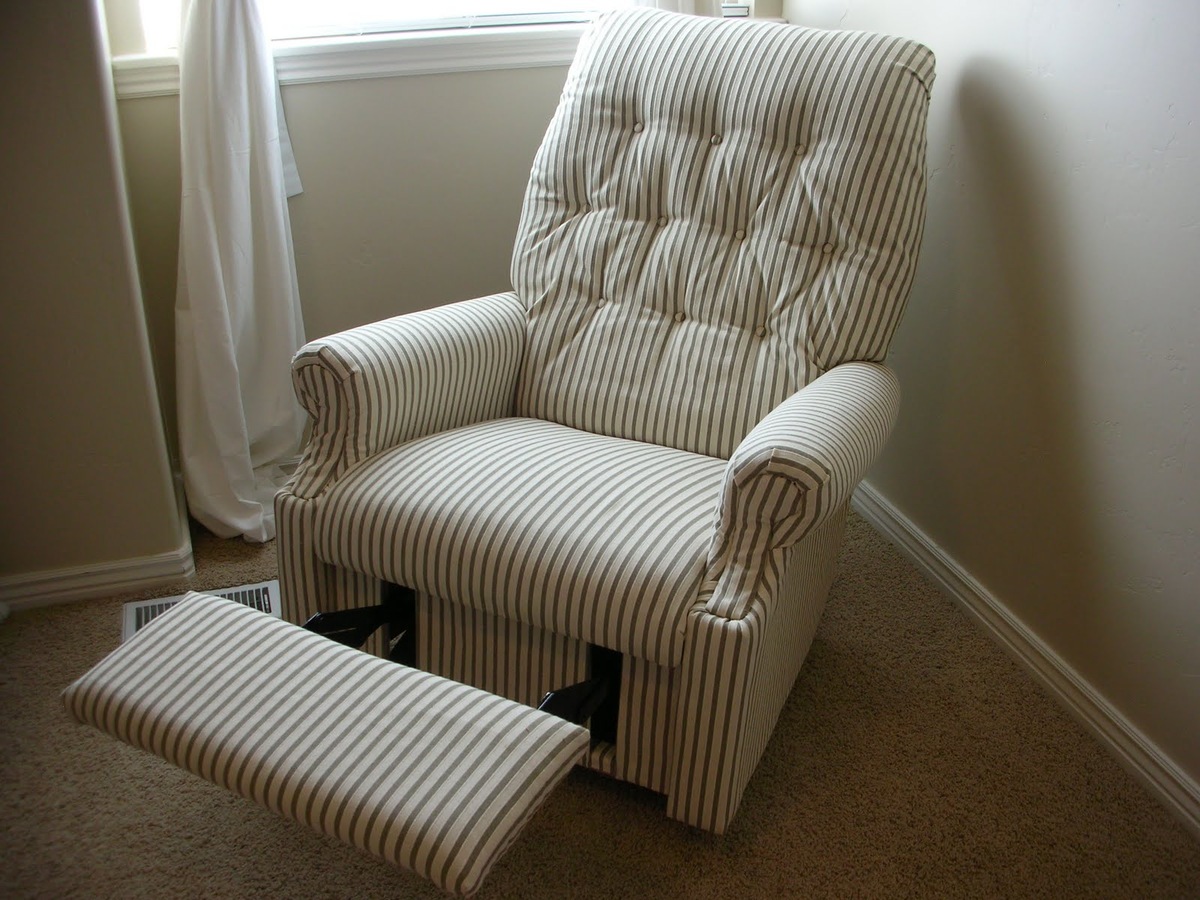
How To Replace Recliner Handle Spring
Modified: October 19, 2024
Learn how to easily replace a recliner handle spring to keep your living room furniture in top condition. Find step-by-step instructions and tips for living room furniture and design.
(Many of the links in this article redirect to a specific reviewed product. Your purchase of these products through affiliate links helps to generate commission for Storables.com, at no extra cost. Learn more)
Introduction
Welcome to the ultimate guide on how to replace a recliner handle spring! If you've ever found yourself struggling with a recliner that won't recline or lock into place, chances are the culprit is a faulty handle spring. Fortunately, with a bit of know-how and the right tools, you can easily replace the recliner handle spring and restore your favorite seat to its former glory.
In this comprehensive guide, we'll walk you through the entire process, from understanding the mechanics of the recliner handle spring to the step-by-step instructions for removing the old spring and installing a new one. By the end of this guide, you'll feel confident in tackling this common issue and prolonging the life of your beloved recliner.
So, grab your toolkit and let's dive in to learn everything you need to know about replacing a recliner handle spring!
Key Takeaways:
- Don’t let a faulty recliner handle spring cramp your style! With the right tools and know-how, you can easily replace it and keep your favorite seat in top-notch condition for ultimate relaxation.
- By understanding and maintaining your recliner handle spring, you’re ensuring a cozy and customizable seating experience. Regular care and attention to detail will extend the life of your furniture, making your living space a haven of comfort.
Understanding the Recliner Handle Spring
Before diving into the replacement process, it's essential to understand the role of the recliner handle spring. This small yet crucial component is responsible for controlling the reclining mechanism of your favorite chair. When you engage the recliner handle, the spring facilitates the smooth movement of the footrest and backrest, allowing you to adjust the chair to your desired position.
The handle spring is designed to provide the necessary tension and support to ensure that the recliner operates seamlessly. Over time, factors such as regular use, wear and tear, or manufacturing defects can lead to the deterioration of the spring, resulting in issues like the inability to recline or lock the chair in place.
When inspecting the recliner handle spring, look for signs of damage, such as visible wear, deformation, or breakage. Additionally, pay attention to any unusual noises or resistance when operating the reclining mechanism, as these could indicate a problem with the spring.
By familiarizing yourself with the function and condition of the recliner handle spring, you'll be better equipped to diagnose any issues and proceed with the necessary steps to replace it. With a clear understanding of this fundamental component, you'll be ready to tackle the task with confidence.
Tools and Materials Needed
Before embarking on the journey of replacing your recliner handle spring, it's essential to gather the necessary tools and materials to ensure a smooth and efficient process. Here's a comprehensive list of items you'll need:
Tools:
- Phillips screwdriver
- Flat-head screwdriver
- Needle-nose pliers
- Adjustable wrench
- Flashlight (optional, for better visibility in tight spaces)
Materials:
- New recliner handle spring (ensure it is compatible with your specific recliner model)
- Lubricant or silicone spray for maintenance (optional, but recommended for smooth operation)
Having these tools and materials at your disposal will streamline the replacement process and allow you to address any unforeseen challenges that may arise. Additionally, maintaining a well-equipped toolkit for future use is always beneficial, especially when it comes to caring for your furniture and household items.
With the right tools in hand, you'll be ready to tackle the task of replacing the recliner handle spring with confidence and precision. Now that you're prepared, let's move on to the next steps in this comprehensive guide.
Read more: How To Fix A Recliner Handle
Removing the Old Recliner Handle Spring
Now that you've gathered the necessary tools and materials, it's time to begin the process of removing the old recliner handle spring. Follow these step-by-step instructions to ensure a successful removal:
Step 1: Preparation
Before starting, ensure that the recliner is in the fully closed position. This will provide better access to the inner workings of the handle mechanism. Additionally, place the recliner on a stable surface with ample lighting to facilitate the process.
Step 2: Locate the Retaining Clip
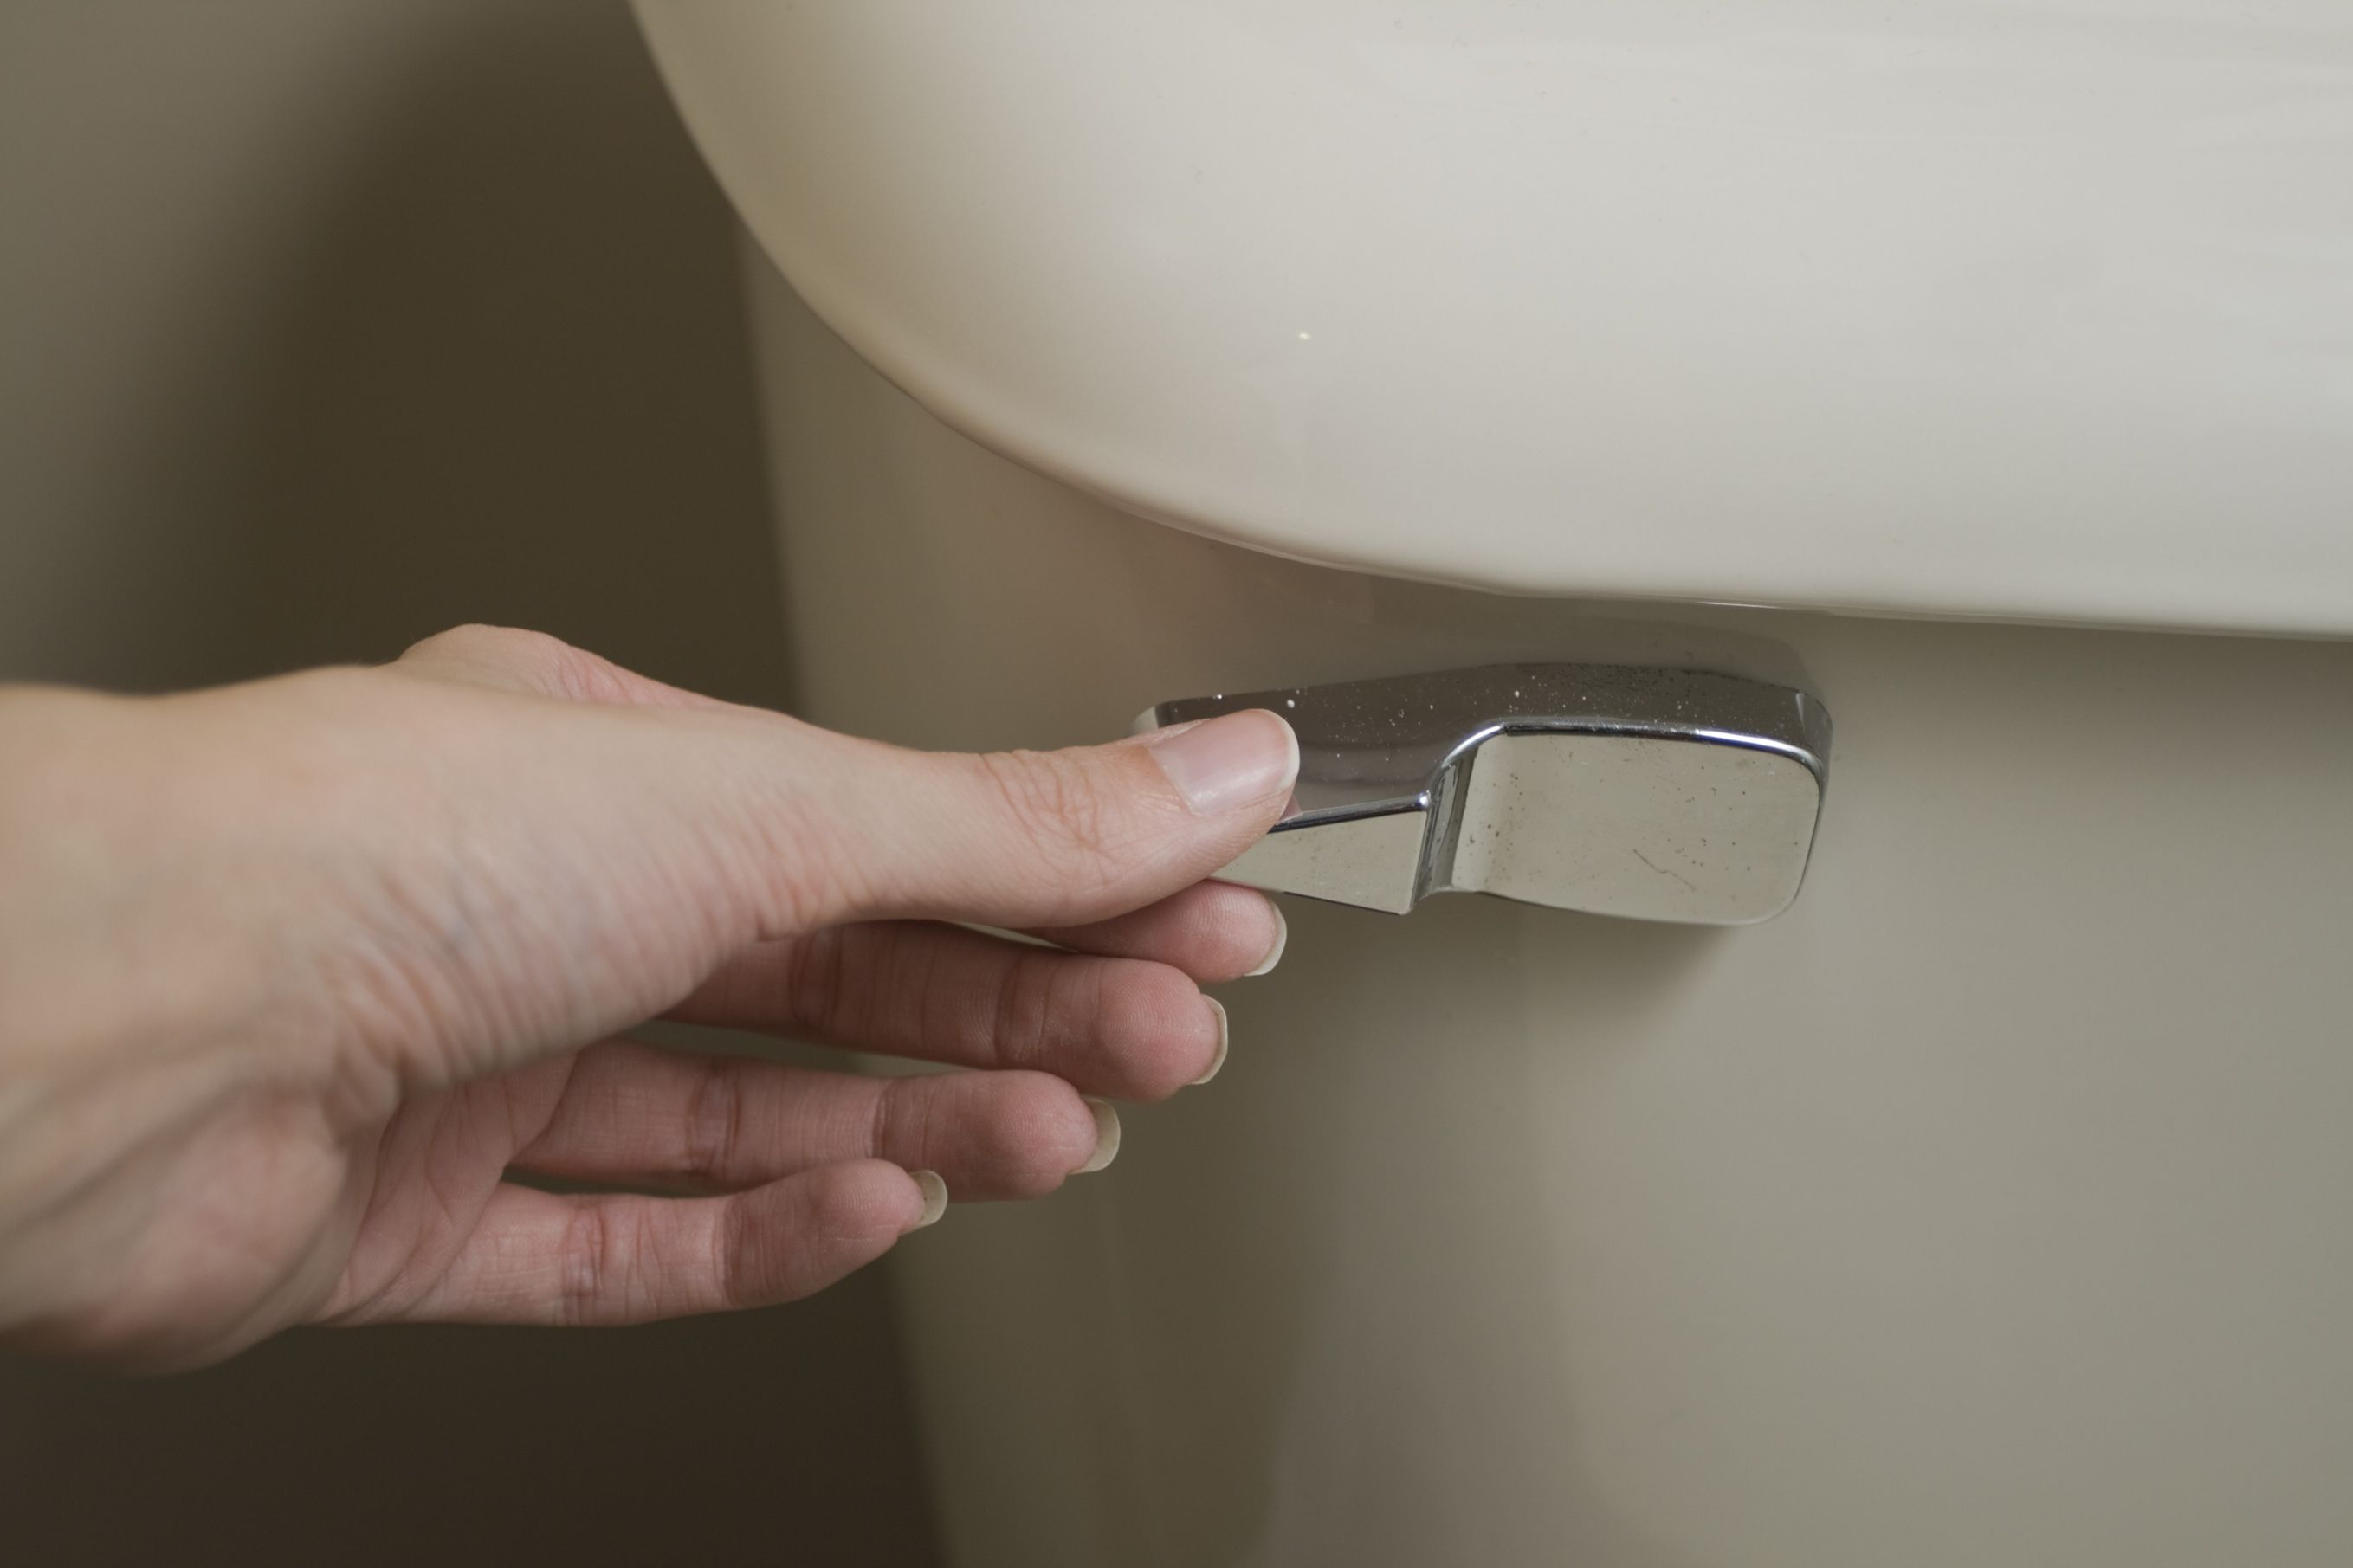
Using a flashlight for better visibility, locate the retaining clip that secures the recliner handle to the mechanism. The retaining clip is typically found on the underside of the handle and may require the use of a flat-head screwdriver to gently pry it loose.
Step 3: Remove the Retaining Clip
Carefully pry and remove the retaining clip, ensuring that it is set aside in a secure location to prevent misplacement. Once the retaining clip is removed, the handle should be free to detach from the recliner mechanism.
Read more: How To Replace A Faucet Handle
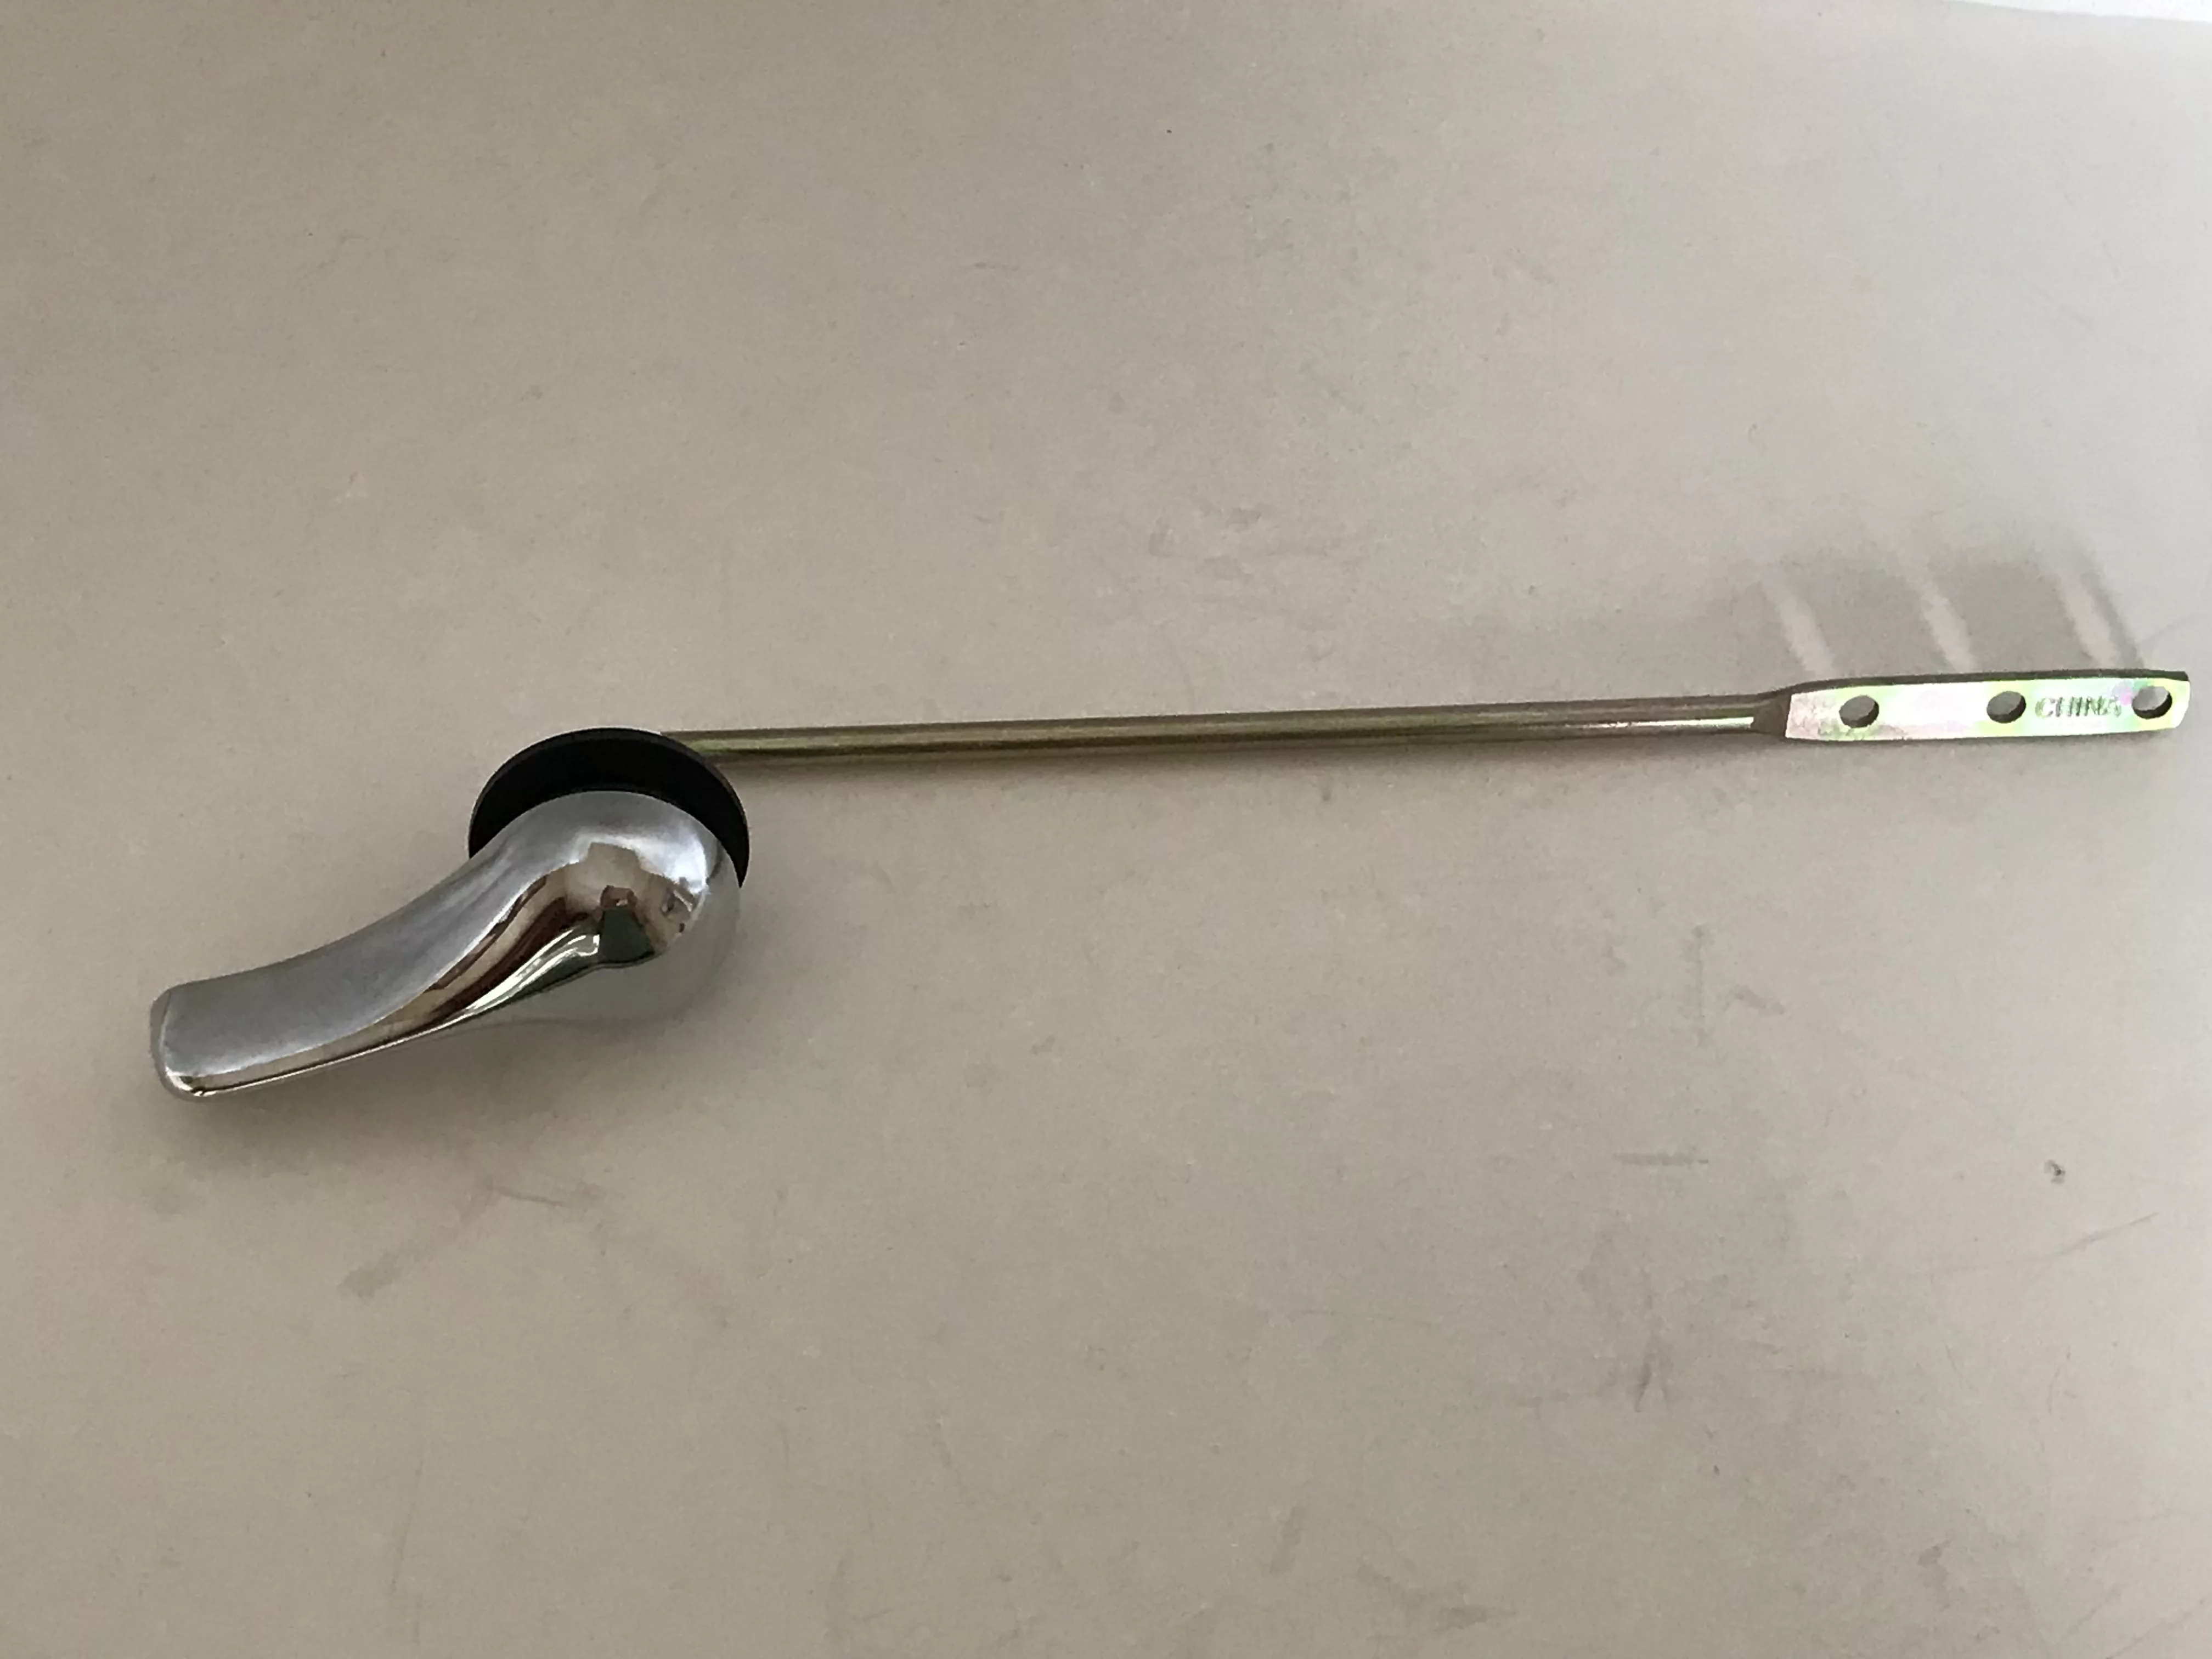
Step 4: Detach the Handle
With the retaining clip removed, gently detach the handle from the recliner mechanism. Take note of the orientation and positioning of the handle to aid in the reassembly process later on.
Step 5: Access the Spring
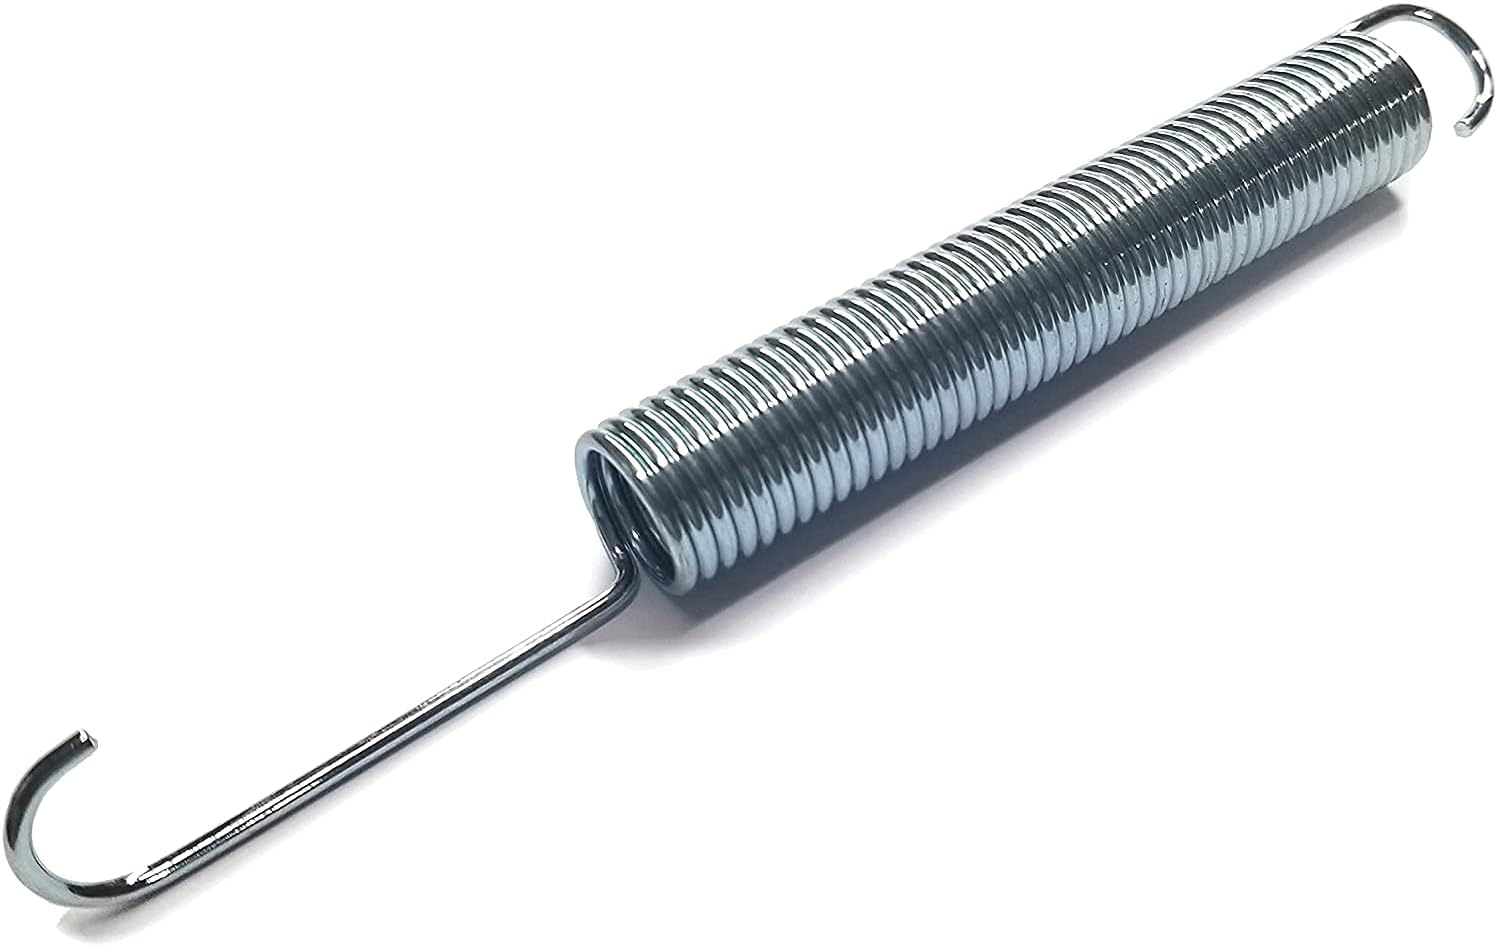
Upon removing the handle, you will gain access to the old recliner handle spring. Carefully inspect the spring for any signs of damage or wear, and be prepared to remove it from its housing.
Step 6: Remove the Old Spring
Using needle-nose pliers, carefully disengage the old spring from its mounting points. Exercise caution to prevent damage to surrounding components and ensure that the spring is fully detached.
By following these steps, you will successfully remove the old recliner handle spring and prepare the recliner for the installation of a new spring. With the old spring out of the way, you're one step closer to restoring the functionality of your recliner.
Installing the New Recliner Handle Spring
With the old recliner handle spring removed, it’s time to proceed with installing the new spring. Follow these detailed steps to ensure a successful installation:
Read more: How To Replace An Outdoor Faucet Handle
Step 1: Prepare the New Spring
Before installation, ensure that the new recliner handle spring is compatible with your specific recliner model. Verify that it matches the dimensions and tension requirements of the original spring to guarantee optimal functionality.
Step 2: Position the New Spring
Carefully position the new spring at the designated mounting points, aligning it with the corresponding slots or hooks within the recliner mechanism. Take note of the orientation and ensure that the spring is securely seated to prevent slippage during operation.
Step 3: Secure the Spring
Using needle-nose pliers, carefully secure the new spring in place, ensuring that it is firmly attached to the designated mounting points. Exercise caution to avoid overstretching or damaging the spring during the installation process.
Step 4: Reattach the Handle
Once the new spring is securely in place, reattach the recliner handle to the mechanism, ensuring that it aligns properly with the mounting points. Take care to position the handle in its original orientation to maintain the functionality of the reclining mechanism.
Read more: How To Replace A Storm Door Handle
Step 5: Reinstall the Retaining Clip
Secure the handle in place by reinstalling the retaining clip. Ensure that the clip is properly engaged to prevent any movement or dislodging of the handle during use.
Step 6: Test the Recliner
After completing the installation, test the recliner to ensure that the new handle spring operates smoothly and facilitates the desired reclining positions. Verify that the footrest and backrest move seamlessly and that the locking mechanism functions as intended.
By following these steps, you will successfully install the new recliner handle spring, restoring the functionality of your recliner and ensuring a comfortable seating experience. With the new spring in place, you can look forward to enjoying the full range of reclining options that your chair has to offer.
Testing the Recliner Handle Spring
Once the new recliner handle spring is installed, it’s crucial to perform a thorough testing process to ensure that the recliner operates smoothly and efficiently. Follow these steps to test the functionality of the new spring:
Step 1: Initial Assessment
Begin by visually inspecting the newly installed spring and handle mechanism to ensure that all components are securely in place. Verify that the handle moves freely and that the spring provides the necessary tension for smooth operation.
Read more: How Much To Replace Garage Door Spring
Step 2: Reclining Test
Engage the reclining mechanism and test the footrest and backrest to verify that they move seamlessly without any resistance or uneven operation. Pay close attention to the range of motion and ensure that the recliner reaches the desired positions without difficulty.
Step 3: Locking Mechanism Test
If your recliner features a locking mechanism to secure specific reclining positions, test this functionality to ensure that the new spring effectively maintains the desired positions without slippage or instability. Verify that the locking mechanism engages and disengages as intended.
Step 4: Smooth Operation Check
Operate the recliner handle through multiple cycles to assess the overall smoothness and consistency of the movement. Listen for any unusual noises or friction that may indicate issues with the newly installed spring.
Step 5: Comfort and Stability Evaluation
Sit in the recliner and evaluate the overall comfort and stability provided by the new spring. Ensure that the seating experience is enhanced by the proper functioning of the reclining mechanism, and that the chair remains stable in all reclining positions.
Step 6: Lubrication and Maintenance
If necessary, apply a small amount of lubricant or silicone spray to the moving parts of the reclining mechanism to promote smooth operation and prevent premature wear. Regular maintenance will prolong the life of the new spring and ensure long-term functionality.
By conducting a comprehensive testing process, you can be confident that the new recliner handle spring is fully functional and ready to provide reliable support for your reclining needs. With a successful test, you can look forward to enjoying the comfort and convenience of your rejuvenated recliner for years to come.
Conclusion
Congratulations on successfully replacing the recliner handle spring and restoring the functionality of your beloved recliner! By following the comprehensive steps outlined in this guide, you’ve taken a proactive approach to maintaining and prolonging the life of your furniture. With the right tools, a bit of patience, and a willingness to dive into the world of furniture maintenance, you’ve accomplished a task that will enhance your daily comfort and relaxation.
Understanding the mechanics of the recliner handle spring has empowered you to diagnose and address common issues that may arise, ensuring that your recliner continues to provide a comfortable and customizable seating experience. By recognizing the importance of this small yet essential component, you’ve gained valuable insight into the inner workings of your recliner, setting the stage for future maintenance and care.
As you bask in the comfort of your newly rejuvenated recliner, remember that regular maintenance and attention to detail can significantly extend the lifespan of your furniture. Whether it’s applying a touch of lubricant for smooth operation or periodically inspecting the components for wear, your proactive approach to care will pay dividends in the long run.
With the knowledge and confidence gained from this experience, you’re well-equipped to tackle future furniture maintenance tasks and ensure that your living space remains a haven of comfort and relaxation. The satisfaction of a smoothly functioning recliner is a testament to your dedication to preserving the quality and comfort of your home environment.
So, kick back, recline, and savor the fruits of your labor. Your newly replaced recliner handle spring is a testament to your resourcefulness and commitment to maintaining a cozy and inviting living space.
Frequently Asked Questions about How To Replace Recliner Handle Spring
Was this page helpful?
At Storables.com, we guarantee accurate and reliable information. Our content, validated by Expert Board Contributors, is crafted following stringent Editorial Policies. We're committed to providing you with well-researched, expert-backed insights for all your informational needs.


0 thoughts on “How To Replace Recliner Handle Spring”