Home>Furniture & Design>Living Room Furniture>How To Restuff A Recliner Seat

Living Room Furniture
How To Restuff A Recliner Seat
Modified: February 18, 2024
Learn how to restuff a recliner seat to bring new life to your living room furniture. Discover expert tips and tricks for furniture design and maintenance.
(Many of the links in this article redirect to a specific reviewed product. Your purchase of these products through affiliate links helps to generate commission for Storables.com, at no extra cost. Learn more)
Introduction
Welcome to the ultimate guide on how to restuff a recliner seat! Over time, your favorite recliner may start to lose its plushness, making it less comfortable and supportive. Rather than investing in a new chair, you can breathe new life into your beloved recliner by restuffing the seat. Not only does this rejuvenate the comfort and appearance of your recliner, but it also allows you to customize the level of firmness to suit your preferences.
In this comprehensive guide, we will walk you through the step-by-step process of restuffing a recliner seat, providing you with valuable tips and insights along the way. Whether you’re a seasoned DIY enthusiast or a novice looking to embark on your first furniture restoration project, this guide is designed to equip you with the knowledge and confidence to tackle the task with ease.
So, grab your tools and let’s dive into the world of recliner restoration, where comfort and creativity collide!
Key Takeaways:
- Revive your worn-out recliner by restuffing the seat with new foam or padding, bringing back its comfort and support without the need for a new chair.
- With basic tools and materials, you can easily remove old stuffing, prepare new padding, and restuff your recliner seat, giving it a fresh and personalized feel.
Read more: What Is Cradle Recliner Seat
Tools and Materials
Before embarking on the restuffing journey, it’s essential to gather the necessary tools and materials. Here’s what you’ll need:
Tools:
- Flathead screwdriver
- Needle-nose pliers
- Scissors
- Staple remover
- Staple gun
- Utility knife
- Measuring tape
- Marker or pen
- Large sewing needle
- Thimble (optional, but helpful for tough fabrics)
Materials:
- New foam or stuffing material (polyester fiberfill, foam padding, etc.)
- Upholstery fabric (if the existing fabric is worn or damaged)
- Strong upholstery thread
- Heavy-duty upholstery needle
- Staples
- Dust cover fabric (optional, for the underside of the seat)
By ensuring you have these tools and materials on hand, you’ll be fully equipped to tackle each step of the restuffing process with confidence and precision.
Removing the Old Stuffing
Before you can breathe new life into your recliner seat, you’ll need to bid farewell to the old, worn-out stuffing. Here’s how to tackle this essential first step:
1. Prepare the Workspace: Set up a clean, well-lit workspace where you can comfortably maneuver the recliner seat. It’s advisable to lay down a protective covering to prevent any mess or damage to the floor or surrounding furniture.
2. Access the Seat: Depending on the design of your recliner, you may need to flip it over or remove the fabric covering to access the underside of the seat. Use a flathead screwdriver and staple remover to carefully detach the fabric, taking note of the staple placement for reassembly later.
3. Remove the Old Stuffing: Using a combination of your hands, scissors, and needle-nose pliers, extract the old stuffing material from the seat. Be thorough in this process, ensuring that all remnants of the old stuffing are completely removed to make way for the fresh padding.
4. Inspect the Seat: With the old stuffing removed, take the opportunity to inspect the condition of the seat’s foundation and springs. Address any issues such as broken springs or damaged support structures before proceeding with the restuffing process.
By diligently removing the old stuffing and preparing the seat for its rejuvenation, you’re setting the stage for a successful restuffing endeavor. With a clean slate and a keen eye for detail, you’re ready to move on to the next phase of the transformation.
Read more: How To Fix Car Seat Recliner
Preparing the New Stuffing
With the old stuffing removed, it’s time to prepare the new padding that will revitalize your recliner seat. Whether you opt for foam, polyester fiberfill, or another type of padding, the following steps will guide you through the preparation process:
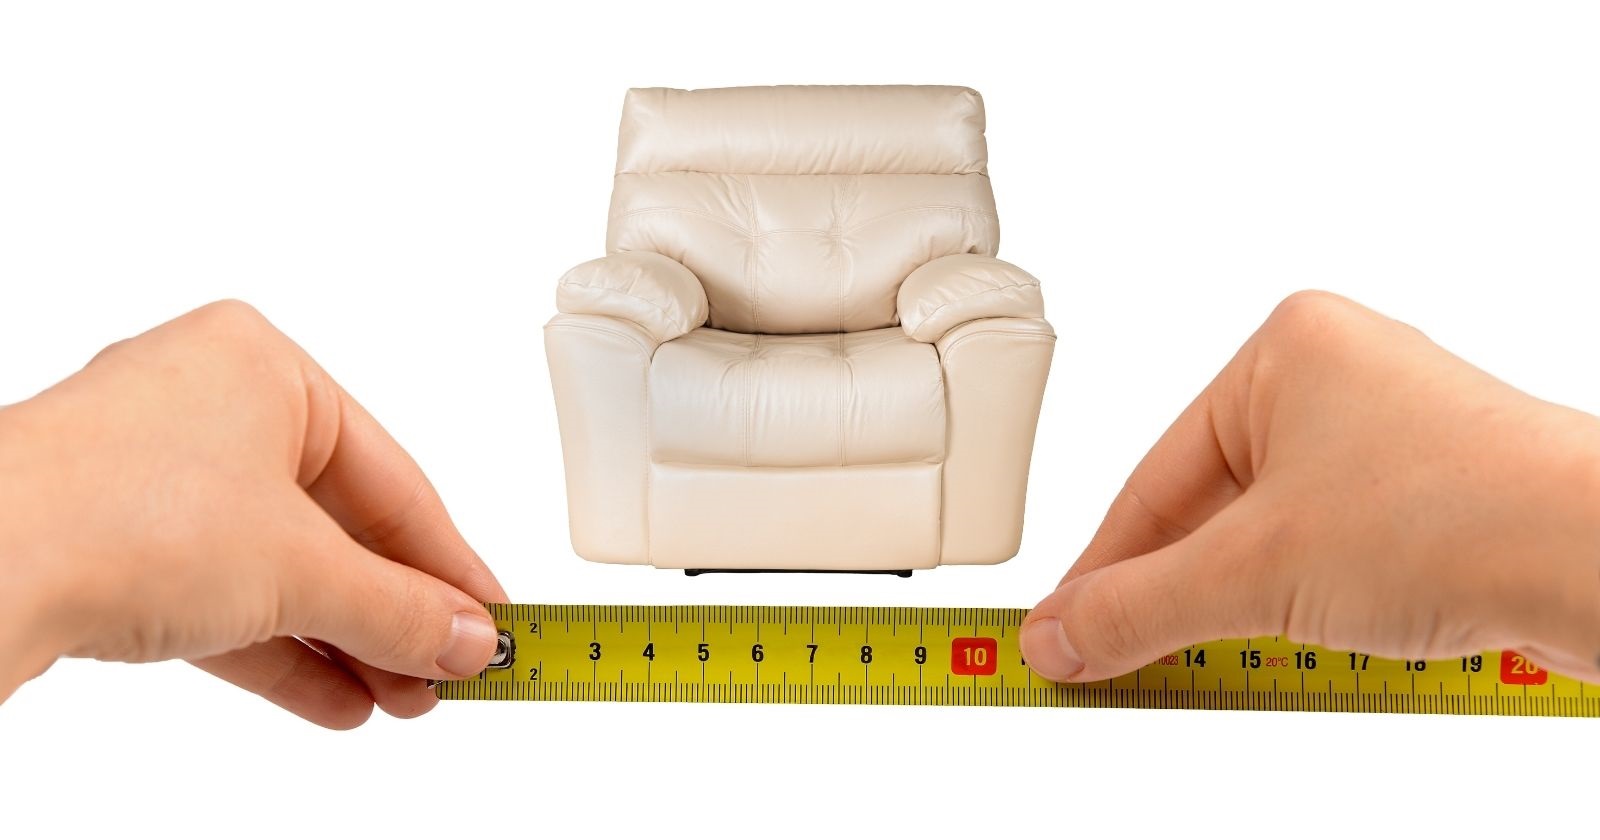
1. Measure and Cut: Using a measuring tape and marker, measure the dimensions of the seat to determine the amount of new stuffing required. If using foam, carefully mark and cut it to fit the seat’s shape and size. For other materials, such as polyester fiberfill, ensure you have enough to provide ample cushioning without overstuffing.
2. Consider Layering: Depending on the desired level of firmness and support, you may opt to layer different types of padding. For instance, combining foam with a layer of fiberfill can create a balanced and comfortable seating surface. Experiment with different combinations to achieve the ideal level of comfort.
3. Shape the Padding: If the seat features contoured or curved sections, you may need to sculpt the padding to conform to these shapes. A utility knife can be used to carefully shape the foam or other materials to match the seat’s contours, ensuring a snug and tailored fit.
4. Test the Fit: Once the padding is prepared, place it within the seat to assess the fit and comfort. Make any necessary adjustments to ensure that the padding fills the seat evenly and provides the desired level of support.
By meticulously preparing the new stuffing, you’re taking a crucial step toward ensuring that your recliner seat will be restored to its former comfort and functionality. With the padding ready to take its place, you’re poised to embark on the next phase of the restuffing process.
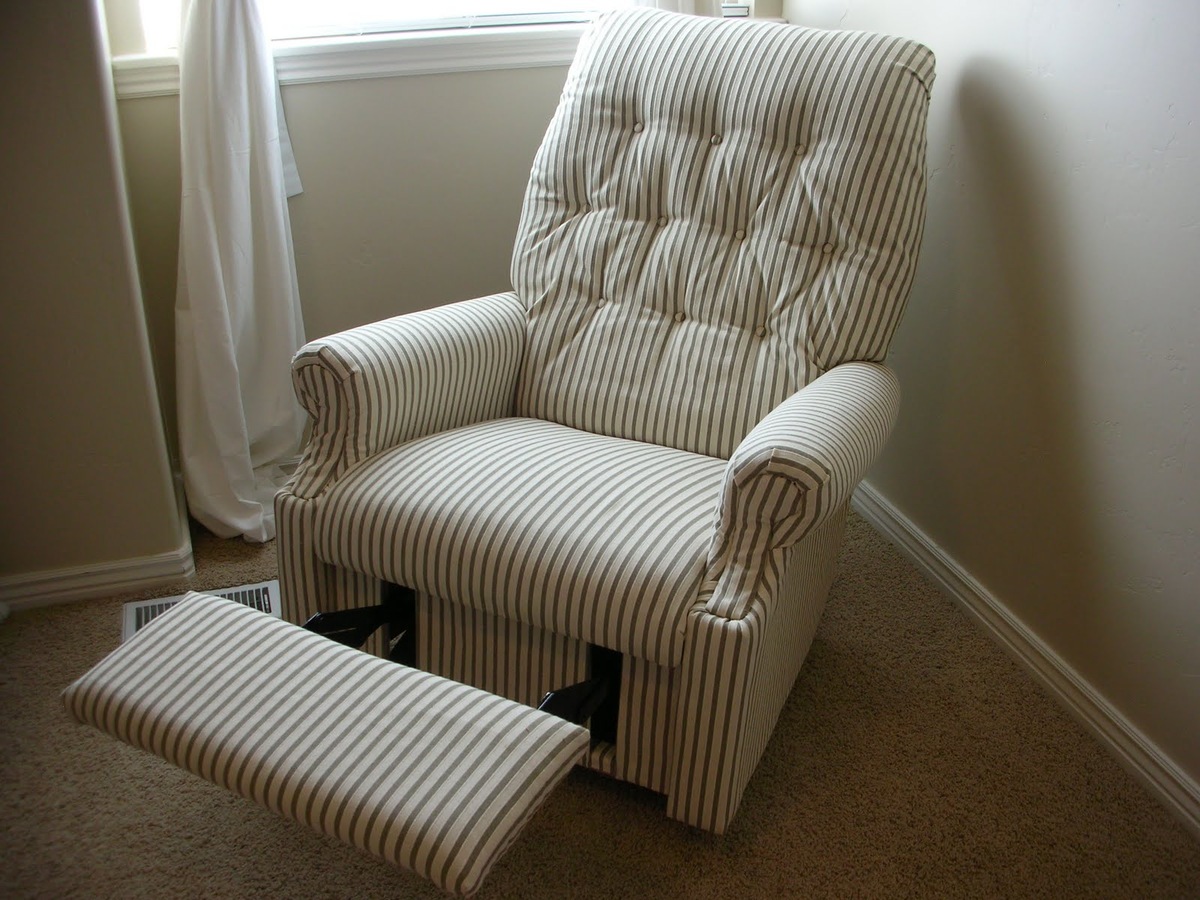
Restuffing the Recliner Seat
With the old stuffing removed and the new padding prepared, it’s time to embark on the transformative process of restuffing the recliner seat. Follow these steps to ensure a seamless and successful restuffing experience:
1. Position the Padding: Carefully place the prepared padding into the seat, ensuring that it fits snugly and fills the space evenly. Take the time to adjust the padding as needed to achieve a balanced and comfortable seating surface.
2. Secure the Padding: Using a staple gun, affix the padding to the seat’s framework or base. Start by securing the padding along the edges, gradually working your way around to ensure a secure and uniform attachment. Be mindful of maintaining a smooth and taut appearance without over-tightening the fabric.
3. Address Fabric Reattachment: If the fabric covering was removed, carefully reattach it to the underside of the seat. Align the fabric evenly and use a staple gun to secure it in place, referencing the original staple locations as a guide for reassembly.
4. Trim Excess Material: Once the padding is secured and the fabric is reattached, trim any excess material to achieve a neat and tidy appearance. Use scissors to carefully trim away surplus fabric, ensuring a clean and professional finish.
5. Test the Comfort: After restuffing the seat and reattaching the fabric, take a moment to test the comfort and support of the recliner. Sit in the chair and assess the firmness and overall feel of the seat, making any final adjustments if necessary.
By following these steps, you’ll effectively breathe new life into your recliner seat, restoring its comfort and ensuring that it remains a cherished piece of furniture in your home. With the restuffing process complete, you’re now ready to add the finishing touches to your revitalized recliner.
Use high-density foam for durability and comfort when restuffing a recliner seat. Measure the seat and cut the foam to fit snugly for a professional finish.
Finishing Touches
As you near the completion of the restuffing process, it’s time to add the finishing touches that will elevate the appearance and functionality of your revitalized recliner. Consider the following steps to ensure that every detail is attended to with care:
1. Inspect and Reinforce: Take a moment to inspect the recliner seat, paying attention to the secureness of the fabric and the overall appearance. Reinforce any loose staples or fabric, ensuring that the upholstery is taut and free of wrinkles for a polished look.
2. Address Upholstery: If the existing upholstery is worn or damaged, consider whether reupholstering the entire seat is necessary. This presents an opportunity to refresh the recliner’s appearance with a new fabric that complements your décor and personal style.
3. Optional Dust Cover: For a professional and polished finish, consider adding a dust cover fabric to the underside of the recliner seat. This not only conceals the internal components but also adds a layer of protection to prolong the life of the restuffed seat.
4. Reassemble the Recliner: If any components were removed during the restuffing process, such as armrests or decorative elements, reassemble the recliner to its original configuration. Ensure that all parts are securely attached and aligned for a cohesive and functional result.
5. Clean and Polish: Once the restuffing and reassembly are complete, take the opportunity to clean and polish the recliner, giving it a refreshed and rejuvenated appearance. This final step adds a touch of elegance and ensures that your recliner shines as the centerpiece of your living space.
By attending to these finishing touches, you’ll not only enhance the visual appeal of your recliner but also reinforce the durability and longevity of the restuffed seat. With the final details in place, your recliner is ready to reclaim its status as a beloved and inviting piece of furniture in your home.
Conclusion
Congratulations on successfully restuffing your recliner seat and breathing new life into a cherished piece of furniture! By embarking on this DIY journey, you’ve not only revitalized the comfort and functionality of your recliner but also gained valuable insights into the art of furniture restoration.
Throughout this process, you’ve demonstrated resourcefulness, creativity, and a hands-on approach to enhancing your living space. From carefully removing the old stuffing to meticulously preparing and restuffing the seat, each step has been a testament to your dedication to preserving and rejuvenating your recliner.
As you settle back into your newly restuffed recliner, take a moment to appreciate the transformation you’ve achieved. The comfort and support it now offers are a testament to your craftsmanship and commitment to maintaining a cozy and inviting home environment.
Remember that the skills and knowledge you’ve gained can be applied to future furniture restoration projects, empowering you to tackle new endeavors with confidence and enthusiasm. Whether it’s a worn-out armchair, a sagging sofa, or another piece in need of attention, you now possess the expertise to revitalize and personalize your furniture to suit your preferences.
As you enjoy the comfort and satisfaction of your newly restuffed recliner, take pride in the craftsmanship and care you’ve invested in this project. Your dedication to preserving and enhancing your living space exemplifies the spirit of creativity and resourcefulness that transforms a house into a home.
With your recliner now restored to its former glory, you can look forward to many more moments of relaxation and comfort, knowing that it has been lovingly rejuvenated to provide years of enjoyment. Here’s to your beautifully restuffed recliner and the countless memories it will continue to support and embrace.
Frequently Asked Questions about How To Restuff A Recliner Seat
Was this page helpful?
At Storables.com, we guarantee accurate and reliable information. Our content, validated by Expert Board Contributors, is crafted following stringent Editorial Policies. We're committed to providing you with well-researched, expert-backed insights for all your informational needs.


0 thoughts on “How To Restuff A Recliner Seat”