Home>Furniture & Design>Living Room Furniture>How To Fix The Back Of A Lazy Boy Recliner
Living Room Furniture
How To Fix The Back Of A Lazy Boy Recliner
Modified: April 22, 2024
Learn how to easily fix the back of your Lazy Boy recliner with our expert tips. Get your living room furniture back in top shape with our simple DIY solutions. Discover the best ways to maintain and repair your furniture and design.
(Many of the links in this article redirect to a specific reviewed product. Your purchase of these products through affiliate links helps to generate commission for Storables.com, at no extra cost. Learn more)
Introduction
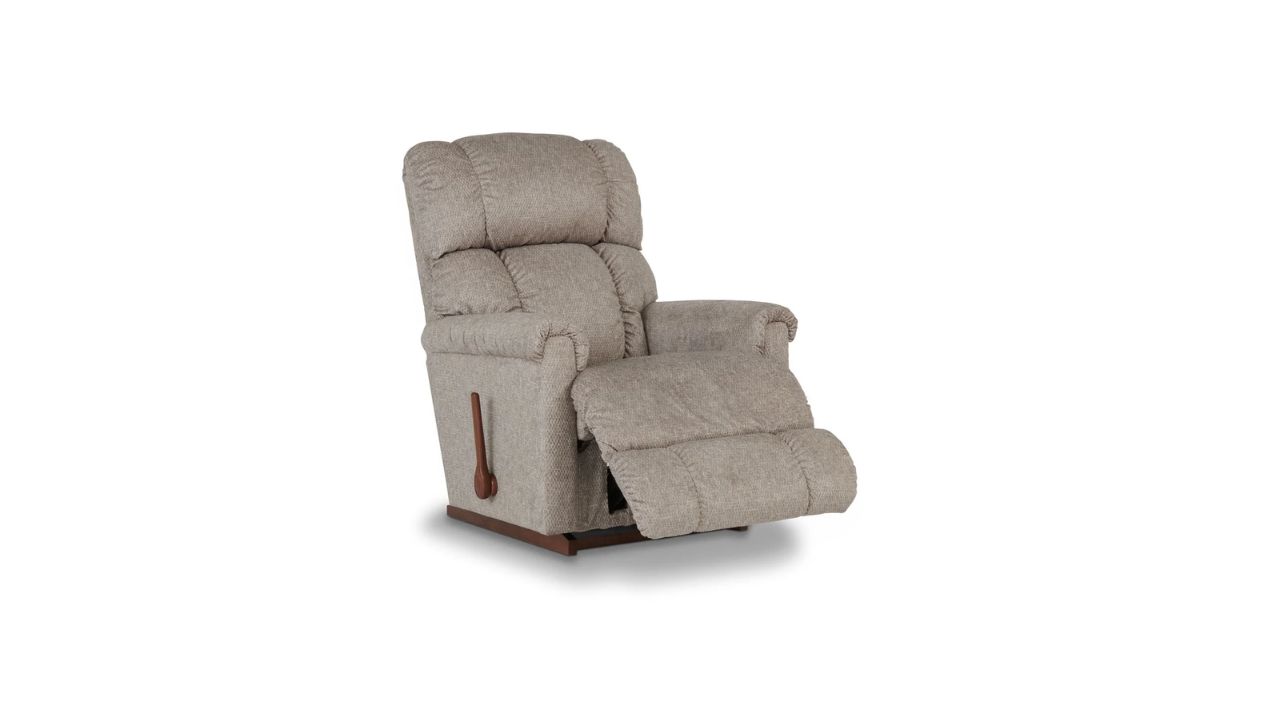
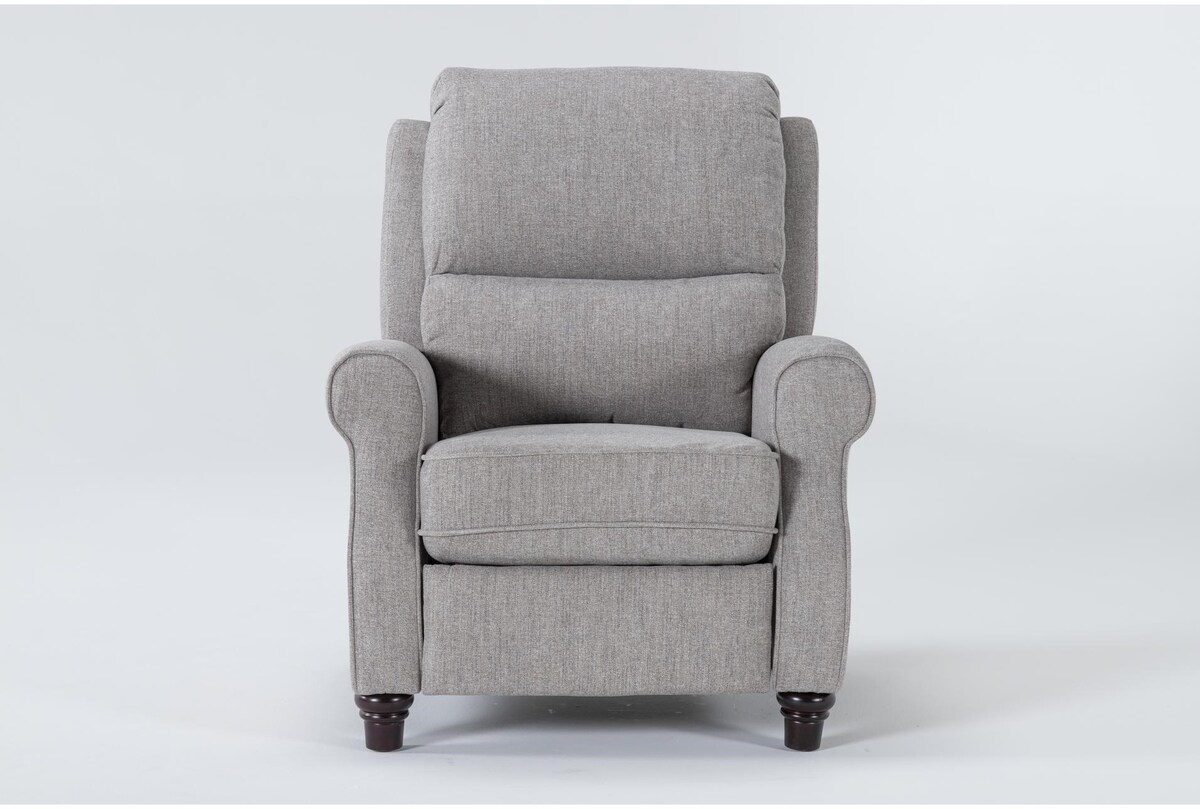
A Lazy Boy recliner is a beloved piece of furniture that provides comfort and relaxation. However, over time, the back of a Lazy Boy recliner may encounter issues such as leaning to one side, not reclining properly, or making creaking noises. These problems can significantly diminish the overall comfort and functionality of the recliner, prompting the need for repairs.
In this comprehensive guide, we will walk you through the step-by-step process of fixing the back of a Lazy Boy recliner. Whether you are dealing with a misaligned back, a faulty reclining mechanism, or other issues, this guide will equip you with the knowledge and techniques to restore your recliner to its optimal condition.
By following the instructions outlined in this guide, you can save time and money by addressing the problem yourself, without the need to hire a professional. With the right tools and a systematic approach, you can effectively troubleshoot and resolve the issues affecting the back of your Lazy Boy recliner.
From assessing the damage to repairing or replacing the reclining mechanism, each step is designed to empower you with the skills and confidence needed to tackle this repair project. By the end of this guide, you will have the satisfaction of knowing that you have successfully restored your Lazy Boy recliner to its former glory.
So, gather your tools and let's embark on this journey to revitalize your beloved Lazy Boy recliner. Whether it's a minor adjustment or a more involved repair, this guide will provide you with the knowledge and guidance to address the back of your recliner with precision and care. Let's get started!
Key Takeaways:
- Fixing a Lazy Boy recliner’s back involves assessing, repairing, and testing the reclining mechanism. With the right tools and steps, you can restore comfort and functionality to your beloved recliner without professional help.
- By following a systematic approach and testing the recliner’s stability and comfort, you can ensure a successful repair. Empower yourself to troubleshoot and address issues, preserving the comfort and relaxation of your living space.
Read more: How To Adjust A Lazy Boy Recliner
Tools and Materials Needed
Before embarking on the journey to fix the back of your Lazy Boy recliner, it's essential to gather the necessary tools and materials. Having the right equipment at your disposal will streamline the repair process and ensure that you can address the issues effectively. Here's a comprehensive list of the tools and materials you will need:
Tools:
- Screwdriver Set: A set of screwdrivers, including both flathead and Phillips head varieties, will be indispensable for removing screws and accessing the internal components of the recliner.
- Pliers: Having a pair of pliers will aid in gripping and manipulating small components during the repair process.
- Adjustable Wrench: An adjustable wrench will be useful for tightening or loosening nuts and bolts as needed.
- Flashlight: A flashlight will help illuminate the interior of the recliner, allowing for better visibility during the repair process.
- Allen Wrench Set: Depending on the recliner model, an Allen wrench set may be required to access and adjust specific components.
- Scissors: Keep a pair of scissors handy for cutting and trimming any materials, such as fabric or padding, if necessary.
Materials:
- Replacement Parts: Depending on the specific issue with the recliner, you may need replacement parts such as springs, cables, or a new reclining mechanism.
- Lubricant: A high-quality lubricant, such as silicone-based spray or grease, will be essential for addressing any squeaking or stiffness in the reclining mechanism.
- Fabric Glue or Staple Gun: If the repair involves reattaching fabric or upholstery, having fabric glue or a staple gun will be necessary to secure the material in place.
- Padding or Foam: In cases where the padding or foam in the back of the recliner needs to be replaced, having extra padding or foam on hand will facilitate the repair.
- Cleaning Supplies: It's beneficial to have cleaning supplies such as a mild detergent, soft cloths, and a vacuum cleaner to clean the recliner's exterior and interior during the repair process.
By ensuring that you have these tools and materials readily available, you will be well-prepared to address a wide range of issues affecting the back of your Lazy Boy recliner. With these resources at your disposal, you can approach the repair process with confidence and efficiency, ultimately restoring your recliner to its optimal condition.
Step 1: Assess the Damage
Before diving into the repair process, it's crucial to thoroughly assess the extent of the damage affecting the back of your Lazy Boy recliner. By conducting a comprehensive evaluation, you can pinpoint the specific issues and determine the underlying causes. This initial step sets the foundation for an effective and targeted repair approach.
Begin by visually inspecting the recliner's back, paying close attention to any visible signs of damage or irregularities. Look for indications of misalignment, such as one side of the back being higher or lower than the other, or if the back appears crooked when in the upright position. Additionally, check for any tears, fraying, or wear in the upholstery or fabric covering the back of the recliner.
Next, test the reclining mechanism to identify any functional issues. Sit in the recliner and attempt to recline it, observing whether it reclines smoothly or encounters resistance. Listen for any unusual creaking, grinding, or clicking noises that may indicate mechanical problems within the reclining mechanism.
If the recliner has a power reclining feature, ensure that the electrical components are functioning correctly by testing the power controls and verifying that the reclining motion is consistent and responsive.
In some cases, the damage may be internal, requiring you to feel for any irregularities or shifts in the internal components of the recliner's back. Press gently on different areas of the back to detect any areas of excessive give or stiffness, which could signify issues with the padding, springs, or support structure.
Documenting the observed damage and taking note of any specific symptoms or irregularities will provide valuable insights as you proceed with the repair process. By thoroughly assessing the damage, you can tailor your approach to address the specific issues affecting the back of your Lazy Boy recliner, setting the stage for a successful repair.
Taking the time to assess the damage ensures that you approach the repair process with a clear understanding of the issues at hand, enabling you to proceed with confidence and precision as you work towards restoring your recliner to its optimal condition.
Read more: How To Clean A Lazy Boy Recliner
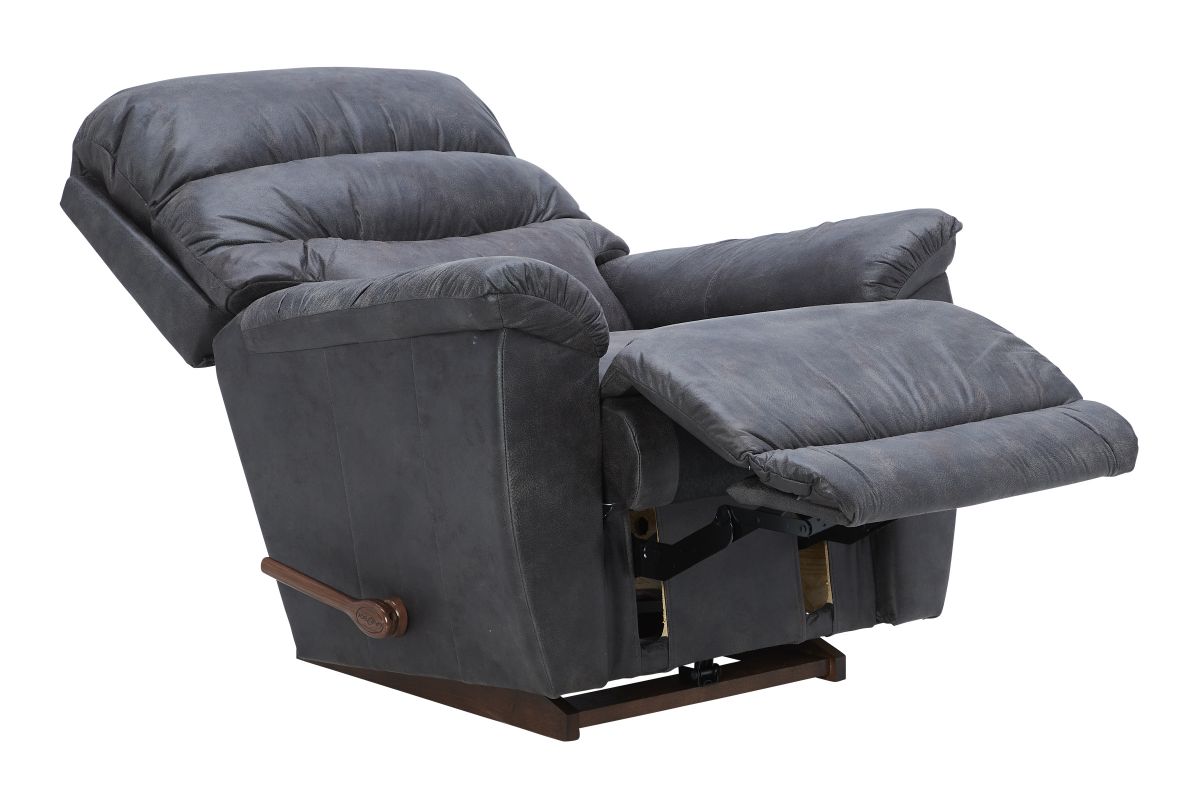
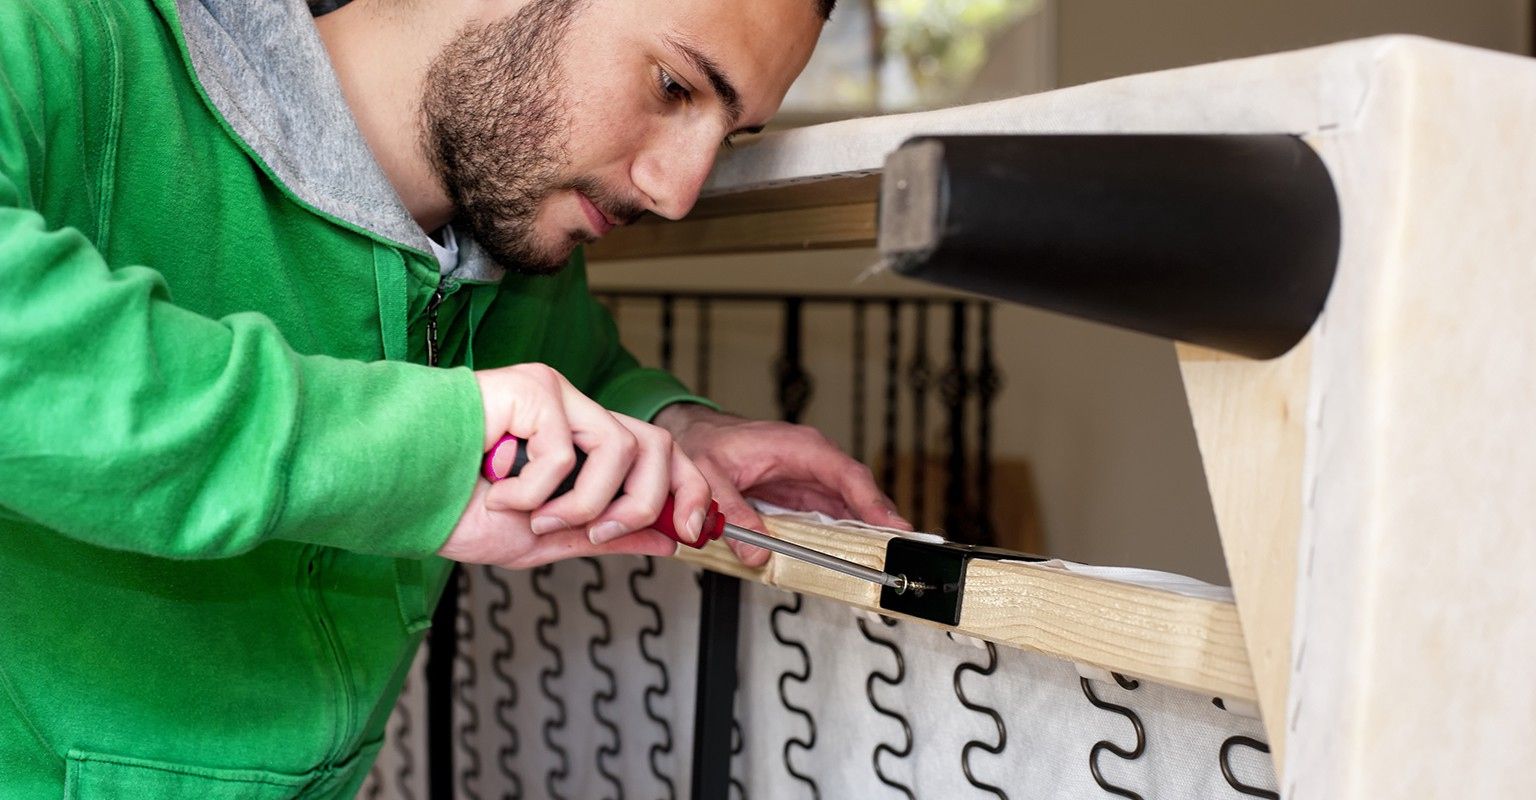
Step 2: Remove the Back Panel
Removing the back panel of your Lazy Boy recliner is a crucial step in gaining access to the internal components that may require repair or adjustment. By following a systematic approach, you can safely and effectively remove the back panel without causing damage to the recliner's structure or upholstery.
-
Locate the Attachment Points: Begin by carefully examining the back of the recliner to identify the attachment points of the back panel. These attachment points are typically located along the bottom and sides of the back panel, where it connects to the main frame of the recliner. Look for any visible screws, bolts, or fasteners that secure the back panel in place.
-
Prepare the Work Area: Clear the area around the recliner to create ample space for maneuvering and working. Ensure that there are no obstacles or obstructions that could impede your ability to access and remove the back panel. Additionally, having a clean and organized work area will minimize the risk of misplacing small components during the removal process.
-
Gather the Necessary Tools: Assemble the appropriate tools for removing the back panel, including a screwdriver set with the relevant screw heads, pliers, and any other tools required based on the specific attachment mechanisms of your recliner. Having the right tools at your disposal will streamline the removal process and minimize the risk of damaging the recliner or the back panel.
-
Unfasten the Attachment Points: Using the appropriate tools, carefully unfasten the screws, bolts, or fasteners securing the back panel to the recliner's frame. Exercise caution to avoid stripping the screws or causing damage to the surrounding upholstery. If the back panel is upholstered, take care to protect the fabric or material from tears or snags during the removal process.
-
Lift and Remove the Back Panel: Once the attachment points are unfastened, gently lift the back panel away from the recliner, taking care to support it and prevent any sudden movements that could cause damage. If the back panel is connected by hooks or clips, ensure that these are disengaged before fully removing the panel.
-
Inspect the Interior: With the back panel removed, take the opportunity to inspect the interior of the recliner for any visible damage, loose components, or signs of wear. This visual inspection will provide valuable insights into the condition of the internal mechanisms and guide the subsequent steps of the repair process.
By methodically following these steps, you can safely and effectively remove the back panel of your Lazy Boy recliner, setting the stage for further assessment and repair of the internal components. This careful approach ensures that the removal process is executed with precision and attention to detail, laying the groundwork for successful recliner repair.
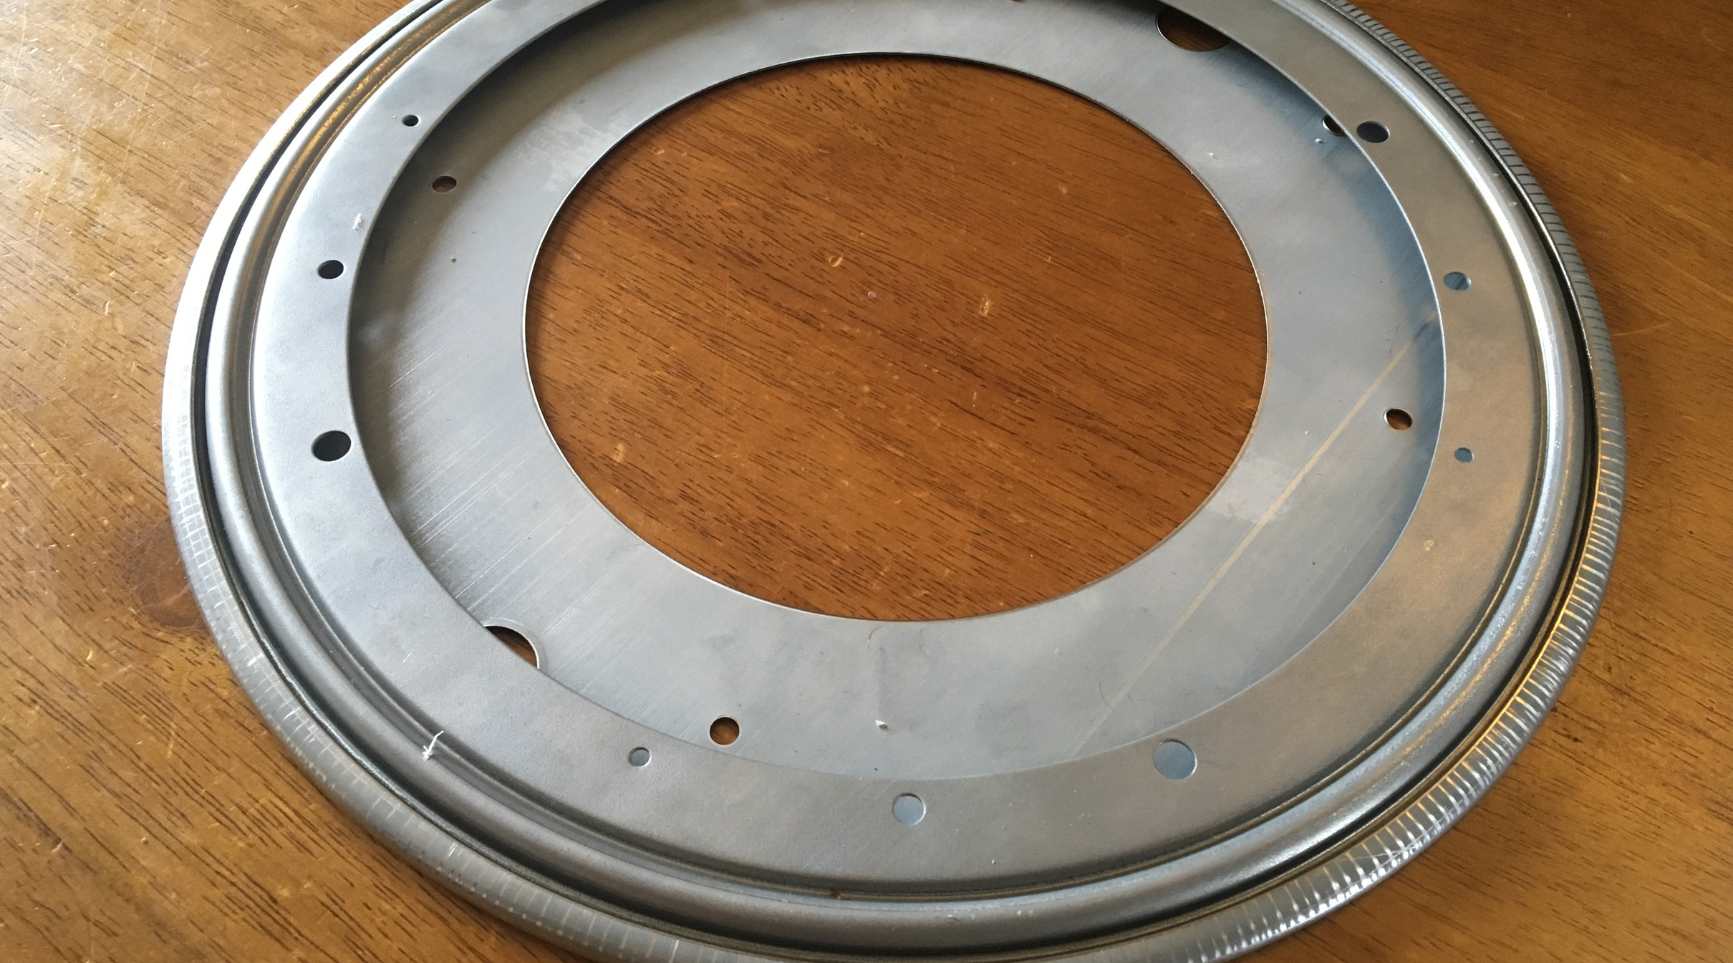
Step 3: Repair or Replace the Mechanism
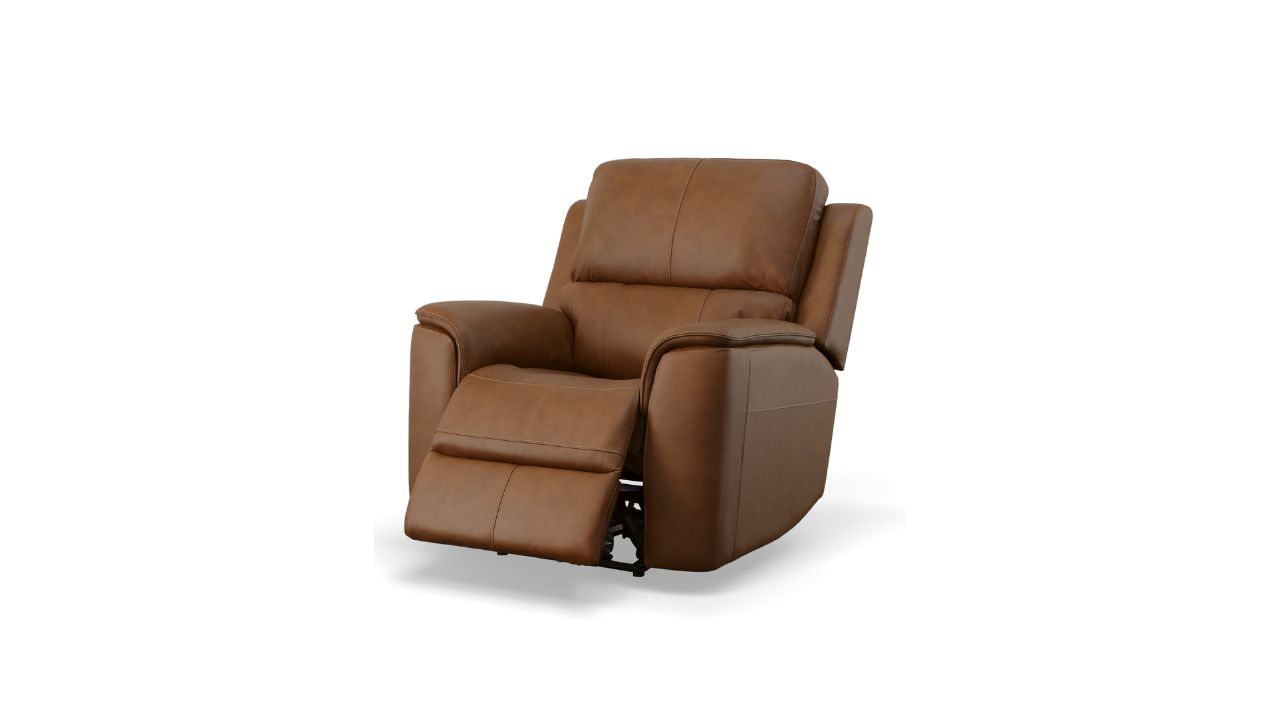
Once the back panel of your Lazy Boy recliner has been removed, you can proceed to assess and address the specific issues affecting the reclining mechanism. Whether it's a misaligned or malfunctioning mechanism, this step focuses on restoring the functionality and comfort of the recliner.
Evaluate the Mechanism
Begin by closely examining the reclining mechanism, paying attention to any visible damage, wear, or misalignments. Check for broken or bent components, loose connections, or signs of excessive friction within the mechanism. If the recliner utilizes a lever or handle for manual operation, ensure that it moves smoothly and engages the reclining function without resistance.
Lubricate Moving Parts
If the mechanism exhibits stiffness or resistance during operation, applying a high-quality lubricant can often alleviate these issues. Use a silicone-based spray or grease to lubricate the moving parts of the reclining mechanism, including pivot points, springs, and joints. This lubrication will reduce friction, resulting in smoother and quieter operation of the recliner.
Read more: How To Repair A Lazy Boy Recliner
Repairing Components
For minor issues such as loose screws, bent levers, or misaligned parts, you can often address these through simple repairs. Tighten any loose screws or fasteners using the appropriate tools, ensuring that all components are securely fastened. If a lever or handle is misaligned, carefully adjust its position to ensure proper engagement with the reclining mechanism.
Replacement of Parts
In cases where the reclining mechanism exhibits significant damage or wear, replacement of specific components may be necessary. This could include springs, cables, levers, or the entire reclining mechanism assembly. Refer to the recliner's manual or contact the manufacturer to obtain the appropriate replacement parts, ensuring compatibility with your recliner model.
Professional Assistance
If the issues affecting the reclining mechanism are complex or require specialized knowledge, consider seeking professional assistance. A certified furniture repair technician or the manufacturer's service department can provide expert guidance and perform intricate repairs or replacements, ensuring the optimal functionality of the recliner.
By meticulously evaluating and addressing the reclining mechanism, you can effectively restore the smooth and reliable operation of your Lazy Boy recliner. Whether through lubrication, repairs, or component replacements, this step focuses on rejuvenating the essential mechanism that facilitates the reclining function, ultimately enhancing the comfort and usability of your beloved recliner.
Step 4: Reattach the Back Panel
With the internal components assessed and any necessary repairs or adjustments completed, the next crucial step in the recliner repair process is reattaching the back panel. This step requires precision and care to ensure that the back panel is securely and correctly affixed to the recliner's frame, restoring its structural integrity and aesthetic appeal.
Read more: What Is The Best Lazy Boy Recliner
Aligning the Back Panel
Before reattaching the back panel, carefully align it with the recliner's frame, ensuring that it sits flush and level. Take note of any attachment points or hooks that facilitate the connection between the back panel and the frame. Aligning the back panel accurately is essential to prevent misalignment or uneven gaps once it is reattached.
Securing the Attachment Points
Using the appropriate tools, such as a screwdriver or wrench, resecure the attachment points of the back panel to the recliner's frame. Exercise caution to avoid overtightening the screws or fasteners, as this could potentially damage the frame or the back panel. Ensure that each attachment point is firmly and evenly secured to maintain the structural integrity of the recliner.
Upholstery and Fabric Care
If the back panel features upholstery or fabric covering, take care to preserve its appearance during the reattachment process. Avoid causing tears, wrinkles, or creases in the fabric as you secure the back panel. If necessary, gently smooth out any wrinkles or adjust the fabric to ensure a neat and uniform appearance once the back panel is reattached.
Functional Testing
After the back panel is securely reattached, test the recliner's functionality to ensure that the reattachment process has not impeded its operation. Verify that the reclining mechanism operates smoothly and without any obstructions. Additionally, test the stability and comfort of the backrest to confirm that it is securely in place and aligned correctly.
Read more: How To Lock A Lazy Boy Recliner
Final Inspection
Conduct a thorough visual inspection of the recliner, paying attention to the reattached back panel and its surrounding areas. Look for any signs of misalignment, loose components, or damage resulting from the reattachment process. Address any issues promptly to ensure that the recliner is restored to its optimal condition.
By meticulously following these steps, you can effectively reattach the back panel of your Lazy Boy recliner, completing the repair process with precision and attention to detail. This final step sets the stage for enjoying the comfort and functionality of your rejuvenated recliner, providing a sense of satisfaction and accomplishment as you witness the successful restoration of this beloved piece of furniture.
Step 5: Test the Recliner
With the back panel securely reattached and any necessary repairs or adjustments completed, the final step in the recliner repair process is to thoroughly test the functionality and comfort of the recliner. This critical phase ensures that the repair efforts have been successful and that the recliner is restored to its optimal condition, ready to provide the comfort and relaxation it is designed for.
Reclining Functionality
Begin by testing the reclining functionality of the recliner, ensuring that it smoothly transitions from the upright position to the fully reclined position without encountering resistance or irregularities. Pay close attention to the range of motion, verifying that the recliner reaches its maximum reclining angle and returns to the upright position seamlessly. If the recliner features multiple reclining positions, test each setting to confirm its functionality.
Stability and Support
Sit in the recliner and assess the stability and support provided by the backrest. Ensure that the backrest maintains a secure and comfortable position, without any wobbling or shifting. Lean back against the backrest to gauge its resilience and support, verifying that it provides the desired level of comfort and relaxation. If the recliner features adjustable lumbar support or headrest, test these features to ensure they function as intended.
Read more: What Recliner Is Better Than Lazy Boy
Noise and Smoothness
During the reclining process, listen for any unusual noises such as creaking, grinding, or clicking that may indicate underlying issues. A well-repaired recliner should operate quietly and smoothly, without producing disruptive or concerning sounds. Pay attention to the overall smoothness of the reclining motion, ensuring that it is free from jerky movements or friction-related disturbances.
Electrical Controls (If Applicable)
If the recliner incorporates a power reclining feature, thoroughly test the electrical controls to ensure that they operate reliably and consistently. Verify that the power reclining motion is responsive and synchronized with the control inputs, and that any additional features such as built-in USB ports or heating elements function as intended. If the recliner includes a massage function, test its operation to confirm its effectiveness.
Comfort Assessment
Finally, spend some time sitting in the recliner to assess its overall comfort and ergonomic design. Pay attention to the cushioning, armrest support, and overall seating experience, ensuring that the recliner provides the level of comfort and relaxation expected. Make any necessary adjustments to the seating position or features to optimize the comfort according to personal preferences.
By meticulously testing the recliner's functionality, stability, and comfort, you can confidently confirm that the repair process has been successful, and the recliner is ready to provide the comfort and relaxation it is designed for. This thorough testing phase ensures that the recliner is restored to its optimal condition, allowing you to enjoy its benefits with the assurance of a well-executed repair.
Conclusion
In conclusion, successfully addressing the issues affecting the back of a Lazy Boy recliner requires a systematic approach, attention to detail, and a commitment to restoring both functionality and comfort. By following the comprehensive steps outlined in this guide, you have gained the knowledge and skills needed to troubleshoot, repair, and rejuvenate your beloved recliner.
Throughout the repair process, you have embarked on a journey of assessment, removal, repair, and reattachment, all aimed at revitalizing the recliner to its optimal condition. From assessing the damage and removing the back panel to evaluating and addressing the reclining mechanism, each step has been instrumental in guiding you towards a successful repair outcome.
By meticulously testing the recliner's functionality, stability, and comfort, you have confirmed that the repair efforts have been effective, ensuring that the recliner is ready to provide the comfort and relaxation it is designed for. This thorough testing phase serves as the final validation of your repair endeavors, providing the assurance that the recliner has been restored to its optimal condition.
As you reflect on the journey of repairing the back of your Lazy Boy recliner, you have not only revitalized a piece of furniture but also gained a sense of accomplishment and empowerment. The ability to troubleshoot and address issues with your recliner demonstrates your resourcefulness and capability in maintaining and preserving the comfort and functionality of your living space.
Moving forward, the knowledge and skills acquired through this repair process can be applied to future maintenance and repair endeavors, empowering you to address similar issues with confidence and precision. Whether it's a misaligned back, a faulty reclining mechanism, or other issues affecting your recliner, you now possess the expertise to tackle these challenges effectively.
Ultimately, the successful repair of the back of your Lazy Boy recliner signifies more than just a functional restoration; it represents the preservation of comfort, relaxation, and cherished moments spent in this beloved piece of furniture. As you settle back into the comfort of your recliner, you can take pride in knowing that your efforts have contributed to its rejuvenation, ensuring that it continues to be a source of comfort and relaxation for years to come.
Frequently Asked Questions about How To Fix The Back Of A Lazy Boy Recliner
Was this page helpful?
At Storables.com, we guarantee accurate and reliable information. Our content, validated by Expert Board Contributors, is crafted following stringent Editorial Policies. We're committed to providing you with well-researched, expert-backed insights for all your informational needs.

0 thoughts on “How To Fix The Back Of A Lazy Boy Recliner”