Home>Furniture & Design>Office Furniture>How To Take Apart An Office Chair

Office Furniture
How To Take Apart An Office Chair
Modified: August 17, 2024
Learn the step-by-step process of disassembling an office chair with our comprehensive guide. Discover the essential tools and techniques for easy furniture maintenance. Ideal for office furniture enthusiasts and design aficionados.
(Many of the links in this article redirect to a specific reviewed product. Your purchase of these products through affiliate links helps to generate commission for Storables.com, at no extra cost. Learn more)
Introduction
Taking apart an office chair may seem like a daunting task, but it can be a necessary and rewarding endeavor. Whether you need to repair a broken component, reupholster the chair, or simply clean hard-to-reach areas, disassembling the chair is the first step. By following a few simple steps and using the right tools, you can easily disassemble your office chair without any hassle.
In this guide, we will walk you through the process of taking apart an office chair, providing detailed instructions and tips to ensure a smooth disassembly process. From removing the wheels to dismantling the gas lift, we will cover each step in a clear and concise manner. With the right guidance, you can confidently disassemble your office chair and tackle any maintenance or refurbishment tasks with ease.
So, gather your tools and let's get started on the journey of disassembling your office chair. Whether you're a DIY enthusiast or simply want to learn more about the inner workings of your chair, this guide will equip you with the knowledge and skills to take apart your office chair like a pro. Let's dive in and discover the inner mechanisms of your trusty office companion.
Key Takeaways:
- Disassembling an office chair requires basic tools like screwdrivers and pliers. Follow step-by-step instructions to remove wheels, seat, armrests, backrest, and gas lift for maintenance or refurbishment.
- After disassembling, reassemble the chair carefully, following the correct sequence. Test the chair to ensure all components are securely in place and the chair functions as intended.
Read more: What Is A Task Chair Vs. Office Chair
Tools and Materials Needed
Before you embark on the process of disassembling your office chair, it’s essential to gather the necessary tools and materials to ensure a smooth and efficient disassembly. Here’s a list of the tools and materials you’ll need:
- Phillips Head Screwdriver: A versatile screwdriver that is commonly used for assembling and disassembling various components of the chair.
- Flat Head Screwdriver: Useful for prying and removing certain parts of the chair, such as the plastic covers or armrests.
- Adjustable Wrench: Needed for loosening and tightening nuts and bolts, particularly when dealing with the chair’s mechanisms.
- Needle-Nose Pliers: Handy for gripping and manipulating small components, especially when working with the chair’s internal mechanisms.
- Rubber Mallet: Useful for gently tapping and dislodging stubborn components without causing damage.
- Protective Gloves: To protect your hands from sharp edges and potential pinching hazards during the disassembly process.
- Protective Eyewear: Essential for safeguarding your eyes from any debris or small parts that may dislodge during disassembly.
- Allen Wrench Set: Often required for removing specific types of screws and bolts commonly found in office chairs.
- Replacement Parts (Optional): If you plan to replace certain components or upgrade parts of your chair, have the replacement parts ready.
- Clean Cloth and Mild Detergent: For cleaning the chair components and upholstery as you disassemble them.
By ensuring you have these tools and materials at your disposal, you’ll be well-prepared to tackle the disassembly process with confidence. With the right equipment and a clear understanding of the steps involved, you can proceed to dismantle your office chair efficiently and effectively.
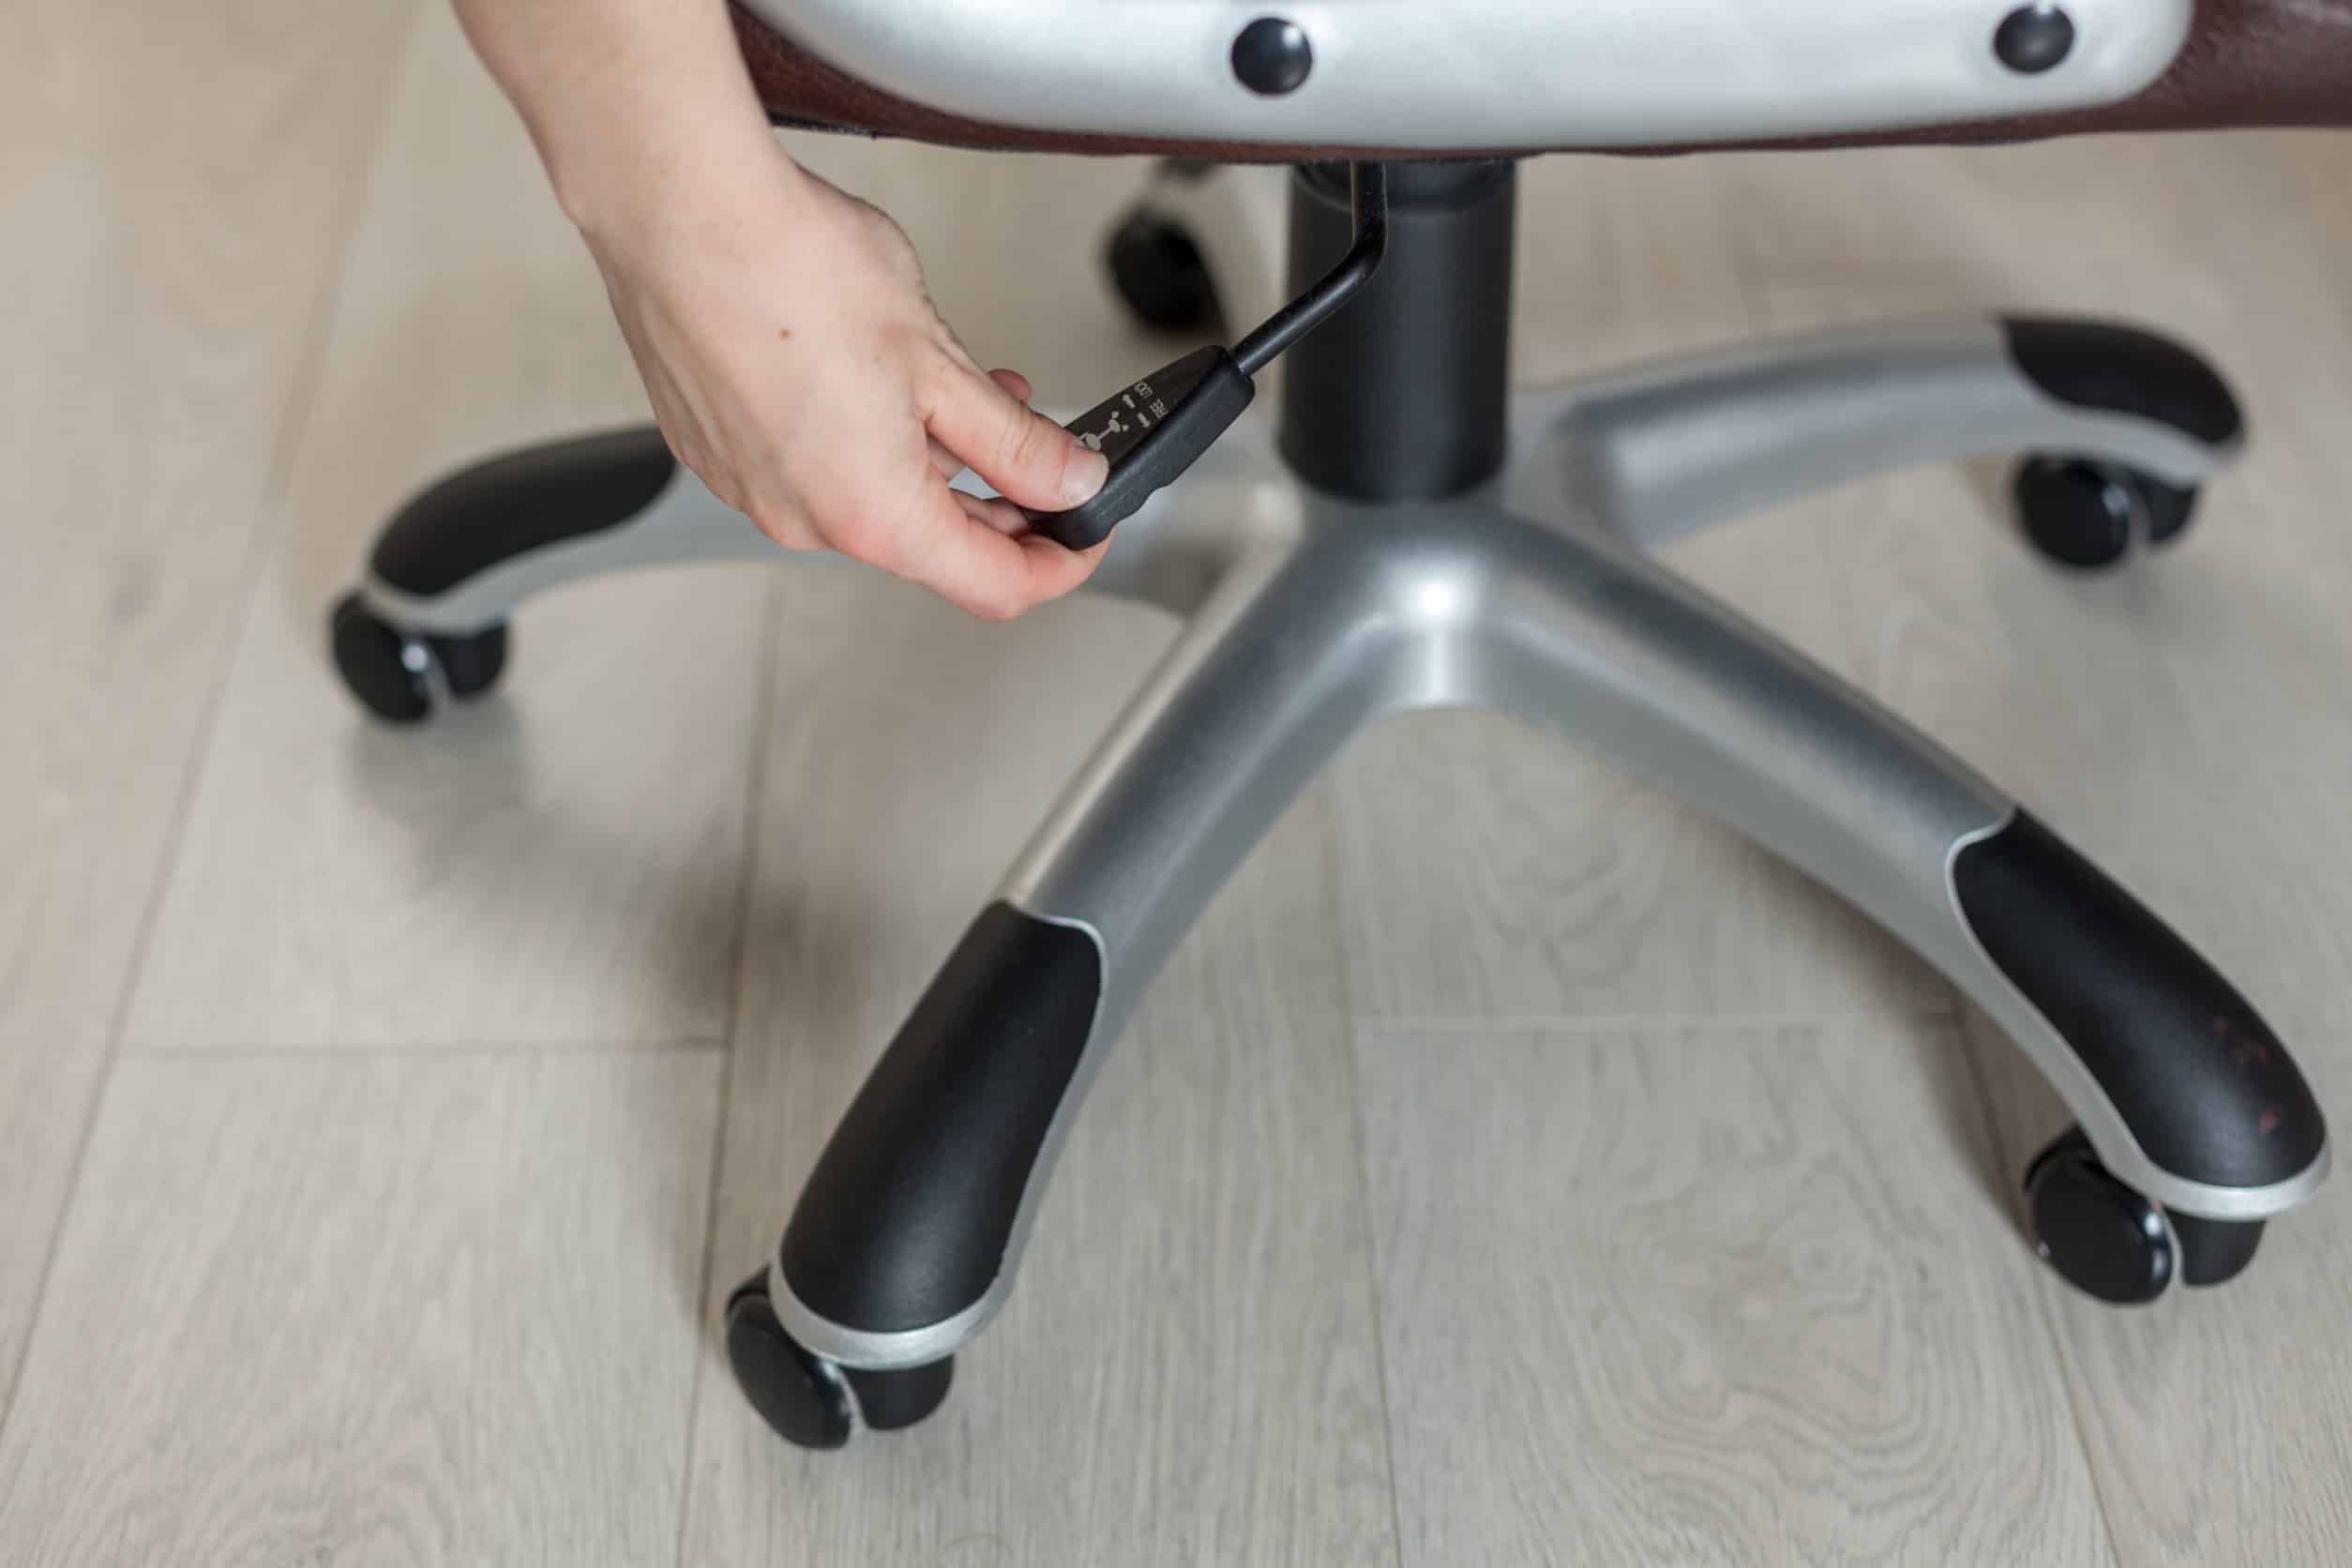
Step 1: Remove the Wheels
The first step in disassembling your office chair is removing the wheels. Most office chairs are equipped with casters or wheels to facilitate smooth movement across various floor surfaces. Here’s how you can remove the wheels:
- Flip the Chair: Turn the chair upside down to gain easy access to the wheels and their attachments.
- Inspect the Wheel Attachments: Depending on the chair’s design, the wheels may be attached with a friction grip, a clip, or a stem that fits into the chair base.
- Apply Lubricant (if necessary): If the wheels are stubborn and refuse to budge, consider applying a small amount of lubricant to the wheel attachments to ease the removal process.
- Remove the Wheels: Firmly grip each wheel and pull it away from the chair base. If the wheels are attached with a clip, use a flat head screwdriver to gently pry the clip away while pulling the wheel.
- Set Aside the Wheels: Once removed, set the wheels aside in a safe place. You may want to inspect and clean them before reattaching them to the chair.
By following these steps, you can successfully remove the wheels from your office chair, setting the stage for the subsequent disassembly tasks. With the wheels out of the way, you can proceed to the next steps with ease, knowing that you’ve tackled the first crucial stage of the disassembly process.
Step 2: Take Off the Seat
After removing the wheels, the next step in disassembling your office chair is to take off the seat. The seat is typically attached to the chair’s mechanism and frame, and removing it will provide access to the internal components. Here’s how you can take off the seat:
- Locate the Seat Attachment Points: Examine the underside of the chair to identify the attachment points where the seat connects to the chair’s frame and mechanism.
- Use the Correct Tool: Depending on the chair’s design, you may need to use a screwdriver or an Allen wrench to loosen and remove the screws or bolts securing the seat.
- Support the Seat: Once the fasteners are loosened, support the seat with one hand while removing the last screw or bolt to prevent it from falling unexpectedly.
- Remove the Seat: Carefully lift the seat away from the chair’s frame and mechanism, ensuring that no cables or wires are still connected to the seat.
- Inspect and Clean: With the seat removed, take the opportunity to inspect the chair’s mechanism and frame for any signs of wear or damage. Additionally, clean the underside of the seat and the exposed areas of the chair to prepare for reassembly or maintenance.
By following these steps, you can successfully take off the seat of your office chair, gaining access to the internal components and mechanisms. With the seat removed, you can proceed to the next stages of disassembly, confident in your ability to navigate the process effectively.
Before taking apart an office chair, make sure to have the necessary tools such as a screwdriver, pliers, and possibly a rubber mallet. Start by removing the wheels and then unscrew the base from the seat. Keep track of the screws and parts to make reassembly easier.
Step 3: Dismantle the Armrests
Once the seat has been removed, the next step in disassembling your office chair involves dismantling the armrests. Armrests not only provide comfort and support but are also integral components of the chair’s structure. Here’s how you can dismantle the armrests:
- Identify the Attachment Points: Examine the armrests to locate the points where they are attached to the chair’s frame or seat.
- Use the Appropriate Tools: Depending on the chair’s design, you may need a screwdriver or an Allen wrench to remove the screws or bolts securing the armrests.
- Support the Armrests: As you loosen the fasteners, support the armrests to prevent them from falling unexpectedly and causing damage or injury.
- Remove the Armrests: Once the fasteners are loosened, carefully lift the armrests away from the chair, ensuring that no cables or wires are still connected to them.
- Inspect and Clean: With the armrests removed, inspect the attachment points and the armrests themselves for any signs of wear or damage. Additionally, clean the exposed areas of the chair to prepare for reassembly or maintenance.
By following these steps, you can successfully dismantle the armrests of your office chair, further disassembling the chair to access its inner workings. With the armrests removed, you can proceed to the subsequent stages of disassembly, equipped with the knowledge and confidence to navigate the process effectively.
Read more: How To Sit In An Office Chair
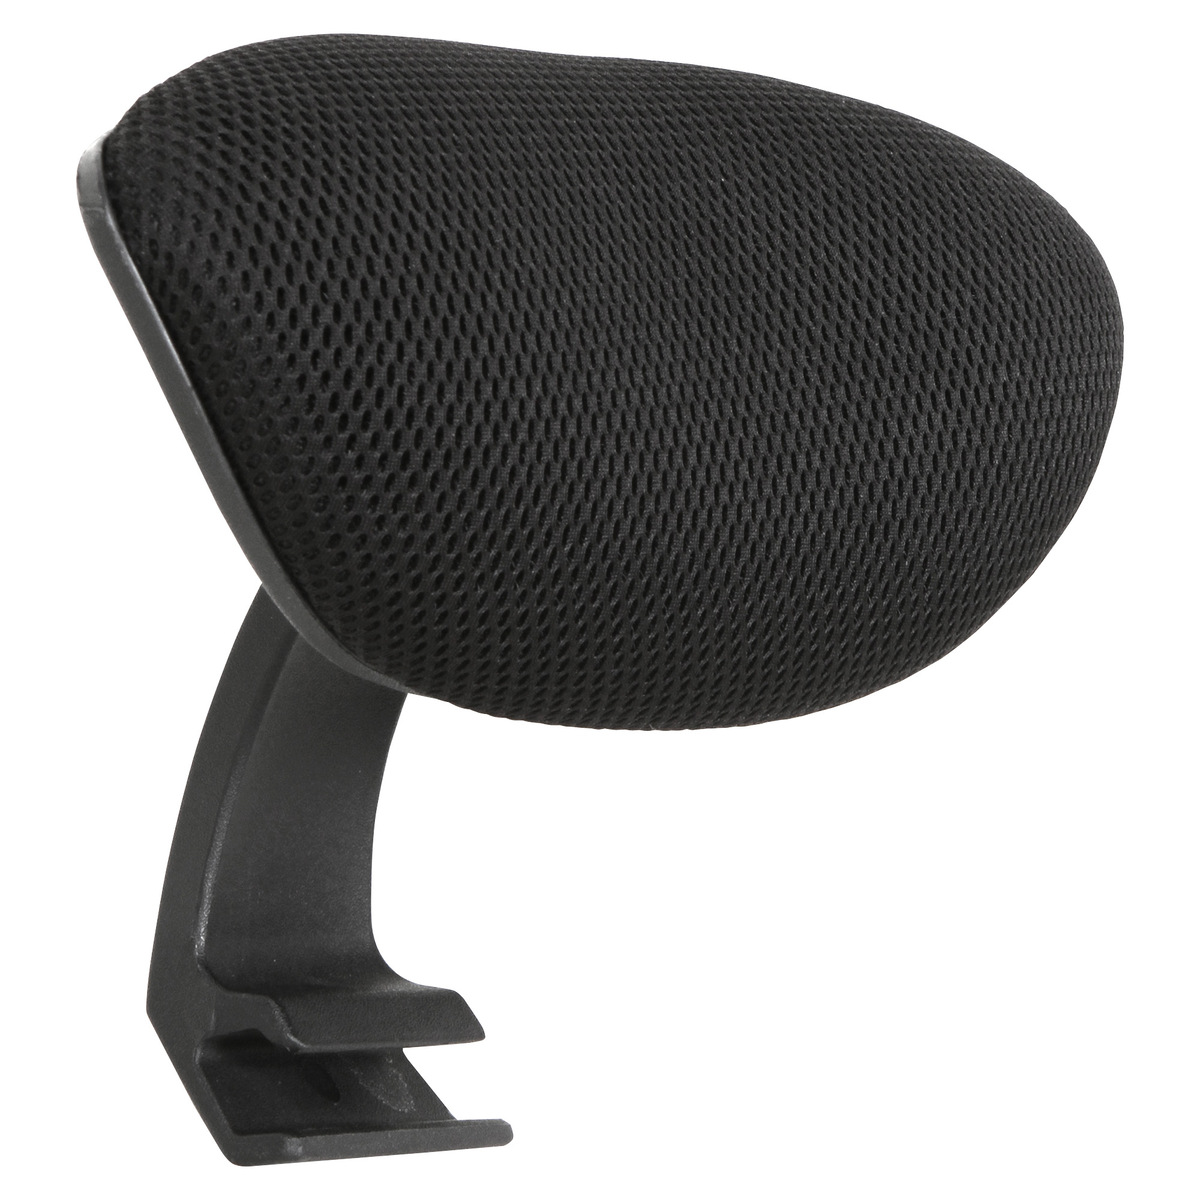
Step 4: Disassemble the Backrest
As you continue to disassemble your office chair, the next crucial step involves disassembling the backrest. The backrest plays a pivotal role in providing support and comfort, and dismantling it will allow access to the chair’s internal mechanisms. Here’s how you can disassemble the backrest:
- Identify the Attachment Points: Examine the backrest to locate the points where it is attached to the chair’s frame or seat.
- Use the Appropriate Tools: Depending on the chair’s design, you may need a screwdriver or an Allen wrench to remove the screws or bolts securing the backrest.
- Support the Backrest: As you loosen the fasteners, support the backrest with one hand to prevent it from falling unexpectedly and causing damage or injury.
- Remove the Backrest: Once the fasteners are loosened, carefully lift the backrest away from the chair, ensuring that no cables or wires are still connected to it.
- Inspect and Clean: With the backrest removed, inspect the attachment points and the backrest itself for any signs of wear or damage. Additionally, clean the exposed areas of the chair to prepare for reassembly or maintenance.
By following these steps, you can successfully disassemble the backrest of your office chair, gaining further access to its internal components and mechanisms. With the backrest removed, you can confidently proceed to the subsequent stages of disassembly, equipped with the knowledge and skills to navigate the process effectively.
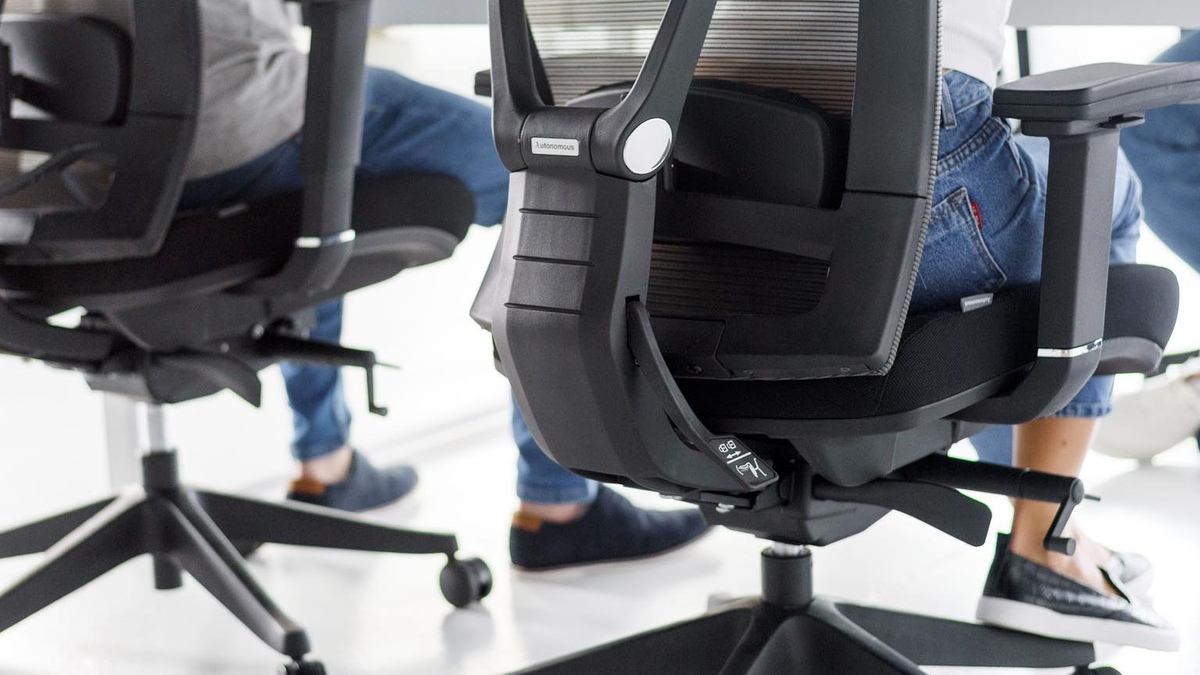
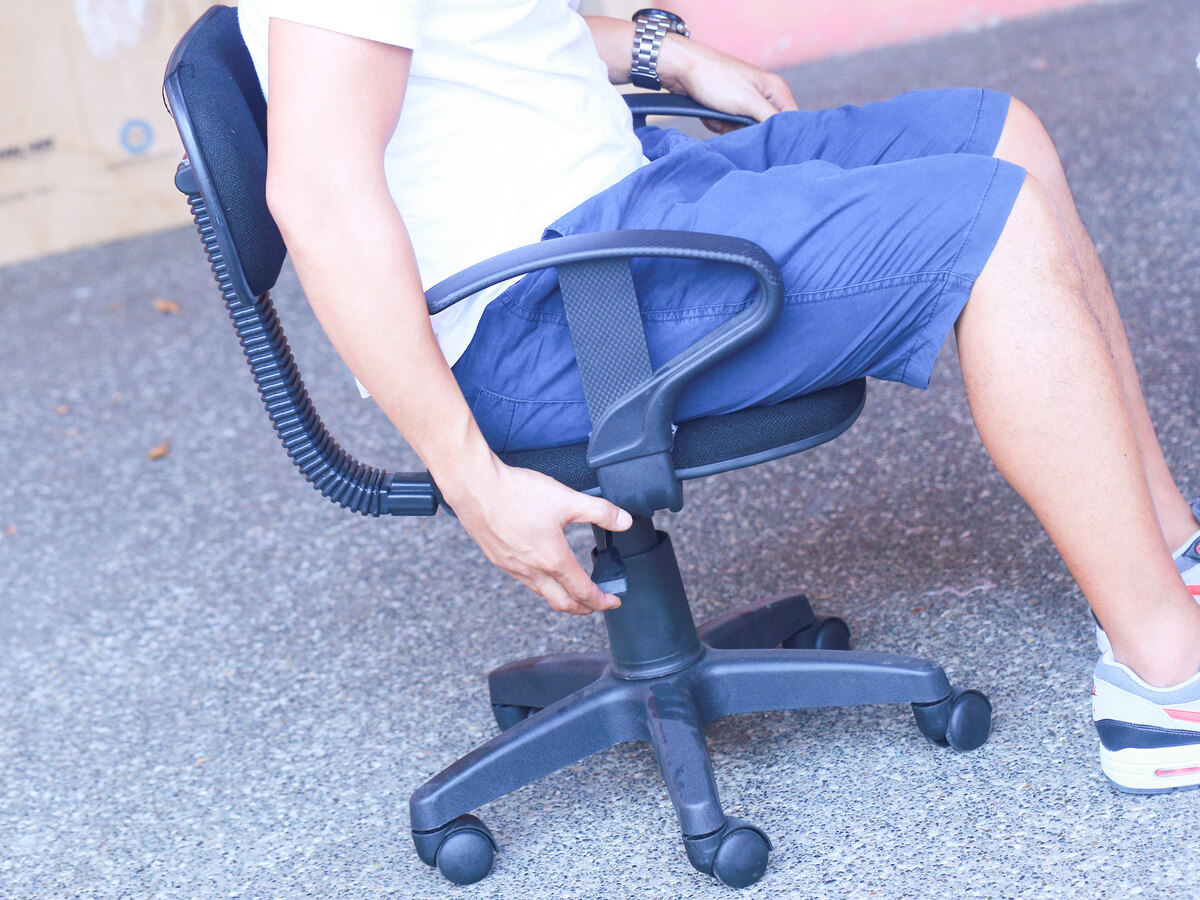
Step 5: Dismantle the Gas Lift
Disassembling the gas lift of your office chair is a crucial step in the overall disassembly process. The gas lift, also known as the pneumatic cylinder, is responsible for adjusting the chair’s height and is located at the core of the chair’s mechanism. Here’s how you can dismantle the gas lift:
- Secure the Chair: Ensure that the chair is placed on a stable surface and is well-supported to prevent it from tipping over during the disassembly process.
- Identify the Gas Lift Cover: In some chairs, the gas lift may be concealed by a cover or shroud that needs to be removed to access the cylinder.
- Remove the Cover: If applicable, carefully detach the cover to reveal the gas lift mechanism underneath.
- Release the Gas Lift: Depending on the chair’s design, you may need to activate a release mechanism to extend the gas lift to its full length.
- Unscrew the Gas Lift: Use an appropriate tool, such as a pipe wrench or locking pliers, to grip the lower portion of the gas lift while unscrewing it from the chair’s mechanism.
- Remove the Gas Lift: Once unscrewed, carefully lift the gas lift out of the chair, taking care not to damage any surrounding components.
- Inspect and Clean: With the gas lift removed, inspect it for any signs of wear or damage, and clean the exposed areas of the chair to prepare for reassembly or maintenance.
By following these steps, you can successfully dismantle the gas lift of your office chair, gaining access to this integral component and preparing for any necessary maintenance or replacement. With the gas lift removed, you can confidently proceed to the final stages of disassembly, knowing that you’ve navigated this critical step effectively.
Step 6: Reassemble the Chair
After successfully disassembling the various components of your office chair, the final step involves reassembling the chair to restore it to its functional state. Reassembly is a critical phase that requires attention to detail and precision to ensure that the chair is put back together correctly. Here’s how you can reassemble the chair:
- Organize the Components: Lay out all the disassembled parts of the chair in an organized manner, ensuring that you have all the necessary components at hand.
- Refer to Documentation: If available, consult the chair’s user manual or assembly instructions to ensure that you follow the correct reassembly sequence and procedures.
- Begin with the Gas Lift: If the gas lift was removed, carefully reinsert it into the chair’s mechanism and secure it in place, ensuring that it is properly aligned and tightened.
- Attach the Backrest and Armrests: Reattach the backrest and armrests to the chair, using the appropriate fasteners and tools to secure them in place.
- Secure the Seat: Position the seat back onto the chair’s frame and mechanism, aligning the attachment points, and fasten it securely using the appropriate screws or bolts.
- Reattach the Wheels: Place the wheels back onto the chair’s base, ensuring that they are securely attached and can move freely without obstruction.
- Test the Chair: Once reassembled, test the chair to ensure that all components are securely in place and that the chair functions as intended, including adjusting the height and testing the swivel and tilt mechanisms.
By following these steps, you can successfully reassemble your office chair, bringing it back to its fully functional state. With attention to detail and a methodical approach, you can restore your chair to its original form, ready to provide comfort and support in your workspace.
Frequently Asked Questions about How To Take Apart An Office Chair
Was this page helpful?
At Storables.com, we guarantee accurate and reliable information. Our content, validated by Expert Board Contributors, is crafted following stringent Editorial Policies. We're committed to providing you with well-researched, expert-backed insights for all your informational needs.


0 thoughts on “How To Take Apart An Office Chair”