Home>Furniture & Design>Office Furniture>How To Fix Hydraulics On An Office Chair
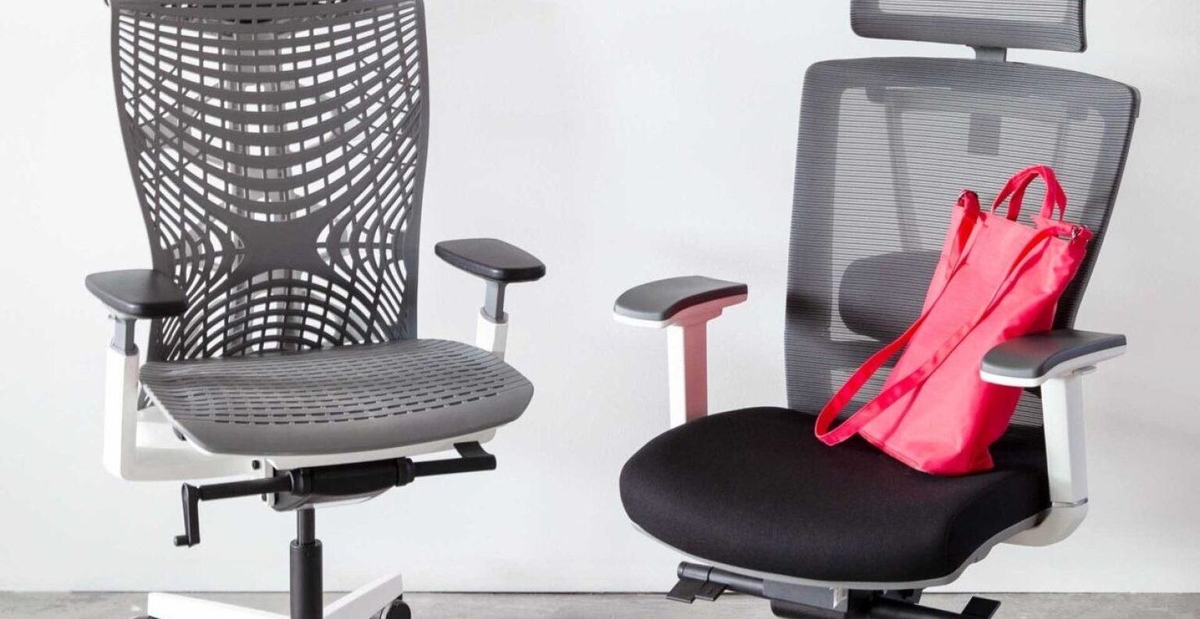
Office Furniture
How To Fix Hydraulics On An Office Chair
Modified: August 16, 2024
Learn how to fix hydraulics on an office chair with our comprehensive guide. Keep your office furniture in top condition with our expert tips.
(Many of the links in this article redirect to a specific reviewed product. Your purchase of these products through affiliate links helps to generate commission for Storables.com, at no extra cost. Learn more)
Introduction
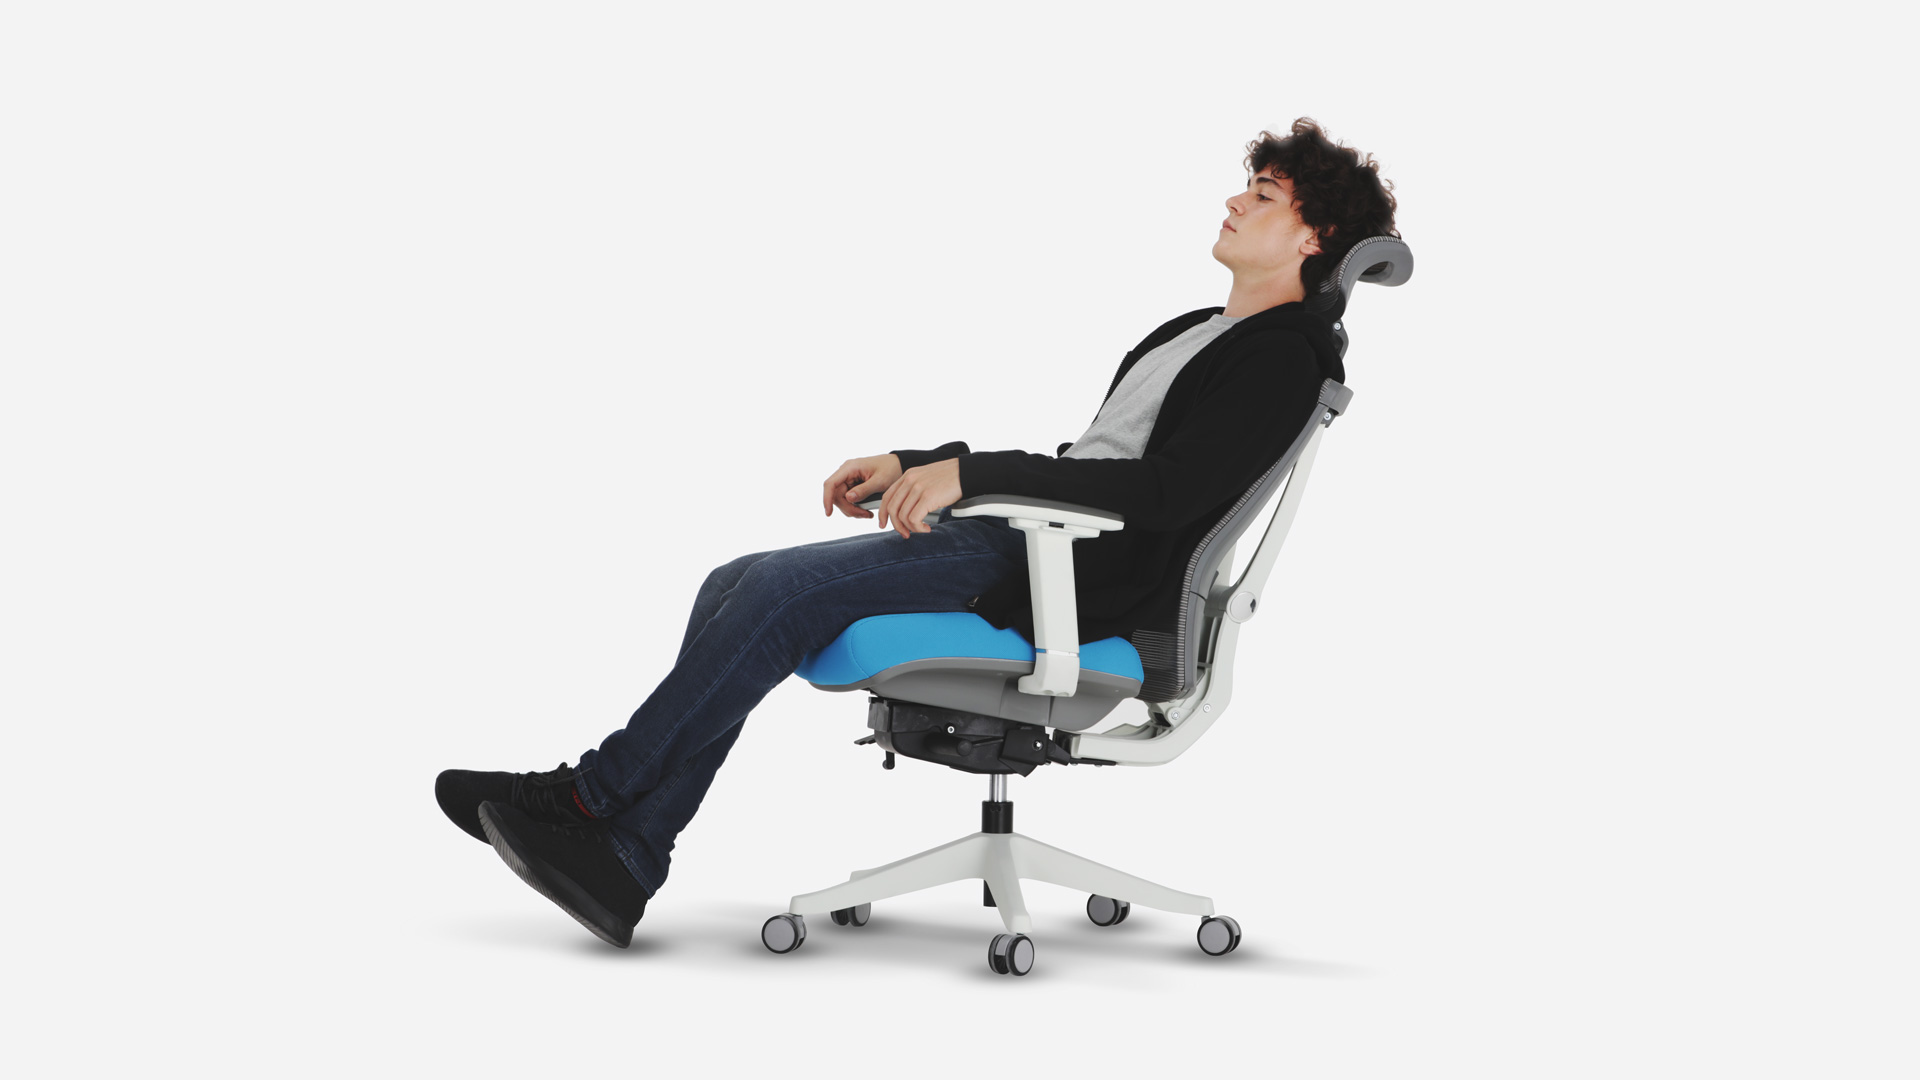
Welcome to the world of office furniture repair! If you've ever experienced the frustration of a sinking office chair, you're not alone. The culprit behind this common issue is often a malfunctioning hydraulic system. But fear not! In this comprehensive guide, we'll delve into the intricacies of office chair hydraulics and equip you with the knowledge and skills to tackle this problem head-on.
Picture this: you're diligently working at your desk when, suddenly, you find yourself gradually descending to the lowest setting of your office chair. It's a scenario that's all too familiar for many of us. The good news is that fixing a sinking office chair is a manageable task, and with the right guidance, you can restore your chair to its former glory.
Understanding the inner workings of office chair hydraulics is the first step to resolving the issue. We'll explore the components of a typical hydraulic system, identify common problems, and guide you through the process of repairing the hydraulics. By the end of this article, you'll feel empowered to take on this repair with confidence.
So, roll up your sleeves and get ready to embark on a journey into the world of office chair hydraulics. With a few tools, a bit of know-how, and a can-do attitude, you'll soon bid farewell to the sinking sensation and reclaim the comfort and functionality of your office chair. Let's dive in and unravel the mysteries of office chair hydraulics together.
Key Takeaways:
- Don’t let a sinking office chair get you down! Understanding hydraulics and following a step-by-step repair guide can help you fix it yourself, saving money and reducing waste.
- By learning to troubleshoot and repair office chair hydraulics, you’re not only reclaiming comfort but also contributing to sustainability and fostering a culture of resourcefulness in office environments.
Read more: How To Fix An Office Chair Armrest
Understanding the Basics of Hydraulics
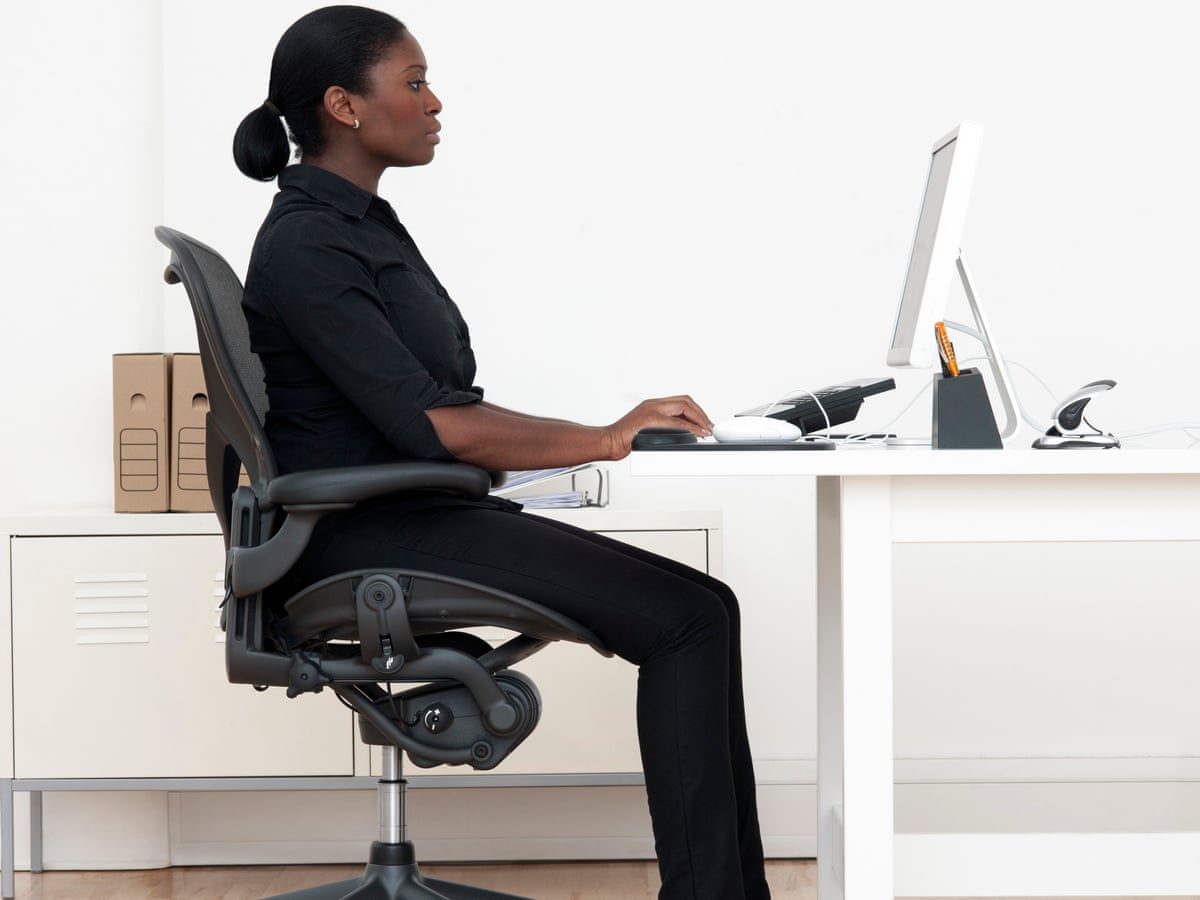
Before delving into the repair process, it’s essential to grasp the fundamentals of hydraulics and their role in office chairs. Hydraulics, in the context of office furniture, refer to the mechanism responsible for adjusting the chair’s height. This system comprises a cylinder, piston, hydraulic fluid, and seals, all working in harmony to facilitate smooth height adjustments.
The heart of the hydraulic system is the cylinder, which houses the piston and hydraulic fluid. When you activate the height adjustment lever or mechanism, it triggers the release or retention of hydraulic fluid within the cylinder. This action, in turn, adjusts the position of the piston, effectively raising or lowering the chair’s height.
Hydraulic systems are favored for their ability to provide seamless and controlled height adjustments, enhancing the ergonomic functionality of office chairs. The smooth, gradual movement achieved through hydraulics allows users to customize their seating position to suit their comfort and posture needs.
Understanding the basics of hydraulics empowers you to identify potential issues within the system. Common problems include leaks, air buildup, or worn-out seals, all of which can lead to a sinking or non-functioning office chair. By familiarizing yourself with the components and operation of the hydraulic system, you’ll be better equipped to diagnose and address these issues effectively.
Now that we’ve laid the groundwork for understanding office chair hydraulics, it’s time to turn our attention to identifying the specific problem plaguing your chair. By honing in on the root cause, you’ll be one step closer to restoring your office chair to its optimal functionality.
Identifying the Problem
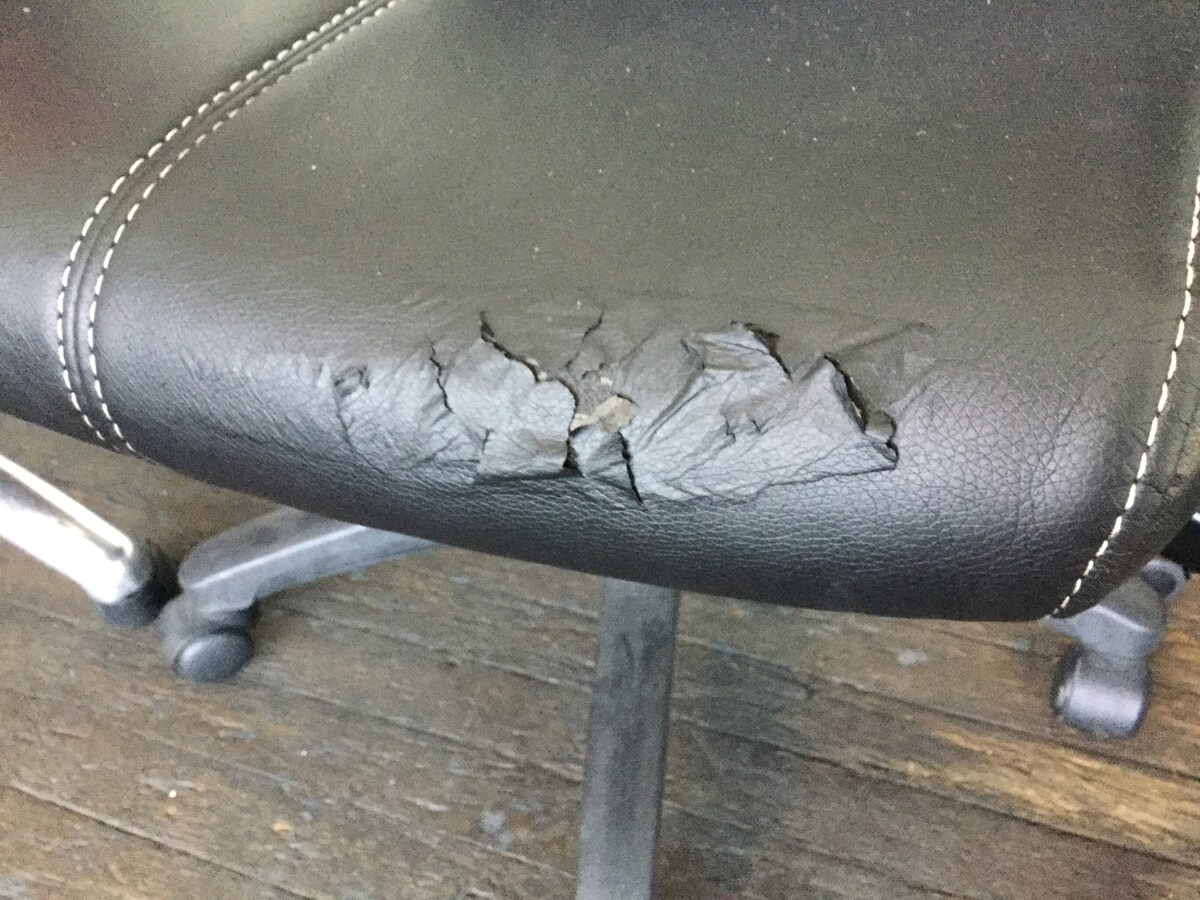
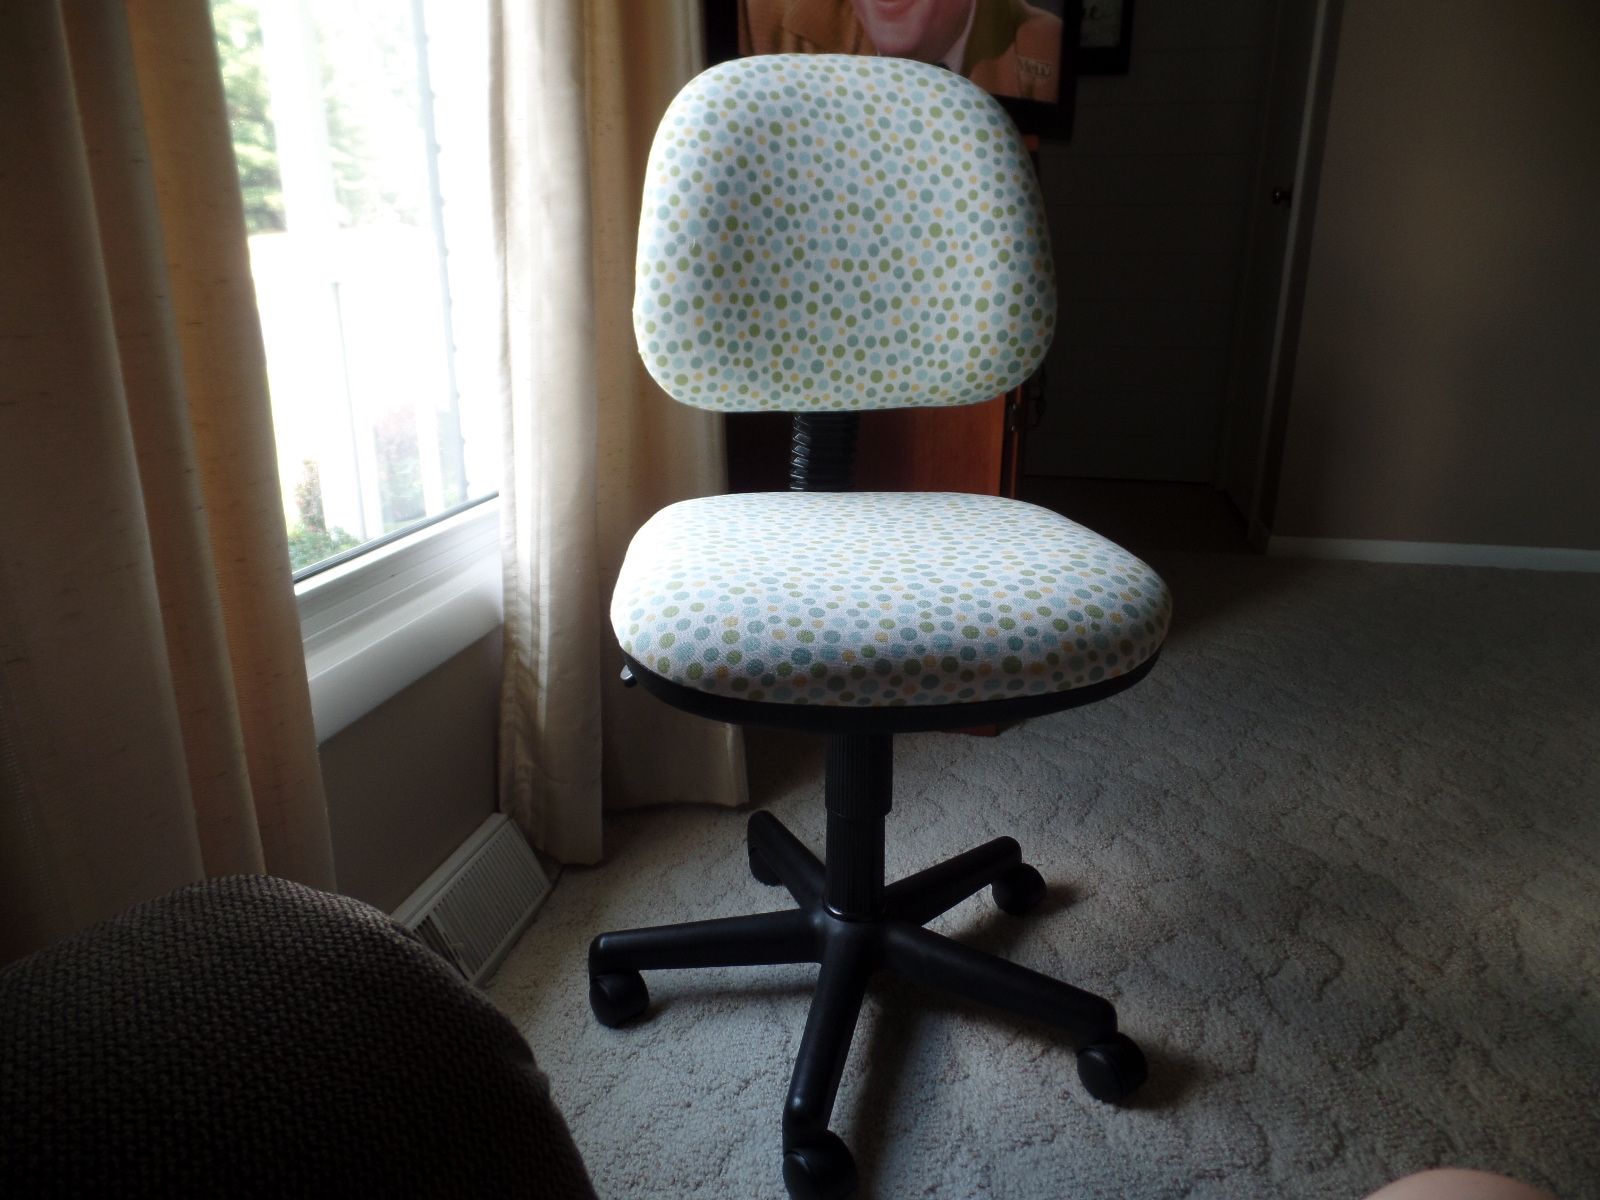
When faced with a sinking office chair, pinpointing the underlying issue is crucial to implementing an effective solution. The most common culprit behind a sinking chair is a compromised hydraulic system. To diagnose the problem accurately, start by observing the chair’s behavior when adjusting its height. Does it sink immediately upon sitting, or does it gradually lower over time while in use?
If the chair sinks immediately upon sitting, the issue likely stems from a leak in the hydraulic system. Hydraulic fluid leakage can occur due to worn-out seals or damaged components within the cylinder. On the other hand, if the chair gradually lowers while in use, it may indicate an air buildup within the hydraulic system, hindering its ability to maintain the desired height.
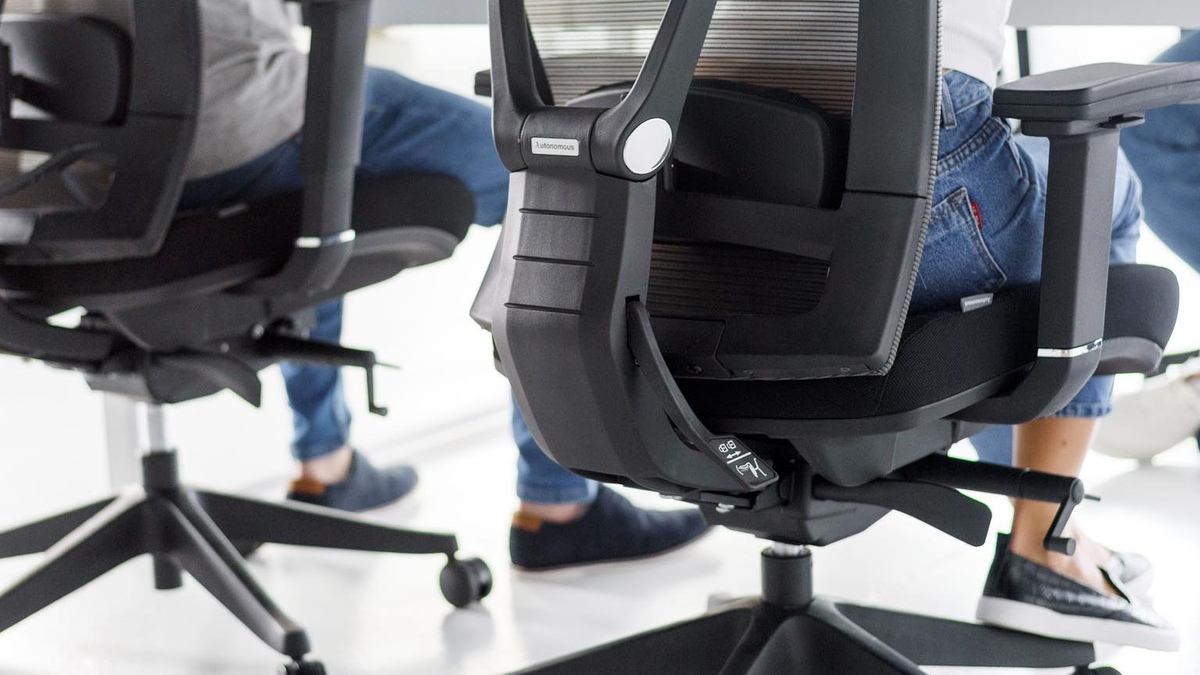
Perform a visual inspection of the chair’s hydraulic components, paying close attention to the cylinder, piston, and seals. Look for signs of hydraulic fluid leakage, such as dampness or residue around the cylinder base. Additionally, listen for any unusual sounds, such as hissing or air escaping when adjusting the chair’s height, as these may point to an air-related issue.
Another factor to consider is the age and usage of the office chair. Over time, wear and tear can take a toll on the hydraulic system, leading to diminished performance. If the chair has been in use for an extended period, it’s possible that the hydraulic components require maintenance or replacement to restore optimal functionality.
By carefully assessing the chair’s behavior and visually inspecting the hydraulic components, you’ll gain valuable insights into the nature of the problem. Armed with this knowledge, you can proceed to gather the necessary tools and materials for the repair process, ensuring that you’re well-prepared to tackle the task at hand.
Tools and Materials Needed
Before initiating the repair of your office chair’s hydraulics, it’s essential to gather the appropriate tools and materials to facilitate a smooth and effective repair process. Here’s a comprehensive list of items you’ll need:
Tools:
- Adjustable wrench
- Flathead screwdriver
- Needle-nose pliers
- Rubber mallet
- Protective gloves
Materials:
- Replacement hydraulic cylinder (if necessary)
- Hydraulic fluid (if a refill is required)
- New seals (if the existing ones are damaged)
- Clean cloth or paper towels
- Lubricant (compatible with hydraulic components)
- Threadlocker adhesive (for securing components)
Having these tools and materials on hand will streamline the repair process and ensure that you’re equipped to address a range of potential issues within the hydraulic system. The adjustable wrench will enable you to securely fasten or loosen components, while the flathead screwdriver and needle-nose pliers will aid in disassembling and reassembling the chair’s hydraulic parts.
A rubber mallet can be useful for gently tapping components into place or dislodging stubborn parts without causing damage. Additionally, wearing protective gloves is advisable to shield your hands from hydraulic fluid or sharp edges during the repair process.
If a replacement hydraulic cylinder is necessary, having one readily available will expedite the repair, minimizing downtime for your office chair. Similarly, having hydraulic fluid, new seals, and lubricant on hand ensures that you can address leaks, worn seals, or air buildup effectively.
By assembling these tools and materials in advance, you’ll be well-prepared to tackle the repair of your office chair’s hydraulics with confidence. With everything at your disposal, you’re poised to embark on the step-by-step repair process, which we’ll delve into next.
Step-by-Step Guide to Fixing Hydraulics
Now that you’ve identified the problem and gathered the necessary tools and materials, it’s time to embark on the step-by-step process of repairing your office chair’s hydraulics. Follow these guidelines to address common issues such as leaks, air buildup, or worn-out components:
Step 1: Prepare the Workspace
Clear a well-lit and spacious area to work on the chair, ensuring that you have easy access to the hydraulic components. Lay down a protective covering, such as a cloth or paper, to prevent any potential spills or damage to the floor or surrounding surfaces.
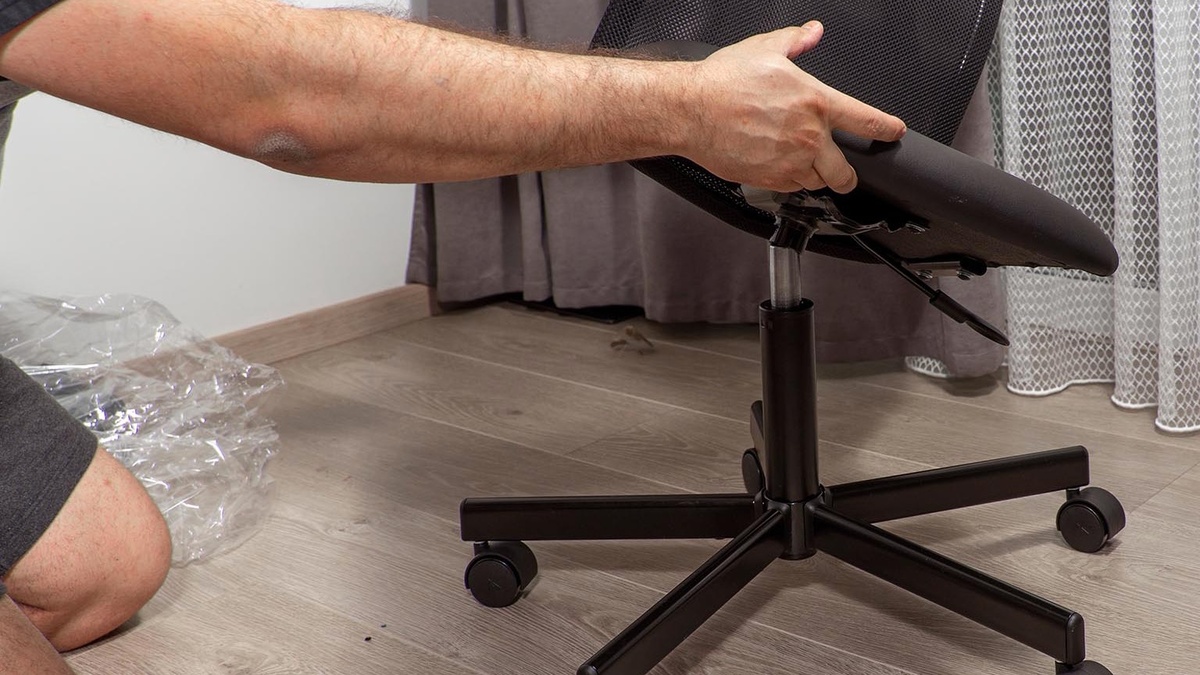
Step 2: Disassemble the Hydraulic System
Using the appropriate tools, carefully disassemble the hydraulic components of the chair. Start by removing the base to access the hydraulic cylinder and piston. Use the adjustable wrench, screwdriver, and pliers as needed to loosen and detach the components, taking care to keep track of the hardware for reassembly.
Read more: How To Fix A Wobbly Office Chair
Step 3: Inspect and Clean Components
Thoroughly inspect the hydraulic cylinder, piston, and seals for signs of leakage, wear, or damage. Clean the components using a clean cloth or paper towels to remove any debris, hydraulic fluid residue, or buildup that may impede their functionality.
Step 4: Address Leaks and Replace Seals
If leakage or worn-out seals are identified as the issue, replace the damaged seals with new ones. Apply a small amount of lubricant to the new seals to facilitate smooth operation and ensure a secure fit within the cylinder.
Step 5: Refill Hydraulic Fluid (If Necessary)
If the hydraulic fluid level is low or depleted, carefully refill the cylinder with the appropriate type of hydraulic fluid recommended for your chair’s model. Use caution to avoid overfilling, as this can lead to pressure issues within the system.
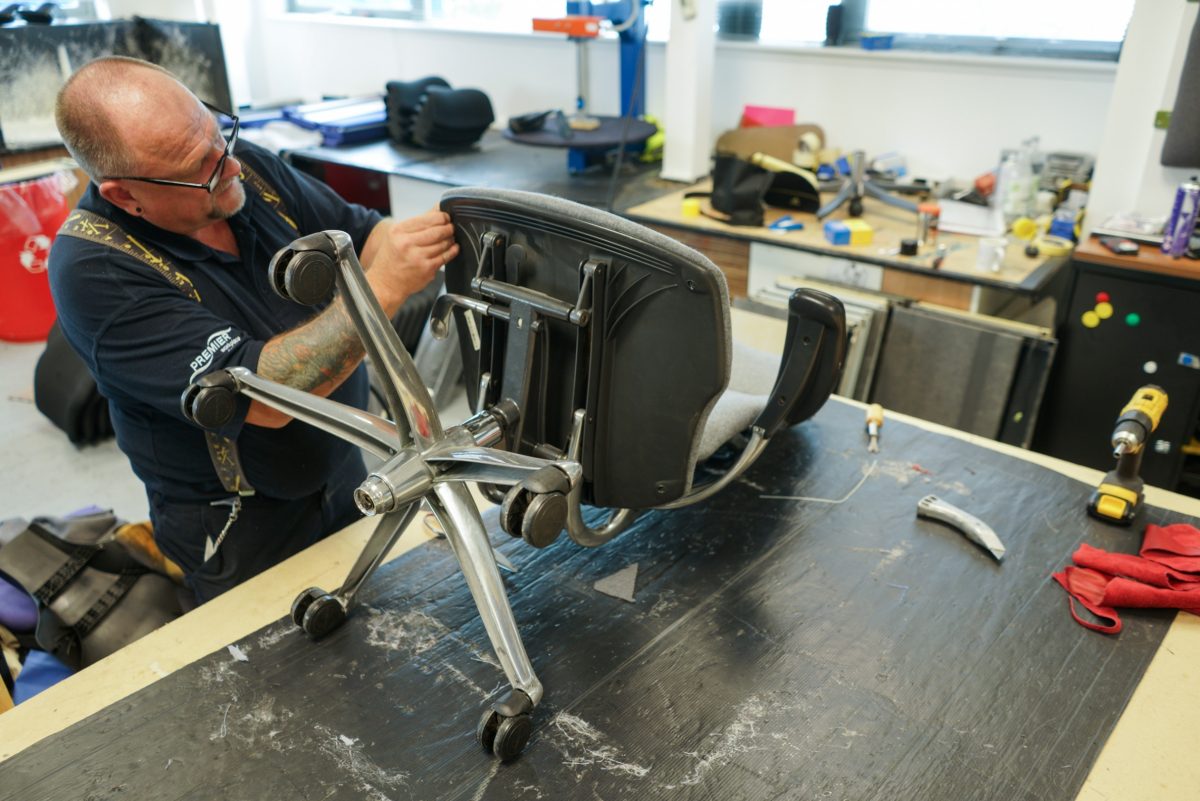
Step 6: Reassemble and Secure Components
Carefully reassemble the hydraulic components, ensuring that each part is securely fastened. Use the threadlocker adhesive as needed to secure critical components and prevent loosening over time. Employ the rubber mallet for gentle tapping, if necessary, to align and seat the components properly.
Read more: How To Fix A Broken Office Chair
Step 7: Test the Height Adjustment
Once the components are reassembled, test the chair’s height adjustment mechanism to ensure that it operates smoothly and maintains the desired position without sinking. Sit in the chair and adjust the height multiple times to verify its stability and functionality.
By following these step-by-step instructions, you can effectively address common hydraulic issues and restore your office chair to optimal working condition. With the repair process complete, the final step involves testing the repaired hydraulics to confirm their functionality, which we’ll explore next.
Testing the Repaired Hydraulics
With the repair process complete, it’s crucial to thoroughly test the office chair’s hydraulics to ensure that the issue has been successfully addressed. Follow these steps to test the repaired hydraulics and verify their functionality:
Step 1: Sit and Adjust the Chair
Sit in the chair and engage the height adjustment mechanism, raising the chair to its maximum height. This initial adjustment allows you to assess whether the repaired hydraulics support the chair’s weight and maintain the desired height without sinking.
Step 2: Stability and Smooth Movement
While seated, evaluate the chair’s stability at the adjusted height. Rock gently from side to side and front to back to gauge the stability of the hydraulic system. Additionally, test the smoothness of the height adjustment by raising and lowering the chair multiple times to ensure seamless movement without sudden drops.
Read more: How To Fix A Flat Office Chair Cushion
Step 3: Observe for Leaks or Unusual Sounds
During the height adjustment process, carefully observe the hydraulic components for any signs of leakage or unusual sounds. Look for hydraulic fluid seepage around the cylinder base and listen for hissing or air escaping, as these may indicate ongoing issues that require further attention.
Step 4: Repeat Testing and Use
Repeat the height adjustment and stability testing multiple times to validate the consistent performance of the repaired hydraulics. Additionally, use the chair for regular tasks, such as desk work or meetings, to ensure that the repaired hydraulics uphold the chair’s height without any signs of sinking or instability during extended use.
Step 5: Periodic Checks and Maintenance
After confirming the successful repair of the hydraulics, it’s advisable to perform periodic checks on the chair’s hydraulic system to preemptively identify and address any emerging issues. Regular maintenance, such as cleaning the components and inspecting for leaks or wear, can prolong the lifespan of the hydraulic system and sustain its functionality.
By diligently testing the repaired hydraulics and incorporating regular maintenance into your chair care routine, you can enjoy the restored comfort and functionality of your office chair for the long term. With the repair process and testing complete, you’ve successfully navigated the journey of fixing the hydraulics on your office chair.
Conclusion
Congratulations on successfully navigating the process of fixing the hydraulics on your office chair! By understanding the basics of hydraulics, identifying the problem, gathering the necessary tools and materials, and following a step-by-step repair guide, you’ve reclaimed the comfort and functionality of your chair. This hands-on experience not only saved you the cost of a replacement chair but also empowered you with valuable knowledge in office furniture maintenance.
As you reflect on this repair journey, consider the broader significance of your newfound expertise. The ability to troubleshoot and repair office chair hydraulics extends beyond personal convenience—it embodies resourcefulness and sustainability. By reviving a seemingly faulty chair, you’ve contributed to reducing waste and minimizing the environmental impact of discarded furniture.
Moreover, the skills acquired through this repair endeavor can be applied to future maintenance tasks, fostering a sense of self-reliance and practical problem-solving. Whether it’s addressing a squeaky hinge, tightening loose screws, or refurbishing worn components, your proficiency in office furniture repair is a valuable asset that transcends the realm of office chairs.
As you integrate the repaired chair back into your workspace, take pride in the hands-on effort that revitalized its functionality. Embrace the comfort and support it provides, knowing that your meticulous repair work has breathed new life into a familiar piece of furniture. Furthermore, share your experience with others, inspiring them to embark on their own repair journeys and fostering a culture of sustainability and resourcefulness in office environments.
In closing, the successful repair of your office chair’s hydraulics exemplifies the transformative impact of proactive maintenance and the gratifying sense of accomplishment that accompanies it. With this newfound expertise, you’re well-equipped to tackle future repair challenges and champion a sustainable approach to office furniture care. Embrace the confidence and knowledge gained from this experience, and let it propel you toward future endeavors with a can-do spirit and a commitment to mindful maintenance.
Frequently Asked Questions about How To Fix Hydraulics On An Office Chair
Was this page helpful?
At Storables.com, we guarantee accurate and reliable information. Our content, validated by Expert Board Contributors, is crafted following stringent Editorial Policies. We're committed to providing you with well-researched, expert-backed insights for all your informational needs.
0 thoughts on “How To Fix Hydraulics On An Office Chair”