Home>Furniture & Design>Office Furniture>How To Change An Office Chair Cylinder
Office Furniture
How To Change An Office Chair Cylinder
Modified: August 17, 2024
Learn how to change an office chair cylinder easily and efficiently. Get expert tips for maintaining your office furniture and design.
(Many of the links in this article redirect to a specific reviewed product. Your purchase of these products through affiliate links helps to generate commission for Storables.com, at no extra cost. Learn more)
Introduction
So, your office chair is no longer providing the support and comfort it once did. You've noticed that it sinks down as soon as you sit on it, leaving you feeling like you're practically on the floor. Don't worry; there's no need to rush out and buy a new chair just yet. The issue might be with the chair's cylinder, the component responsible for adjusting the chair's height. Over time, these cylinders can wear out, causing the chair to lose its ability to stay at the desired height.
The good news is that you can easily replace the cylinder, restoring your office chair to its former glory. In this guide, we'll walk you through the process of changing the office chair cylinder, providing step-by-step instructions to help you get your chair back to peak performance.
Whether you're a DIY enthusiast or someone looking to save a few bucks on chair replacement costs, learning how to change an office chair cylinder can be a valuable skill. With the right tools and a bit of know-how, you'll have your office chair feeling as good as new in no time. So, let's roll up our sleeves and get ready to give your office chair the upgrade it deserves!
Key Takeaways:
- Easily restore your office chair’s comfort and stability by replacing the cylinder. Save money and extend the chair’s lifespan with this simple DIY skill.
- With basic tools and step-by-step instructions, you can upgrade your office chair and enjoy a comfortable and supportive workspace.
Read more: How Does An Office Chair Gas Cylinder Work
Tools and Materials
Before you begin the process of replacing the office chair cylinder, it’s essential to gather the necessary tools and materials. Here’s what you’ll need:
Tools:
- Adjustable wrench
- Phillips head screwdriver
- Flat head screwdriver
- Rubber mallet
- Gloves (optional, for hand protection)
Materials:
- New office chair cylinder
- Old towel or cloth
Make sure to have these tools and materials on hand before you start the process. Having everything prepared will streamline the cylinder replacement and ensure that you can complete the task efficiently.
Removing the Old Cylinder
Now that you have all the necessary tools and materials, it’s time to begin the process of removing the old office chair cylinder. Follow these steps to safely and effectively remove the old cylinder:
- Preparation: Start by placing an old towel or cloth on the floor to protect the chair and the surrounding area from any potential scratches or damage.
- Turn the Chair Upside Down: Carefully turn the chair upside down, ensuring that it is stable and secure. This will give you easy access to the base of the chair.
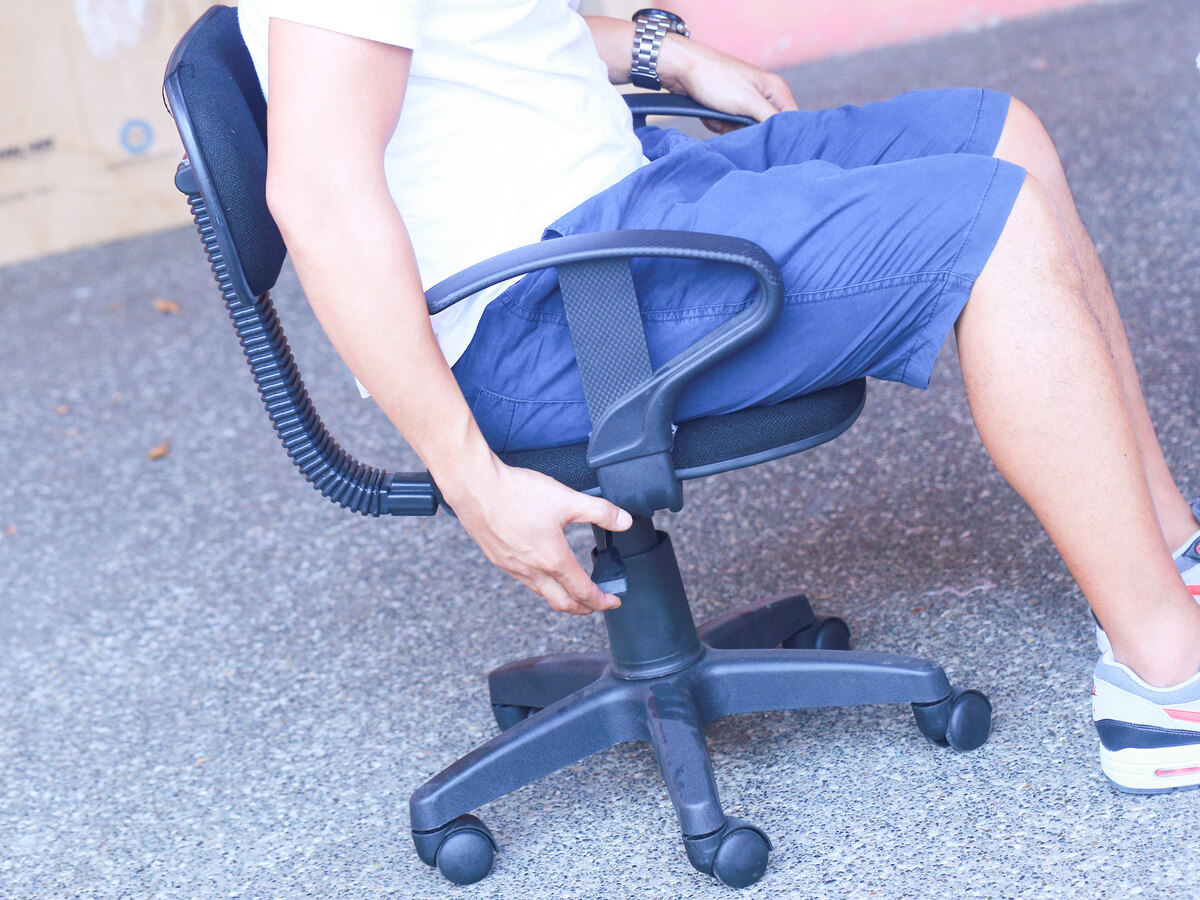
- Inspect the Cylinder: Examine the cylinder to identify the attachment mechanism. Most office chair cylinders are attached to the chair’s base with either a retaining clip or a plastic shroud. Use your flat head screwdriver to remove the retaining clip or pry off the shroud, exposing the cylinder.
- Unscrew the Cylinder: Use your adjustable wrench to grip the top of the cylinder firmly. Then, use your Phillips head screwdriver to turn the screw counterclockwise, loosening the cylinder from the chair’s mechanism. Be prepared for some resistance, as the cylinder may be tightly secured.
- Remove the Cylinder: Once the screw is completely loosened, carefully lift the old cylinder out of the chair’s base. If the cylinder is stuck, you can gently tap it with a rubber mallet to help release it from the mechanism.
- Clean the Area: Take this opportunity to clean any accumulated dust or debris from the chair’s base and mechanism. This will ensure a clean surface for installing the new cylinder.
With the old cylinder successfully removed, you’re now ready to move on to the next step: installing the new office chair cylinder.
Read more: How To Change Door Lock Cylinder On A Car
Installing the New Cylinder
With the old office chair cylinder removed, it’s time to install the new cylinder. Follow these steps to ensure a smooth and secure installation:
- Prepare the New Cylinder: Before installing the new cylinder, make sure it is clean and free of any debris. Inspect the cylinder to ensure it matches the specifications of your chair and is compatible with the chair’s base and mechanism.
- Position the New Cylinder: Carefully lower the new cylinder into the chair’s mechanism, ensuring that it aligns properly with the attachment point on the chair’s base. Apply gentle pressure to seat the cylinder securely in place.
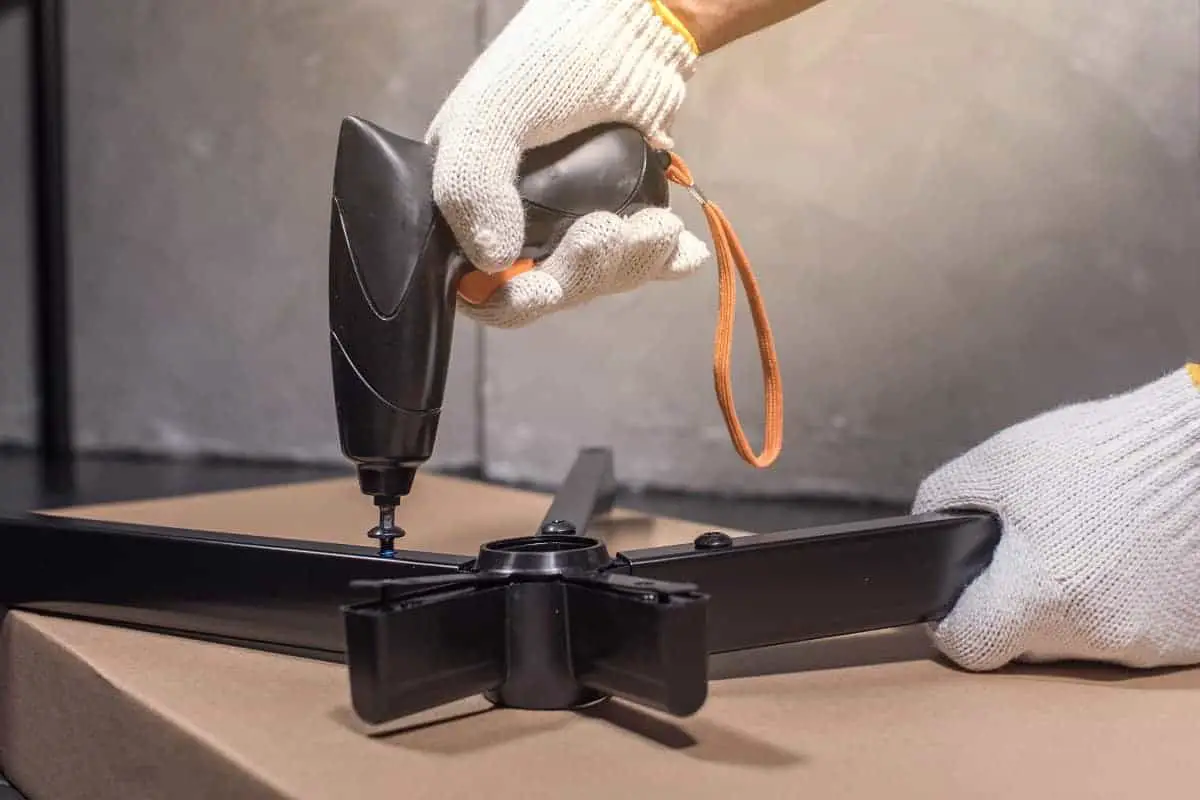
- Secure the Cylinder: Once the new cylinder is in position, use your adjustable wrench to grip the top of the cylinder firmly. Then, use your Phillips head screwdriver to turn the screw clockwise, securing the cylinder tightly to the chair’s mechanism. Ensure that the screw is tightened completely to prevent any wobbling or instability.
- Test the Stability: After securing the new cylinder, carefully turn the chair upright and test its stability. Sit on the chair and adjust the height to ensure that the new cylinder functions smoothly and holds the desired position without sinking or wobbling.
- Make Adjustments: If the chair’s height adjustment does not function as expected, double-check the cylinder’s attachment and the tightness of the screw. Make any necessary adjustments to ensure the cylinder is securely in place and the chair operates smoothly.
By following these steps, you can successfully install the new office chair cylinder, restoring your chair’s height adjustment functionality and overall stability.
When changing an office chair cylinder, make sure to have the right tools such as a rubber mallet and gloves. Use the mallet to gently tap the old cylinder out and insert the new one, making sure it is securely in place.
Testing the Chair
After installing the new office chair cylinder, it’s important to thoroughly test the chair to ensure that the replacement has been successful and that the chair is functioning as intended. Here’s how to test the chair:
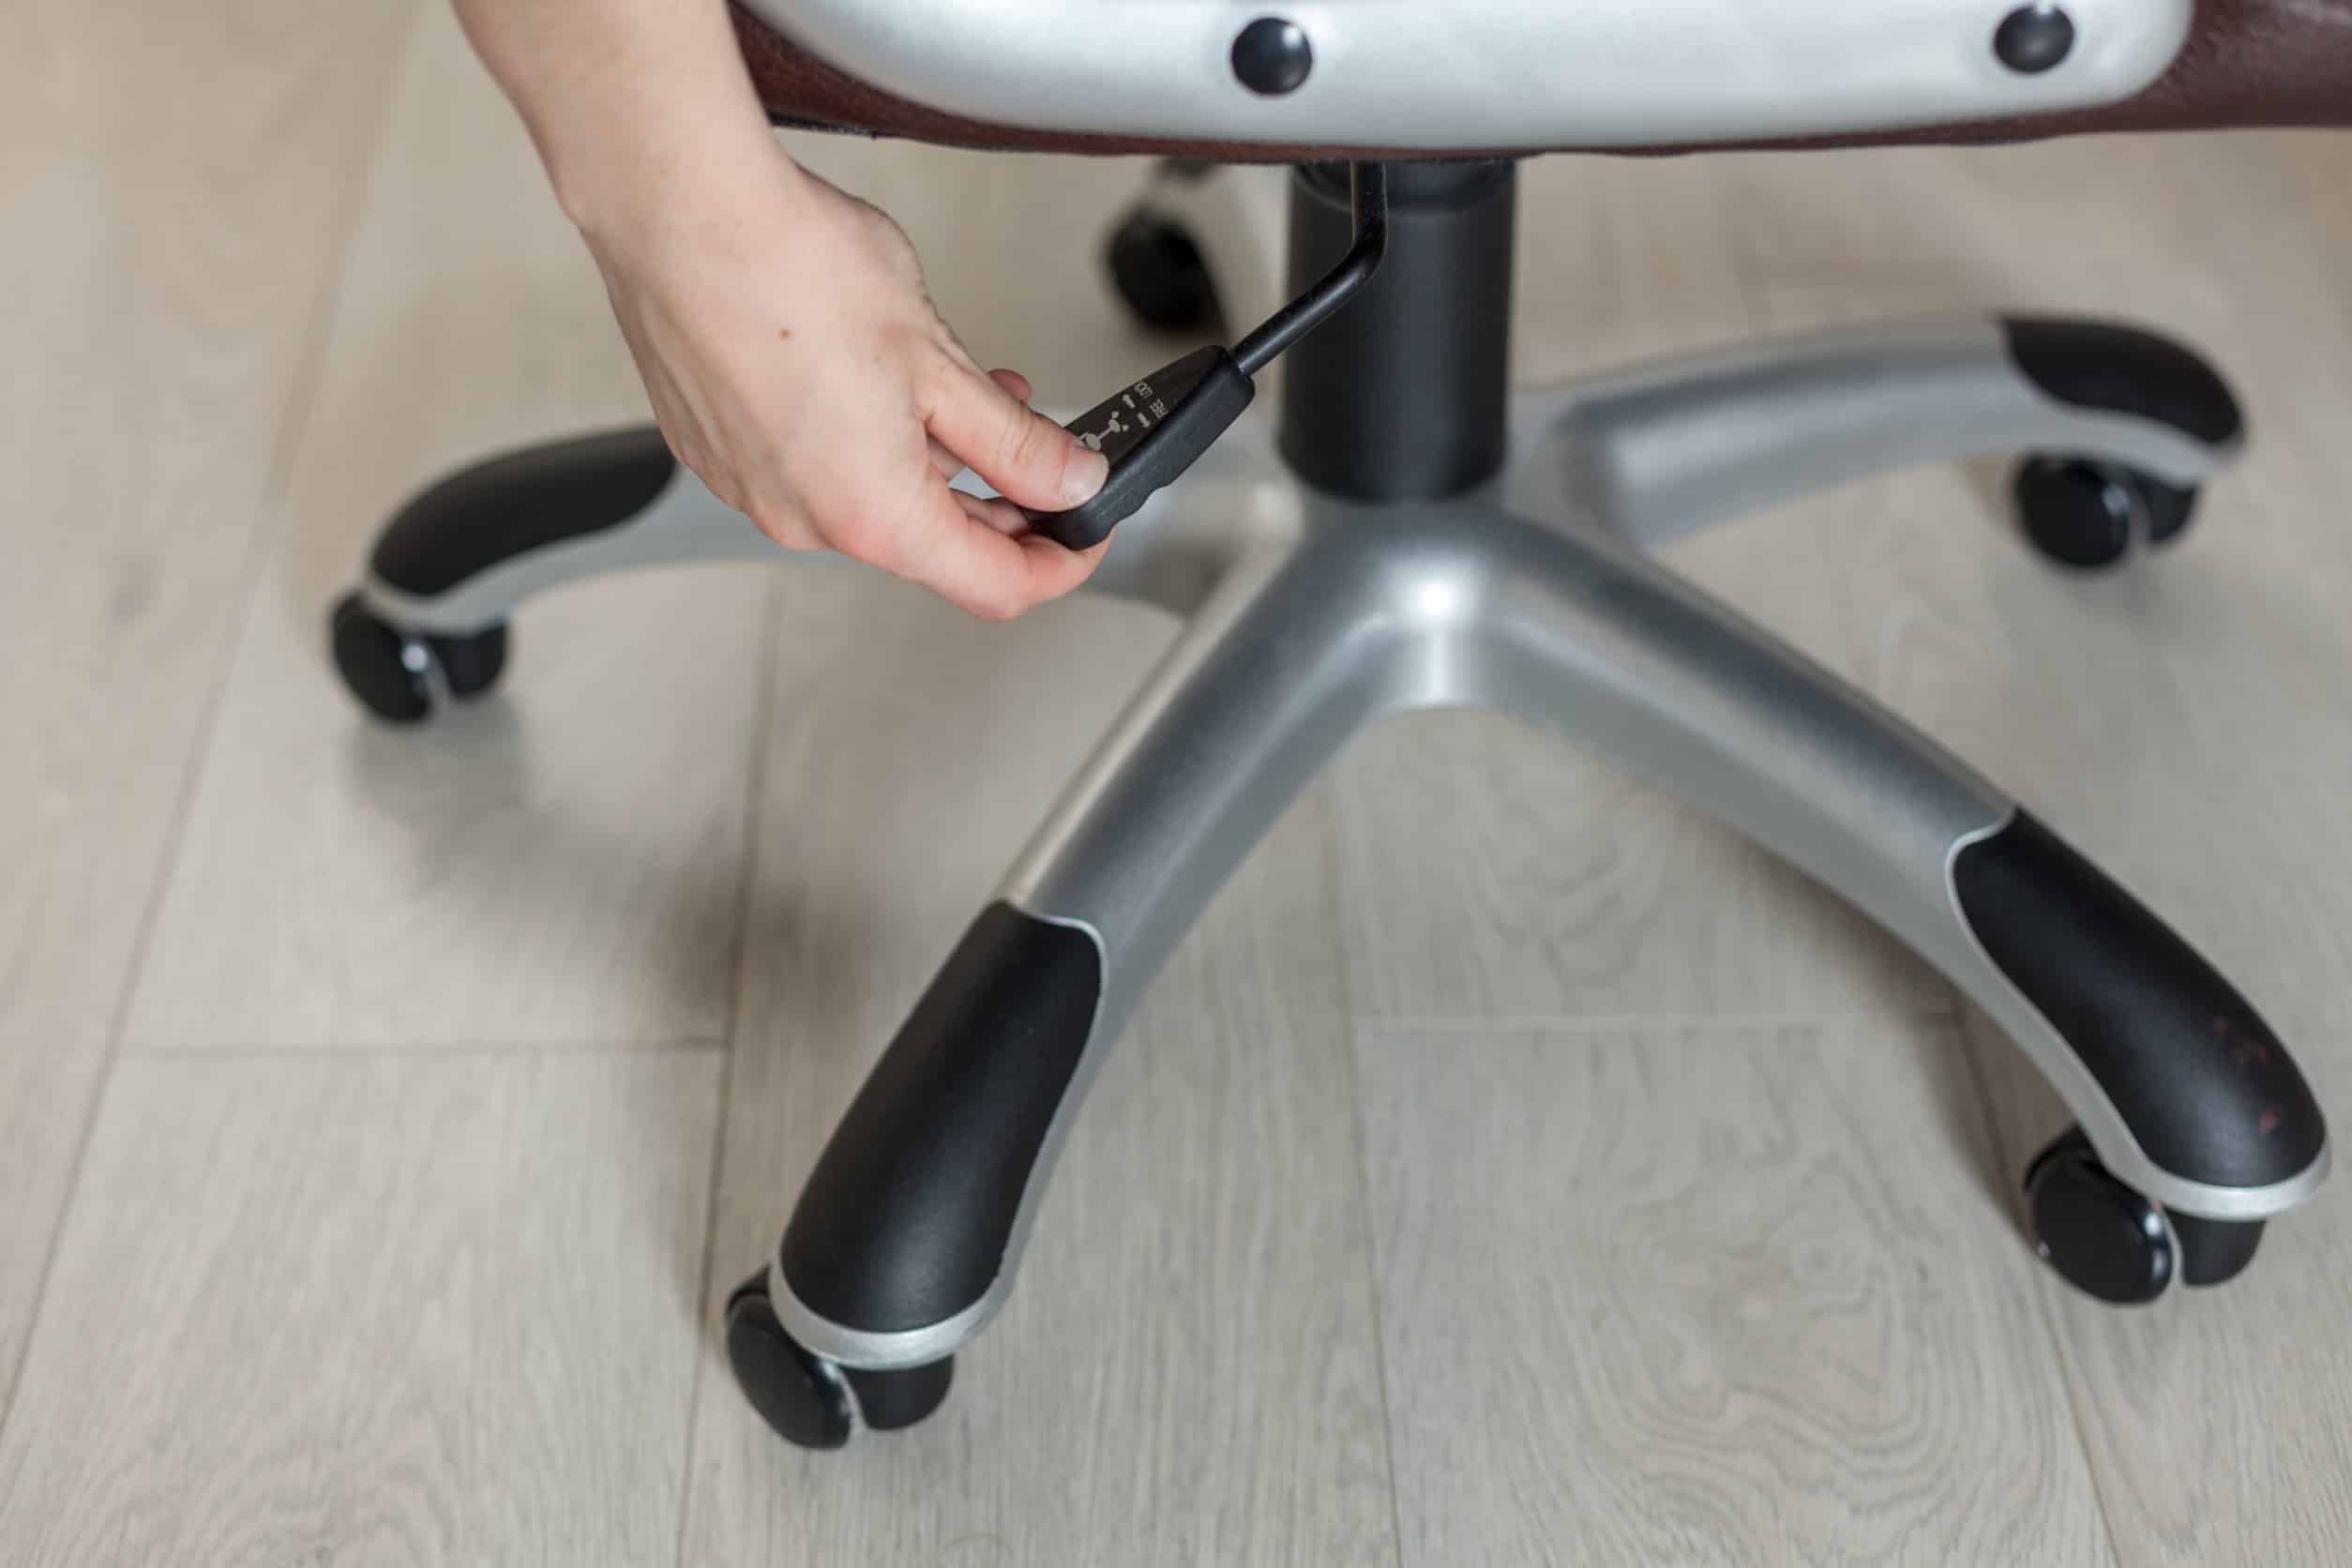
- Adjust the Height: Use the chair’s height adjustment lever to raise and lower the seat. Pay close attention to how the chair responds to the adjustments, ensuring that it maintains the desired height without sinking or feeling unstable.
- Sit Comfortably: Take a seat in the chair and assess its overall comfort and stability. Ensure that the chair feels secure and supportive, with no unexpected movements or instability.
- Move and Swivel: Test the chair’s ability to move and swivel smoothly. Check that the casters roll freely and that the chair rotates without any issues.
- Observe for Any Issues: While using the chair, pay attention to any unusual sounds, movements, or signs of instability. Address any concerns promptly to ensure the chair is in optimal working condition.
By thoroughly testing the chair after replacing the cylinder, you can confirm that the chair’s functionality has been restored and that it provides the comfort and support you require for your work environment. If the chair operates smoothly and meets your expectations, you can rest assured that the cylinder replacement was a success.
Conclusion
Congratulations! You’ve successfully learned how to change an office chair cylinder, allowing you to restore the functionality and comfort of your office chair. By following the step-by-step process outlined in this guide, you’ve gained the knowledge and skills to tackle this DIY task with confidence.
Replacing the office chair cylinder is a cost-effective and practical solution to address issues related to the chair’s height adjustment and stability. Instead of investing in a new chair, you’ve extended the lifespan of your current chair and improved its performance, all while saving time and money.
Remember, proper maintenance and occasional replacements of key components, such as the cylinder, can significantly prolong the life of your office chair, ensuring that it continues to provide the support and comfort you need for productive workdays.
As you enjoy the renewed functionality of your office chair, take pride in your newfound DIY skills and the ability to troubleshoot and repair common office furniture issues. Your chair is now ready to support you through long hours of work, meetings, and creative endeavors, all thanks to your proactive approach to maintenance and repair.
So, sit back, relax, and revel in the comfort of your newly revitalized office chair. With the knowledge and expertise you’ve gained, you’re well-equipped to keep your workspace comfortable and efficient for years to come.
Frequently Asked Questions about How To Change An Office Chair Cylinder
Was this page helpful?
At Storables.com, we guarantee accurate and reliable information. Our content, validated by Expert Board Contributors, is crafted following stringent Editorial Policies. We're committed to providing you with well-researched, expert-backed insights for all your informational needs.


0 thoughts on “How To Change An Office Chair Cylinder”