Home>Furniture & Design>Outdoor Furniture>How To Clean Outdoor Patio Tiles

Outdoor Furniture
How To Clean Outdoor Patio Tiles
Modified: March 9, 2024
Learn how to effectively clean outdoor patio tiles and maintain the beauty of your outdoor furniture and design. Discover expert tips and techniques for a spotless outdoor space.
(Many of the links in this article redirect to a specific reviewed product. Your purchase of these products through affiliate links helps to generate commission for Storables.com, at no extra cost. Learn more)
Introduction
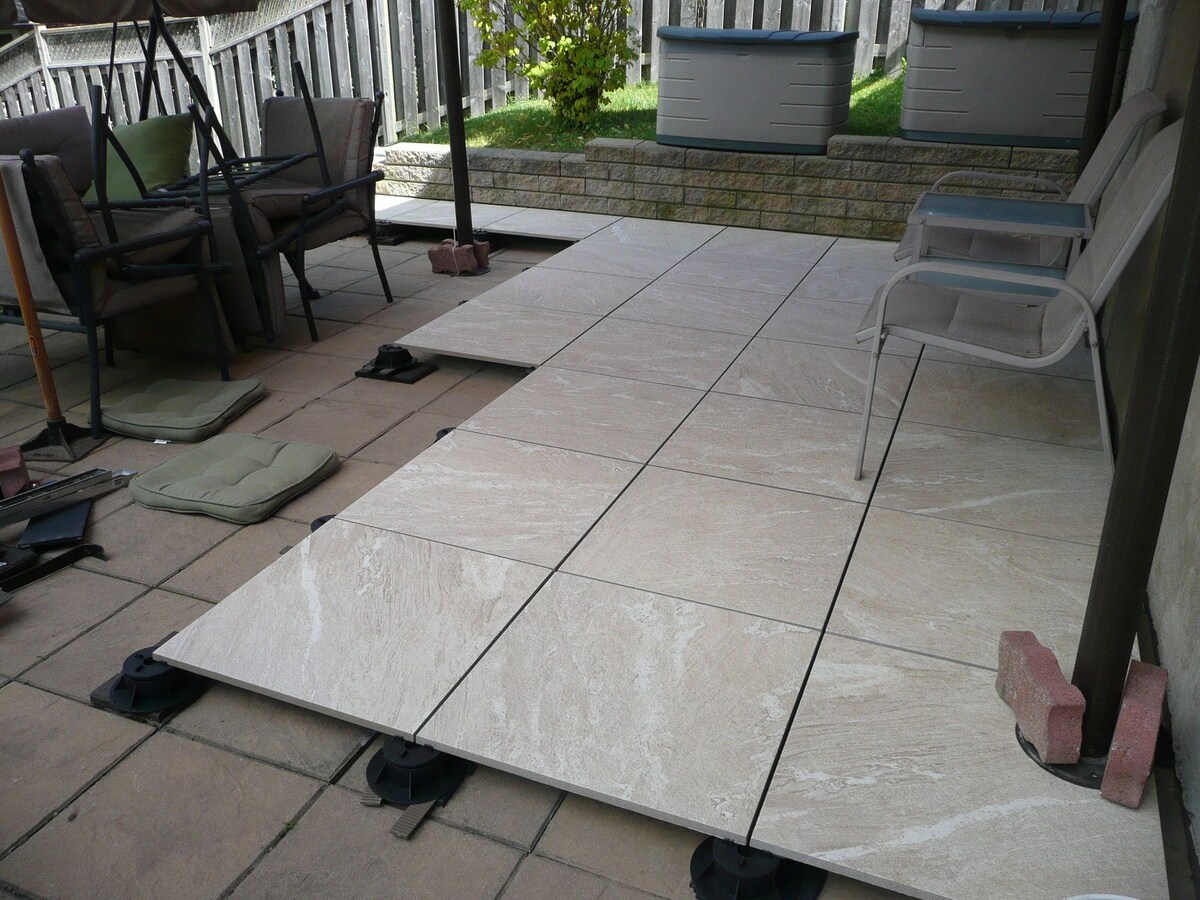
When the warm weather arrives, your outdoor patio becomes a cherished space for relaxation, entertainment, and quality time with loved ones. However, the beauty of your patio can be marred by the accumulation of dirt, grime, and stains on the tiles. Fear not, as with the right techniques and a little elbow grease, you can restore the luster and cleanliness of your outdoor patio tiles. This comprehensive guide will walk you through the step-by-step process of cleaning outdoor patio tiles, ensuring that your outdoor oasis remains a source of pride and joy.
Outdoor patio tiles are exposed to the elements, including rain, wind, and sunlight, which can lead to the buildup of dirt, algae, and other unsightly substances. Regular maintenance and cleaning are essential to preserve the aesthetics and longevity of your patio tiles. By following the methods outlined in this article, you can rejuvenate your outdoor space and create an inviting environment for relaxation and entertainment.
So, gather your cleaning supplies and prepare to breathe new life into your outdoor patio. With the right approach, you can bid farewell to stubborn stains and hello to a pristine outdoor setting. Let's embark on this cleaning journey together and revitalize your outdoor patio tiles for a season of enjoyment and tranquility.
Key Takeaways:
- Revitalize your outdoor patio tiles by clearing debris, preparing a gentle cleaning solution, and scrubbing tiles thoroughly. Rinse and dry for a sparkling finish, and consider sealing for added protection.
- Regular maintenance and cleaning are essential for preserving the beauty of outdoor patio tiles. Follow the steps to create a welcoming space for relaxation and entertainment.
Read more: What Tile Is Best For Outdoor Patio
Necessary Materials
Before delving into the cleaning process, it’s essential to gather the necessary materials to ensure a thorough and effective cleaning of your outdoor patio tiles. Here’s a list of items you’ll need:
- Broom or outdoor brush
- Garden hose or pressure washer
- Bucket
- Mild detergent or specially formulated outdoor tile cleaner
- Sponge or soft-bristled brush
- Rubber gloves
- Protective eyewear (if using a pressure washer)
- Sealer (optional, for sealing the tiles after cleaning)
These basic yet essential materials will equip you to tackle the task of cleaning your outdoor patio tiles with efficiency and precision. Once you have gathered these items, you’ll be ready to proceed with the cleaning process and restore the beauty of your outdoor space.
Sweeping and Clearing Debris
The first step in revitalizing your outdoor patio tiles is to remove any loose debris and dirt that has accumulated over time. Using a broom or outdoor brush, thoroughly sweep the entire surface of the patio to dislodge leaves, twigs, dirt, and other loose particles. Pay special attention to corners, edges, and any crevices where debris may have gathered.
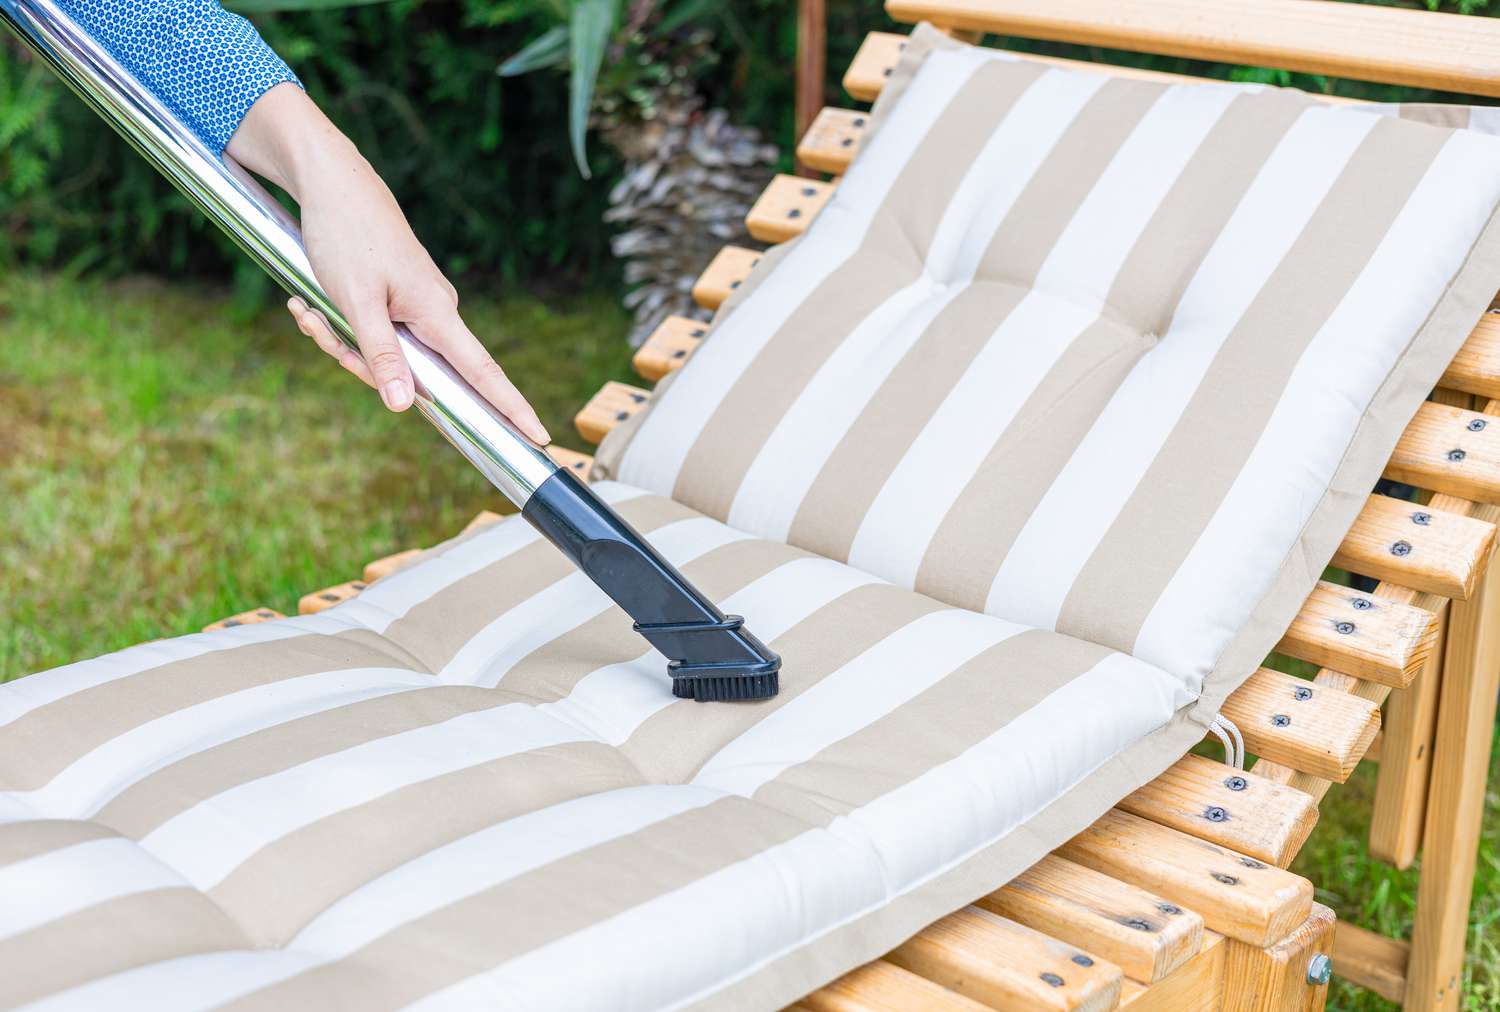
After sweeping, use a dustpan to gather the debris into a pile for easy disposal. Alternatively, you can use a vacuum cleaner with a brush attachment to effectively remove finer particles and dust from the tiles. By clearing away the surface debris, you’ll create a clean canvas for the subsequent cleaning steps, ensuring that the dirt and grime are not simply spread around during the cleaning process.
For stubborn or embedded dirt, consider using a stiff-bristled brush to loosen and remove the debris before proceeding to the next cleaning stage. This preliminary step sets the foundation for a more thorough cleaning process, allowing you to achieve optimal results and reveal the true beauty of your outdoor patio tiles.
By dedicating attention to sweeping and clearing debris, you’re laying the groundwork for a successful cleaning endeavor. With a clean slate, you can now move on to the next phase of the cleaning process, confident in the knowledge that your outdoor patio tiles are ready to undergo a transformative cleaning experience.
Preparing the Cleaning Solution
With the surface debris cleared, it’s time to prepare a cleaning solution that will effectively remove stains, grime, and residue from your outdoor patio tiles. For general cleaning, a simple yet potent solution can be created using common household items. In a bucket, mix warm water with a mild detergent or specially formulated outdoor tile cleaner. Follow the manufacturer’s instructions if using a commercial cleaner, ensuring that it is suitable for the type of tiles you have.
If your patio tiles are particularly stained or have stubborn patches of grime, you may opt for a more targeted approach. For instance, a solution of water and white vinegar can be effective for tackling mineral deposits and mildew. Alternatively, a mixture of water and baking soda can help lift tough stains and revitalize the appearance of the tiles.
It’s important to avoid using harsh or abrasive chemicals that could damage the tiles or harm surrounding vegetation. Always test a small, inconspicuous area of the tiles with the cleaning solution to ensure compatibility and assess its effectiveness before proceeding with the entire cleaning process.
By preparing a suitable cleaning solution, you’re setting the stage for a successful cleaning endeavor. The right combination of ingredients will help to break down dirt and grime, making the subsequent cleaning steps more efficient and rewarding. With the cleaning solution at the ready, you’re now equipped to tackle the task of restoring the pristine beauty of your outdoor patio tiles.
Use a mixture of warm water and mild dish soap to scrub outdoor patio tiles. For tougher stains, use a solution of water and white vinegar. Rinse thoroughly with clean water and allow to air dry.
Scrubbing the Tiles
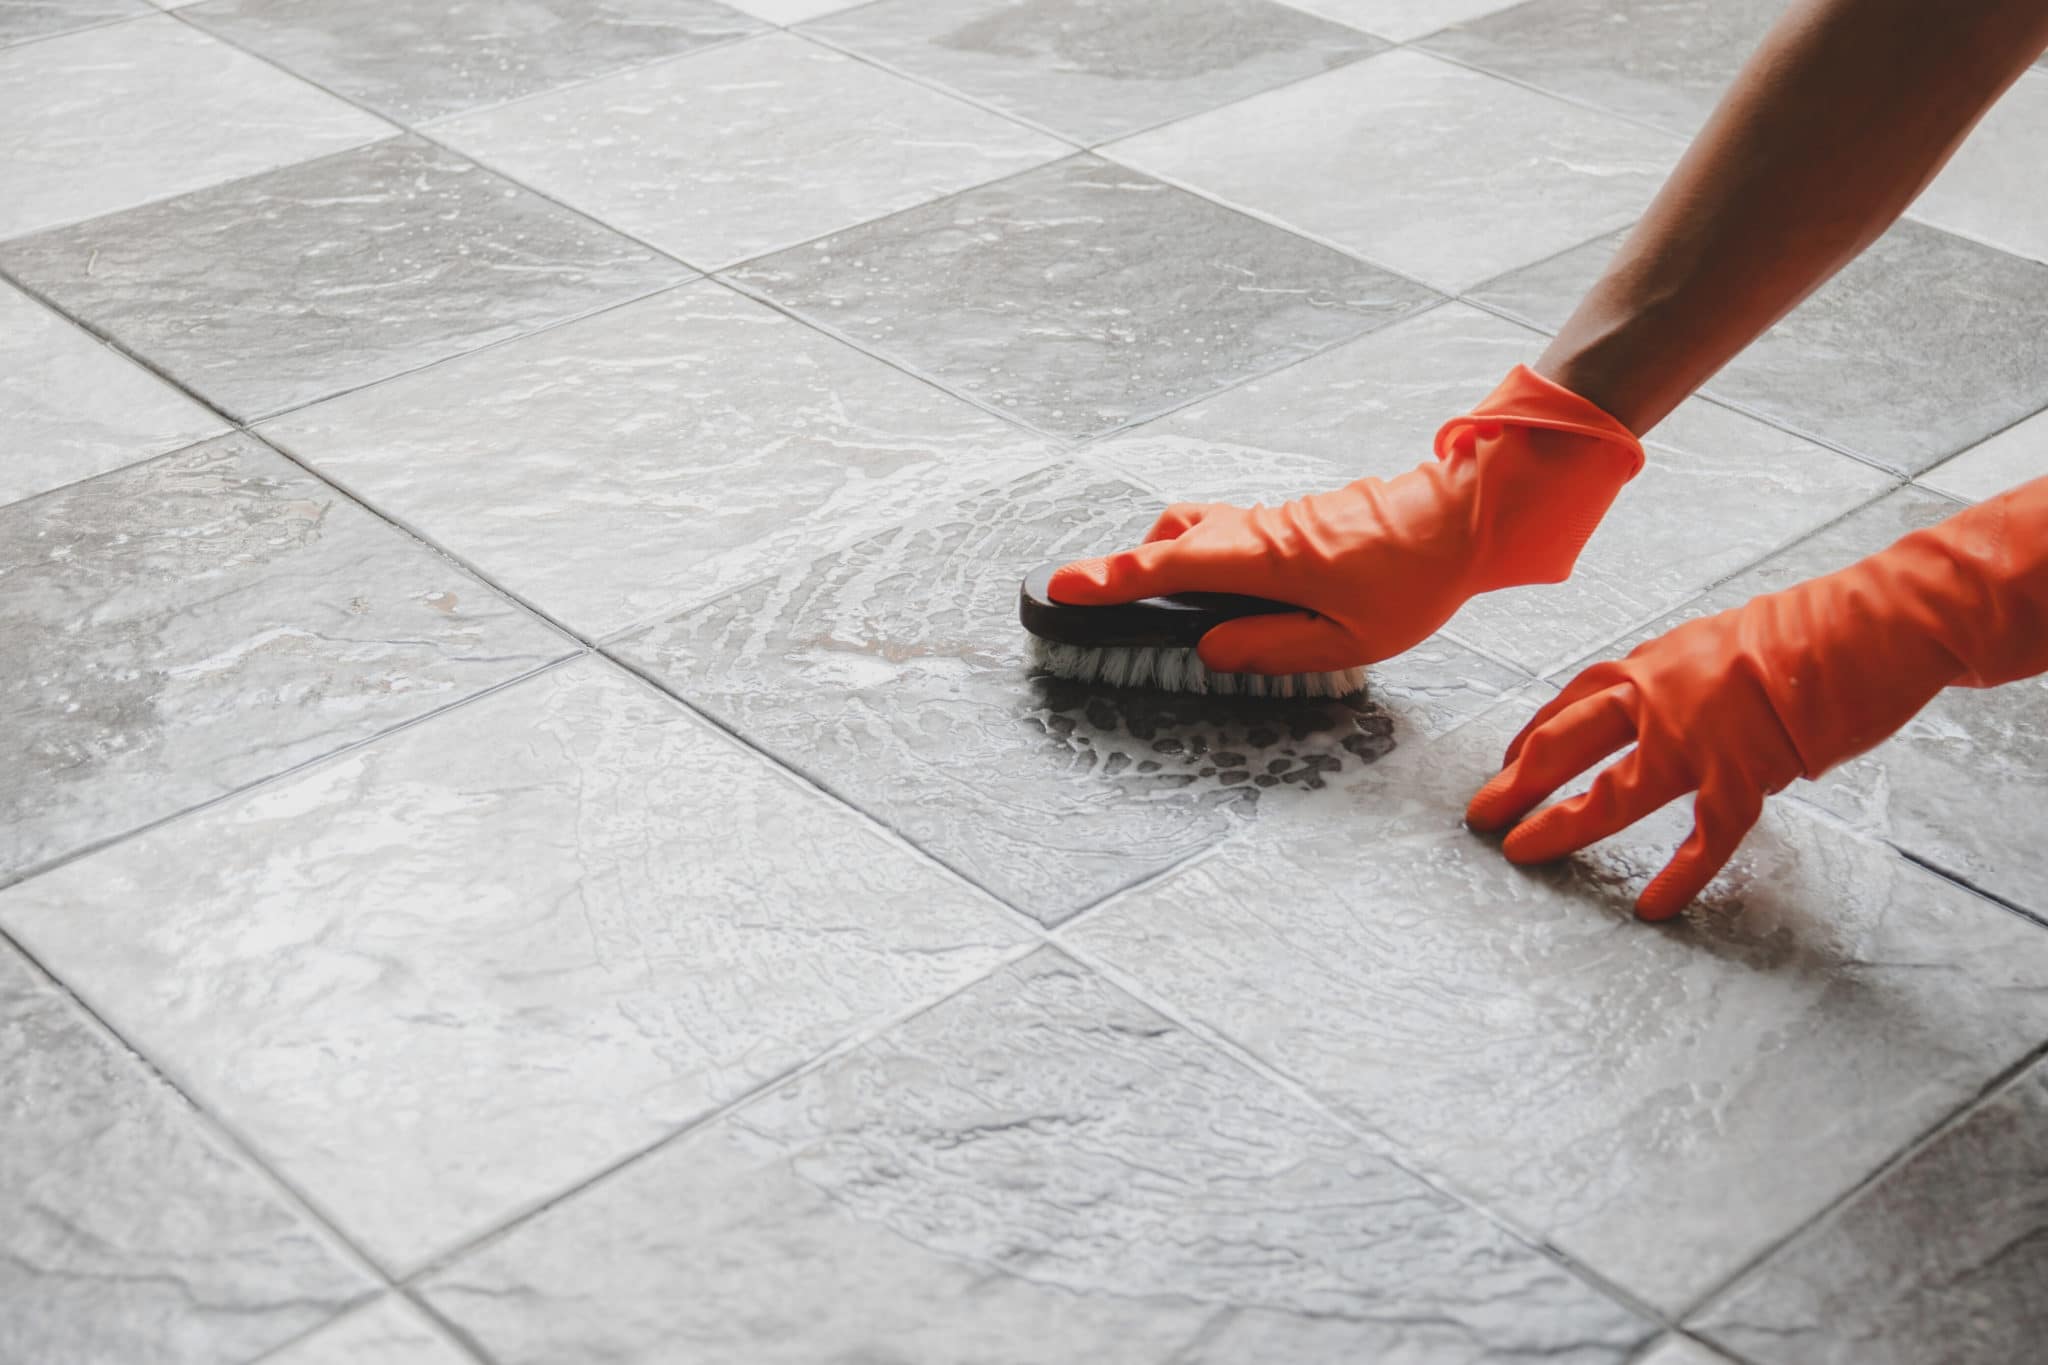
Armed with the prepared cleaning solution, it’s time to focus on scrubbing the outdoor patio tiles to dislodge stubborn stains, grime, and residue. Dip a sponge or soft-bristled brush into the cleaning solution and begin scrubbing the tiles in a systematic manner. Work in manageable sections, ensuring thorough coverage and attention to areas with visible discoloration or soiling.
For particularly stubborn stains or heavily soiled areas, apply additional pressure while scrubbing, or allow the cleaning solution to dwell on the tiles for a few minutes before scrubbing. This will help to loosen and lift the ingrained dirt, facilitating its removal during the rinsing stage.
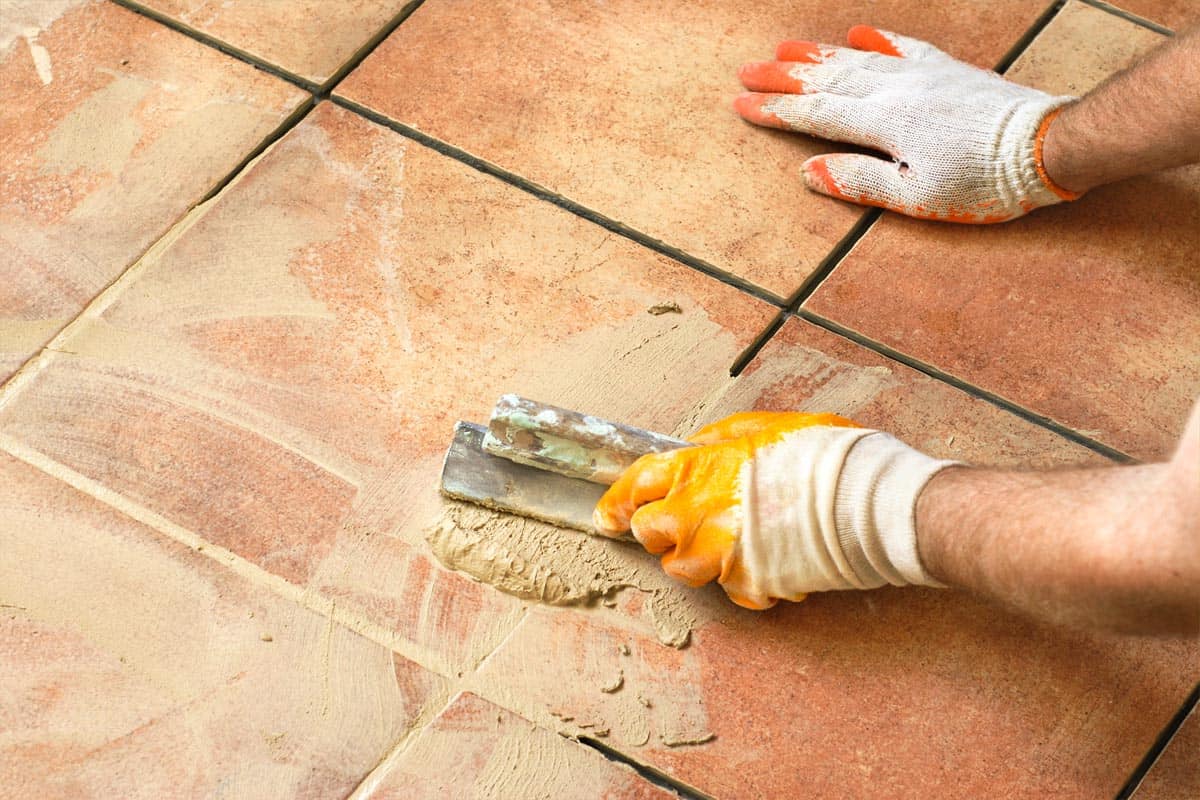
Pay special attention to grout lines, as these areas are prone to accumulating dirt and can greatly impact the overall appearance of the patio. Use a grout brush or an old toothbrush to meticulously clean the grout, ensuring that it is free from discoloration and buildup.
As you progress through the scrubbing process, periodically rinse the sponge or brush to prevent the re-deposition of dirt onto the tiles. This will maintain the effectiveness of the cleaning solution and prevent streaking or uneven cleaning results.
Scrubbing the tiles is a pivotal step in the cleaning process, as it directly addresses the visible signs of wear and weathering. By investing time and effort in thorough scrubbing, you’ll be rewarded with tiles that boast renewed vibrancy and cleanliness, setting the stage for a striking outdoor space that beckons with its pristine allure.
Read more: What Kind Of Tile For Outdoor Patio
Rinsing and Drying
With the tiles thoroughly scrubbed and the cleaning solution effectively lifting dirt and grime, it’s time to proceed to the rinsing and drying phase. This crucial step ensures that the cleaning solution, along with the dislodged dirt and residue, is completely removed, leaving behind a sparkling clean surface.
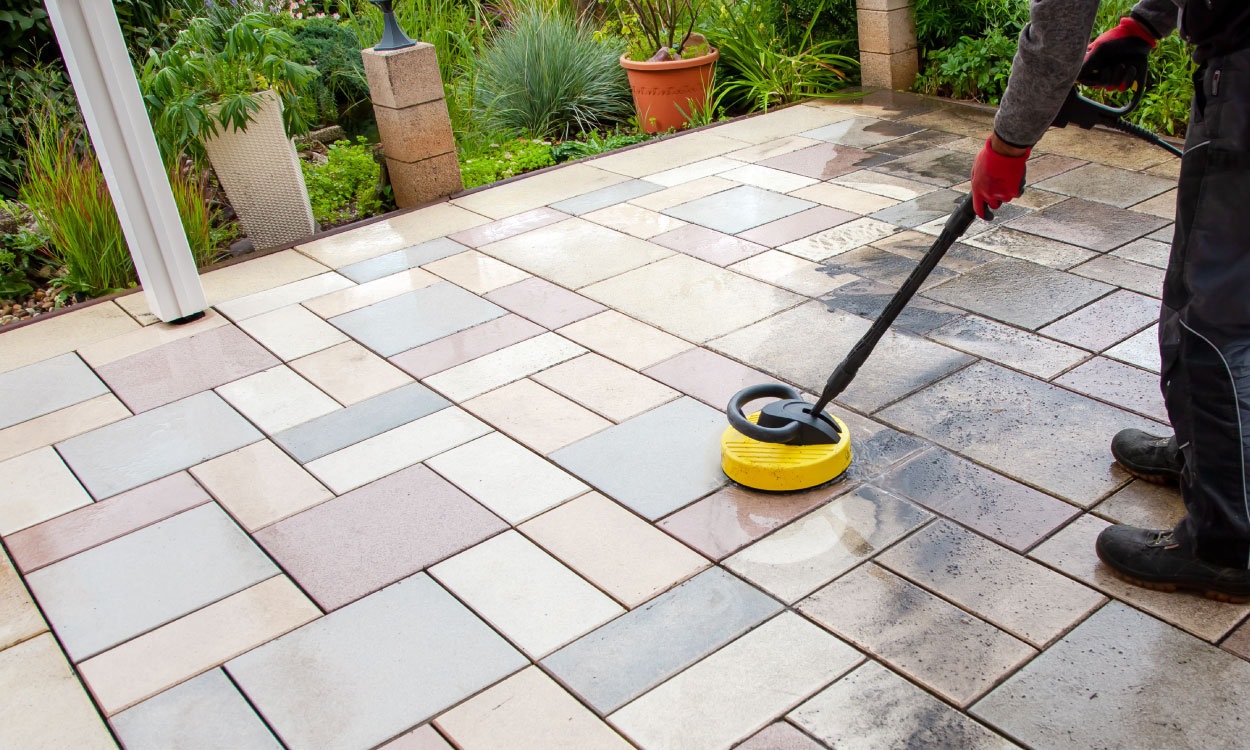
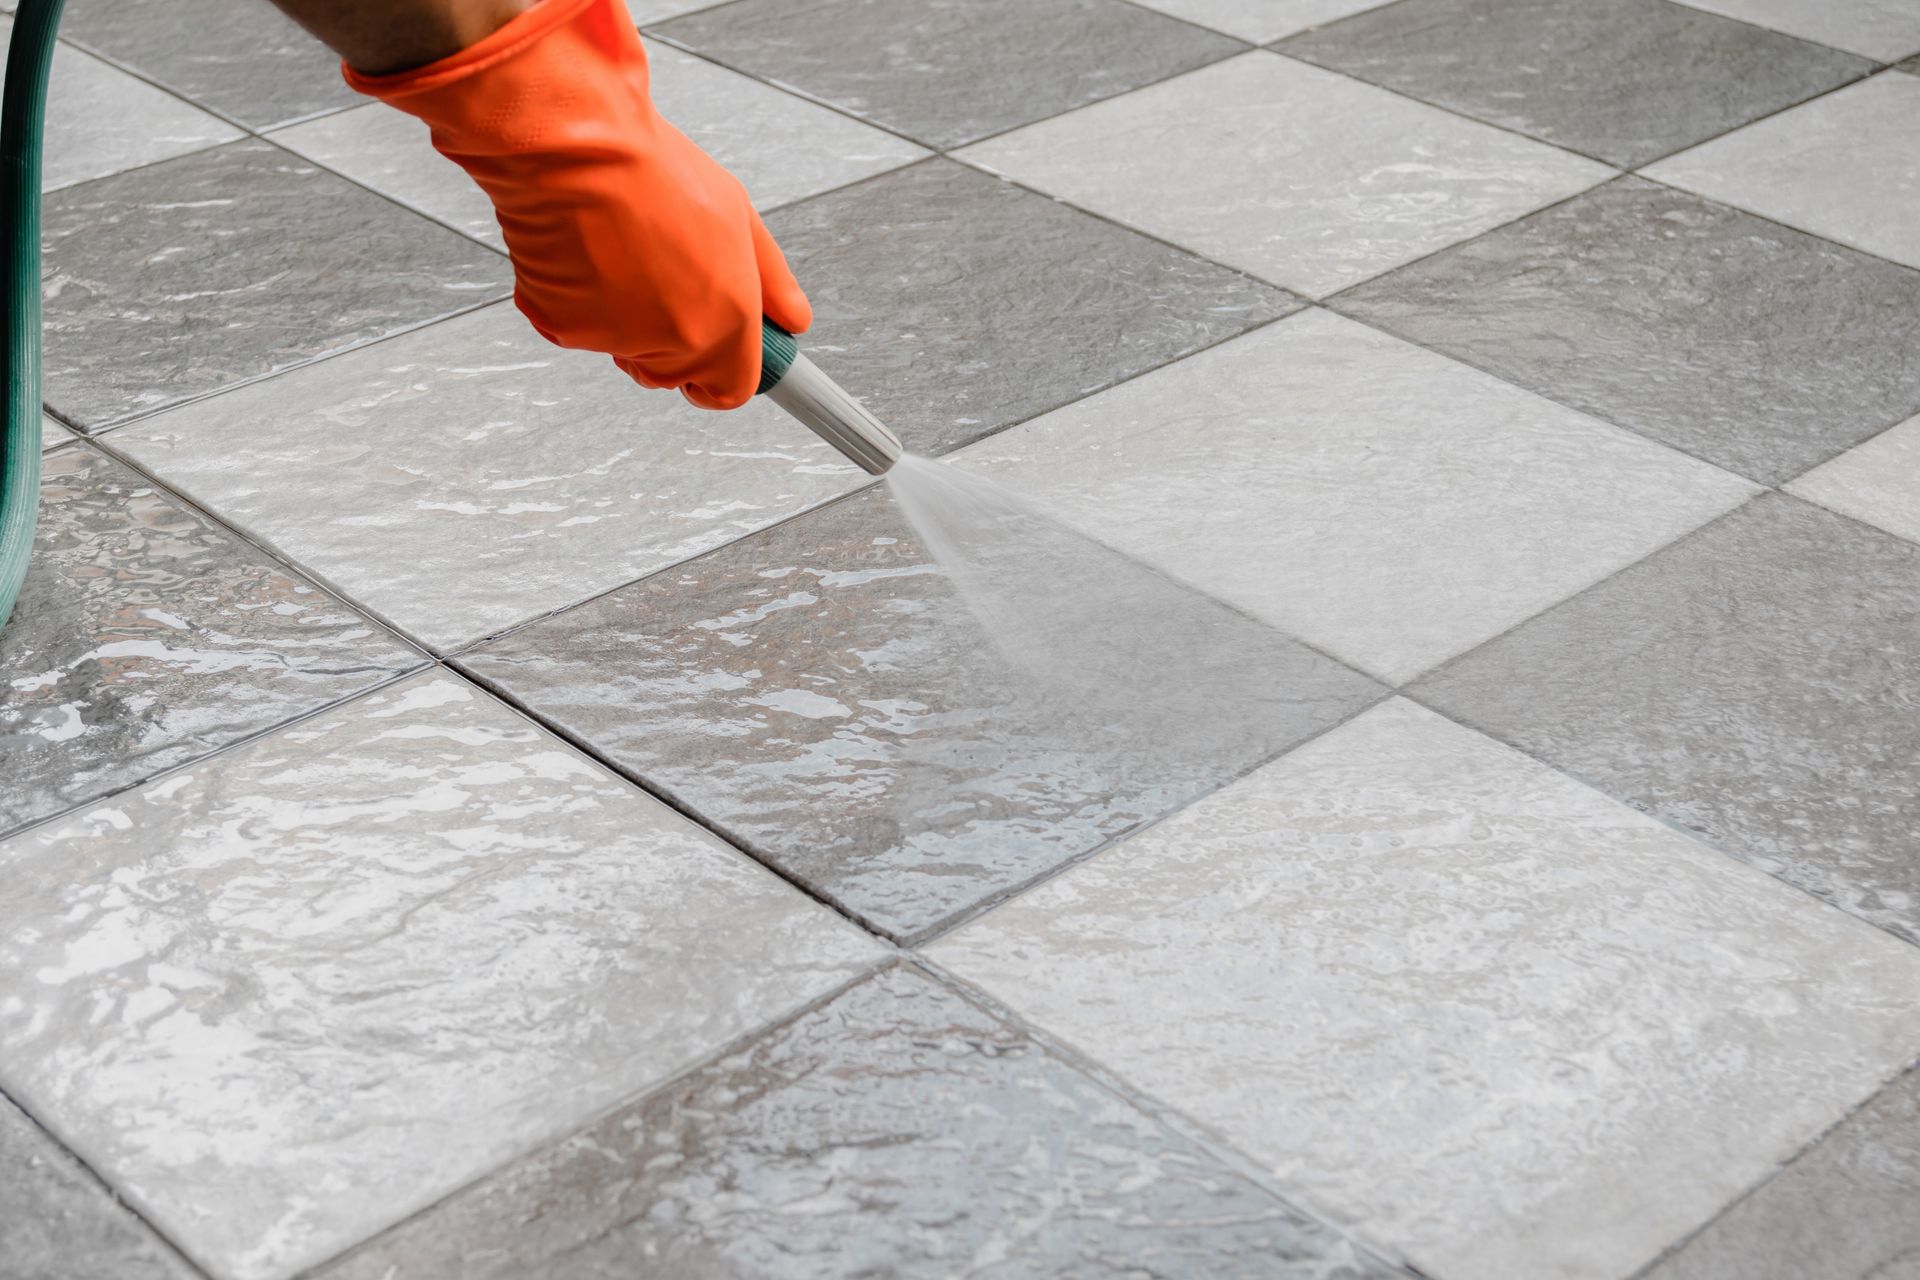
Using a garden hose or a pressure washer set to a gentle spray, thoroughly rinse the patio tiles, starting from one end and working your way methodically across the entire surface. Pay close attention to grout lines and crevices, ensuring that all traces of the cleaning solution and loosened dirt are washed away.
As you rinse the tiles, visually inspect the surface to ensure that no streaks or residue remain. If necessary, repeat the rinsing process to guarantee a pristine finish. Proper rinsing is essential to prevent the accumulation of cleaning solution residue, which can detract from the visual appeal of the tiles and potentially attract more dirt in the future.
After rinsing, allow the tiles to air dry naturally in the sunlight, which will further enhance their cleanliness and brightness. If the weather does not permit natural drying, use a clean, dry cloth or a squeegee to remove excess water from the tiles. This will expedite the drying process and prevent water spots from forming on the freshly cleaned surface.
By diligently rinsing and drying the patio tiles, you’re ensuring that the cleaning process culminates in a flawlessly clean and dry surface. The tiles will glisten in the sunlight, exuding a sense of freshness and rejuvenation that beckons you to enjoy your outdoor space to the fullest.
Sealing the Tiles (Optional)
After thoroughly cleaning and drying the outdoor patio tiles, you have the option to further protect and enhance their appearance by applying a sealant. While sealing the tiles is an optional step, it can provide valuable benefits, especially in environments where the tiles are subjected to heavy foot traffic, exposure to the elements, or potential staining agents.
Before applying a sealant, ensure that the tiles are completely dry and free from any residual cleaning solution. This will allow the sealant to adhere effectively and deliver optimal results. Choose a high-quality sealant that is specifically formulated for outdoor tiles and is suitable for the material of your patio tiles, whether they are ceramic, porcelain, natural stone, or another type of outdoor tile.
Using a clean, dry cloth or a paint roller, apply the sealant evenly across the surface of the tiles, working in manageable sections to ensure thorough coverage. Pay particular attention to grout lines, as they can be more susceptible to staining and moisture penetration. Allow the sealant to dry according to the manufacturer’s instructions, ensuring that the area is well-ventilated during the drying process.
Once the initial coat has dried, consider applying a second coat of sealant to further fortify the tiles against wear, moisture, and stains. This additional layer of protection can prolong the lifespan of the tiles and simplify future cleaning and maintenance efforts.
Sealing the tiles serves as a proactive measure to safeguard their integrity and appearance, offering long-term benefits that contribute to the longevity and visual appeal of your outdoor patio. By considering this optional step, you can elevate the durability and beauty of your outdoor space, creating a welcoming environment that exudes timeless charm and resilience.
Conclusion
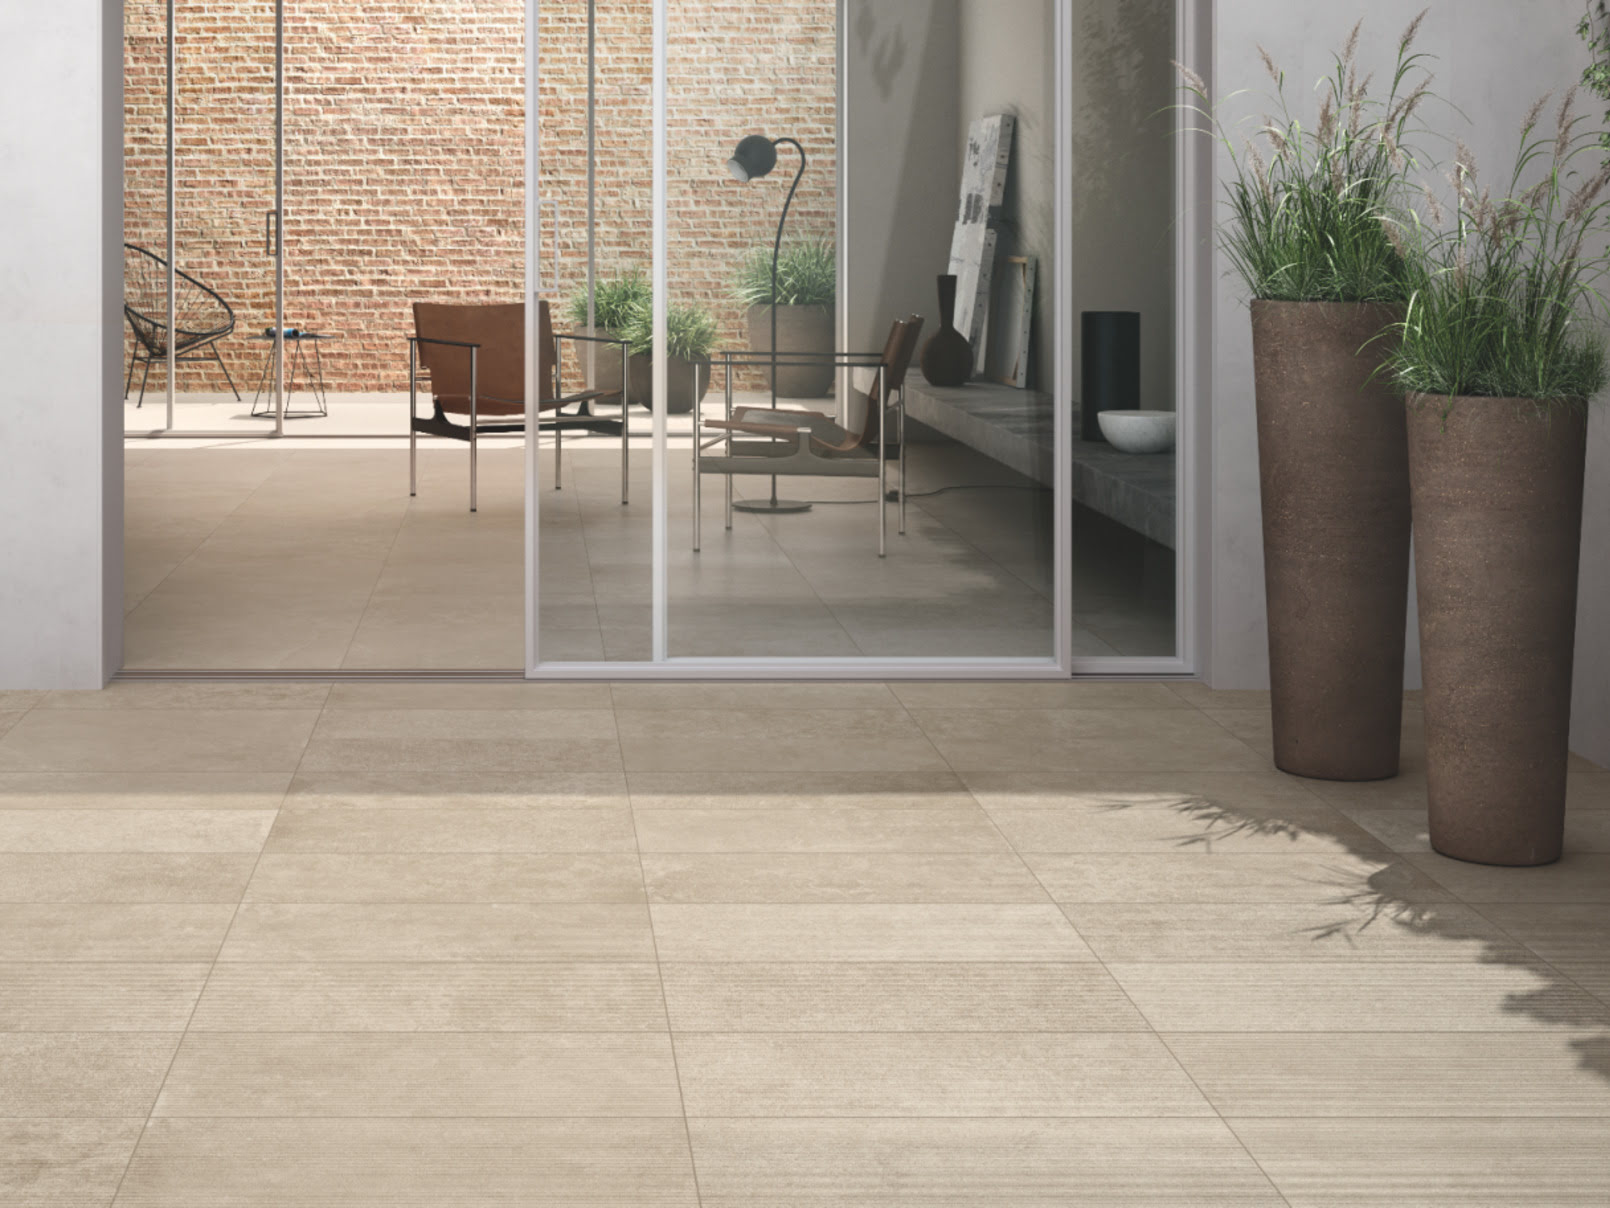
Congratulations! By following the comprehensive steps outlined in this guide, you have successfully rejuvenated your outdoor patio tiles, transforming them from weathered and dull to radiant and inviting. The meticulous process of sweeping and clearing debris, preparing a potent cleaning solution, scrubbing the tiles, and finally rinsing and drying has culminated in a space that radiates cleanliness and allure.
As you bask in the revitalized ambiance of your outdoor patio, take a moment to appreciate the transformative power of a thorough cleaning regimen. Not only have you restored the visual appeal of the tiles, but you have also created a hygienic and welcoming environment for relaxation, entertainment, and cherished moments with family and friends.
Remember, regular maintenance and cleaning are essential to preserve the pristine condition of your outdoor patio tiles. By incorporating these cleaning practices into your routine, you can enjoy a consistently beautiful and well-maintained outdoor space throughout the seasons.
Whether you choose to seal the tiles for added protection or simply revel in the renewed splendor of your outdoor patio, the efforts you’ve invested in this cleaning endeavor will undoubtedly yield long-lasting benefits. Your outdoor oasis now stands as a testament to your dedication to creating a harmonious blend of natural beauty and functional elegance.
So, embrace the allure of your revitalized outdoor patio, and revel in the joy of a space that beckons with its pristine charm. With each passing day, your outdoor sanctuary will continue to inspire moments of tranquility, laughter, and cherished memories, all against the backdrop of impeccably clean and inviting patio tiles.
Frequently Asked Questions about How To Clean Outdoor Patio Tiles
Was this page helpful?
At Storables.com, we guarantee accurate and reliable information. Our content, validated by Expert Board Contributors, is crafted following stringent Editorial Policies. We're committed to providing you with well-researched, expert-backed insights for all your informational needs.


0 thoughts on “How To Clean Outdoor Patio Tiles”