Home>Furniture & Design>Outdoor Furniture>How To Grout Outdoor Tiles
Outdoor Furniture
How To Grout Outdoor Tiles
Modified: August 26, 2024
Learn how to grout outdoor tiles with our expert tips and advice. Enhance the beauty of your outdoor furniture and design with our comprehensive grouting guide.
(Many of the links in this article redirect to a specific reviewed product. Your purchase of these products through affiliate links helps to generate commission for Storables.com, at no extra cost. Learn more)
Introduction
Read more: What Grout To Use For Outdoor Tile
Introduction
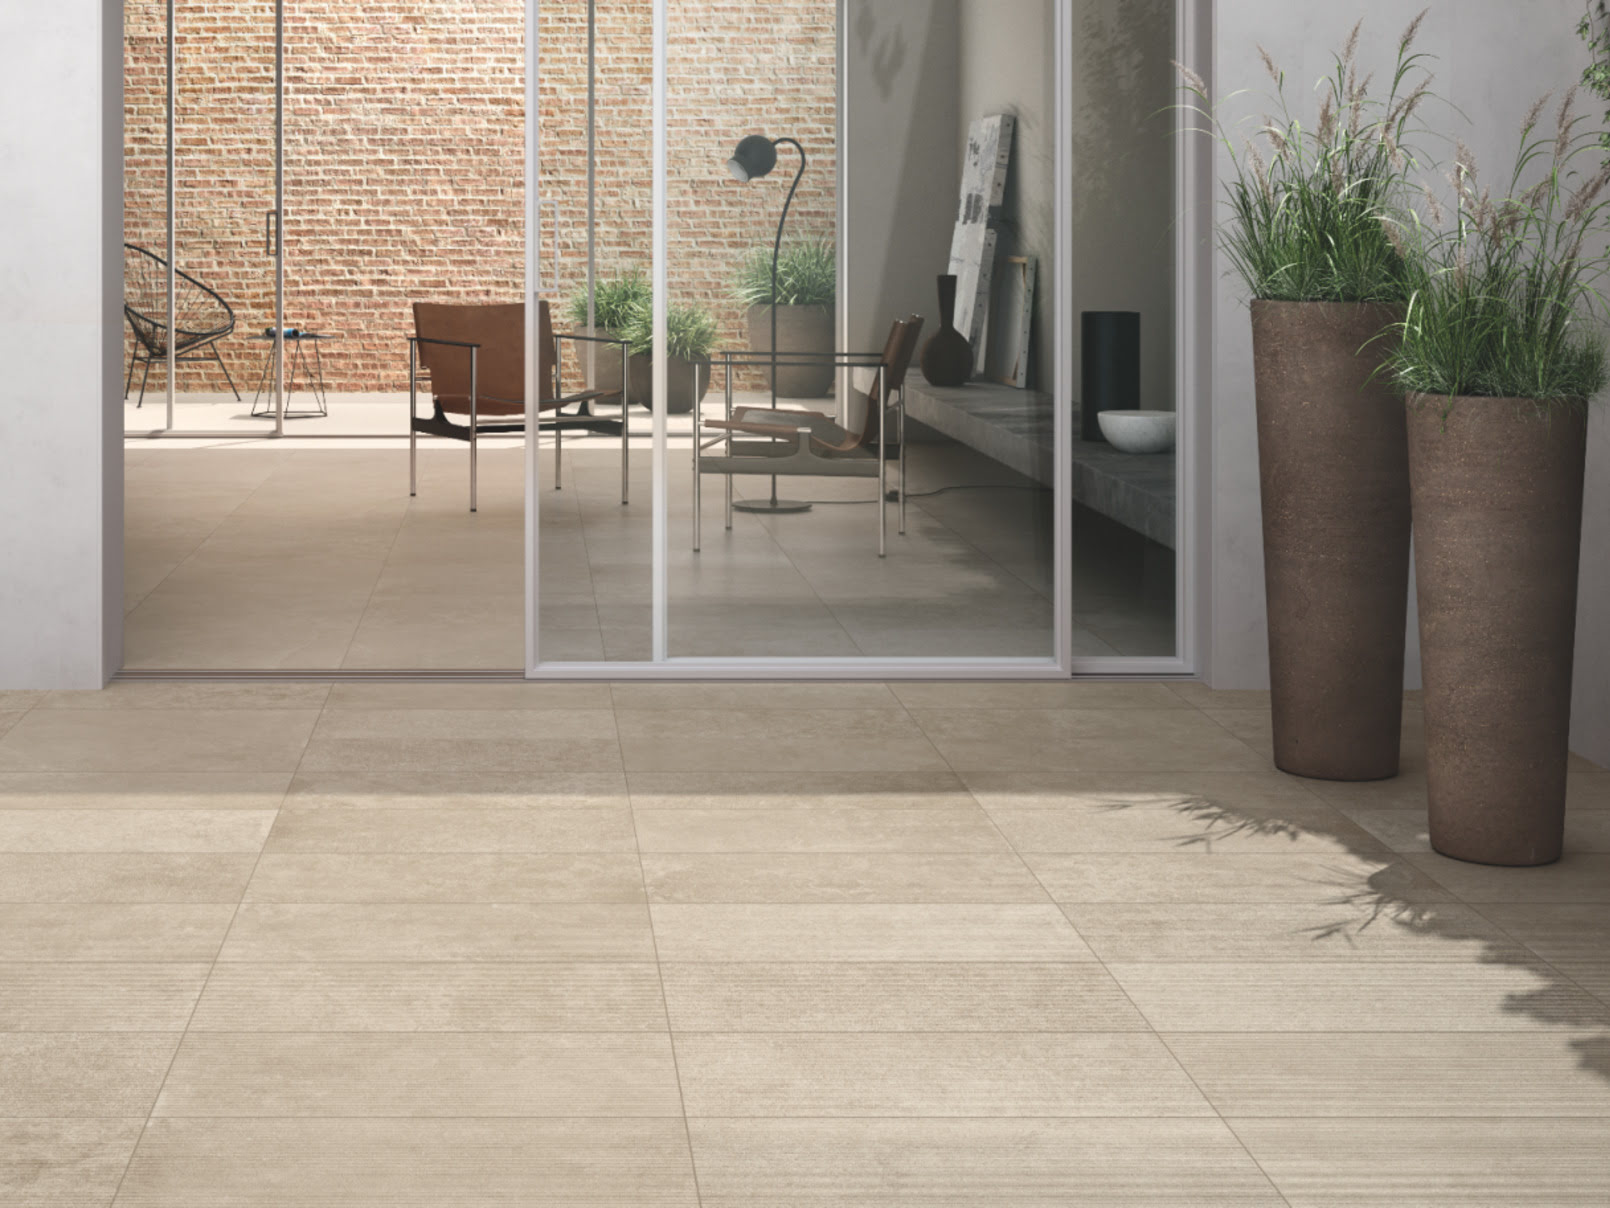
When it comes to outdoor design, the choice of tiles can significantly impact the aesthetics and functionality of the space. Outdoor tiles not only add a touch of elegance to patios, decks, and walkways but also contribute to the overall durability and weather resistance of these areas. While selecting the right tiles is crucial, the installation process is equally important to ensure longevity and visual appeal.
One of the critical steps in installing outdoor tiles is grouting. Grout serves both functional and aesthetic purposes, providing structural support while enhancing the visual coherence of the tiled surface. Properly grouting outdoor tiles can prevent moisture from seeping beneath the tiles, ultimately preserving the integrity of the installation.
In this comprehensive guide, we will delve into the intricacies of grouting outdoor tiles, covering everything from the essential tools and materials to the step-by-step process of grout application. Whether you are a seasoned DIY enthusiast or a homeowner looking to revamp your outdoor space, mastering the art of grouting outdoor tiles will empower you to elevate the beauty and resilience of your outdoor living areas.
Join us as we uncover the secrets to achieving flawless grout lines and a polished finish that will stand the test of time amidst the elements. Let's embark on this journey to transform your outdoor oasis into a stunning showcase of design and craftsmanship.
Tools and Materials
Key Takeaways:
- Grouting outdoor tiles is essential for both looks and durability. By using the right tools, preparing the surface, and applying grout carefully, you can transform your outdoor space into a stunning showcase of design and craftsmanship.
- Cleaning and sealing the grout is crucial for preserving the beauty and resilience of outdoor tiles. With attention to detail and diligence, you can ensure that your outdoor oasis remains a captivating haven of style and strength.
Tools and Materials
Before embarking on the grouting process, it’s essential to gather the necessary tools and materials to ensure a seamless and efficient application. Here’s a comprehensive list of the items you’ll need:
- Cement-based grout: Opt for a high-quality, weather-resistant cement-based grout that is suitable for outdoor use. Consider the color options available to complement your tile selection.
- Grout float: A rubber grout float is indispensable for spreading and leveling the grout across the tiled surface.
- Grout sponge: Look for a durable grout sponge with rounded corners to facilitate the cleaning and shaping of grout lines.
- Bucket: A clean bucket is necessary for mixing the grout to the appropriate consistency.
- Grout sealer: Invest in a premium grout sealer to protect the grout from moisture and stains, enhancing its longevity and appearance.
- Grout saw: If you’re working with existing tiles, a grout saw will aid in removing old grout to prepare the surface for regrouting.
- Dust mask and gloves: Prioritize safety by wearing a dust mask and gloves to protect yourself from grout dust and chemicals.
- Measuring tools: A measuring cup or bucket with clear volume markings will ensure accurate water-to-grout ratio during mixing.
- Protective tarp or drop cloth: To shield surrounding areas from grout splatter and spills, lay down a protective tarp or drop cloth.
- Clean water and a sponge: Prepare a bucket of clean water and a sponge for the final cleaning of the tiles and grout lines.
By assembling these tools and materials, you’ll be well-equipped to tackle the grouting process with confidence and precision. Ensuring that you have everything at your disposal will streamline the application and contribute to a professional-quality finish that enhances the allure and durability of your outdoor tiled surfaces.
Preparing the Surface
Read more: How To Tile And Grout A Floor
Preparing the Surface
Before diving into the grouting process, meticulous preparation of the tiled surface is essential to ensure optimal adhesion and a flawless finish. Follow these steps to prepare the surface for grouting:
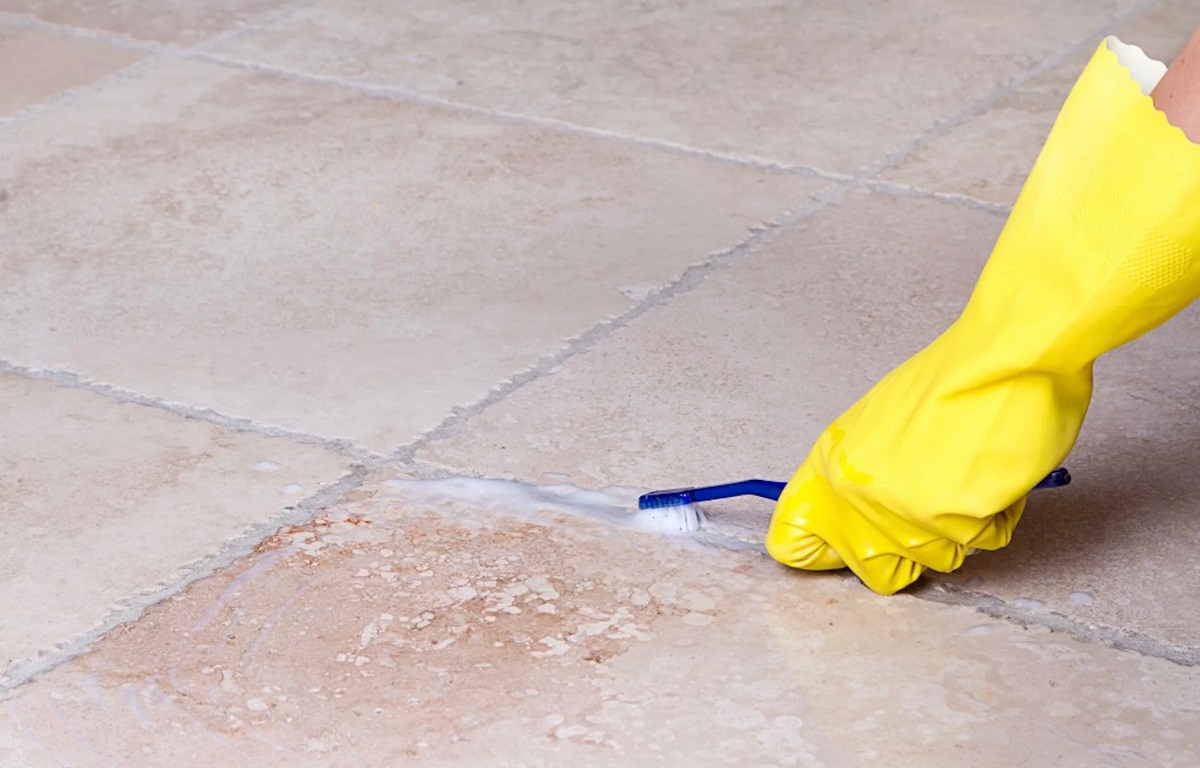
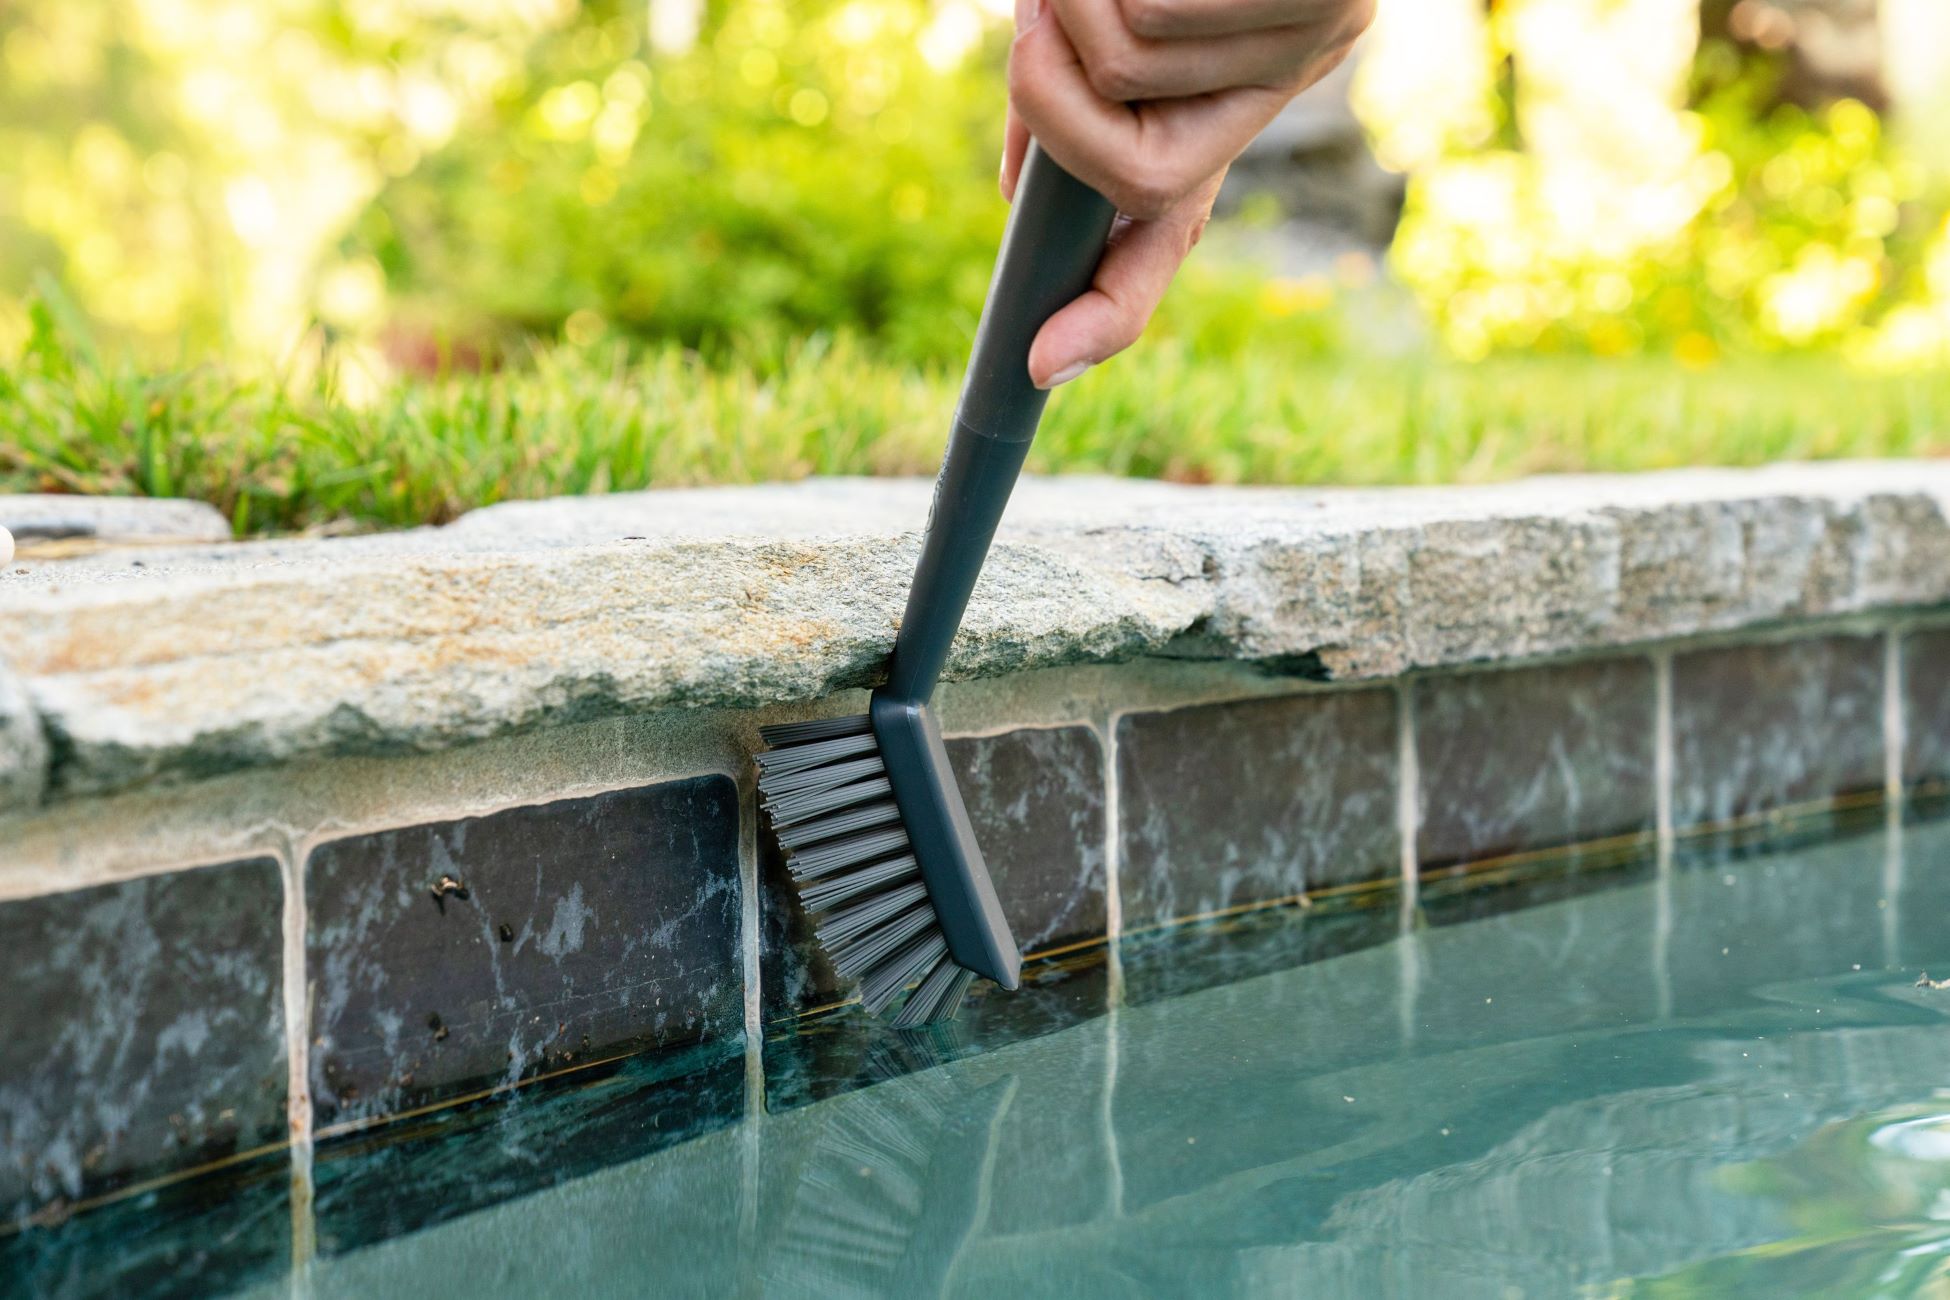
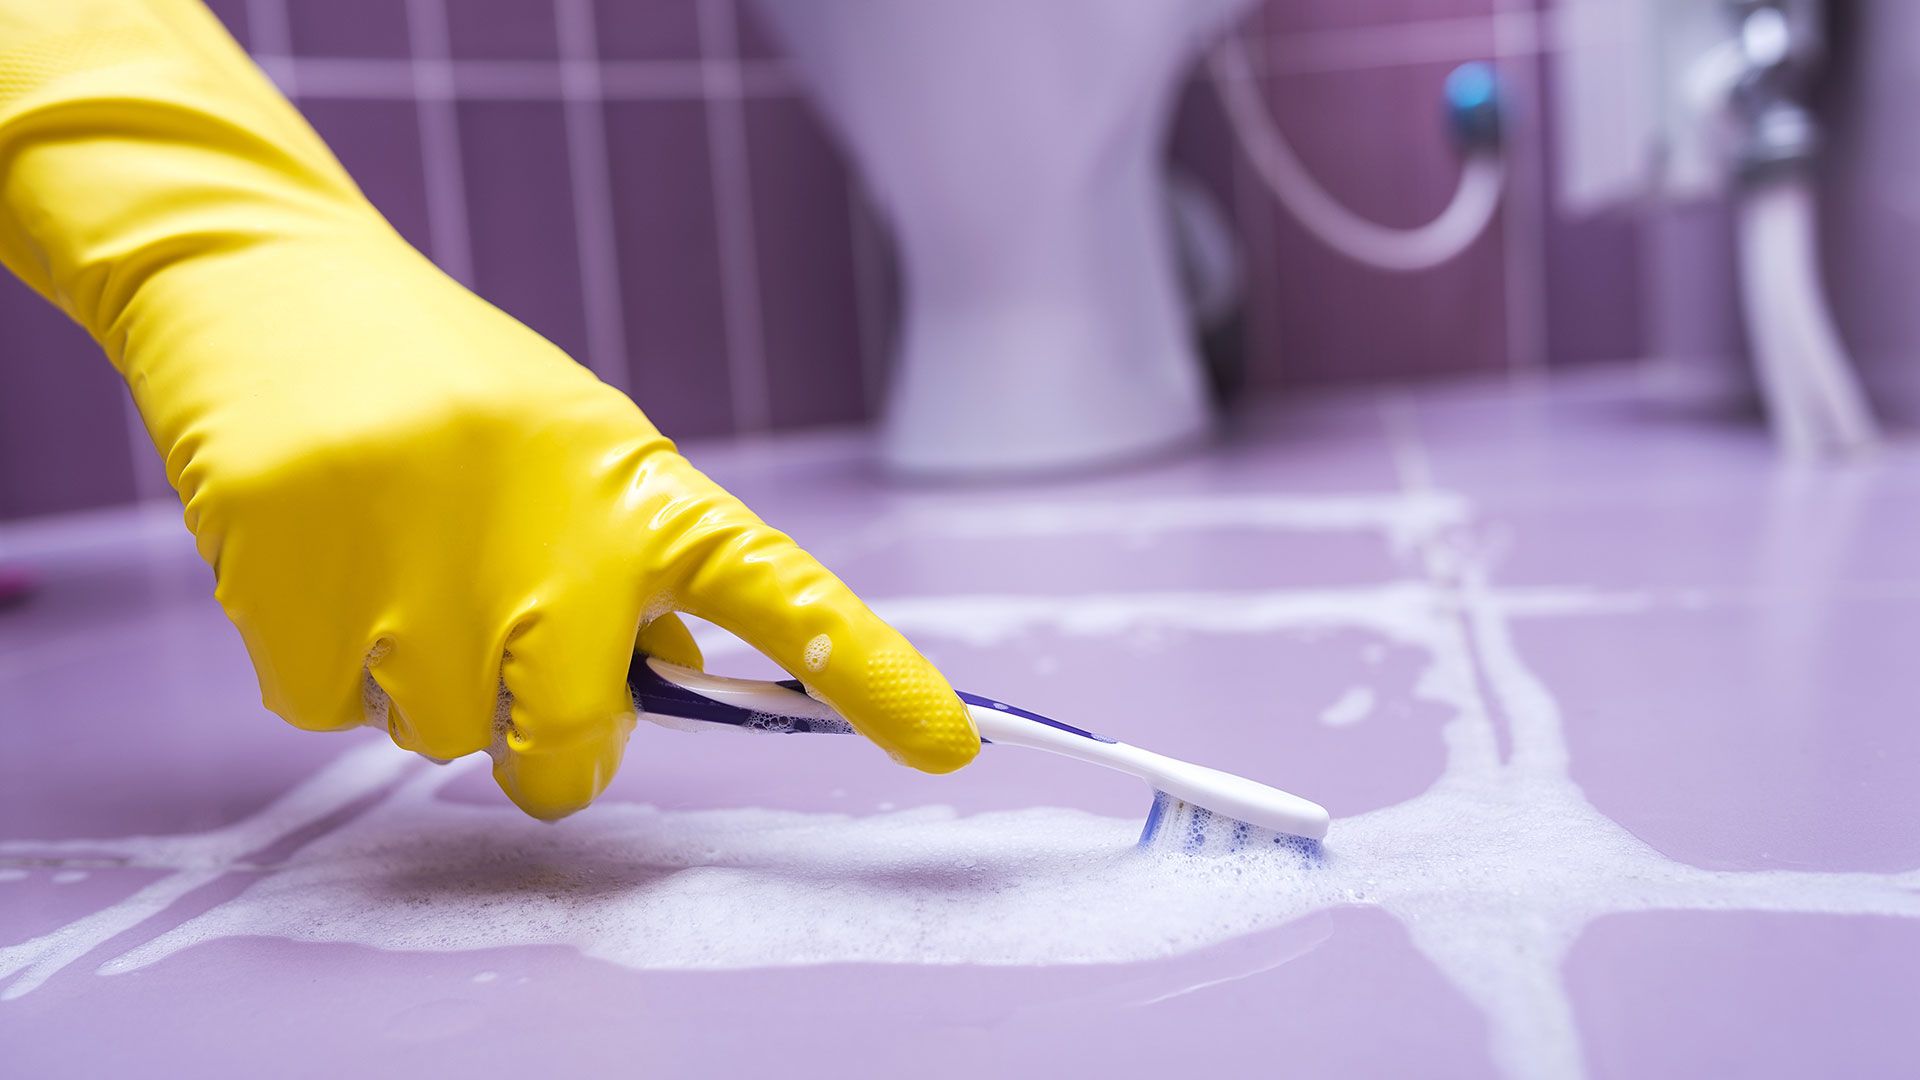
- Clean the Tiles: Thoroughly clean the tiled surface to remove any dirt, debris, or adhesive residue. Use a mild detergent, warm water, and a scrubbing brush to eliminate any lingering particles that could interfere with the grout’s adhesion.
- Inspect the Grout Joints: Examine the grout joints between the tiles to identify any areas with damaged or deteriorated grout. If necessary, use a grout saw to carefully remove the old grout, ensuring that the joints are clean and free of loose material.
- Address Tile Edges: Pay attention to the edges of the tiled area, ensuring that the tiles are firmly set and any protruding corners or uneven edges are addressed. Use a suitable adhesive to secure any loose tiles or edges, promoting a uniform and stable surface for grout application.
- Protect Surrounding Surfaces: Shield adjacent surfaces, such as walls and borders, from potential grout splatter and spills by applying painter’s tape or a protective barrier. This precautionary measure will facilitate a tidy and controlled grouting process.
- Allow for Drying Time: If the tiles were recently installed or cleaned, ensure that they are completely dry before commencing the grouting process. Adequate drying time is crucial to prevent moisture from becoming trapped beneath the grout, which could compromise its integrity.
By meticulously preparing the surface, you’ll create an ideal foundation for the grout, setting the stage for a successful and enduring application. This initial groundwork is instrumental in achieving impeccable grout lines and a cohesive, polished look that enhances the overall allure of your outdoor tiled space.
Mixing the Grout
Mixing the Grout
Mastering the art of mixing grout is a pivotal step in the grouting process, as it directly influences the consistency, workability, and overall quality of the application. Follow these guidelines to ensure a well-prepared grout mixture:
- Measure the Grout: Start by measuring the appropriate amount of dry grout powder according to the manufacturer’s instructions. Use a clean bucket to contain the measured grout, ensuring accuracy and preventing wastage.
- Add Water Gradually: Slowly pour clean water into the bucket of dry grout, following the manufacturer’s recommended water-to-grout ratio. Use a margin trowel or grout-mixing tool to combine the water and grout, ensuring a smooth and lump-free consistency.
- Achieve Desired Consistency: Aim for a homogeneous mixture with a creamy, paste-like consistency. Avoid adding excessive water, as this can lead to a runny grout that compromises adhesion and structural integrity.
- Allow for Slaking: After mixing the grout, allow it to rest for a few minutes, a process known as slaking. During this time, the grout will absorb the water and attain its ideal texture, enhancing workability and performance.
- Re-mix if Necessary: Prior to application, give the grout mixture a final gentle stir to ensure uniformity and address any settling that may have occurred during the slaking period.
By adhering to these mixing guidelines, you’ll achieve a well-balanced grout mixture that is primed for effortless application and optimal results. The consistency and thorough blending of the grout are pivotal in attaining clean, uniform grout lines that enrich the visual impact and structural integrity of your outdoor tiled surfaces.
Applying the Grout
Read more: How To Grout A Shower Tile
Applying the Grout
As you embark on the grouting process, meticulous application is key to achieving impeccable results that elevate the overall appearance and durability of your outdoor tiled surfaces. Follow these steps to expertly apply the grout:
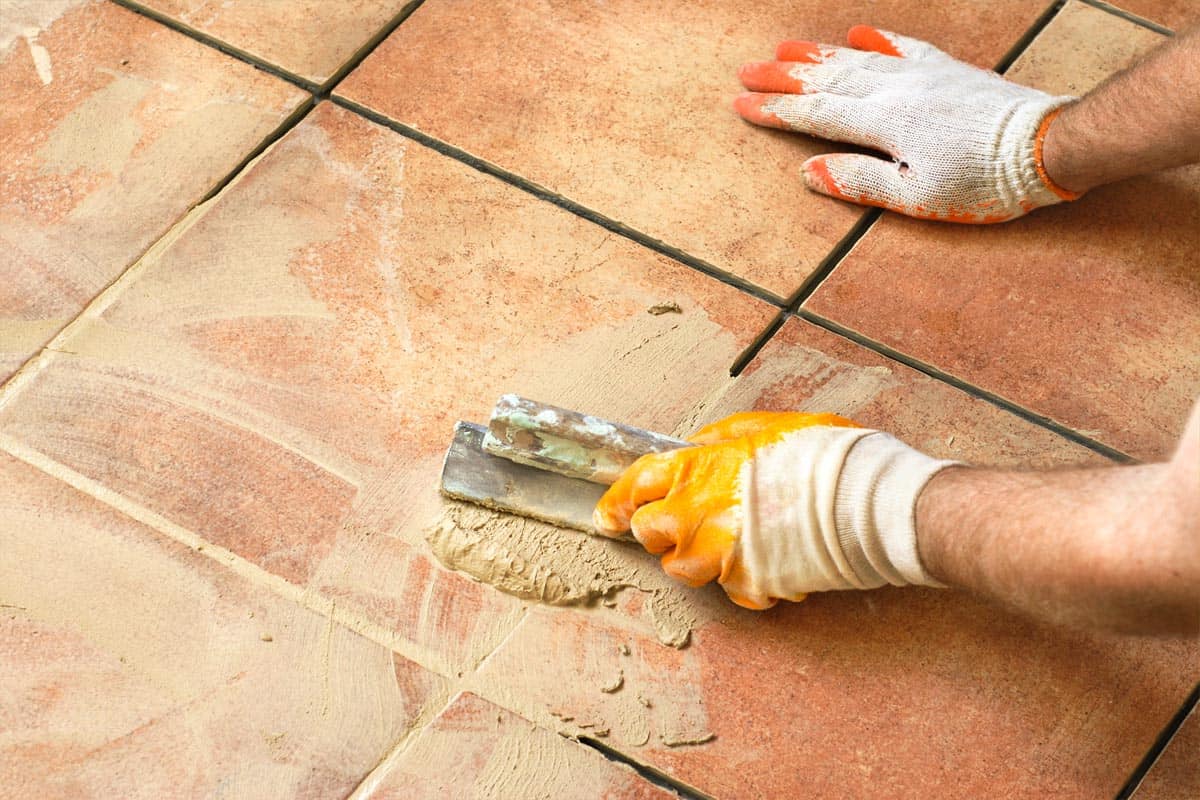
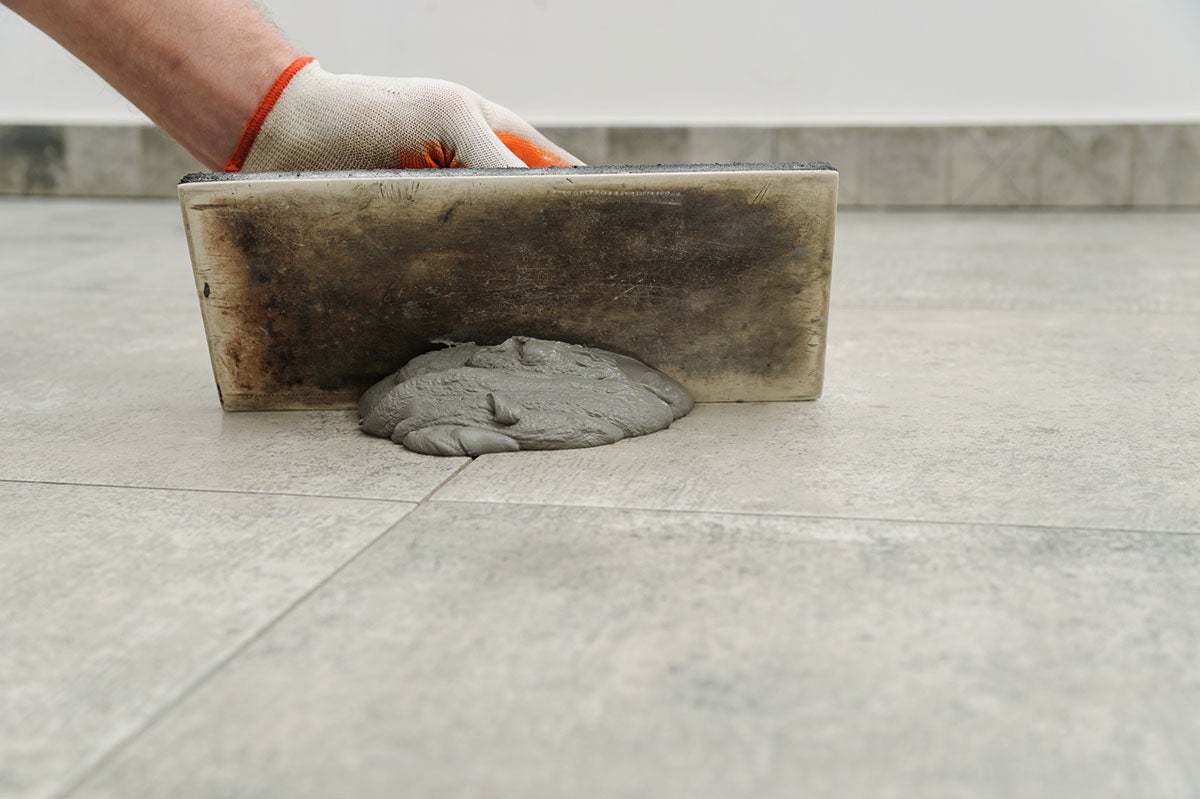
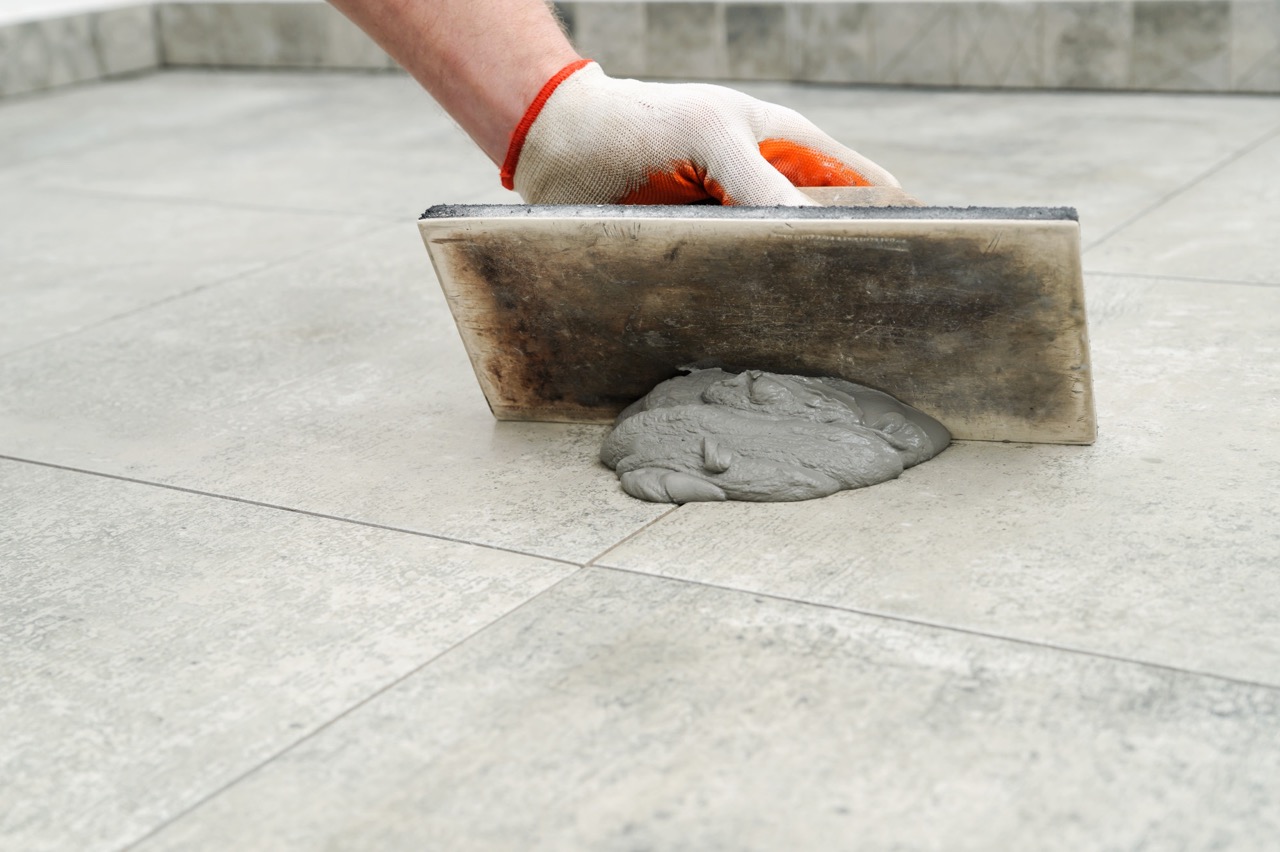
- Fill the Joints: Using a grout float, spread the prepared grout mixture across the tiled surface, ensuring that the joints are thoroughly filled. Hold the float at a 45-degree angle and use firm, sweeping motions to pack the grout into the joints, minimizing air pockets and voids.
- Work in Sections: Divide the tiled area into manageable sections to facilitate focused grout application. This approach ensures that the grout remains workable and allows you to concentrate on shaping and cleaning each section before the grout sets.
- Remove Excess Grout: After filling the joints, use the edge of the grout float to scrape off excess grout from the tile surface. Hold the float at a steep angle and make diagonal passes across the tiles to remove surplus grout without disturbing the filled joints.
- Shape the Grout Lines: With the grout float or a specialized grout shaping tool, refine the grout lines to achieve a uniform, aesthetically pleasing appearance. Run the tool along the joints to create smooth, consistent lines that complement the design of the tiles.
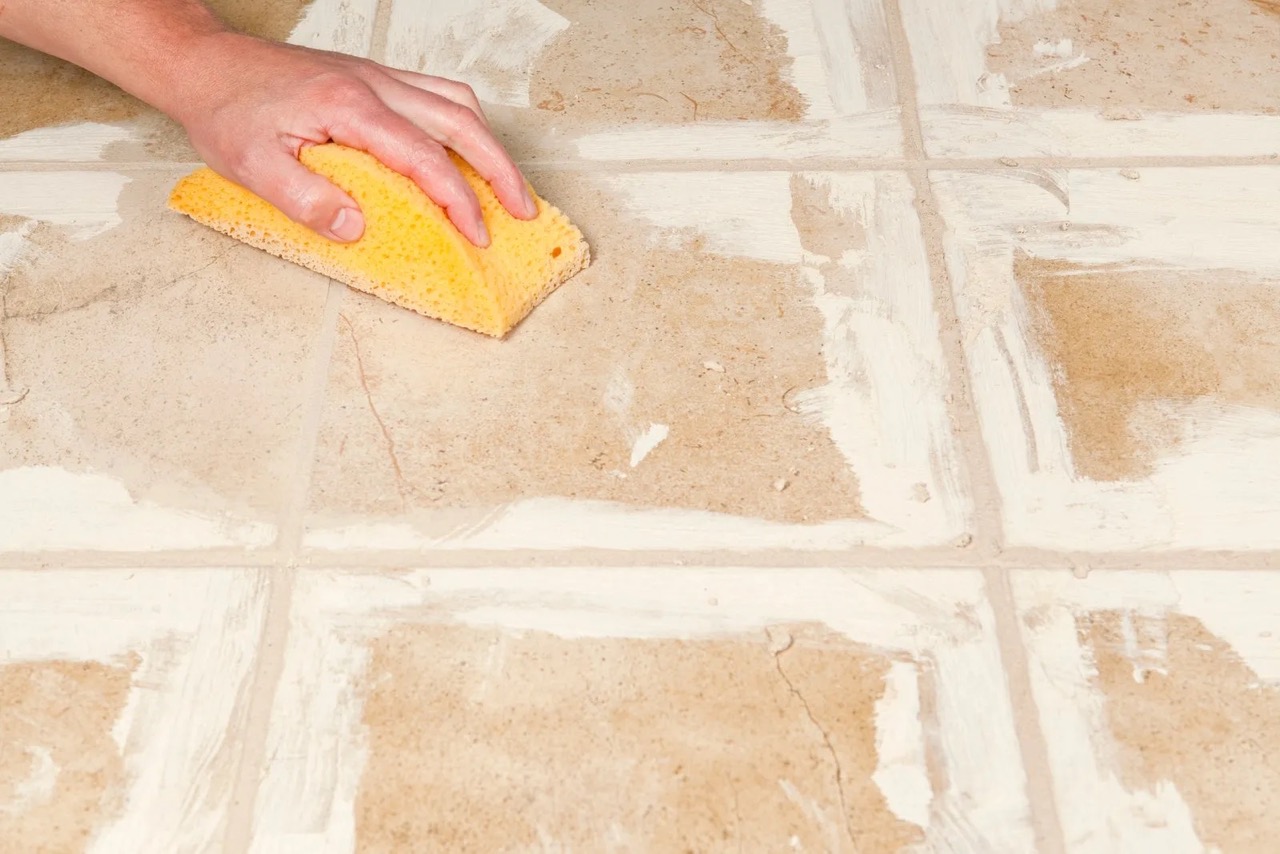
- Clean the Tiles: Once the grout has set for a brief period, use a damp grout sponge to gently clean the tile surfaces, removing any residual grout haze and smoothing the edges of the grout lines. Rinse the sponge frequently and avoid applying excessive pressure to prevent disturbing the grout.
By adhering to these application techniques, you’ll achieve well-defined grout lines and a polished finish that enhances the visual cohesiveness and longevity of your outdoor tiled surfaces. Meticulous application sets the stage for a professional-quality outcome that showcases the beauty and resilience of your outdoor design.
Cleaning and Sealing
Cleaning and Sealing
Once the grout has been applied and allowed to set to the appropriate stage, the final steps of cleaning and sealing are crucial to preserving the integrity and aesthetics of the grouted outdoor tiles. Follow these essential guidelines to ensure a pristine and enduring finish:
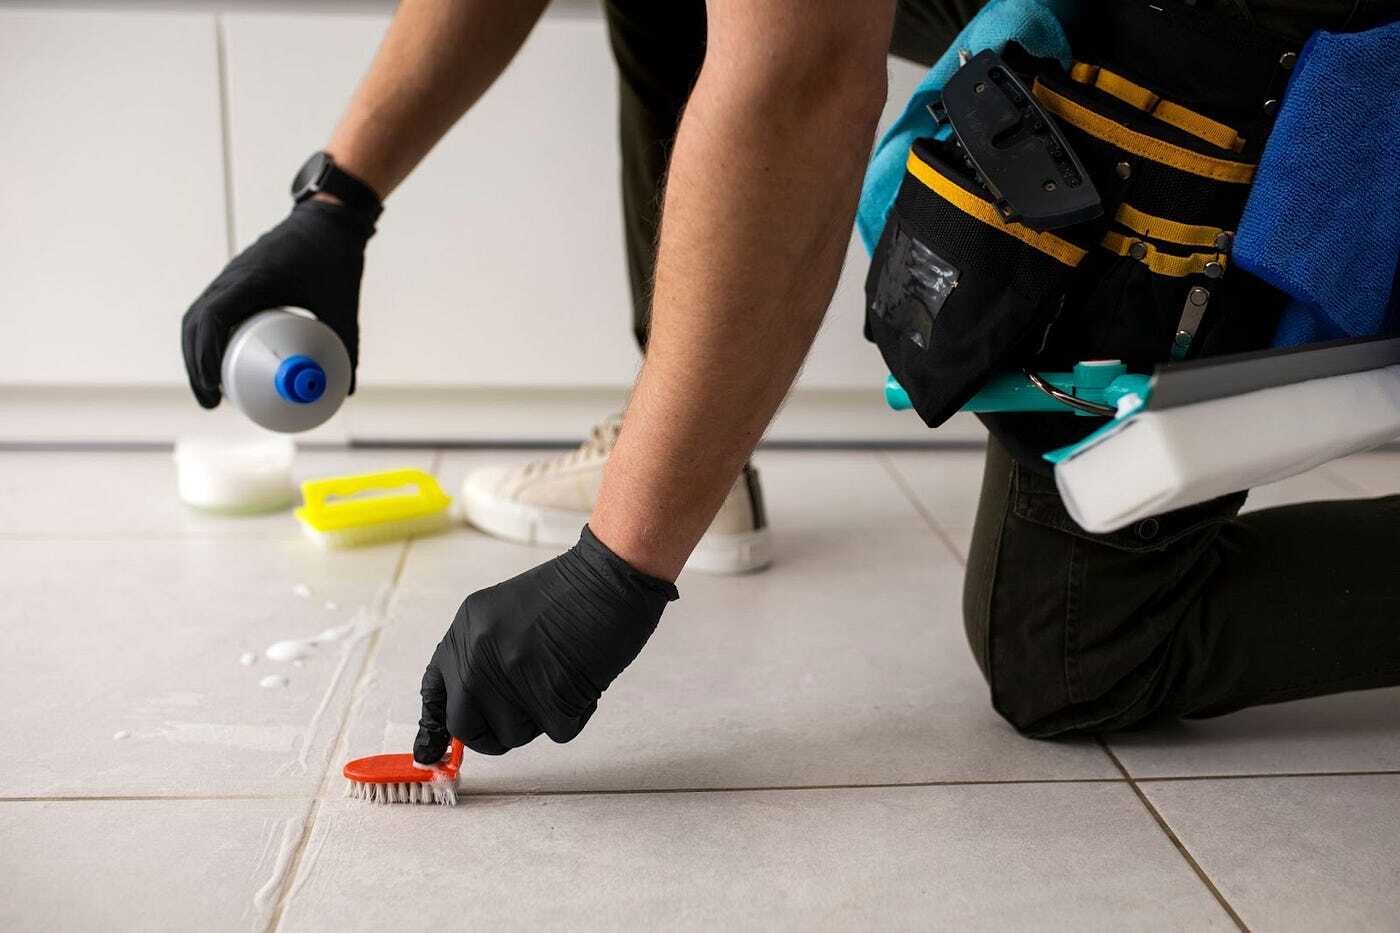
- Final Cleaning: Using a clean, damp grout sponge, gently wipe the tiled surface to remove any remaining grout residue and haze. Rinse the sponge frequently and avoid applying excessive pressure to prevent disrupting the grout lines. This step will reveal the true luster of the tiles and grout lines.
- Allow for Curing: After the initial cleaning, allow the grout to cure for the duration specified by the manufacturer. This curing period is essential for the grout to achieve its full strength and stability.
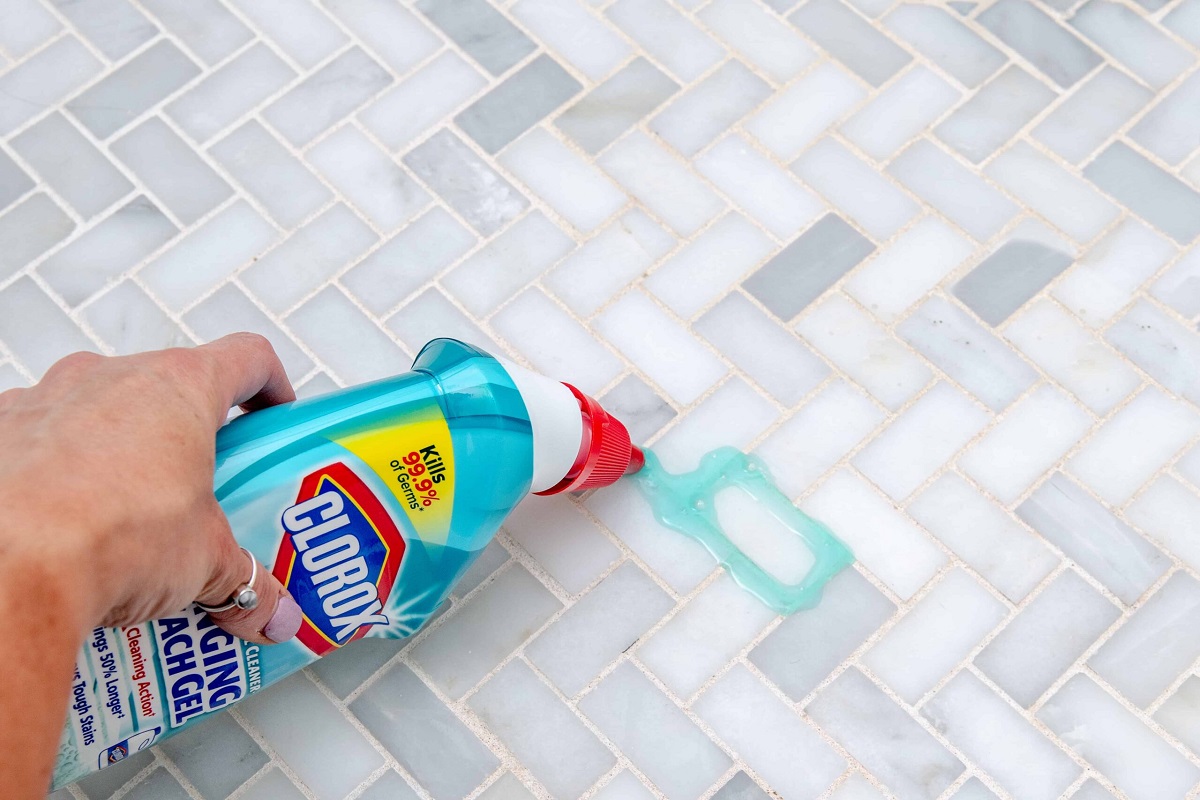
- Apply Grout Sealer: Once the grout has fully cured, apply a high-quality grout sealer using a small brush or applicator bottle. Ensure that the grout lines are thoroughly coated with the sealer, which will protect the grout from moisture penetration and staining, enhancing its longevity and appearance.
- Wipe Excess Sealer: After applying the sealer, carefully wipe away any excess product from the tile surfaces using a clean, dry cloth. This step prevents the sealer from drying on the tiles, which could lead to unsightly streaks or residue.
- Allow for Sealer Drying Time: Give the grout sealer sufficient time to dry and cure as per the manufacturer’s recommendations. This final phase ensures that the grout is effectively shielded and fortified for long-term resilience.
By diligently adhering to these cleaning and sealing procedures, you’ll safeguard the beauty and durability of your outdoor tiled surfaces, ensuring that they withstand the elements and maintain their allure for years to come. The combination of thorough cleaning and strategic sealing culminates in a finish that exudes sophistication and endurance, enhancing the overall appeal of your outdoor design.
Conclusion
Read more: How To Repair A Shower Tile Grout
Conclusion
Grouting outdoor tiles is a transformative process that not only enhances the visual appeal of your outdoor spaces but also fortifies the structural integrity of the tiled surfaces. By equipping yourself with the essential tools and materials, meticulously preparing the surface, and mastering the art of grout application, you have the power to elevate your outdoor oasis to new heights of beauty and resilience.
As you embark on the journey of grouting outdoor tiles, remember that attention to detail and precision are paramount. From mixing the grout to shaping the grout lines and applying the final touches, each step contributes to the creation of a seamless, polished finish that withstands the elements and captivates the eye.
By embracing the cleaning and sealing phase with diligence and care, you safeguard the longevity and allure of your outdoor tiled surfaces, ensuring that they remain a stunning showcase of design and craftsmanship for years to come.
Whether you’re reviving an existing outdoor space or embarking on a new design venture, the art of grouting outdoor tiles empowers you to infuse your outdoor living areas with enduring beauty and functionality. Embrace this process as an opportunity to unleash your creativity and elevate the allure of your outdoor oasis, one meticulously grouted tile at a time.
With these insights and techniques at your disposal, you’re poised to embark on a grouting journey that transcends mere functionality, evolving into an artful expression of outdoor design and durability. Embrace the transformative power of grout, and watch as your outdoor spaces blossom into captivating havens of style and strength.
Frequently Asked Questions about How To Grout Outdoor Tiles
Was this page helpful?
At Storables.com, we guarantee accurate and reliable information. Our content, validated by Expert Board Contributors, is crafted following stringent Editorial Policies. We're committed to providing you with well-researched, expert-backed insights for all your informational needs.


0 thoughts on “How To Grout Outdoor Tiles”