Home>Furniture>Outdoor Furniture>How To Tile Over A Concrete Patio
Outdoor Furniture
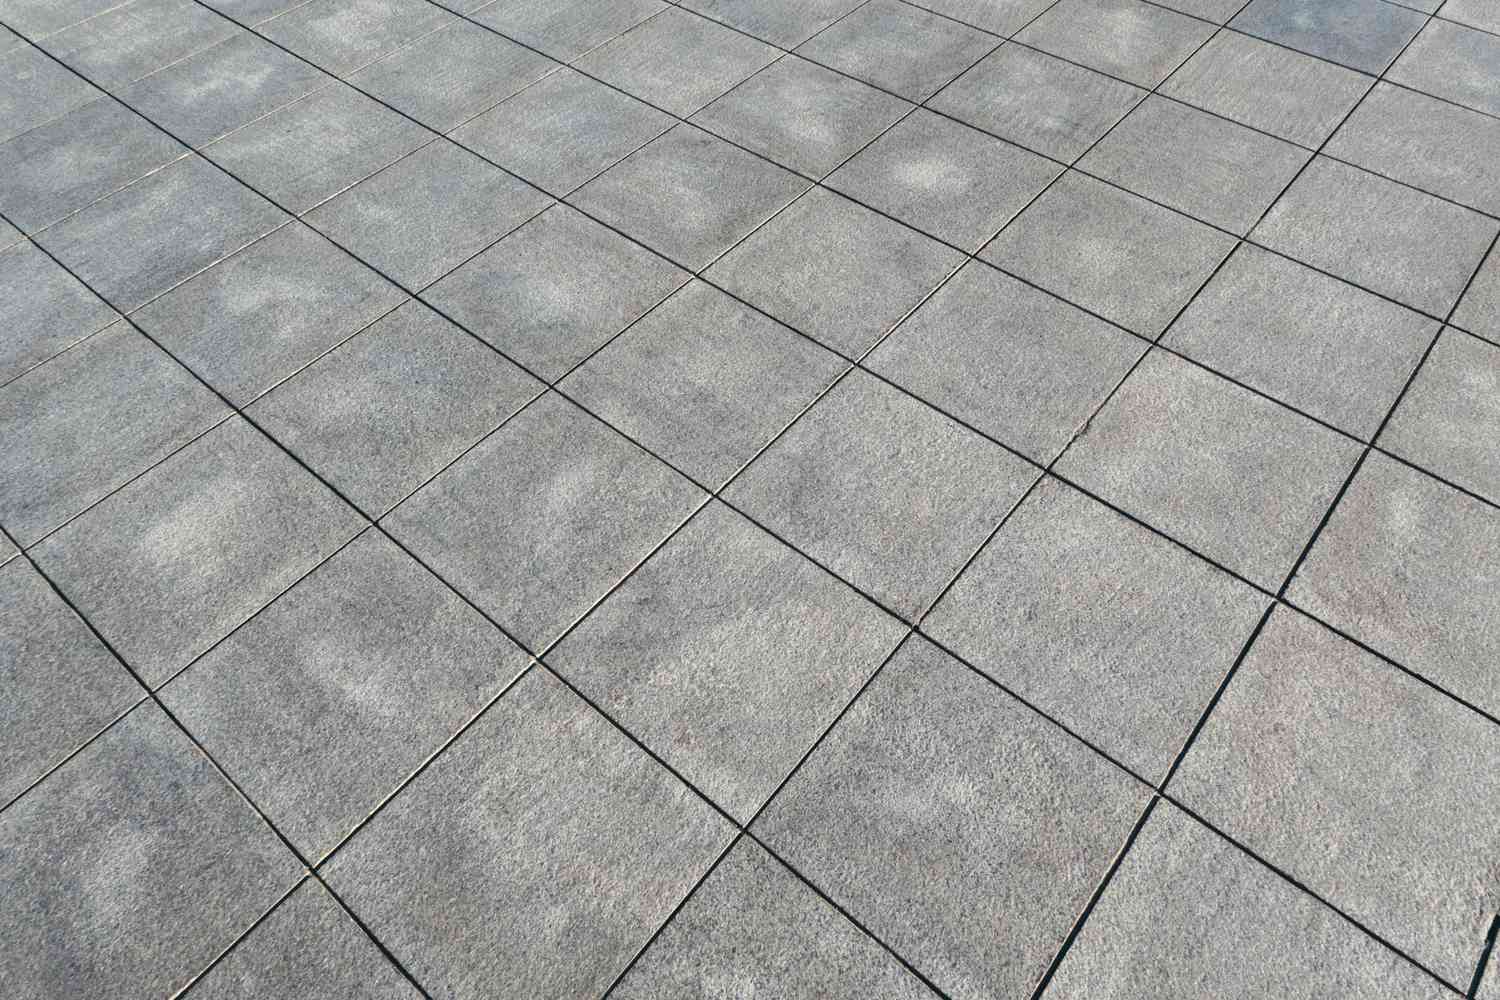
How To Tile Over A Concrete Patio
Modified: August 23, 2024
Learn how to transform your outdoor space with new outdoor furniture by tiling over your concrete patio. Get expert tips and step-by-step instructions.
(Many of the links in this article redirect to a specific reviewed product. Your purchase of these products through affiliate links helps to generate commission for Storables.com, at no extra cost. Learn more)
Introduction
Welcome to our guide on how to tile over a concrete patio. If you have an outdoor space that needs a makeover, tiling can be a great option to enhance its appearance and functionality. Adding tiles to your concrete patio not only creates a stylish and inviting space but also increases its durability and makes it easier to clean.
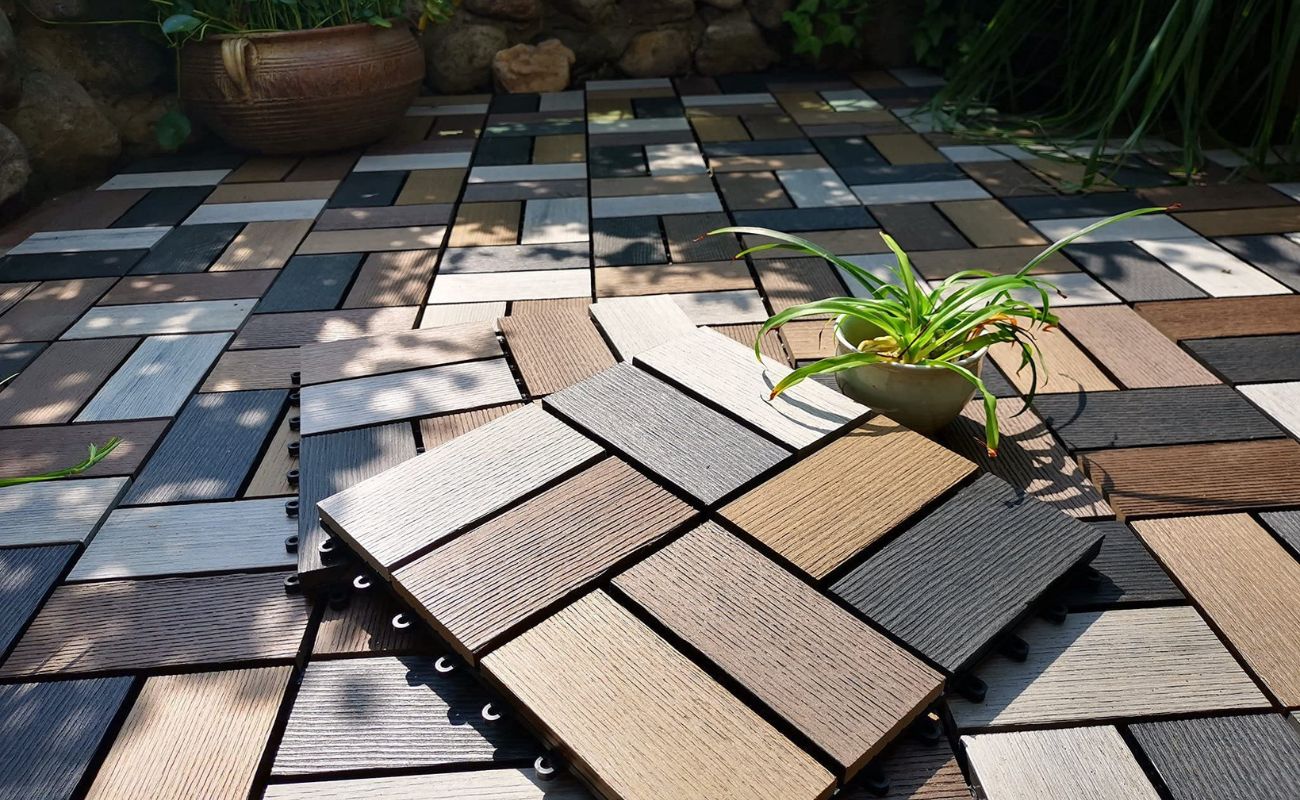
Before we dive into the step-by-step process of tiling over a concrete patio, let’s discuss the benefits of this project. First and foremost, tiles are available in a wide range of colors, patterns, and styles, allowing you to personalize your patio to match your aesthetic preferences. Additionally, tiles can withstand the elements, making them a suitable choice for outdoor spaces.
However, before you start the tiling process, it’s crucial to assess the condition of your concrete patio. Any cracks or uneven areas should be addressed before proceeding with the tiling project. Taking the time to properly prepare the surface will ensure a long-lasting and visually appealing result.
In this guide, we will walk you through the necessary steps to prepare and tile over your concrete patio. From assessing the surface to applying the bonding agent and laying down the tiles, we will cover everything you need to know to achieve a professional and polished finish.
So, if you’re ready to transform your drab concrete patio into a stunning outdoor oasis, let’s get started on this exciting journey of tiling over a concrete patio!
Key Takeaways:
- Transform your concrete patio into a stylish and durable outdoor oasis by tiling over it. Personalize your space with a wide range of tile options and ensure proper preparation for a long-lasting and visually appealing result.
- Follow the step-by-step process of assessing, preparing, tiling, grouting, and sealing to create a beautiful and functional outdoor space. Enjoy your newly transformed patio with friends and family, and make lasting memories in your outdoor oasis.
Read more: How To Build A Deck Over A Concrete Patio
Assessing the Concrete Patio
Before you begin tiling over your concrete patio, it’s important to thoroughly assess the condition of the surface. This step will help you identify any issues that need to be addressed before proceeding with the tiling process.
First, examine the patio for any cracks or uneven areas. Small cracks can often be repaired with a concrete patching compound, while larger cracks may require more extensive repairs. Fill in any cracks and level any uneven spots to ensure a smooth and stable foundation for your tiles.
Next, check for any signs of water damage or moisture issues. Water can seep through concrete, causing damage to the tiles over time. If you notice any areas that are prone to collecting water or are experiencing water damage, you may need to improve the patio’s drainage system or apply a waterproofing membrane before tiling.
Additionally, assess the slope of your patio. Ideally, the patio should have a slight slope away from your house to ensure proper water drainage. If the slope is not adequate, you may need to level the surface or create a gradual slope using a self-leveling compound.
Lastly, consider the overall condition of the concrete. Look out for any crumbling or chipped areas, as these may require repairs or replacement. It’s crucial to have a sturdy and stable concrete surface before tiling to ensure the longevity of your new tiled patio.
By thoroughly assessing the condition of your concrete patio, you can address any underlying issues and ensure a solid foundation for your new tile installation. Taking the time to properly evaluate the surface will help you achieve the best results and prevent any future complications.
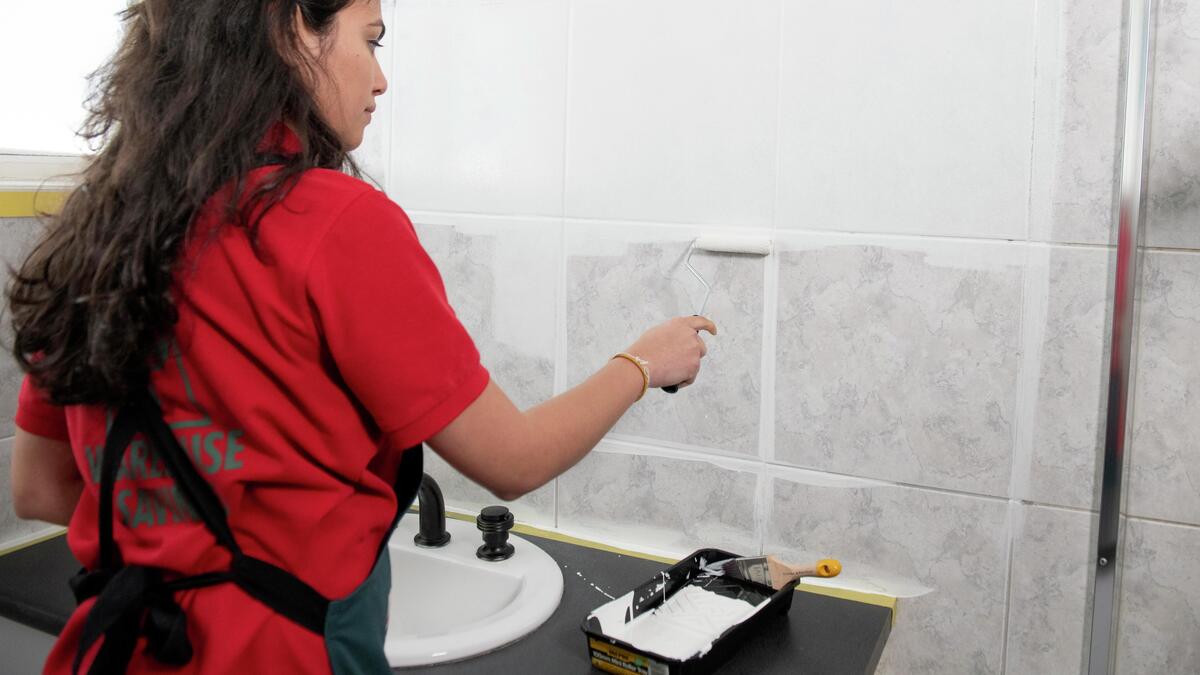
Preparing the Concrete Surface
Once you have assessed the condition of your concrete patio, it’s time to prepare the surface for tiling. Proper preparation is key to ensuring that the tiles adhere well and create a smooth and attractive finish.
The first step in preparing the concrete surface is to clean it thoroughly. Remove any dirt, dust, or debris using a broom or a leaf blower. If there are any stains or stubborn dirt, you can use a pressure washer to clean the surface effectively. Allow the patio to dry completely before moving to the next step.
Next, it’s essential to etch the concrete surface to enhance adhesion. Etching involves applying an etching solution to the patio to create a textured surface that allows the tile adhesive to bond better. You can use a concrete etching solution readily available at home improvement stores. Follow the manufacturer’s instructions for the proper application and duration of the etching solution. After applying the solution, use a stiff-bristle brush to scrub the surface and rinse it thoroughly with water.
If you have any cracks in the concrete patio, this is the time to repair them. Use a concrete patching compound to fill in the cracks, following the product instructions. Smooth out the patched areas and allow them to dry according to the manufacturer’s recommendations.
After the surface is clean, etched, and patched, it’s important to ensure that the concrete is level. Use a long level or a straight edge to check for any uneven areas. If you find any low spots or uneven sections, you will need to address them by using a self-leveling compound. Follow the product instructions to mix and apply the compound to create a level surface. Allow the self-leveling compound to dry thoroughly before moving on to the next step.
By thoroughly cleaning and preparing the concrete surface, you ensure that the tiles adhere properly and create a visually appealing and long-lasting patio. Taking the time to complete these steps will result in a smooth and sturdy foundation for your tile installation.
Applying a Bonding Agent
Once you have prepared the concrete surface for tiling, the next step is to apply a bonding agent. A bonding agent, also known as a primer, helps to improve the adhesion between the concrete and the tile adhesive, ensuring a strong bond and reducing the risk of tiles coming loose over time.
To apply the bonding agent, start by mixing it according to the manufacturer’s instructions. Typically, bonding agents come in liquid form and can be either rolled or sprayed onto the surface. Use a paint roller or a sprayer to evenly distribute the bonding agent over the entire patio. Make sure to cover the entire surface, including the edges and corners.
Allow the bonding agent to dry completely before proceeding with the tiling process. The drying time can vary depending on the specific product, so refer to the manufacturer’s recommendations. It is crucial to wait until the bonding agent is fully dry to ensure optimal adhesion between the concrete and the tile adhesive.
Applying a bonding agent is a crucial step in the tiling process, as it helps to create a strong bond between the tiles and the concrete surface. By using a bonding agent, you increase the longevity and durability of your tiled patio, ensuring that the tiles stay in place even under heavy use and outdoor conditions.
Once the bonding agent has dried, you are ready to move on to the next step — mixing and applying the mortar. Properly applying the mortar is essential for securely attaching the tiles to the concrete surface, so let’s dive into the details of this crucial stage in the tiling process.
Mixing and Applying the Mortar
After applying the bonding agent and allowing it to dry, it’s time to mix and apply the mortar. Mortar acts as the adhesive that holds the tiles in place on the concrete patio. Following the proper mortar mixing and application process will ensure a strong and durable bond.
Before mixing the mortar, read the instructions provided by the manufacturer carefully. Different mortars may have specific mixing ratios and requirements, so it’s important to follow them for the best results. Generally, mortar consists of cement, sand, and water, which are mixed together to achieve the right consistency.
Start by adding the specified amount of water to a clean bucket. Gradually add the mortar mix while continuously stirring with a mixing paddle or a drill fitted with a mixing attachment. Mix until the mortar is smooth and free of lumps, resembling a thick paste-like consistency.
Allow the mortar to sit for a few minutes to activate before stirring it again. This allows any dry pockets within the mixture to hydrate properly. Avoid adding additional water after the initial mixing process, as it can weaken the mortar and affect its ability to hold the tiles securely.
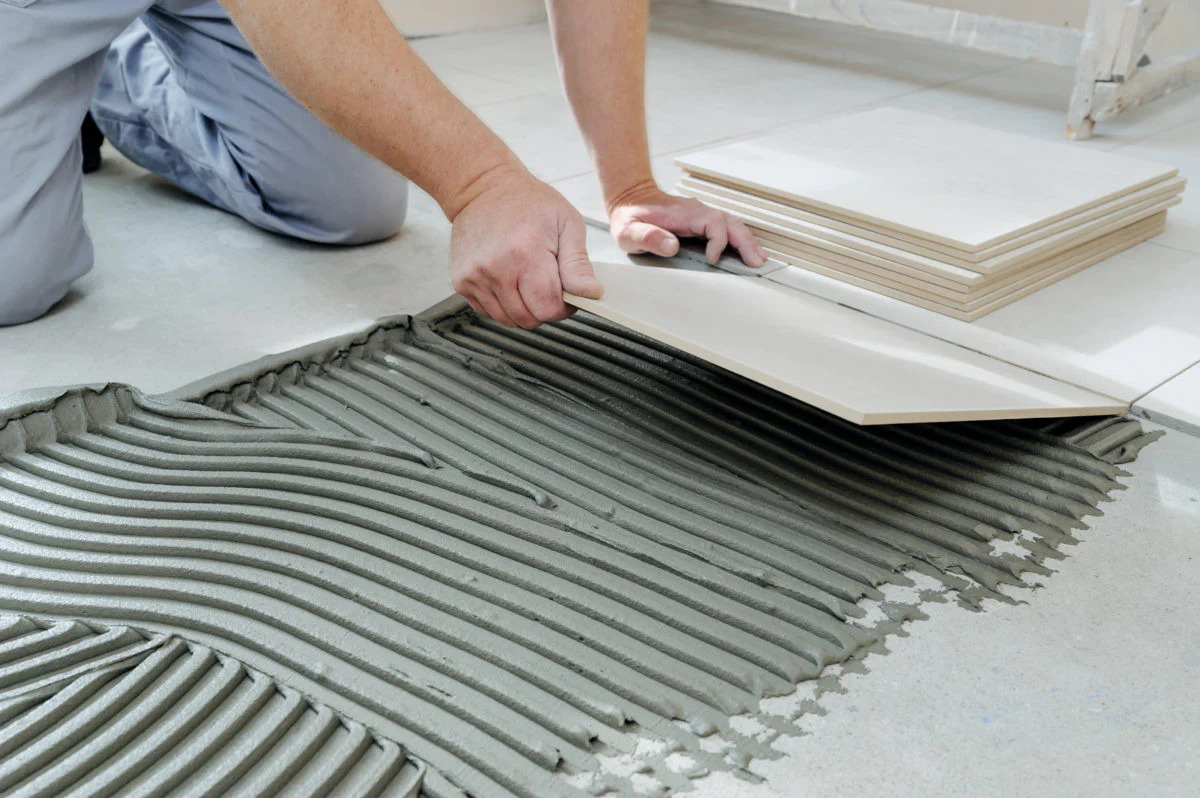
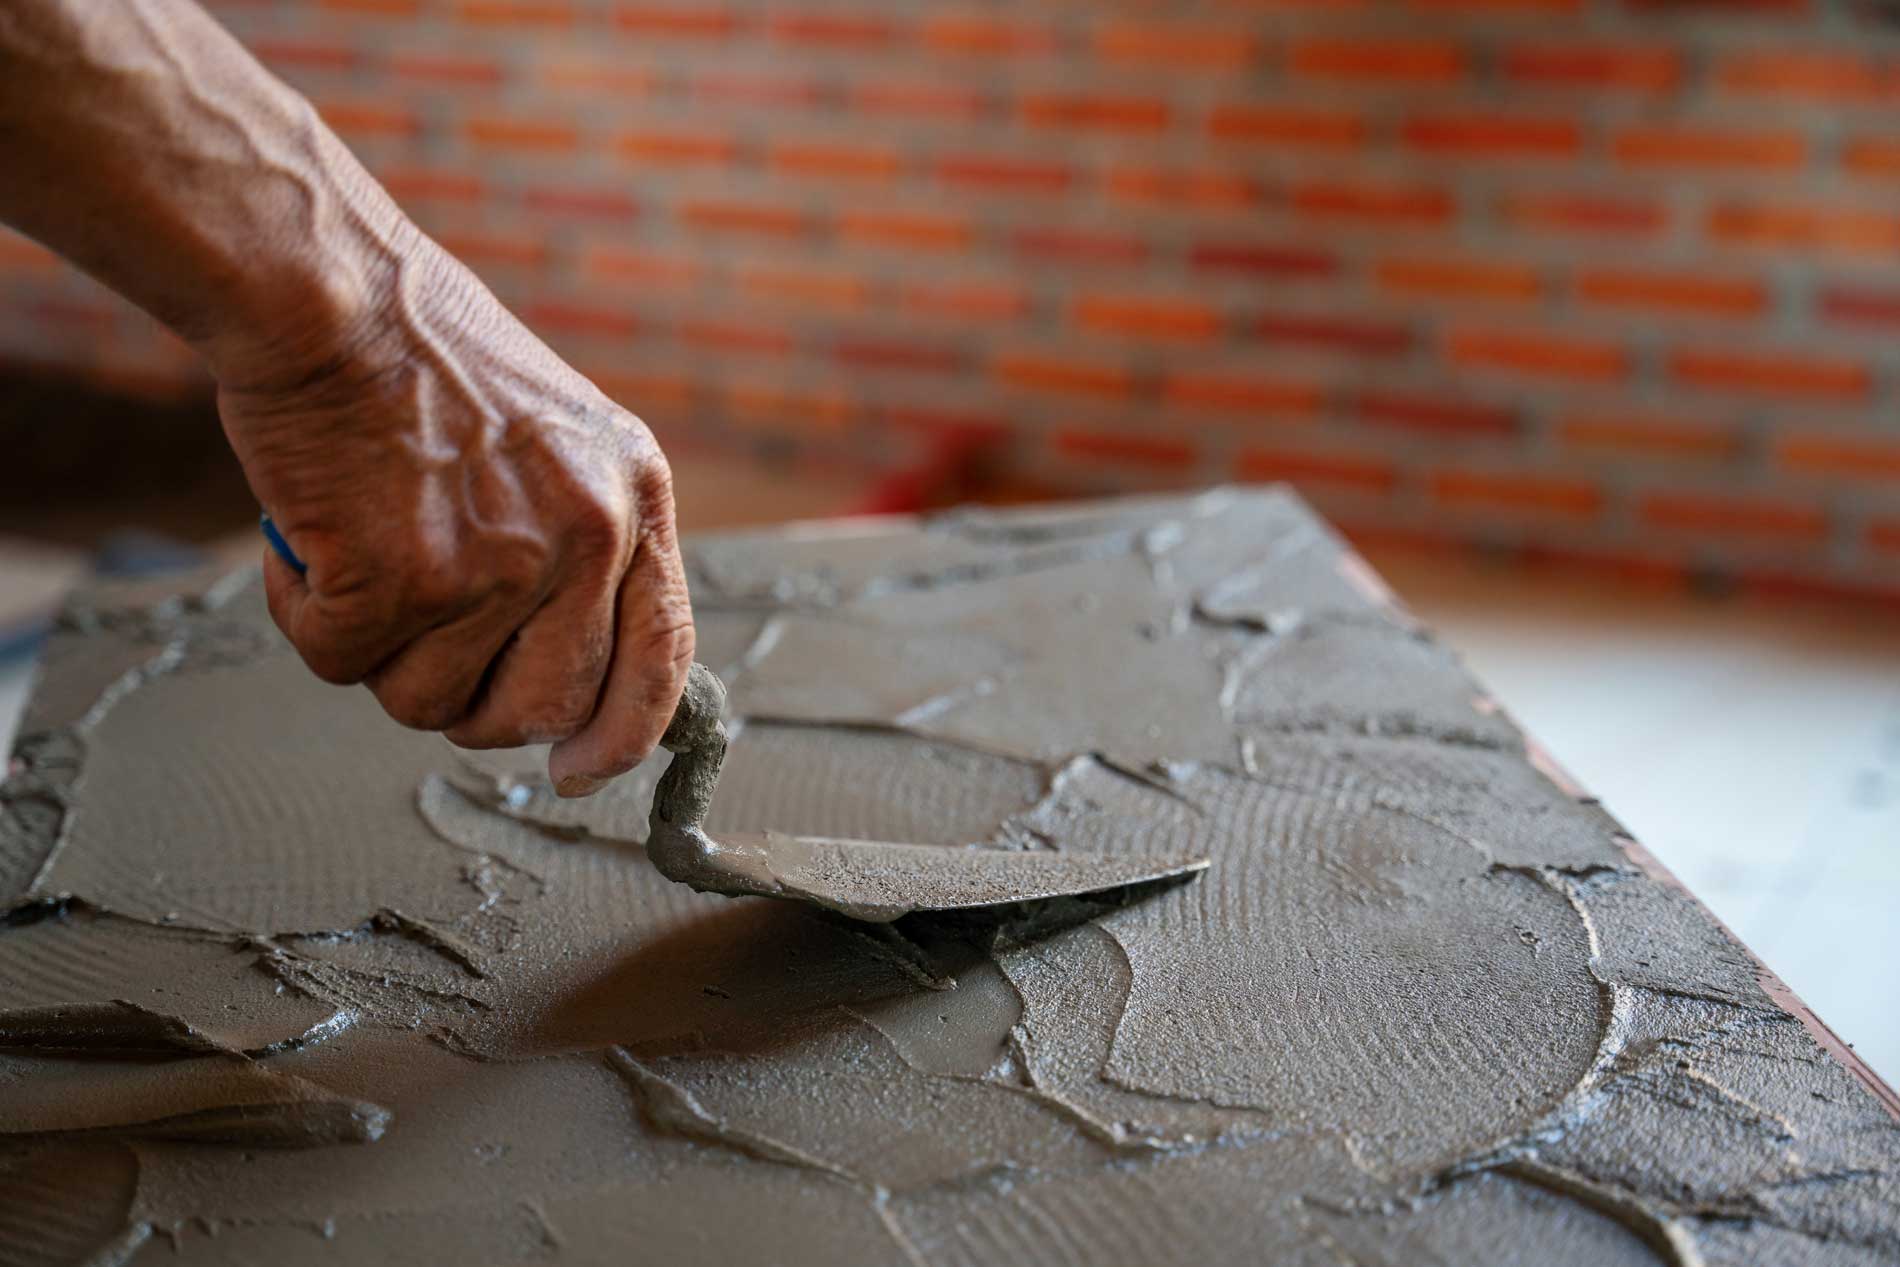
Now that the mortar is mixed, it’s time to apply it to the concrete patio. Start by using a trowel to scoop a moderate amount of mortar from the bucket. Holding the trowel at a 45-degree angle, apply the mortar onto the patio in a thin, even layer, covering an area that is manageable for you to work with.
Use the notched side of the trowel to create ridges or grooves in the mortar. This technique is called “back buttering” and helps to enhance the bond between the mortar and the tiles. The ridges also ensure proper coverage and prevent air pockets that could affect the adhesion of the tiles.
With the mortar ready and applied, it’s time to move on to the exciting part – placing the tiles onto the mortar bed. We will explore this step in detail in the next section.
Before tiling over a concrete patio, make sure the surface is clean, level, and free of cracks. Use a bonding agent to help the tiles adhere to the concrete and choose outdoor-rated tiles for durability. Apply a waterproofing membrane to protect the tiles from moisture.
Read more: How To Install Pavers Over A Concrete Patio
Placing the Tiles
Now that you have mixed and applied the mortar, it’s time to start placing the tiles on your prepared concrete patio. This step requires careful attention to detail and precision to ensure a seamless and visually appealing tile installation.
Before you begin, take a moment to plan the layout of your tiles. Consider factors such as the size and shape of your patio, the pattern or design you want to achieve, and any specific areas where you may need to cut tiles to fit properly. This planning stage will help you visualize the final result and make the installation process smoother.
Starting at one corner of the patio, place the first tile onto the mortar bed. Press the tile down firmly and give it a slight twist to ensure proper adhesion and to help the mortar spread evenly beneath the tile. Use a tile spacer or a small piece of cardboard to create even spacing between the tiles.
Continue placing tiles one by one, working your way across the patio. Use a level to ensure that the tiles are flat and level. Adjust the tiles as needed to achieve a uniform look and a level surface. As you work, periodically remove any excess mortar that may squeeze up between the tiles.
If you need to cut tiles to fit around the edges or in irregular areas, use a tile cutter or a wet saw. Measure and mark the tile, then carefully cut along the marked line. Wear appropriate safety gear such as goggles and gloves when using cutting tools.
As you complete each section of the patio, periodically check that the tiles are level and that the spacing between them is consistent. Use a rubber mallet or a wooden block to gently tap down any tiles that may be slightly higher than the others.
Once you have placed all the tiles, allow the mortar to set for the recommended drying time provided by the manufacturer. This typically takes 24-48 hours. Avoid walking on the tiles or applying any weight until the mortar is fully cured.
Placing the tiles onto the mortar bed is an exciting step in the tiling process, as you can start to see your patio transform. The next step in the process is grouting the tiles, which helps to fill in the gaps and create a finished look. Let’s explore this in the following section.
Grouting the Tiles
Once the tiles have been placed and the mortar has cured, it’s time to move on to the next step: grouting. Grouting is the process of filling the gaps between the tiles to create a finished and cohesive look for your tiled patio.
Before you begin grouting, gather all the necessary tools and materials. You will need grout, a grout float, a grout sponge, and a bucket of water. Choose a grout color that complements your tiles and desired aesthetic.
To start grouting, mix the grout according to the manufacturer’s instructions. The consistency should be similar to toothpaste—thick but still spreadable. Avoid mixing too much grout at once, as it can dry out quickly.
Using the grout float, scoop a generous amount of grout onto the float. Hold the float at a 45-degree angle and push the grout into the gaps between the tiles, ensuring that the grout fills the spaces completely. Work in small sections to prevent the grout from drying out before you can clean it.
Once a section is filled with grout, hold the grout float at a 90-degree angle and scrape off the excess grout from the surface of the tiles. This will help create a smooth and even grout line. Continue this process for the rest of the patio, working in manageable sections at a time.
After applying the grout, allow it to set for a short period of time according to the manufacturer’s instructions. Once it reaches a firm consistency, use a damp grout sponge to wipe away the excess grout from the surface of the tiles. Rinse the sponge frequently in the bucket of water to ensure a clean and effective wiping process. Be gentle with the sponge to avoid pulling out too much grout from the gaps.
Once you have wiped away the excess grout, allow the grout to dry completely. This typically takes between 24-72 hours, so avoid walking on the freshly grouted area during this time.
After the grout has dried, use a soft cloth to buff away any grout haze that may have formed on the tiles. This will reveal the clean and polished tiled surface.
Grouting is the final step in the tiling process and plays a crucial role in achieving a professional and finished look for your concrete patio. The next step is to seal the tiles, which helps to protect them from stains, moisture, and UV damage. Let’s explore this final step in the following section.
Sealing the Tiles
After you have grouted the tiles and allowed them to fully dry, the final step in the tiling process is to seal the tiles. Sealing is an essential step in protecting the tiles from stains, moisture, and UV damage, ensuring their longevity and maintaining their beauty over time.
Before you begin, ensure that the grout is completely cured. It is recommended to wait at least 48-72 hours after grouting before applying the sealer to allow the grout to fully dry and set.
Start by selecting an appropriate sealer for your specific tile material. There are different types of sealers available, including penetrating sealers and topical sealers. Read the instructions provided by the manufacturer to determine the type of sealer that is suitable for your tiles.
Once you have chosen the sealer, apply it according to the instructions provided. Some sealers come in a spray form, while others may require a brush or roller application. Ensure that you work in well-ventilated areas and wear protective gloves and eyewear during the application process.
Apply the sealer evenly over the entire tiled surface, ensuring that all the tiles and grout lines are covered. Use a brush or roller to spread the sealer, following the specific instructions provided by the manufacturer. Pay extra attention to any porous or absorbent tiles, as they may require multiple coats for optimal protection.
After applying the first coat of sealer, allow it to dry according to the manufacturer’s instructions. This can typically take a few hours. Once the first coat is dry, apply additional coats if necessary, following the same process of even application and drying time between each coat.
After the final coat of sealer has dried, it is important to clean the tiles and remove any sealer residue that may be present. Use a clean cloth or sponge dampened with water to wipe away any excess sealer, ensuring a clean and polished tile surface. Be mindful not to disturb the grout lines while cleaning.
Sealing the tiles is a crucial step in protecting and preserving their appearance and durability. It helps to maintain their beauty and prolong their lifespan, making your tiled patio more resistant to stains, moisture, and weathering.
With the tiles sealed and the tiling process complete, you can now enjoy your newly transformed concrete patio. It’s time to take a step back, relax, and admire the beautiful outdoor space you have created.
Conclusion
Congratulations! You have successfully learned how to tile over a concrete patio from start to finish. By following the step-by-step process of assessing the concrete patio, preparing the surface, applying a bonding agent, mixing and applying the mortar, placing the tiles, grouting, and sealing, you have transformed your outdoor space into a stunning and functional area.
Tiling over a concrete patio offers numerous benefits. The wide variety of tile colors, patterns, and styles allow you to personalize your patio and create a unique look that suits your taste. Additionally, tiles are durable and can withstand the outdoor elements, making them a perfect choice for your outdoor furniture area.
Remember to assess the condition of your concrete patio before starting the tiling process. Repair any cracks or uneven areas, and ensure proper drainage to prevent water damage. Thoroughly clean and etch the surface, and apply a bonding agent to enhance the adhesion between the concrete and the tiles.
Mix and apply the mortar, taking care to create a level surface. Place the tiles, ensuring they are aligned and evenly spaced, and use the grout to fill in the gaps. Finally, seal the tiles to protect them from stains and damage.
By following these steps, you have created a beautiful and functional outdoor space that will stand the test of time. Your tiled patio is now ready for outdoor furniture, gatherings with friends and family, and enjoying the outdoors in style.
We hope this guide has provided you with the knowledge and inspiration to tackle your own tiling project. Remember to follow safety guidelines and manufacturer instructions throughout the process, and don’t hesitate to consult with professionals if needed.
So, grab your favorite outdoor furniture, sit back, and relax on your newly tiled patio. Enjoy the beauty and functionality you have created and make lasting memories in your outdoor oasis.
Now that you're versed in tiling over your concrete patio, why not consider other possibilities for this versatile space? For more creative ideas on making the most of your outdoor area, check out our detailed guide on different uses and enhancements for your concrete patio. Whether you're looking to create a cozy nook for relaxation or a vibrant space for entertaining, we've got plenty of tips and tricks to help you reimagine your patio's potential.
Frequently Asked Questions about How To Tile Over A Concrete Patio
Was this page helpful?
At Storables.com, we guarantee accurate and reliable information. Our content, validated by Expert Board Contributors, is crafted following stringent Editorial Policies. We're committed to providing you with well-researched, expert-backed insights for all your informational needs.


0 thoughts on “How To Tile Over A Concrete Patio”