Home>Furniture & Design>Outdoor Furniture>How To Tile An Outdoor Bar Top
Outdoor Furniture
How To Tile An Outdoor Bar Top
Modified: August 16, 2024
Learn how to tile an outdoor bar top with our expert tips and advice. Elevate your outdoor furniture and design with this DIY project.
(Many of the links in this article redirect to a specific reviewed product. Your purchase of these products through affiliate links helps to generate commission for Storables.com, at no extra cost. Learn more)
Introduction
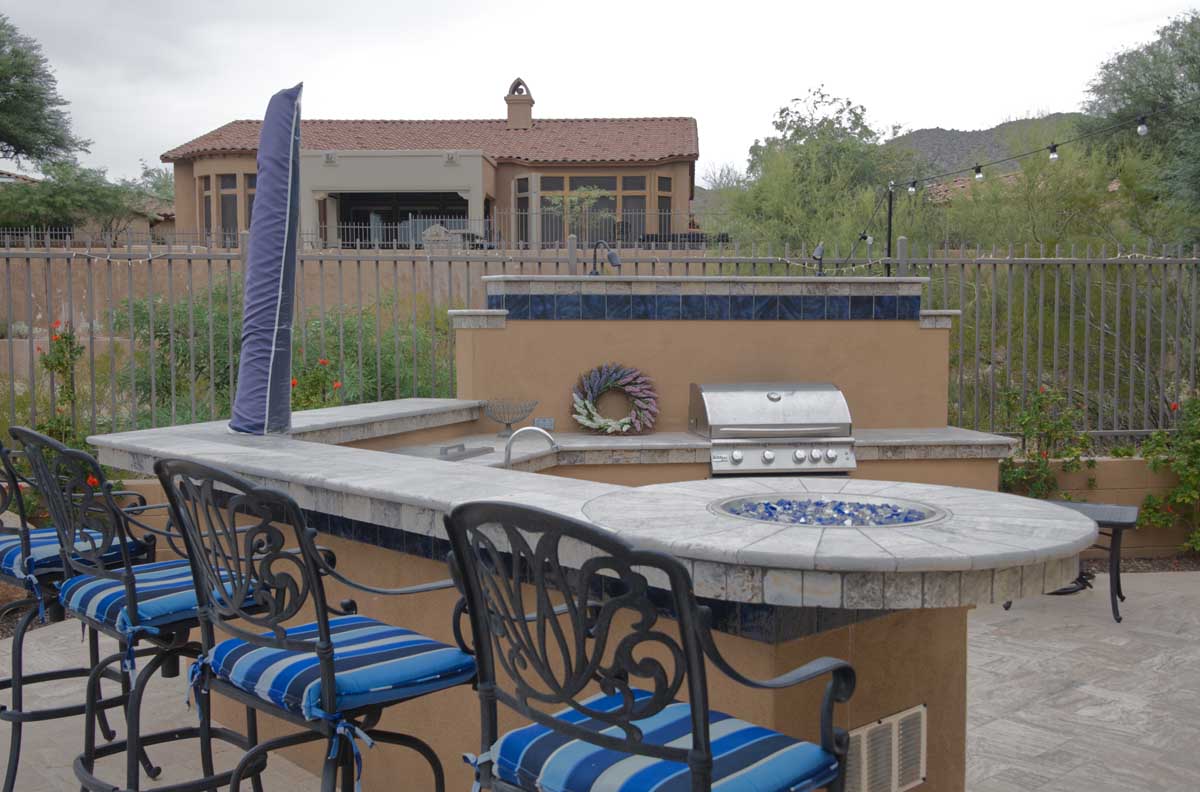
Welcome to the world of outdoor living, where every detail contributes to the overall ambiance and functionality of your outdoor space. When it comes to outdoor furniture and design, the bar area is often a focal point for social gatherings, relaxation, and entertainment. One way to elevate the aesthetic appeal and durability of your outdoor bar is by tiling the bar top.
Tiling an outdoor bar top not only enhances its visual appeal but also adds a layer of protection against the elements, making it more resilient to moisture, heat, and wear. Whether you are revamping an existing outdoor bar or building a new one from scratch, this comprehensive guide will walk you through the step-by-step process of tiling an outdoor bar top, ensuring that your project is a resounding success.
From selecting the right materials and tools to mastering the techniques of surface preparation, tile cutting, adhesive application, tile placement, grouting, and sealing, you will gain valuable insights and practical tips to execute this project with confidence. By the end of this guide, you will be equipped with the knowledge and skills to transform your outdoor bar into a stunning focal point that seamlessly blends style and functionality.
So, roll up your sleeves, unleash your creativity, and get ready to embark on a rewarding journey of enhancing your outdoor bar with the timeless elegance and practicality of tiled surfaces. Let's dive into the world of outdoor furniture and design, where every detail is an opportunity to elevate your outdoor living experience.
Key Takeaways:
- Elevate your outdoor bar with durable, visually appealing tiled surfaces. Meticulous preparation, precise tile placement, and expert grouting create a stunning, long-lasting focal point for outdoor gatherings and relaxation.
- Transform your outdoor bar into a timeless masterpiece. From meticulous surface preparation to expert grouting and sealing, each step enhances the beauty and resilience of your outdoor living space, creating a captivating oasis for years to come.
Read more: How To Repair An Outdoor Tile Table Top
Materials and Tools
Before diving into the tiling process, it’s essential to gather the necessary materials and tools to ensure a smooth and efficient workflow. Here’s a comprehensive list of what you’ll need:
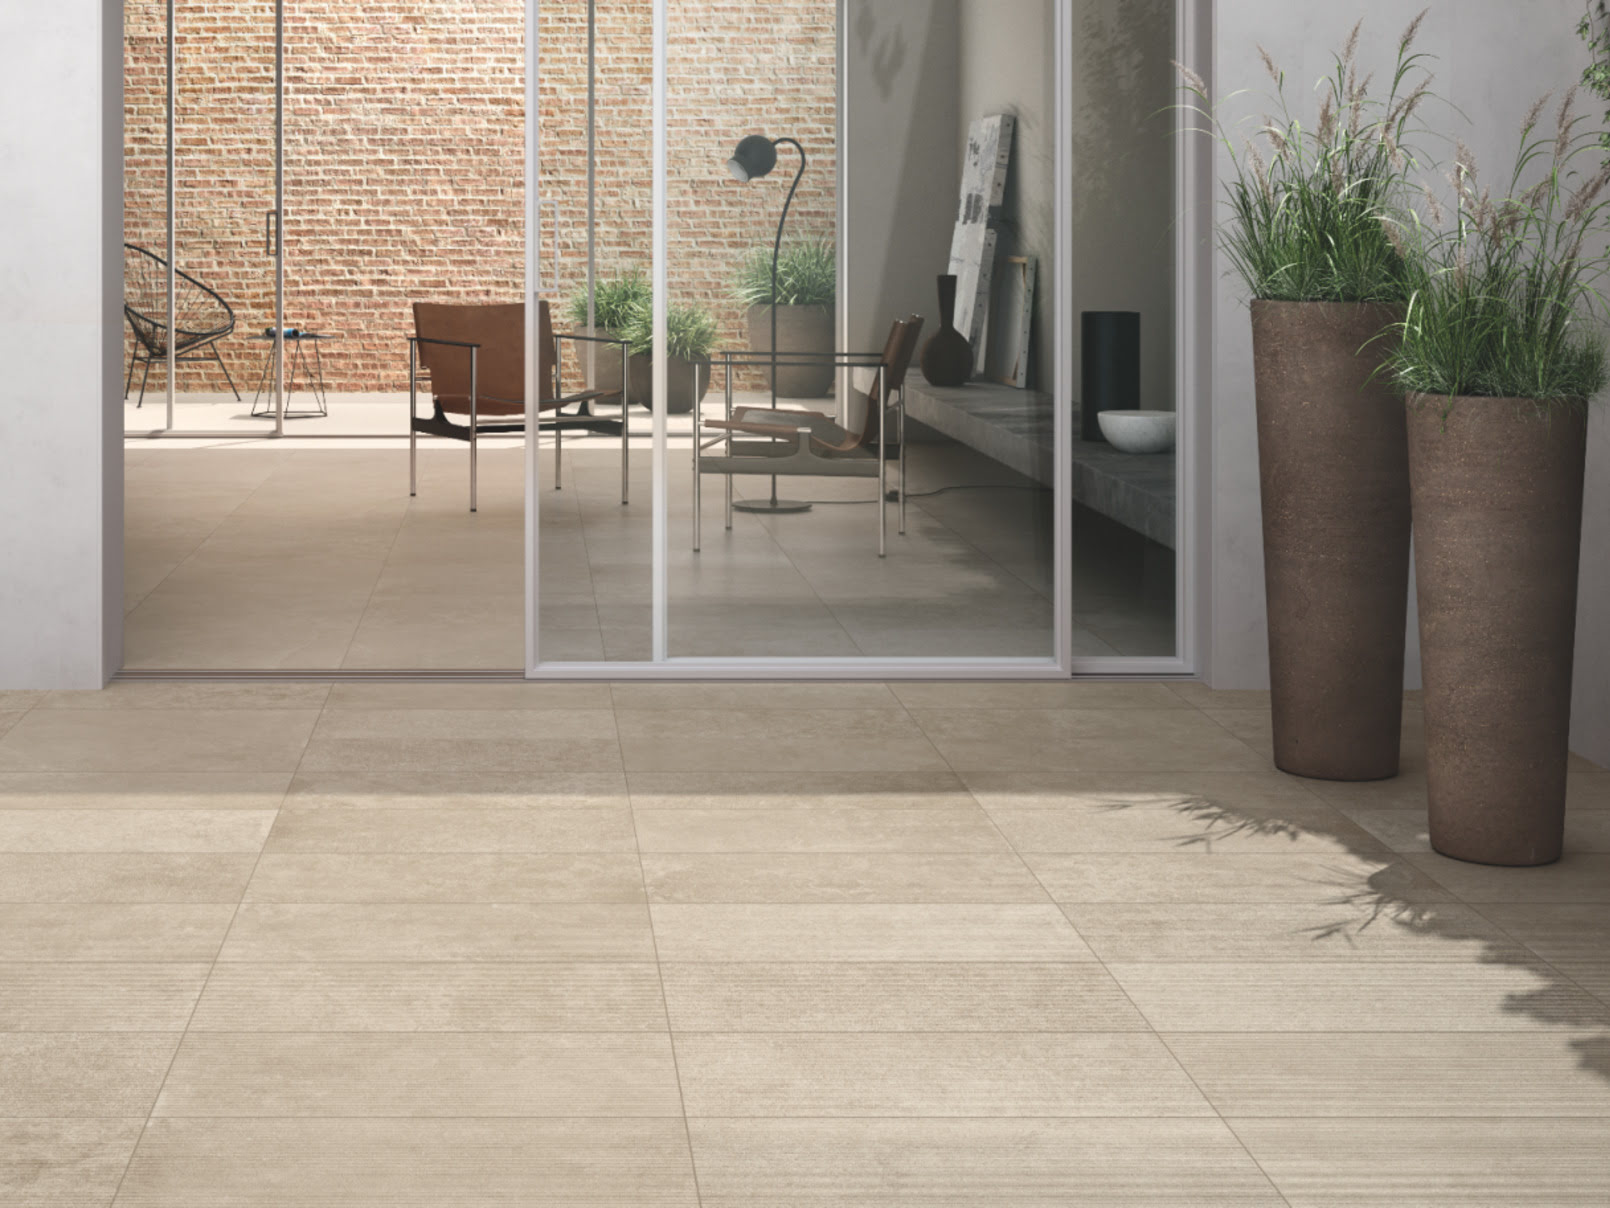
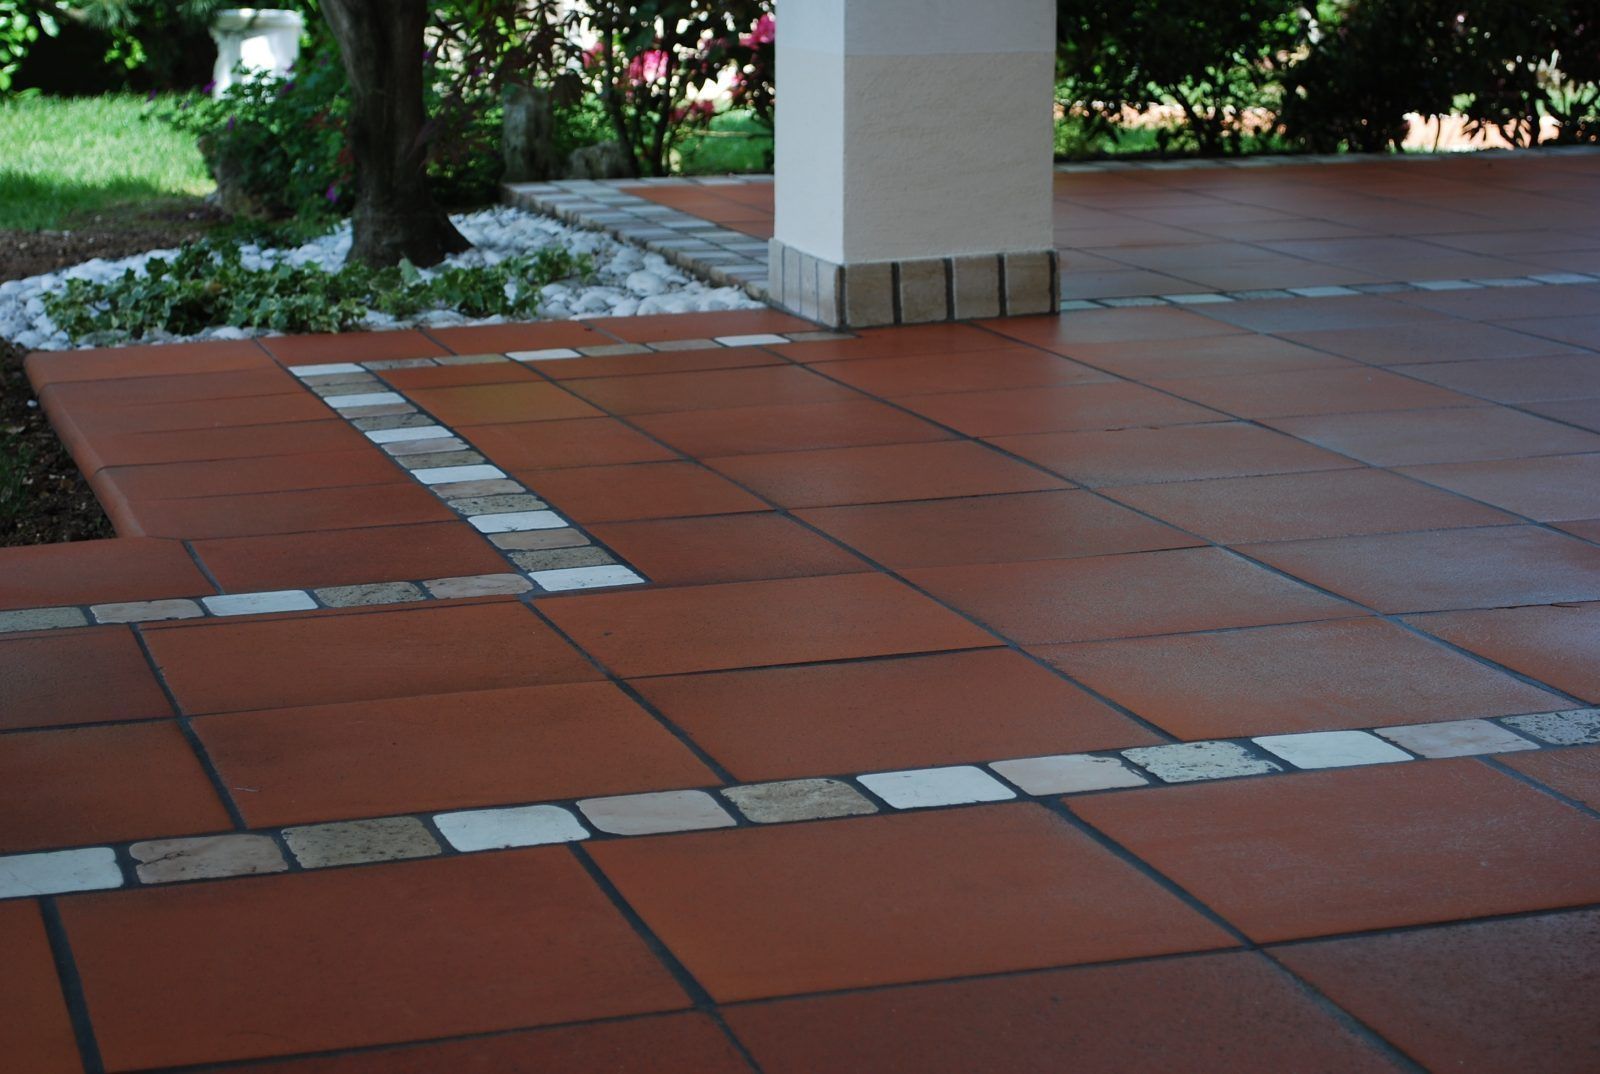
- Tiles: Select outdoor-rated tiles that are designed to withstand exposure to the elements. Consider factors such as slip resistance, durability, and aesthetic appeal when choosing the type of tiles for your outdoor bar top.
- Tile Adhesive: Opt for a high-quality outdoor tile adhesive that is suitable for the specific type of tiles you’ll be using. Ensure that the adhesive is formulated to withstand outdoor conditions, including temperature fluctuations and moisture.
- Grout: Choose a weather-resistant grout that complements the color and style of your tiles. Outdoor grout is formulated to resist staining and cracking, making it ideal for outdoor applications.
- Primer: Depending on the surface material of your bar top, you may need a suitable primer to ensure proper adhesion of the tile adhesive.
- Sealer: Invest in a high-quality outdoor sealer to protect the tiled surface from moisture, UV exposure, and stains. The sealer will enhance the longevity of the tiles and simplify maintenance.
- Measuring and Marking Tools: Gather a tape measure, straight edge, and pencil for accurately measuring and marking the bar top surface and tiles.
- Tile Cutter or Wet Saw: Depending on the complexity of your design, you’ll need a tile cutter or wet saw to achieve precise cuts for a seamless fit.
- Notched Trowel: A notched trowel is essential for spreading the tile adhesive evenly across the bar top surface, ensuring proper adhesion of the tiles.
- Grout Float: This tool is used to apply and pack the grout into the joints between the tiles, creating a uniform and durable grout line.
- Tile Spacers: Utilize tile spacers to maintain consistent spacing between the tiles, resulting in a professional-looking finish.
- Clean-Up Supplies: Have sponges, buckets of water, and clean rags on hand for wiping away excess grout and adhesive during the tiling and grouting process.
By ensuring that you have all the necessary materials and tools at your disposal, you’ll be well-prepared to tackle the exciting journey of transforming your outdoor bar top into a stunning tiled masterpiece.
Preparing the Surface
Before diving into the tiling process, meticulous surface preparation is crucial to ensure the longevity and integrity of the tiled bar top. Here’s a step-by-step guide to preparing the surface for tiling:
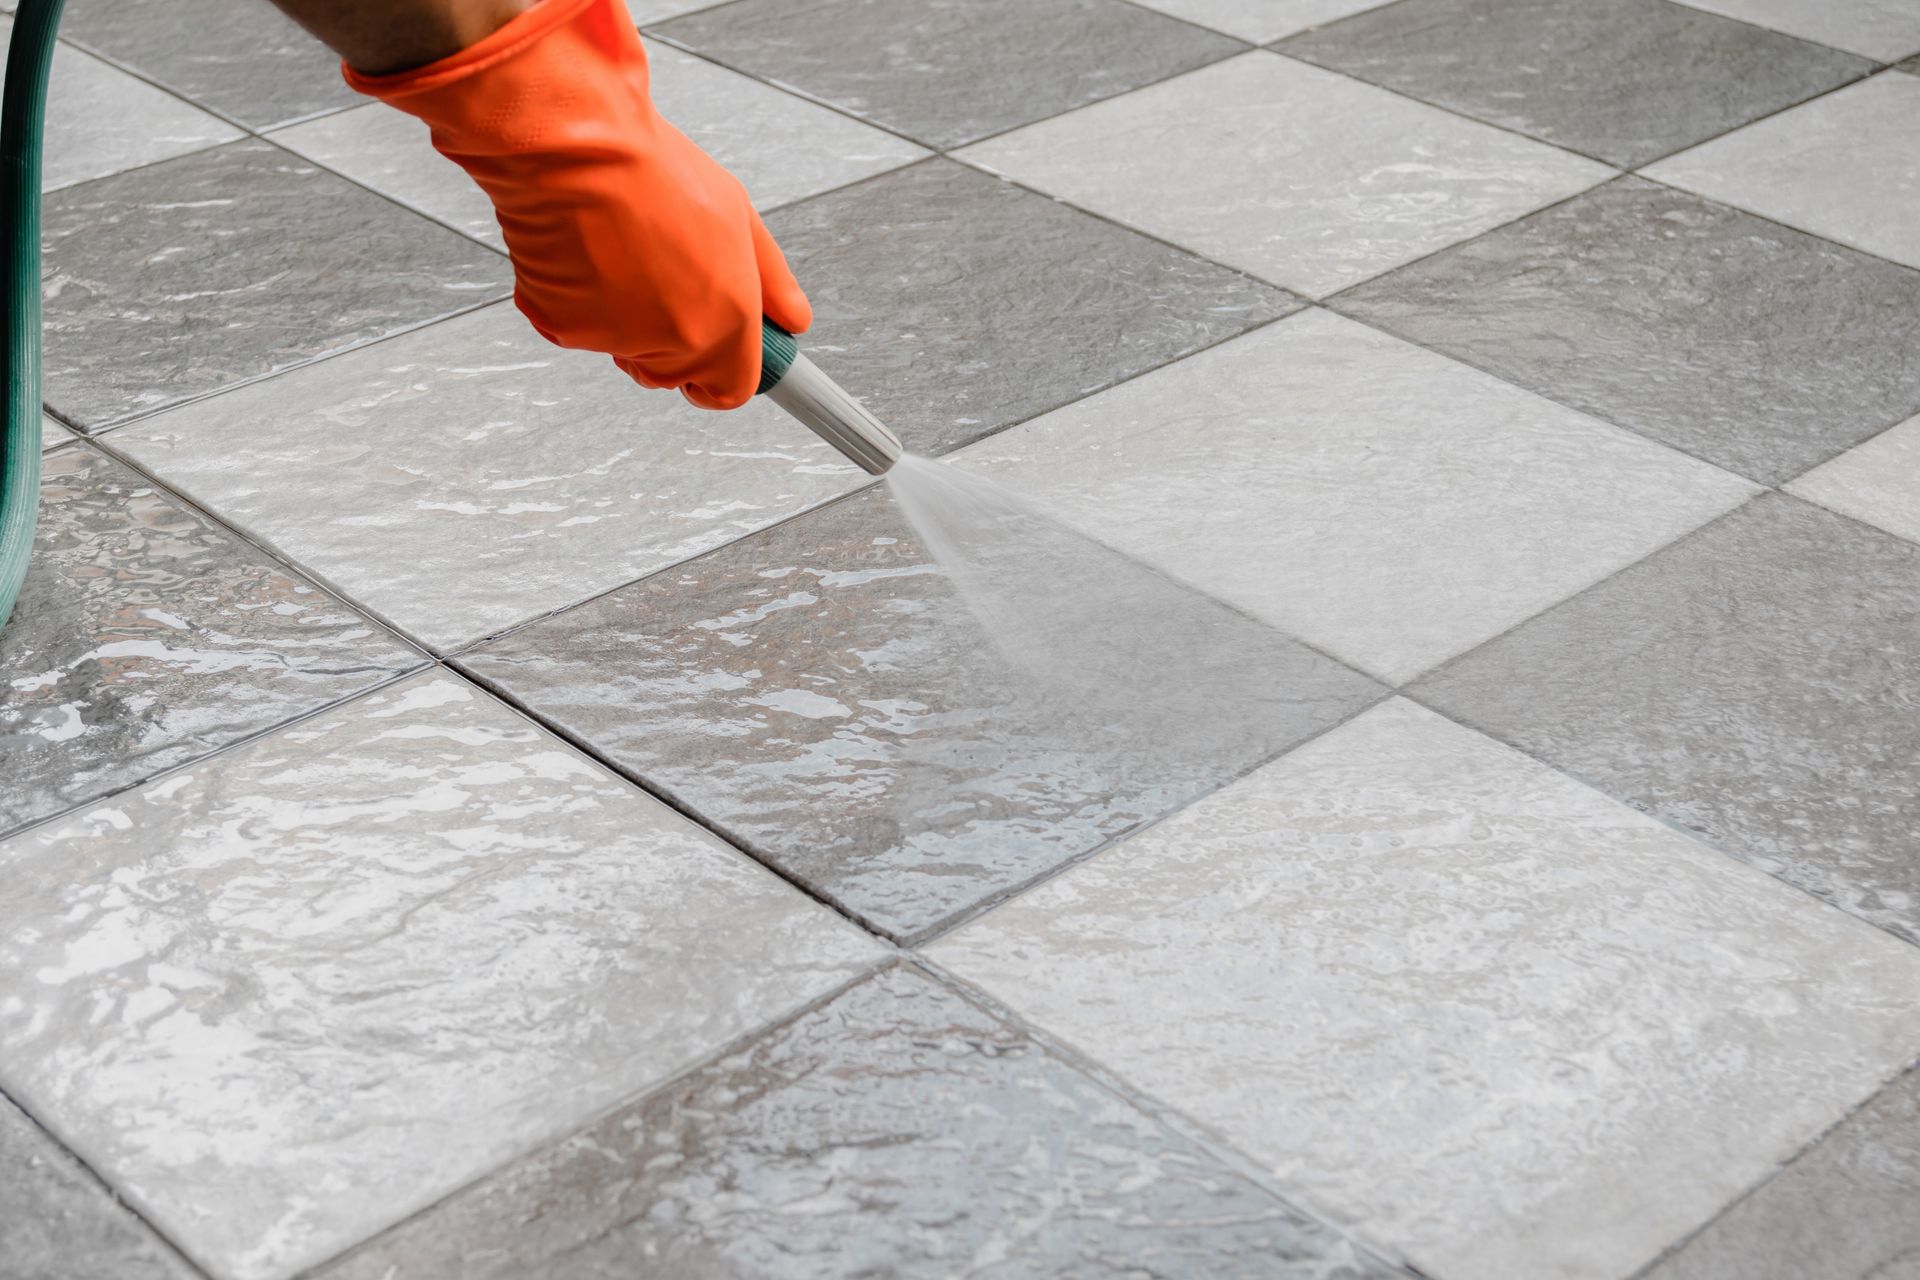
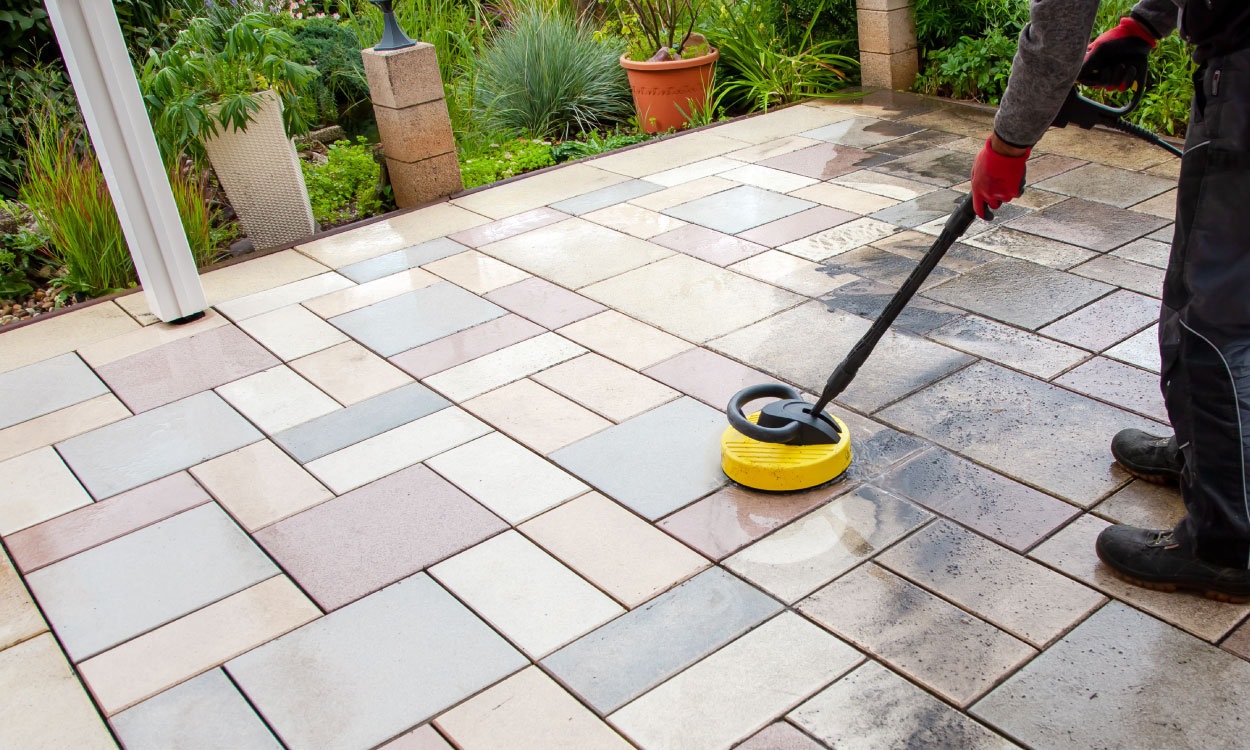
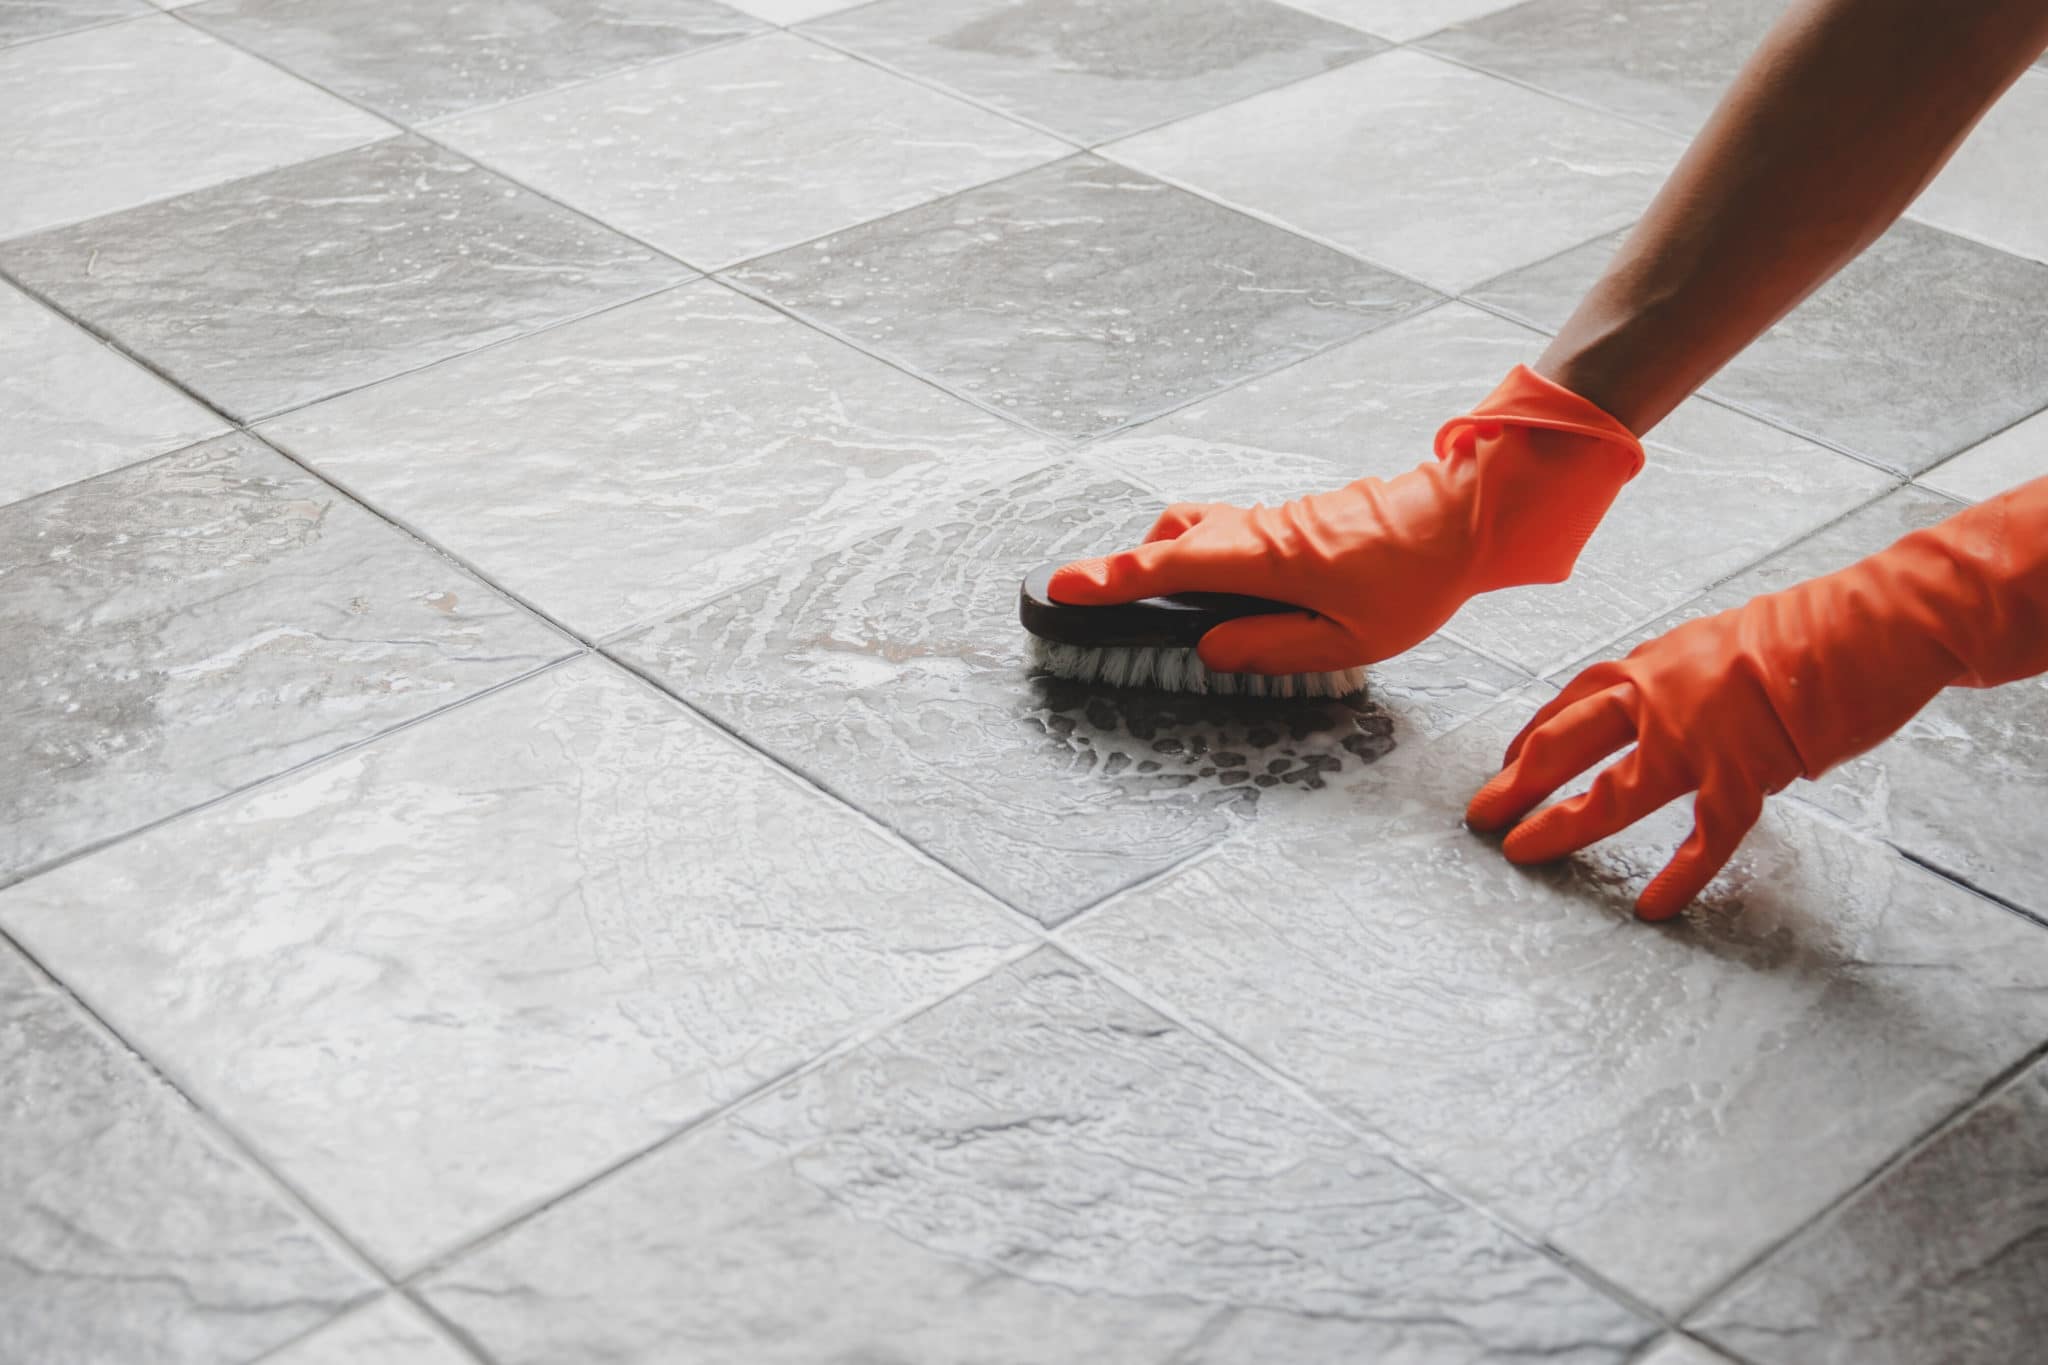
- Clean the Surface: Thoroughly clean the bar top surface, removing any dirt, debris, grease, or existing sealants. A clean surface is essential for promoting strong adhesion between the tiles and the substrate.
- Inspect for Damage: Carefully inspect the surface for any signs of damage, such as cracks, uneven areas, or water damage. Address any structural issues before proceeding with the tiling process to ensure a stable and even substrate.
- Repair and Level: If the surface exhibits imperfections or uneven areas, use a suitable patching compound or leveling material to smooth out the surface. Ensure that the bar top is level and free of any protrusions that could affect the tile installation.
- Apply Primer (if necessary): Depending on the material of the bar top, such as concrete or wood, you may need to apply a primer to enhance the bond between the substrate and the tile adhesive. Follow the manufacturer’s instructions for the appropriate primer application.
- Allow for Drying Time: If you’ve applied a primer or leveling compound, allow sufficient time for it to dry and cure according to the product specifications. Adequate drying time is essential for ensuring a strong and stable base for the tile installation.
- Protect Surrounding Areas: Take measures to protect the surrounding areas of the bar top, such as the bar structure and flooring, from any potential overspill of adhesive or grout during the tiling process. Use masking tape and drop cloths as needed.
By meticulously preparing the surface, you’ll create an optimal foundation for the tile installation, minimizing the risk of adhesion issues, uneven tiles, or premature wear. This preparatory phase sets the stage for a successful and visually stunning transformation of your outdoor bar top.
Measuring and Cutting the Tiles
Precision is key when it comes to measuring and cutting the tiles for your outdoor bar top. Here’s a detailed overview of the essential steps involved in this crucial phase of the tiling process:
- Measure the Bar Top: Accurately measure the dimensions of the bar top surface to determine the layout and placement of the tiles. Take into account any design considerations, such as borders or patterns, to ensure a visually appealing and balanced arrangement.
- Account for Overhang: If your bar top has an overhang or lip, factor in the additional tile coverage needed for the edges. Plan the tile layout to accommodate the overhang while maintaining a cohesive and seamless appearance.
- Calculate Tile Cuts: Determine the specific cuts required for the tiles to fit along the edges and corners of the bar top. Take precise measurements and mark the tiles accordingly, accounting for any necessary adjustments due to irregularities in the bar top’s shape or size.
- Use a Tile Cutter or Wet Saw: Depending on the complexity of the cuts, use a tile cutter or wet saw to achieve precise and clean tile cuts. Follow the manufacturer’s guidelines for operating the cutting tool and prioritize safety measures, such as wearing protective eyewear and using a steady hand during the cutting process.
- Dry Fit the Tiles: Once the tiles are cut to the appropriate dimensions, conduct a dry fit by placing the tiles on the bar top without adhesive to ensure that they align correctly and create a cohesive layout. Make any necessary adjustments to the tile cuts as needed.
By meticulously measuring and cutting the tiles, you’ll lay the foundation for a seamless and visually striking tiled bar top. Attention to detail in this phase ensures that the tiles fit snugly, creating a professional finish that enhances the overall aesthetic of your outdoor bar.
Applying the Adhesive
Once the surface is meticulously prepared and the tiles are measured and cut to perfection, the next critical step is applying the adhesive to secure the tiles in place. Here’s a comprehensive guide to mastering the application of tile adhesive for your outdoor bar top:
- Choose the Right Adhesive: Select a high-quality outdoor tile adhesive that is suitable for the specific type of tiles you’ll be installing. Ensure that the adhesive is formulated to withstand outdoor conditions, including temperature fluctuations and moisture, providing a strong and durable bond.
- Mix the Adhesive: If using a powdered adhesive, carefully follow the manufacturer’s instructions to mix the adhesive to the appropriate consistency. Consistency is key to ensuring optimal adhesion and a smooth application process.
- Apply the Adhesive: Using a notched trowel, spread the adhesive evenly over a manageable section of the bar top surface. Work in small areas to prevent the adhesive from drying out before the tiles are placed. Ensure that the adhesive layer is consistent in thickness to promote uniform adhesion of the tiles.
- Work in Sections: Divide the bar top into sections for applying the adhesive and installing the tiles. This approach allows you to focus on one area at a time, ensuring that the adhesive remains workable as you position the tiles.
- Follow the Layout Plan: Refer to your layout plan and begin placing the tiles onto the adhesive in the predetermined arrangement. Press each tile firmly into the adhesive, ensuring that it is level and properly aligned with adjacent tiles.
- Check for Consistency: Use a level to verify that the tiles are even and flat as you progress with the installation. Make any necessary adjustments to the tile placement to maintain a uniform surface.
By mastering the application of tile adhesive, you’ll lay the groundwork for a solid and enduring bond between the tiles and the bar top. Attention to detail and precision in this phase ensures that the tiles are securely affixed, setting the stage for the next steps in the tiling process.
When tiling an outdoor bar top, make sure to use outdoor-rated tiles and a waterproof adhesive to prevent damage from the elements. Additionally, apply a sealant to the grout lines to protect against moisture and stains.
Read more: How To Install Grab Bars On Tile
Placing the Tiles
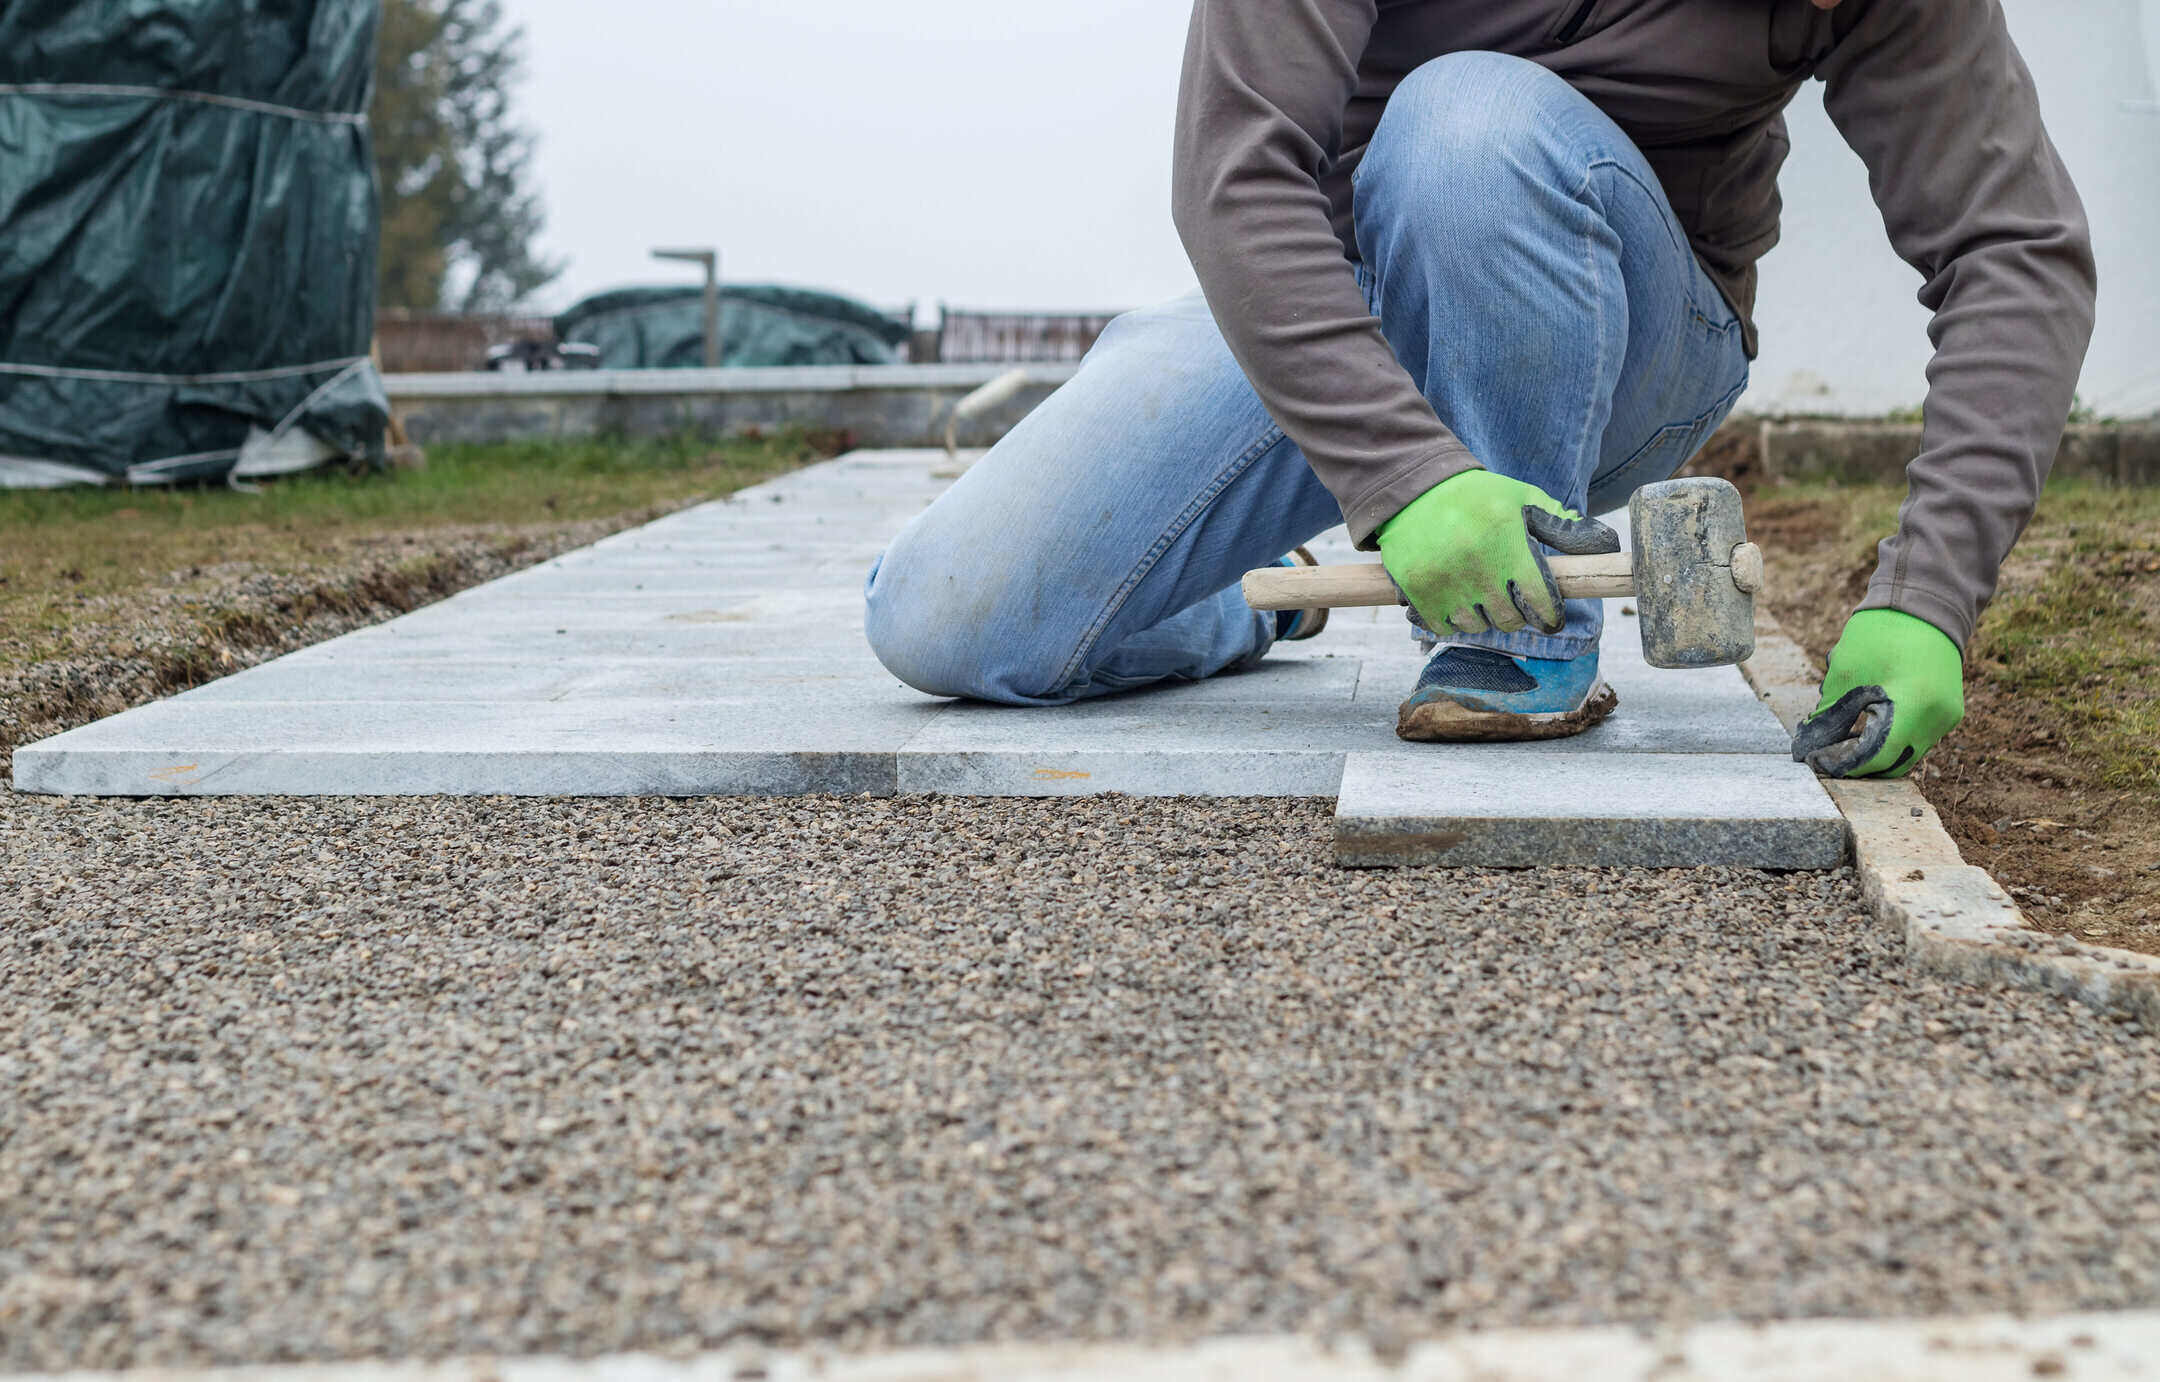
As the adhesive is applied and the surface is primed for tiling, the next pivotal phase is the precise placement of the tiles onto the bar top. This step-by-step guide will walk you through the process of expertly placing the tiles to create a visually stunning and durable outdoor bar top:
- Begin at the Starting Point: Identify the starting point for laying the tiles, typically at one corner of the bar top. This strategic approach allows for systematic progression across the surface.
- Align the Tiles: Place the tiles onto the adhesive in accordance with your predetermined layout plan, ensuring that they are aligned with precision and fit snugly against one another. Utilize tile spacers to maintain consistent spacing between the tiles for a professional finish.
- Check for Level and Alignment: Use a level to verify that each tile is flat and even with its neighboring tiles. Make any necessary adjustments to the tile placement to maintain a uniform and visually appealing surface.
- Work in Sections: Divide the bar top into manageable sections for placing the tiles, focusing on one area at a time to maintain control and precision throughout the process.
- Ensure Full Coverage: Press each tile firmly into the adhesive to ensure full coverage and a strong bond with the bar top. Pay attention to any air pockets or uneven areas, making adjustments as needed to achieve a seamless installation.
- Conduct Periodic Inspections: As you progress with the tile placement, periodically step back and inspect the overall alignment and visual cohesion of the tiled surface. This proactive approach allows for timely adjustments and ensures a flawless end result.
By following these meticulous steps for placing the tiles, you’ll orchestrate a seamless and visually captivating transformation of your outdoor bar top. Precision, attention to detail, and a methodical approach are key to achieving a professional and enduring tiled surface that enhances the allure of your outdoor living space.
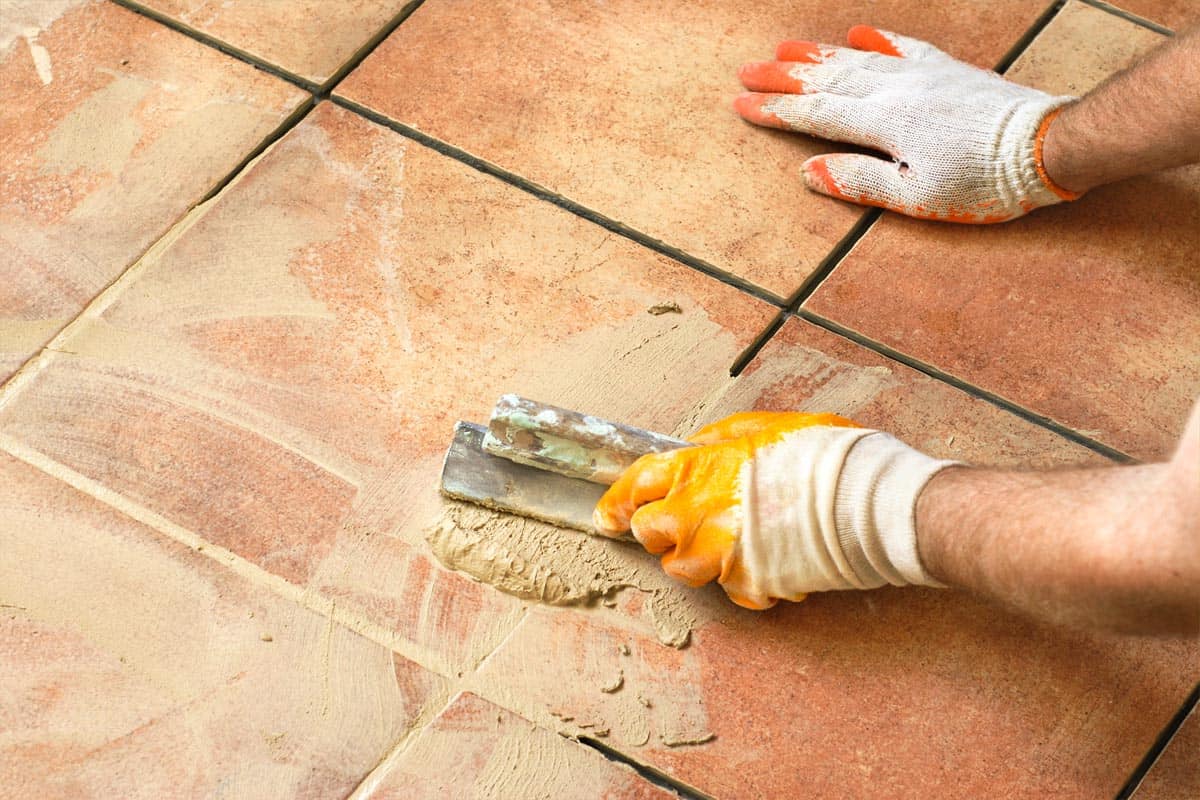
Grouting the Tiles
Once the tiles are securely in place, the next crucial step in the tiling process is grouting, which not only enhances the visual appeal of the tiled surface but also reinforces the durability of the installation. Here’s a comprehensive guide to expertly grouting the tiles on your outdoor bar top:
- Select the Right Grout: Choose a high-quality, weather-resistant grout that complements the color and style of your tiles. Opt for a grout specifically designed for outdoor applications, as it is formulated to resist staining, cracking, and the impact of outdoor elements.
- Mix the Grout: Follow the manufacturer’s instructions to mix the grout to the appropriate consistency, ensuring a smooth and workable texture for the application process.
- Apply the Grout: Using a grout float, spread the grout over the tiled surface, working it into the joints between the tiles at a 45-degree angle. Ensure that the grout completely fills the joints without any voids or gaps, creating a solid and uniform grout line.
- Remove Excess Grout: After applying the grout, use the edge of the grout float to remove excess grout from the surface of the tiles. Work diagonally across the tiles to minimize the risk of dislodging the grout from the joints.
- Clean the Tiles: Once the grout has set for a brief period according to the manufacturer’s instructions, use a damp sponge to gently clean the surface of the tiles, removing any grout residue and smoothing the grout lines for a polished finish.
- Final Cleaning and Sealing: After the initial cleaning, follow up with a final, thorough cleaning of the tiled surface to ensure that the grout lines are free of any haze or residue. Once the grout has fully cured, apply a high-quality outdoor sealer to protect the grout and tiles from moisture, stains, and UV exposure.
By meticulously grouting the tiles and attending to the finishing touches, you’ll elevate the visual allure and longevity of your outdoor bar top. The grouting phase not only enhances the aesthetic appeal of the tiled surface but also fortifies the installation, ensuring that your outdoor bar remains a stunning focal point for years to come.
Sealing the Tiles
Sealing the tiles is the final essential step in the tiling process, serving as a protective shield that enhances the longevity and resilience of your outdoor bar top. Here’s a comprehensive guide to expertly sealing the tiles, ensuring that your outdoor bar remains a stunning and enduring centerpiece of your outdoor living space:
- Choose the Right Sealer: Select a high-quality outdoor sealer specifically formulated for the type of tiles you’ve installed. Consider factors such as UV resistance, moisture protection, and ease of application when choosing the appropriate sealer for your outdoor bar top.
- Ensure a Clean Surface: Before applying the sealer, thoroughly clean the tiled surface to remove any dust, debris, or grout residue. A clean surface ensures optimal adhesion and penetration of the sealer for comprehensive protection.
- Follow Manufacturer’s Instructions: Carefully review the manufacturer’s guidelines for the application of the sealer, including recommended drying times, application methods, and any specific considerations based on the type of tiles and grout used.
- Apply the Sealer: Using a clean, lint-free cloth or a suitable applicator, apply the sealer evenly across the tiled surface, ensuring complete coverage and saturation of the tiles and grout. Work methodically to avoid missing any areas and to prevent streaking or uneven application.
- Allow for Proper Drying Time: After applying the sealer, allow it to dry and cure according to the manufacturer’s specifications. Adequate drying time is essential for the sealer to form a robust protective barrier over the tiles and grout, safeguarding them from moisture, UV exposure, and stains.
- Conduct a Final Inspection: Once the sealer has fully cured, conduct a final inspection of the tiled surface to ensure that the sealer has been applied uniformly and that the tiles and grout exhibit enhanced color and sheen. Make any necessary touch-ups or adjustments as needed.
By meticulously sealing the tiles, you’ll fortify the beauty and resilience of your outdoor bar top, ensuring that it remains a stunning and enduring focal point of your outdoor living space. The sealing process not only enhances the visual allure of the tiles but also provides long-lasting protection against the elements, allowing you to enjoy your outdoor bar for years to come.
Conclusion
Congratulations on successfully transforming your outdoor bar with the timeless elegance and durability of tiled surfaces. By embarking on this journey, you’ve not only enhanced the visual appeal of your outdoor living space but also fortified the functionality and resilience of your outdoor bar top. As you admire the stunning results of your tiling project, it’s essential to reflect on the key takeaways and celebrate the achievement of elevating your outdoor bar to new heights.
Through meticulous surface preparation, precise tile placement, expert grouting, and diligent sealing, you’ve orchestrated a seamless and enduring transformation that harmonizes style and practicality. The attention to detail and dedication to each phase of the tiling process have culminated in a visually captivating and resilient outdoor bar top that will stand the test of time.
As you bask in the satisfaction of a job well done, it’s important to prioritize ongoing maintenance to preserve the beauty and integrity of your tiled bar top. Regular cleaning, periodic resealing, and proactive care will ensure that your outdoor bar remains a stunning centerpiece of your outdoor oasis for years to come.
So, whether you’re hosting lively gatherings, savoring quiet moments, or simply reveling in the beauty of your outdoor living space, your tiled bar top will continue to exude timeless charm and functionality, enriching your outdoor lifestyle in countless ways.
Thank you for embarking on this transformative journey in the realm of outdoor furniture and design. Your dedication to enhancing your outdoor bar reflects a profound appreciation for the art of outdoor living, where every detail contributes to a harmonious and inviting sanctuary. May your tiled bar top be a testament to your creativity, craftsmanship, and unwavering commitment to creating a captivating outdoor haven.
Frequently Asked Questions about How To Tile An Outdoor Bar Top
Was this page helpful?
At Storables.com, we guarantee accurate and reliable information. Our content, validated by Expert Board Contributors, is crafted following stringent Editorial Policies. We're committed to providing you with well-researched, expert-backed insights for all your informational needs.

0 thoughts on “How To Tile An Outdoor Bar Top”