Articles
How To Prepare Ground For Garden
Modified: October 20, 2024
Learn how to prepare the ground for gardening and create a thriving garden. Find expert tips and techniques for successful gardening.
(Many of the links in this article redirect to a specific reviewed product. Your purchase of these products through affiliate links helps to generate commission for Storables.com, at no extra cost. Learn more)
Introduction
Gardening is a rewarding and fulfilling hobby that allows us to connect with nature and create beautiful outdoor spaces. Whether you’re an experienced gardener or just starting out, one of the key steps to a successful garden is preparing the ground properly. By taking the time to prepare the ground, you can create an ideal environment for your plants to thrive and grow.
In this article, we will walk you through the steps of preparing the ground for your garden. From clearing the area to adding compost and leveling the soil, these tips will help you create a solid foundation for a flourishing garden.
So grab your gardening tools and let’s dive in!
Key Takeaways:
- Clearing the area of debris and unwanted vegetation is essential to create a clean slate for your garden, reducing competition for resources and providing a fresh canvas for your plants to thrive.
- Testing the soil and making necessary amendments, such as adding compost, ensures optimal plant growth by enriching the soil with essential nutrients and improving its structure.
Read more: How To Prepare The Ground For Fake Grass
Clearing the Area
Before you start preparing the ground for your garden, it’s important to clear the area of any debris, rocks, or unwanted vegetation. This step is essential as it creates a clean and open space for your plants to grow.
Begin by removing any large rocks or stones that may interfere with the cultivation process. These can be manually picked up or dug out using a shovel or garden fork.
Next, it’s time to focus on removing any unwanted vegetation, such as weeds or grass. Use a garden hoe or a trowel to loosen the soil and uproot the weeds. Make sure to remove the entire plant, including the roots, to prevent any regrowth. If necessary, you can also use an herbicide to tackle more stubborn weeds, but be mindful of its impact on the environment and follow the manufacturer’s instructions.
By clearing the area of debris and unwanted vegetation, you create a blank canvas for your garden and reduce competition for nutrients and water with your desired plants.
Removing Weeds and Grass
Weeds and grass can quickly take over a garden if left unchecked, competing with your desired plants for resources and hindering their growth. Therefore, it’s crucial to properly remove these unwanted plants before preparing the ground for your garden.
There are a few methods you can employ to effectively remove weeds and grass:
- Hand Pulling: For small areas or isolated patches of weeds, hand pulling can be an effective method. Make sure to grasp the weed close to the base and pull gently but firmly to remove the entire plant, including the roots.
- Using Tools: Garden tools like hoes, trowels, or weeders can make the job of removing weeds easier. These tools allow you to loosen the soil around the weeds and lift them out more efficiently.
- Chemical Herbicides: If you’re dealing with a large area heavily infested with weeds, you may consider using chemical herbicides. Be cautious when using herbicides, as they can be harmful to other plants and the environment. Follow the instructions carefully and choose herbicides that are specific to the type of weeds you’re dealing with.
- Sheet Mulching: Another eco-friendly way to suppress weeds is by implementing sheet mulching. This technique involves covering the ground with layers of newspaper or cardboard and adding mulch on top. The barrier created by the mulch prevents sunlight from reaching the weeds, eventually smothering them.
Regardless of the method you choose, make sure to remove all weeds and grass thoroughly. Leaving even a few remaining weeds can lead to their rapid regrowth and re-infestation of your garden.
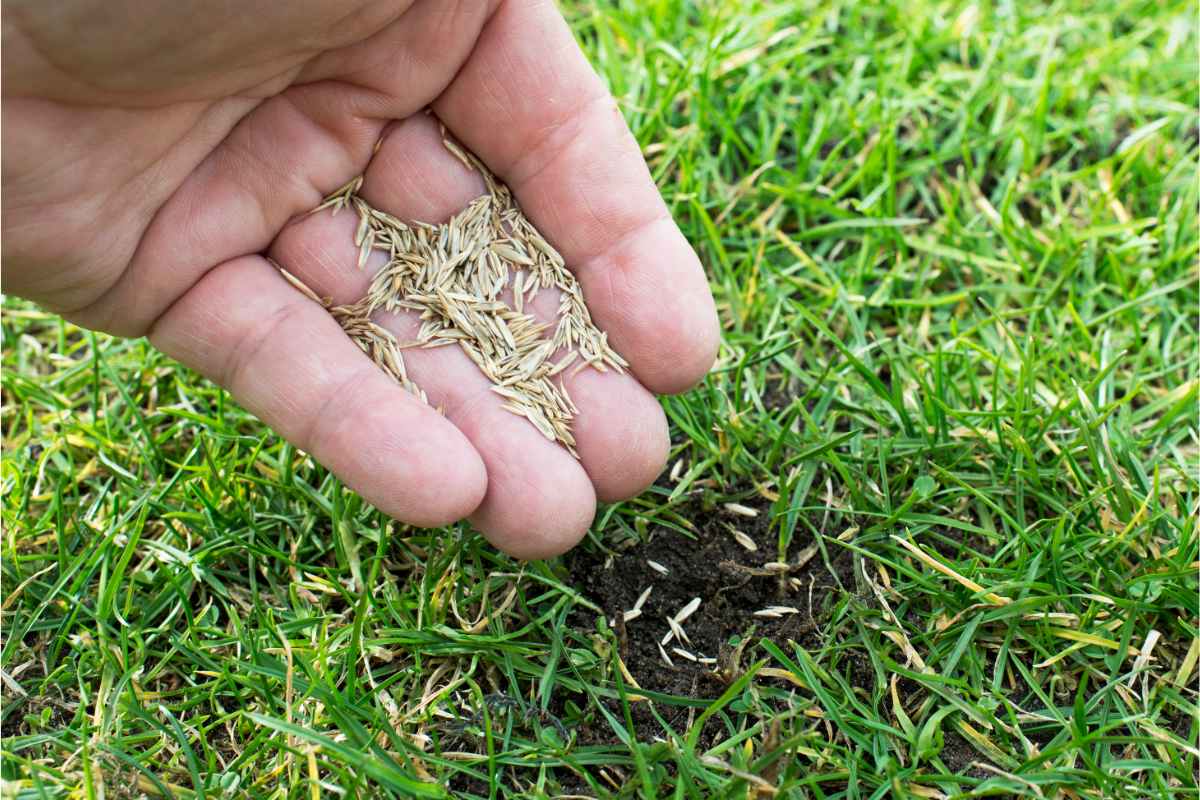
Testing the Soil
Testing the soil in your garden is an essential step in preparing the ground. By understanding the composition and pH level of your soil, you can make informed decisions about the types of plants that will thrive in your garden and the necessary amendments to improve its fertility.
There are various methods you can use to test your soil, including DIY kits or sending samples to a professional lab. These tests will provide valuable information about the soil’s nutrient levels, pH, and texture.
Once you have the test results, you can take appropriate measures to amend the soil if necessary. Common soil amendments include:
- Adjusting pH: Some plants prefer acidic soil, while others thrive in alkaline conditions. To adjust the pH level, you can add materials such as lime to raise the pH or sulfur to lower it.
- Adding Organic Matter: Organic matter, such as compost or well-rotted manure, can improve soil structure and fertility. It enhances drainage in heavy clay soils and increases water retention in sandy soils.
- Amending Nutrient Deficiencies: If the soil is lacking in specific nutrients, you can add organic or synthetic fertilizers to replenish them. However, it’s crucial to follow the recommended application rates to avoid over-fertilization, which can be harmful to plants.
By testing the soil and making the necessary amendments, you create an environment that promotes healthy plant growth and maximizes the potential of your garden.
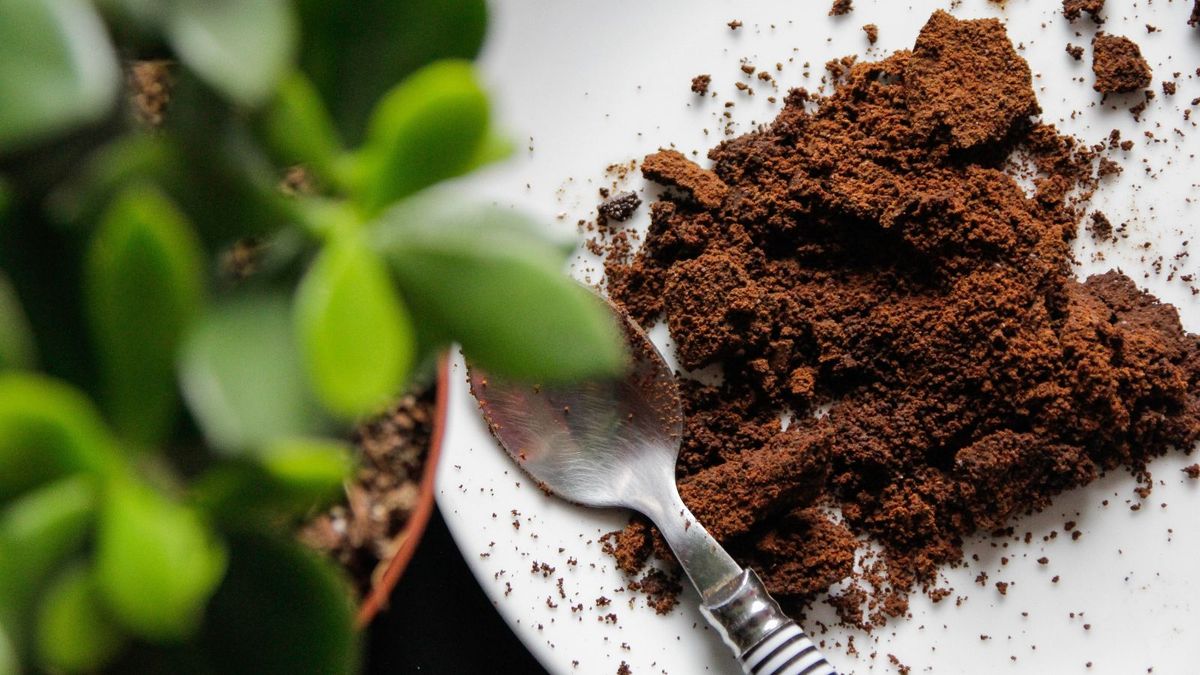
Adding Compost or Organic Matter
One of the most beneficial additions you can make to the soil in your garden is the incorporation of compost or organic matter. Adding organic matter improves soil structure, enhances nutrient content, and promotes a thriving ecosystem of beneficial microorganisms.
Compost is a rich, dark, and crumbly material that is created through the decomposition of organic materials such as kitchen scraps, yard trimmings, and leaves. It is a valuable source of nutrients and humus, which help improve the soil’s ability to retain water and nutrients.
Here are the steps to add compost or organic matter to your garden:
- Prepare the compost: If you have a compost bin or pile, ensure that it is well-aged and fully decomposed. This ensures that the compost is rich in nutrients and free from any potential pathogens.
- Spread the compost: Using a shovel or garden fork, spread a layer of compost over the prepared ground. Aim for a thickness of about 2 to 4 inches. Make sure to distribute it evenly to provide consistent benefits across the garden area.
- Work it into the soil: Use a rake or garden fork to incorporate the compost into the top few inches of soil. This allows the organic matter to mix well with the existing soil and provides a better distribution of nutrients.
By adding compost or organic matter, you enrich the soil with essential nutrients, improve its structure, and promote a healthy and productive garden. Regular additions of compost will continue to enhance the soil’s fertility over time.
Before preparing the ground for a garden, make sure to remove any existing grass, weeds, and debris. Use a shovel or tiller to loosen the soil and add organic matter like compost to improve soil structure and fertility.
Read more: How To Prepare The Ground For A Storage Shed
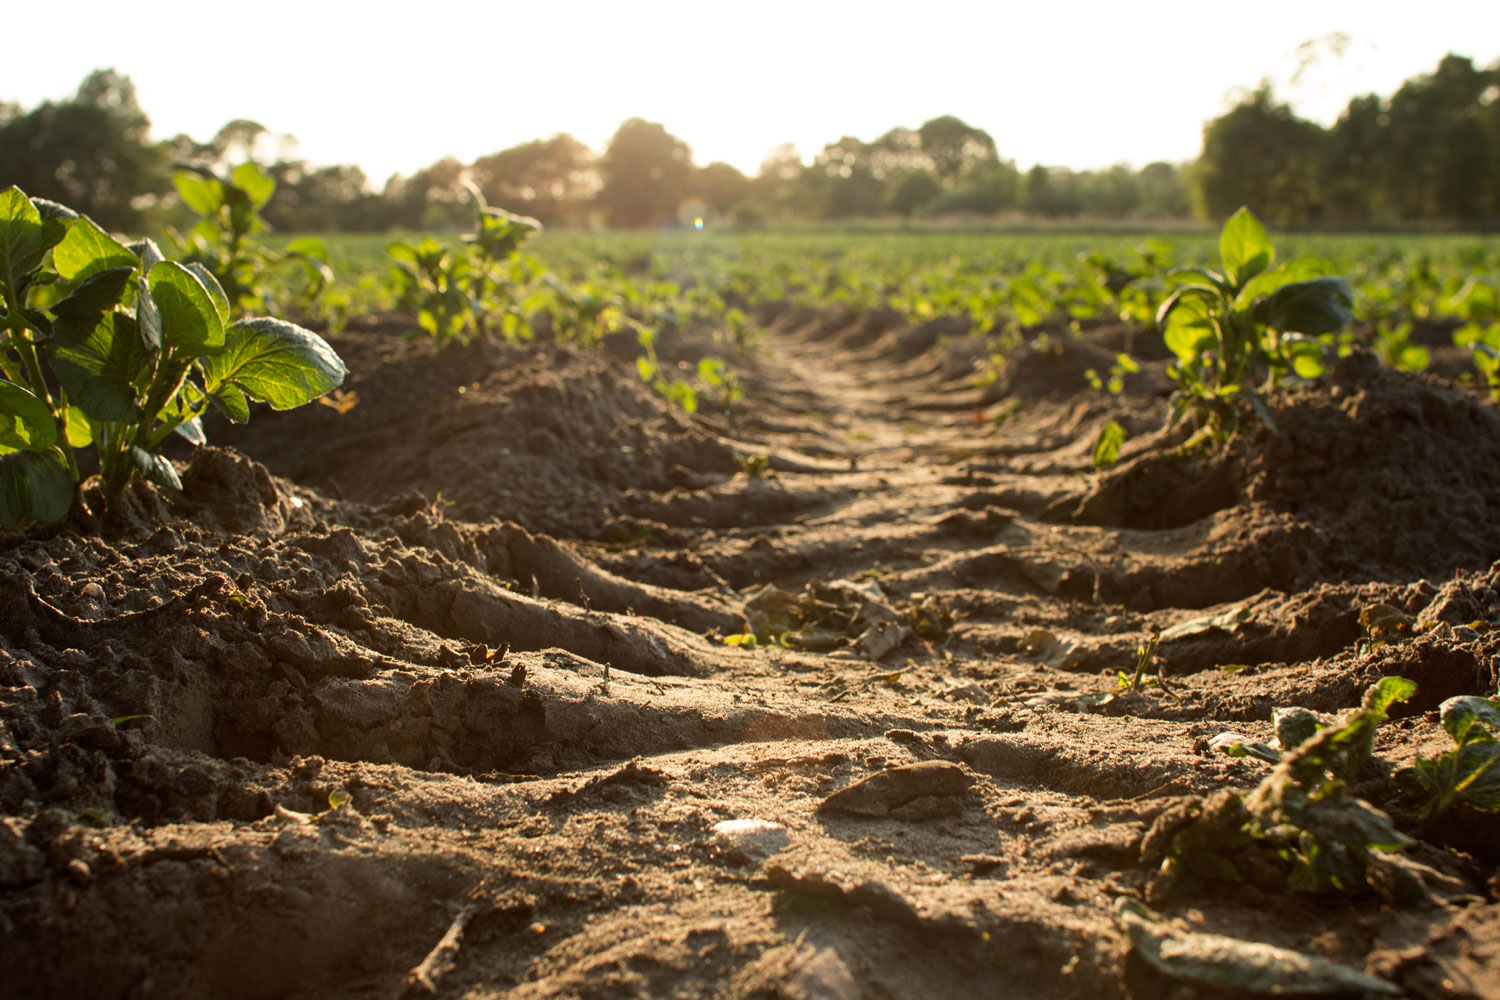
Tilling the Ground
Tilling the ground is an important step in garden preparation, especially if you’re starting a new garden bed or working with compacted soil. Tilling helps break up the soil, improve its structure, and create a loose and friable planting area for your plants.
Here’s a step-by-step guide on how to till the ground:
- Choose the right time: Tilling is best done when the soil is slightly moist but not overly wet. Avoid tilling when the soil is too dry or frozen, as it can lead to poor results.
- Remove debris: Before tilling, remove any large rocks, roots, or other debris from the area. This will prevent damage to the tiller and create a smooth tilling process.
- Start tilling: Using a rototiller or garden fork, begin tilling the soil. Start at one end of the garden bed and work your way across, making parallel passes. The depth of tilling will depend on the type of plants you intend to grow, but a depth of 8-10 inches is usually sufficient for most garden plants.
- Avoid over-tilling: While it’s important to break up compacted soil, over-tilling can actually be detrimental. Excessive tilling can disrupt the soil structure, harm beneficial microorganisms, and lead to soil erosion. Aim for a balance, allowing the soil to retain some natural structure.
- Smooth the soil: Once the tilling is complete, use a rake or garden hoe to smooth out the soil surface. This will remove any large clumps and create a level planting area.
Tilling the ground allows for better drainage, root penetration, and nutrient distribution in the soil. However, it’s important to note that not all garden areas require tilling. In some cases, such as perennial beds or established gardens, it’s best to avoid tilling to preserve the soil structure and minimize disturbance to existing plants.
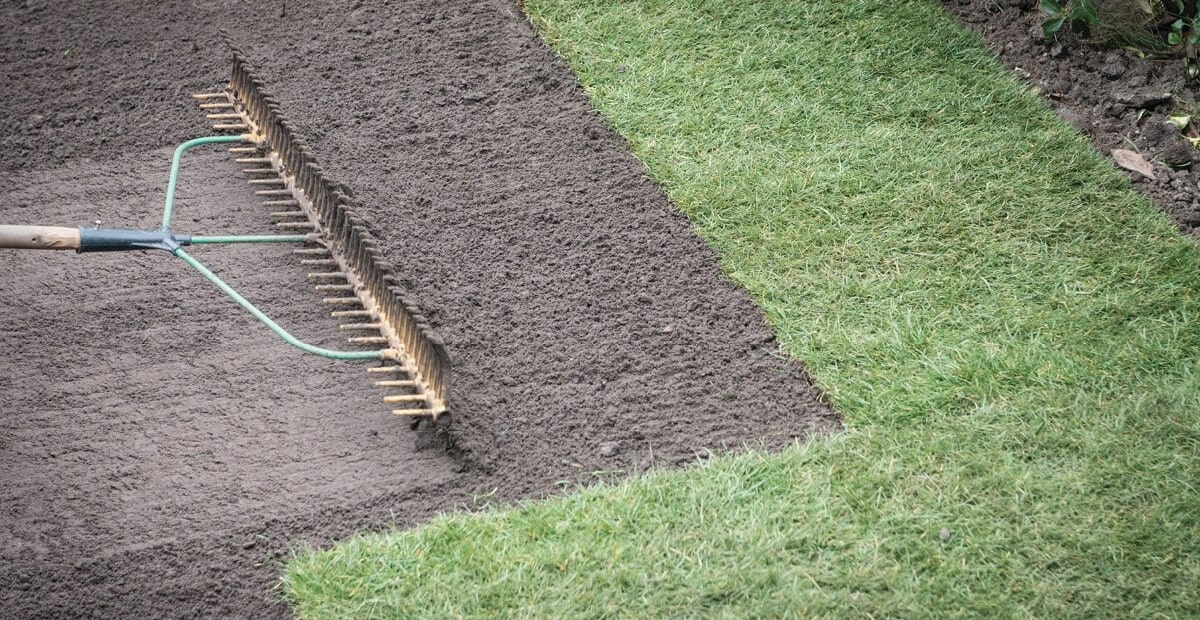
Leveling the Soil
After tilling the ground, the next step in preparing the garden is to level the soil. Leveling ensures an even surface for planting and prevents water from pooling in certain areas, which can lead to uneven plant growth and root rot.
Here are the steps to follow when leveling the soil:
- Remove large clumps: Use a rake or garden fork to remove any large clumps or debris that may be present after tilling. This helps create a smooth and even surface.
- Break up soil clods: If there are smaller clumps of soil, use the back of a rake or a garden cultivator to break them up. This will help distribute the soil particles more evenly.
- Fill in low spots: Inspect the ground for any low spots or depressions. Fill these areas with additional soil, compost, or a mixture of both to bring them to the level of the surrounding soil.
- Smooth the surface: Once the soil is relatively level, use the back of a rake or a leveling board to smooth the surface. Work in a back-and-forth motion, gently pressing down on the soil to create an even finish. Check the levelness by eye or using a straight board placed across the soil surface.
Leveling the soil not only helps with proper water distribution but also makes planting and maintaining the garden much easier. It provides a more aesthetically pleasing appearance and creates an optimal environment for plants to grow.
Applying Mulch
Applying mulch to your garden is a crucial step in preparing the ground. Mulch serves several purposes: it helps to conserve moisture, suppresses weed growth, regulates soil temperature, and improves the overall appearance of the garden.
Follow these steps to properly apply mulch:
- Clean the area: Before applying mulch, make sure the ground is clear of debris, weeds, and grass. This ensures that the mulch directly contacts the soil surface.
- Choose the right type of mulch: There are various types of mulch available, including organic options like wood chips, straw, or shredded leaves, as well as inorganic choices like gravel or plastic sheeting. Choose a mulch that suits your garden’s needs and aesthetic preferences.
- Spread a layer of mulch: Start by spreading a layer of mulch around 2-4 inches thick. Be careful not to pile mulch directly against the base of plants, as this can lead to moisture retention and rotting.
- Extend mulch to the drip line: If you’re mulching around trees or shrubs, extend the mulch layer to the drip line – the outermost edge of the canopy. This helps conserve moisture and protect the root system.
- Maintain mulch depth: Over time, mulch may break down or be blown away, so it’s important to regularly maintain the mulch depth. Add an additional layer of mulch as needed to maintain the desired thickness.
Mulch not only improves the overall aesthetics of the garden but also provides several benefits. It aids in moisture retention, reduces weed competition, regulates soil temperature, and promotes the health of your plants. Additionally, as mulch decomposes, it contributes organic matter to the soil, further enhancing its fertility.
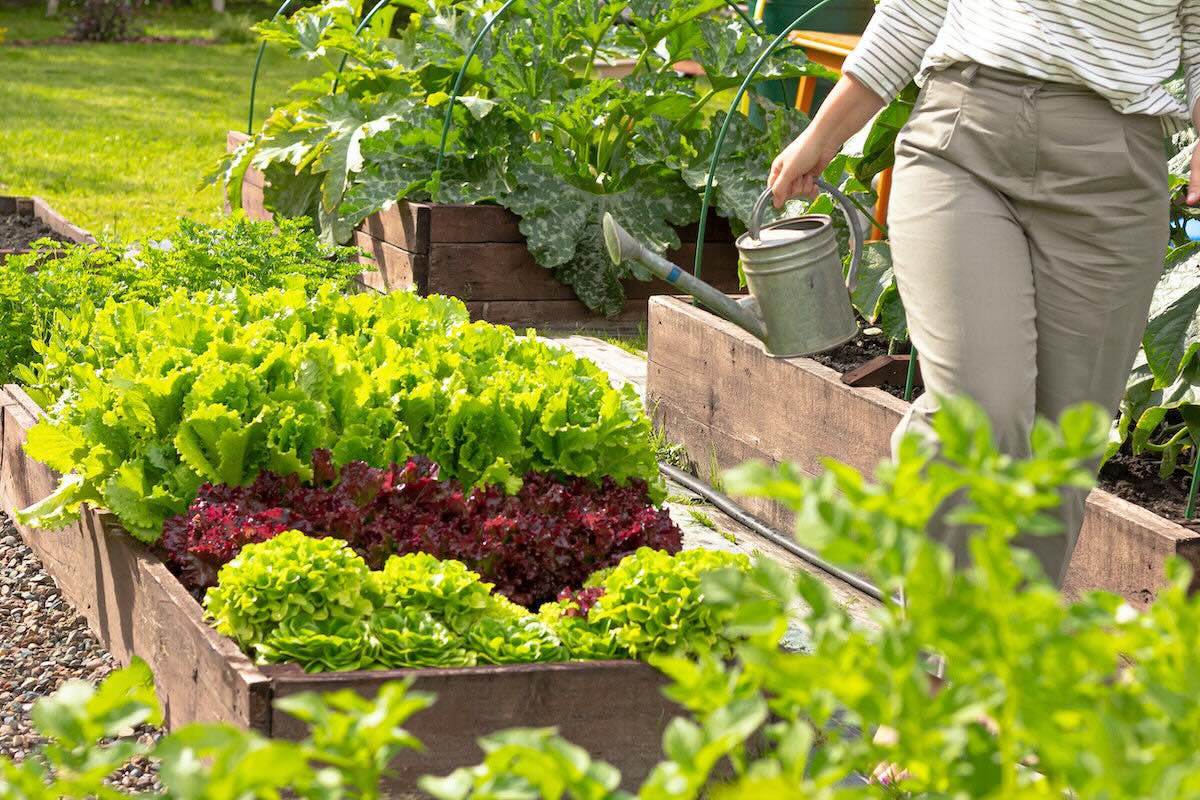
Watering the Prepared Ground
Watering is a crucial part of maintaining a healthy garden, and it’s especially important after preparing the ground. Proper watering ensures that the plants have access to the necessary moisture for growth and helps settle the soil in the newly prepared area.
Here are some key points to consider when watering the prepared ground:
- Water thoroughly: When watering the prepared ground, ensure that the water penetrates deep into the soil. Shallow watering can encourage shallow root growth, making plants more susceptible to drought stress.
- Timing is important: Water early in the day or late in the afternoon to minimize water loss due to evaporation. Avoid watering during the hottest part of the day, as the water may evaporate before it reaches the plant’s roots.
- Water consistently: Maintain a consistent watering schedule to provide a stable environment for your plants. This is especially important during hot and dry periods.
- Use the right amount of water: The amount of water needed will depend on factors such as the type of plants, soil type, and weather conditions. Aim to provide enough water to moisten the soil to a depth of 6-8 inches.
- Consider drip irrigation or soaker hoses: These watering methods deliver water directly to the plant’s root zone, minimizing water loss through evaporation and ensuring efficient water distribution.
Regular watering helps plants establish their root systems in the prepared ground and promotes overall growth and development. Monitor the moisture levels in the soil and adjust your watering schedule as needed to meet the specific needs of your plants.
Read more: How To Prepare For A Garden
Conclusion
Properly preparing the ground is a crucial step in setting the stage for a successful garden. By following the steps outlined in this article, from clearing the area to watering the prepared ground, you can create an ideal environment for your plants to thrive and flourish.
Clearing the area of debris and removing weeds and grass prevents competition for resources and creates a clean slate for your garden. Testing the soil helps you understand its composition and make necessary amendments to optimize plant growth. Adding compost or organic matter enriches the soil with nutrients and improves its structure. Tilling the ground breaks up compacted soil and creates a loose, friable planting area.
Leveling the soil ensures an even surface, while applying mulch conserves moisture, suppresses weed growth, and regulates soil temperature. Lastly, watering the prepared ground provides essential moisture for the plants to establish and thrive.
Remember, gardening is a journey filled with learning and experimentation. Each garden is unique, and it’s important to adapt these steps to suit your specific gardening environment and the needs of your plants.
So, put on your gardening gloves, pick up your tools, and enjoy the process of preparing the ground for your garden. With a solid foundation, your plants are sure to bloom and bring joy to your outdoor space.
Frequently Asked Questions about How To Prepare Ground For Garden
Was this page helpful?
At Storables.com, we guarantee accurate and reliable information. Our content, validated by Expert Board Contributors, is crafted following stringent Editorial Policies. We're committed to providing you with well-researched, expert-backed insights for all your informational needs.


0 thoughts on “How To Prepare Ground For Garden”