Home>Furniture & Design>Outdoor Furniture>How To Install A Motion Sensor Outdoor Light
Outdoor Furniture
How To Install A Motion Sensor Outdoor Light
Published: January 11, 2024
Learn how to easily install a motion sensor outdoor light to enhance your outdoor-furniture-furniture-and-design. Illuminate your space with this simple DIY project.
(Many of the links in this article redirect to a specific reviewed product. Your purchase of these products through affiliate links helps to generate commission for Storables.com, at no extra cost. Learn more)
Introduction
Welcome to the world of outdoor lighting! Whether you're looking to enhance the security of your home, illuminate your outdoor space, or simply add a touch of convenience, installing a motion sensor outdoor light is a fantastic choice. Not only does it offer practical benefits, such as deterring intruders and providing illumination when you need it most, but it also contributes to the aesthetic appeal of your property.
In this comprehensive guide, we'll walk you through the process of installing a motion sensor outdoor light. From gathering the necessary tools and materials to testing the functionality of your new light fixture, we've got you covered every step of the way. By the end of this tutorial, you'll have the knowledge and confidence to complete this project with ease.
So, grab your tools, put on your DIY hat, and let's illuminate your outdoor space with a motion sensor outdoor light!
Key Takeaways:
- Enhance your outdoor space with a motion sensor light for added security and convenience. Follow the comprehensive guide to install and test the light with confidence and precision.
- Ensure safety by turning off the power before installing the motion sensor light. Securely mount the fixture and test its functionality for optimal performance.
Read more: What Is The Best Outdoor Motion Sensor Light
Step 1: Gather the Necessary Tools and Materials
Before diving into the installation process, it’s essential to gather all the tools and materials you’ll need to complete the project efficiently. Here’s a comprehensive list to ensure you’re well-prepared:
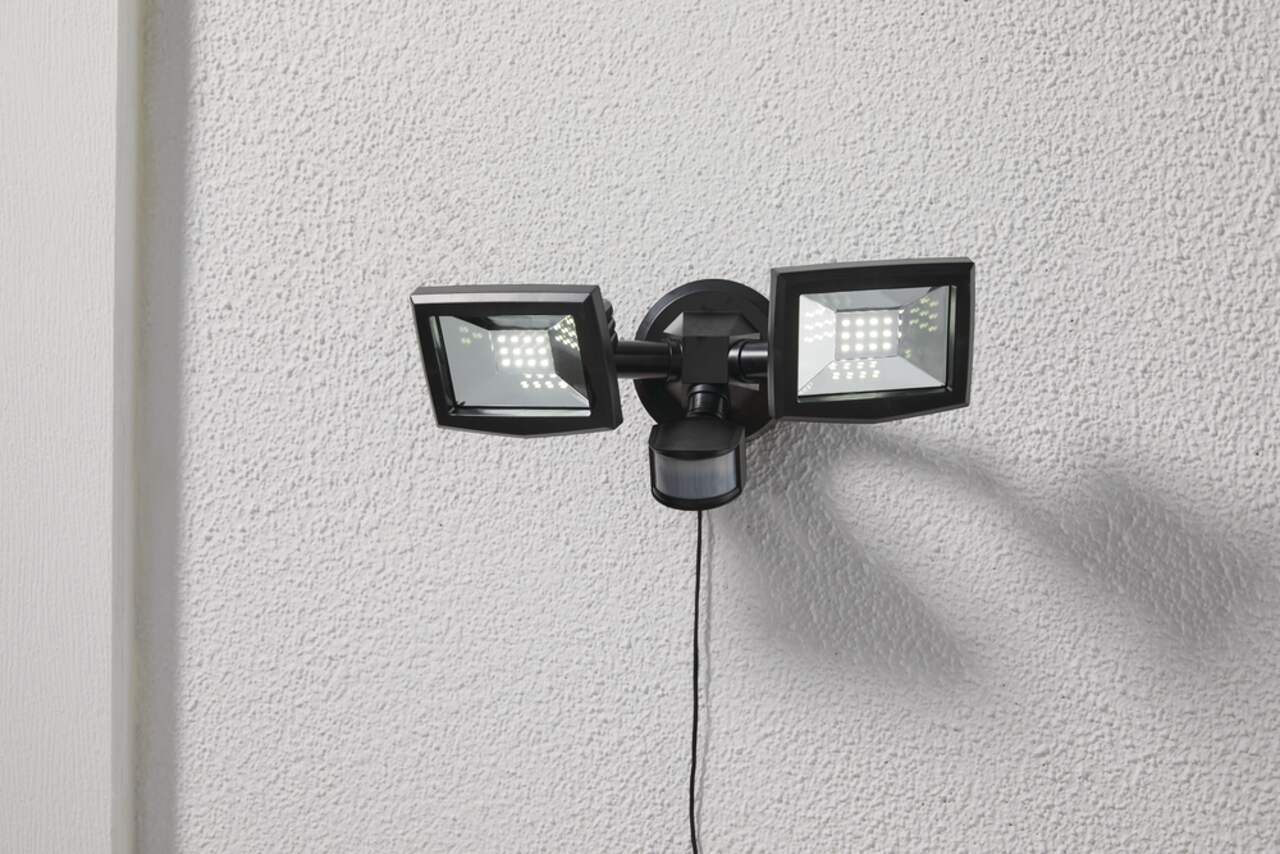
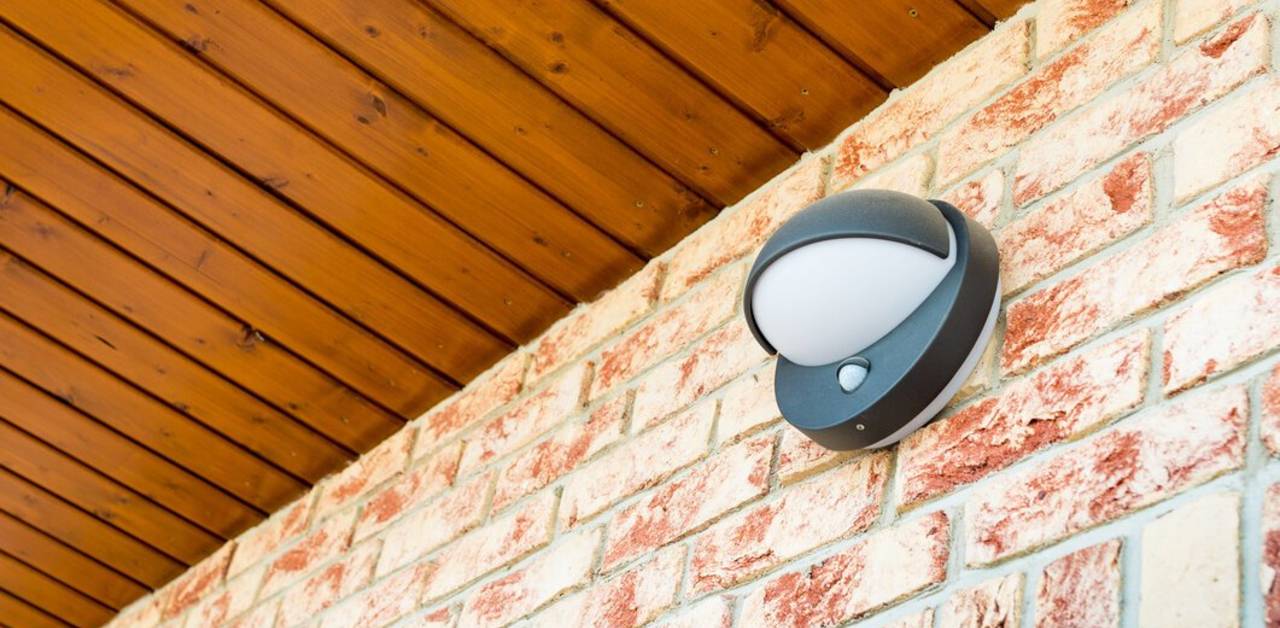
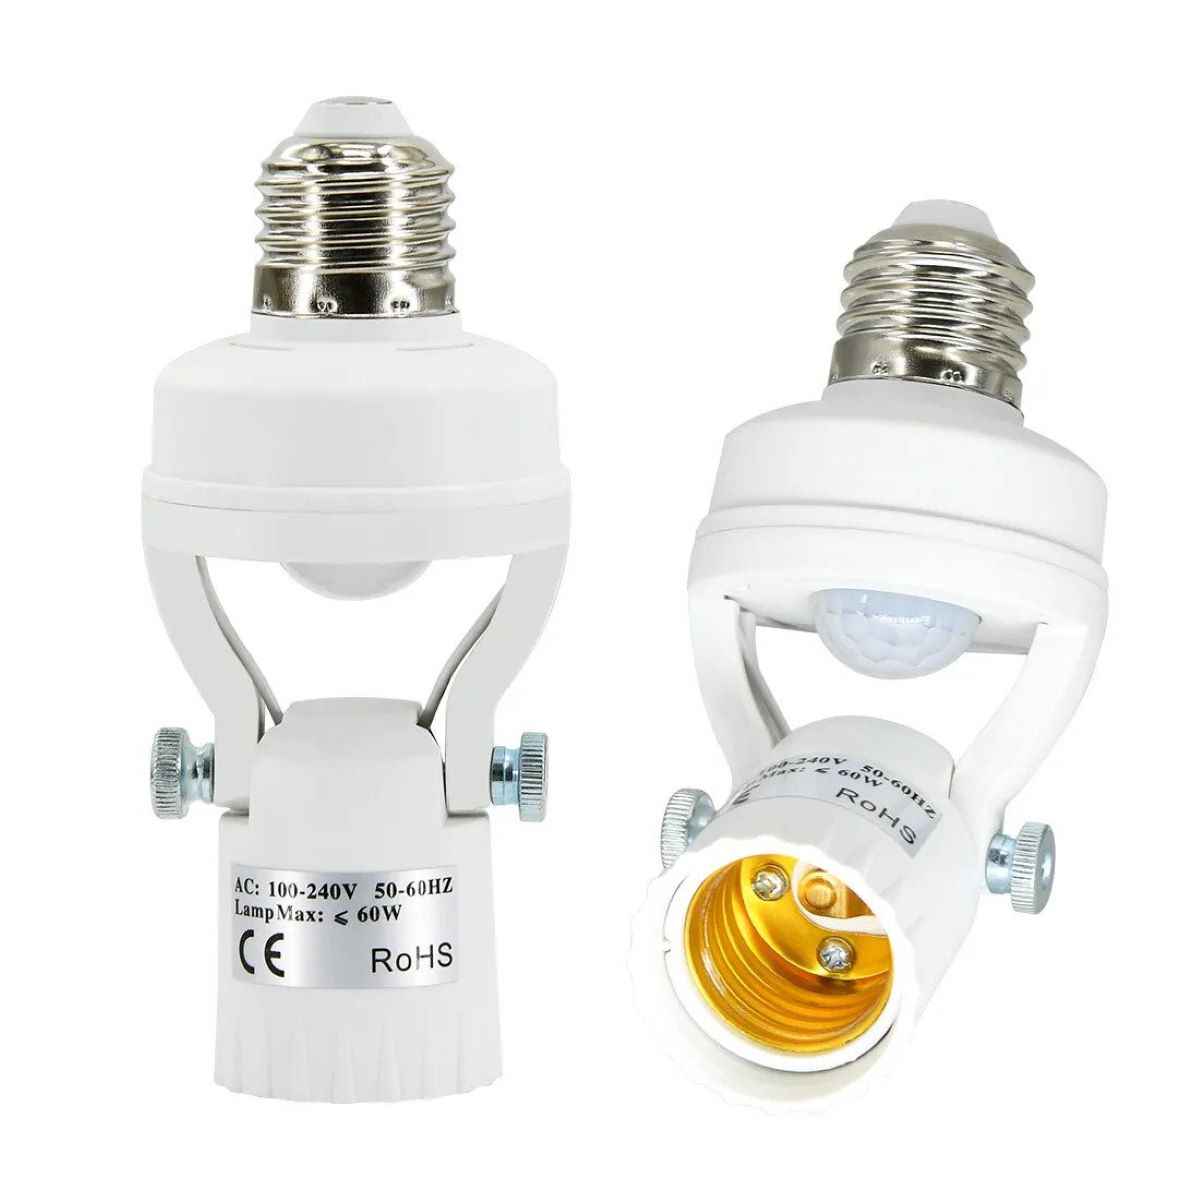
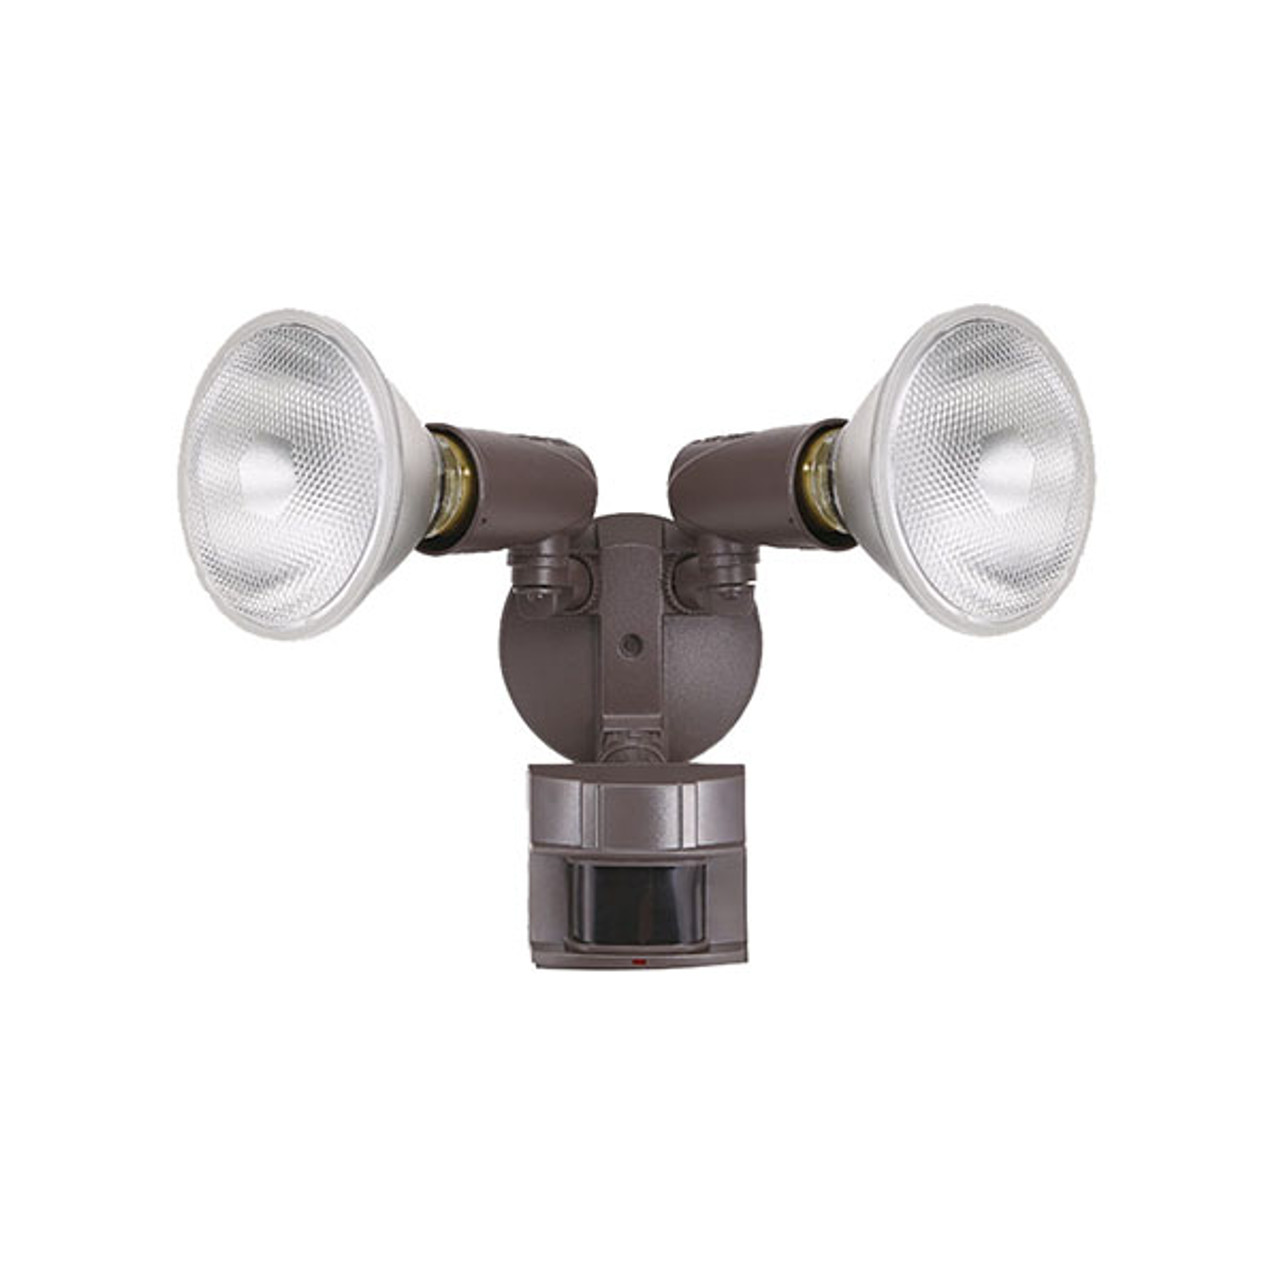
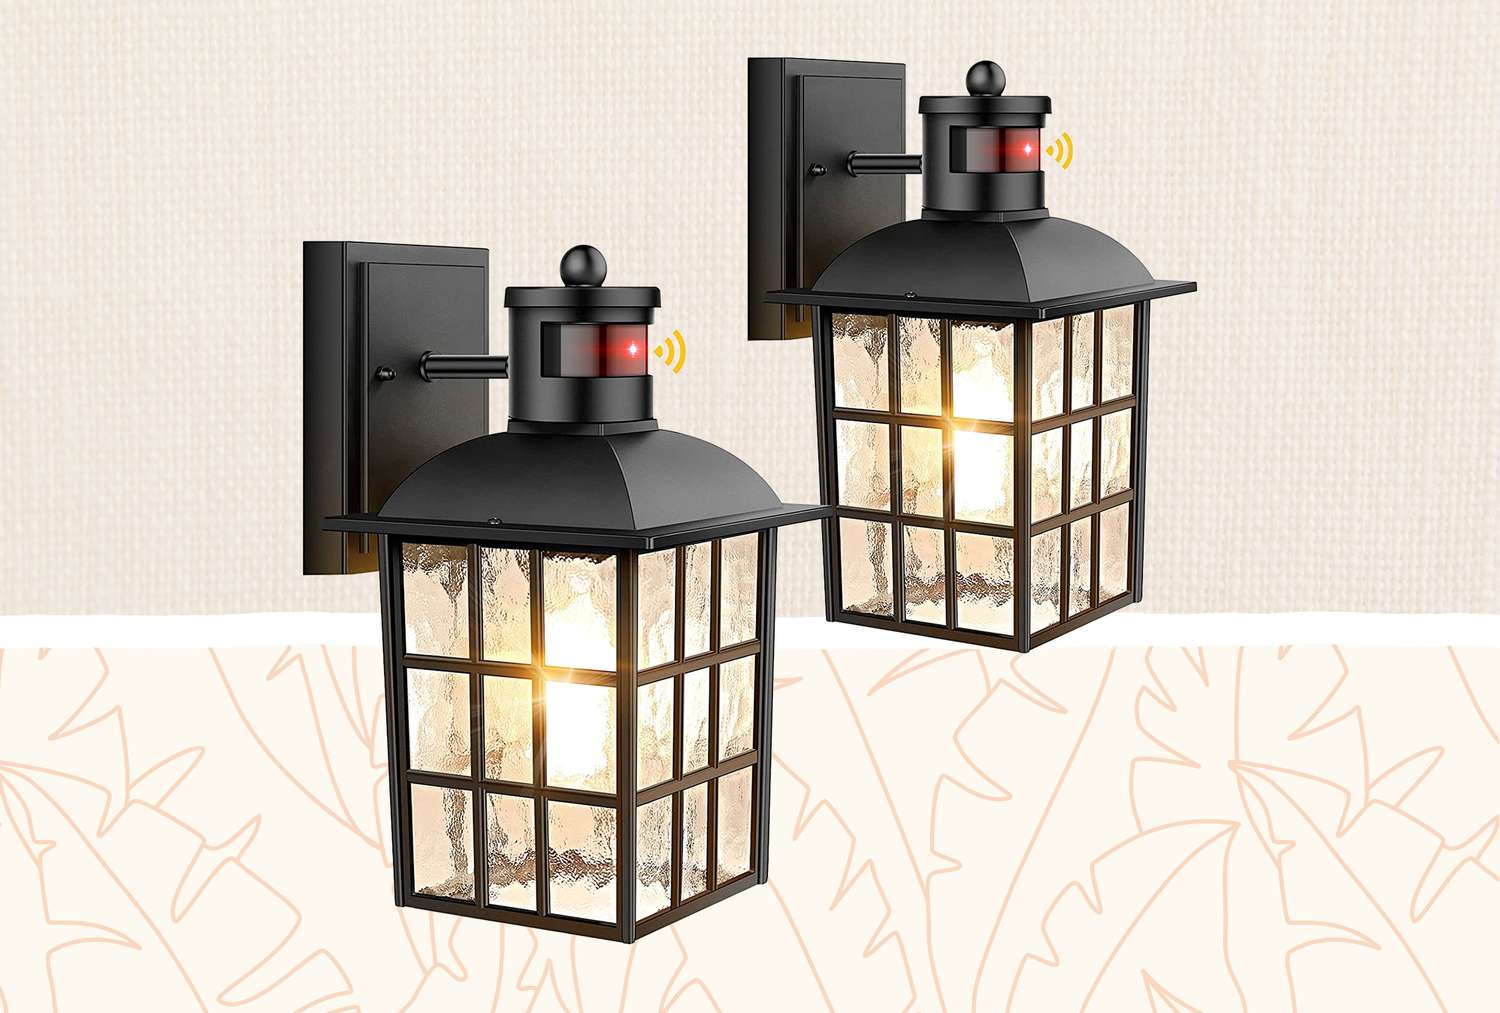
- Motion Sensor Outdoor Light Fixture: Choose a fixture that suits your outdoor space and meets your specific lighting needs. Consider factors such as brightness, range of motion detection, and design aesthetics.
- Screwdriver Set: Ensure you have both flat-head and Phillips-head screwdrivers to accommodate various types of screws.
- Wire Strippers: These will be essential for preparing the wiring connections during the installation process.
- Wire Nuts: Use these to securely connect the electrical wires together.
- Electrical Tape: This will help insulate and protect the electrical connections from moisture and other environmental factors.
- Ladder: Depending on the height of the installation location, a sturdy ladder will be necessary for safe access to the mounting area.
- Voltage Tester: Prioritize safety by using a voltage tester to ensure the power is completely turned off before beginning any work on the electrical connections.
- Work Gloves and Safety Glasses: Protect your hands and eyes during the installation process.
- Assistant: Having a second set of hands to assist with holding the light fixture in place during installation can be incredibly helpful.
By ensuring you have all the necessary tools and materials at your disposal, you’ll streamline the installation process and minimize the need for interruptions or additional trips to the hardware store. With everything in hand, you’re ready to embark on your motion sensor outdoor light installation journey.
Step 2: Turn Off the Power
Prior to beginning any work on the electrical components of your outdoor lighting system, it is crucial to turn off the power to the existing light fixture. This step is essential for your safety and the integrity of the electrical connections.
Here’s how to safely turn off the power:
- Locate the Electrical Panel: Identify the electrical panel in your home or property. This is where the circuit breakers or fuses for the outdoor lighting will be housed.
- Identify the Correct Circuit: If your electrical panel is well-labeled, look for the circuit breaker corresponding to the outdoor light fixture. If the panel is not labeled, you may need assistance in identifying the correct circuit. Consider using a non-contact voltage tester to ensure the power is indeed turned off before proceeding.
- Turn Off the Circuit Breaker: Once you’ve located the correct circuit, switch off the corresponding circuit breaker to cut off power to the light fixture. If your electrical panel uses fuses, remove the fuse for the outdoor lighting circuit.
- Verify the Power Is Off: After turning off the circuit breaker or removing the fuse, use a voltage tester to confirm that the power to the fixture is completely shut off. This step is crucial for your safety and the safety of the electrical components.
By following these steps to turn off the power, you’ll create a safe working environment for the subsequent stages of the installation process. Remember, safety always comes first when working with electrical systems. Once you’ve verified that the power is off, you can proceed with confidence to the next phase of the installation.
Step 3: Remove the Existing Light Fixture
With the power safely turned off, it’s time to remove the existing light fixture to make way for the new motion sensor outdoor light. This step involves careful disassembly and removal of the old fixture, preparing the mounting area for the installation of the new fixture.
Follow these steps to remove the existing light fixture:
- Remove the Screws or Fasteners: Using the appropriate screwdriver, carefully remove the screws or fasteners that secure the existing light fixture to the mounting bracket or junction box. Keep the screws in a safe place, as you may need them for the installation of the new fixture.
- Disconnect the Wiring: Gently pull the existing fixture away from the mounting bracket or junction box, being mindful of any connected wiring. Once the wiring is accessible, carefully disconnect the wires by unscrewing the wire nuts and separating the connections. Take note of the wire colors and their corresponding functions (e.g., black for power, white for neutral, and green or bare for ground).
- Remove the Fixture: After disconnecting the wiring, remove the old light fixture from the mounting area and set it aside. Take this opportunity to inspect the mounting bracket or junction box for any damage or corrosion that may need attention before installing the new fixture.
- Prepare the Mounting Area: Clean the mounting area and ensure it is free from any debris or obstructions. If necessary, make any adjustments to the mounting bracket or junction box to accommodate the installation of the new motion sensor outdoor light.
By carefully removing the existing light fixture and preparing the mounting area, you’re setting the stage for the seamless installation of your new motion sensor outdoor light. Take your time during this step to ensure the wiring and mounting area are in optimal condition for the next phase of the installation process.
Step 4: Mount the Motion Sensor Outdoor Light
With the old fixture removed and the mounting area prepared, it’s time to mount the new motion sensor outdoor light. Proper mounting ensures the stability and functionality of the fixture, allowing it to effectively illuminate your outdoor space and detect motion as intended.
Follow these steps to mount the motion sensor outdoor light:
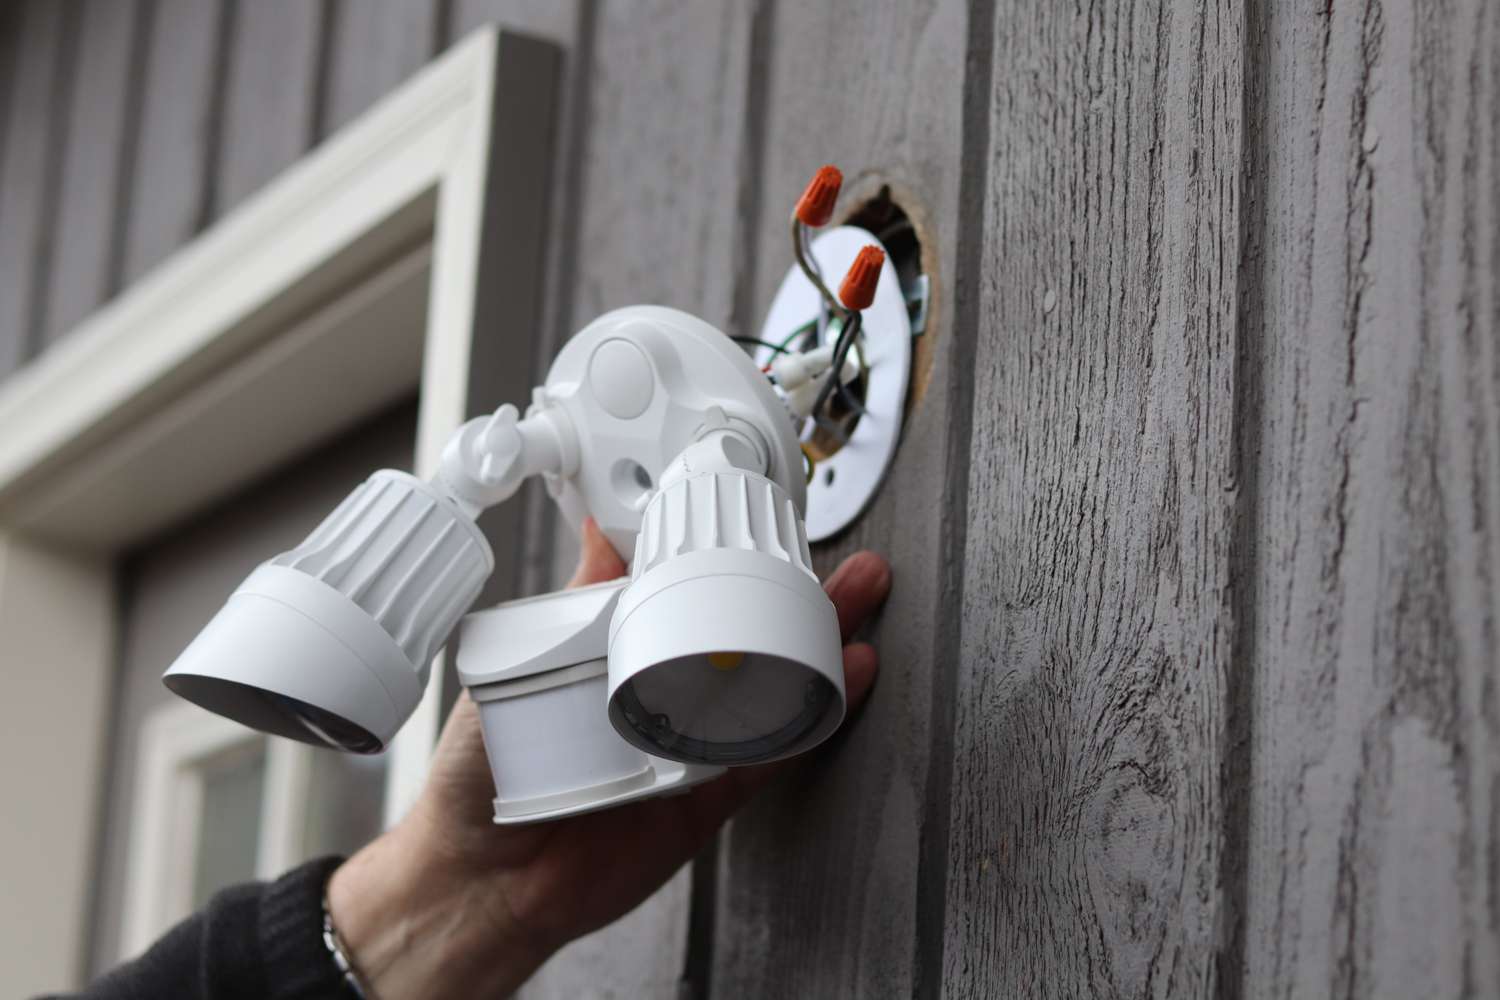
- Position the Fixture: Hold the new motion sensor outdoor light in the desired mounting location, aligning it with the mounting bracket or junction box. Enlist the assistance of another person if needed to hold the fixture in place while you secure it.
- Secure the Fixture: Using the provided screws or fasteners, secure the motion sensor outdoor light to the mounting bracket or junction box. Ensure that the fixture is snug and level to maintain its stability and aesthetic appeal.
- Adjust the Position: If the fixture allows for directional adjustment, such as angling the light or motion sensor, take the opportunity to position it according to your specific lighting and detection needs. This step ensures optimal functionality and coverage for your outdoor area.
- Double-Check the Stability: Once the fixture is secured, give it a gentle shake or nudge to confirm that it is firmly in place. Ensuring the stability of the mounted fixture is essential for its long-term performance and durability.
By effectively mounting the motion sensor outdoor light, you’re one step closer to enjoying the enhanced security and convenience it offers. Take the time to position and secure the fixture with care, ensuring that it is poised to deliver reliable performance in your outdoor environment.
Make sure to turn off the power to the existing light fixture before installing the motion sensor outdoor light. This will prevent any accidents or electrical shocks while working on the installation.
Step 5: Connect the Wiring
With the motion sensor outdoor light securely mounted, it’s time to connect the wiring to integrate the fixture into your electrical system. Proper wiring ensures that the light functions as intended, providing illumination and responding to motion detection effectively.
Follow these steps to connect the wiring for your motion sensor outdoor light:
- Prepare the Wires: If necessary, trim any excess length from the wires of the motion sensor outdoor light, ensuring they are of appropriate length for connection. Use wire strippers to carefully strip the insulation from the ends of the wires to expose the conductive metal.
- Match the Wires: Match the wires from the motion sensor outdoor light to the corresponding wires in the electrical junction box or mounting bracket. Typically, this involves connecting the black (power), white (neutral), and green or bare (ground) wires of the fixture to their respective counterparts in the electrical system.
- Secure the Connections: Twist the exposed ends of the wires together, matching the colors and functions as appropriate. Once the connections are aligned, secure them by twisting on wire nuts, ensuring a tight and insulated fit for each connection.
- Insulate the Connections: After securing the wire connections, wrap each connection with electrical tape to provide an additional layer of insulation and protection. This step helps safeguard the connections from environmental factors and ensures long-term reliability.
By carefully connecting the wiring for your motion sensor outdoor light, you’re establishing the essential electrical connections that enable the fixture to function seamlessly. Pay close attention to the color-coding and secure insulation of the connections to promote safety and optimal performance.
Step 6: Secure the Light Fixture
Once the wiring is properly connected, it’s crucial to secure the motion sensor outdoor light fixture in its final position. This step ensures that the fixture remains stable and aligned, ready to fulfill its purpose of providing illumination and motion detection in your outdoor space.
Follow these steps to secure the light fixture:
- Adjust the Position: Ensure that the motion sensor outdoor light is positioned as desired, providing optimal illumination and motion detection coverage for your outdoor area. Make any necessary adjustments to the fixture’s position and orientation before proceeding.
- Tighten Mounting Screws: Using the appropriate screwdriver, tighten the mounting screws or fasteners that secure the fixture to the mounting bracket or junction box. Confirm that the fixture is firmly held in place and does not wobble or shift when touched.
- Verify Stability: Give the fixture a gentle shake or tap to confirm that it is securely mounted and stable. Ensuring the stability of the light fixture is essential for its long-term performance and resistance to environmental factors such as wind and weather.
- Inspect the Connections: Double-check the wiring connections to confirm that they are secure and properly insulated. This step is crucial for safety and the reliable operation of the motion sensor outdoor light.
By securing the light fixture in its final position, you’re completing the physical installation of the motion sensor outdoor light, setting the stage for its functionality and performance in your outdoor environment. Take the time to ensure that the fixture is securely mounted and aligned to your preferences before proceeding to the final step.
Step 7: Test the Motion Sensor Outdoor Light
With the installation process near completion, it’s time to test the functionality of your newly installed motion sensor outdoor light. This crucial step allows you to verify that the fixture operates as intended, providing illumination and effectively detecting motion in your outdoor space.
Follow these steps to test the motion sensor outdoor light:
- Restore Power: Return to the electrical panel and restore power to the circuit supplying the motion sensor outdoor light. Ensure that the circuit breaker is switched on or the fuse is securely reinstalled.
- Trigger the Motion Sensor: Move within the detection range of the motion sensor to activate the light. Observe the response of the fixture as it detects motion and illuminates the surrounding area. This step allows you to confirm that the motion sensor functions as intended.
- Verify Illumination: Assess the brightness and coverage of the illumination provided by the motion sensor outdoor light. Ensure that it adequately illuminates the intended area, providing the desired level of visibility and security.
- Adjust Settings (If Applicable): If your motion sensor outdoor light offers adjustable settings for sensitivity, duration, or other features, take the opportunity to customize these settings to suit your preferences. Follow the manufacturer’s instructions for adjusting the settings as needed.
- Observe Repeat Activation: Move out of the detection range of the motion sensor, then back into its range to observe the repeated activation and deactivation of the light. This step confirms that the motion sensor responds reliably to movement within its coverage area.
By thoroughly testing the motion sensor outdoor light, you can ensure that it functions as an integral part of your outdoor lighting and security system. Take the time to observe its performance and make any necessary adjustments to optimize its functionality in your specific outdoor environment.
Conclusion
Congratulations on successfully installing your motion sensor outdoor light! By following the comprehensive steps outlined in this guide, you’ve not only enhanced the security and convenience of your outdoor space but also gained valuable DIY skills along the way. As you bask in the glow of your newly installed fixture, take pride in the accomplishment of completing this project with confidence and precision.
With your motion sensor outdoor light in place, you can revel in the benefits it brings to your property. From deterring potential intruders to providing illumination exactly when and where it’s needed, this fixture serves as a valuable addition to your outdoor environment.
Remember, regular maintenance and occasional checks of the fixture’s functionality will ensure its continued performance. Keep the light sensor clean and free from obstructions, and promptly address any issues that may arise to maintain its optimal operation.
As you enjoy the enhanced security and convenience provided by your motion sensor outdoor light, consider sharing your newfound expertise with friends and family. Your experience may inspire others to embark on their own DIY projects, further enriching their living spaces.
Thank you for joining us on this illuminating journey. May your outdoor space be forever bright and secure with the addition of your new motion sensor outdoor light!
Frequently Asked Questions about How To Install A Motion Sensor Outdoor Light
Was this page helpful?
At Storables.com, we guarantee accurate and reliable information. Our content, validated by Expert Board Contributors, is crafted following stringent Editorial Policies. We're committed to providing you with well-researched, expert-backed insights for all your informational needs.


0 thoughts on “How To Install A Motion Sensor Outdoor Light”