Home>Home Security and Surveillance>How To Install An Outdoor Motion Detector Light
Home Security and Surveillance
How To Install An Outdoor Motion Detector Light
Modified: March 6, 2024
Increase your home security and surveillance with our guide on how to install an outdoor motion detector light. Protect your property with this easy DIY project.
(Many of the links in this article redirect to a specific reviewed product. Your purchase of these products through affiliate links helps to generate commission for Storables.com, at no extra cost. Learn more)
Introduction
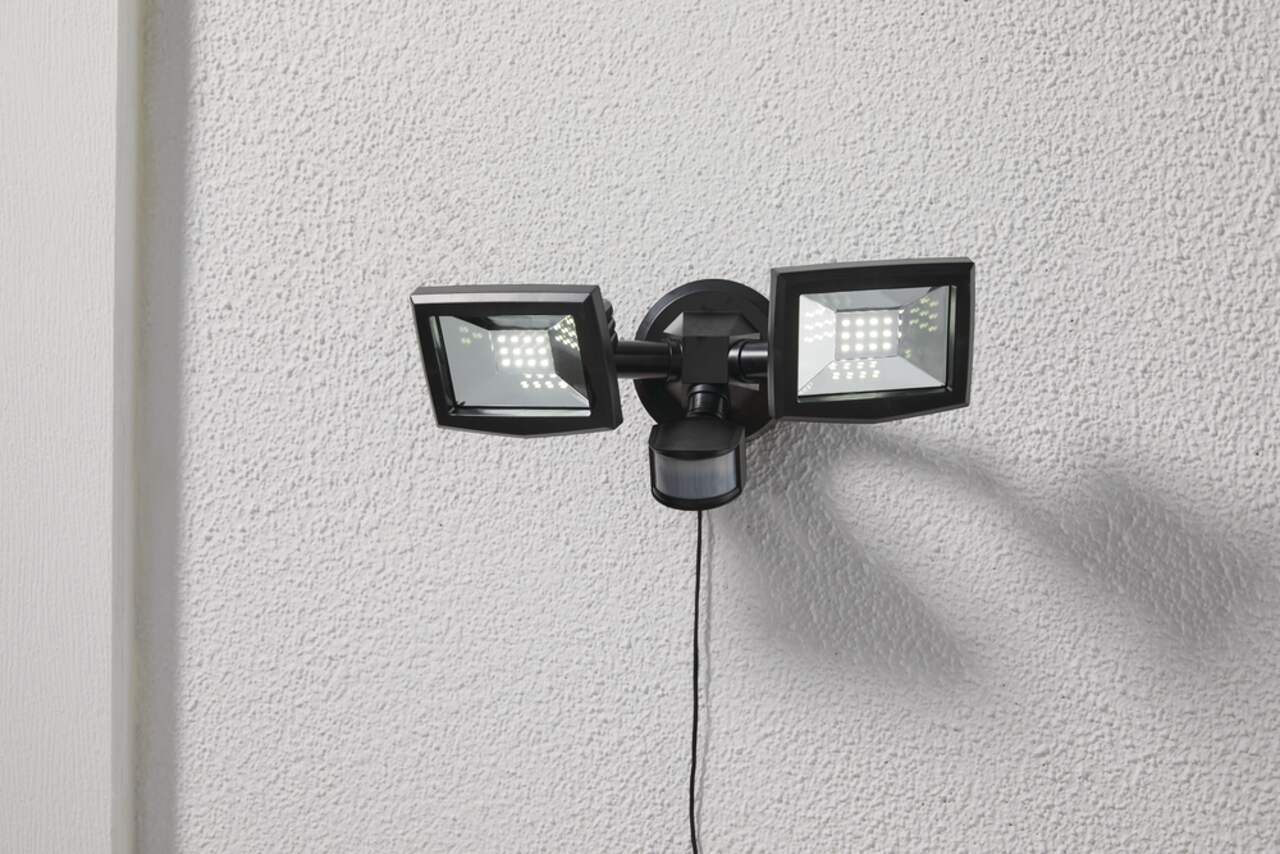
Welcome to our comprehensive guide on how to install an outdoor motion detector light. Adding motion detector lights to your home security system is a smart and effective way to enhance safety and deter potential intruders. These lights automatically turn on when motion is detected, illuminating your property and alerting you to any activity. In this article, we will walk you through the step-by-step process of installing an outdoor motion detector light, helping you increase your home’s security and peace of mind.
Before we delve into the installation process, let’s take a moment to understand the benefits of having motion detector lights. They serve as a powerful deterrent, as intruders are less likely to approach a well-lit property since it increases their chances of being seen. Motion detector lights can also be useful for everyday illumination, providing convenience when you arrive home at night or when you need to navigate your yard or driveway.
Now, let’s get started on the installation process. Remember to prioritize safety throughout the entire process and, if you are unfamiliar with electrical work, consider hiring a professional for assistance.
Key Takeaways:
- Installing outdoor motion detector lights enhances home security by deterring intruders and providing convenient illumination. Prioritize safety and choose the right location for optimal effectiveness.
- Before installing, gather necessary materials and turn off the power. Test the motion detector light after installation to ensure proper function. Enjoy added security and peace of mind.
Read more: How To Install Motion Detector Flood Lights
Step 1: Gather the Necessary Materials
Before you begin the installation process, it’s important to gather all the necessary materials. Here’s a checklist of items you’ll need:
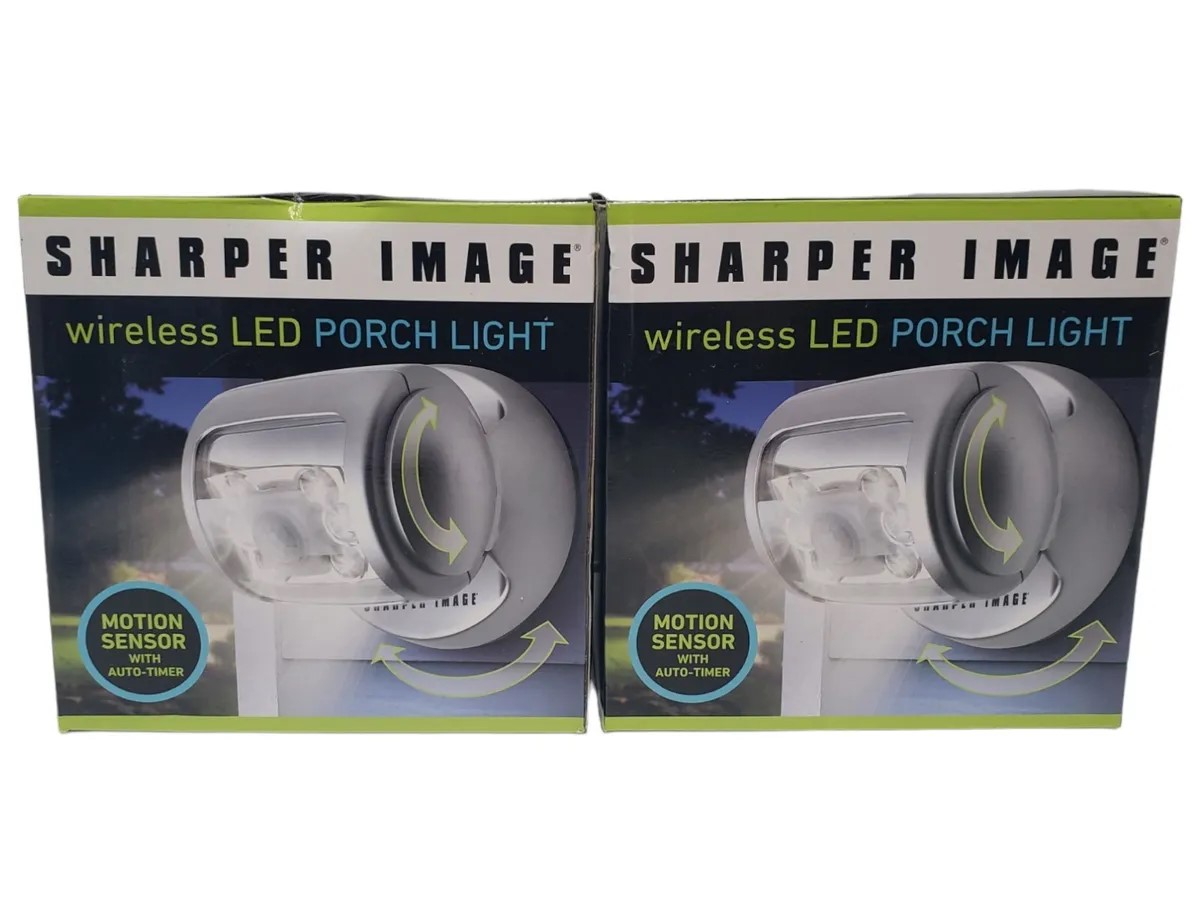
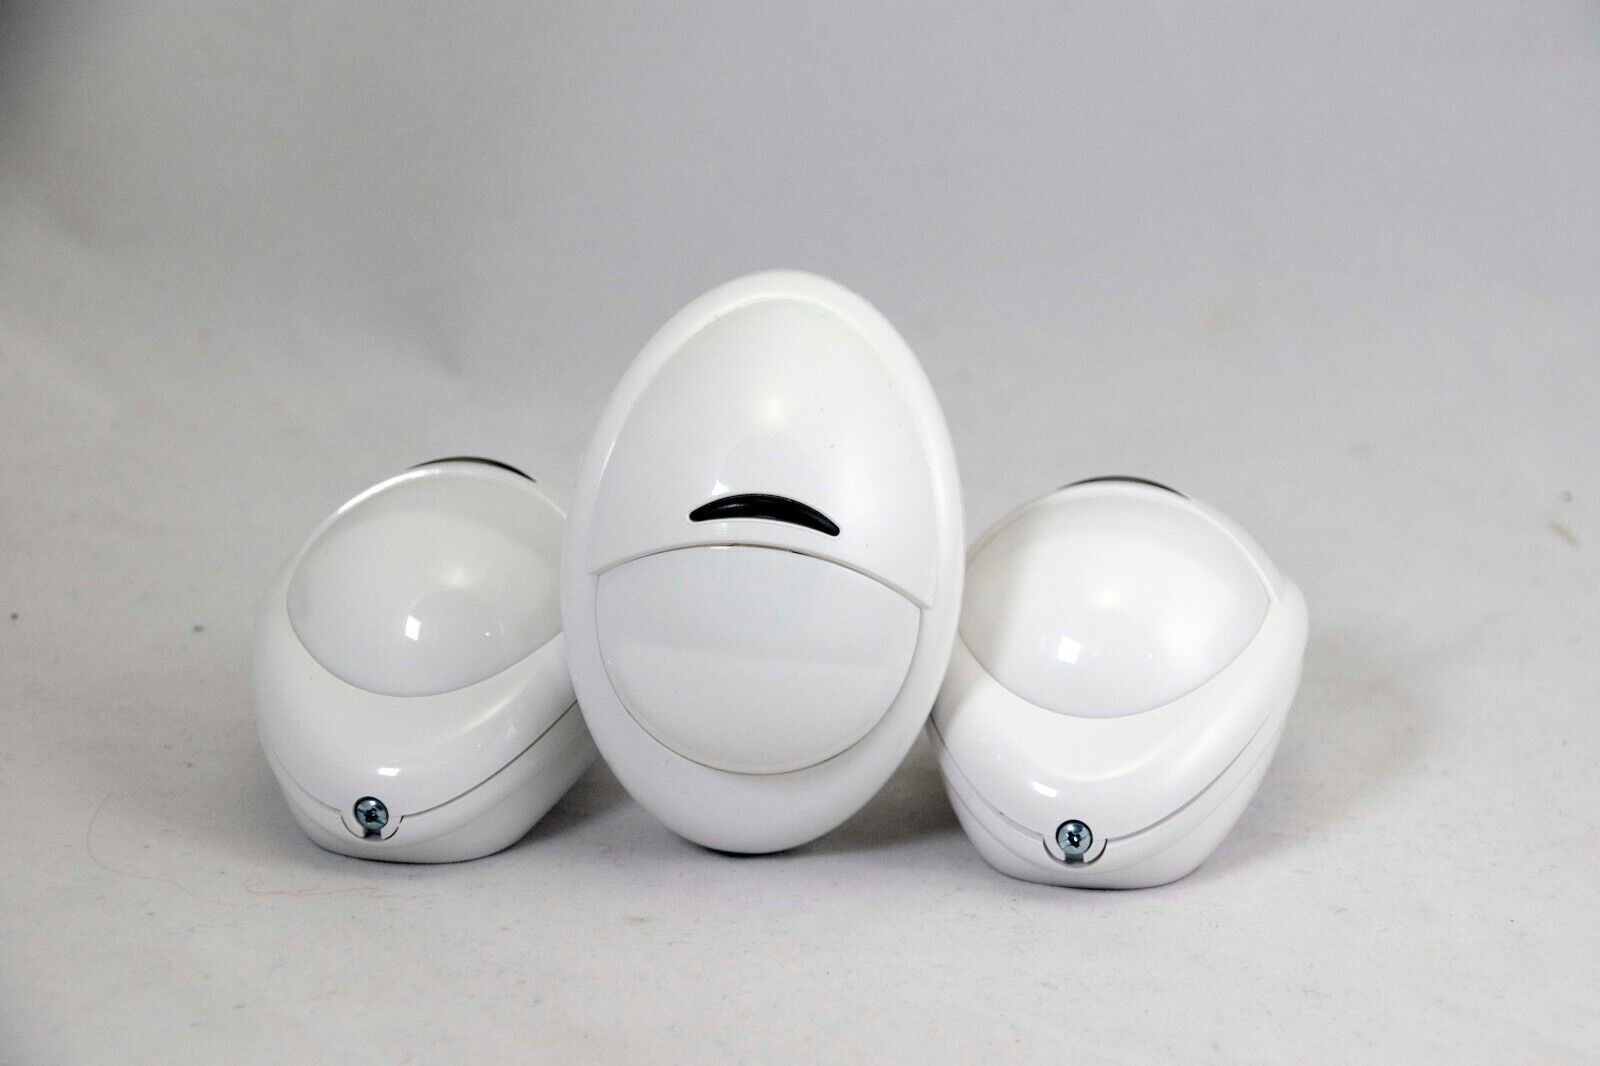
- Motion detector light kit: This will typically include the motion sensor and the light fixture.
- A ladder or step stool: Depending on the height of your desired installation location, you may need a sturdy ladder or step stool to reach the area.
- Screwdriver: Ensure you have the appropriate screwdriver or screwdriver bit to remove and install screws.
- Wire stripper: A wire stripper will come in handy to remove insulation from the wires for proper connections.
- Electrical tape: Use electrical tape to secure and insulate any exposed wires.
- Wire connectors: These connectors are essential for connecting wires securely.
- Safety goggles: Protect your eyes during the installation process by wearing safety goggles.
- Work gloves: It’s important to wear work gloves to protect your hands when handling electrical components.
Once you have gathered all the necessary materials, you are ready to move on to the next step. Having everything prepared ahead of time will help streamline the installation process and ensure you have everything you need within reach.
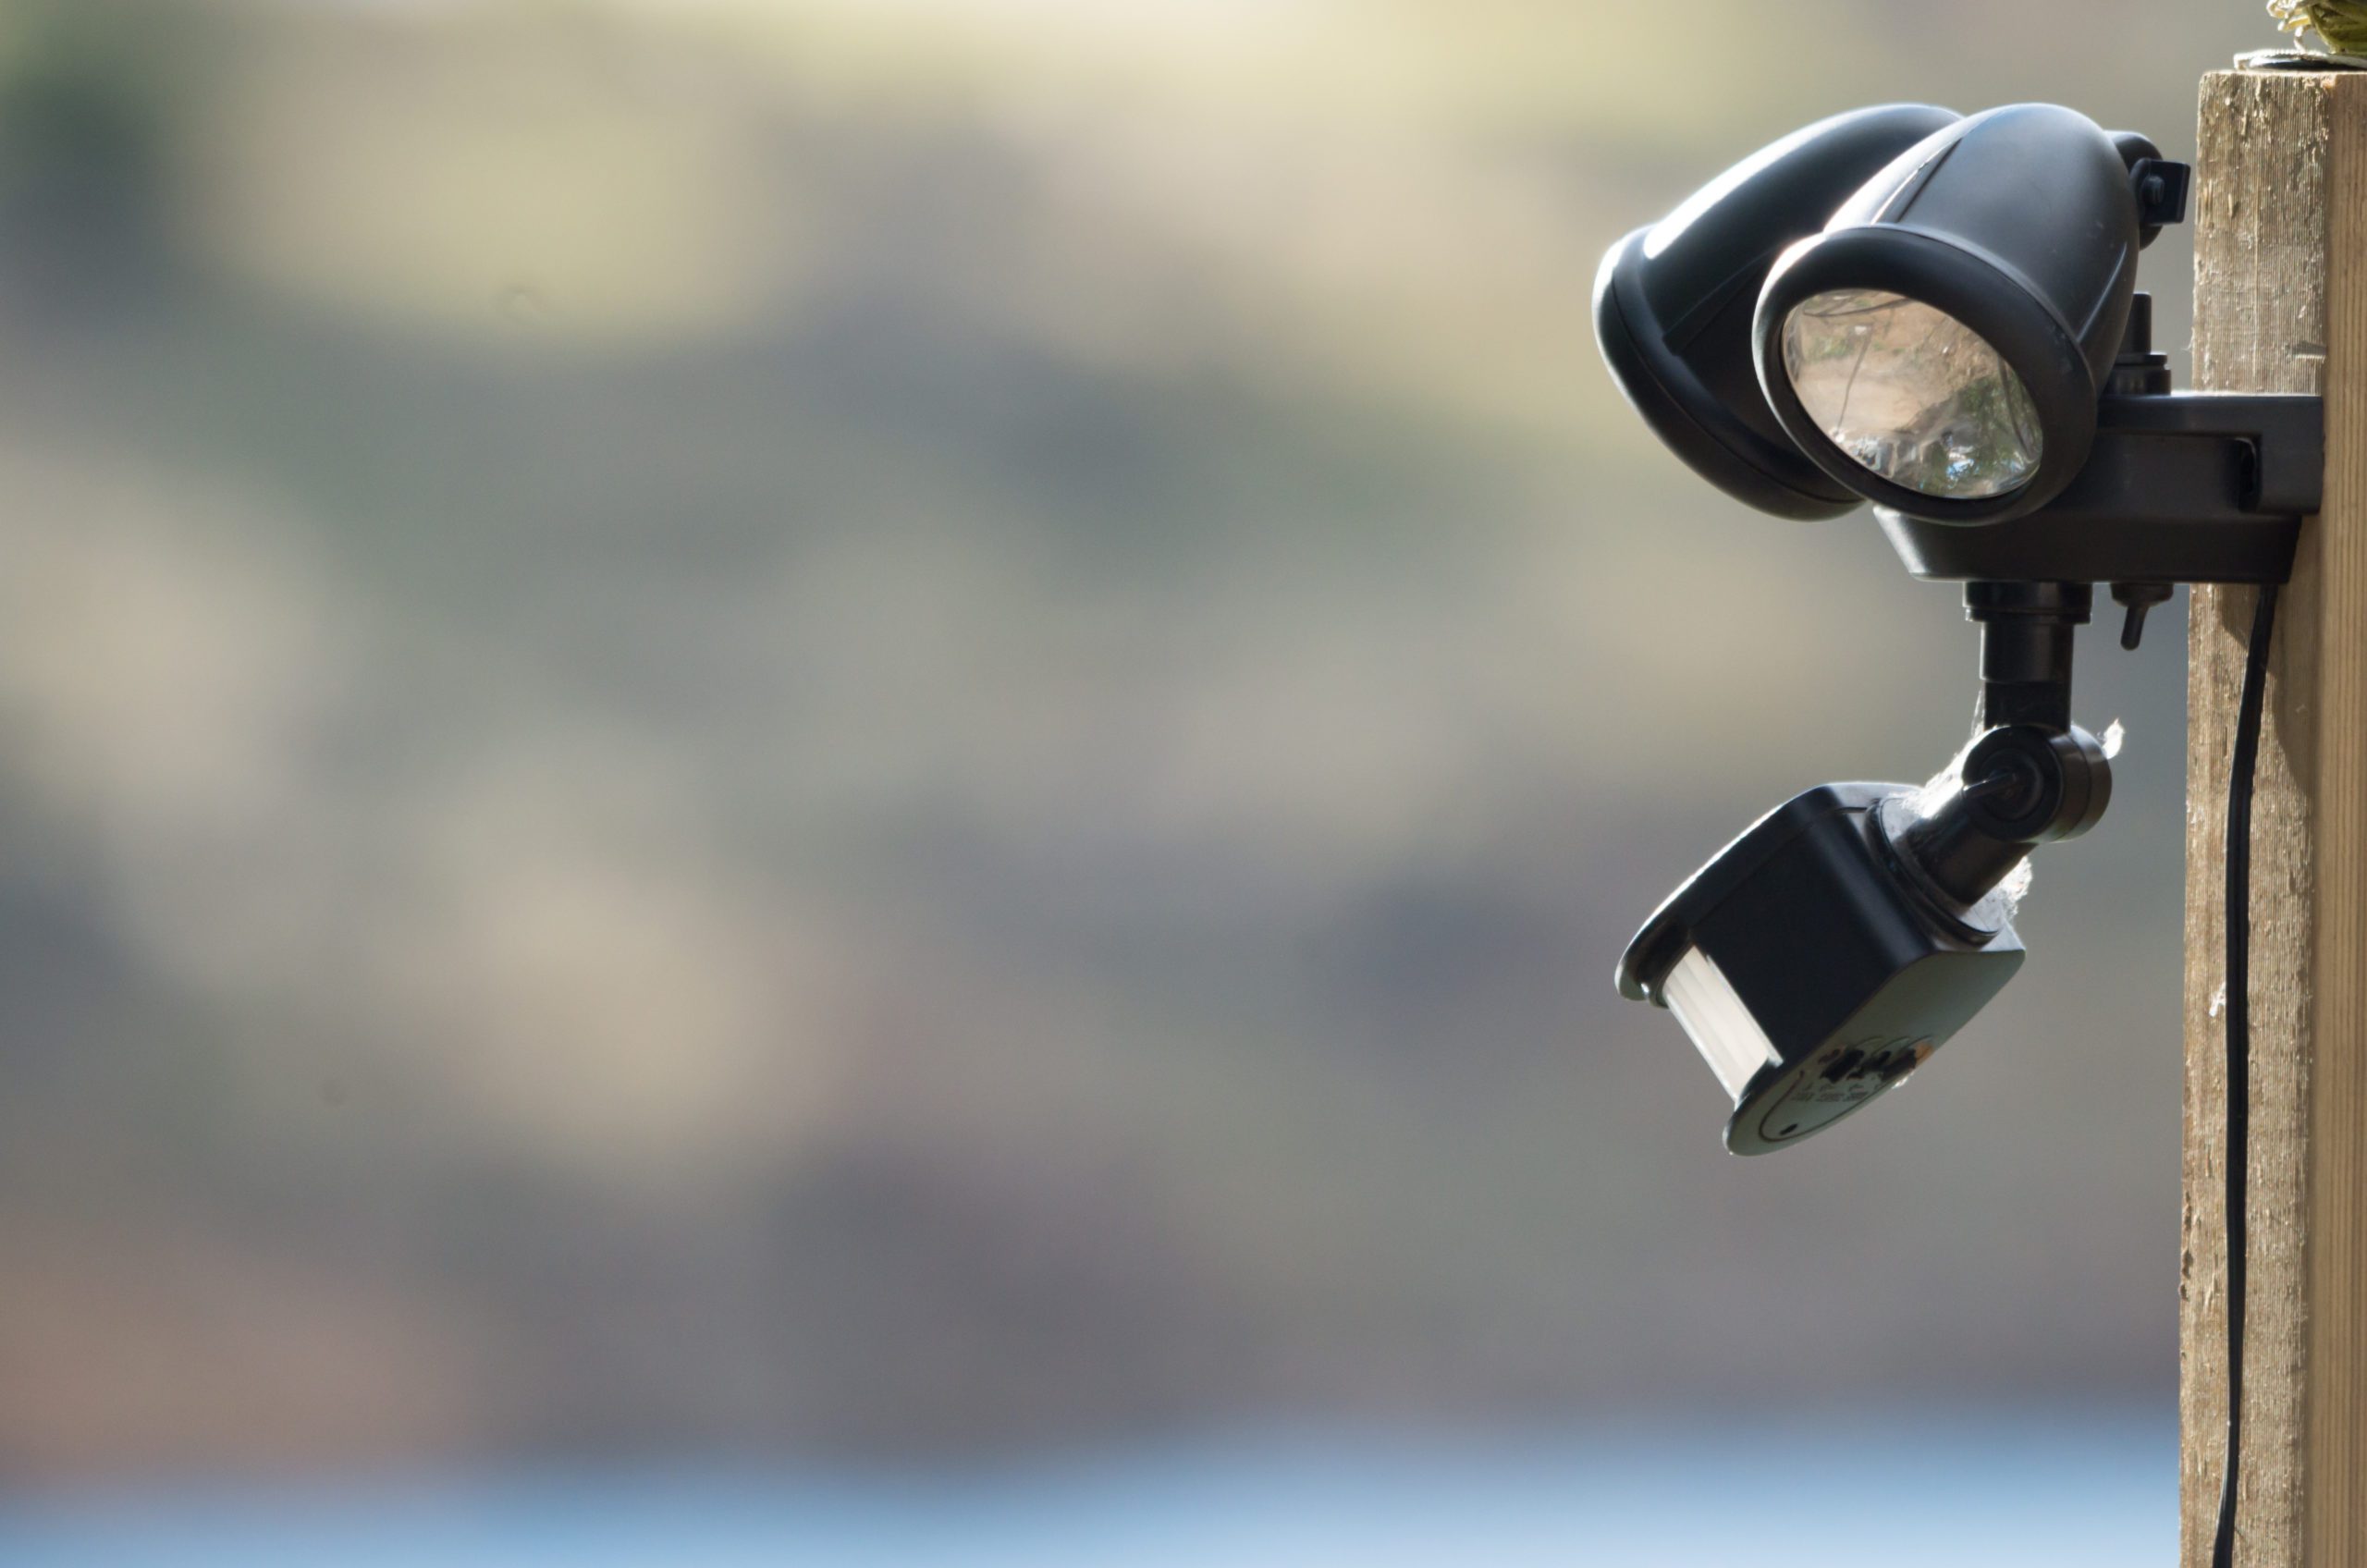
Step 2: Choose an Ideal Location
Choosing the right location for your outdoor motion detector light is crucial to its effectiveness. Here are a few factors to consider when selecting the ideal location:
- Area Coverage: Determine the area you want your motion detector light to cover. Consider the range and angle of the motion sensor to ensure it covers the desired area effectively.
- Height: Position the light at an appropriate height to maximize its performance. Generally, mounting the light fixture at a height between 6 and 10 feet is recommended.
- Obstacles: Take note of any potential obstacles that may obstruct the motion sensor’s view, such as trees, shrubs, or walls. Clear away any obstructions to ensure optimal motion detection.
- Power Source: Ensure that the chosen location is near an electrical junction box or has access to a power source. If a power source is not readily available, consider hiring an electrician to install one.
- Aesthetics: Consider the overall aesthetic appeal when choosing the location. Position the motion detector light in a way that complements the exterior design of your home.
- Accessibility: Select a location that is easily accessible for maintenance and adjustments. This will ensure that you can easily replace bulbs or adjust the settings of the motion sensor when needed.
Once you have evaluated these factors, you can choose the most suitable location for your outdoor motion detector light. Take your time to find the perfect spot that provides optimal security coverage while enhancing the appearance of your home.
Step 3: Turn off the Power
Before you begin any electrical work, it is essential to turn off the power to ensure your safety. Follow these steps to turn off the power:
- Locate the electrical panel or circuit breaker box in your home. It is usually located in the basement, garage, or utility room.
- Open the panel door and identify the circuit breaker that controls the power to the outdoor light fixture. Most circuit breakers are labeled, making it easy to locate the correct one. If it’s not labeled, you may need to flip each breaker one at a time until you find the right one.
- Flip the switch of the identified circuit breaker to the “off” position. You can double-check that the power is off by testing the light switch associated with the outdoor light. If the light does not turn on, you have successfully turned off the power.
- For added safety, place a piece of tape over the circuit breaker to remind yourself and others not to turn it back on while you are working.
Turning off the power eliminates the risk of electrical shock while working on the motion detector light installation. Always assume that the power is on until you have verified it is off. Proceed to the next step only when you are confident that the power is safely disconnected.
Step 4: Remove the Existing Light Fixture
Once the power is turned off, you can begin removing the existing light fixture. Follow these steps:
- Use the appropriate screwdriver or screwdriver bit to remove the screws or bolts that secure the existing light fixture to the wall or ceiling.
- Slowly pull the fixture away from the mounting plate or junction box once the screws are removed. Be cautious of any connected wires.
- If the fixture is attached by wire nuts, carefully loosen and separate the wires by twisting the wire nuts counterclockwise. Gently pull the wire nuts and separate the wires from the existing fixture.
- Set the old light fixture aside in a safe place.
Removing the existing light fixture will allow you to prepare the area for the installation of the motion detector light. Take your time and be careful during this step to avoid damaging the surrounding area or any electrical components.
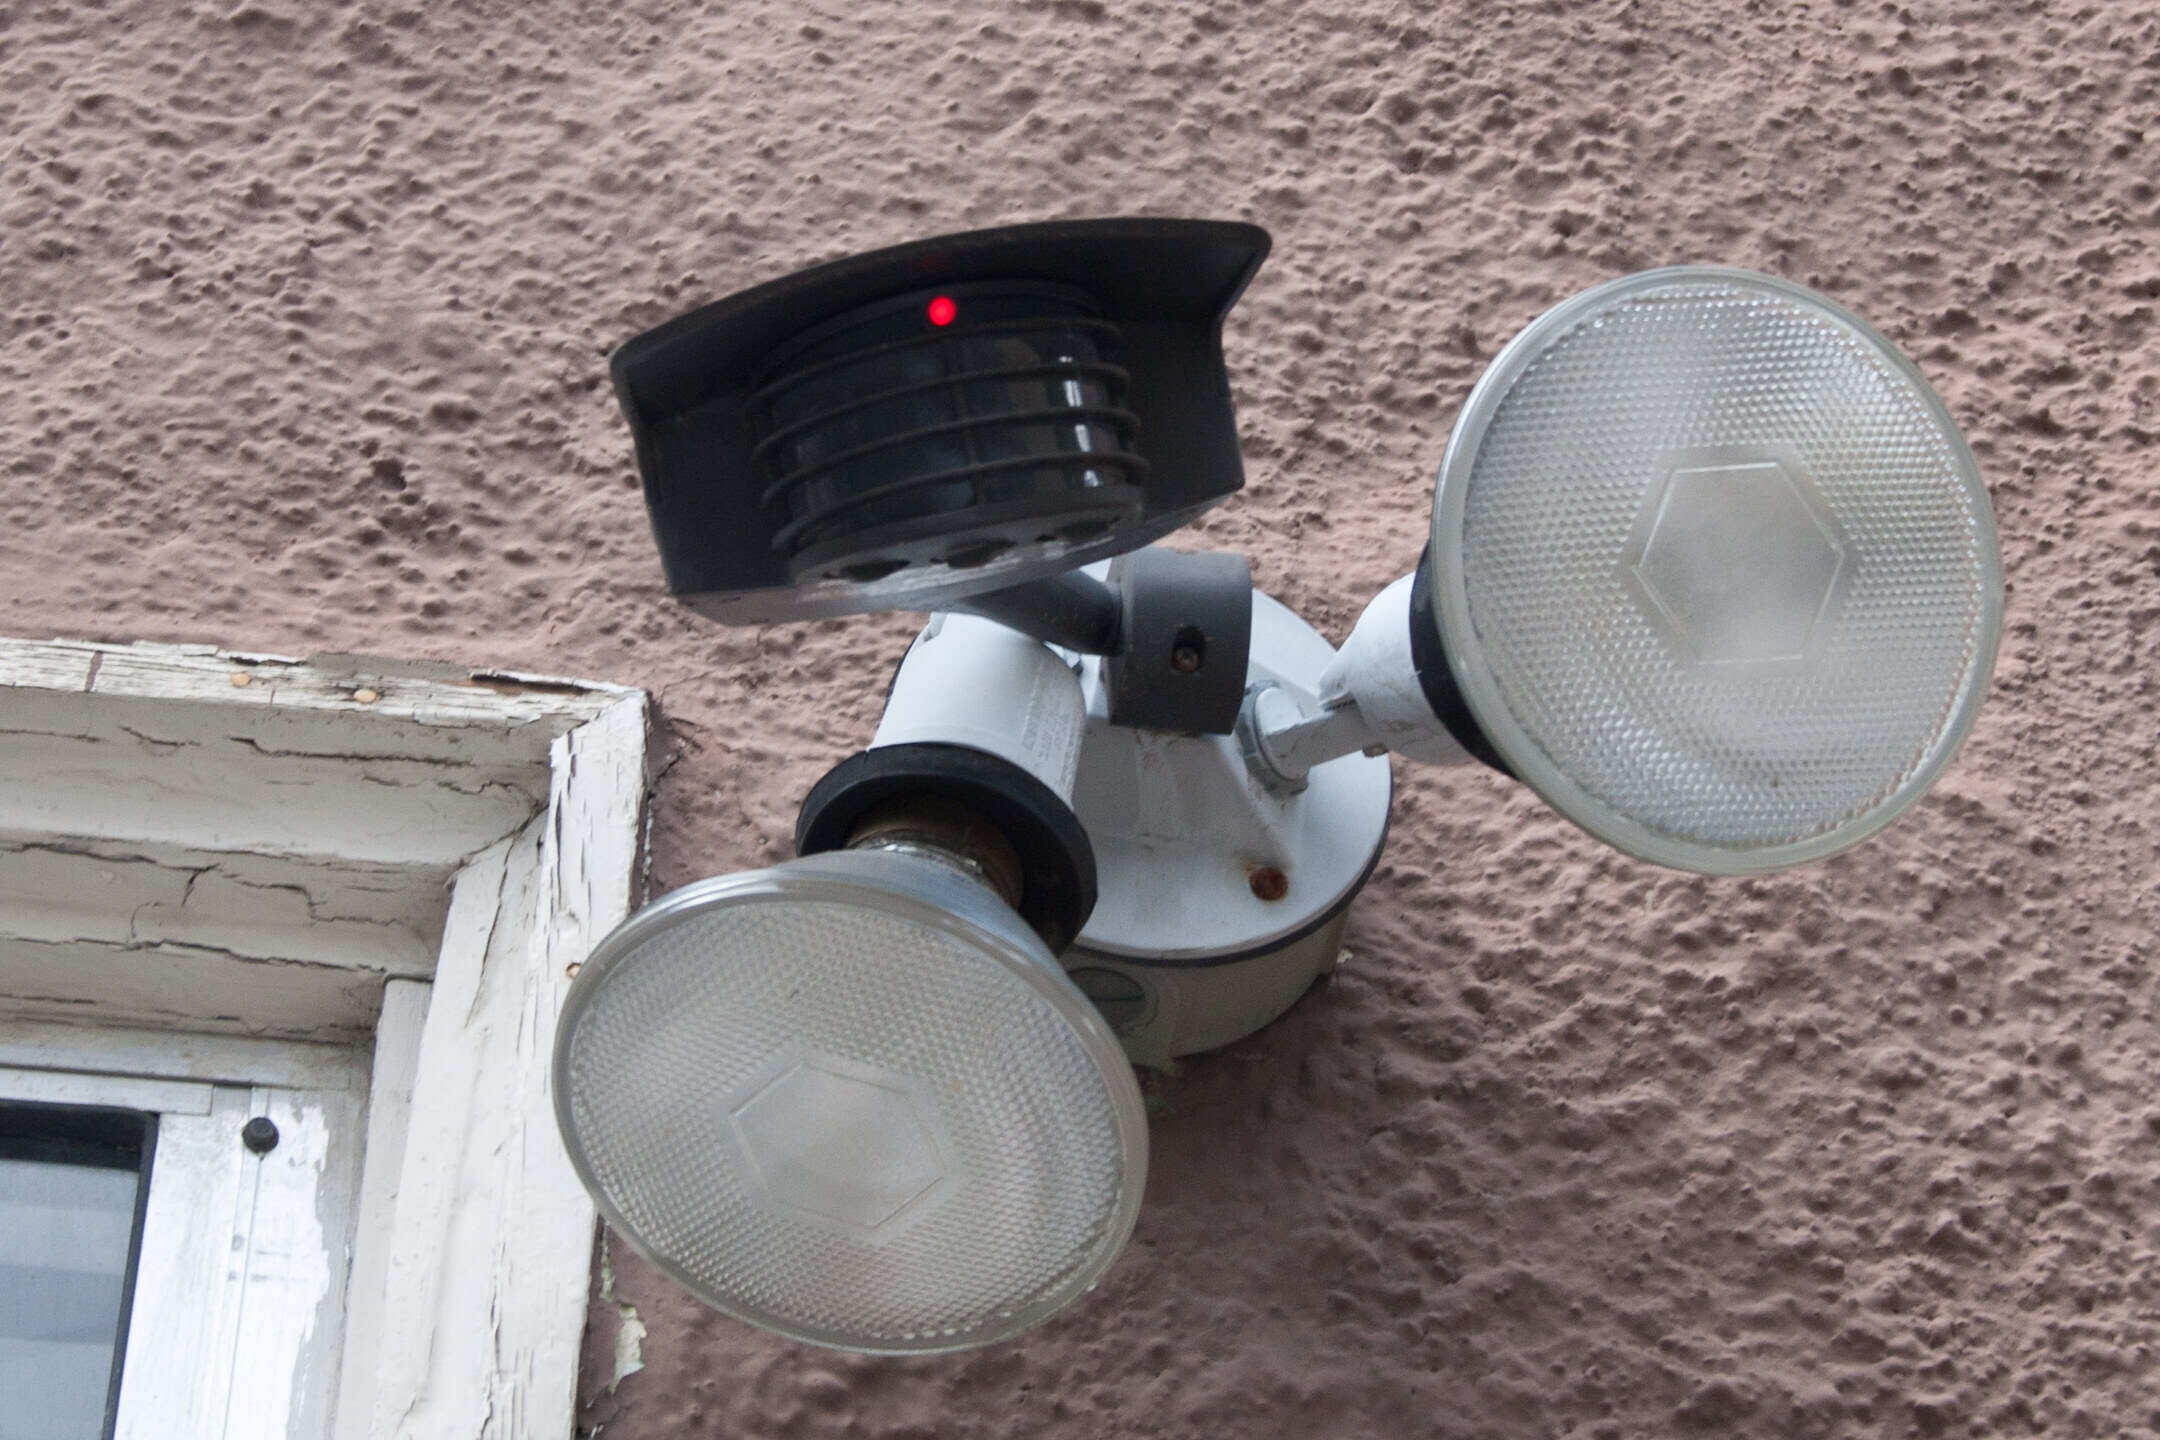
When installing an outdoor motion detector light, make sure to position it at a height of 6-10 feet for optimal motion detection. Also, aim the sensor away from trees and bushes to avoid false triggers.
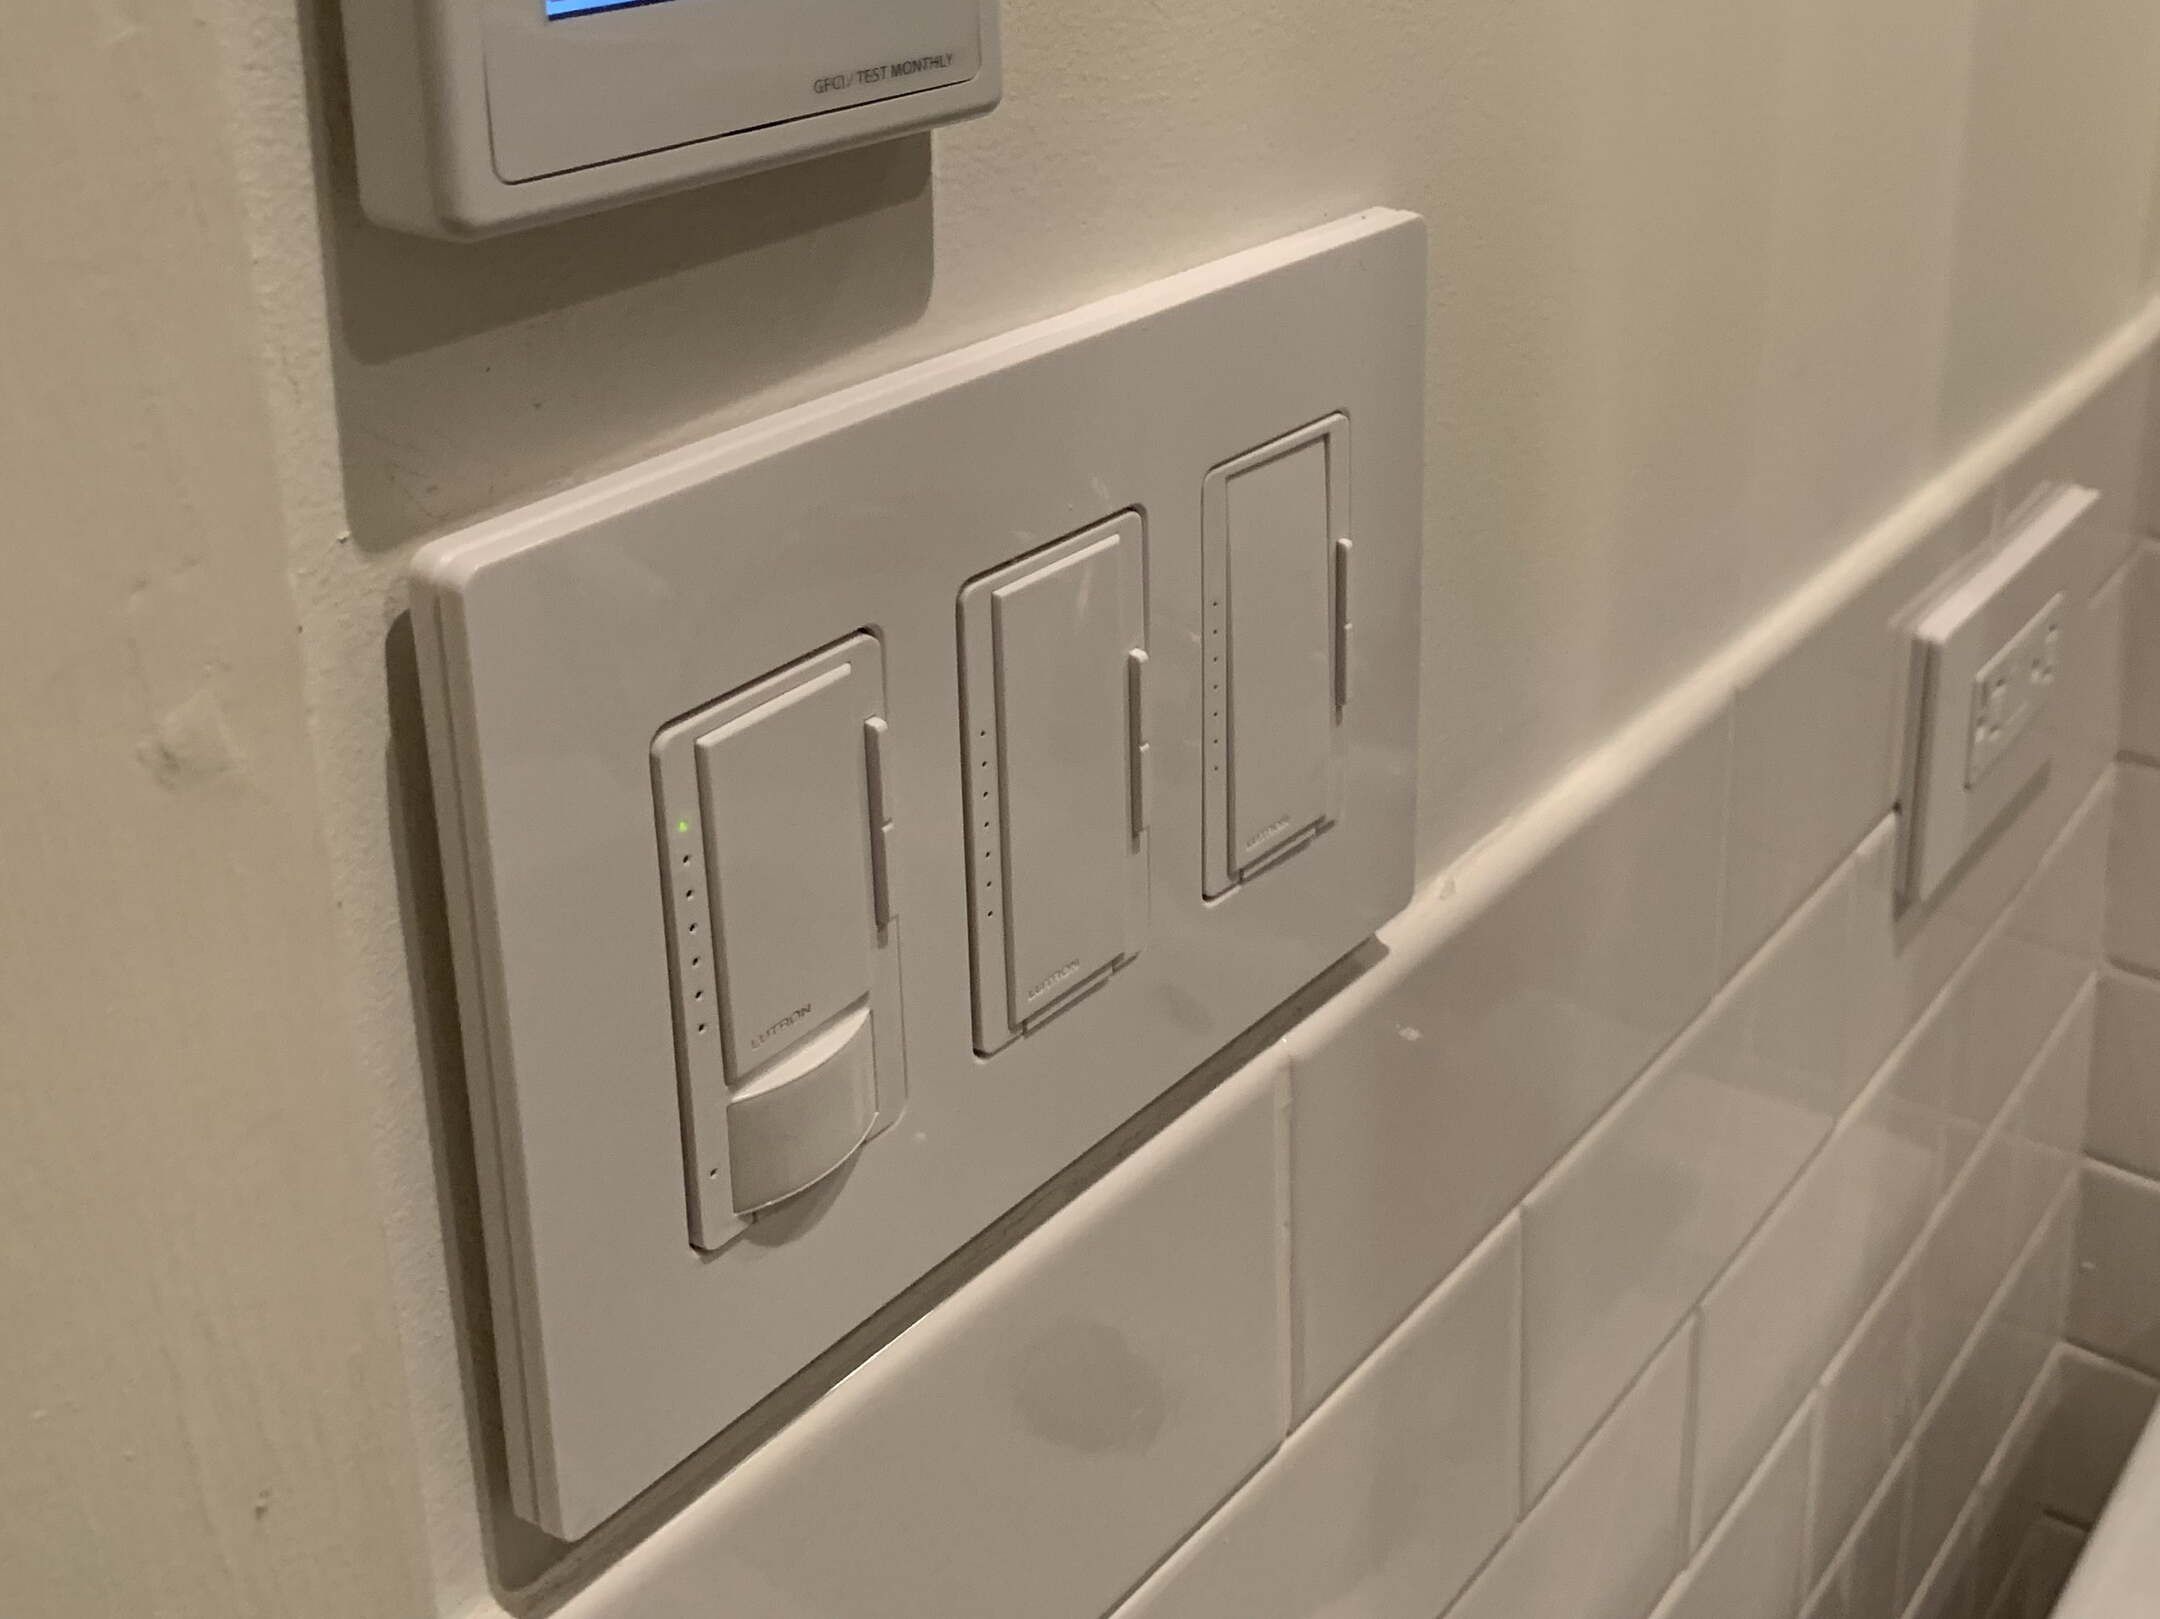
Read more: How To Install Motion Detector Light Switch
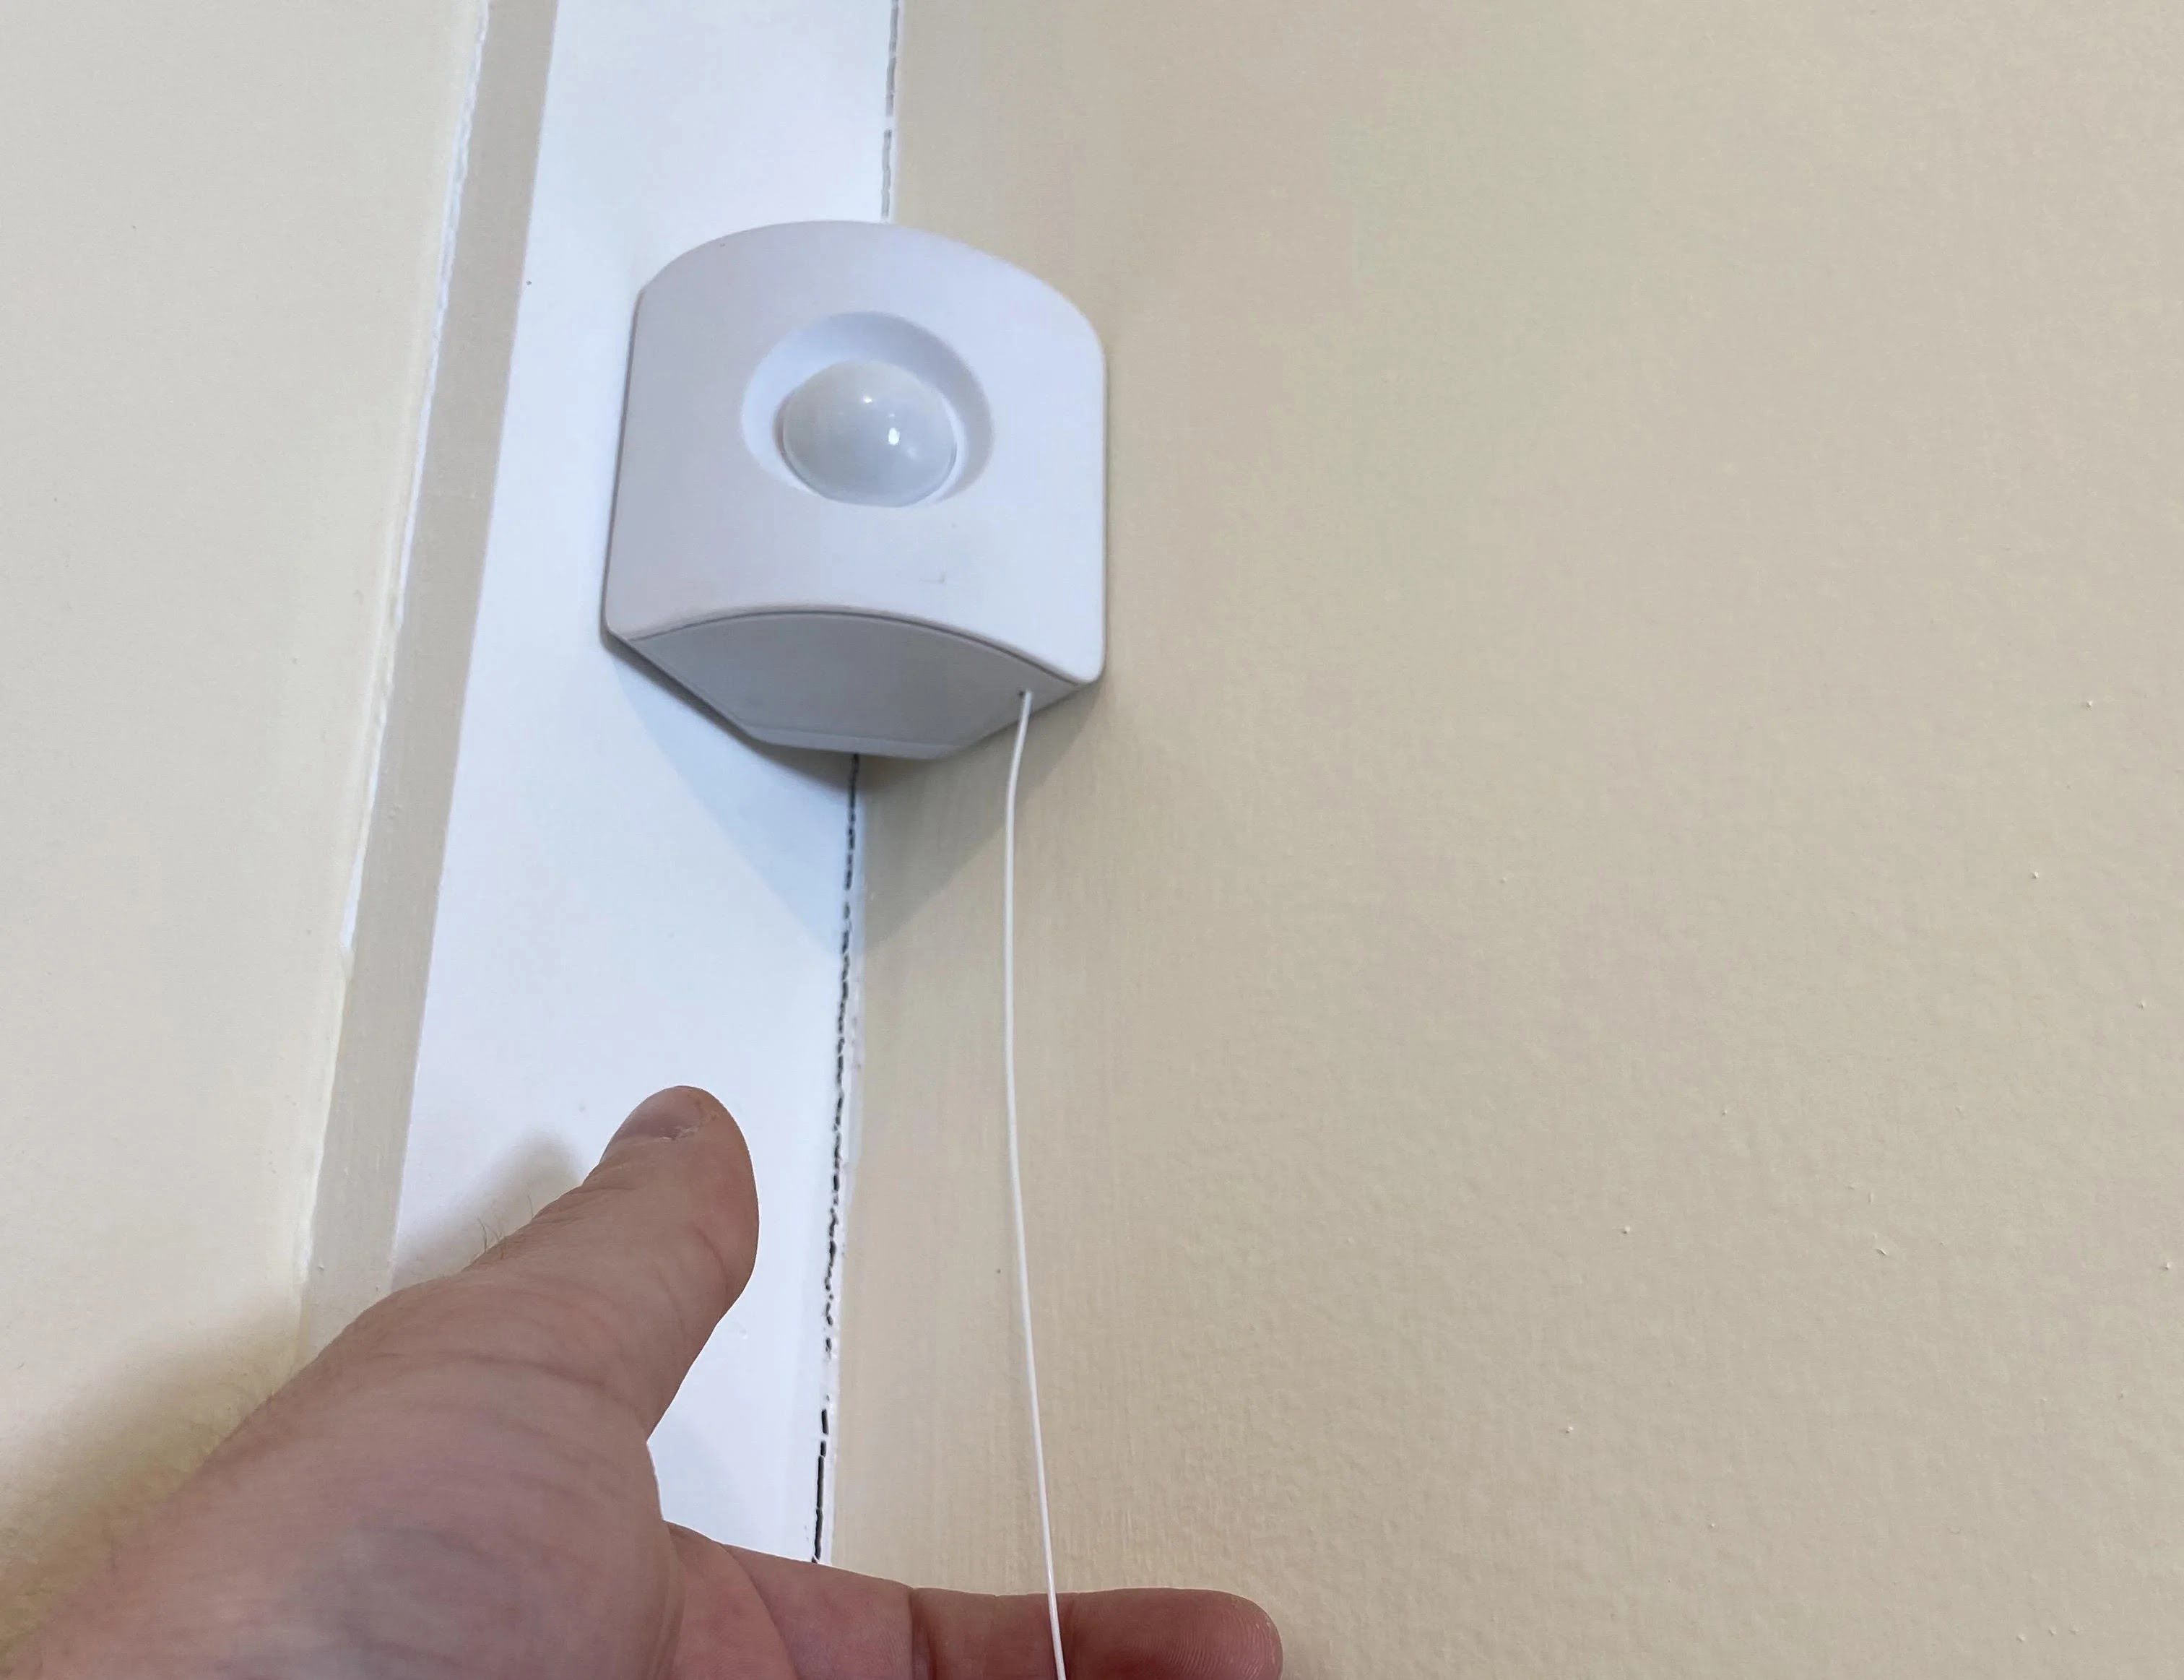
Step 5: Mount the Motion Detector
With the existing light fixture removed, it’s time to mount the motion detector. Follow these steps:
- Inspect the mounting plate or junction box to ensure it is securely attached to the wall or ceiling. If necessary, tighten any loose screws or bolts.
- Align the holes on the back of the motion detector with the screws on the mounting plate or junction box.
- Insert the screws through the holes on the motion detector and tighten them securely using a screwdriver.
- Ensure that the motion detector is level and positioned according to your chosen location for optimal detection.
Mounting the motion detector securely is essential to ensure proper functioning. It should be positioned at the desired height and angle to effectively detect motion in the area you want to monitor. Take your time to ensure it is aligned accurately and securely fastened to the mounting plate or junction box.
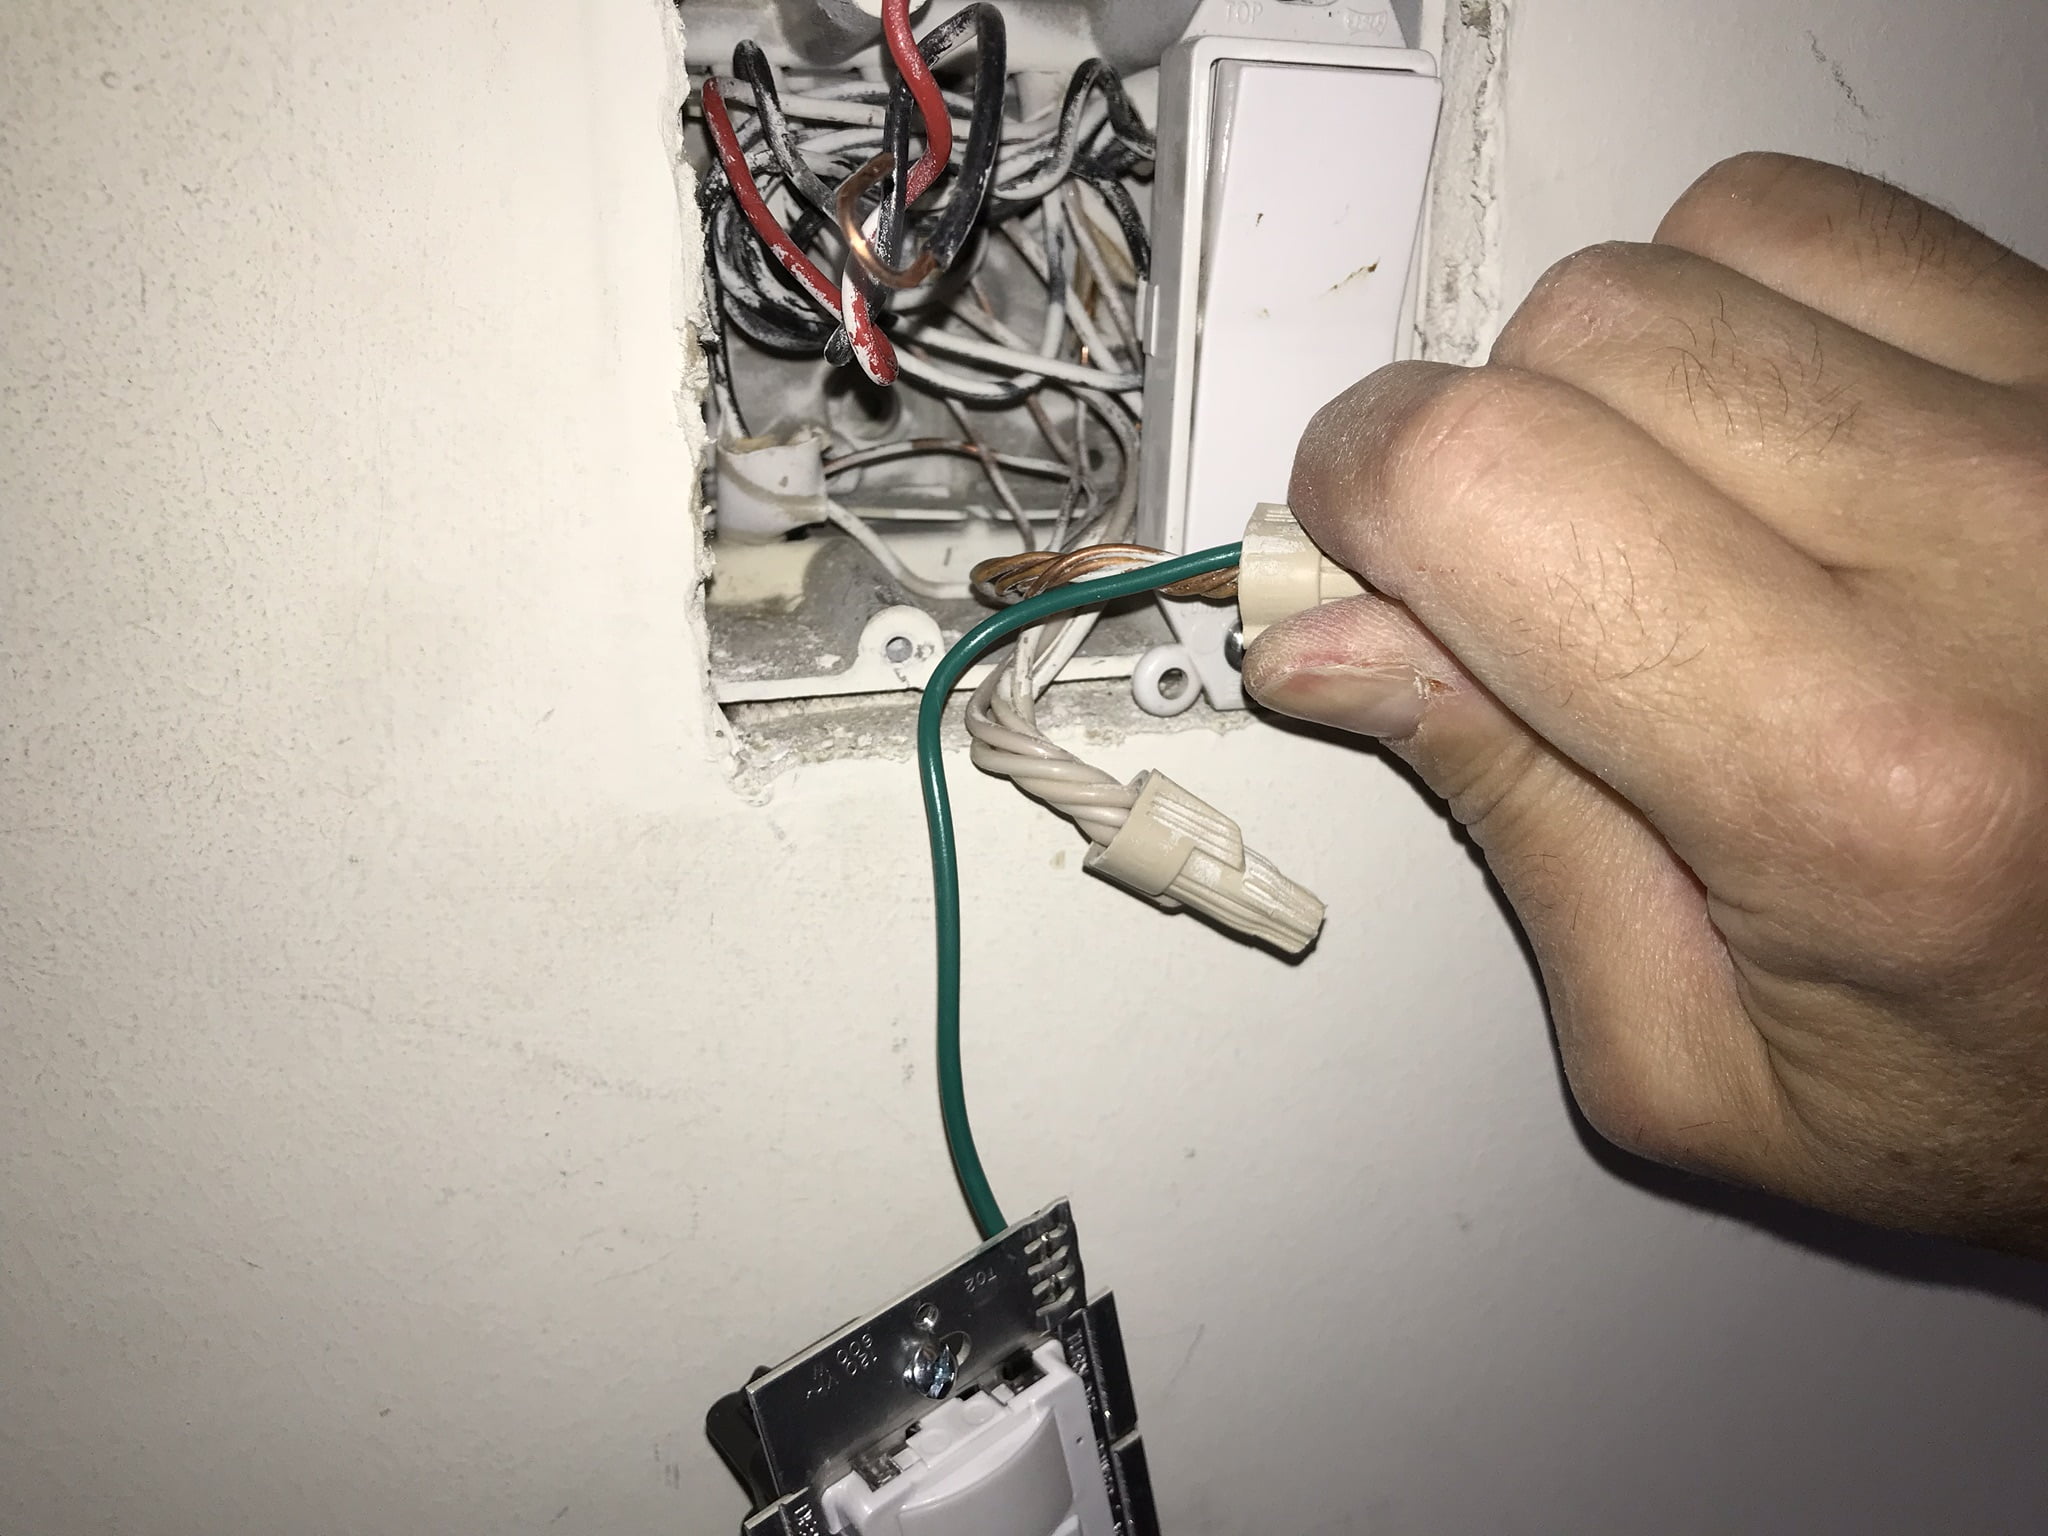
Step 6: Connect the Wiring
Now that the motion detector is securely mounted, it’s time to connect the wiring. Follow these steps:
- Locate the wires protruding from the mounting plate or junction box.
- Identify the wires coming from the motion detector light fixture and the wires from the electrical supply.
- It’s important to match the colors of the wires for proper connections. Typically, black wires are hot, white wires are neutral, and green or bare copper wires are ground wires.
- Twist together the black wire from the motion detector with the black wire from the electrical supply. Use a wire nut to secure the connection.
- Similarly, twist together the white wire from the motion detector with the white wire from the electrical supply, then secure the connection with a wire nut.
- If there is a green or bare copper wire from the motion detector, connect it to the green or bare copper wire from the electrical supply. Use a twist-on wire connector or a grounding screw to create a secure connection.
- Once the connections are made, carefully tuck the wires into the mounting plate or junction box.
Properly connecting the wiring is crucial for the motion detector light to function correctly. Take your time to ensure that the connections are secure and that the wires are neatly tucked away. If you are unsure about any electrical work, consult a professional for assistance.
Step 7: Attach the Light Fixture
With the wiring connected, it’s time to attach the light fixture. Follow these steps:
- Ensure that the power is still turned off at the circuit breaker to prevent any accidents.
- Take the motion detector light fixture and align it with the mounting plate or junction box.
- Insert the screws into the screw holes on the light fixture and tighten them securely using a screwdriver.
- Give the light fixture a gentle tug to ensure it is securely attached to the mounting plate or junction box.
Attaching the light fixture is the final step in the installation process. Make sure that it is firmly in place and evenly aligned with the mounting plate or junction box. Once the light fixture is securely attached, you can proceed to the next step to test the motion detector light.
Step 8: Test the Motion Detector Light
Now that the installation is complete, it’s important to test the motion detector light to ensure it is functioning properly. Follow these steps:
- Turn on the power at the circuit breaker to restore electricity to the motion detector light.
- Set the motion sensor to its default sensitivity level, usually indicated in the manufacturer’s instructions.
- Allow the motion detector light to warm up for a few minutes upon turning it on.
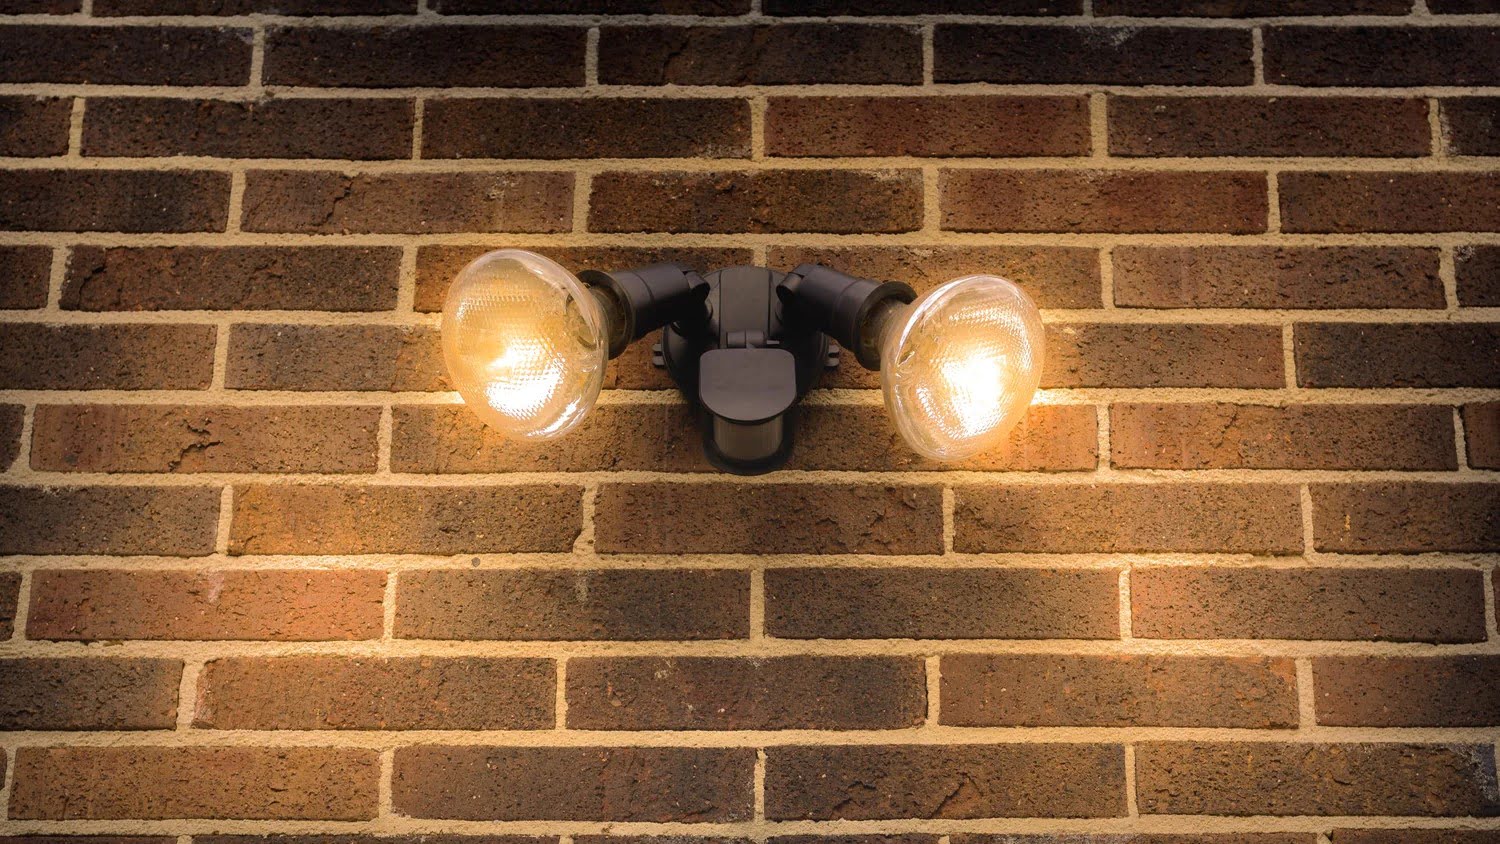
- Walk or move within the detection zone to trigger the motion sensor. The light should turn on immediately upon detecting motion.
- Observe the range and sensitivity of the motion detector. Adjust the settings, if necessary, to meet your specific requirements.
Testing the motion detector light ensures that it is properly installed and configured to detect and respond to motion as intended. If the light does not turn on or there are any issues, refer to the manufacturer’s instructions or consult a professional for troubleshooting.
Congratulations! You have successfully installed and tested your outdoor motion detector light. Enjoy the added security and convenience it provides to your home, and rest easy knowing that your property is better protected against potential intruders.
Conclusion
Installing an outdoor motion detector light is an excellent way to enhance the security and safety of your home. By following the step-by-step guide outlined in this article, you can successfully install a motion detector light and enjoy the peace of mind it brings.
Throughout the installation process, remember to prioritize safety. Always turn off the power before beginning any electrical work, and if you are unsure about any step, seek assistance from a professional electrician.
Choosing the right location for your motion detector light is crucial to maximize its effectiveness. Consider factors such as area coverage, height, and potential obstacles to ensure optimal motion detection.
Once the light is installed, test it to confirm that it is working correctly. Walk or move within the detection zone to trigger the motion sensor and observe the response of the light. Adjust the settings as needed to meet your specific requirements.
By installing an outdoor motion detector light, you are not only boosting the security of your home but also adding convenience to your daily life. These lights can help deter potential intruders and provide illumination when arriving home at night or navigating your property after dark.
Remember, if you are unsure about any aspect of the installation process, it’s always best to consult with a professional. Your safety and the proper functioning of the motion detector light are of utmost importance.
Enjoy the added security and peace of mind that comes with your newly installed outdoor motion detector light. Sleep well knowing that your property is more secure and safer with this simple yet effective enhancement.
Frequently Asked Questions about How To Install An Outdoor Motion Detector Light
Was this page helpful?
At Storables.com, we guarantee accurate and reliable information. Our content, validated by Expert Board Contributors, is crafted following stringent Editorial Policies. We're committed to providing you with well-researched, expert-backed insights for all your informational needs.