Home>Furniture & Design>Outdoor Furniture>How To Change Outdoor Sensor Light Bulb
Outdoor Furniture
How To Change Outdoor Sensor Light Bulb
Modified: August 26, 2024
Learn how to easily change the outdoor sensor light bulb with our step-by-step guide. Keep your outdoor furniture well-lit and safe. Get started today!
(Many of the links in this article redirect to a specific reviewed product. Your purchase of these products through affiliate links helps to generate commission for Storables.com, at no extra cost. Learn more)
Introduction
Welcome to the world of outdoor sensor lights! These nifty devices are designed to illuminate your outdoor spaces, providing both security and convenience. However, when the light bulb in your outdoor sensor light burns out, it's essential to know how to change it safely and effectively. In this guide, we'll walk you through the step-by-step process of replacing the light bulb in your outdoor sensor light.
Whether you're a seasoned DIY enthusiast or a novice looking to tackle your first home improvement project, changing an outdoor sensor light bulb is a manageable task that doesn't require extensive technical expertise. By following the simple instructions outlined in this guide, you'll be able to replace the bulb in your outdoor sensor light with confidence and ease.
So, grab your tools and get ready to shed some light on the process of changing an outdoor sensor light bulb. With a little know-how and a willingness to get your hands dirty, you'll have your outdoor space shining bright in no time!
Key Takeaways:
- Safely change outdoor sensor light bulb by gathering tools, turning off power, removing old bulb, installing new bulb, and testing the light for proper functionality.
- Regularly maintaining outdoor sensor lights ensures optimal performance, safety, and security for your property. Take pride in your DIY skills and enjoy a well-lit outdoor space!
Read more: How To Change Bulb In Outdoor Light Fixture
Step 1: Gather Necessary Tools
Before diving into the process of changing the light bulb in your outdoor sensor light, it’s essential to gather the necessary tools. Having the right equipment on hand will ensure a smooth and efficient bulb replacement process. Here’s what you’ll need:
- Step ladder or stable platform: To safely access the outdoor sensor light fixture, a step ladder or stable platform is essential. Ensure that it is set up on a level surface and provides a secure footing.
- Replacement light bulb: Identify the type and size of the bulb required for your outdoor sensor light. Whether it’s an LED, CFL, or incandescent bulb, make sure to have the appropriate replacement bulb ready for installation.
- Safety gloves: Protect your hands by wearing a pair of safety gloves. This will prevent any accidental cuts or injuries while handling the light fixture and bulb.
- Safety glasses: Shield your eyes from dust, debris, or any potential hazards by wearing safety glasses during the bulb replacement process.
- Screwdriver or nut driver: Depending on the fastening mechanism of your outdoor sensor light fixture, a screwdriver or nut driver may be required to loosen and remove the fixture cover or housing.
- Clean cloth or paper towels: Having a clean cloth or paper towels on hand can be useful for wiping down the fixture and ensuring a clear, unobstructed view during the bulb replacement.
- Voltage tester (optional): If you’re unsure whether the power to the outdoor sensor light has been completely shut off, a voltage tester can be used to verify that no electrical current is present, adding an extra layer of safety.
By gathering these essential tools and safety equipment, you’ll be well-prepared to proceed with confidence as you embark on the process of replacing the light bulb in your outdoor sensor light.
Step 2: Turn Off Power
Before beginning any work on your outdoor sensor light, it’s crucial to ensure that the power supply to the fixture is completely turned off. This step is essential for your safety and the prevention of electrical accidents. Here’s how to safely turn off the power:
- Locate the Circuit Breaker: Identify the circuit breaker that controls the power supply to the outdoor sensor light. This may be labeled in the electrical panel or fuse box. If the circuit breaker isn’t clearly labeled, it’s recommended to have someone assist you by turning the light on and off while you locate the corresponding switch.
- Switch Off the Power: Once you’ve identified the correct circuit breaker, switch it to the “off” position to cut off the electricity supply to the outdoor sensor light. It’s advisable to use a flashlight or portable light source during this process, as the area may become dark once the power is turned off.
- Verify Power Shutdown: After switching off the circuit breaker, use a voltage tester to confirm that there is no electrical current flowing to the outdoor sensor light fixture. This additional step adds a layer of safety by ensuring that the fixture is completely free of any live electrical connections.
By following these steps to turn off the power supply, you’ll create a safe working environment for the subsequent tasks involved in replacing the light bulb in your outdoor sensor light. Remember, safety should always be the top priority when working with electrical fixtures, and double-checking the power shutdown is a crucial part of the process.
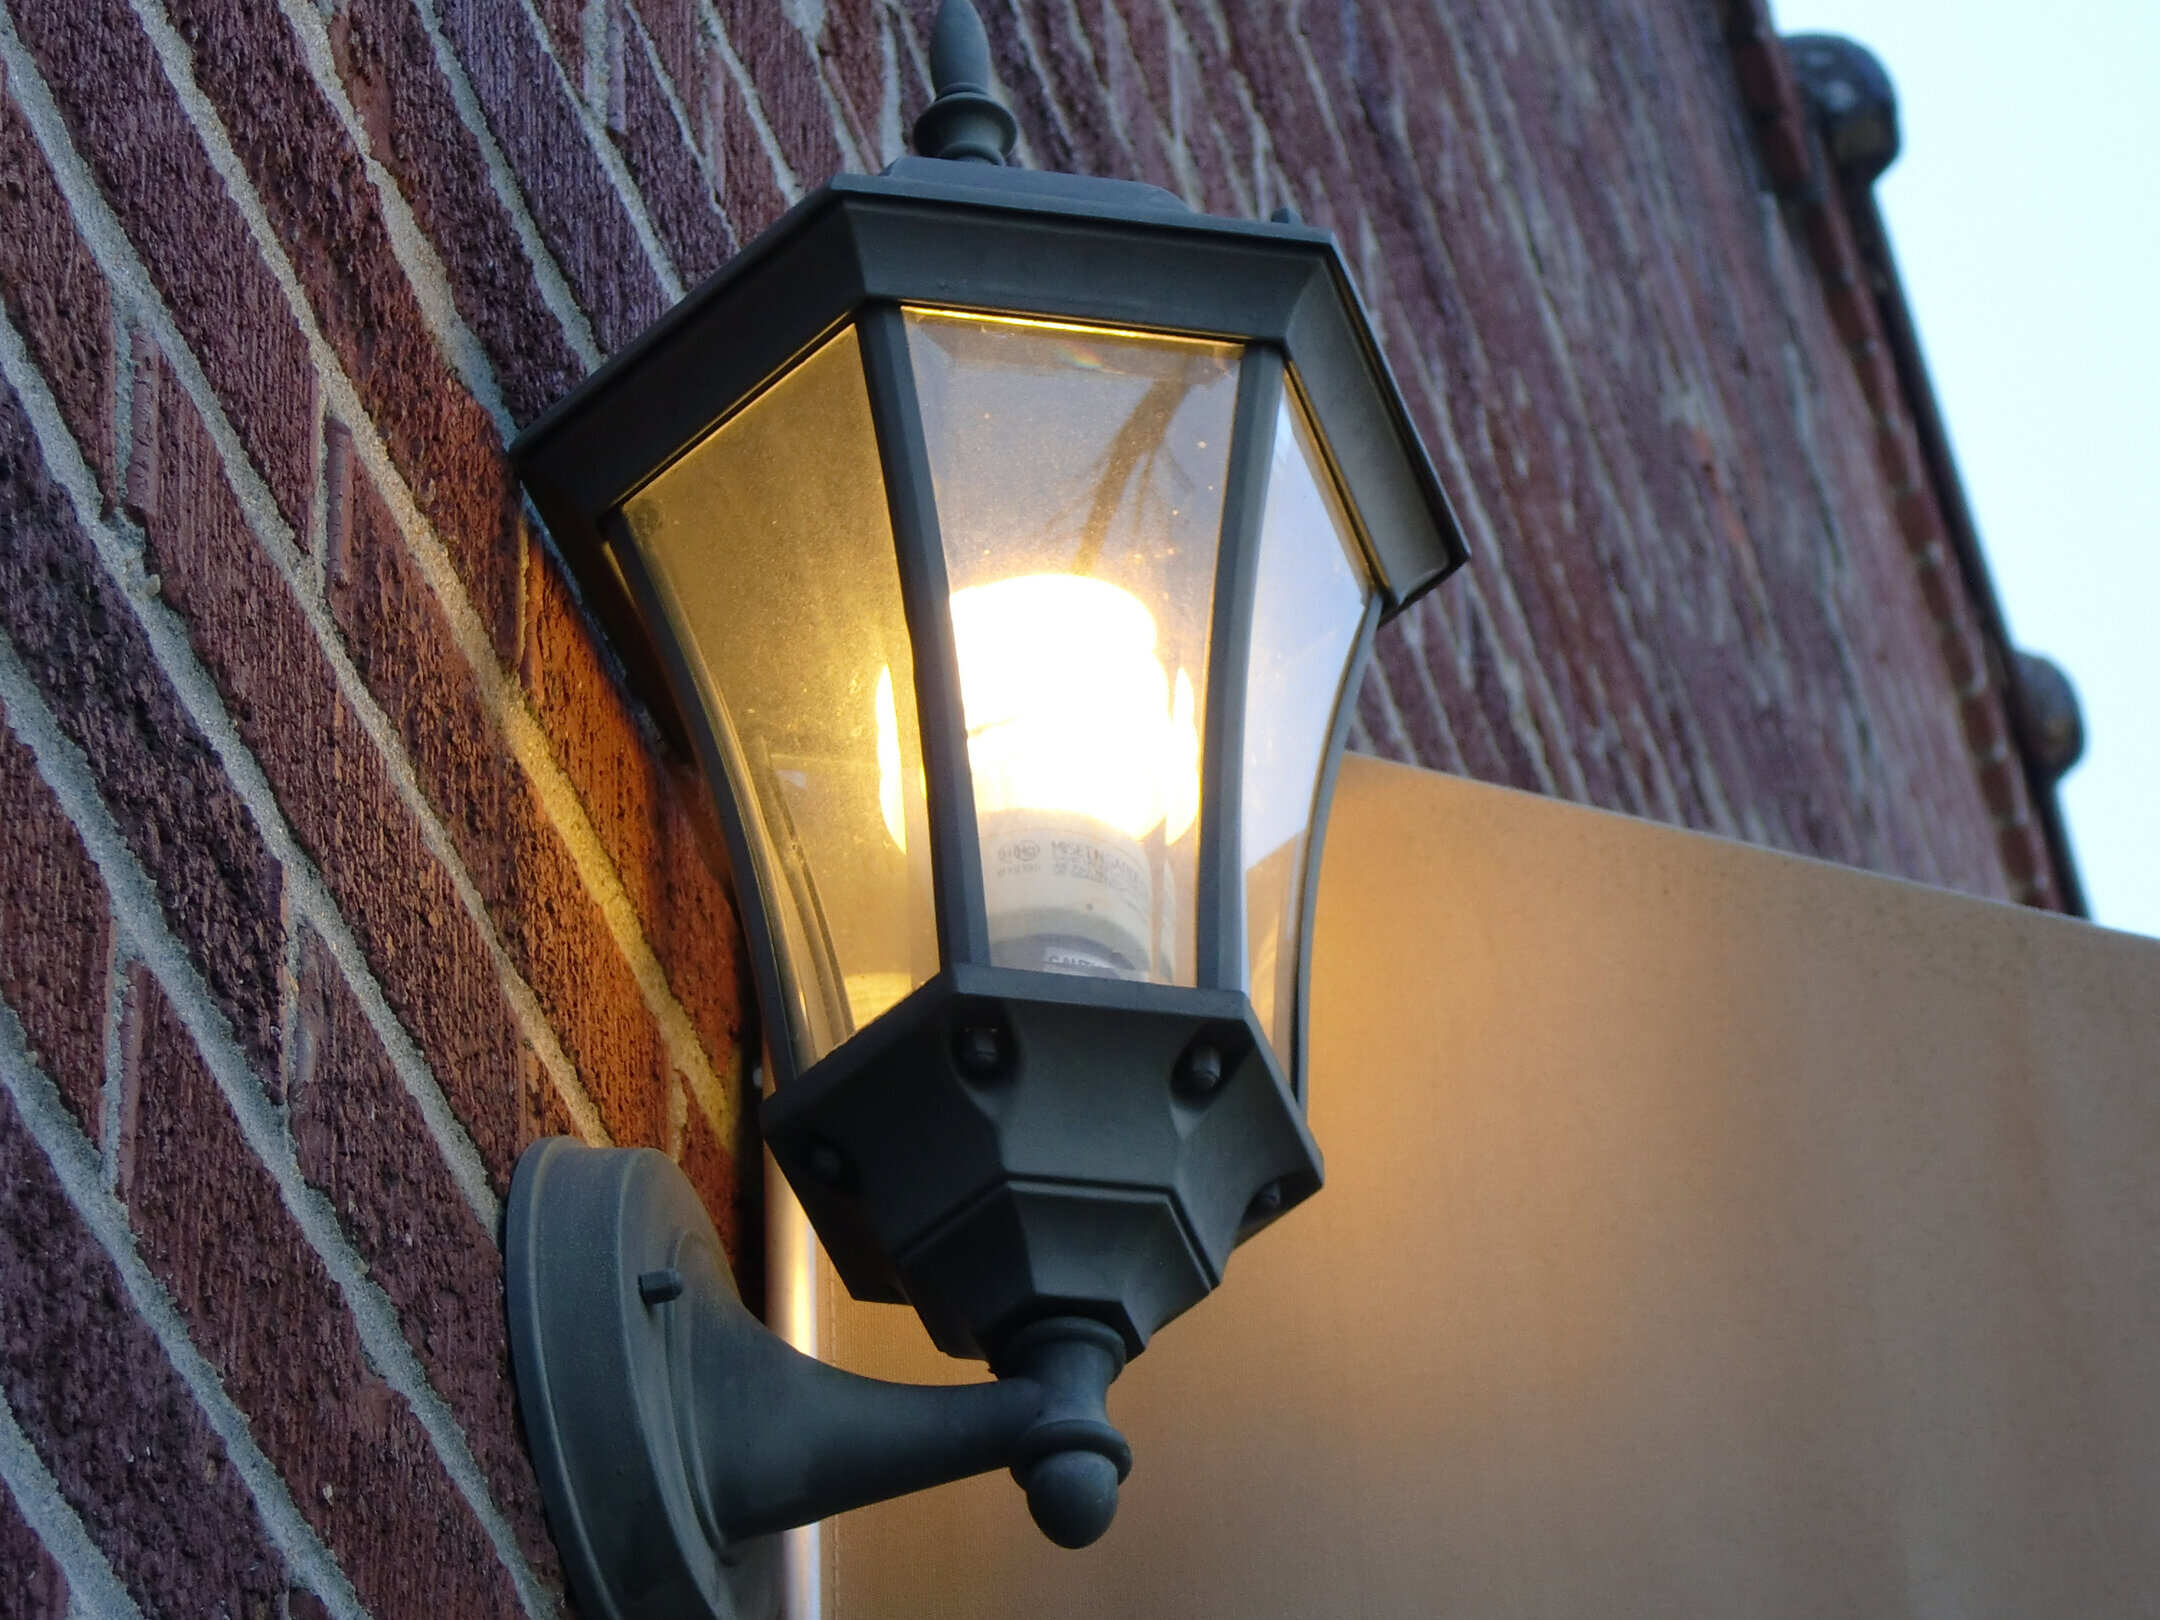
Step 3: Remove Old Bulb
With the power supply to the outdoor sensor light safely turned off, it’s time to proceed with removing the old bulb. Follow these steps to complete this phase of the bulb replacement process:
- Access the Fixture: Position your step ladder or stable platform beneath the outdoor sensor light to gain easy and safe access to the fixture. Ensure that the ladder is stable and securely positioned before climbing.
- Remove the Cover or Housing: Depending on the design of your outdoor sensor light, you may need to remove a cover or housing to access the bulb. Use a screwdriver or nut driver to loosen and remove any screws or fasteners securing the cover in place. Carefully set aside the cover, taking note of its orientation for reassembly.
- Extract the Old Bulb: Once the cover is removed, locate the old bulb within the fixture. Depending on the type of bulb and fixture, you may need to gently unscrew or unclip the old bulb from its socket. Exercise caution to avoid damaging the bulb or the fixture during this process.
- Dispose of the Old Bulb: Safely dispose of the old bulb according to your local regulations. If the old bulb is incandescent, CFL, or LED, it’s important to handle and dispose of it properly to minimize environmental impact.
By carefully following these steps, you’ll successfully remove the old bulb from your outdoor sensor light, paving the way for the installation of a new, bright light source. With the old bulb out of the way, you’re ready to move on to the next phase of the replacement process.
Make sure to turn off the power to the outdoor sensor light before changing the bulb. Use a ladder if needed and follow the manufacturer’s instructions for the specific type of bulb.
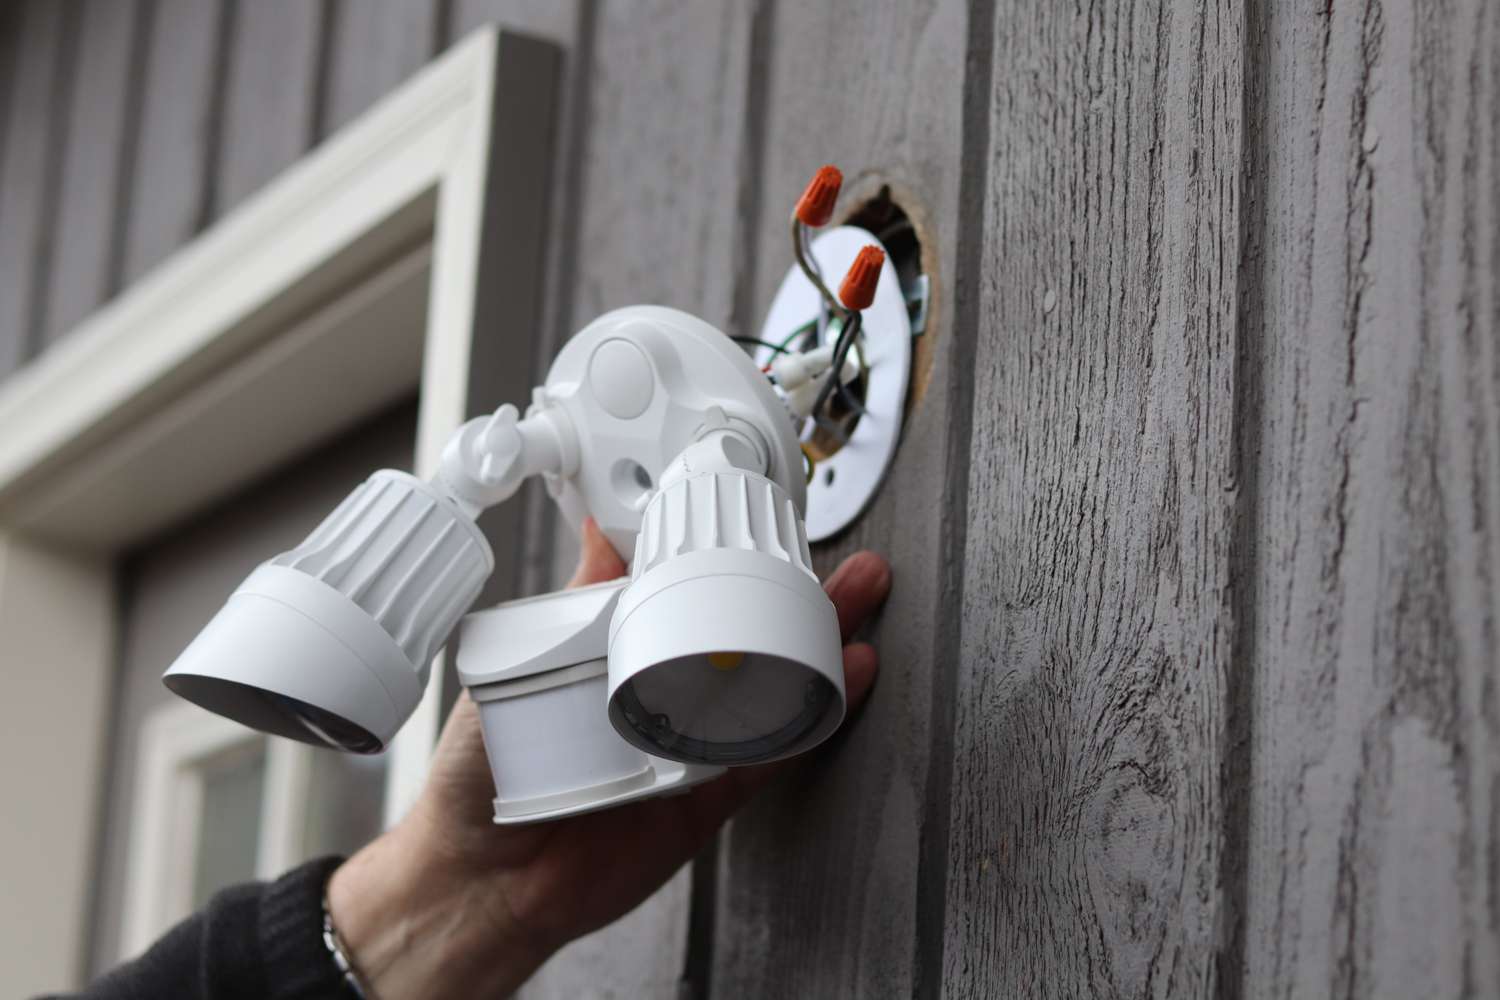
Step 4: Install New Bulb
Now that the old bulb has been safely removed, it’s time to proceed with installing a new bulb in your outdoor sensor light. Follow these simple steps to complete this phase of the replacement process:
- Select the Replacement Bulb: Ensure that the replacement bulb you’ve chosen is compatible with your outdoor sensor light fixture. Whether it’s an LED, CFL, or incandescent bulb, verify that it matches the required specifications and wattage for your specific fixture.
- Position the New Bulb: Carefully position the new bulb at the socket within the fixture, aligning it properly to ensure a secure fit. Depending on the type of bulb, you may need to gently screw it into place or insert it into the designated socket, following any specific instructions provided with the replacement bulb.
- Secure the Bulb: Once the new bulb is in place, ensure that it is securely seated and properly aligned within the fixture. Avoid over-tightening or forcing the bulb, as this may cause damage to the socket or bulb itself.
- Replace the Cover or Housing: If you removed a cover or housing to access the bulb, carefully reposition it over the fixture. Secure the cover in place using the appropriate screws or fasteners, ensuring a snug and stable fit.
By following these straightforward steps, you’ll successfully install a new bulb in your outdoor sensor light, restoring its functionality and ensuring that your outdoor space remains well-lit and secure. With the new bulb in place, you’re ready to move on to the final phase of the replacement process.
Read more: How To Change Outdoor Lantern Light Bulb
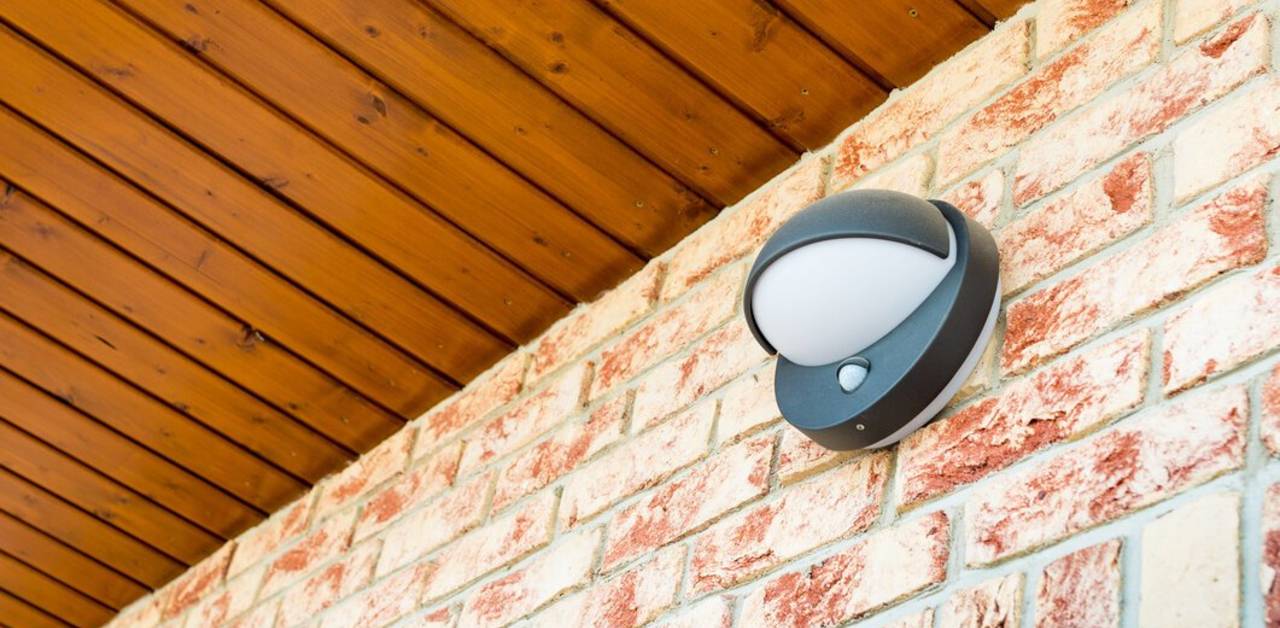
Step 5: Test the Light
With the new bulb securely installed in your outdoor sensor light, it’s time to test the light to ensure that it functions as expected. Follow these steps to verify the proper operation of the newly installed bulb:
- Restore Power: Return to the circuit breaker or electrical panel and switch the power supply back on to the outdoor sensor light. If you used a voltage tester during the power shutdown, you can recheck the fixture to confirm that electrical current is flowing to the newly installed bulb.
- Activate the Sensor: Depending on the type of outdoor sensor light you have, activate the sensor by triggering its motion detection or other activation method. This may involve moving within the sensor’s range or using the designated controls to test the light.
- Observe the Light Output: Once the sensor is activated, observe the performance of the newly installed bulb. Ensure that it illuminates as expected and provides adequate light coverage in the designated outdoor area. Verify that the sensor’s activation and deactivation functions operate smoothly with the new bulb in place.
- Make Adjustments if Necessary: If you encounter any issues with the light output or sensor functionality, double-check the bulb installation and the positioning of the sensor. Make any necessary adjustments to ensure optimal performance.
By following these steps to test the light, you’ll confirm that the new bulb is functioning correctly and that your outdoor sensor light is once again providing the illumination and security it’s designed for. With the successful testing of the light, you’ve completed the replacement process and can enjoy the enhanced functionality of your outdoor lighting system.
Conclusion
Congratulations! You’ve successfully navigated the process of changing the light bulb in your outdoor sensor light, enhancing the functionality and brightness of your outdoor space. By following the step-by-step instructions outlined in this guide, you’ve demonstrated your ability to tackle a practical home improvement task with confidence and efficiency.
As you bask in the renewed glow of your outdoor sensor light, it’s important to reflect on the value of proper maintenance and care for your home’s lighting fixtures. Regularly inspecting and replacing bulbs in outdoor sensor lights not only ensures optimal performance but also contributes to the safety and security of your property.
Remember, safety should always be a priority when working with electrical fixtures. By diligently following the recommended procedures for turning off the power supply, handling the bulb, and testing the light, you’ve exemplified a responsible approach to DIY maintenance.
Whether you’re illuminating a pathway, enhancing the security of your property, or simply enjoying the ambiance of a well-lit outdoor space, the proper functioning of your outdoor sensor light plays a vital role. Your proactive approach to maintaining this essential fixture is a testament to your dedication to creating a welcoming and secure home environment.
As you revel in the radiance of your newly installed bulb, take pride in your accomplishment and the valuable skills you’ve acquired. With the knowledge and expertise gained from this experience, you’re well-equipped to tackle future home improvement projects with the same level of proficiency and success.
So, go ahead, step outside, and admire the brilliance of your outdoor sensor light. Your proactive maintenance has not only brightened your outdoor space but also illuminated the path to a more confident and capable DIY journey.
Frequently Asked Questions about How To Change Outdoor Sensor Light Bulb
Was this page helpful?
At Storables.com, we guarantee accurate and reliable information. Our content, validated by Expert Board Contributors, is crafted following stringent Editorial Policies. We're committed to providing you with well-researched, expert-backed insights for all your informational needs.


0 thoughts on “How To Change Outdoor Sensor Light Bulb”