Home>Furniture & Design>Outdoor Furniture>How To Fix Outdoor Sensor Light
Outdoor Furniture
How To Fix Outdoor Sensor Light
Modified: August 27, 2024
Learn how to fix outdoor sensor lights and keep your outdoor furniture and design well-lit and secure. Follow our step-by-step guide for effective solutions.
(Many of the links in this article redirect to a specific reviewed product. Your purchase of these products through affiliate links helps to generate commission for Storables.com, at no extra cost. Learn more)
Introduction
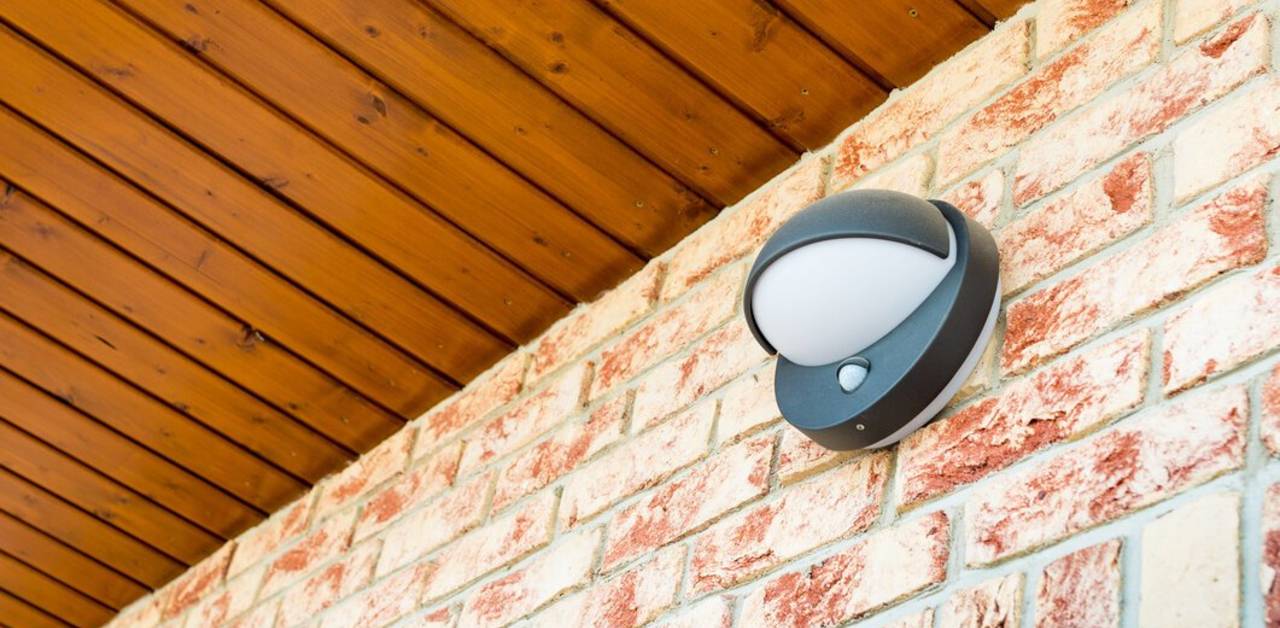
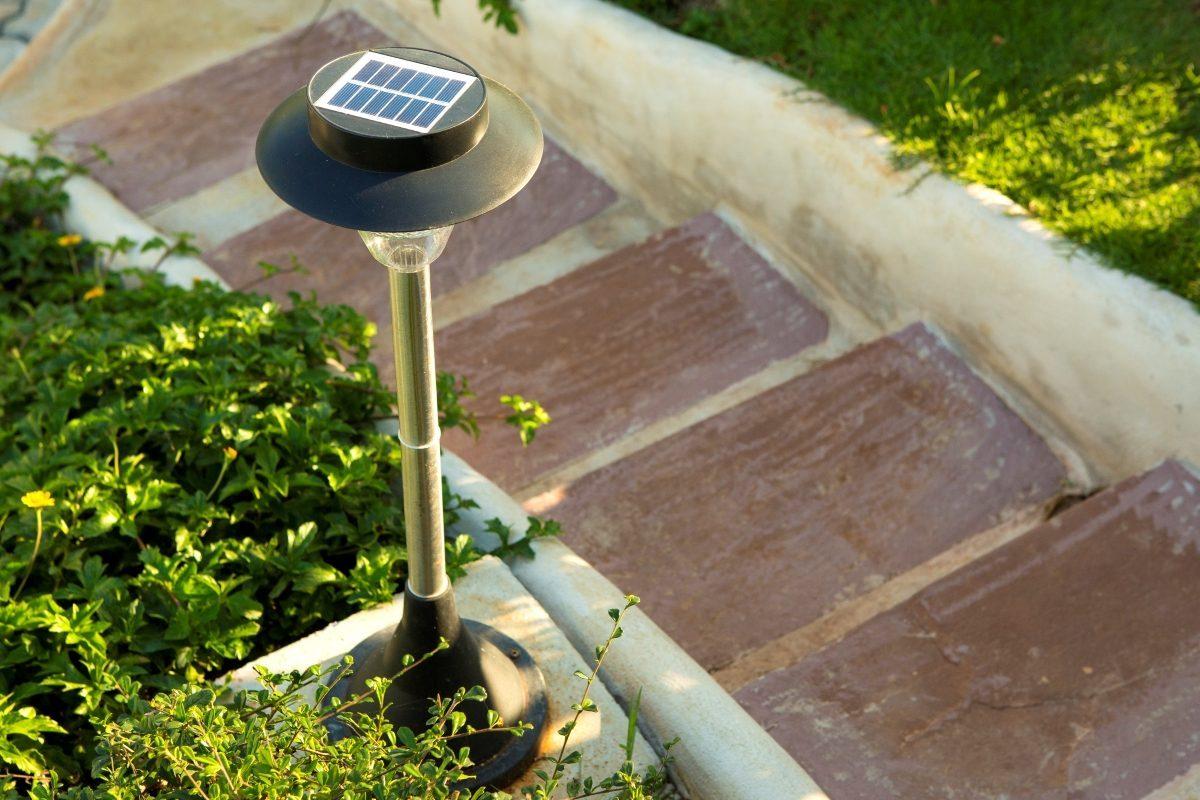
Welcome to the world of outdoor sensor lights! These innovative devices are designed to provide convenient and efficient illumination, enhancing both the security and ambiance of your outdoor spaces. Whether you’re returning home after a long day, hosting a gathering in your backyard, or simply enjoying a quiet evening on your patio, outdoor sensor lights offer a myriad of benefits.
However, like any electrical appliance, outdoor sensor lights may encounter issues that require troubleshooting. From power supply problems to sensor range adjustments, there are several potential solutions to explore when your outdoor sensor light is not functioning as expected. In this comprehensive guide, we will delve into the various steps you can take to address common issues and restore your outdoor sensor light to optimal performance.
So, if you’ve noticed that your outdoor sensor light is not activating when it should, or if it’s behaving erratically, fear not! By following the troubleshooting tips outlined in this article, you’ll be well-equipped to identify and resolve the root cause of the problem. Whether you’re a seasoned DIY enthusiast or simply eager to maintain your outdoor lighting system, the following sections will provide valuable insights and practical advice for addressing issues with your outdoor sensor light. Let’s embark on this illuminating journey together and shed light on the solutions that will keep your outdoor spaces bright, safe, and welcoming.
Key Takeaways:
- Keep your outdoor sensor light shining bright by checking the power source, adjusting the sensor range, and cleaning the sensor regularly. Regular maintenance ensures reliable performance and a well-lit outdoor space.
- Don’t let a dim outdoor sensor light dim your outdoor experience. Replace bulbs, reset the light, and follow manufacturer’s instructions for troubleshooting. A well-maintained light enhances safety and ambiance.
Read more: How To Reset Sensor Lights Outdoors
Checking the Power Source
When your outdoor sensor light is not functioning properly, the first step is to assess its power source. A reliable power supply is essential for the optimal performance of any electrical device, and outdoor sensor lights are no exception. Here are some key considerations to keep in mind as you investigate the power source of your outdoor sensor light:
- Inspect the Wiring: Begin by examining the wiring connections that supply power to the outdoor sensor light. Ensure that the wires are securely connected and free from damage or corrosion. If you notice any frayed or damaged wires, it’s crucial to address these issues promptly to prevent electrical hazards.
- Check the Circuit Breaker: Verify that the circuit breaker or fuse associated with the outdoor sensor light is in working order. If the circuit breaker has tripped or the fuse has blown, it may indicate an electrical overload or a short circuit. Reset the circuit breaker or replace the fuse as needed, and monitor the performance of the outdoor sensor light.
- Assess the Power Source: Confirm that the power source supplying electricity to the outdoor sensor light is functioning as intended. This may involve checking the outlet or junction box that powers the light, as well as evaluating the integrity of the electrical connections.
By systematically evaluating the power source of your outdoor sensor light, you can identify and address any issues that may be impeding its performance. Remember to exercise caution when working with electrical components, and if you encounter complex wiring problems, it’s advisable to seek assistance from a qualified electrician.
Next, we’ll explore the process of adjusting the sensor range, which can play a pivotal role in optimizing the functionality of your outdoor sensor light.
Adjusting the Sensor Range
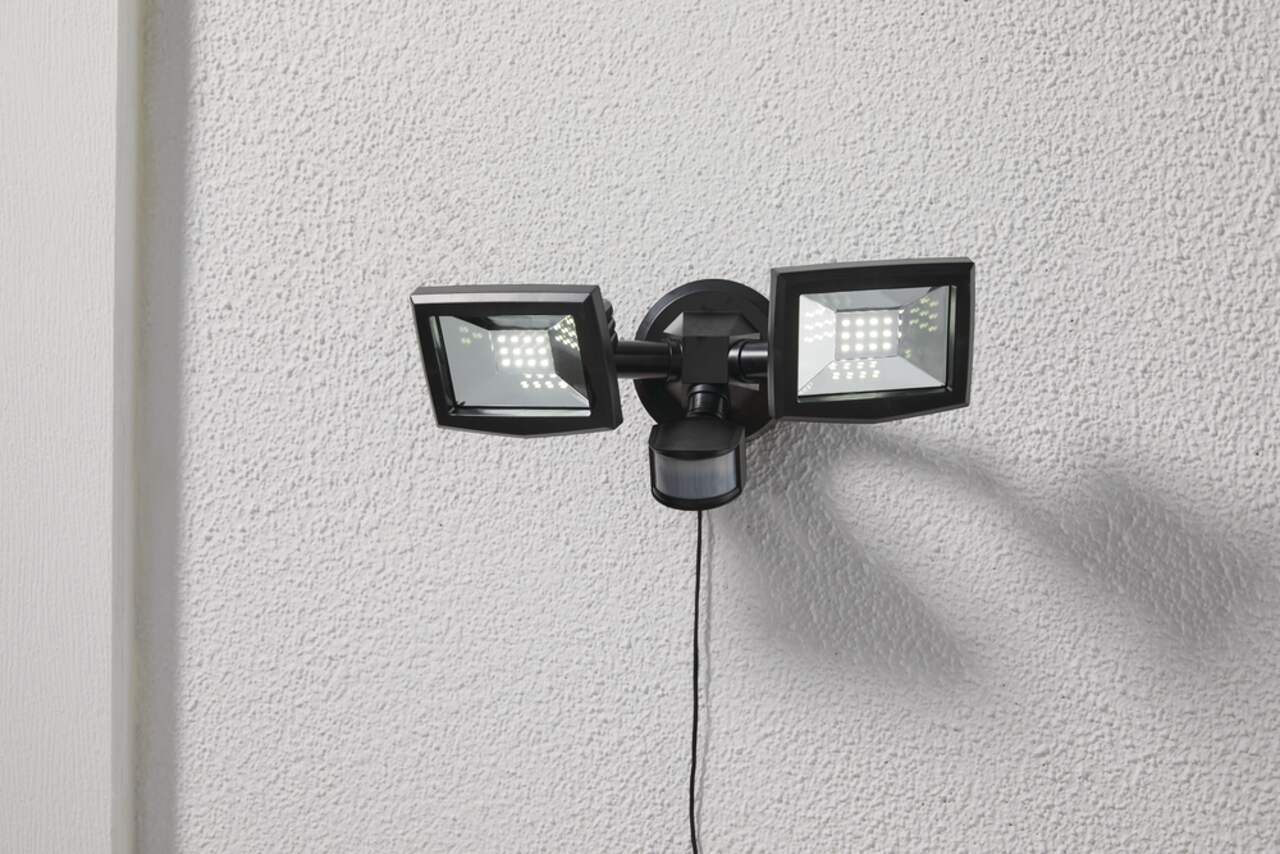
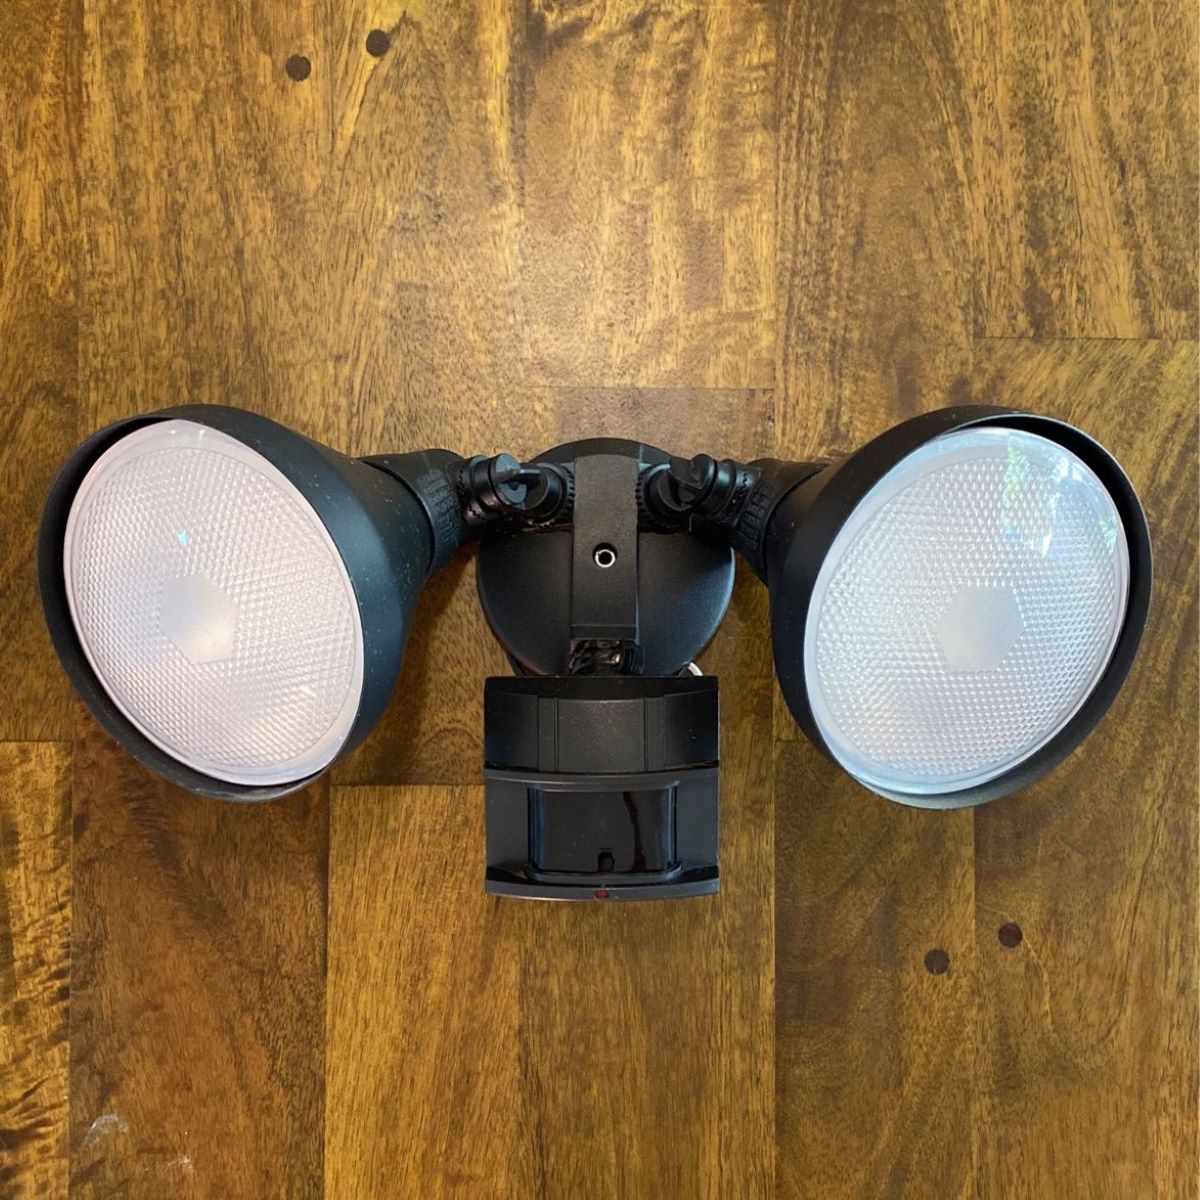
One of the key features of outdoor sensor lights is their motion-detection capability, which allows them to activate in response to movement within a specified range. If you find that your outdoor sensor light is either overly sensitive or fails to detect motion effectively, adjusting the sensor range can help optimize its performance. Here’s how you can fine-tune the sensor range of your outdoor light:
- Locate the Sensor Controls: Begin by identifying the sensor controls on your outdoor light. Depending on the model, these controls may be accessible through a panel on the light fixture or within the settings of a connected smart lighting system.
- Adjust the Sensitivity and Range: Many outdoor sensor lights feature adjustable settings for sensitivity and range. By modifying these settings, you can customize the response of the sensor to motion. Experiment with different sensitivity levels and range adjustments to find the optimal configuration for your specific outdoor environment.
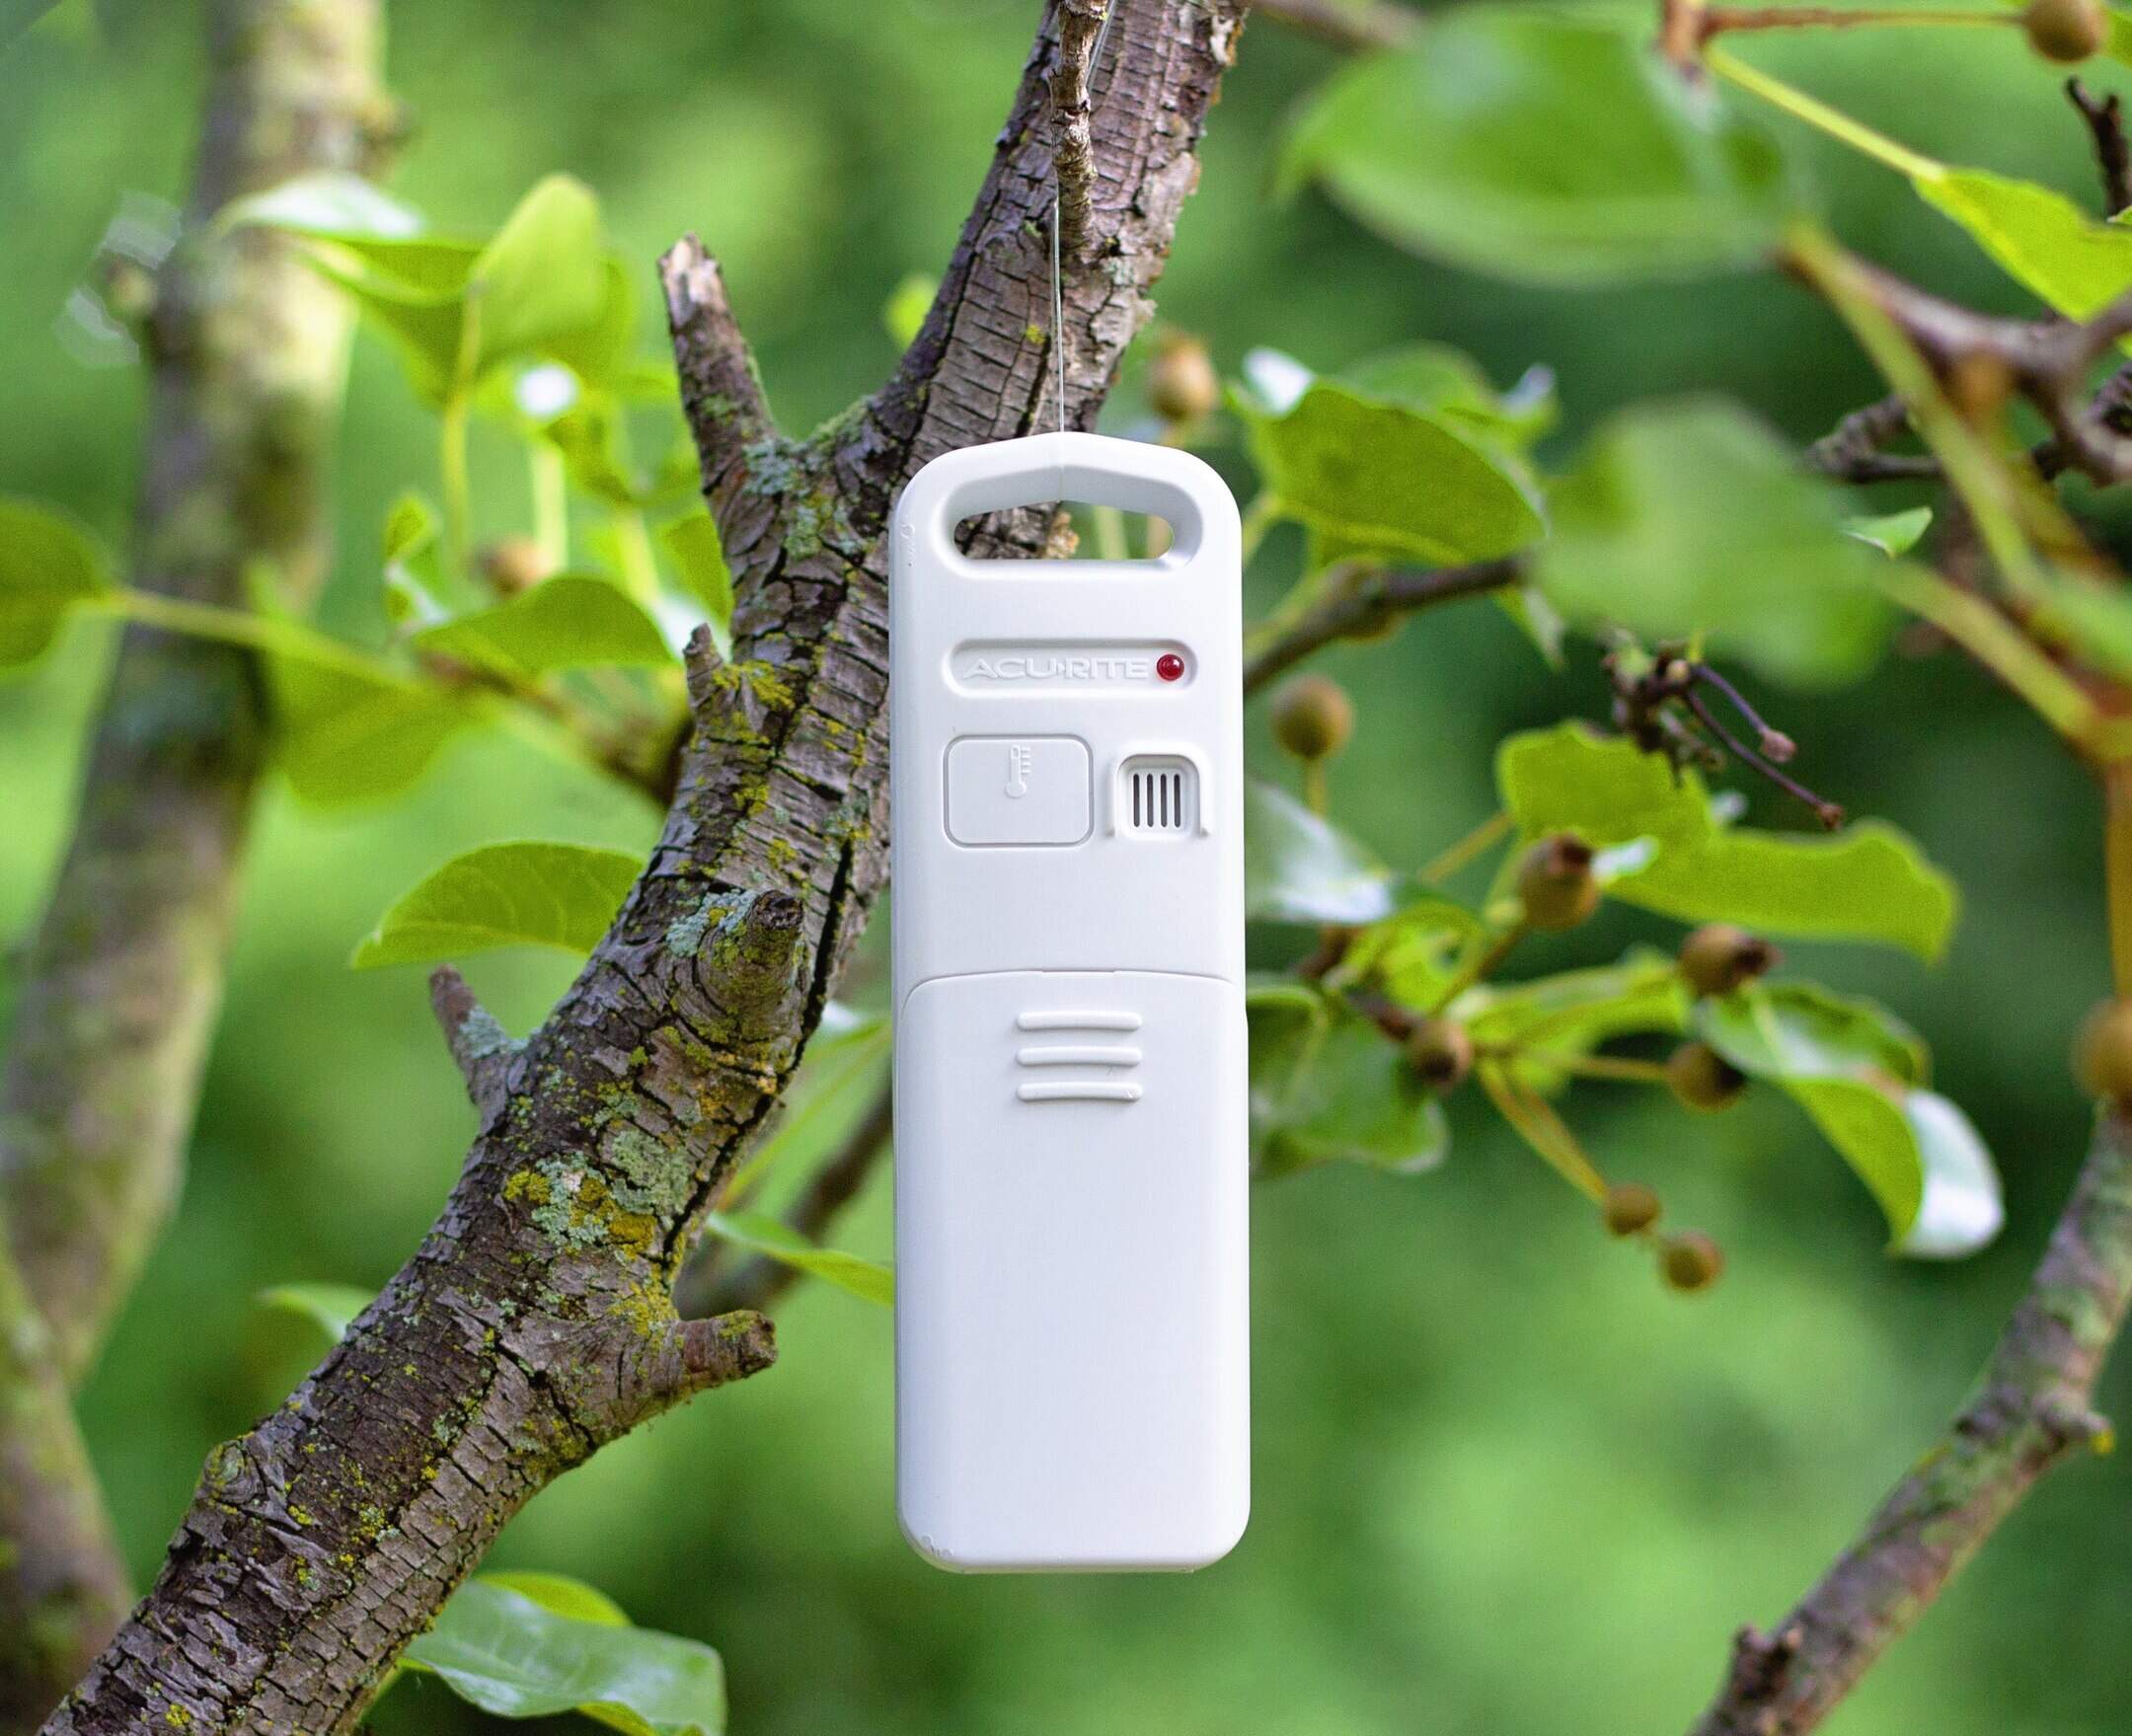
- Consider Environmental Factors: Take into account environmental factors that may affect the sensor’s performance, such as nearby foliage, moving objects, or sources of heat or cold. By understanding the impact of these elements, you can make informed adjustments to the sensor range to minimize false activations and ensure reliable motion detection.
By fine-tuning the sensor range of your outdoor sensor light, you can enhance its ability to detect motion accurately while minimizing false triggers. This not only contributes to the efficient operation of the light but also conserves energy by activating the light only when needed.
Next, we’ll explore the importance of keeping the sensor clean and free from obstructions to maintain the optimal functionality of your outdoor sensor light.
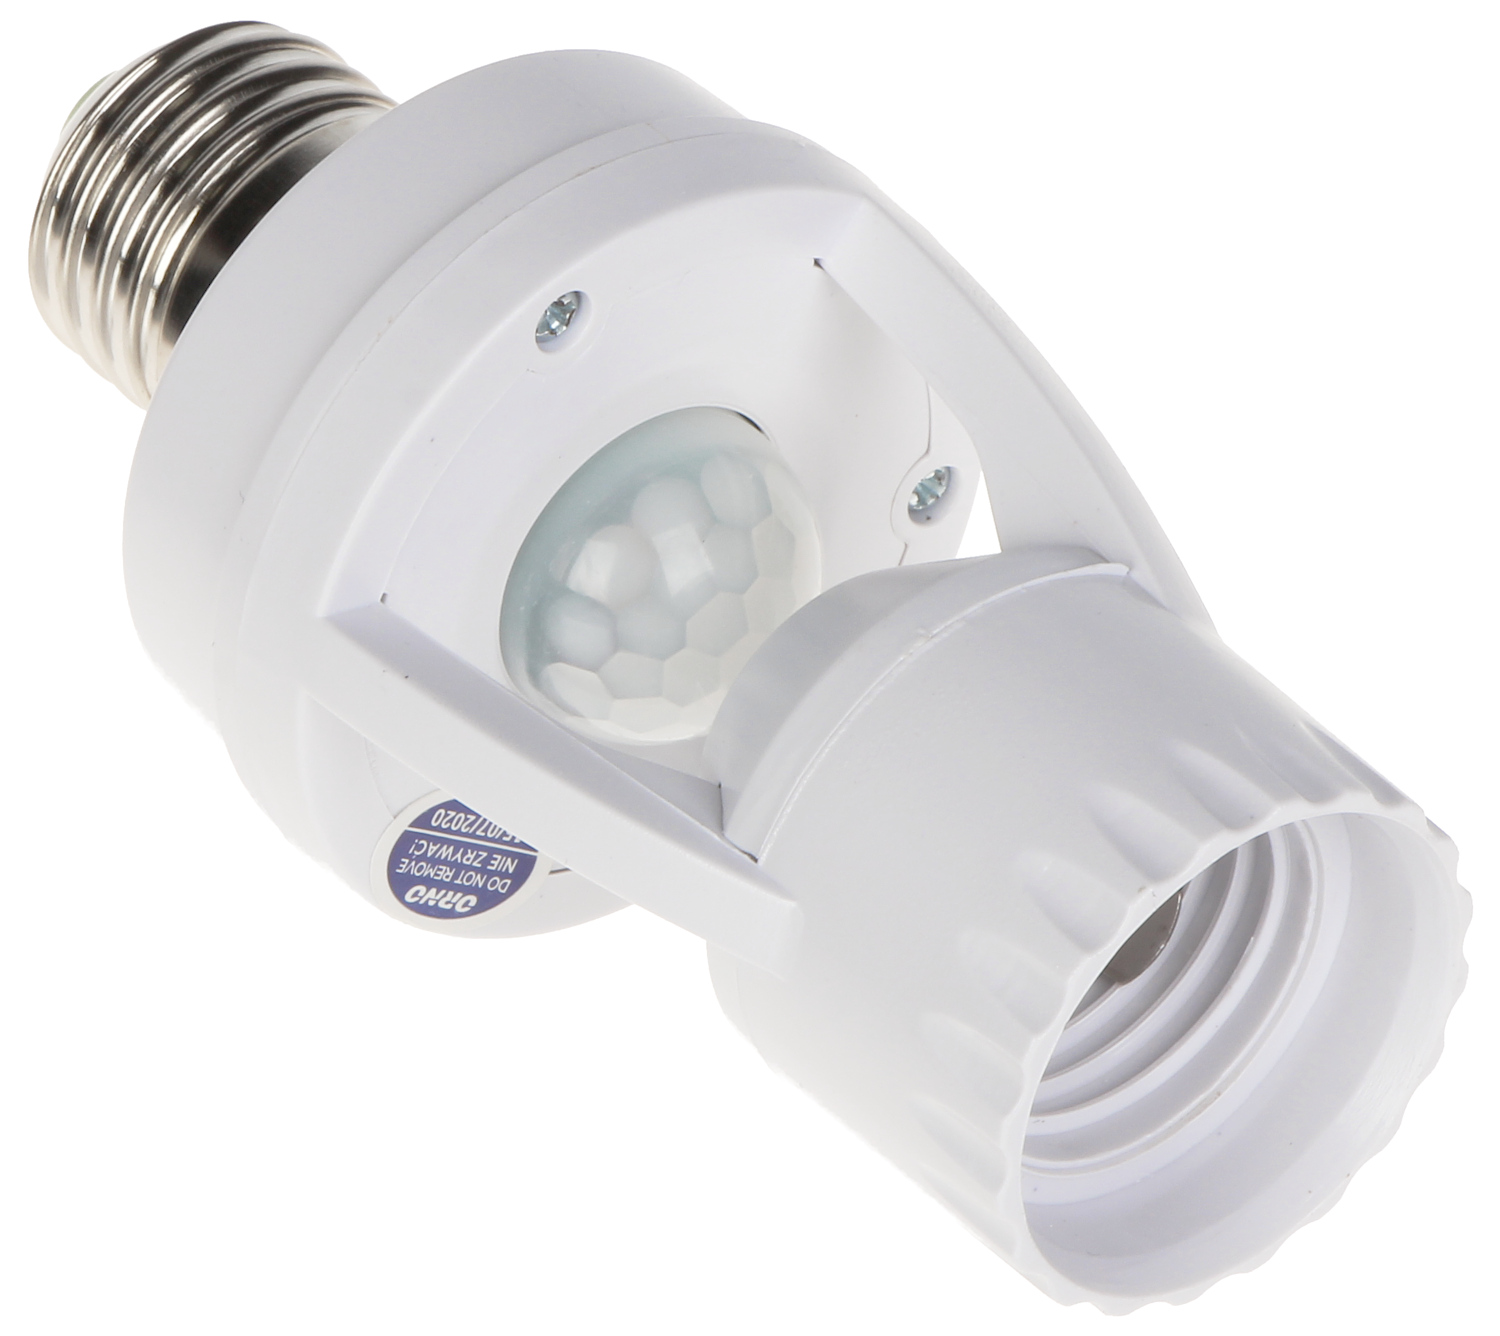
Cleaning the Sensor
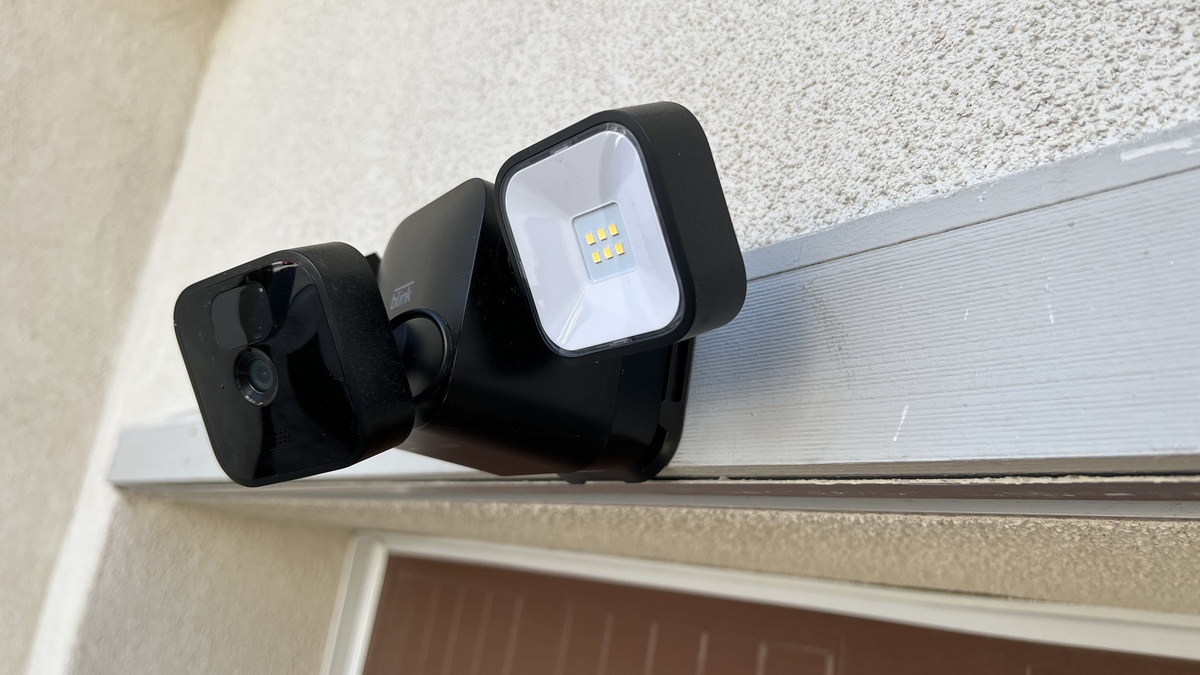
Over time, the sensor of an outdoor light can accumulate dirt, dust, and other debris, potentially hindering its ability to detect motion effectively. Regular maintenance and cleaning of the sensor are essential for ensuring optimal performance. Here’s how you can effectively clean the sensor of your outdoor light:
- Power Off the Light: Before cleaning the sensor, ensure that the power to the outdoor light is switched off to prevent any electrical hazards. This may involve turning off the circuit breaker or disconnecting the power source, depending on the specific configuration of the light.
- Access the Sensor: Depending on the design of the outdoor light, you may need to remove a cover or panel to access the sensor. Carefully follow the manufacturer’s instructions for accessing the sensor components without causing damage to the light fixture.
- Clean the Sensor Surface: Gently wipe the surface of the sensor with a soft, dry cloth to remove any accumulated dirt, dust, or residue. For stubborn debris, you can use a mild cleaning solution and a soft brush to delicately clean the sensor without causing damage. Avoid using abrasive materials or harsh chemicals that may compromise the sensor’s functionality.
- Inspect for Obstructions: While cleaning the sensor, inspect it for any obstructions that may impede its performance, such as spider webs, insects, or debris lodged in the sensor’s components. Clear any obstructions carefully to restore the sensor’s ability to detect motion effectively.
- Reassemble the Light: Once the sensor has been cleaned and inspected, reassemble the light fixture according to the manufacturer’s guidelines. Ensure that all components are securely in place before restoring power to the outdoor light.
By maintaining a clean and well-functioning sensor, you can significantly improve the responsiveness and reliability of your outdoor sensor light. Regular cleaning and inspection of the sensor should be incorporated into your routine maintenance practices to ensure consistent performance over time.
Next, we’ll explore the process of replacing the bulb in your outdoor sensor light, which is another critical aspect of maintenance and troubleshooting.
Check the power source and make sure it’s connected. Clean the sensor and adjust the sensitivity and range settings. Replace the bulb if it’s burnt out. If the problem persists, consider replacing the sensor.
Replacing the Bulb
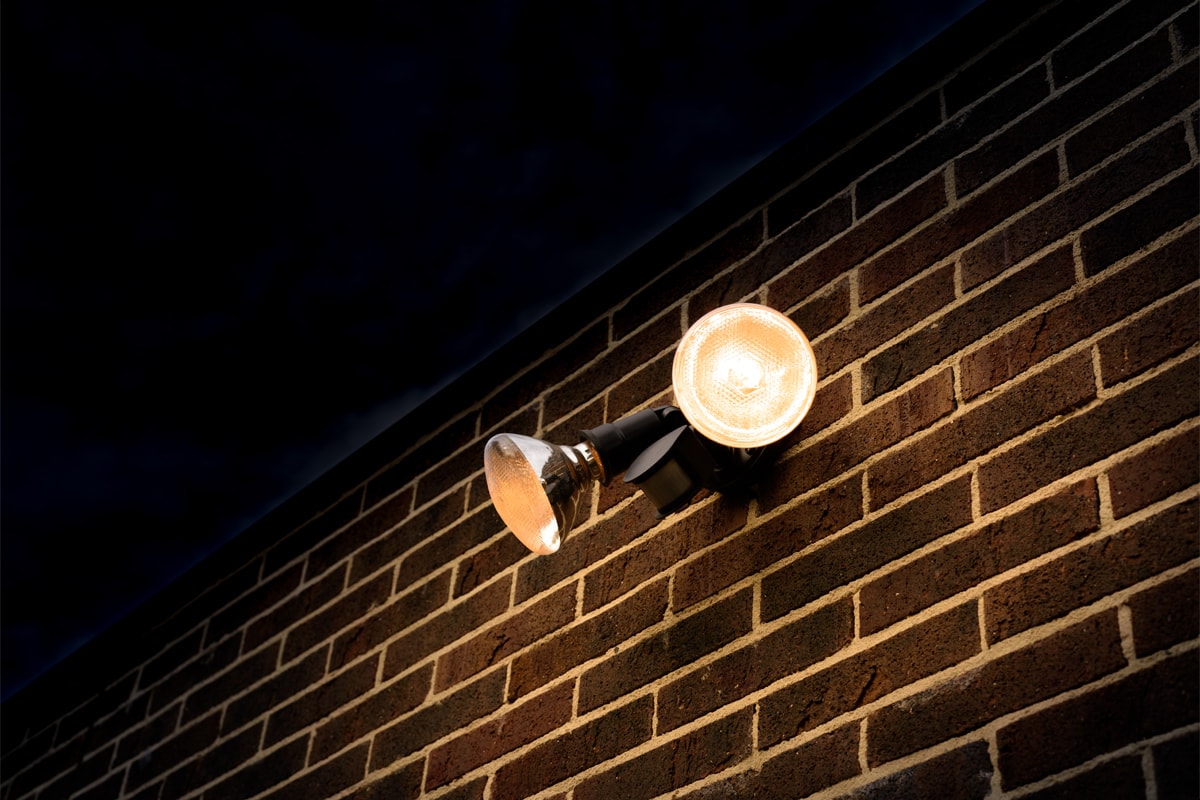
When your outdoor sensor light fails to illuminate, a faulty or worn-out bulb may be the culprit. Replacing the bulb is a fundamental aspect of maintaining your outdoor sensor light and restoring its functionality. Here’s a step-by-step guide to help you seamlessly replace the bulb in your outdoor sensor light:
- Power Off the Light: Prior to replacing the bulb, ensure that the power to the outdoor light is switched off to prevent the risk of electrical shock. This may involve turning off the circuit breaker or disconnecting the power source, depending on the specific configuration of the light fixture.
- Access the Bulb Housing: Depending on the design of the outdoor light, you may need to remove a cover or panel to access the bulb housing. Follow the manufacturer’s instructions for safely accessing the bulb housing without causing damage to the light fixture.
- Remove the Old Bulb: Carefully unscrew or unclip the old bulb from its housing, taking care not to exert excessive force that may damage the fixture. If the bulb is a compact fluorescent lamp (CFL) or a light-emitting diode (LED) bulb, handle it with care to avoid breakage.
- Select the Replacement Bulb: Choose a replacement bulb that is compatible with the specifications of your outdoor sensor light. Refer to the manufacturer’s guidelines or the existing bulb for information regarding the appropriate wattage, size, and type of bulb to use.
- Install the New Bulb: Insert the new bulb into the housing, ensuring a secure and proper fit. If the bulb requires twisting or clipping into place, follow the designated method to install it correctly.
- Reassemble the Light: Once the new bulb is installed, reassemble the light fixture according to the manufacturer’s instructions. Ensure that all components are securely in place before restoring power to the outdoor light.
By replacing the bulb in your outdoor sensor light with a high-quality, compatible replacement, you can effectively address illumination issues and maintain the reliable performance of the light. Regularly inspecting and replacing bulbs as needed is an integral part of preserving the functionality and visual appeal of your outdoor lighting system.
Next, we’ll explore the process of resetting the light, which can help resolve certain operational issues and restore the proper function of your outdoor sensor light.
Read more: How To Adjust Sensor On Outdoor Light
Resetting the Light
Resetting your outdoor sensor light can serve as a valuable troubleshooting step to address erratic behavior, malfunctions, or performance issues. By initiating a reset, you can restore the light to its default settings and potentially resolve operational issues. Here’s a guide to help you effectively reset your outdoor sensor light:
- Power Off the Light: Before initiating the reset, ensure that the power to the outdoor light is switched off to prevent any electrical hazards. This may involve turning off the circuit breaker or disconnecting the power source, depending on the specific configuration of the light fixture.
- Identify the Reset Method: Depending on the model of your outdoor sensor light, the reset method may vary. Some lights feature a designated reset button or switch, while others may require specific sequences of actions, such as toggling the power supply on and off in a prescribed manner.
- Follow the Manufacturer’s Instructions: Consult the manufacturer’s guidelines or the user manual for your outdoor sensor light to determine the precise steps for initiating a reset. Adhering to the recommended reset procedure can help ensure that the reset is performed accurately and effectively.
- Initiate the Reset: Execute the reset process according to the manufacturer’s instructions, whether it involves pressing a reset button, toggling the power supply, or following a specific sequence of actions. Be mindful of any indicators or feedback from the light that may signal the successful completion of the reset.
- Observe the Light’s Response: After initiating the reset, observe the behavior of the outdoor sensor light to determine if the reset has resolved any issues. Pay attention to the activation of the sensor, the responsiveness of the light, and any changes in its operational performance.
By performing a reset as recommended by the manufacturer, you can potentially address operational irregularities and restore the optimal functionality of your outdoor sensor light. This simple yet effective troubleshooting step can help mitigate common issues and ensure the reliable performance of the light over time.
As we conclude our exploration of troubleshooting and maintenance for outdoor sensor lights, it’s essential to consolidate the insights and strategies discussed in this guide to empower you in addressing and resolving issues with your outdoor lighting system.
Conclusion
Congratulations on completing this comprehensive guide to troubleshooting and maintaining your outdoor sensor light! By exploring the various facets of outdoor lighting maintenance, you’ve gained valuable insights into addressing common issues and optimizing the performance of your outdoor sensor light. Let’s recap the key takeaways from our journey through the troubleshooting process:
- Power Source Check: Always begin by assessing the power source to ensure that the outdoor sensor light is receiving a reliable supply of electricity. Address any wiring issues, circuit breaker tripping, or power source malfunctions promptly to sustain the light’s functionality.
- Sensor Range Adjustment: Fine-tune the sensor range of your outdoor light to optimize its motion-detection capabilities. By customizing the sensitivity and range settings, you can enhance the light’s responsiveness while minimizing false activations.
- Sensor Cleaning: Regularly clean and inspect the sensor of your outdoor light to remove dirt, debris, and obstructions that may impede its performance. Maintaining a clean sensor is essential for ensuring reliable motion detection and efficient operation.
- Bulb Replacement: When the light fails to illuminate, replacing the bulb with a compatible, high-quality replacement is crucial. Regularly inspect and replace bulbs as needed to uphold the illumination and visual appeal of your outdoor sensor light.
- Resetting the Light: Initiate a reset of the outdoor sensor light as a troubleshooting step to address operational irregularities and restore its default settings. Following the manufacturer’s instructions for resetting the light can help resolve performance issues effectively.
By incorporating these strategies and practices into your outdoor lighting maintenance routine, you can ensure that your outdoor sensor light continues to illuminate your outdoor spaces reliably and efficiently. Whether you’re enhancing the security of your property, creating inviting outdoor environments, or simply enjoying the convenience of automated lighting, a well-maintained outdoor sensor light is a valuable asset.
Remember that safety is paramount when working with electrical components, and if you encounter complex issues or are uncertain about performing maintenance tasks, it’s advisable to seek assistance from qualified professionals. With a proactive approach to maintenance and troubleshooting, you can preserve the functionality and longevity of your outdoor sensor light, contributing to a well-lit and welcoming outdoor environment for years to come.
Thank you for embarking on this illuminating journey with us. May your outdoor spaces be aglow with the radiance of a well-maintained and optimized outdoor sensor light, enriching your experiences and providing peace of mind.
Frequently Asked Questions about How To Fix Outdoor Sensor Light
Was this page helpful?
At Storables.com, we guarantee accurate and reliable information. Our content, validated by Expert Board Contributors, is crafted following stringent Editorial Policies. We're committed to providing you with well-researched, expert-backed insights for all your informational needs.


0 thoughts on “How To Fix Outdoor Sensor Light”