Home>Furniture & Design>Outdoor Furniture>How To Adjust Sensor On Outdoor Light

Outdoor Furniture
How To Adjust Sensor On Outdoor Light
Published: January 13, 2024
Learn how to adjust the sensor on your outdoor light for optimal performance. Get expert tips on outdoor furniture, design, and maintenance. Outdoor-furniture-furniture-and-design.
(Many of the links in this article redirect to a specific reviewed product. Your purchase of these products through affiliate links helps to generate commission for Storables.com, at no extra cost. Learn more)
**
Introduction
**
When it comes to outdoor lighting, having a reliable motion sensor can make a world of difference. Whether you want to enhance security around your home, illuminate your pathway, or simply conserve energy, a properly adjusted outdoor light sensor is essential. Understanding how to adjust the sensor on your outdoor light can help you optimize its performance and ensure that it functions exactly as you need it to.
In this comprehensive guide, we will delve into the intricacies of outdoor light sensors, the tools and materials you'll need for the adjustment process, and the step-by-step instructions to fine-tune the sensor. By the end of this article, you'll feel confident in your ability to optimize the operation of your outdoor light sensor and enjoy the benefits of a well-lit and secure outdoor space. Let's shed some light on the fascinating world of outdoor light sensors and how to adjust them for optimal performance.
**
Key Takeaways:
- Adjusting outdoor light sensors requires understanding the sensor type, gathering tools, and following step-by-step adjustments. Thorough testing ensures optimal performance for a well-lit and secure outdoor space.
- Fine-tuning outdoor light sensors enhances security, conserves energy, and improves visibility. Patience, observation, and testing are key to achieving tailored lighting control for your outdoor environment.
Read more: How To Reset Sensor Lights Outdoors
Understanding Outdoor Light Sensors
**
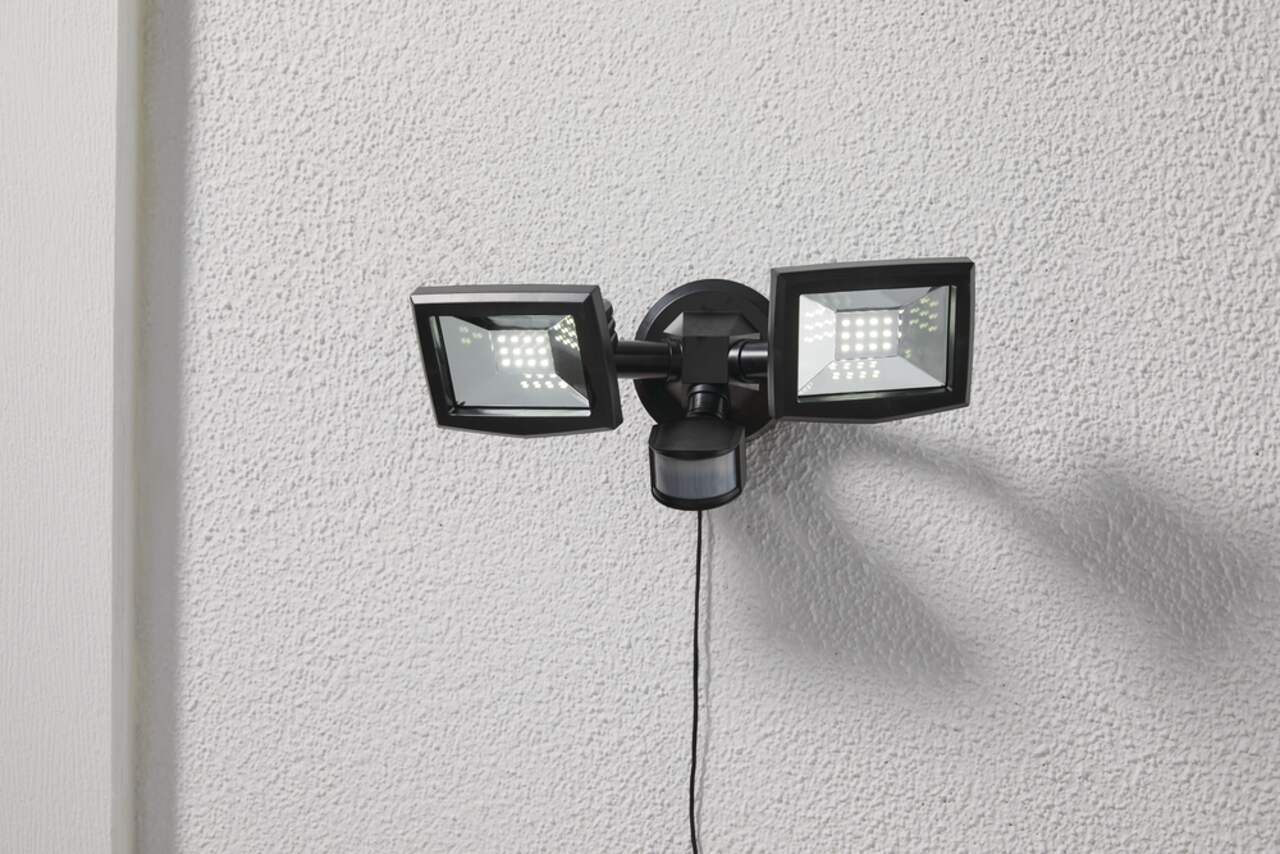
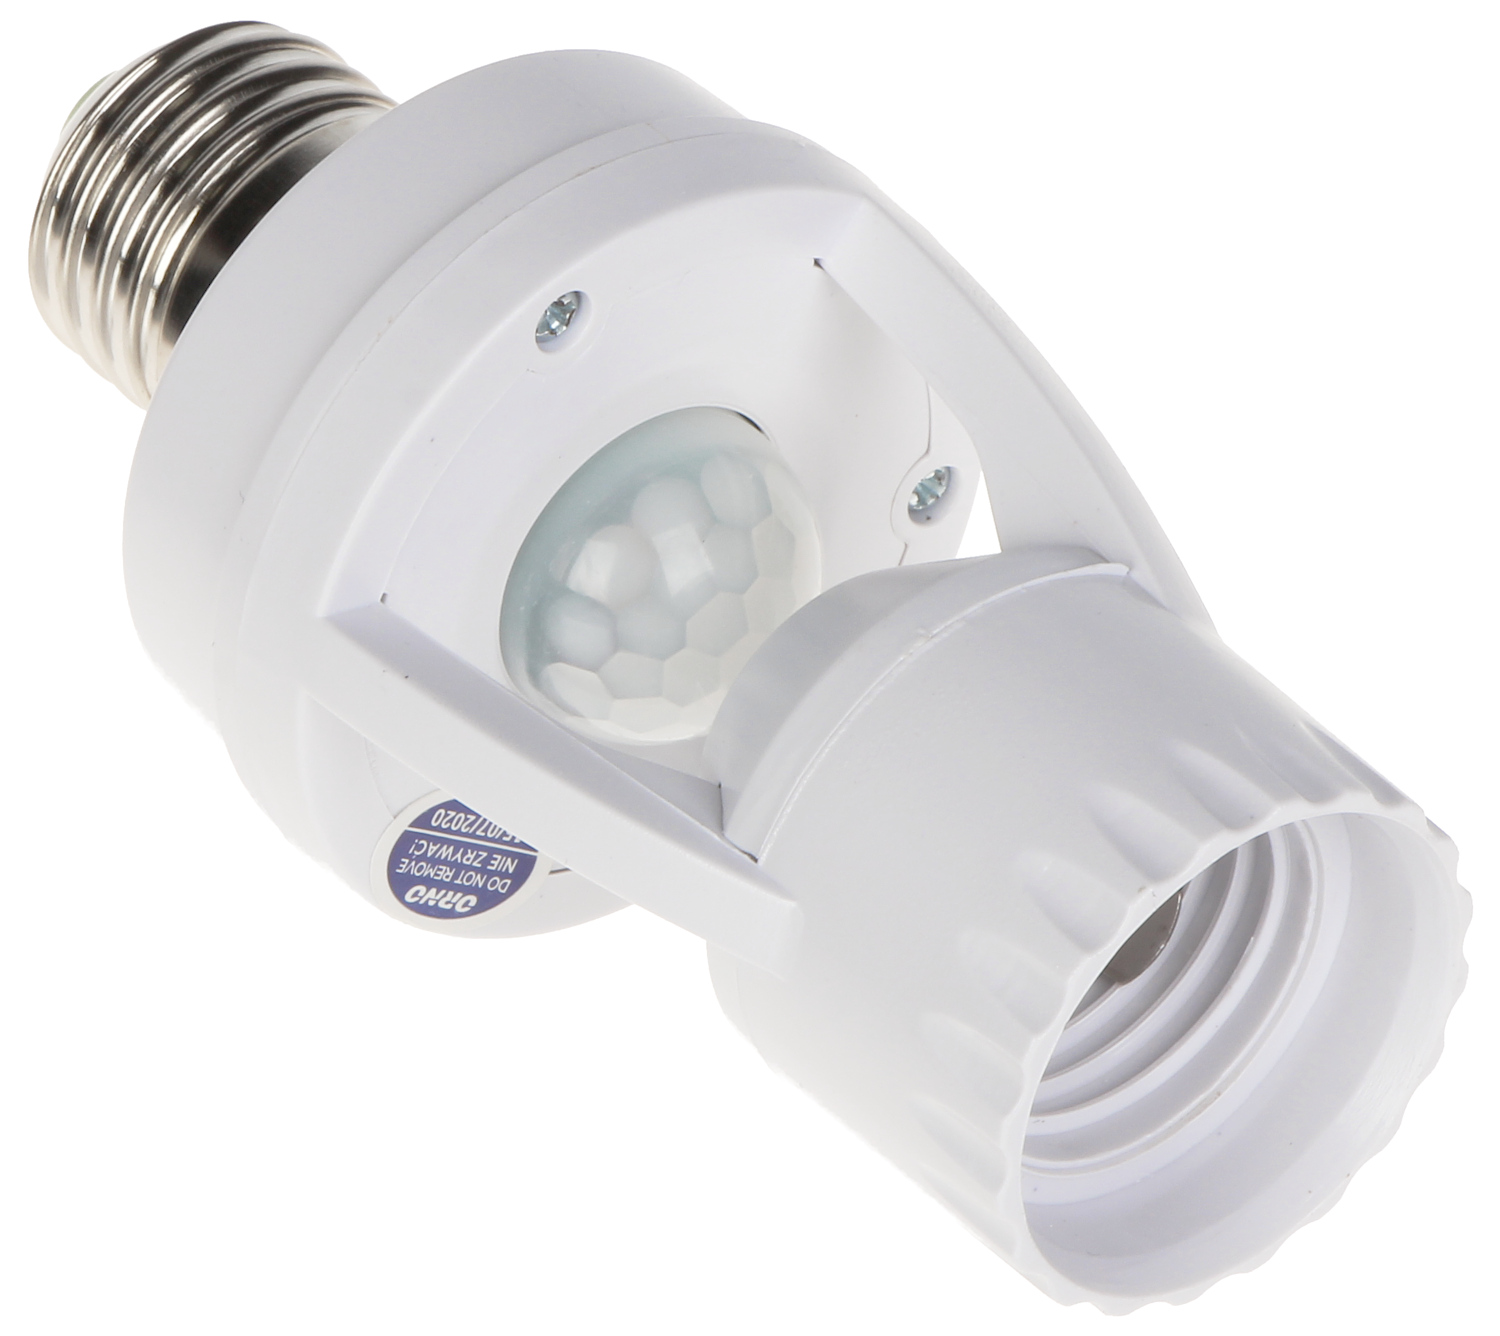
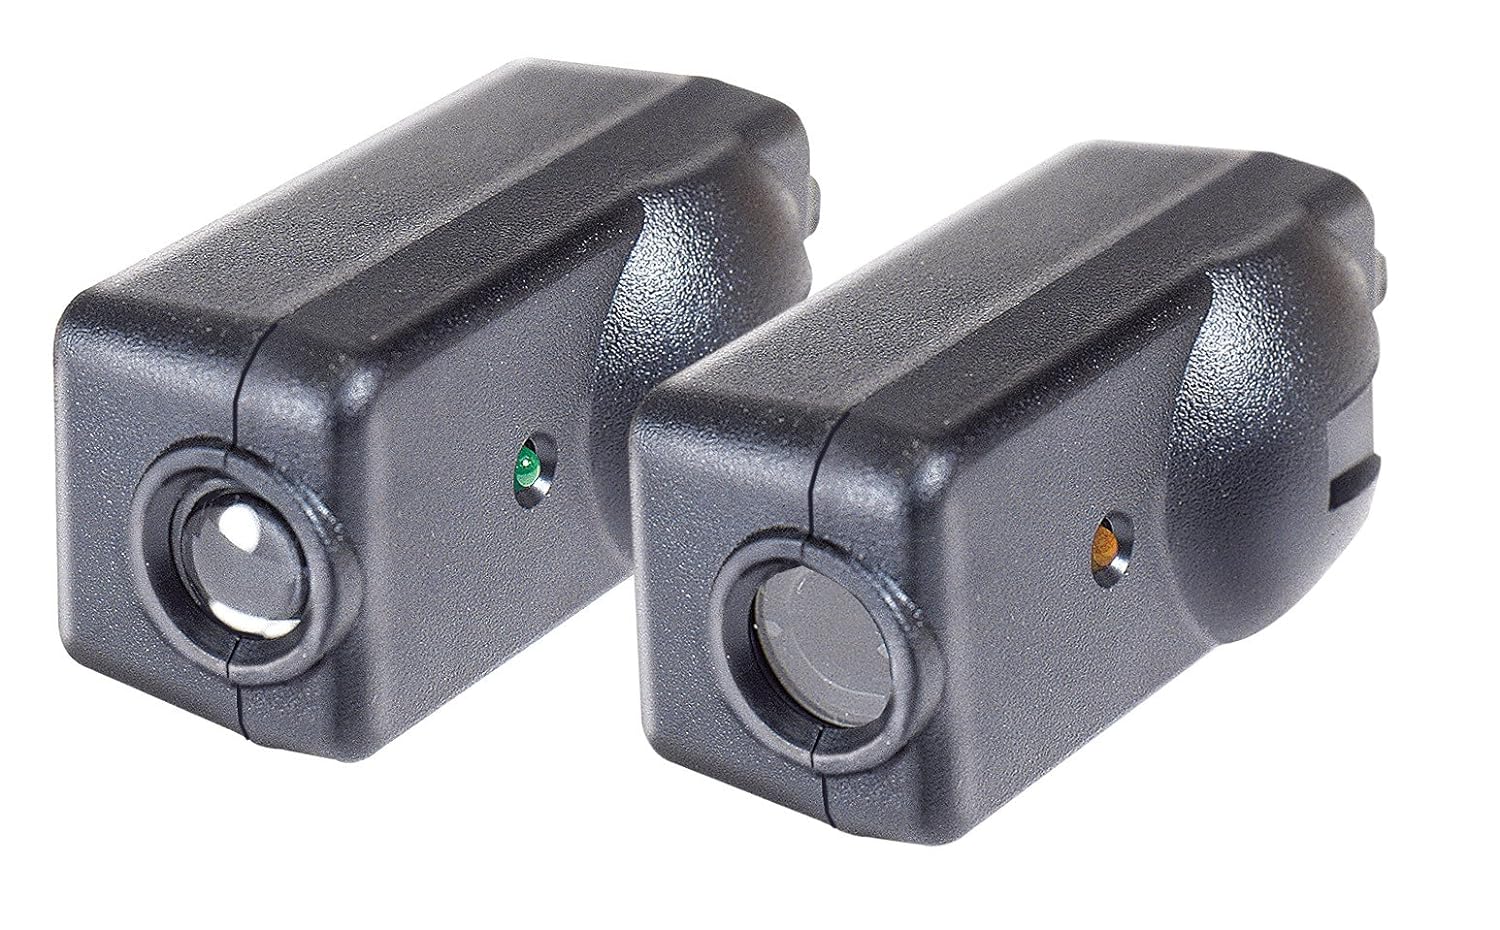
Outdoor light sensors, also known as motion sensors or motion detectors, are ingenious devices designed to detect motion within their range and trigger the connected lighting system to illuminate the area. These sensors are equipped with various technologies, including passive infrared (PIR), ultrasonic, microwave, and dual-technology sensors, each offering unique advantages and applications.
Passive Infrared (PIR) sensors are the most commonly used in outdoor lighting. They work by detecting changes in infrared radiation within their field of view, typically caused by the movement of warm objects such as humans, animals, or vehicles. When motion is detected, the sensor sends a signal to the light fixture, prompting it to turn on and illuminate the surrounding area.
Ultrasonic sensors emit high-frequency sound waves and analyze the reflections to detect motion. These sensors are particularly effective at detecting subtle movements and can operate effectively in various environmental conditions. Microwave sensors, on the other hand, emit microwave pulses and measure the reflections to identify motion. They are known for their ability to penetrate certain materials and cover a broader detection range compared to PIR sensors.
Dual-technology sensors combine two different detection technologies, such as PIR and microwave, to enhance accuracy and reduce the likelihood of false triggers. By utilizing multiple technologies, these sensors offer a more comprehensive approach to motion detection, making them suitable for demanding outdoor environments.
Understanding the type of sensor installed in your outdoor light is crucial for adjusting its settings effectively. Different sensors may have distinct adjustment mechanisms and sensitivity controls, so familiarizing yourself with the specific sensor technology will facilitate a more precise and tailored adjustment process.
By gaining insight into the functionality of outdoor light sensors, you can appreciate the innovative mechanisms that drive their operation and make informed decisions when it comes to optimizing their performance. With this knowledge in hand, you'll be well-prepared to embark on the journey of adjusting the sensor on your outdoor light.
**
Tools and Materials Needed
**
Before diving into the process of adjusting the sensor on your outdoor light, it’s essential to gather the necessary tools and materials to ensure a smooth and efficient adjustment. Here’s a comprehensive list of the items you’ll need:
- Adjustment screwdriver or Allen wrench: The specific tool required for adjusting the sensor’s sensitivity and range will depend on the type of sensor installed. Some sensors utilize a small screw for adjustments, while others may require an Allen wrench or a specialized tool provided by the manufacturer.
- Ladder or step stool: Since outdoor lights are typically mounted at a height, having a stable and secure ladder or step stool is essential for safe access to the light fixture and sensor.
- Protective gloves and eyewear: Working with outdoor lighting fixtures may involve exposure to dust, debris, and electrical components. Wearing protective gloves and eyewear can help safeguard against potential hazards and ensure a safe adjustment process.
- Owner’s manual: The owner’s manual for your outdoor light fixture and sensor contains valuable information regarding the specific adjustment procedures, recommended settings, and safety guidelines. Ensure that you have access to the manual for reference during the adjustment process.
- Optional: Cleaning supplies – If the sensor lens or surrounding area is dirty or obstructed, having cleaning supplies such as a soft cloth and mild cleaning solution can help improve the sensor’s performance.
By assembling these tools and materials, you’ll be well-equipped to tackle the task of adjusting the sensor on your outdoor light with confidence and precision. Prioritizing safety and preparedness ensures that the adjustment process is not only effective but also conducted in a secure and controlled manner. With the necessary tools at your disposal, you’re ready to embark on the journey of fine-tuning your outdoor light sensor for optimal performance.
**
To adjust the sensor on an outdoor light, first, locate the sensor and look for any adjustment knobs or dials. Use a screwdriver to make small adjustments to the sensitivity and range of the sensor until it detects motion at the desired distance and angle. Test the light after each adjustment to ensure it is working as intended.
Steps to Adjust Sensor on Outdoor Light
**
Adjusting the sensor on your outdoor light may seem daunting at first, but with the right approach and attention to detail, you can fine-tune the settings to match your specific lighting needs. Follow these step-by-step instructions to adjust the sensor on your outdoor light effectively:
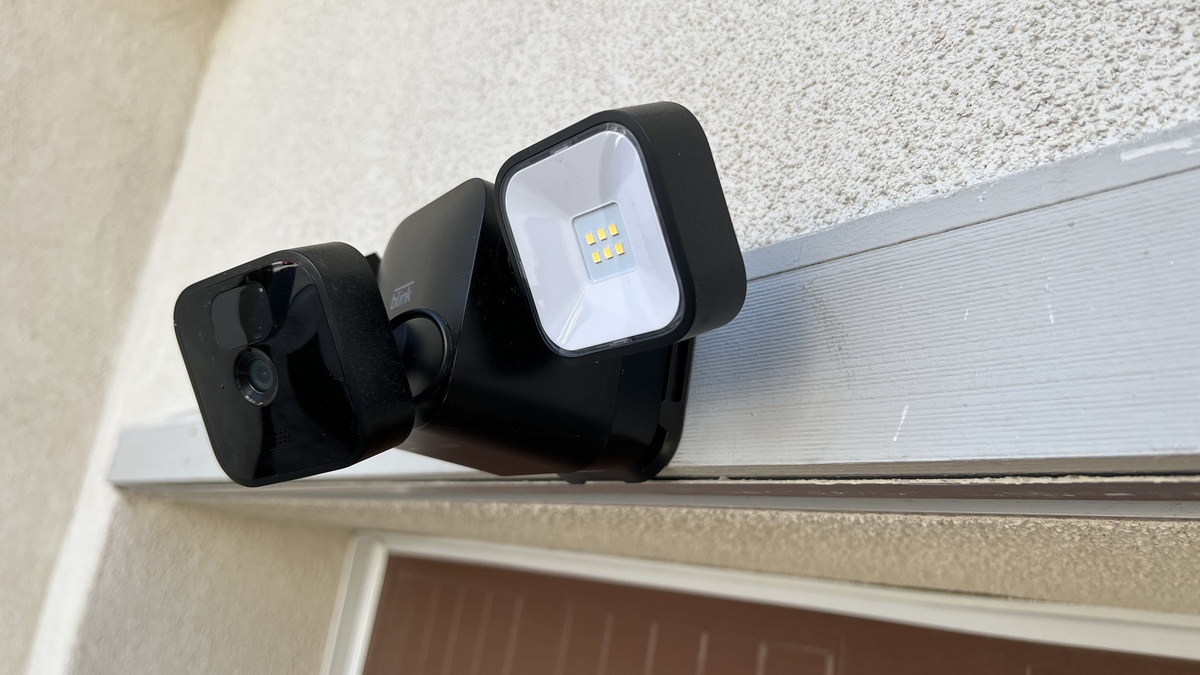
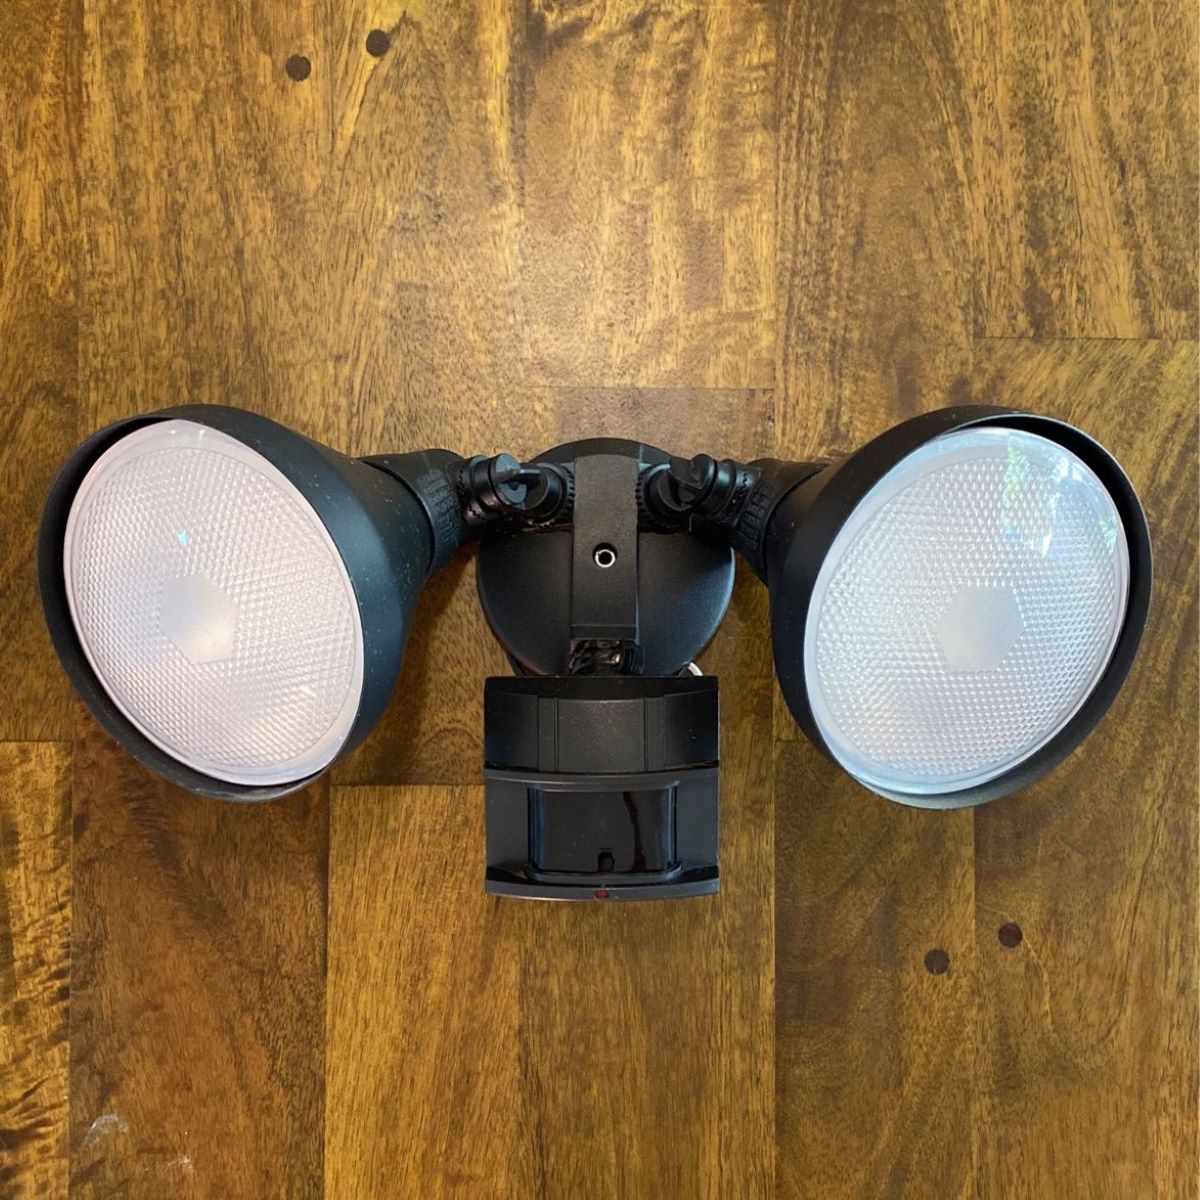
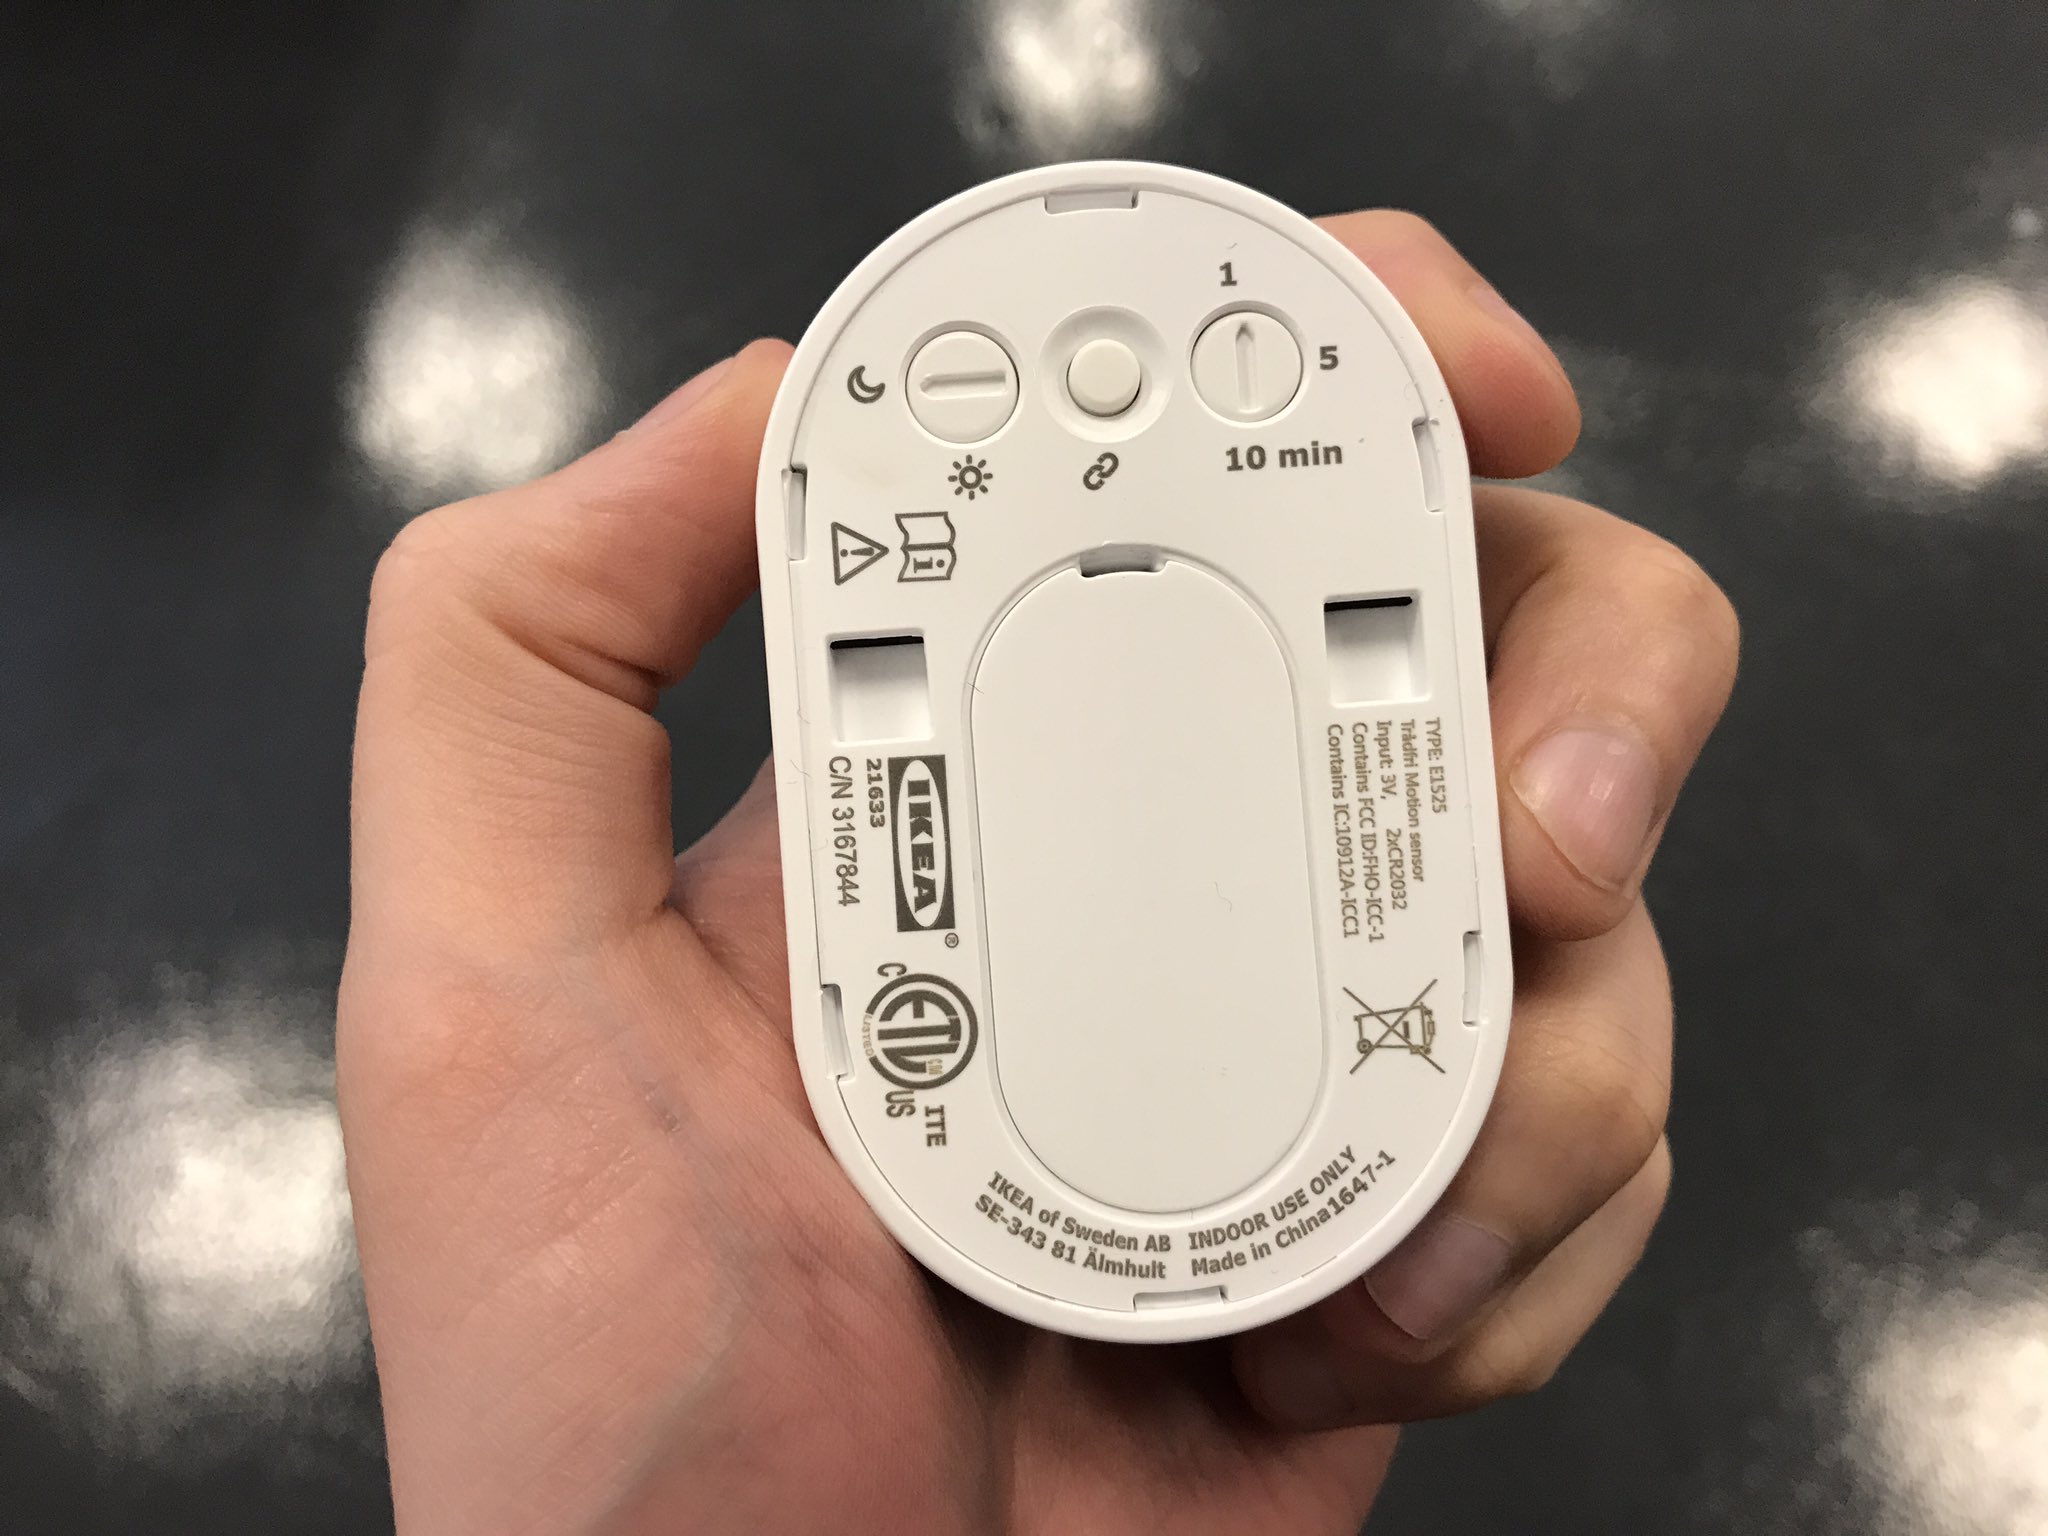
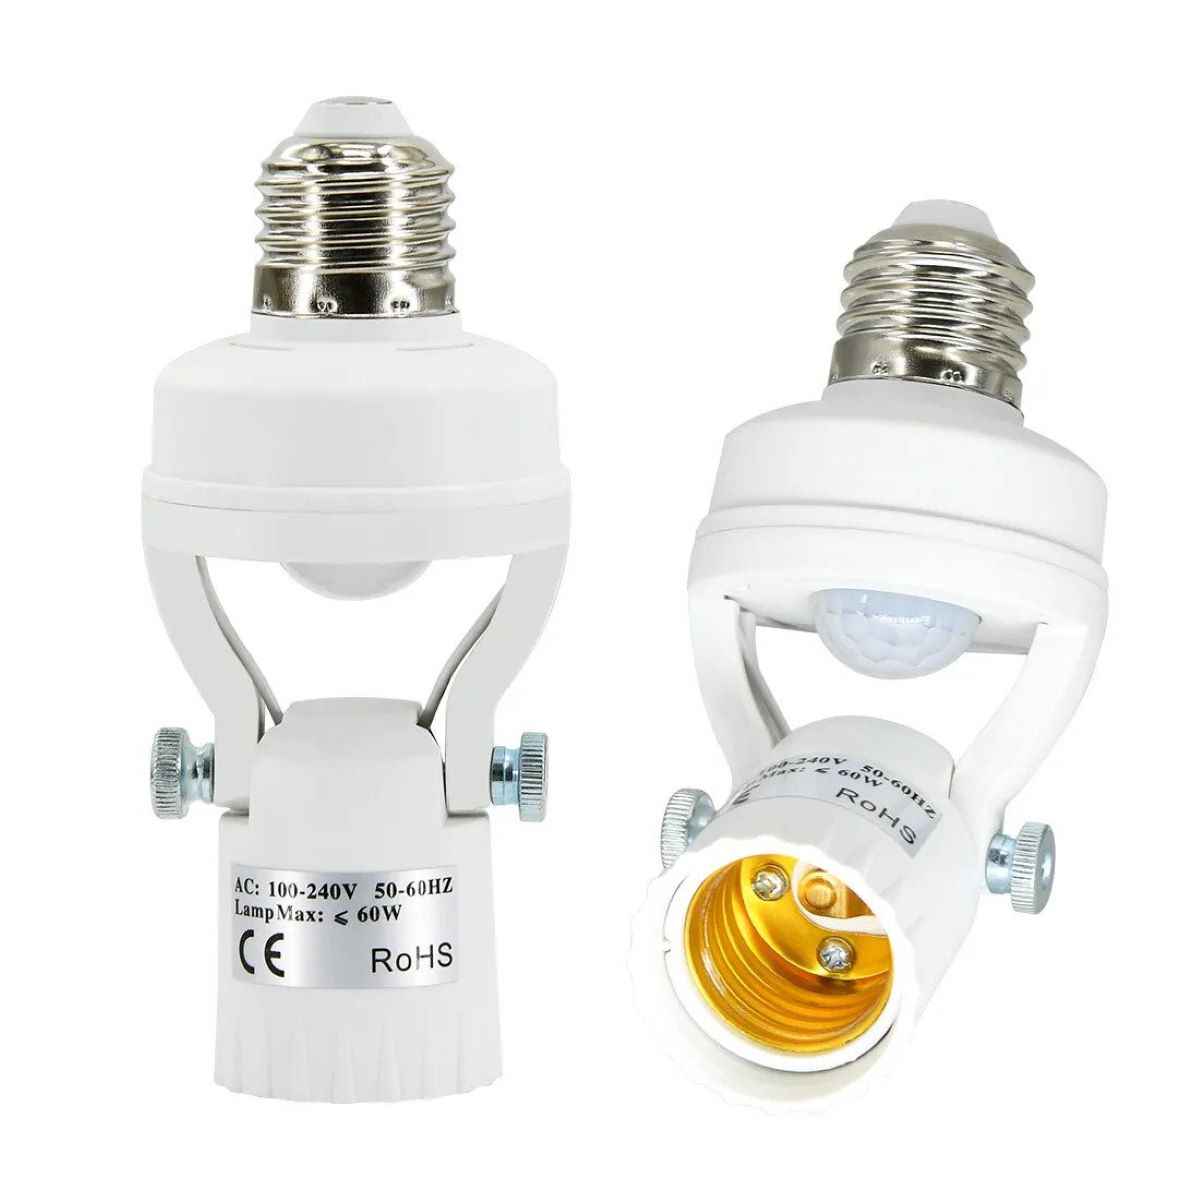
- Locate the Sensor: Begin by identifying the location of the sensor on your outdoor light fixture. The sensor is typically positioned at the bottom or top of the fixture and may be accompanied by a protective cover or shield.
- Access the Adjustment Controls: Depending on the type of sensor, you may need to remove the protective cover to access the adjustment controls. Refer to the owner’s manual for specific instructions on safely accessing the sensor’s adjustment mechanisms.
- Determine the Desired Range and Sensitivity: Before making any adjustments, consider the range and sensitivity settings that align with your lighting requirements. Are you aiming for a broad detection range that covers a large area, or do you prefer a more focused and precise detection zone?
- Use the Appropriate Tool: Select the appropriate adjustment tool based on the sensor’s design. If the sensor features a small screw for adjustments, use a compatible screwdriver. For sensors that require an Allen wrench or specialized tool, ensure that you have the correct instrument for making precise adjustments.
- Fine-Tune the Settings: With the adjustment tool in hand, carefully modify the sensor’s range and sensitivity settings according to your preferences. Make gradual adjustments and test the sensor after each change to gauge the impact on its performance.
- Observe and Test: After adjusting the sensor, observe its response to motion and evaluate whether the lighting activation aligns with your intended coverage area and detection sensitivity. Make additional adjustments as needed to achieve the desired outcome.
- Replace the Protective Cover: Once you are satisfied with the sensor’s settings, securely replace the protective cover to shield the adjustment controls and ensure the sensor’s durability and weather resistance.
By following these systematic steps, you can navigate the process of adjusting the sensor on your outdoor light with precision and confidence. Taking the time to understand the sensor’s placement, access the adjustment controls, and fine-tune the settings will empower you to tailor the sensor’s performance to suit your specific outdoor lighting requirements.
**
Testing the Sensor
**
After adjusting the sensor on your outdoor light, it’s crucial to conduct thorough testing to ensure that the settings align with your desired lighting functionality and motion detection requirements. Testing the sensor allows you to evaluate its responsiveness, coverage area, and sensitivity, providing valuable insights into its performance. Here’s a comprehensive guide to testing the sensor on your outdoor light:
- Trigger the Sensor: Walk within the detection range of the sensor to activate its motion detection capabilities. Observe how the sensor responds to your movement and whether the connected light fixture promptly illuminates the area. Pay attention to the activation time and the duration for which the light remains on.
- Evaluate the Coverage Area: Assess the coverage area illuminated by the light when the sensor is triggered. Determine whether the lighting adequately encompasses the intended outdoor space and provides sufficient visibility based on your specific lighting requirements.
- Adjustments and Fine-Tuning: If the sensor’s response or the coverage area does not meet your expectations, consider making further adjustments to the sensor’s range and sensitivity settings. Fine-tune the settings based on the observed performance during testing, aiming to achieve optimal motion detection and lighting activation.
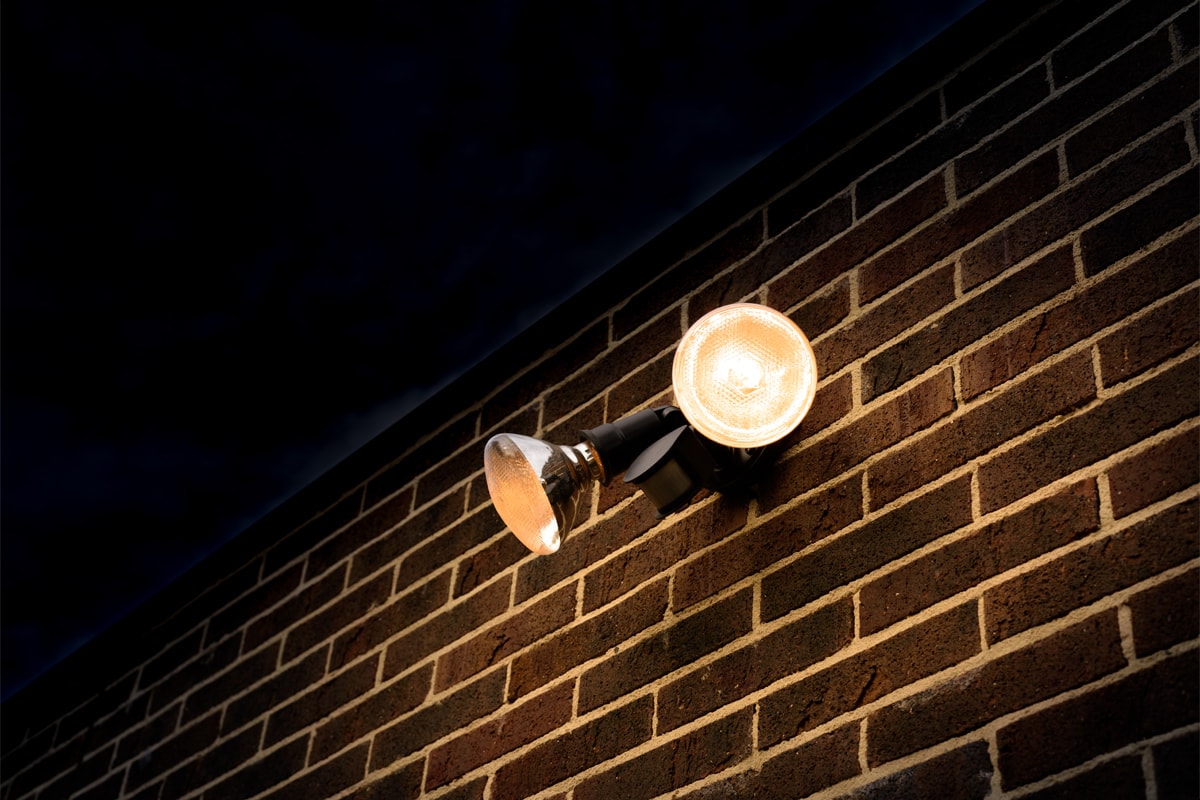
- Observe Nighttime Performance: Testing the sensor during nighttime conditions is essential to assess its performance in low-light environments. Verify that the sensor effectively detects motion and triggers the light to provide reliable illumination during nighttime hours.
- Repeat Testing Scenarios: Perform multiple testing scenarios by varying the distance and angles at which you approach the sensor. This comprehensive approach allows you to gauge the sensor’s responsiveness across different motion detection scenarios and fine-tune its settings accordingly.
- Document and Refine Settings: Keep a record of the sensor’s performance during testing, noting any adjustments made and their impact on the lighting activation and coverage area. Use this information to refine the settings further until the sensor consistently meets your specific outdoor lighting needs.
By diligently testing the sensor and carefully evaluating its performance across different scenarios, you can refine its settings to achieve optimal functionality and reliability. The testing phase serves as a crucial step in the adjustment process, empowering you to fine-tune the sensor’s settings based on real-world performance and ensure that your outdoor light operates seamlessly in response to motion detection.
**
Read more: How To Fix Outdoor Sensor Light
Conclusion
**
Adjusting the sensor on your outdoor light is a rewarding endeavor that allows you to tailor the lighting system to meet your specific needs, whether it’s enhancing security, improving visibility, or conserving energy. By gaining a deeper understanding of outdoor light sensors, assembling the necessary tools and materials, and following the systematic steps for adjustment and testing, you can optimize the sensor’s performance with confidence and precision.
As you embark on the journey of adjusting your outdoor light sensor, remember that patience and careful observation are key. Fine-tuning the sensor’s range and sensitivity settings requires a methodical approach, and thorough testing is essential to ensure that the sensor reliably detects motion and activates the light according to your preferences.
By investing time and effort in adjusting the sensor on your outdoor light, you can enjoy the benefits of a well-lit and secure outdoor space, tailored to your specific lighting requirements. Whether you’re illuminating a pathway, enhancing the ambiance of your outdoor area, or bolstering security around your property, a finely adjusted outdoor light sensor can make a significant difference in your overall outdoor lighting experience.
Armed with the knowledge and insights gained from this guide, you are well-equipped to embark on the adjustment journey and optimize the performance of your outdoor light sensor. Embrace the opportunity to fine-tune your outdoor lighting system, and let the radiance of a thoughtfully adjusted sensor illuminate your outdoor space with efficiency and reliability.
With a well-adjusted outdoor light sensor, you can step into a world of enhanced illumination and security, where every movement triggers a seamless and tailored lighting response. Embrace the art of sensor adjustment and revel in the transformative power of precision lighting control in your outdoor environment.
Frequently Asked Questions about How To Adjust Sensor On Outdoor Light
Was this page helpful?
At Storables.com, we guarantee accurate and reliable information. Our content, validated by Expert Board Contributors, is crafted following stringent Editorial Policies. We're committed to providing you with well-researched, expert-backed insights for all your informational needs.


0 thoughts on “How To Adjust Sensor On Outdoor Light”