Home>Furniture & Design>Outdoor Furniture>How To Change Out An Outdoor Faucet
Outdoor Furniture
How To Change Out An Outdoor Faucet
Modified: August 16, 2024
Learn how to easily change out an outdoor faucet with our step-by-step guide. Upgrade your outdoor furniture with our expert tips and advice. Keep your outdoor space looking stylish and functional.
(Many of the links in this article redirect to a specific reviewed product. Your purchase of these products through affiliate links helps to generate commission for Storables.com, at no extra cost. Learn more)
Introduction
Welcome to the world of outdoor living, where the sun shines, the grass is green, and the gentle breeze beckons you to relax in your outdoor oasis. As you bask in the tranquility of your backyard, you may find yourself contemplating ways to enhance your outdoor space. One often overlooked yet essential component of outdoor living is the outdoor faucet. Whether you use it for watering plants, cleaning outdoor furniture, or filling up a kiddie pool, a functional outdoor faucet is a valuable asset.
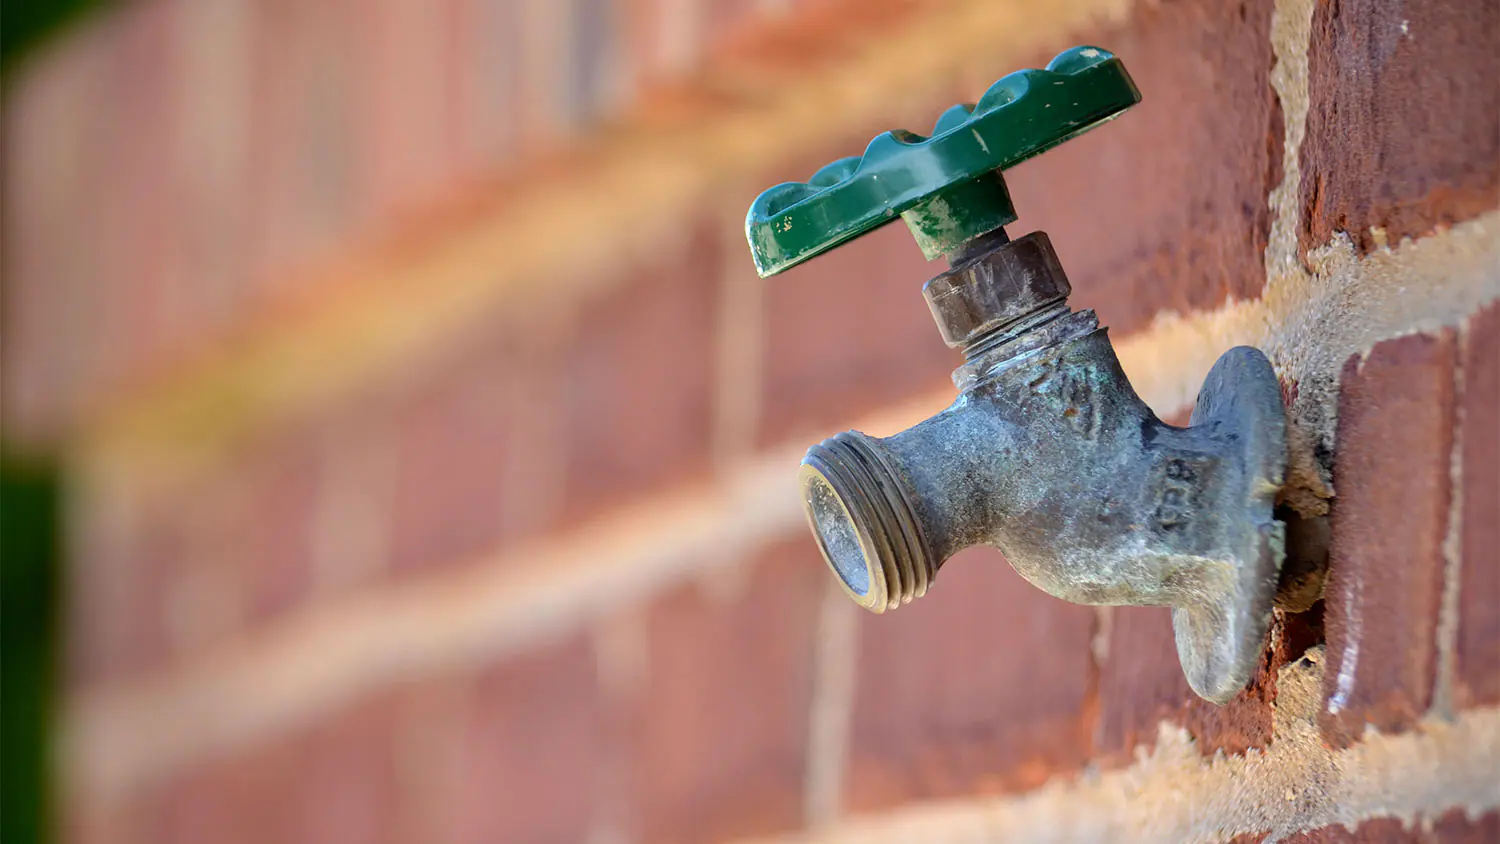
Over time, outdoor faucets can deteriorate due to exposure to the elements, leading to leaks, reduced water pressure, or even complete failure. If you find yourself facing such issues, fear not! This guide will walk you through the process of changing out your outdoor faucet, allowing you to restore functionality and efficiency to your outdoor water source.
With a few simple tools, a bit of know-how, and a touch of determination, you can tackle this project with confidence. By following the steps outlined in this guide, you'll be well on your way to enjoying a fully functional outdoor faucet, ensuring that your outdoor adventures are accompanied by the convenience of readily accessible water. So, let's roll up our sleeves and embark on this journey to upgrade your outdoor space!
Key Takeaways:
- Upgrade your outdoor space by changing out your outdoor faucet, ensuring a reliable water source for gardening, cleaning, and outdoor fun.
- With determination and the right tools, you can revitalize your outdoor oasis, enjoying the convenience and functionality of a new outdoor faucet.
Read more: How To Change Out A Toilet
Step 1: Gather the necessary tools and materials
Before diving into the process of changing out your outdoor faucet, it’s crucial to gather all the essential tools and materials. By ensuring that you have everything you need at the outset, you’ll be able to work efficiently and minimize any potential delays. Here’s a list of items you’ll need:
- Adjustable wrench: This versatile tool will come in handy for loosening and tightening various components of the outdoor faucet.
- Pipe wrench: A pipe wrench is essential for securely gripping and twisting pipes, making it an indispensable tool for this project.
- Plumber’s tape: Also known as Teflon tape, this thin, white tape is used to seal pipe threads, preventing leaks and ensuring a tight, secure fit.
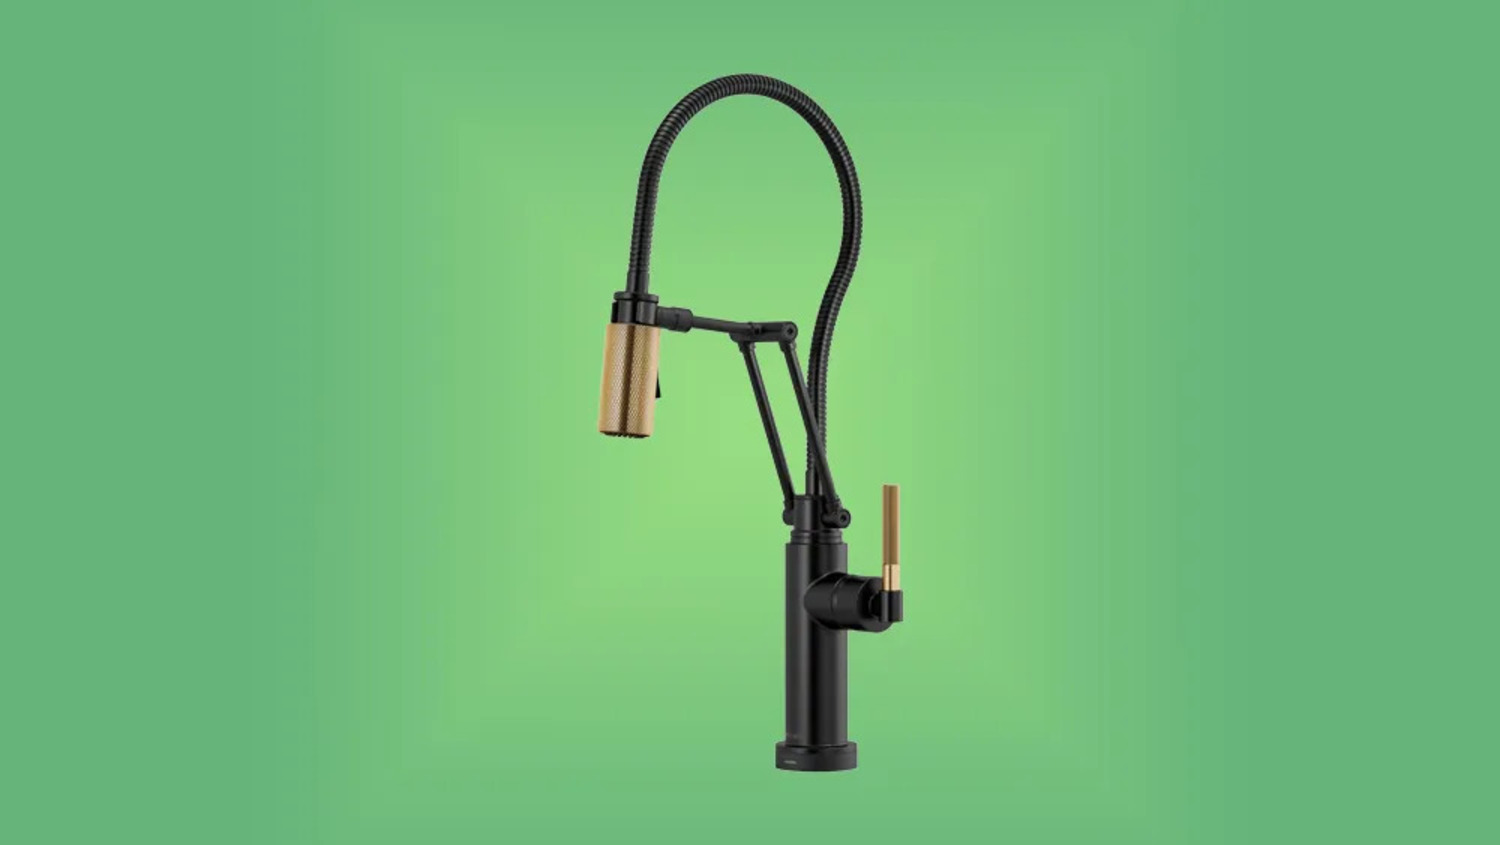
- New outdoor faucet: Select a high-quality outdoor faucet that suits your specific needs and complements the design of your outdoor space.
- Bucket: Keep a bucket on hand to catch any residual water that may drain from the pipes during the process.
- Rag or towel: Having a rag or towel nearby will allow you to wipe away any excess water or debris, keeping your work area clean and organized.
- Silicone caulk (optional): If necessary, you may need silicone caulk to seal the area around the new outdoor faucet, providing an additional layer of protection against water leakage.
By ensuring that you have these tools and materials readily available, you’ll be well-prepared to tackle the task of changing out your outdoor faucet. With everything in place, you can proceed with confidence, knowing that you have the necessary resources to complete the project smoothly and efficiently.
Step 2: Turn off the water supply
Before beginning any work on your outdoor faucet, it’s crucial to shut off the water supply to prevent any potential leaks or water damage. The main water shutoff valve is typically located near the water meter or inside your home, often in the basement or utility area. Once you’ve located the shutoff valve, follow these steps to turn off the water supply:
- Locate the shutoff valve: Take a moment to familiarize yourself with the location of the main water shutoff valve in your home. It’s essential to know its whereabouts in case of emergencies or when conducting maintenance tasks.
- Turn the valve clockwise: Using a valve key or a pair of pliers, carefully turn the valve in a clockwise direction to shut off the water supply. Apply gentle, steady pressure to ensure that the valve is fully closed.
- Check for water flow: After closing the shutoff valve, briefly turn on a faucet inside your home to verify that the water supply has been successfully turned off. This step will help confirm that no water is flowing from the indoor faucets, indicating a successful shutoff.
By diligently following these steps to turn off the water supply, you’ll create a safe and controlled environment for the subsequent stages of the outdoor faucet replacement process. With the water supply securely turned off, you can proceed with confidence, knowing that you’ve taken the necessary precautions to prevent any water-related mishaps during the project.
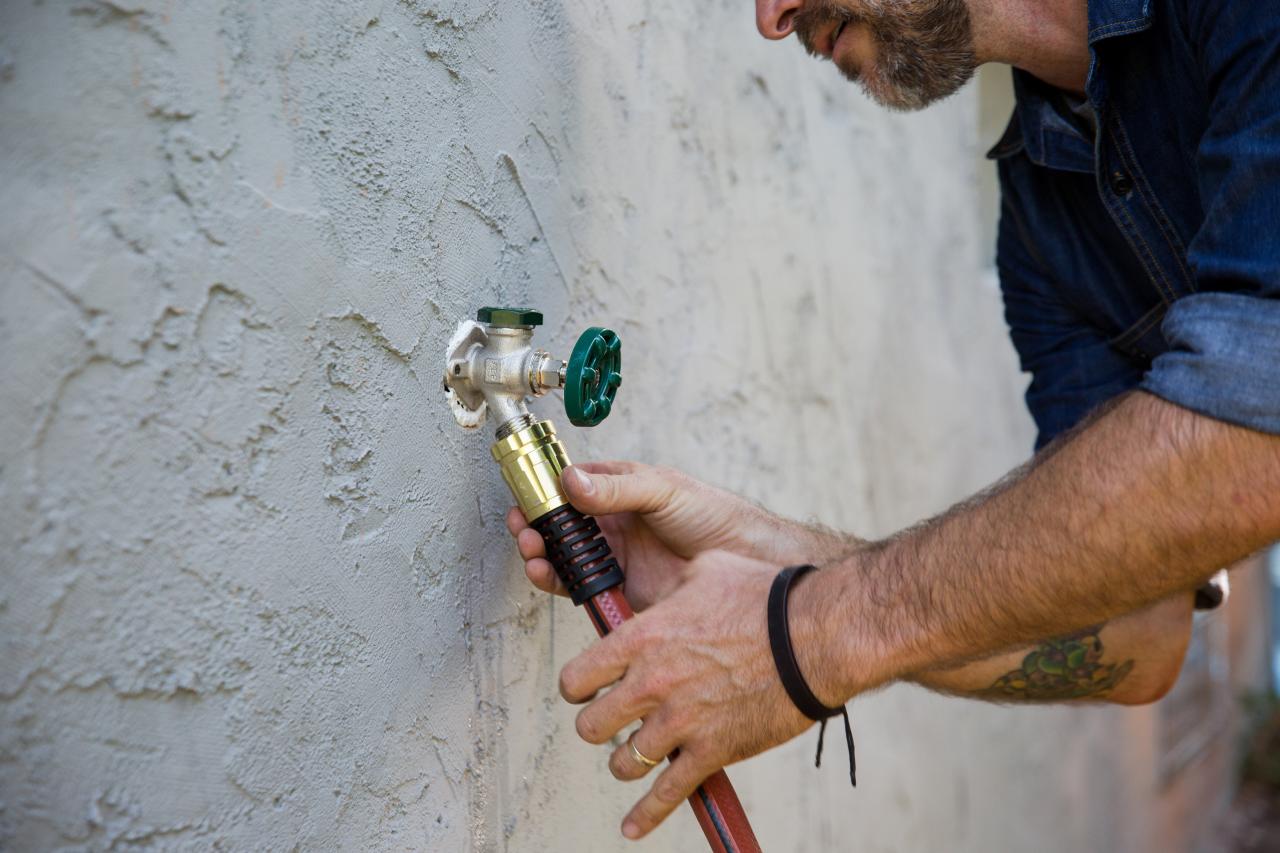
Step 3: Remove the old outdoor faucet
With the water supply safely turned off, it’s time to bid farewell to the old, worn-out outdoor faucet. Removing the existing faucet is a crucial step in the process of replacing it with a new, efficient model. Follow these steps to remove the old outdoor faucet:
- Drain any residual water: Before starting the removal process, ensure that any remaining water in the pipes is drained. Turn on the outdoor faucet to release any trapped water and allow it to flow out completely.
- Disconnect the water supply line: Using an adjustable wrench, carefully disconnect the water supply line connected to the outdoor faucet. Be prepared for a small amount of water to drain out during this step, so keep a bucket and rag handy to contain any spills.
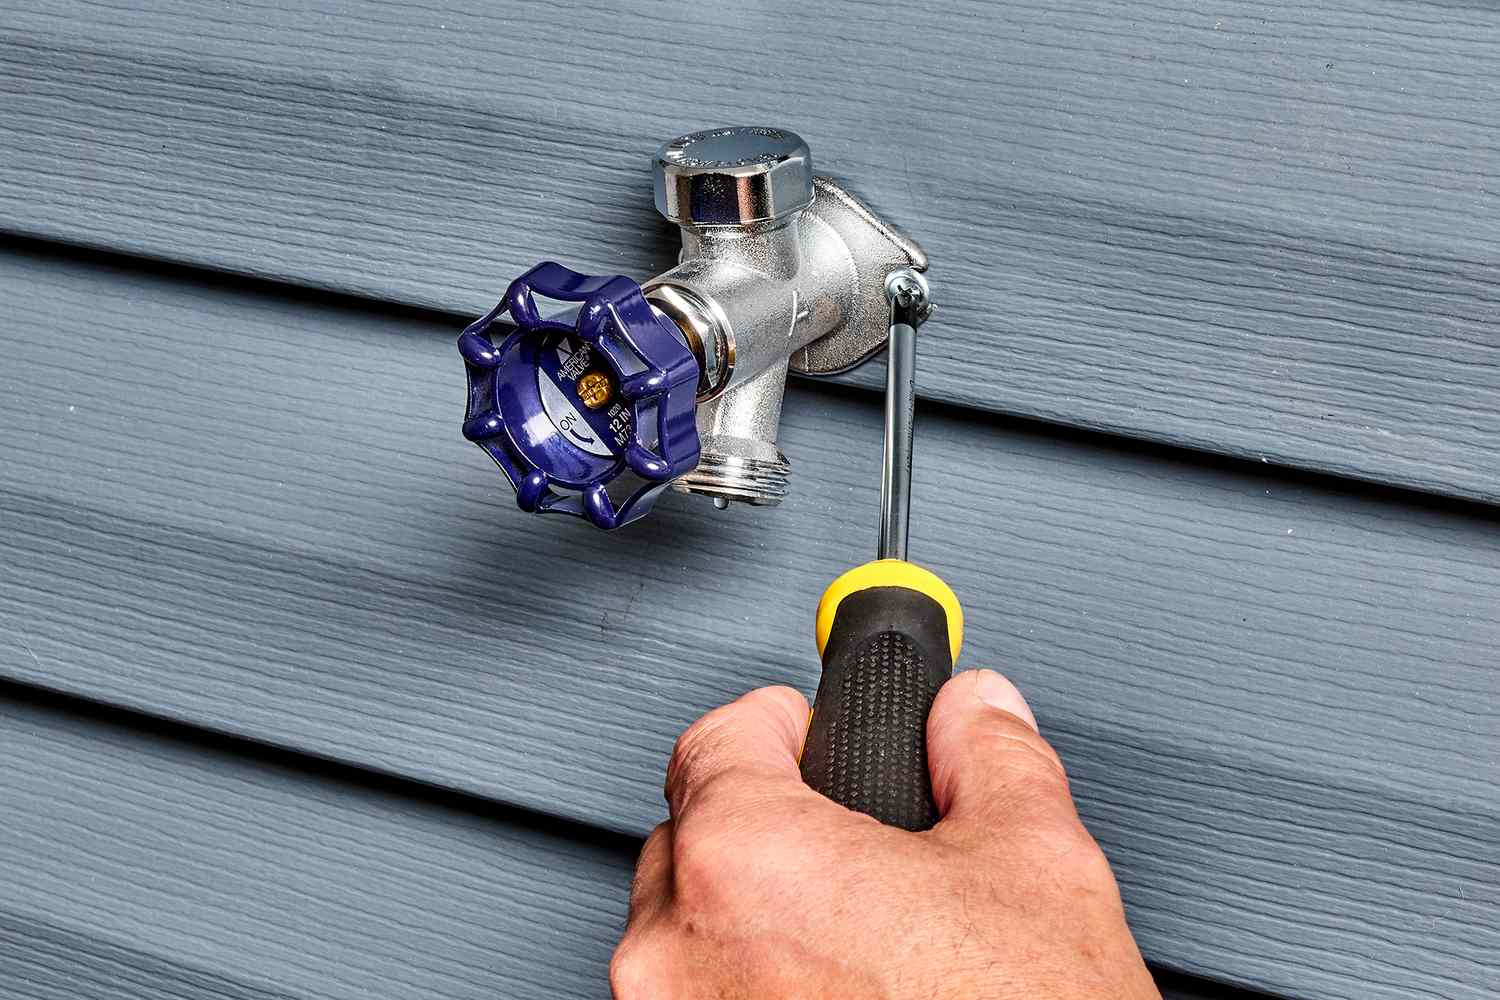
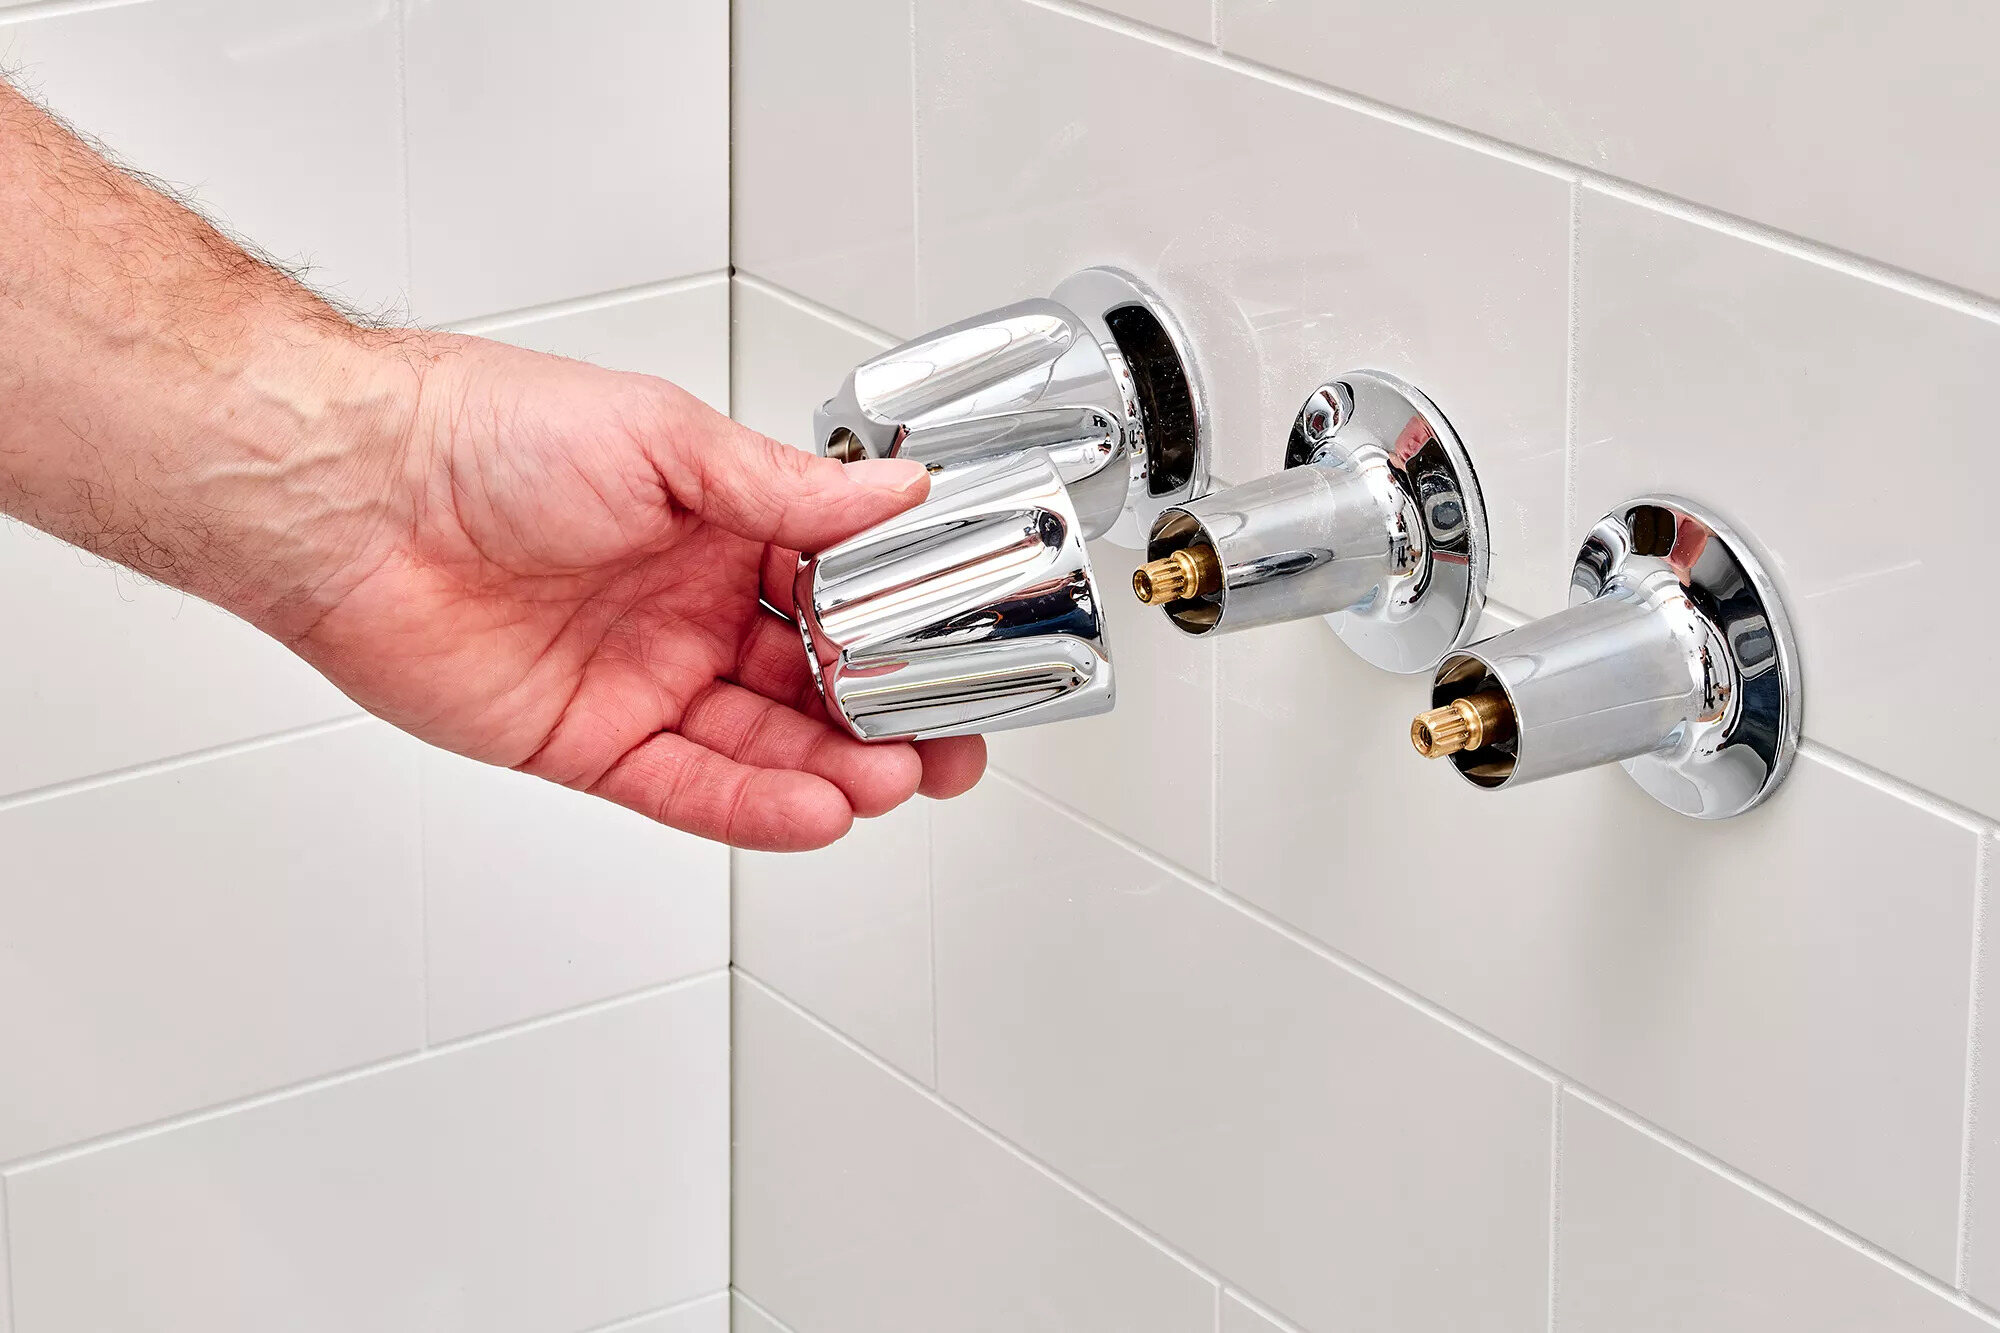
- Loosen the faucet mounting nut: Locate the mounting nut securing the outdoor faucet to the exterior wall. Use a wrench to loosen and remove the nut, allowing you to detach the old faucet from the wall.
- Remove the old faucet: Once the mounting nut is removed, gently pull the old outdoor faucet away from the wall, ensuring that any remaining components, such as washers or gaskets, are also detached.
- Clean the area: Take a moment to clean the area where the old faucet was installed, removing any debris, old sealant, or buildup that may hinder the installation of the new outdoor faucet.
By methodically following these steps, you’ll successfully bid adieu to the old outdoor faucet, clearing the way for the installation of its modern, efficient replacement. With the old faucet removed and the work area prepared, you’re ready to usher in a new era of functionality and convenience with the installation of the upgraded outdoor faucet.
When changing out an outdoor faucet, make sure to turn off the water supply before starting the replacement process. This will prevent any water from leaking and causing a mess while you work.
Step 4: Install the new outdoor faucet
With the old outdoor faucet gracefully retired, it’s time to welcome its successor – the new and improved outdoor faucet. Installing the new faucet is a pivotal stage in the process, marking the transition to enhanced functionality and reliability. Follow these steps to install the new outdoor faucet:
- Apply plumber’s tape: Begin by wrapping plumber’s tape around the threads of the water supply line. This step will help create a secure, leak-resistant seal when connecting the new faucet.
- Position the new faucet: Carefully position the new outdoor faucet at the installation site on the exterior wall. Ensure that it aligns correctly with the water supply line and fits snugly against the wall surface.
- Secure the faucet mounting nut: Once the new faucet is positioned, fasten the mounting nut to secure it in place. Use a wrench to tighten the nut, ensuring that the faucet is firmly anchored to the wall.
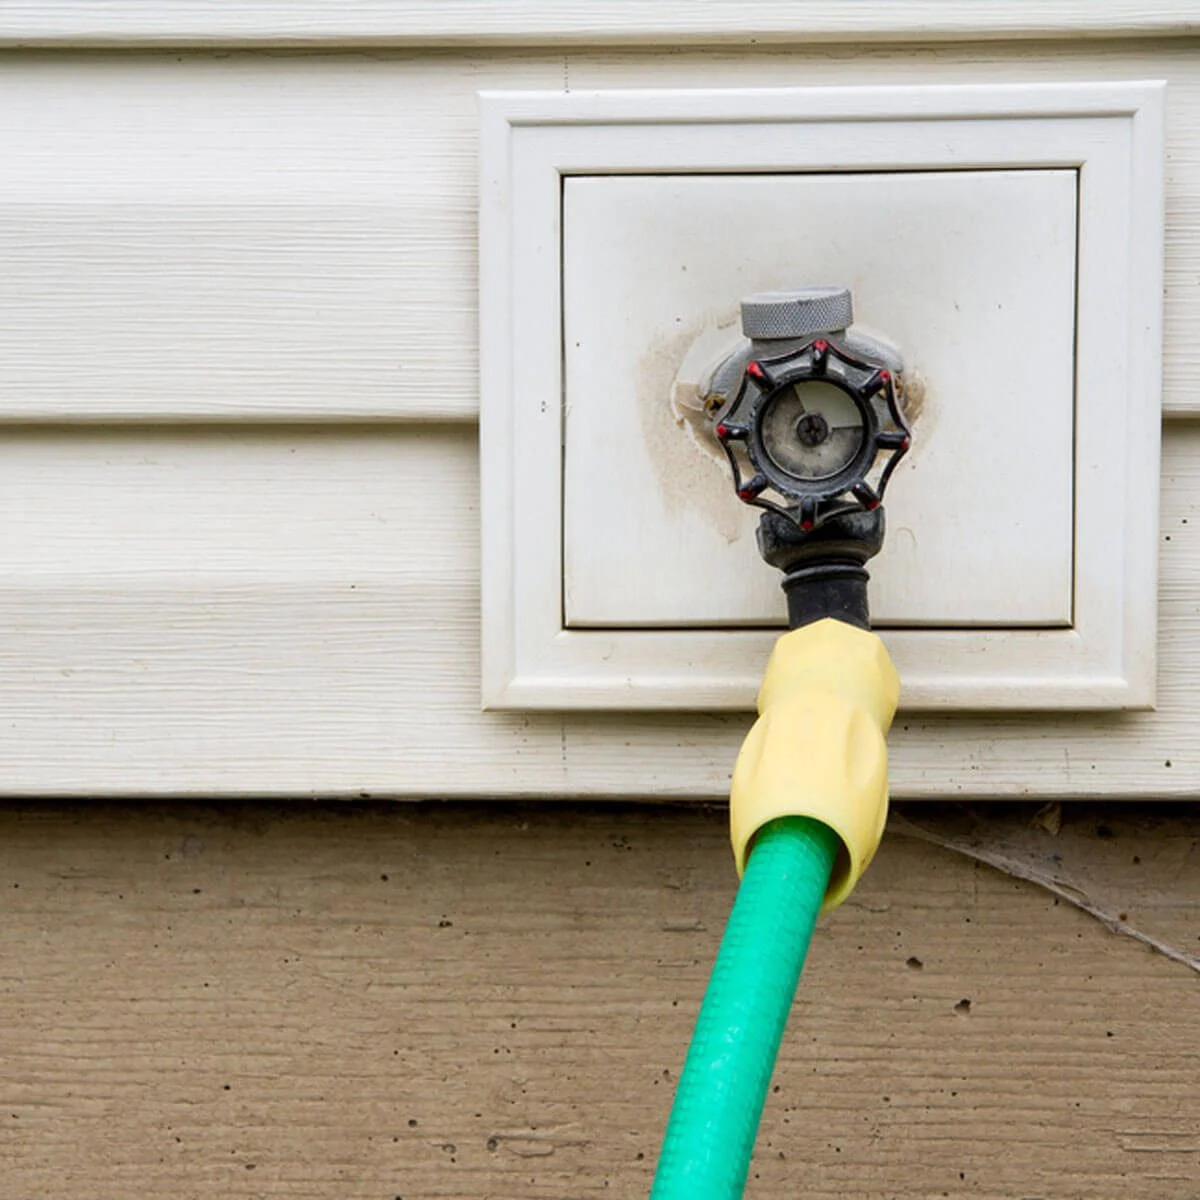
- Connect the water supply line: Reconnect the water supply line to the new outdoor faucet, using an adjustable wrench to achieve a tight, secure connection. Verify that the connection is leak-free and properly aligned.
- Apply silicone caulk (if necessary): If the new faucet requires additional sealing, apply a bead of silicone caulk around the base of the faucet where it meets the wall. This step will provide an extra layer of protection against water infiltration.
By meticulously following these steps, you’ll successfully install the new outdoor faucet, setting the stage for a seamless transition to a reliable and efficient water source for your outdoor activities. With the new faucet securely in place, you’re one step closer to enjoying the convenience and functionality of a rejuvenated outdoor space.
Read more: How To Thaw An Outdoor Faucet
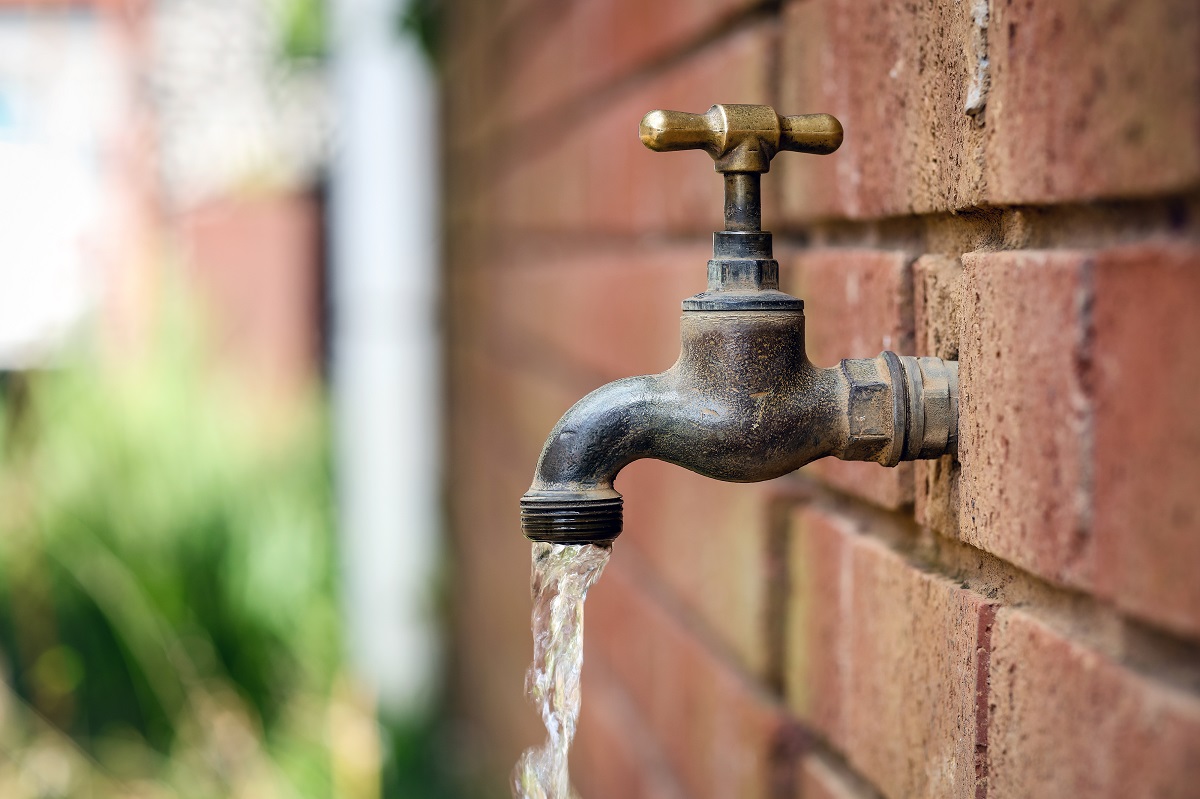
Step 5: Turn the water supply back on
With the new outdoor faucet securely installed, it’s time to restore the flow of water and breathe new life into your outdoor water source. Reconnecting the water supply is the final step in the process, marking the culmination of your efforts to upgrade and revitalize your outdoor space. Follow these steps to turn the water supply back on:
- Locate the main water shutoff valve: Return to the main water shutoff valve, which you previously closed to initiate the replacement process.
- Turn the valve counterclockwise: Using a valve key or pliers, carefully turn the main water shutoff valve in a counterclockwise direction to gradually restore the flow of water to your outdoor faucet.
- Check for leaks: Once the water supply is reactivated, inspect the newly installed outdoor faucet and its connections for any signs of leaks or drips. Address any potential issues promptly to ensure a secure and watertight installation.
- Test the faucet: Turn on the new outdoor faucet and allow water to flow, verifying that it operates smoothly and without any leaks. Test both the hot and cold water functions, if applicable, to ensure comprehensive functionality.
- Enjoy your revitalized outdoor space: With the water supply successfully restored and the new outdoor faucet in full operation, take a moment to revel in the enhanced functionality and convenience of your outdoor water source. You’ve successfully completed the replacement process, ushering in a new era of outdoor enjoyment.
By diligently following these steps to turn the water supply back on, you’ll complete the final phase of the outdoor faucet replacement, culminating in the successful integration of a reliable and efficient water source within your outdoor living environment. With the water flowing freely once again, you can look forward to a seamless outdoor experience, accompanied by the convenience and practicality of a rejuvenated outdoor faucet.
Conclusion
Congratulations on successfully navigating the process of changing out your outdoor faucet! By embarking on this journey, you’ve taken a proactive step toward enhancing the functionality and reliability of your outdoor water source, setting the stage for a seamless and enjoyable outdoor living experience.
Throughout this endeavor, you’ve demonstrated resourcefulness, determination, and a willingness to tackle practical tasks to improve your outdoor space. From gathering the necessary tools and materials to carefully installing the new outdoor faucet, each step has contributed to the revitalization of your outdoor water supply.
As you stand amidst the tranquility of your outdoor oasis, envision the countless opportunities that await you – from effortlessly watering your vibrant garden to indulging in refreshing outdoor activities. With the new outdoor faucet in place, you can embrace the convenience and practicality it offers, enriching your outdoor lifestyle and fostering a deeper connection with your outdoor environment.
Remember, the journey doesn’t end here. Your proactive approach to maintaining and upgrading your outdoor space is a testament to your commitment to creating a welcoming and functional environment for relaxation, recreation, and rejuvenation. Your outdoor faucet replacement project serves as a testament to your ability to enhance and optimize your outdoor living space, ensuring that it remains a cherished sanctuary for years to come.
As you revel in the seamless operation of your new outdoor faucet, take pride in the transformative impact of your efforts. Your dedication to maintaining and improving your outdoor space exemplifies the spirit of proactive stewardship, enriching your connection with nature and creating a harmonious outdoor haven.
With the completion of this project, you’ve not only upgraded your outdoor faucet – you’ve elevated your outdoor living experience, infusing it with practicality, reliability, and a touch of your unique personality. As you savor the fruits of your labor, may your outdoor oasis continue to be a source of joy, relaxation, and inspiration, reflecting the care and attention you’ve invested in its upkeep and enhancement.
Frequently Asked Questions about How To Change Out An Outdoor Faucet
Was this page helpful?
At Storables.com, we guarantee accurate and reliable information. Our content, validated by Expert Board Contributors, is crafted following stringent Editorial Policies. We're committed to providing you with well-researched, expert-backed insights for all your informational needs.

0 thoughts on “How To Change Out An Outdoor Faucet”