Home>Furniture & Design>Outdoor Furniture>How To Make Outdoor Christmas Balls
Outdoor Furniture
How To Make Outdoor Christmas Balls
Modified: October 20, 2024
Learn how to make stunning outdoor Christmas balls to enhance your outdoor space with our expert tips and ideas. Create a festive atmosphere with our outdoor furniture, furniture, and design recommendations. Start decorating now!
(Many of the links in this article redirect to a specific reviewed product. Your purchase of these products through affiliate links helps to generate commission for Storables.com, at no extra cost. Learn more)
Introduction
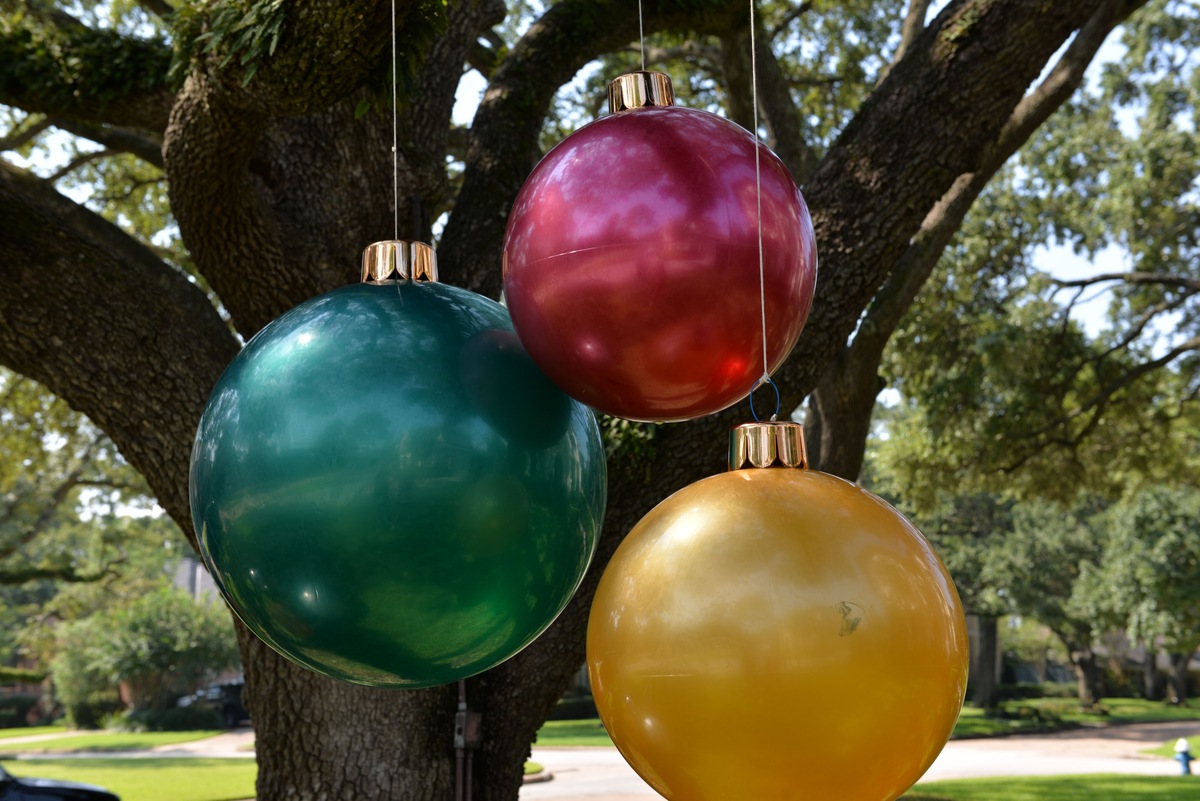
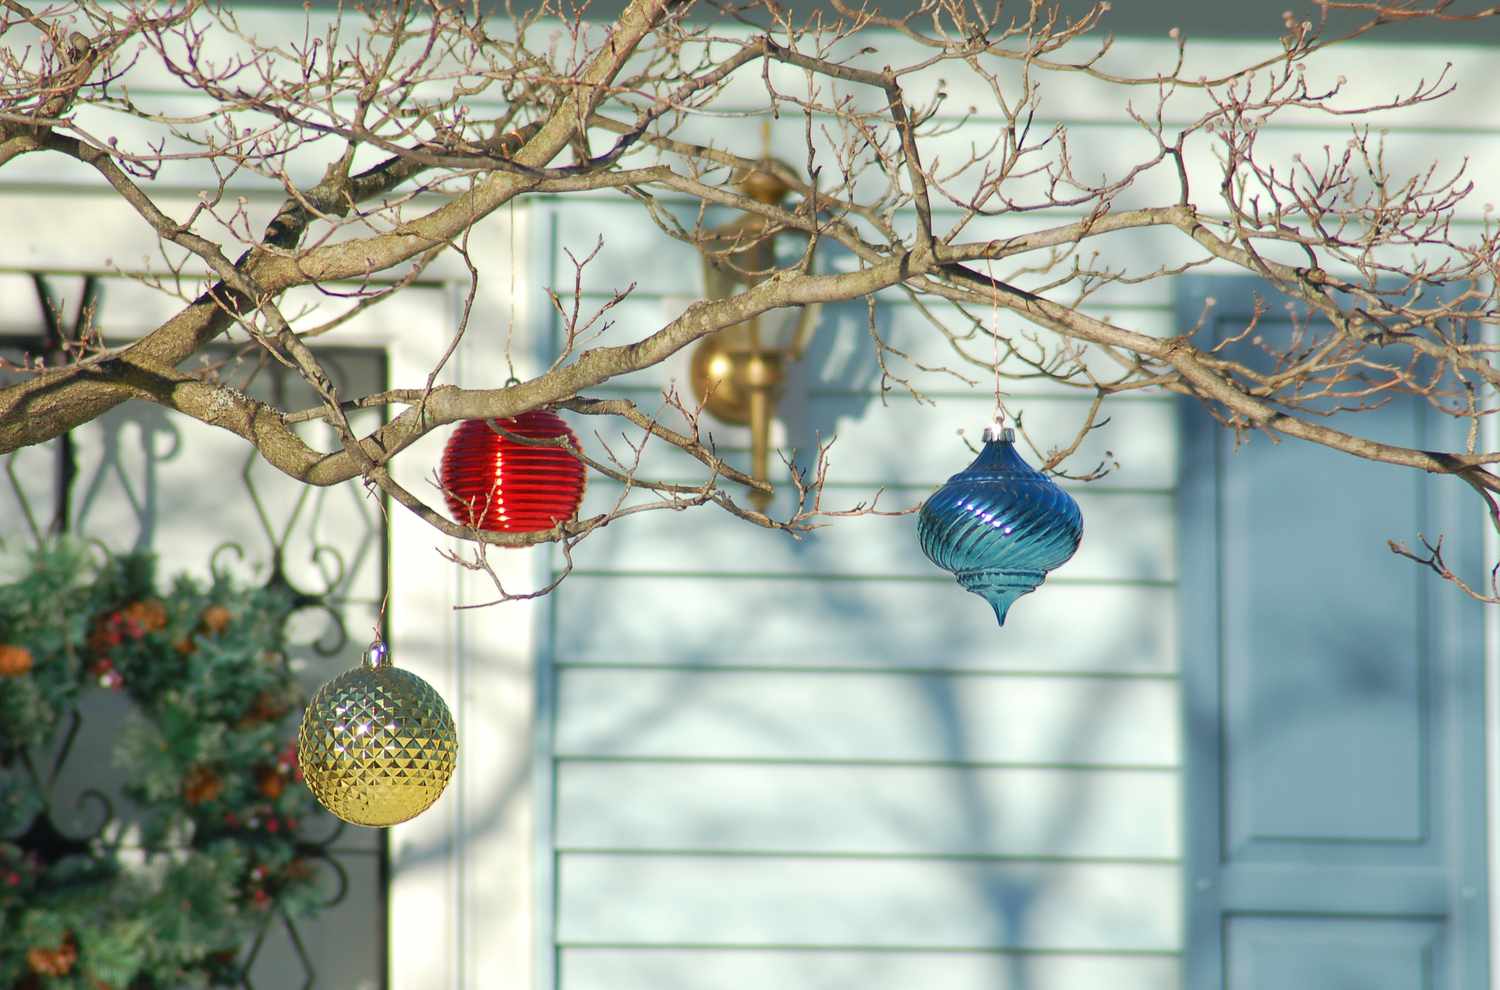
Welcome to the enchanting world of outdoor Christmas decorations! As the festive season approaches, it's the perfect time to infuse your outdoor space with the warm glow of holiday cheer. One delightful way to achieve this is by creating stunning outdoor Christmas balls. These captivating ornaments will not only add a touch of magic to your outdoor decor but also serve as a delightful DIY project for the whole family.
In this comprehensive guide, we will walk you through the step-by-step process of crafting these mesmerizing outdoor Christmas balls. From gathering the essential materials to adding the final touches, you'll discover how simple and enjoyable it can be to bring these charming decorations to life.
So, gather your creative spirit, enlist the help of your loved ones, and let's embark on a joyful journey of crafting outdoor Christmas balls that will illuminate your outdoor space with festive splendor. Let's dive into the magical world of DIY outdoor decor and create memories that will last a lifetime!
Key Takeaways:
- Crafting outdoor Christmas balls is a delightful DIY project that infuses your outdoor space with festive charm. With simple materials and creativity, you can create enduring symbols of joy and celebration.
- Adding lights to your Christmas balls creates a mesmerizing glow, illuminating your outdoor space with the magic of the holiday season. Embrace the joy of DIY craftsmanship and create cherished memories.
Read more: How To Make Outdoor Christmas Presents
Materials Needed
Before diving into the delightful process of crafting outdoor Christmas balls, it’s essential to gather the necessary materials. The beauty of this DIY project lies in its simplicity, and you’ll find that the required items are easily accessible and affordable. Here’s a list of the materials you’ll need to get started:
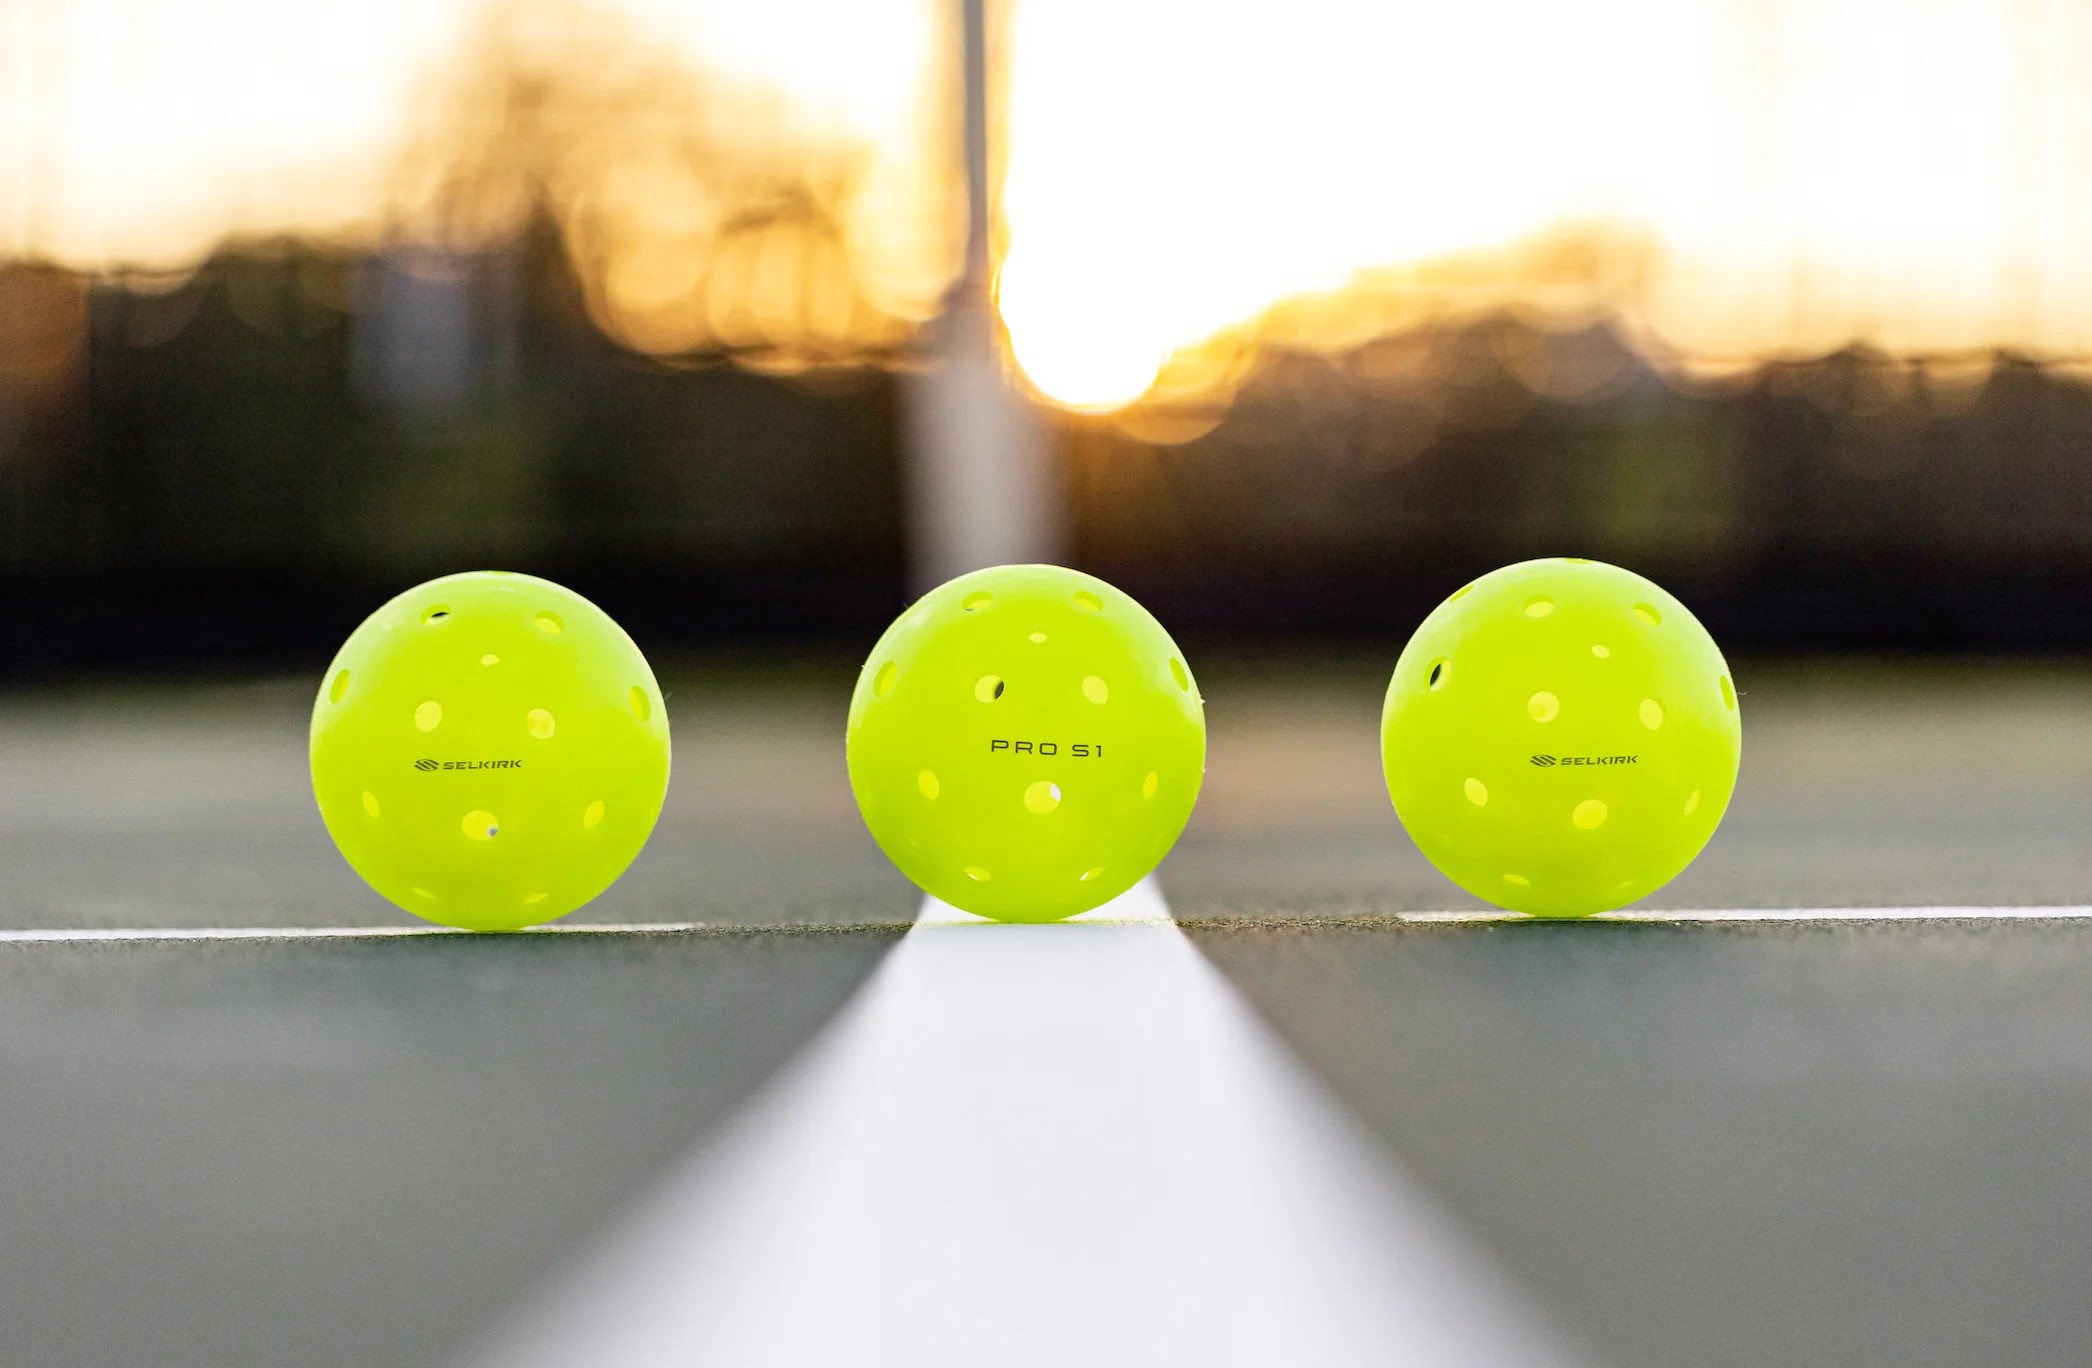
- Balloons: Select a variety of sizes to create a captivating assortment of outdoor Christmas balls. The balloons will serve as the base for your ornaments, providing the structure for the enchanting decorations.
- Yarn or String: Choose a selection of yarn in festive colors or opt for classic white or silver to evoke a timeless elegance. The yarn will be wrapped around the balloons, adding texture and charm to the finished Christmas balls.
- Glue: A reliable, multipurpose glue will be your steadfast companion throughout this crafting journey. Whether using traditional white glue or a specialized crafting adhesive, ensure that it is suitable for use with yarn and balloons.
- Scissors: A pair of sharp scissors will be indispensable for cutting the yarn and removing the balloons once the Christmas balls are complete. Keep them handy throughout the crafting process.
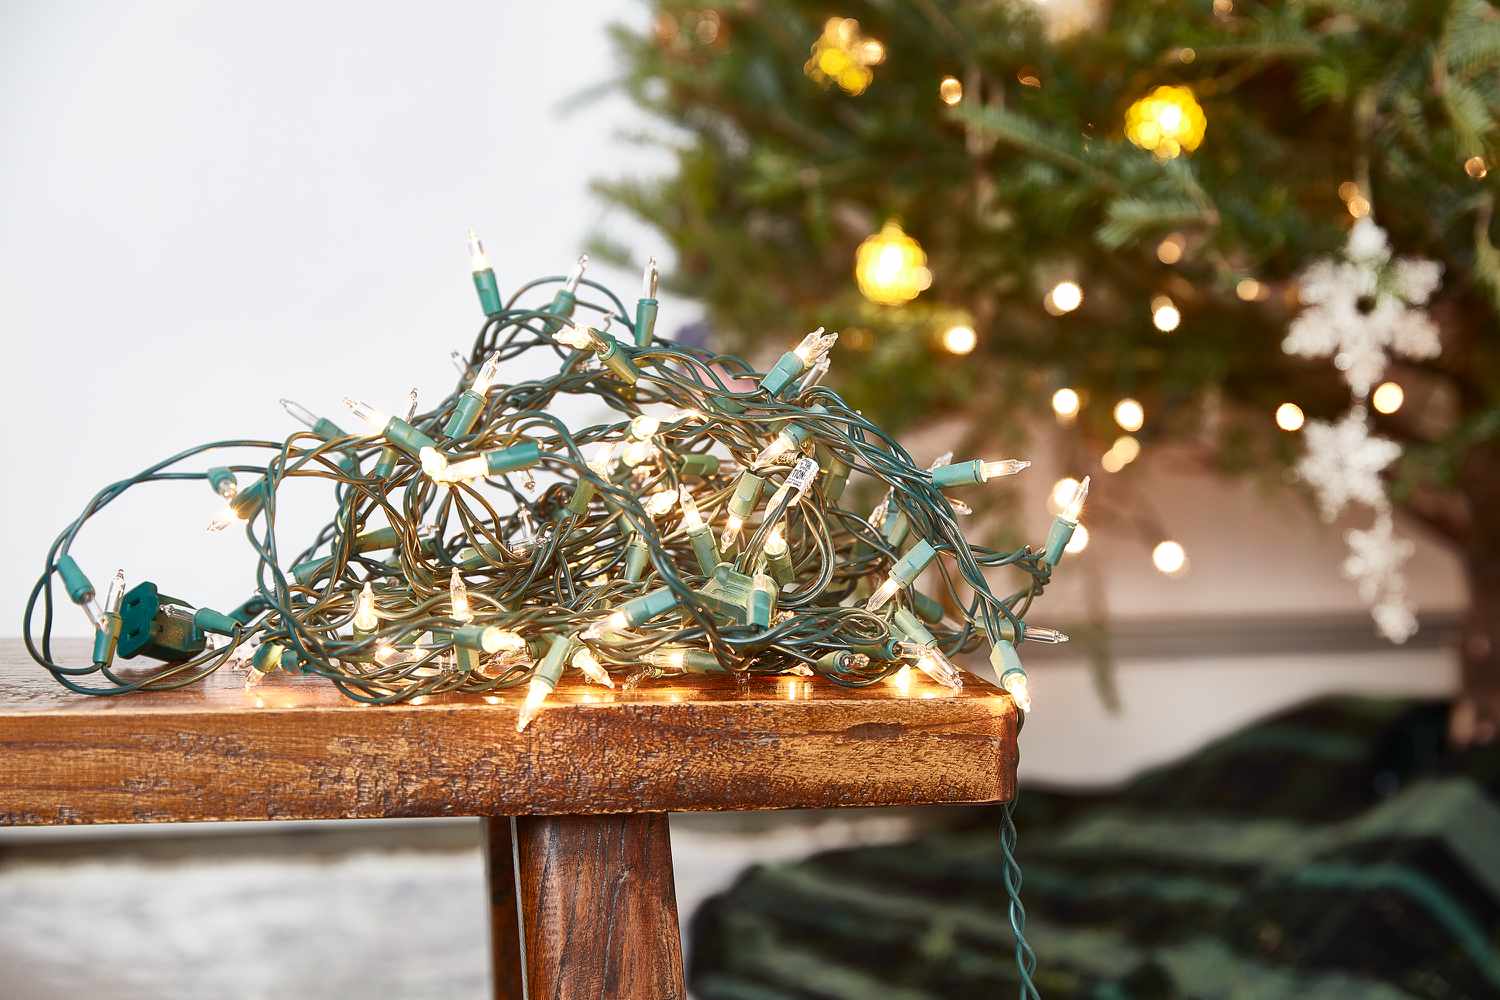
- Optional: Fairy Lights or LED String Lights – If you wish to infuse your outdoor Christmas balls with a mesmerizing glow, consider adding fairy lights or LED string lights to illuminate the finished decorations.
With these essential materials at your disposal, you’re all set to embark on the delightful journey of crafting outdoor Christmas balls. The simplicity of the materials ensures that this DIY project is accessible to all, inviting creativity and festive spirit into your outdoor decor.
Step 1: Inflate the Balloons
The first step in creating enchanting outdoor Christmas balls is to inflate the balloons, laying the foundation for the captivating ornaments. This process sets the stage for the transformation of simple materials into dazzling decorations that will adorn your outdoor space with festive splendor.
Begin by selecting a variety of balloons in different sizes, allowing for a captivating assortment of Christmas balls. With the balloons in hand, carefully inflate each one to the desired size, keeping in mind the dimensions you envision for your outdoor decor. Whether you prefer larger, statement-making ornaments or a collection of smaller, delicately sized Christmas balls, the choice is yours.
As you inflate the balloons, consider the visual impact you wish to achieve when the Christmas balls are displayed outdoors. The size and quantity of the balloons will contribute to the overall aesthetic, so take a moment to envision the enchanting scene you intend to create. Once the balloons are inflated to perfection, you’re ready to move on to the next step in this delightful crafting journey.
With the balloons prepared and brimming with creative potential, you’ve taken the first step toward crafting outdoor Christmas balls that will infuse your outdoor space with the magic of the holiday season. This simple yet crucial stage sets the foundation for the transformation that awaits, inviting you to embrace the joy of DIY outdoor decor and the art of festive craftsmanship.
Step 2: Prepare the Glue Mixture
As you venture further into the delightful process of crafting outdoor Christmas balls, the next essential step is to prepare the glue mixture that will serve as the adhesive foundation for your enchanting decorations. This vital component will ensure that the yarn adheres seamlessly to the balloons, allowing you to create captivating textures and shapes that will adorn your outdoor space with festive charm.
To create the glue mixture, you’ll need a reliable multipurpose glue that is suitable for use with yarn and balloons. Begin by pouring the glue into a mixing bowl, ensuring that you have an ample amount to coat the yarn thoroughly. Depending on the size and quantity of the Christmas balls you intend to craft, adjust the volume of the glue accordingly, allowing for a generous supply to facilitate the crafting process.
Once the glue is in the mixing bowl, consider adding a small amount of water to achieve the desired consistency. The addition of water will help to thin the glue, making it easier to apply and ensuring that it spreads evenly across the yarn. As you mix the glue and water, aim for a smooth and fluid texture that will effortlessly coat the yarn, providing a secure and durable bond once the Christmas balls are complete.
With the glue mixture prepared and perfected, you’re one step closer to bringing your outdoor Christmas balls to life. The careful blending of glue and water sets the stage for the transformative process that awaits, inviting you to infuse your outdoor decor with the magic of DIY craftsmanship and the joy of festive creativity.
Step 3: Wrap the Yarn around the Balloons
With the essential preparations in place, it’s time to embark on the captivating process of wrapping the yarn around the inflated balloons, infusing them with texture and charm. This step forms the heart of the crafting journey, allowing you to shape and design the outdoor Christmas balls with creative flair and festive spirit.
Begin by selecting the yarn or string of your choice, considering the colors and textures that will complement your outdoor decor and evoke the enchanting ambiance of the holiday season. With the yarn in hand, gently unravel a length that is suitable for wrapping around the inflated balloons, ensuring that you have ample material to create intricate patterns and designs.
As you wrap the yarn around each balloon, embrace the creative freedom to experiment with different wrapping techniques. Whether you opt for a uniform layer of yarn that envelops the balloon in a cozy embrace or seek to create captivating patterns and textures through strategic winding, let your imagination guide the crafting process. The yarn serves as a versatile medium for expressing your festive vision, allowing you to infuse each Christmas ball with unique character and charm.
Throughout this enchanting stage of the crafting journey, take delight in the tactile experience of working with the yarn, feeling the transformation of simple materials into captivating decorations that will adorn your outdoor space. Embrace the rhythmic motion of wrapping the yarn, allowing the festive spirit to infuse each movement as you bring the Christmas balls to life.
As you complete the wrapping process for each balloon, you’ll witness the gradual emergence of enchanting shapes and textures, each imbued with the promise of festive splendor. With the yarn wrapped around the balloons, you’re poised to move forward in this delightful crafting endeavor, ready to add the final touches that will illuminate your outdoor space with the magic of the holiday season.
When making outdoor Christmas balls, use weather-resistant materials like plastic or metal ornaments, and consider using outdoor lights and waterproof adhesive to ensure they withstand the elements.
Read more: How To Make An Outdoor Christmas Tree
Step 4: Apply the Glue Mixture
With the yarn wrapped around the inflated balloons, the next crucial step in crafting your outdoor Christmas balls is to apply the prepared glue mixture. This pivotal stage will secure the yarn in place, setting the foundation for the enchanting textures and shapes that will adorn your outdoor decor with festive charm.
Begin by preparing a clean and spacious work area, ensuring that it is conducive to the crafting process and provides ample room for maneuvering the Christmas balls. With the workspace ready, carefully position the wrapped balloons to facilitate easy access as you apply the glue mixture, allowing for a seamless and efficient crafting experience.
Dip your fingers or a brush into the prepared glue mixture, ensuring that the adhesive coats the yarn evenly and thoroughly. As you apply the glue, take care to cover the entire surface of the yarn-wrapped balloons, creating a secure and durable bond that will withstand the elements when displayed outdoors.
Embrace the tactile experience of working with the glue mixture, feeling the transformative power of this adhesive as it solidifies the yarn and shapes the Christmas balls. With each application of the glue, you’re one step closer to witnessing the captivating ornaments take form, infused with the festive spirit and creative energy that defines the holiday season.
As the glue mixture sets and dries, it forms a resilient bond that will ensure the longevity of your outdoor Christmas balls, allowing them to withstand the elements and adorn your outdoor space with enduring beauty. With this essential step complete, you’re poised to move forward in the crafting journey, ready to add the final touches that will illuminate your outdoor decor with the magic of the holiday season.
Step 5: Let the Yarn Dry
After applying the glue mixture to the yarn-wrapped balloons, the next crucial step in crafting your outdoor Christmas balls is to allow ample time for the yarn to dry thoroughly. This essential stage ensures that the adhesive sets and solidifies, creating a durable bond that will withstand the elements and preserve the enchanting textures and shapes of the Christmas balls.
Find a suitable location to allow the Christmas balls to dry undisturbed, ensuring that they are positioned in a well-ventilated area where air circulation can facilitate the drying process. Whether indoors or outdoors, choose a space that is conducive to the crafting journey, providing the ideal environment for the yarn to set and the glue to cure.
As the Christmas balls begin the drying process, embrace the anticipation of witnessing the transformation of simple materials into captivating outdoor decor. The yarn, infused with the adhesive, will gradually solidify, forming a resilient and enduring texture that embodies the festive spirit and creative energy of the holiday season.
Throughout this waiting period, take delight in the sense of anticipation and excitement that accompanies the crafting journey. As the Christmas balls dry, envision the enchanting scene they will create when displayed in your outdoor space, illuminating the surroundings with the magic of the holiday season.
With each passing moment, the Christmas balls evolve into enduring symbols of festive cheer, embodying the joy of DIY craftsmanship and the art of creating outdoor decor that captivates the heart and imagination. As the yarn dries and the Christmas balls take shape, you’re poised to move forward in this delightful crafting endeavor, ready to add the final touches that will infuse your outdoor space with the magic of the holiday season.
Step 6: Pop and Remove the Balloons
As the yarn-wrapped Christmas balls dry and solidify, the time has come to embark on the exhilarating process of popping and removing the balloons, unveiling the enchanting forms that will adorn your outdoor space with the magic of the holiday season. This transformative step marks the culmination of the crafting journey, allowing you to witness the captivating ornaments taking shape and emerging as enduring symbols of festive splendor.
With the Christmas balls positioned in a suitable workspace, carefully grasp each balloon and introduce a small pin or sharp object to puncture its surface. As the balloon gradually deflates, take care to maintain a steady and gentle approach, ensuring that the yarn-wrapped structure remains intact and retains its enchanting form.
As the balloons deflate and release their embrace on the yarn, revel in the sense of anticipation and excitement that accompanies this pivotal moment. With each balloon removed, the Christmas balls emerge as resilient and captivating decorations, infused with the festive spirit and creative energy that define the holiday season.
Once all the balloons have been popped and removed, take a moment to admire the enchanting forms that now grace your workspace. The Christmas balls, shaped by your creativity and craftsmanship, stand as enduring testaments to the joy of DIY decor and the art of infusing outdoor spaces with the magic of the holiday season.
As the balloons are carefully removed, the Christmas balls stand ready to adorn your outdoor space with enduring beauty and festive charm. With this transformative step complete, you’re poised to move forward in the crafting journey, ready to add the final touches that will illuminate your outdoor decor with the magic of the holiday season.
Step 7: Add Lights (Optional)
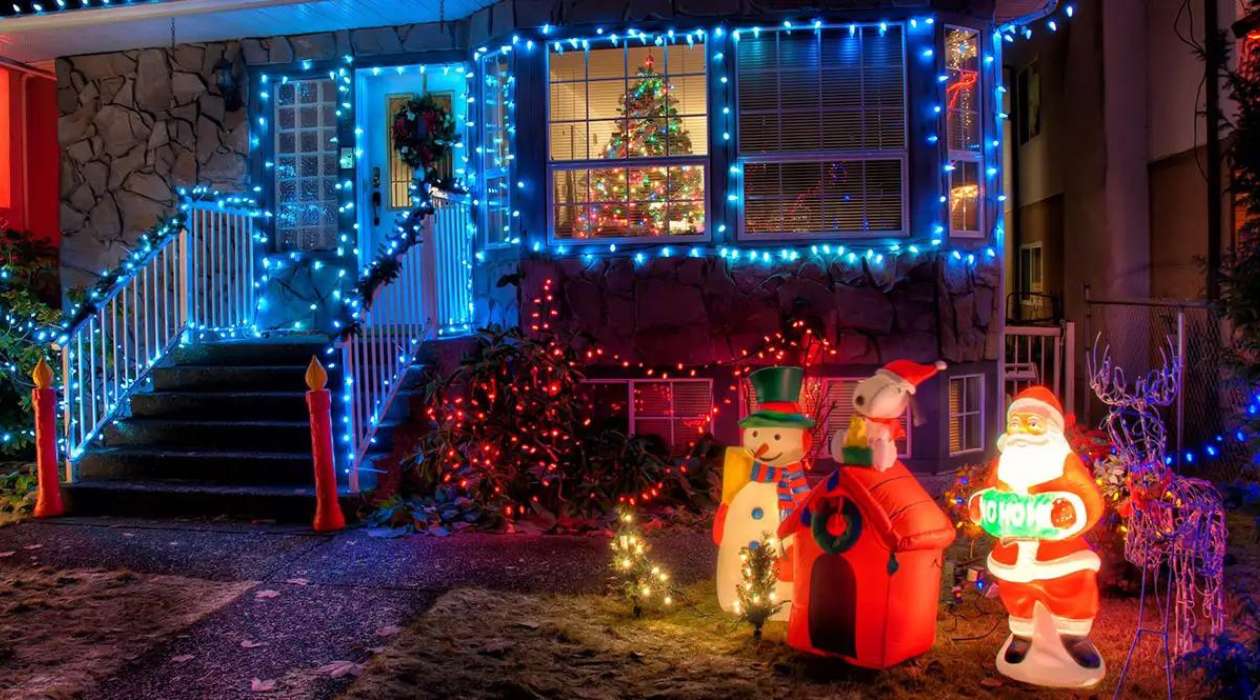
As the enchanting Christmas balls stand ready to adorn your outdoor space with festive charm, you have the option to elevate their allure by adding a mesmerizing glow. Introducing lights to your outdoor Christmas balls infuses them with an enchanting radiance, creating a captivating display that illuminates the surroundings with the magic of the holiday season.
If you choose to incorporate lights into your Christmas balls, consider selecting fairy lights or LED string lights in a warm, inviting hue. These delicate strands of illumination will intertwine with the yarn-wrapped structures, infusing them with a captivating radiance that evokes the timeless enchantment of the holiday season.
Begin by carefully weaving the lights around each Christmas ball, allowing the gentle glow to intertwine with the textured surfaces and illuminate the intricate forms. Whether you opt for a uniform distribution of lights or seek to create mesmerizing patterns and designs, let your creativity guide the placement of the lights, infusing each Christmas ball with a unique and captivating radiance.
As the lights intertwine with the Christmas balls, step back and behold the mesmerizing transformation taking place before your eyes. The enchanting radiance emanating from the illuminated decorations evokes a sense of wonder and joy, infusing your outdoor space with the magic of the holiday season.
With the lights delicately woven into the Christmas balls, envision the captivating display they will create when showcased in your outdoor space. The gentle glow, intertwined with the textured surfaces and intricate forms, will illuminate the surroundings, inviting all who behold them to embrace the festive spirit and revel in the enchantment of the holiday season.
With this optional yet captivating step complete, your outdoor Christmas balls stand as enduring symbols of festive splendor, ready to adorn your outdoor space with the magic of the holiday season. Whether illuminated or not, these enchanting decorations embody the joy of DIY craftsmanship and the art of creating outdoor decor that captivates the heart and imagination.
Conclusion
Congratulations on completing the delightful journey of crafting outdoor Christmas balls! As you stand amidst these enchanting decorations, infused with the festive spirit and creative energy of the holiday season, take a moment to revel in the joy of DIY craftsmanship and the art of infusing your outdoor space with enduring beauty and charm.
Each Christmas ball stands as a testament to your creativity and dedication, embodying the transformative power of simple materials and the joy of crafting cherished decorations with your own hands. The textures, shapes, and optional illumination combine to create a captivating display that will illuminate your outdoor space with the magic of the holiday season.
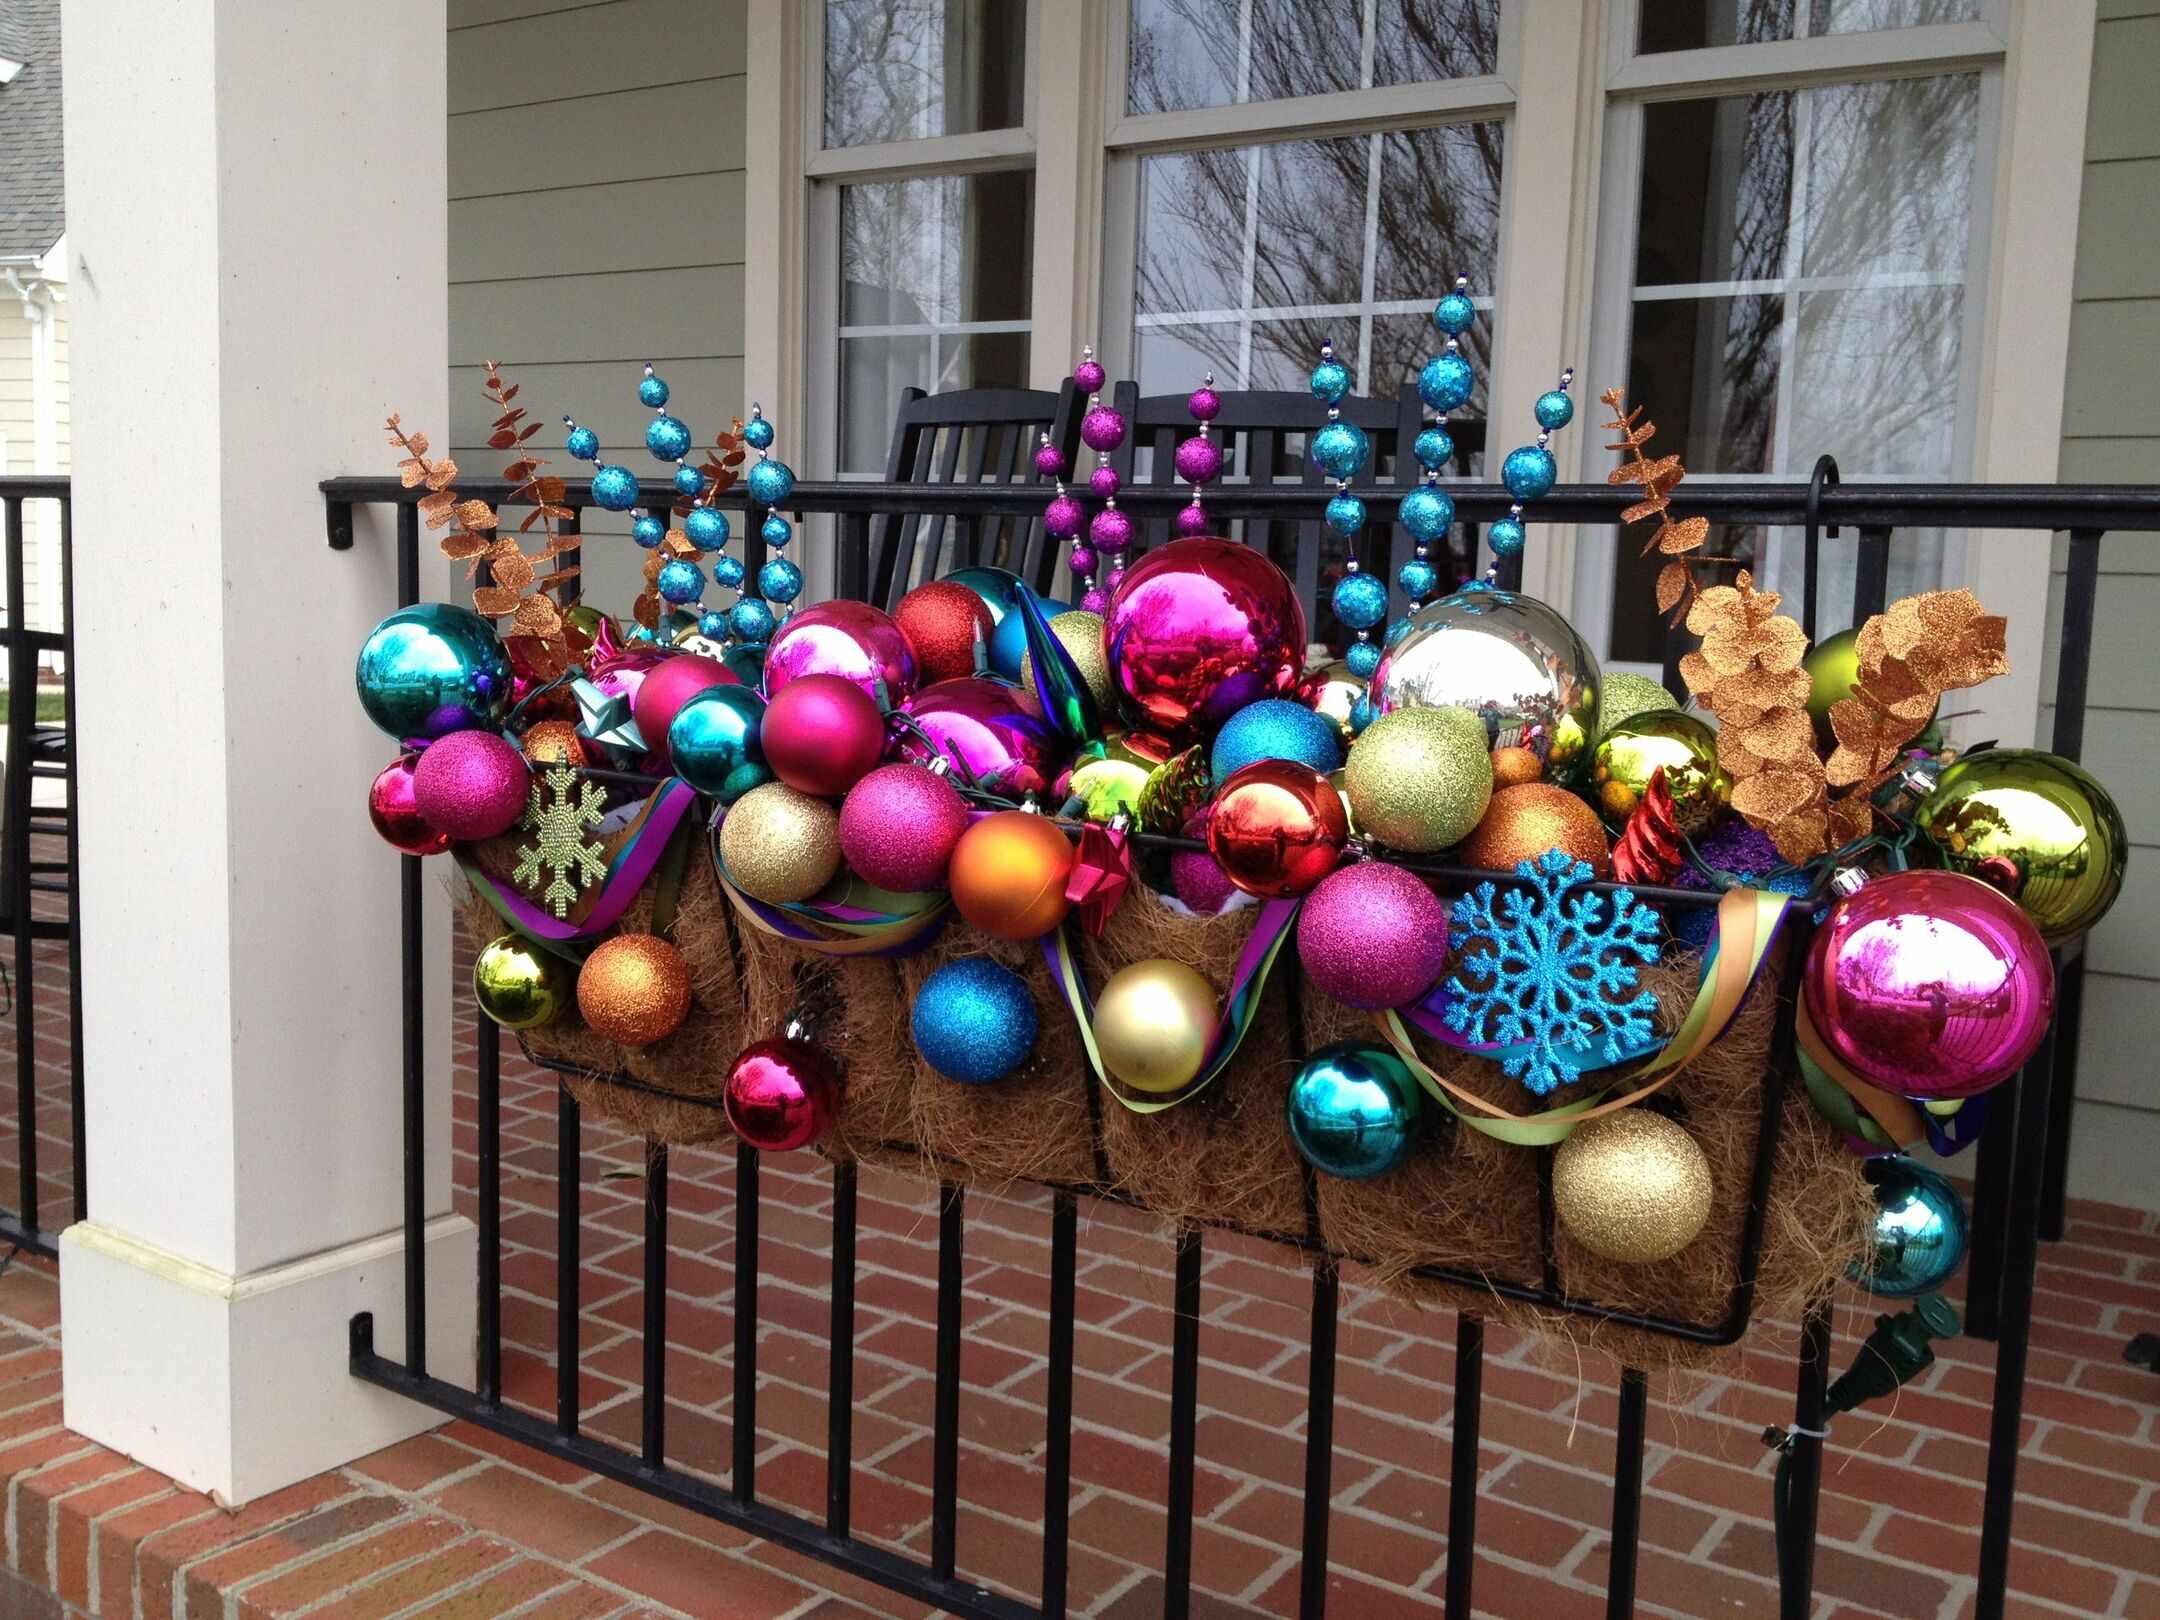
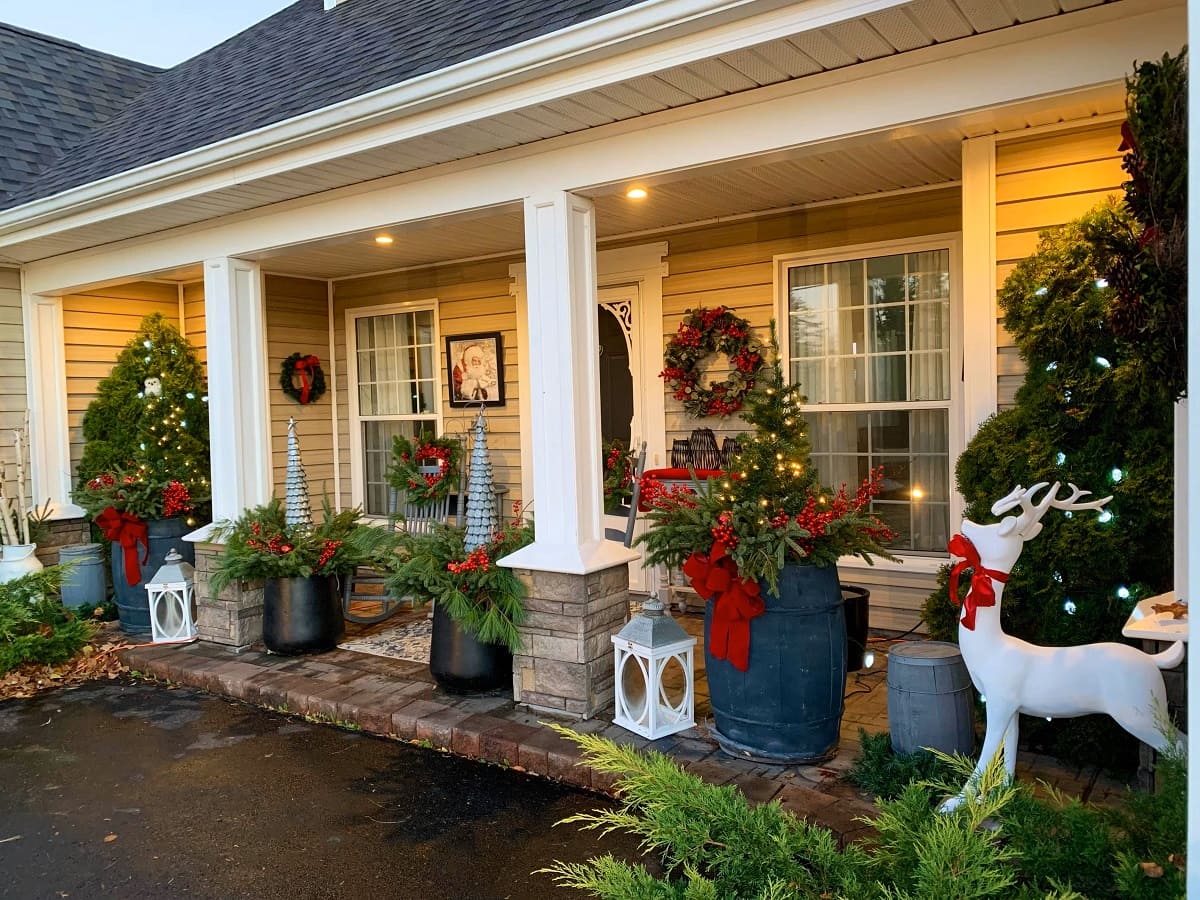
As you prepare to showcase the Christmas balls in your outdoor space, envision the enchanting scene they will create, infusing the surroundings with the warmth and splendor of the festive season. Whether displayed in clusters or nestled amidst greenery, these captivating ornaments will serve as enduring symbols of joy and celebration, inviting all who behold them to embrace the magic of the holiday season.
Embrace the memories created during the crafting process, whether shared with loved ones or enjoyed in moments of solitary creativity. The journey of crafting outdoor Christmas balls is not merely a DIY project; it’s a joyful expression of the holiday spirit and a testament to the beauty that can be created with simple materials and boundless imagination.
As you bask in the glow of your completed outdoor Christmas balls, take pride in the enduring beauty and festive charm they bring to your outdoor space. These enchanting decorations stand as a testament to the joy of the holiday season, infusing your surroundings with the magic of DIY craftsmanship and the timeless allure of festive decor.
May the enchanting presence of your outdoor Christmas balls inspire moments of wonder, joy, and celebration, creating cherished memories that will last a lifetime. Embrace the festive spirit, revel in the joy of creativity, and bask in the warm glow of the holiday season as your outdoor space becomes a captivating showcase of enduring beauty and festive charm.
Frequently Asked Questions about How To Make Outdoor Christmas Balls
Was this page helpful?
At Storables.com, we guarantee accurate and reliable information. Our content, validated by Expert Board Contributors, is crafted following stringent Editorial Policies. We're committed to providing you with well-researched, expert-backed insights for all your informational needs.


0 thoughts on “How To Make Outdoor Christmas Balls”