
Articles
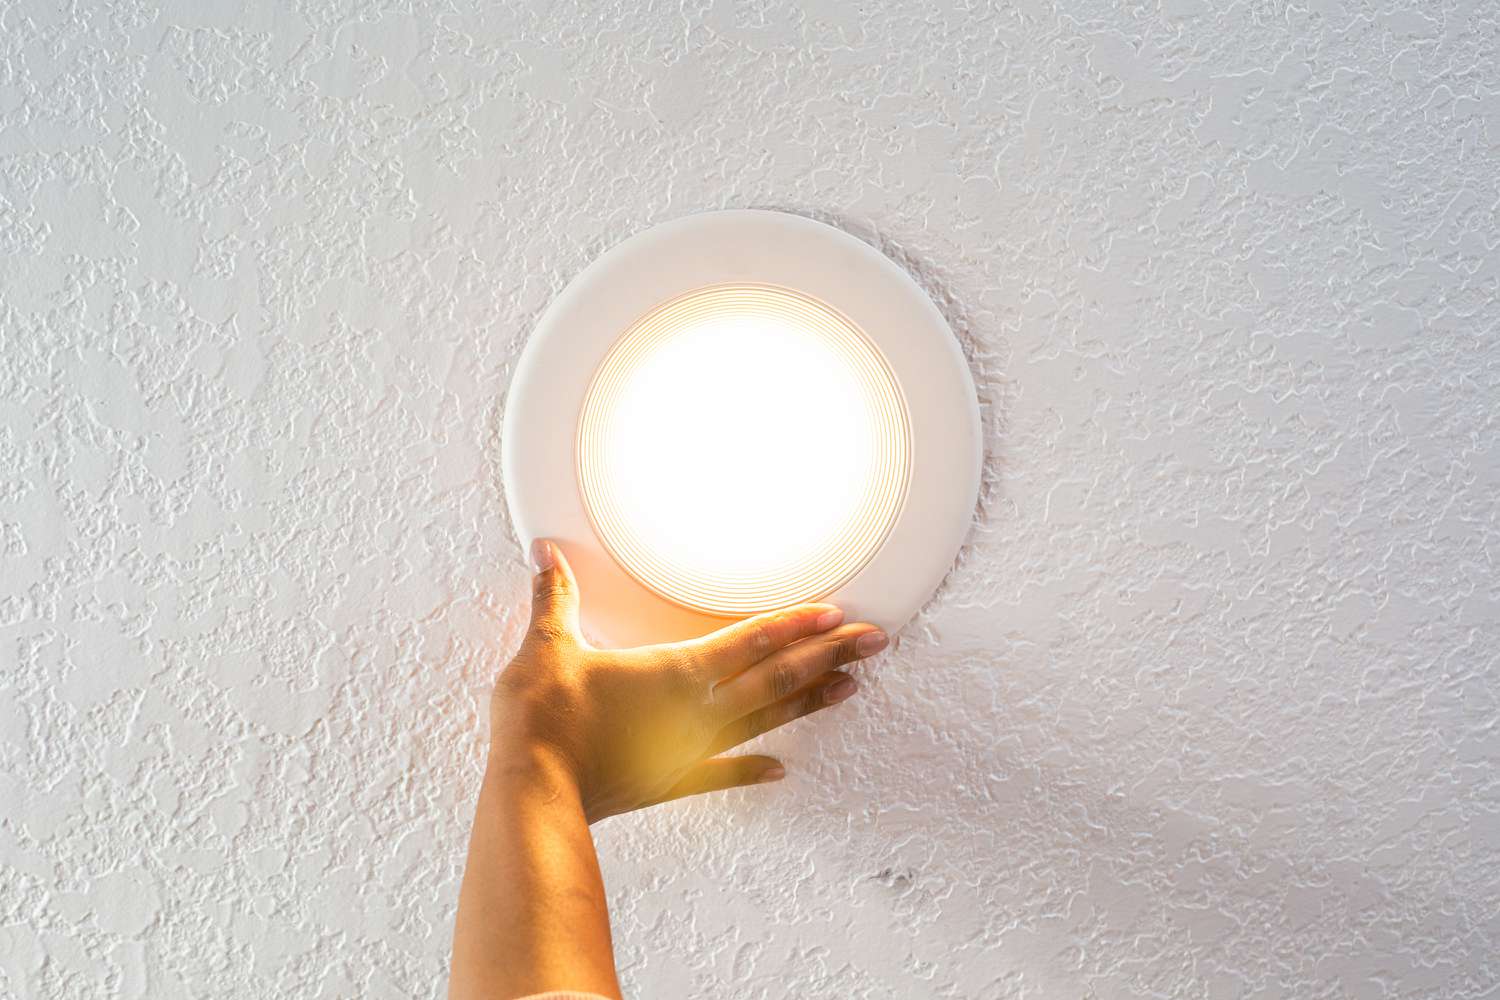
How To Change A Christmas Light Bulb
Modified: October 19, 2024
Discover step-by-step instructions on how to change a Christmas light bulb in this helpful article. Find expert tips and tricks to ensure a hassle-free experience.
(Many of the links in this article redirect to a specific reviewed product. Your purchase of these products through affiliate links helps to generate commission for Storables.com, at no extra cost. Learn more)
Introduction
Christmas lights are an essential part of holiday decorations, adding a warm and festive glow to our homes. However, over time, one or more bulbs may burn out, diminishing the overall beauty of the display. Rather than leaving a dark spot in your otherwise dazzling Christmas light arrangement, it’s important to know how to change a Christmas light bulb.
Don’t worry if you’ve never done it before – it’s a simple process that anyone can learn. In this guide, we’ll walk you through the steps to safely and effectively replace a burned-out Christmas light bulb. But before we dive into the details, let’s make sure you have the necessary equipment on hand.
Key Takeaways:
- Easily identify and replace burned-out Christmas light bulbs by following simple steps, ensuring a safe and beautifully illuminated holiday display.
- Prioritize safety, gather necessary equipment, and take your time to master the art of changing Christmas light bulbs for a dazzling and festive holiday season.
Read more: How To Change A Light Bulb
Necessary Equipment
Before you begin changing a Christmas light bulb, it’s important to gather the necessary equipment. Here’s what you’ll need:
- Replacement bulbs: Make sure you have a few spare bulbs that are compatible with your specific Christmas light set. Check the packaging or consult the manufacturer’s instructions to ensure you have the correct bulb type.
- Ladder or step stool: Depending on the height of your Christmas lights, you may need a stable ladder or step stool to safely reach the bulbs. Ensure that the ladder is in good condition and placed on a stable surface.
- Gloves: It’s always a good idea to wear protective gloves when handling Christmas light bulbs. Gloves can protect your hands from any sharp edges or potential breakage while changing the bulbs.
- Electrical tape: Electrical tape is handy for securing any loose connections or repairing damaged wires. It can help prevent accidents and maintain the safety of your Christmas light display.
- Circuit tester: If you’re unsure which bulb is burned out, a circuit tester can help you locate the problem. This tool detects the flow of electricity in the circuit, making it easier to identify the faulty bulb.
By having these items ready, you’ll be well-prepared to tackle the task of changing a Christmas light bulb.
Step 1: Identify the Burned-Out Bulb
When it comes to changing a Christmas light bulb, the first step is to identify which bulb is burned out. Here’s how you can do it:
- Inspect the lights: Turn on the Christmas lights and carefully observe the string of bulbs. Look for any dark or dimly lit bulbs compared to the rest of the strand. Take note of the location of the burned-out bulb.
- Use a circuit tester: If you’re unable to visually identify the burned-out bulb, a circuit tester can help. Turn off the power to the Christmas lights and unplug them from the electrical outlet. Insert the circuit tester into each bulb socket until you find a socket that does not light up the tester. This indicates that the bulb in that socket is the one that needs to be replaced.
- Inspect the bulb visually: Once you’ve identified the suspected burned-out bulb, inspect it visually. Look for any visible signs of damage, such as a blackened filament or a broken glass envelope. This will confirm that the bulb needs to be replaced.
By following these steps, you will be able to pinpoint the specific bulb that needs to be changed, saving you time and effort in the process.
Step 2: Turn Off the Power
Before you start handling any Christmas light bulbs, it’s crucial to turn off the power to ensure your safety. Follow these steps to turn off the power:
- Locate the power source: Determine the location of the power source for your Christmas lights. It may be a wall outlet, an extension cord, or a timer. Unplug the lights from the power source.
- Switch off any timers or controllers: If you have a timer or controller set up for your Christmas lights, make sure to switch it off as well. This will prevent the lights from turning on while you’re changing the bulb.
- Confirm the power is off: To ensure the power is fully disconnected, test the lights by turning them on. If they do not turn on, it is a clear indication that the power has been successfully turned off.
Taking the necessary precautions to turn off the power will minimize the risk of electric shock or other electrical accidents while replacing the Christmas light bulb. It’s always better to be safe than sorry!
Step 3: Access the Bulb
Now that the power is turned off, it’s time to access the burned-out bulb. Follow these steps to safely access the bulb:
- Position your ladder or step stool: Place your ladder or step stool in a stable position near the area where the burned-out bulb is located. Ensure that it is secure and steady before climbing up.
- Reach the bulb sockets: Extend your arm or use a suitable tool to reach the bulb sockets. Christmas lights are usually designed with sockets that are easily accessible, making it simple to remove and replace the bulbs.
- Inspect the socket connections: Take a moment to inspect the socket connections. Ensure that all the bulb sockets and wires are in good condition. Look for any loose connections or damaged wires that may need to be repaired or replaced.
By following these steps, you will be able to safely reach the burned-out bulb and prepare it for replacement. Remember to maintain your balance on the ladder or step stool and be cautious of any potential hazards. Safety should always be a top priority!
When changing a Christmas light bulb, always make sure to unplug the lights first to avoid the risk of electric shock. This will ensure your safety while replacing the bulb.
Read more: How To Change A Brake Light Bulb
Step 4: Remove the Burned-Out Bulb
Now that you have accessed the burned-out bulb, it’s time to remove it from the socket. Follow these steps to safely remove the burned-out bulb:
- Ensure a firm grip: Before attempting to remove the bulb, make sure you have a firm grip on it. This will prevent the bulb from slipping and potentially breaking.
- Twist the bulb counterclockwise: Most Christmas light bulbs are designed to be twisted to remove them from the socket. Gently twist the bulb counterclockwise until it is loose enough to be pulled out.
- Remove the bulb from the socket: Once the bulb is loose, carefully pull it straight out from the socket. Take care not to tug on the wires, as this can damage the socket or the rest of the light string.
It’s important to handle the burned-out bulb with care to avoid any injuries or damage to the surrounding lights. If the bulb is stubborn and difficult to remove, try using a pair of gloves for added grip or a bulb removal tool designed specifically for this purpose.
Once you have successfully removed the burned-out bulb, proceed to the next step to replace it with a new one.
Step 5: Replace with a New Bulb
With the burned-out bulb removed, it’s time to replace it with a new one. Follow these steps to successfully replace the bulb:
- Choose the right replacement bulb: Select a new bulb that is compatible with your Christmas light set. Refer to the packaging or manufacturer’s instructions to ensure you have the correct bulb type and wattage.
- Inspect the new bulb: Before inserting the new bulb into the socket, inspect it visually. Ensure that there are no visible signs of damage, such as a broken filament or a cracked glass envelope.
- Align the pins: Position the new bulb’s pins or prongs in line with the socket holes. The bulb should fit snugly and align with the socket without any forceful pushing or twisting.
- Insert the new bulb: Gently push the new bulb into the socket, making sure it goes in straight and fully seats into the socket. Give it a slight twist in a clockwise direction to secure it in place.
Replacing the Christmas light bulb with a new one is a straightforward process. Take care not to force the new bulb into the socket or overtighten it, as this could cause damage to the bulb or the socket.
Now that you have successfully replaced the burned-out bulb, move on to the next step to test the new bulb and ensure it’s working properly.
Step 6: Test the New Bulb
After replacing the burned-out bulb with a new one, it’s important to test it to ensure it’s working properly. Follow these steps to test the new bulb:
- Turn on the power: Plug in the Christmas lights and turn on the power to the light string. This will provide the electricity needed to test the new bulb.
- Observe the new bulb: Carefully observe the new bulb to see if it lights up. It should emit a bright and steady glow, indicating that it is functioning correctly.
- Check the surrounding bulbs: While testing the new bulb, also check the surrounding bulbs to ensure that they are still working properly. Sometimes, the replacement of one bulb can affect the functioning of others.
If the new bulb fails to light up or there are any issues with the surrounding bulbs, double-check the bulb’s alignment in the socket and make sure it is securely inserted. If the problem persists, consider replacing the bulb with another one to ensure proper functionality.
By testing the new bulb, you’ll ensure that your Christmas light display is vibrant and free from any dark spots caused by burned-out bulbs.
Step 7: Securely Reattach the Bulb
Once you have tested the new bulb and ensured that it is working correctly, it’s time to securely reattach it to the socket. Follow these steps to ensure the bulb is properly connected:
- Turn off the power: Before reattaching the bulb, make sure to turn off the power to the Christmas lights. Unplug them from the power source to prevent any accidents or electric shock.
- Inspect the socket contacts: Take a moment to inspect the socket contacts to ensure they are clean and undamaged. If you notice any dirt or corrosion, gently clean the contacts with a soft cloth or a cotton swab dipped in rubbing alcohol.
- Align the pins or prongs: Before inserting the bulb, align its pins or prongs with the corresponding socket holes. Ensure the bulb is positioned correctly to fit smoothly into the socket.
- Push the bulb into the socket: Gently push the bulb straight into the socket, applying even pressure. Make sure it is fully seated and secure within the socket.
- Give the bulb a slight twist: Once the bulb is fully inserted, give it a slight twist in a clockwise direction to lock it in place. This will ensure a secure connection and prevent the bulb from coming loose.
It’s important to reattach the bulb securely to prevent any flickering or loose connections that could disrupt the overall function of the Christmas lights. A well-connected bulb will contribute to a beautifully illuminated display.
With the bulb securely reattached, you’re ready to enjoy your fully lit and dazzling Christmas light display!
Read more: How To Change Oven Light Bulb
Conclusion
Changing a Christmas light bulb doesn’t have to be a daunting task. With a few simple steps, you can replace a burned-out bulb and restore the festive glow to your holiday decorations. By following the steps outlined in this guide, you can safely and effectively change a Christmas light bulb:
- Identify the burned-out bulb by visually inspecting the lights or using a circuit tester.
- Turn off the power to the Christmas lights to prevent any electrical accidents.
- Access the bulb by positioning a ladder or step stool and reaching for the socket.
- Remove the burned-out bulb by twisting it counterclockwise and pulling it out gently.
- Replace the bulb with a new one by aligning the pins and inserting it into the socket.
- Test the new bulb to ensure it lights up and check the surrounding bulbs for proper functioning.
- Securely reattach the bulb by aligning it with the socket holes, pushing it in, and giving it a slight twist.
Remember to prioritize safety by turning off the power and handling the bulbs with caution. Have the necessary equipment ready and take your time to perform each step carefully.
By mastering the art of changing Christmas light bulbs, you can maintain a beautifully illuminated display for the holiday season. Don’t let a burned-out bulb dampen the festive spirit – with a little effort, your Christmas lights will continue to shine brightly for all to enjoy!
Frequently Asked Questions about How To Change A Christmas Light Bulb
Was this page helpful?
At Storables.com, we guarantee accurate and reliable information. Our content, validated by Expert Board Contributors, is crafted following stringent Editorial Policies. We're committed to providing you with well-researched, expert-backed insights for all your informational needs.


0 thoughts on “How To Change A Christmas Light Bulb”